Weathering older rolling stock

I have many freight cars and locomotives that have not been weathered and have been sitting on the layout for as much as 25 years. They have accumulated a fair amount of dust.

Before weathering them should they be cleaned to like new status? Does the method used to weather come into play?

Rick

Clean them as best as you can. One of my two ways listed below. Other people on here may have their good ways to do the cleaning.

Wear non powdered nitrile gloves. (so as not to leave finger prints)

  1. Small vac. and a soft paint brush about 1’’ or 1 1/2’’ wide. May need a 1/4’’ soft brush to get into the steps, walkways and around handrails of locos. Secure a piece of nylon stocking over the sucking end of the vac. so if a tiny part gets knocked loose it will not end up inside of the vac. I sometimes do my dusting of rolling stock in the paint booth with the fan running (not as much noise as a vac.).

  2. Warm water with a drop of dishwashing detergent, warm water rinse, then blow dry with a hair dryer set on ‘‘low heat’’. (rolling stock only not the locos.)

You would not want to paint over dust with an air brush, oils or pan pastels.

On my rolling stock and locos. that have been sitting (forgotten/misplaced) or in service for that long and longer, the ‘‘heavy’’ dust build up seems to be mostly on the horizonial surfaces.

Yes, and a coat of Dullcote wouldn’t go wrong either. I’ve weathered several very old cars (mostly using water-based paint washes) and had good luck. Just bought a very old Athearn box car, red with faded New Haven lettering. It’ll look great once I get it covered in grime and rust! :slight_smile:

Aaron

Some dust can be removed using a soft 1" paint brush, but you’d do best to do it outdoors. I know a few modellers who do the cleaning in their layout room, which means that much of it eventually finds it’s way back onto the same items.

If the brush does not thoroughly clean the item, my choice would be to remove the trucks and couplers, and maybe the underbody, then place the carbody/bodies in a sink of fairly warm water and dish detergent.

The procedure is the same for powered locomotives, as obviously the chassis and motor shouldn’t be immersed in water.

You can let them sit for a while, but it the dust/dirt is fairly heavy, a toothbrush might help clean it up faster.
Once everything is clean, rinse each item thoroughly with warm water, then set them aside to air-dry. I usually use a clipboard, to stack them upright, with every other level at 90º to the level below.
(I should clarify that I’m usually washing rolling stock that’s been stripped of its paint, with plans to detail and repaint these items.)

Here’s some stuff cleaned and ready to be painted…(click on the photos for a larger view)…

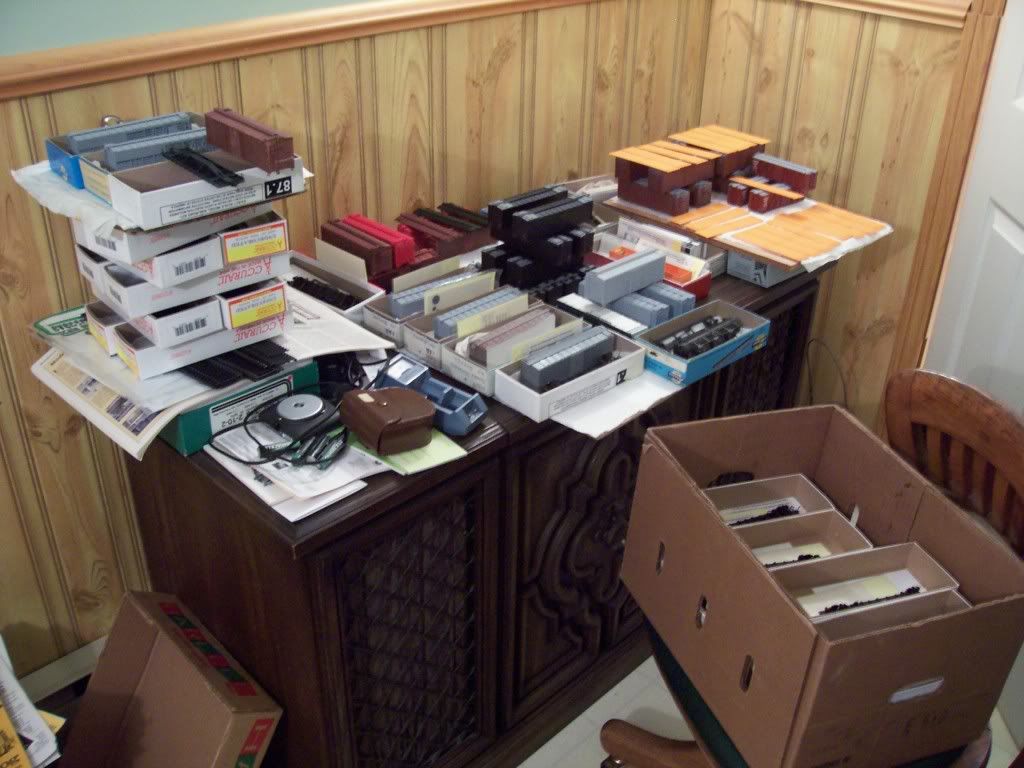
…and much of it was unpainted when I bought it. The rest was either my own old stock, stripped of its paint, or other older stuff bought “used”, also stripped of its original paint.

Most of what’s shown had to be painted and lettered, too, but for cars that have been cleaned and are already lettered, you can begin to weather them once they’re dry.
There are several ways to add weathering, and I’ve used washes of thinned water-based paints, dry brushing, and airbrushing using masks, like these…

You say “older” rolling stock 25 years old. That would suggest molded on details, nothing fragile to fall off.

I always just put them in a warm water bath and used hand soap to remove the hand oils and normal dirt accululation with a soft bristled rush. 25 years of dust accumulation is probably now dirt more than dust. That foamy hand soap is pretty mild stuff, but is made to remove normal dirt accumulation and doesn’t harm a normal paint finish.

Heck, I even do it with modern rolling stock that has separately applied details.

But as another has mentioned, I would try with one less favorite model to see the effect of simply spraying dullcote over a dusty model. It might seal in a nice weathered effect as a starting point.

I use a makeup brush instead of a paint brush. Softer and less likely to damage detail.

When you look at some photos in older issues of Model Railroader and RMC - and by older I mean back to the 1960s and before – it is common to see a considerable dust build-up on the tops of the rolling stock (cars and locomotives). And structures too by the way. That of course was also an era when lots of homes were heated with oil heat, and some perhaps even coal, and household dust might have been contributed to by those heating methods. Plus few basements back then had a suspended ceiling to catch the dust falling from the floorboards above.

In some of the worst examples involving close-up photos, you can see dust was embedded in the paint or varnish job on the model.

A guy I know who has written and photographed many layout visit articles for the major magazines says that working with the owner to address dust on structures and rolling stock is a big part of helping his photos show the layout at its best.

You definitely want to dust the cars thoroughly before doing weathering, whether it be airbrushed or with chalks/powders sealed with DullCote. I agree that if you just start brushing it off you are merely redistributing the dust elsewhere. When I need to do serious dusting of rolling stock I use a very soft brush, I think meant for mascara or make-up, but in any event the softest I can find.

Also, and I think this is important, if at all possible or practical I open up the car and remove the running board otherwise the brush might simply cause a small ridge of dust to form where the running board prevents it from getting to. An added benefit is that it might be easier to dust a car body if the wheels and couplers are not there to get snagged.

But this is the main thing, I have the vacuum cleaner going (the hose kind) nearby so I am brushing more or less towards the hose opening. If you have an air purifier that might work too but I use the vacuum cleaner. If you have a very soft brush attachmen

Don’t clean a dulcoted car with alcohol, you will get white streaks. If the old weathering was chalks, and not covered by dulcote, you are goimg to lose some or all of the weathering, but that justt gives a fresh start.

I have a lot of “older” cars, some dating back to the mid-'50s, but most of it has been updated with free-standing details, and new paint and lettering, along with some weathering.
When Proto released their r-t-r freight cars, I picked-up dozens of partially- or poorly-built Proto kits, stripping off most of the free-standing details, such as grabirons, which were plastic and overly thick. I also stripped most of their paint and lettering, along with the clunky-looking details, replacing them with better-scaled metal and plastic details. Because of their condition, many were picked up for only a few dollars.
When the r-t-r versions started flying off the shelves, the hobbyshop put the remaining unsold kits on the “used” table, too, and I quickly snapped-up what I needed.

Most of them required some modifications to accommodate the more finely-done details, but at least they didn’t need to be taken apart like the poorly put-together ones, which were often covered with excess glue.

I’d guess that the result would be a pebble-like surface, and not looking much like weathering. The next step, if it were mine, would be a bath for it in paint stripper, so that you could begin with a fresh start.

Here’s a Varney boxcar from the mid-'50s. It’s a stamped metal body, (originally painted red & grey for NYC’s Pacemaker trains) held together with tabs. It did have metal grabirons and sill steps, along with plastic ladders. The underbody is a modtly one-piece metal casting.

However, th

Yes, remove the accumulated dust before applying weathering.

-Kevin