I bought my first steam locomotive and it looks too new. I have read a few books on weathering and they all suggest taking the shell off and airbrushing the running gear. My question is doesn’t this also get the wheels all full of paint?
Don’t disassemble the engine when weathering. There’s no real point, and the weathering will blend together better if you leave the engine as a single unit.
Don’t worry about paint “clogging” anything. If you’re careful, do things properly, and clean up promptly, it won’t be an issue.
Model Railroder has a pretty decent book on working with and weathering steam models:
If you’re a newbie to steam, the book is pretty much a must have. One caveat though: DO NOT pay any attention to how the author weathers his engines, besides the core techniques. Real steam doesn’t look much like what he accomplishes with his methods. Instead, start looking at color photos of real in-service engines to see how they should REALLY look.
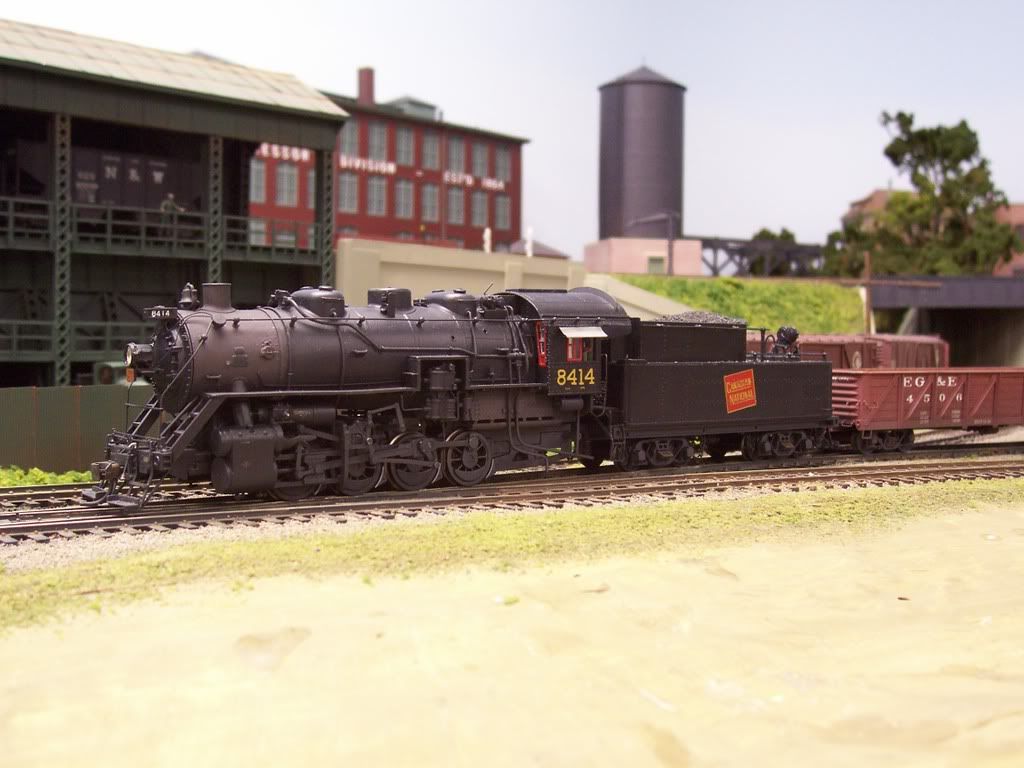
As an example, you’ll never be able to come close to this with his techniques or philosophy:
Notice that the front of the engine is still shiny black, while the back is almost cream colored. Notice too the polka-dot effect of splattered mud on the front of the engine. “Conventional wisdom” would say that the front of the engine hasn’t been weathered properly, and that the splattering MUST be the result of bad pressure from the airbrush!
All I can add is that I don’t weather my steam locos with paint, I use the Bragdon self-adhesive chalks and either a very soft toothbrush, Q-tips or small brushes. And remember, a lot of the ‘rolling junkyard’ steamers that you might see, represent steam locomotives that were at the END of their service, when the railroads were desperate to get the last mileage that they could before converting running them off to the scrap-yard in their rush to convert to diesel. If you’re modeling steam during the ‘glory’ days, the railroads were generally pretty good housekeepers, and the steam locos were their ‘advertisment.’ That doesn’t mean that ‘natural’ weathering wouldn’t occur, simply because of the nature of the beast, but it was generally kept to a minimum by most railroad shops. If you’re modeling, say, the early to mid-fifties, then yes, that steamer probably would not look FAR more weathered than it might have ten or fifteen years before when it was the primary mover for the particular railroad you’re modeling and that railroad kept their steamers in better cosmetic condition. Study the type of terrain your loco ran through, it’ll help you as far as the weathering, because steam locos (and even contemporary diesels) picked up dust from that terrain that collected on them.
But frankly, if you’re modeling mostly steam and your locos look like rolling junkyards, the message you’re sending is that your railroad doesn’t give a darn. And that happened VERY rarely until the major U.S. railroads started converting wholeheartedly to diesel.
IMO, light weathering makes a locomotive look like it’s really DOING something. Heavy weathering makes me think that it’s just a trip or two away from the scrap line.
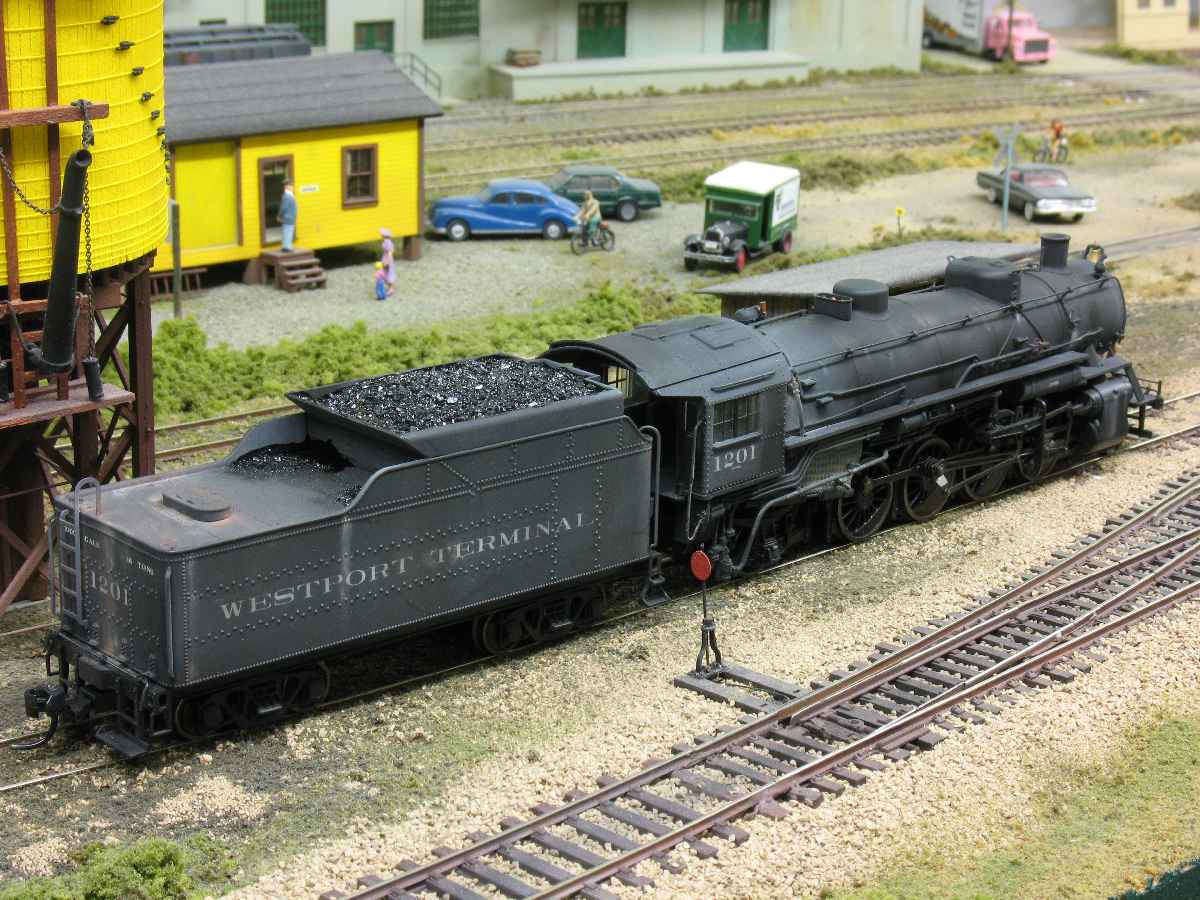
I’m modelling the late '30s, and like my locos to look well-maintained, although not new. After they’ve been painted and lettered, I spray them with various clear coats: flat, semi-gloss, and gloss, as appropriate, then weather them. I don’t apply any clear spray after the weathering though, as I want the original finish to show through. The smokebox and firebox are flat, the boiler and appliances semi-gloss, and the cab and tender an even shinier semi-gloss, with all of this showing through the weathering.
By the way, Ray, I got those frame extensions installed on the Athearn Mikes - not too visible once painted, but it looks a lot better than all the daylight that used to be visible there. Thanks for the idea. [swg]
It’s often good to practice and learn a new technique before applying it to a good model. I would suggest getting at least one old, very cheap junker and practicing with it.
And, yes, the MR book is worthwile. There are other books too that may help. See what books are at your hobby shop if you can.
I model the 21st Century and all of my steam locomotives are weathered using Stealth paint; they’re still there - you just can’t see them. In fact, awhile back I forgot exactly on which track I had parked one of my lokes and one of my diesels collided with it. I hauled out the “Big Hook” which happens to also be weathered in Stealth paint and even to this day I can’t tell whether I have the mess cleaned up or not; I have also lost track of my 'Big Hook"!
Glad to be of help Wayne. You’ve given me enough bright ideas for my own steam projects over the years!
For those of you who don’t know what we’re talking about, one of the major visual problems with ALL steam models, brass or plastic, is the large amount of open air between the bottom of the firebox and the trailing truck on larger steam. The trailing truck is there to support the weight of the large firebox, and because of that there’s no clear space between the two parts. Unfortunately, 99% of the steam models out there don’t have ANYTHING on the model to sugges that the truck is doing it’s job.
Notice that you can see all the way thorugh to the other side of the engine. NOT a good thing, no matter if you’re a proto modeler or freelancer!
Notice that on a real steam engine, there’s nothing but steel between the firebox and trailing truck. This visual problem can be fixed very easily, by adding a view block under the firebox. It doesn’t have to be anything fancy; a couple of chunks of scrap styrene painted flat black will do just fine. I tend to dress mine up a bit, but that’s because I like to detail engines:
My frame extensions are just strips of .125"x.188" Evergreen strip styrene, cut to match the contours of the model engine’s frame. With a little added detail (steam can never have TOO many details; it’s one of steam’s charms) you can add a lot of inexpensive realism to any model.
or:
Just to be difficult, let me point out the one exception I can think of offhand. The old John English 2-8-2 and 4-6-2 had a narrowed rear frame that sat down in the middle of the trailing truck and worked pretty similarly to your view blocks. I have the hulk of one which I use for traction tests.
Quite a nice loco. It’s a pity Bowser or somebody never snarfed up the tooling. I seem to recall from RMR discussions that Lionel got it, butchered it, and most likely scrapped it. It’s got a DC60 motor, right? How well does it run?
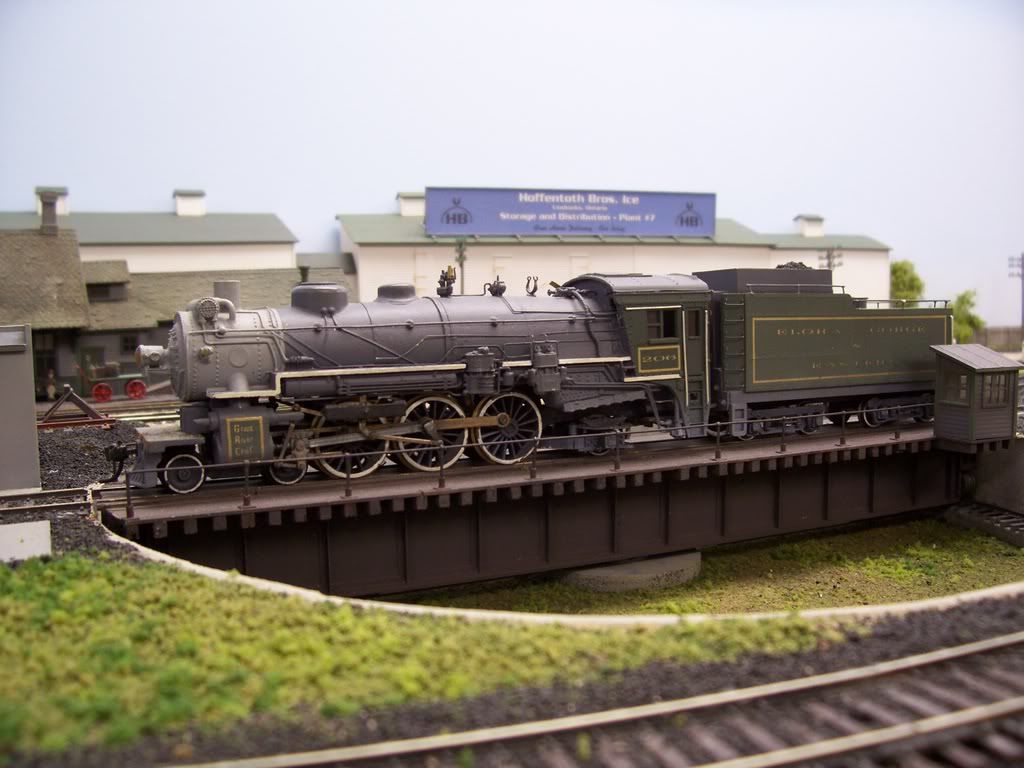
Actually, she runs really well. The motor is still the original, and the current draw is fairly low, although that’s not too important, since I’m running DC. I added pick-up shoes to improve the current collection, though, as the drivers are unplated brass.
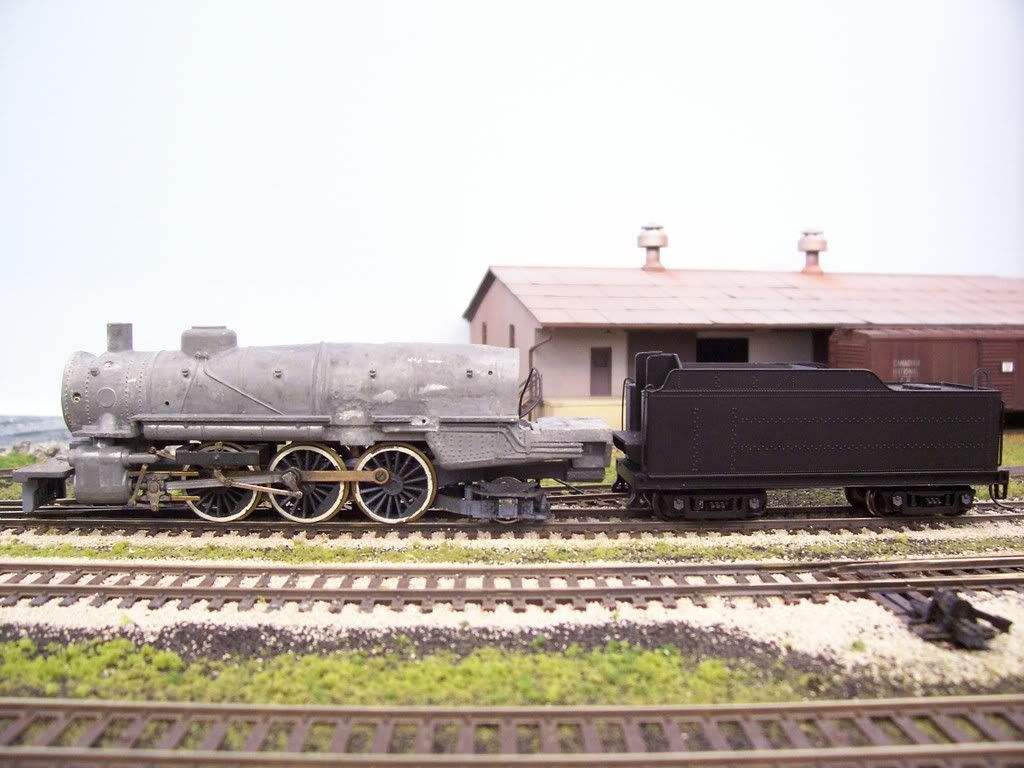
As you can see in the second of my original photos of her, I’ll be using a Bachmann tender to replace the scratchbuilt one shown in the first photo.
I’ve had the loco since the late '50s, when my Dad bought it second hand. He replaced some of the zinc siderods with brass ones (zincpest also got the original trailing truck) and also fabricated some of the valve gear parts that were missing or broken in the original Central Valley add-on kit.
Speaking of ‘view-blocks’, Cal-Scale puts out an ash-pan casting for model fireboxes that goes a long way to improve that big space between the firebox and trailing truck. I’ve used it on a couple of my models and it fills in that space quite nicely.
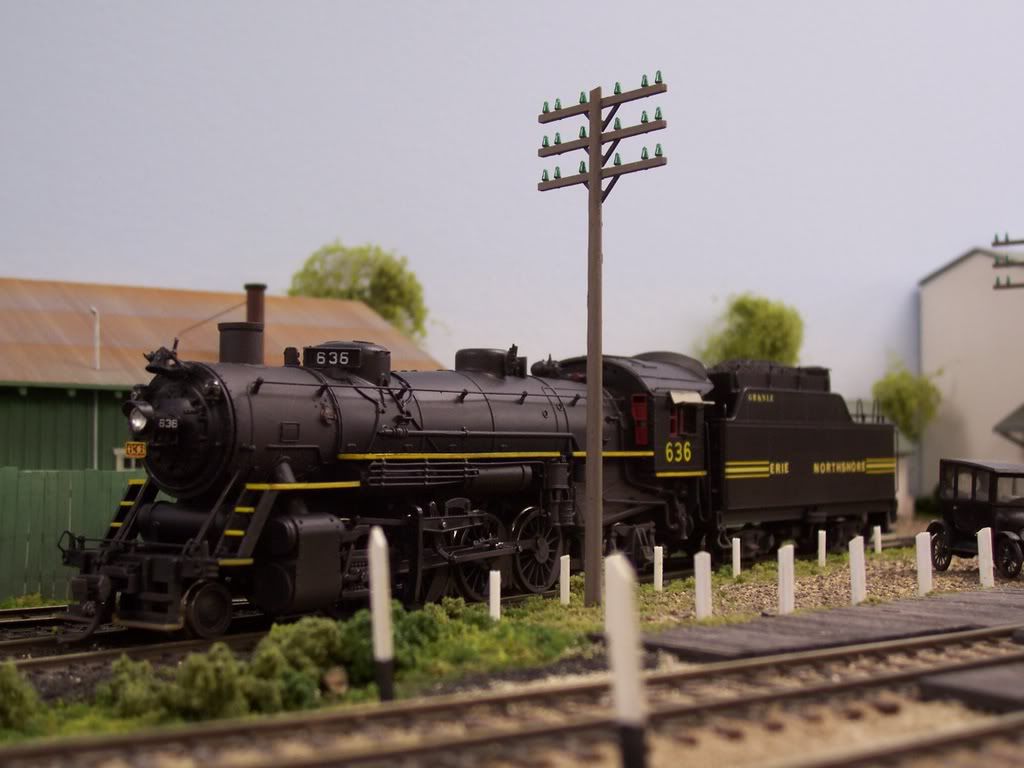
Dr. Wayne–I noticed you’ve got TWO Tomars on that handsome Pacific of yours. Good idea–I’ve got a couple of older brass lokies that have worn the NS plating off of their drivers, I think I’ll try that idea. You can’t have TOO many pickups, LOL! Thanks for the idea.
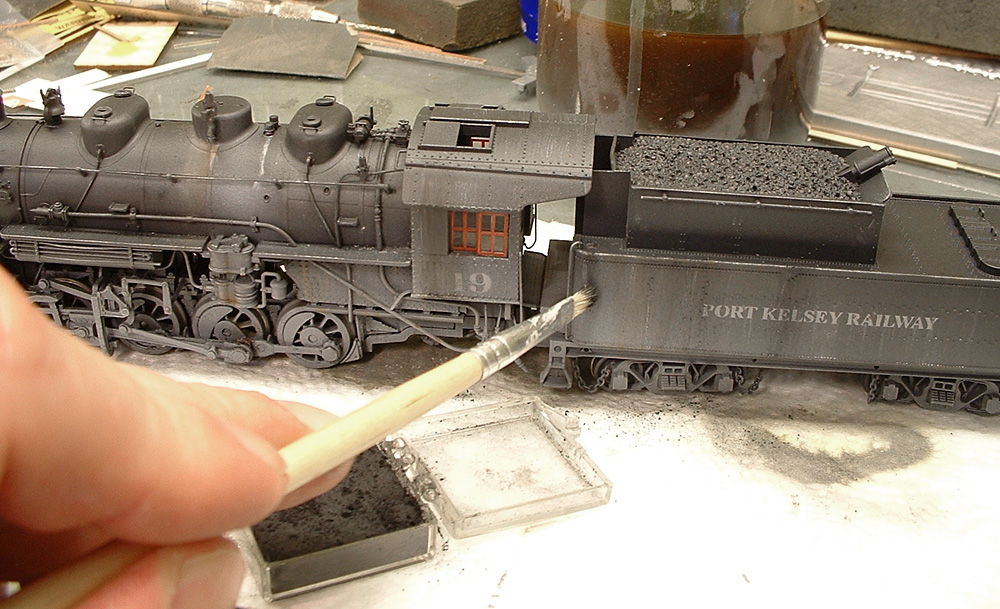
I usually use a mix of techniques to dirty up a steam engine, but lately have preferred my airbrush and drybrush techniques.
How dirty steam engines actually got is always a subject of controversy. I have easily found examples of bright shiny engines, and very dirty engines. My philosophy is that on any given day you would see both as engines got very dirty over the course of a single day and until they were wiped down by the apprentices, they were dirty.
I try to have examples of both on my layout as I feel this is a pretty realistic representation of a working railroad.
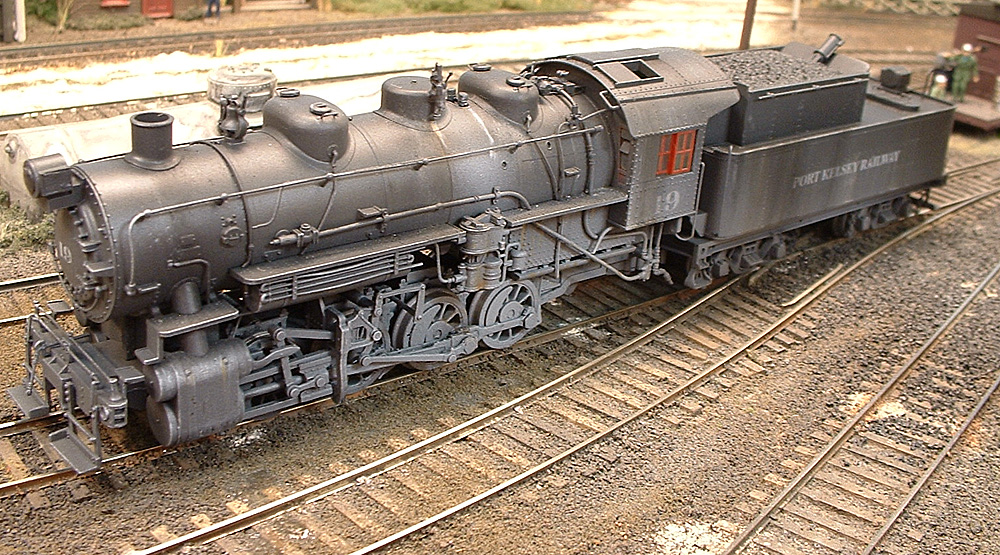
The example below is showing a hard working engine that is quite dirty…
On my website I have a photo essay on the techniques used to weather this engine…
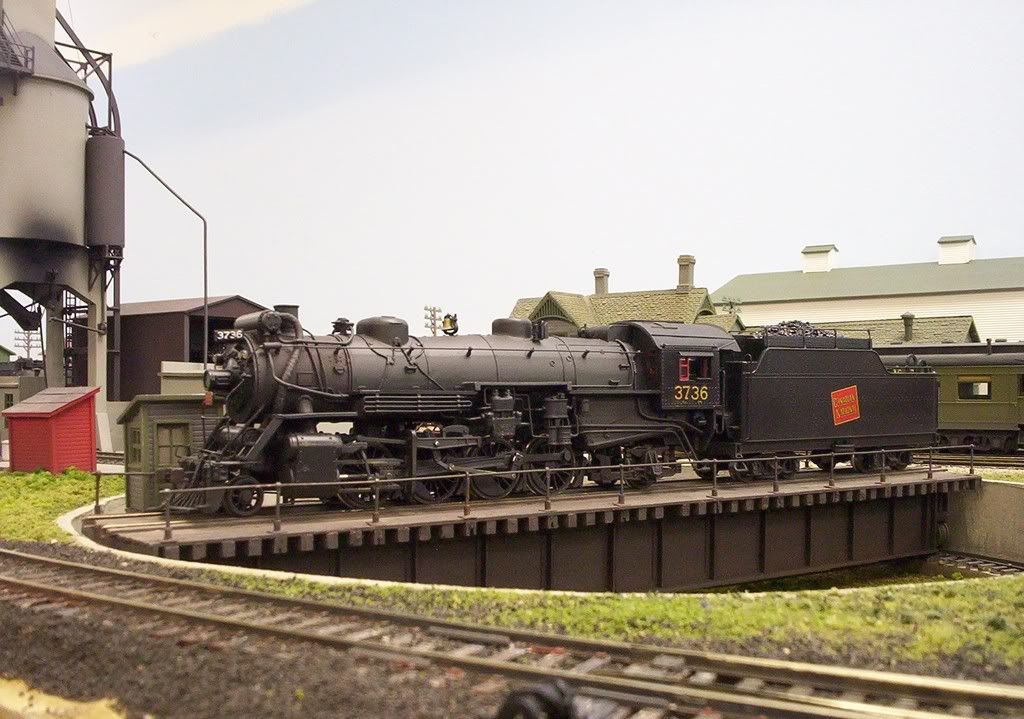
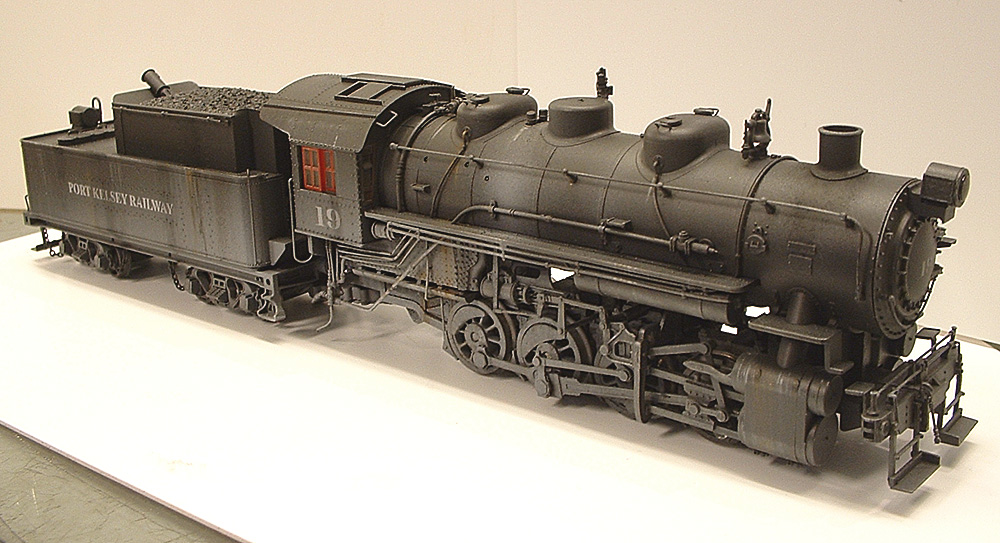
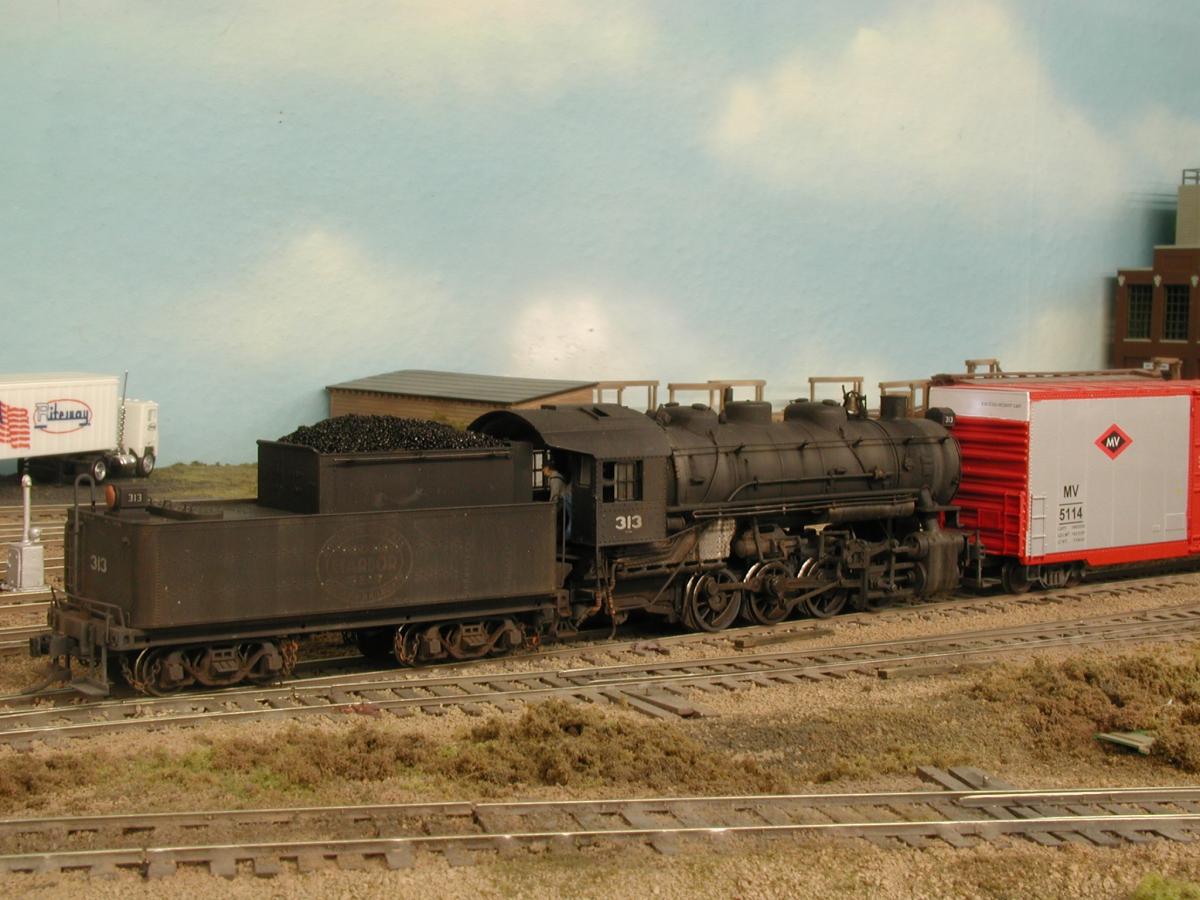
No steam loco, no matter how shiny or clean at the start of the run, stayed that way if it was a coal burner. My Dad was a fireman in the 1930’s and he said they had to show up at the terminal several hours before their run to “polish” the engine. His engineer took great pride in having a clean loco to pull the small mixed train his engine was assigned to, and didn’t think the wipers assigned to the job did a very good job.
Dad felt “redoing” what the wipers did was a waste of time, because by the time the loco left the engine terminal and arrived to pick up the passenger cars for the days run, the loco was covered with a fine coating of soot, despite Dad running a clean fire. The soot came from other locos at the terminal, as well as his.
At the end of the day depending on speed, coal quality, humidity, etc, things Dad called “atmospherics”, the top of the loco could be almost black from the soot from burning coal.
So all my locos at the very least get a light coating of “soot” on top.
Here a pic of a model of my Dad’s loco. Notice the light soot layer on the loco.
Even locos that get great care become weathered over time. I saw Santa Fe 3751 in May and was surprised to see that much of its formerly shiny black paint was getting rather dull and various water leaks had permanently damaged the paint quite a bit. Add a coating of dirt over all of the lubricated running gear and 3751 looks like its still working in the 1950’s. Yes its been a few years since its repaint but we’re talking about an oil burner that is stored under a giant car cover by a rather loving crew. If such a pampered loco can become weathered, it would be reasonable to expect a “working” locomotive to get rather filthy. For that reason, all of my locos get heavy weathering. I find that the heavily weathered look hides whatever material the model is made of and is far more pleasing to my eye than a loco that looks like plastic that has come right out of the box. I use the John Pryke weathering system and truly enjoy the results.
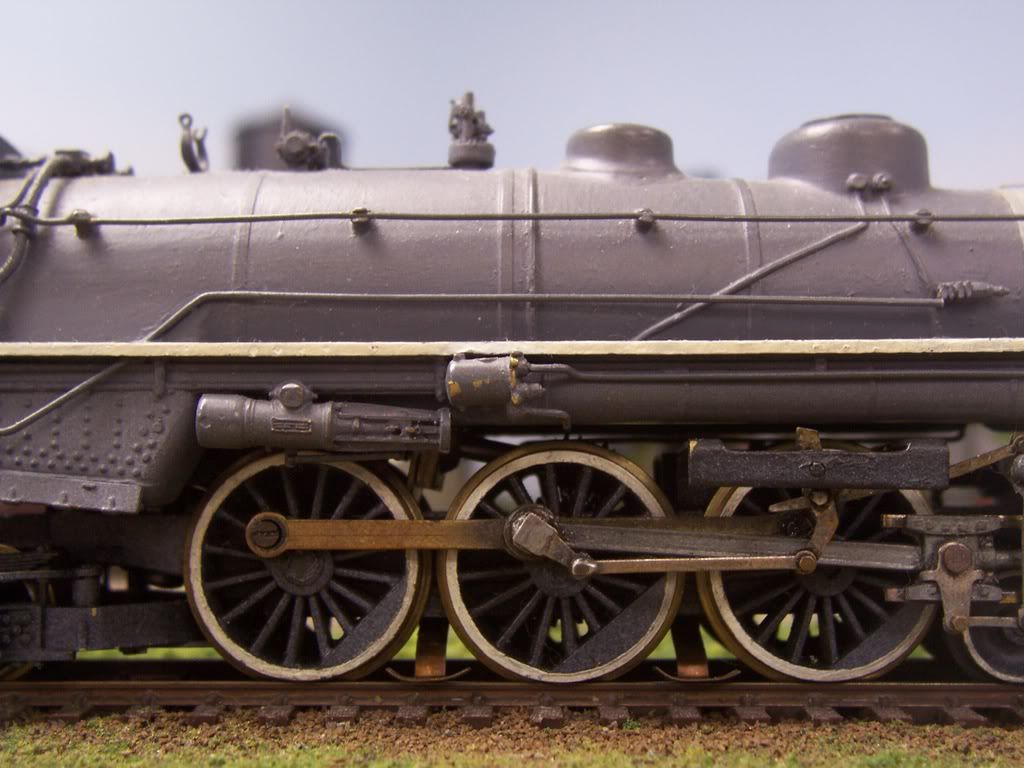
Here is my 4-6-4 weathered with chalk and dullcote. I start off with the light colors then go darker. In between it gets a shot of dullcote to seal in the look I like. This is still a work in progress. A little at a time seems to work better for me. I get time to think about what was done and then add or cover up as I see fit.
Here is my 4-6-4 weathered with chalk and dullcote. I start off with the light colors then go darker. In between it gets a shot of dullcote to seal in the look I like. This is still a work in progress. A little at a time seems to work better for me. I get time to think about what was done and then add or cover up as I see fit