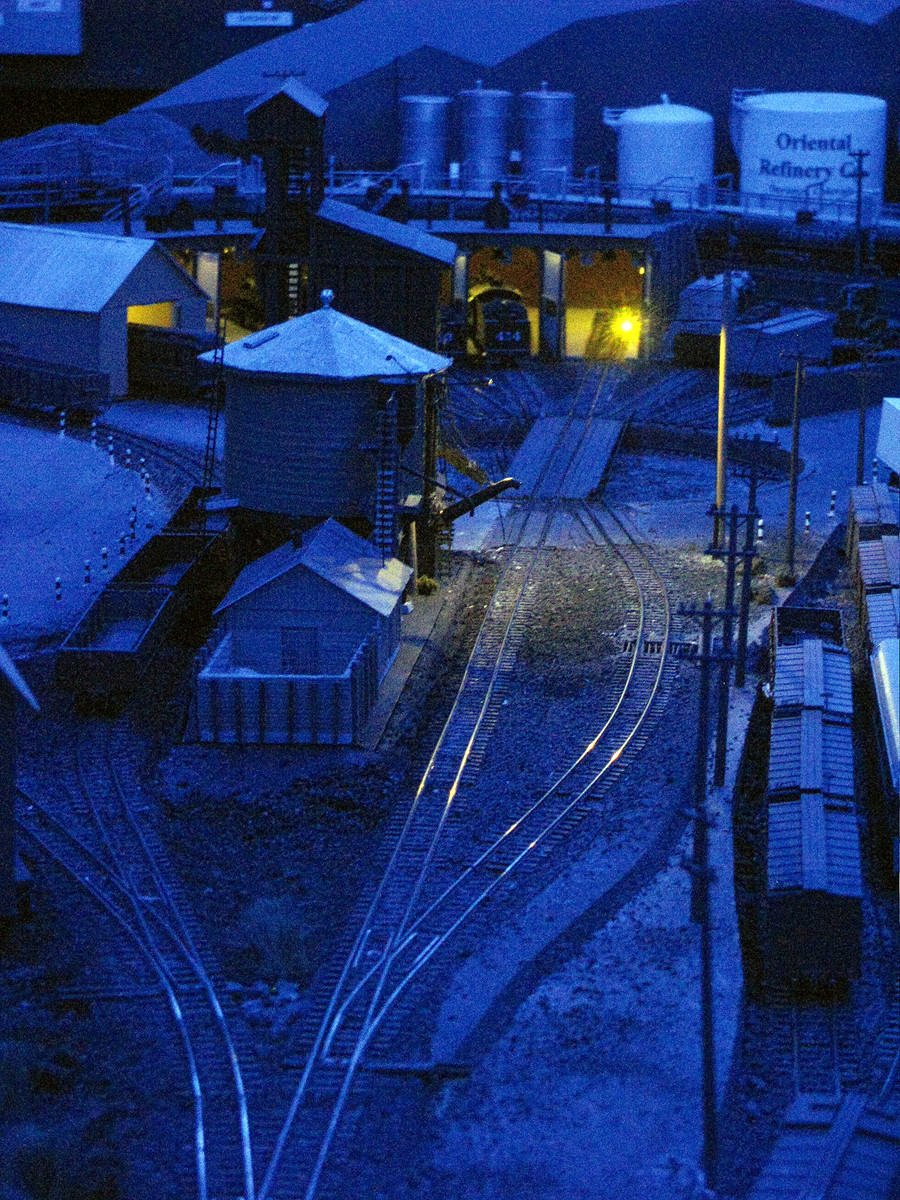
Gidday All, well it’s that time once again, a 60 F Friday evening and it’s trying to rain, hopefully it does, things getting a bit dry.
A played with older photo.

Looking forward to the Really Good Stuff,
Have a Great One Folks [:D]
Cheers, the Bear
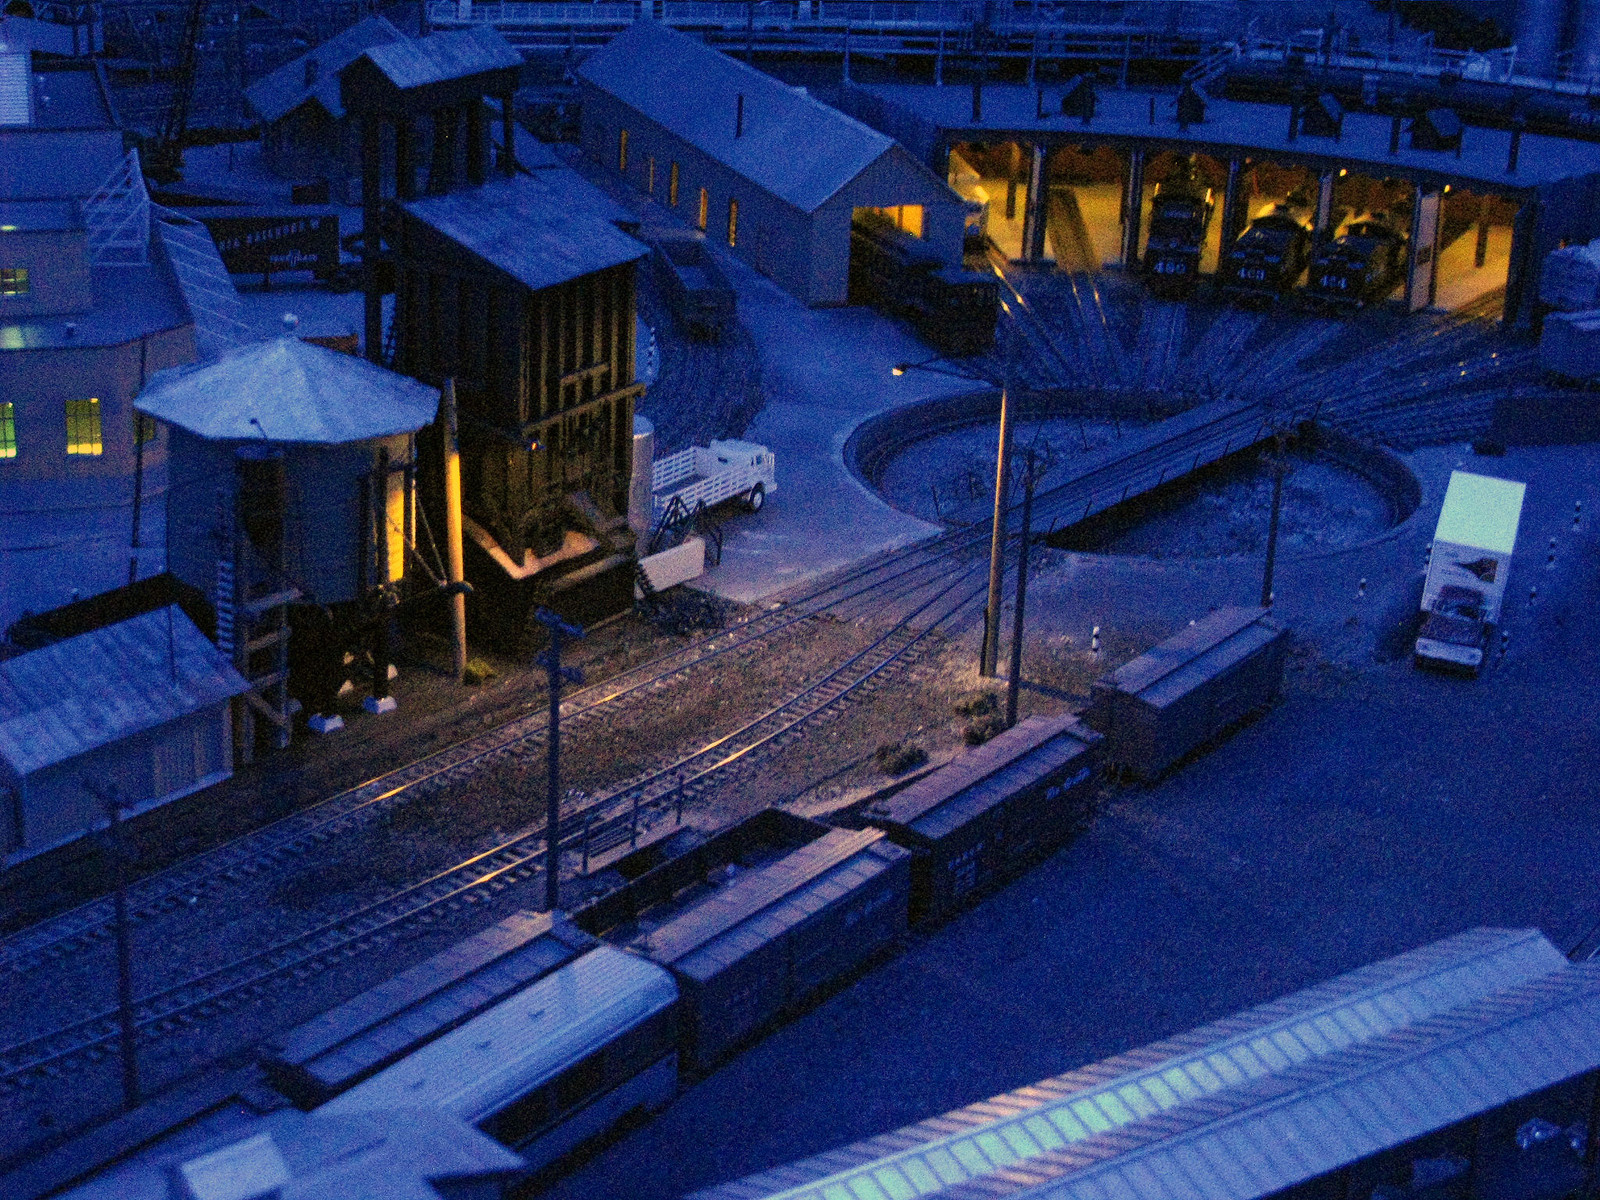
Gidday All, well it’s that time once again, a 60 F Friday evening and it’s trying to rain, hopefully it does, things getting a bit dry.
A played with older photo.
Looking forward to the Really Good Stuff,
Have a Great One Folks [:D]
Cheers, the Bear
How about a pair of new red SP&S cabeese?

Bear:
Fantastic trestle!
Gary:
I love cabeese!
Here are a ‘before’ and ‘after (but still with lots of work to do)’ shots of my streetlights:
Monthly parts:

And after about two hours of soldering:

I got all that done and realized two things:
First, after I made the first pole I had decided to make the rest about 2 1/2" longer so that they would go through the scenery and decking with enough sticking out below to connect the power to. Unfortunately, when I went back a couple of days later to cut the rest of the tubing I forgot about that decision and made all of the poles the same length as the first.[D)][D)][D)][D)][D)][banghead][banghead][banghead][banghead][banghead]…Now I have to buy and cut a whole lot more brass and copper tubing to get them to the right length!
The second realization was that these poles were fine for Main Street in the business district but they would be totally out of place next to the caboose supply shed or the feed mill. I made 32 poles. I only need 25 for the business district and the passenger station. Oh well, I can turn the rest into a freight load.
Its funny how clearly I can think once I have screwed things up.
Dave
Take some small comfort Dave in that you’re not alone. [sigh][:(]
Cheers, the Bear.[:$]
Tony Koester did an article on weathering a Steam loco in 7 minutes
using Pan Pastels a while back
This appeals to me since i have a permenate trache and can’t use an air brush
So I gave it a try

A closer look


Dave,
Why not sleeve the bottom of the poles with styrene tubing long enough to go through your scenery. The styrene can be held in place with ‘super glue’ and makes a secure socket for the light pole. I’d make it a little longer than necessary and trim as needed.
Good to see WPF still inspiring great work[:)]
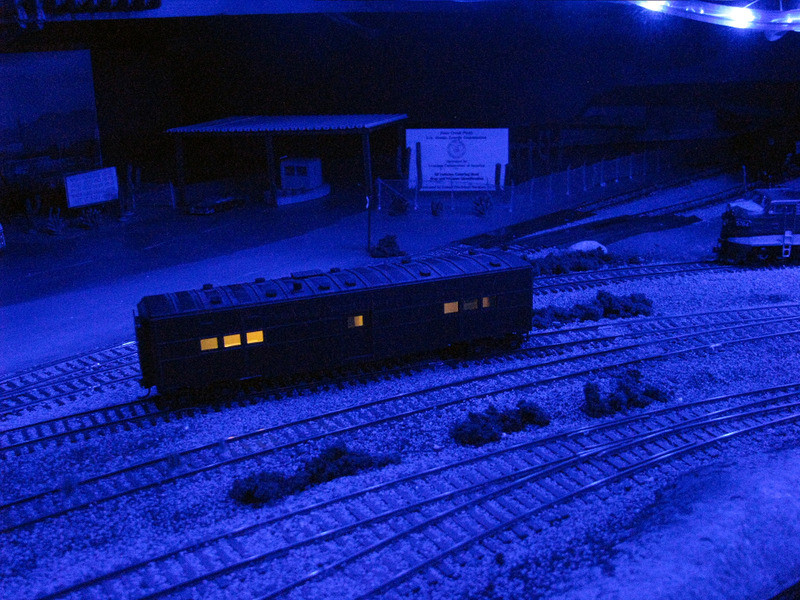
Busy this week getting ready for the divisional meeting/ops session here Sat. I’ve spent a lot of time throwing light on things with LEDs. Now I need some seated passengers…

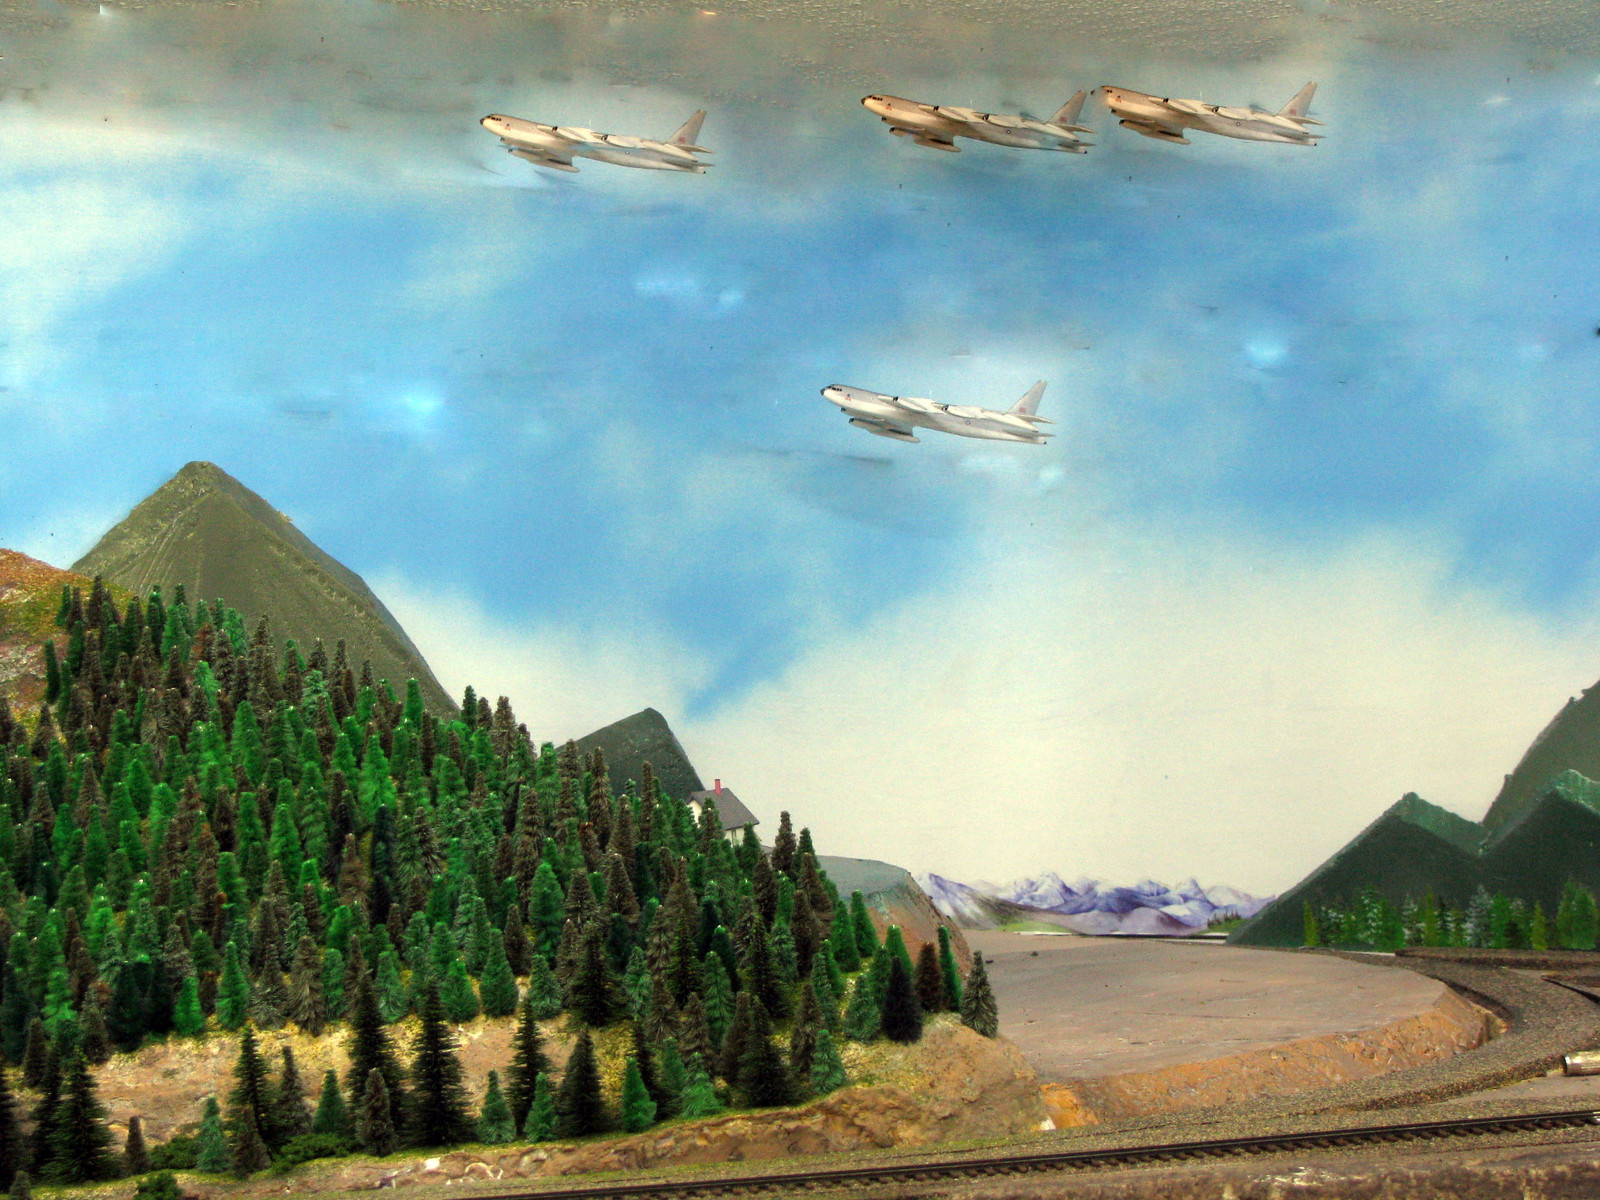
Through the wonders of Photoshop, I don’t have a pic of just one plane this week, but of 4 B-52s flying in formation…
Power transfer: K4s to an E8. DJ.
Great work everyone. Dave- Take comfort in the fact we all have done something similar. Work continues on the extension. Next step ballasting-Any volunteers?[:-^]


Curt, if you’ll fly me out of this Indiana cold and snow down to Florida, I’ll ballast that track 'till your heart’s content! [:)]
Jim
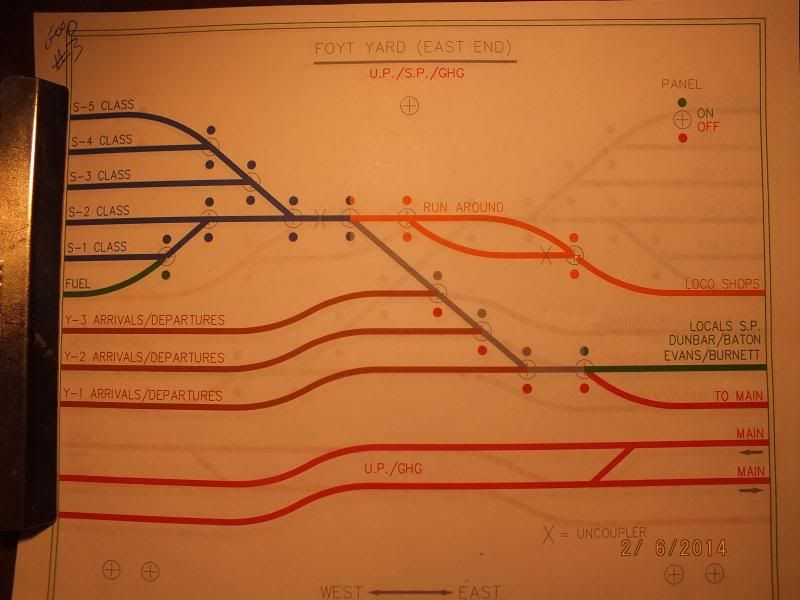
since i now can lay the rest of the tracks in my yard. i decided to design my new yard panel. also added new pics to the pic link below
later
g
Some fun photos of the layout. Just finished up some work on the Chevron station (new sign and flags):


![]()
Hi Allen:
I need to use brass or copper because the pole itself is one half of the power circuit. I suppose that I could get away with the styrene if I soldered a wire from the bottom of the metal pole as it is now to the jack I am using to supply power. The jack could be glued to the styrene extension tube. However, I want the poles to be easily removable. If I stick with the metal construction they should slide in and out of the right sized hole in the scenery quite easily. I am using a small power jack and plug to supply power. Hopefully I can install the plug so that it will line up with the bottom of the hole in the scenery. How the scenery will be constructed has not been decided yet. I have been closely following the thread on noise reduction.
Thanks for the suggestion.
Dave
Good start to the week everone! No models finished this week but some pictures and a video of my new Bowser C-430’s with a Flexivan Train at the Strongsville, OH Club Layout!


This is the video!

Thanks for looking!
Rick J
Just Back at the Forum after a Layoff for awhile…Hope this works…

Trailer Park well on the Way…haha

And Grain Terminal on the way also

Ahhhhh, the Weekend! And with it some wonderful work being displayed once again in here!
Since last week I got the roof installed on the Blacksmith’s shop:

Added the detail under the eaves…

Pianted it:

And tonight started cutting and installing the Cedar Shingle/shake roof. (Photos tomorrow)
73
Great job everyone, I love all of the photos!
Hopefully I will get some planning done this weekend.
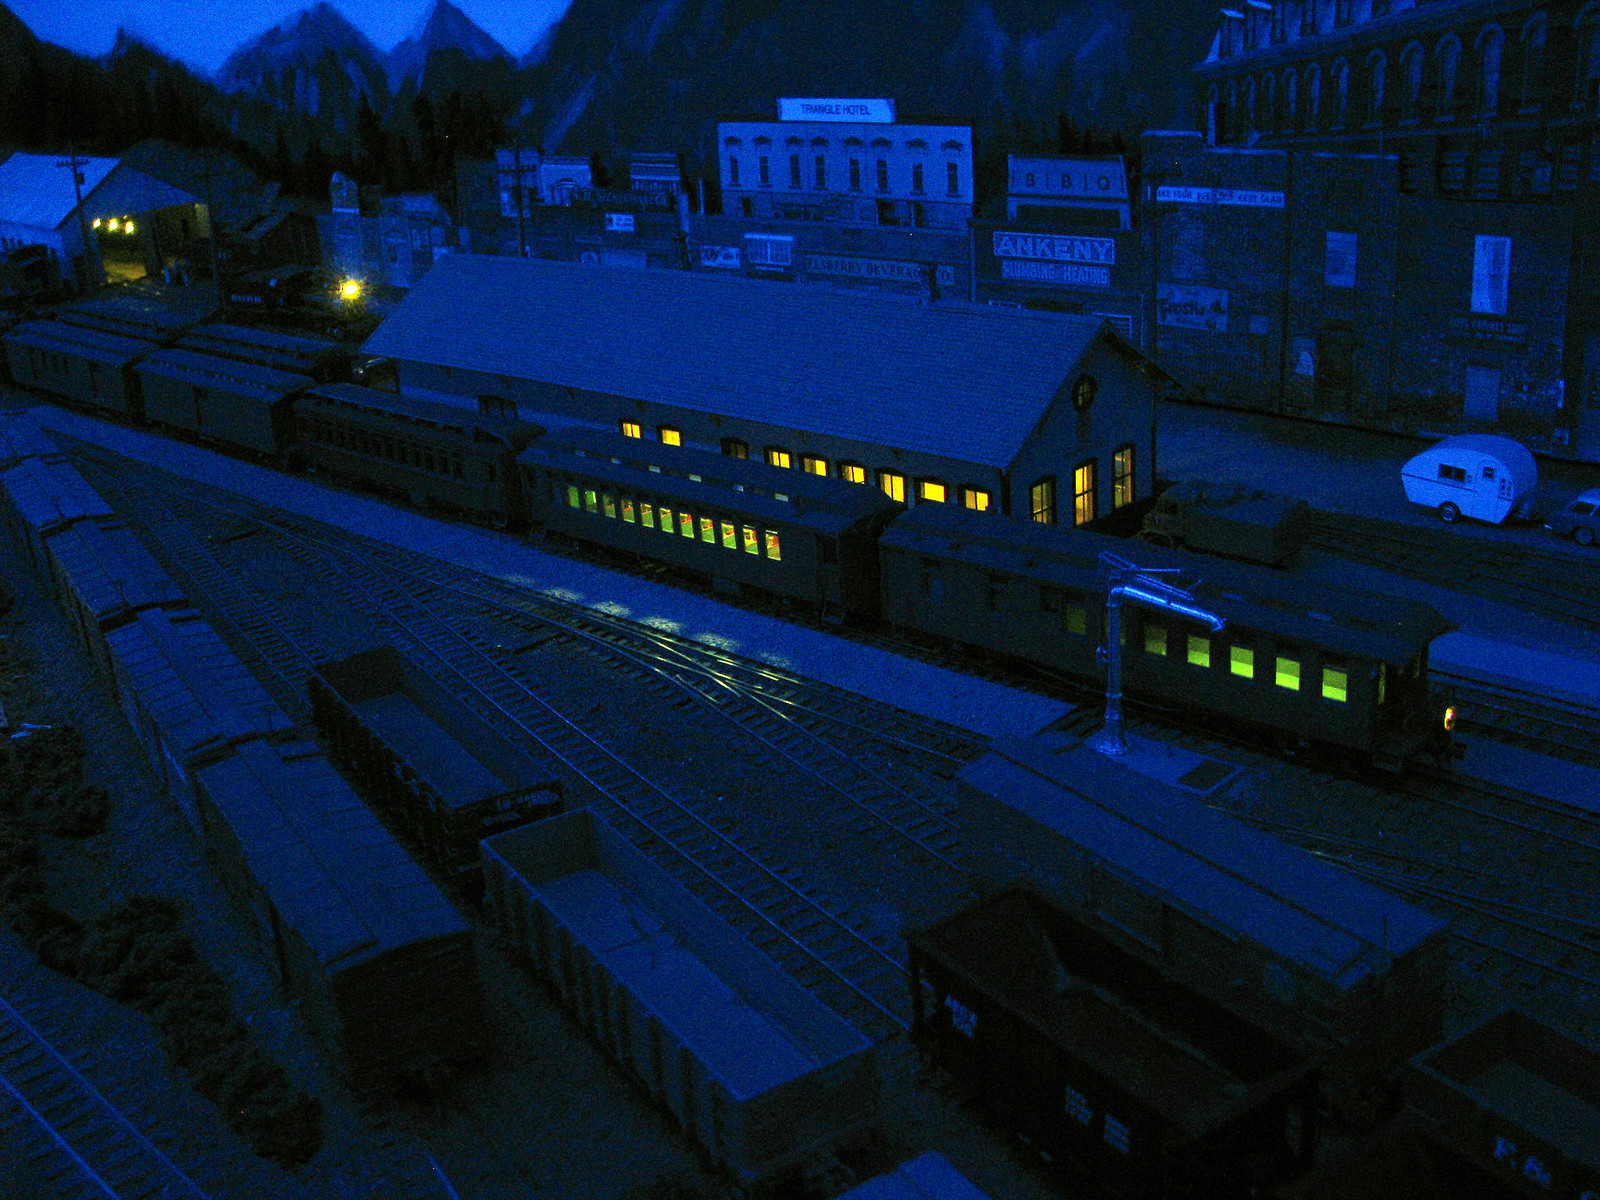
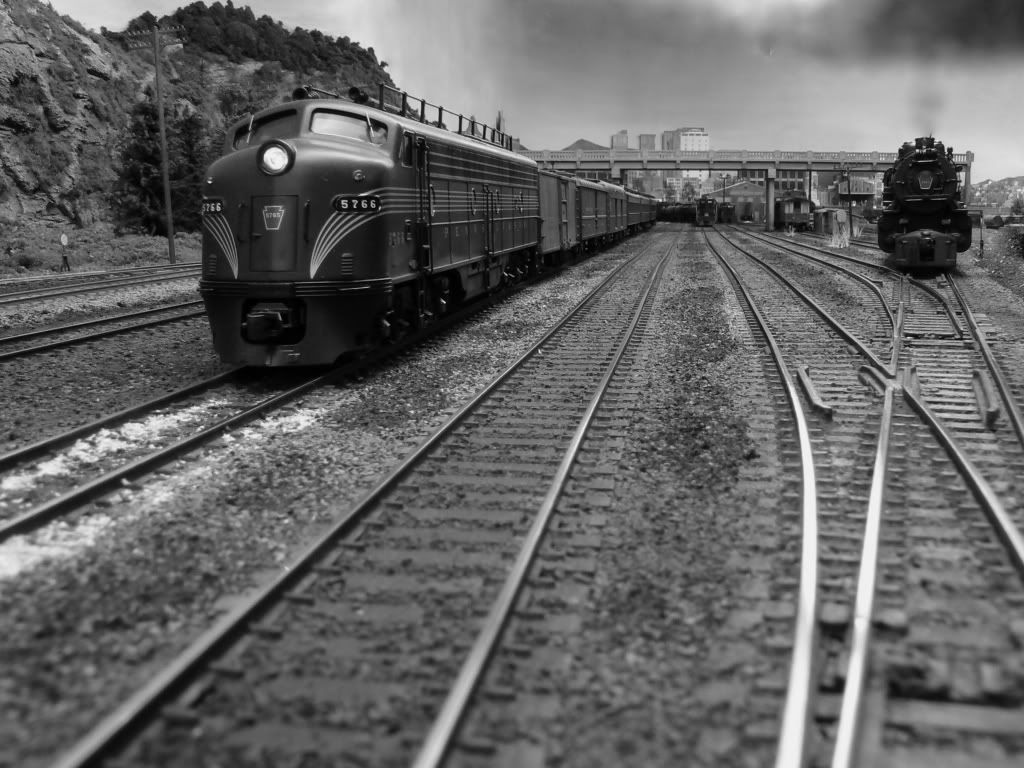
O. Winston Link lives!!!
Nice work everyone. It’s still snowy here. A C424 takes its chances down the rickety line to the non-existent bakery 
Matt,
I like those flags on the Chevron station. That really says 1960s.
Rick,
Those are some impressive mountains in the club’s backdrop[:O]
Magnum,
Like the trailer park, although the neighbors may feel differently.
Ray,
That’s some awesome craftsmanship in your unusual project.
Michael,
The snow gives me the shivers. Seen too much already this winter[ip] Great modeling though!
Got my SMD LEDs in from Ulrich yesterday and I managed to get a couple of new light poles in to make working at night in the engine servicing area safer.