BRV stands for Boothbay Railway Village, where the little critter will live. We have decided that for locomotives that do not match any 2 foot prototype, we will use the BRV road name.
We have some brass locos that match Sandy River and Rangly Lakes RR (SRRL) or Wiscasset Waterville & Farmington (WWF), but prototype equipment in HOn30 is hard to find these days.
Thanks for the clarification Bear. I seem to have this need to understand how something works when I see it. I think your davits look really good.
I won the bid on the second launch. I paid a lot more than I normally would for a BB freight car but the launches seem to command high prices. I have a bunch of improvements over the first launch that I would like to incorporate into the new one. If I keep this up I’m going to have to design a dock scene into my layout. That suits me fine!
You are all amazing; the quality of work is fantastic.
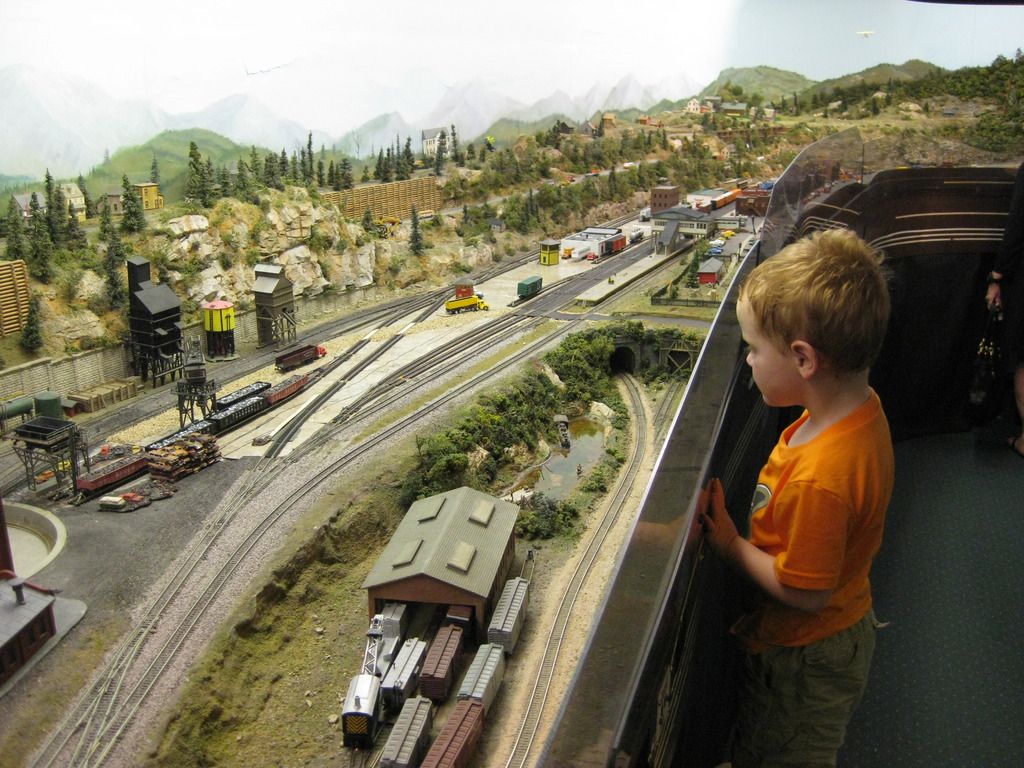
Still no time for any real layout work, but we did manage to swing by the Suncoast Model Railroad Club last week for their open house (didn’t make it to the train show). These are from the N Scale room, their HO layout was torn down and a new one has begun with trains running but not much else.
Ah ha, someone who has seen screw quadrantal davits in the flesh so to speak. While others have mentioned that they had seen them referenced in training manuals, its good to hear they did exist, thanks Allan. This ferry project certainly has expanded my limited knowledge of nautical matters, ain’t model railroading great! “Iseem to have this need to understand how something works when I see it.”
I’m of a similar mindset Dave, besides it’s a real help when I’m trying to scratchbuild the item.
Nice Stuff everyone,[tup]
Cheers, the Bear.[:)]
I settled on a name for this new station, Snowden.
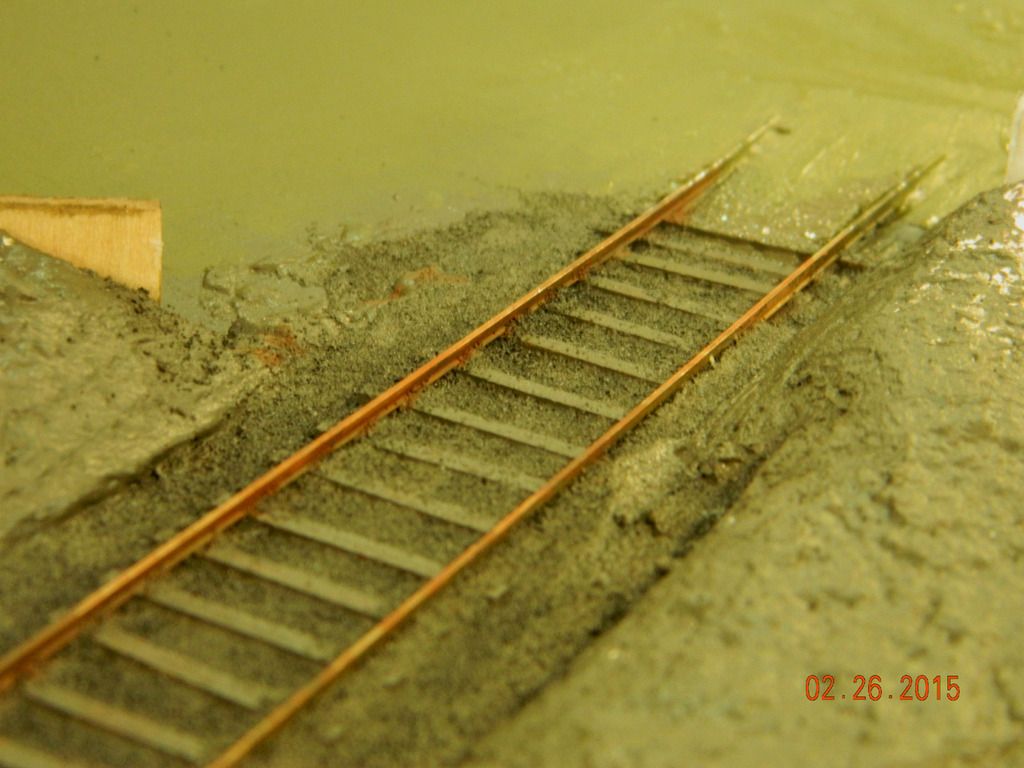
I still need to install the risers and subroadbed for the switchback up to the mine behind things, but did get the crossmembers and fascia up. The fascia is 4" wide, which is roughly the height including the rear rail that the back end of the crossmembers rests on. The fascia could be as short as 2 1/4" tall if you’re really pressed to reduce it.
This is a view of the harbor scene I am currently working on. It isn’t finished but thought I would share the ‘as built’ progress. The light house is scratch built with rotating beacon, fresnel lens and stationary LED. Really looks ‘authentic’ when operating at night. The second photo is close up of boat launch ramp; also not completed (can’t rush an artist!). Still have long way to go.
That’s a great harbor scene[tup][Y] I always enjoy them, because there’s not much call for that when you do Colorado narrowgauge. Still haven’t come up with enough of a good story to justify it.
I really like your little car ferry. Is it scratch or a kit?
Thanks for the kind words. I really want to get the water done but as you know it is the last thing to do on a scene like this. The car ferry is scratch built, but I bought it on Ebay a few years ago. It needs a lot of rework because of poor modelled parts and workmanship, but it still looks good from 4’?
At 4’, it looks good to me. The design is at least working for me. If it’s a fixer-upper, it’s got me fooled right now, but looks like you at least have a good start on something better.
The things I will replace are ‘push pins’ for capstans ( I think that is what they are called), washers for life savers, and some balsa wood railings (too fragile!). Overall, it is a nice model, just not up to my standards for ‘fit and finish’, but I only paid $37 for it and the float apron (also needing similar fixes).
I don’t see why you couldn’t chuck a push pin in your electric drill and turn it down with a file to make a fine bollard. Add a little styrene sheet to the bottom for the mounting platform and there you go!
You are right about making decent bollards (thanks for the right name), I just have to find out how big they really are and go from there. Unfortunately this is a distant project and I hope I can remember this thread when I actually get around to working on it?
I think the sizes of the bollards depend on the size of the hawsers (the mooring lines) or the tow lines, and those are determined by the size (tonnage) of the ship. Unfortunately that answer is quite useless to you and implies way too much rivet counting![swg][(-D]
What I would suggest, when you get to it, is that you find a mooring line that looks right for the task and then build the bollards with a height about 2 1/2 to 3 times the diameter of the rope. I’m not consulting any accurate source here - just my own sense of proportion and what limited memories I have of seeing lake boats moored on the Welland Canal and the Cheechiman ferry that goes from Tobermory to South Baymouth across Georgian Bay.
If you want to get really fussy there should be a smaller ‘throw line’ attached to the loop on the end of the hawser, and there might be a winch to pull the throw line and then the hawser on board the ship. For really big ships there might be one or more lines used between the throw line and the large hawsers, each with a larger capacity, so that the weight of the often enormous hawsers could be pulled on board without breaking the throw lines, and there would definately be winches. Depending on the era, the winches could be powered, or if the era is really early they could be man-powered ‘capstans’ like you see in the pirate movies where the crew has to insert a number of poles into the top of the capstan to turn it manually.
The throw lines and the mid sized lines, if any, could be modelled by just having coils of different sized ropes on the deck or more likely hung on pegs (bitts) along the inside of the hull close to the bollards. The bitts were loose in their holes and in more than a few pirate movies they were pulled
Don’t know if these are of any use. They’re toothpicks I got at the Korean grocery, maybe 500 for $5?. I use them for making old school hiway guardposts, but maybe a nautical use?
Size = thick toothpick
or ~3 mm diameter, fluted part is about 13 mm tall. Overall length is toothpick equivalent.
Your toothpicks have sort of the right shape at the top to resemble bitts, but I think they are too big to use in HO scale (bitts are the pegs that the ropes were hung on). A bitt was sized so that it could be held in one hand, so 3mm dia. is unfortunately too big for HO scale. If you were modelling in O scale they might be closer to the right size.
I dunno Dave, the bitts I’ve seen in photos of the Detroit River Ferries or New York railroad barges are not small, considering that the tugboats could be lashed alongside the barges. 3mm is about 10.5 HO inches.
[2c] Cheers, the Bear.[:)]
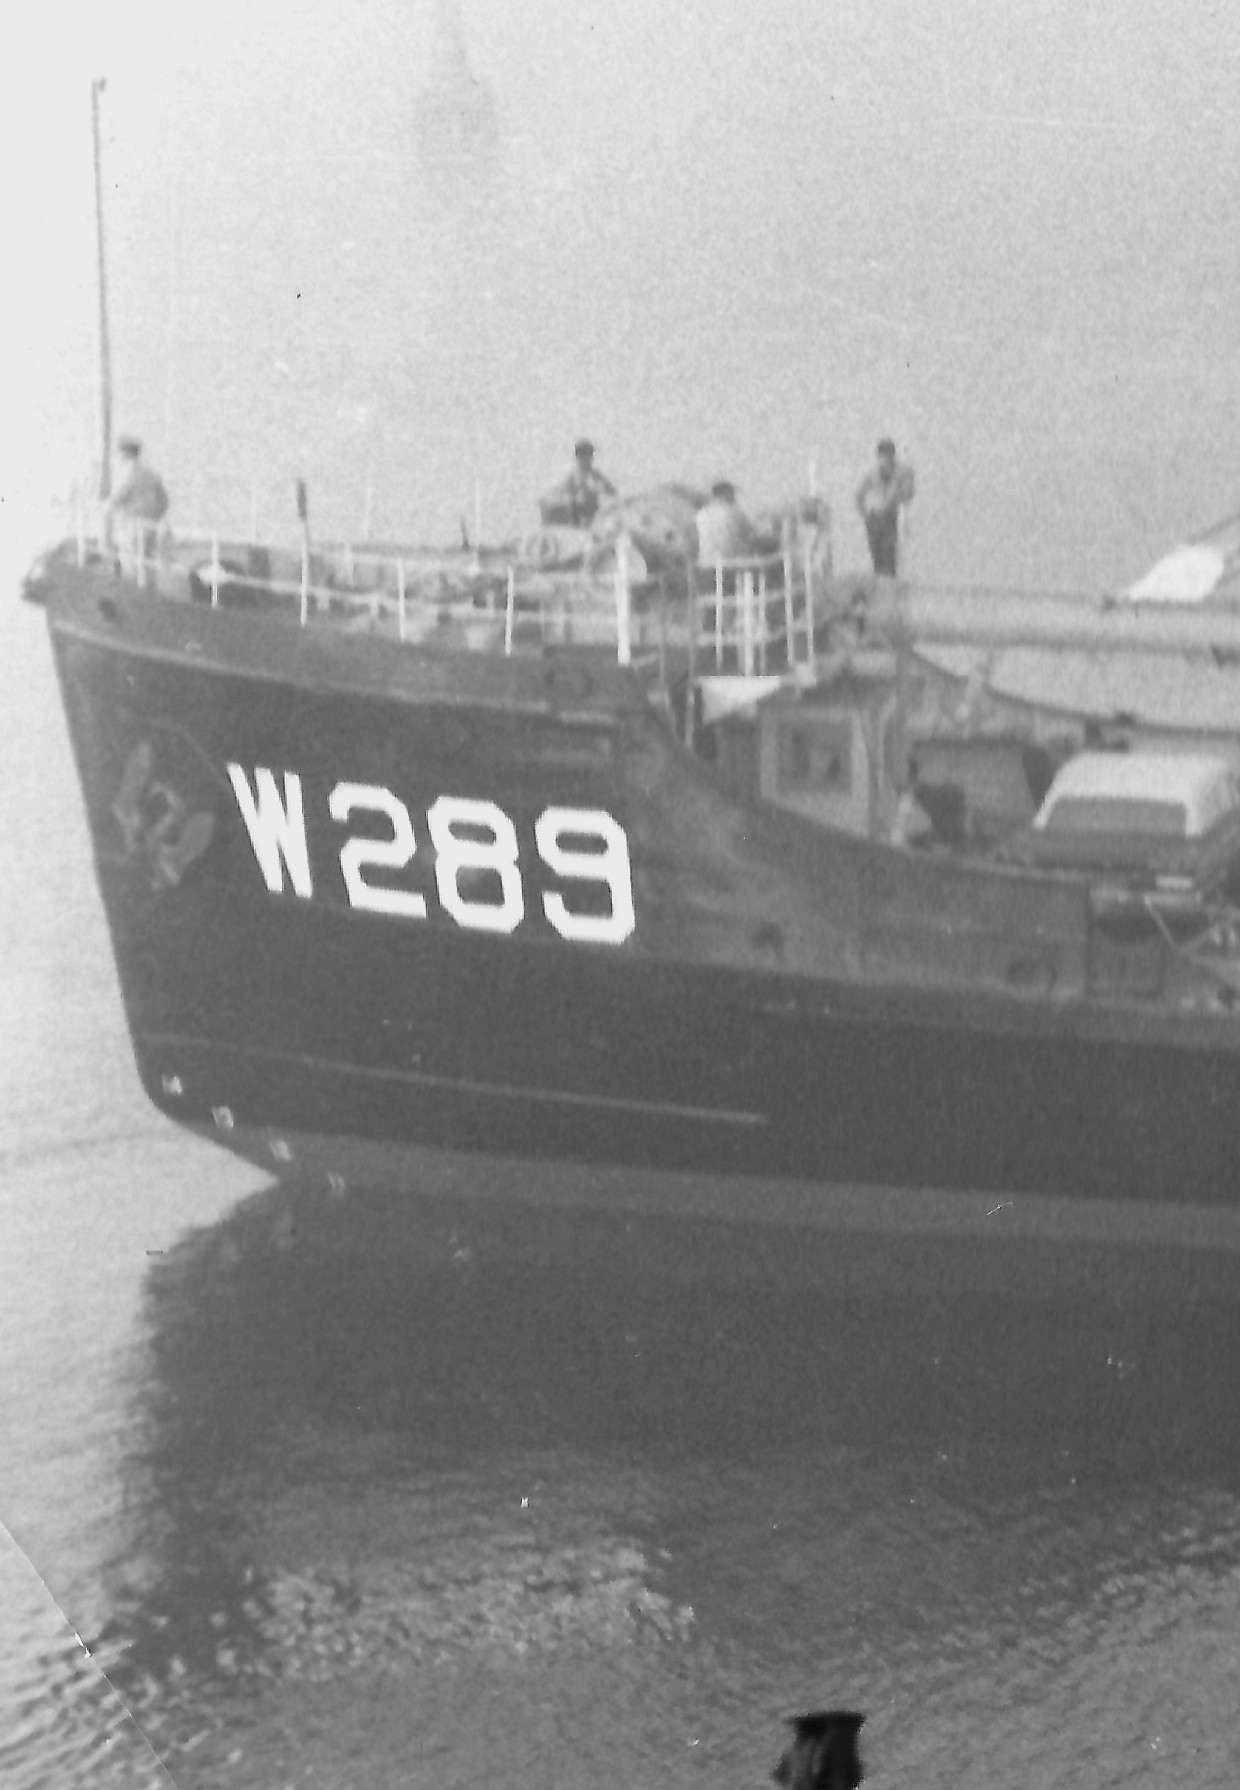
The terms were used interchangeably on the Coast Guard ships I was stationed on. The bitts on the 180’ buoy tenders I was stationed on were 10-12" in diameter. 2-1/2-3" double braided nylon lines were used to moor the ships. The larger cutters I was on had similar sized bitts/bollards and used slightly larger mooring lines.
The photo is of the CGC WOODBINE, decommissioned long ago, but if you look right above the 28 in the hull number you can see the tops of two of the forecastle bitts/bollards used to tie her up.
Yeah, I wasn’t sure of the terminology here. For the upright part, they are towards the largish side (they’re actually somewhere around 2.9 mm per my digital caliper, but I think could work once the horizontal bitt is installed.
For on the wharf or dock to tie lines down to, they may be about right. For one’s on the ship or boat, they are sorta large, but like a lot of things in model railroading, easy/close enuff often beats out hard/totally accurate.
One thing about these is that the price is definitely right.
The grooves make the easy to paint the black stripes to make guardposts. Just wet the MicroBrush and rotate with it in the groove.