Nicely done, jktrains! Highly credible looks you have there. [:D]
Jon, your weathering is excellent, too, as I judge it. [tup]
-Crandell
Nicely done, jktrains! Highly credible looks you have there. [:D]
Jon, your weathering is excellent, too, as I judge it. [tup]
-Crandell
JK, I love your work. That BN SD40-2 looks awesome!
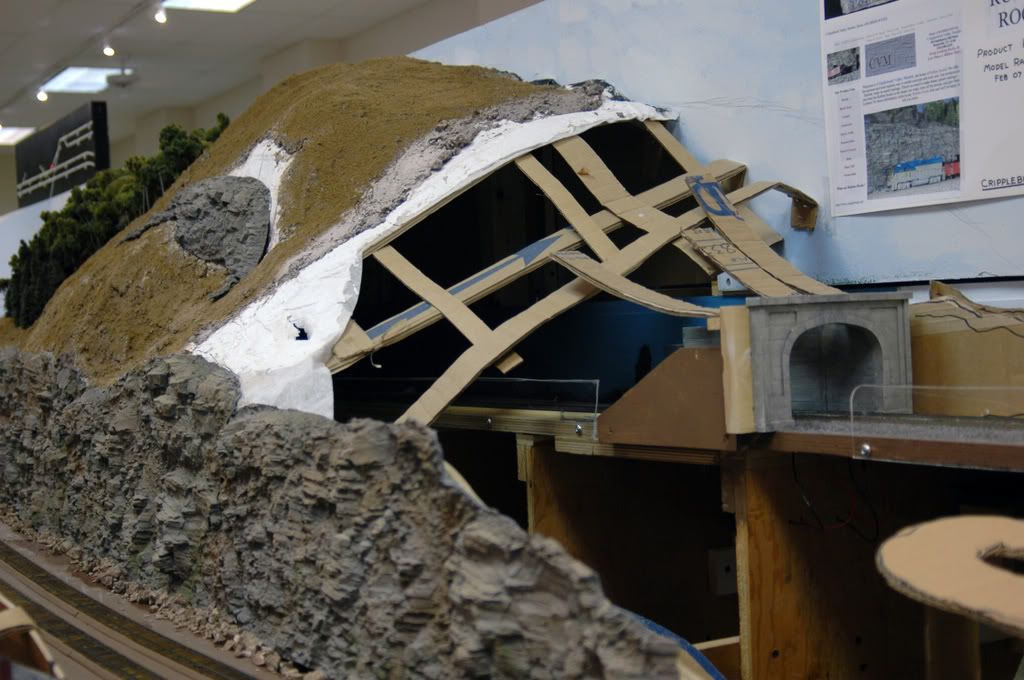
The cardboard latticework becomes a much stronger base if the joints are secured by glue or heavy duty staples.
On another note, The strips continuing past the wing wall of the center portal are rather close to the tracks. If you plan on adding some rock castings there, the clearance will become very tight.

You also could move that center portal and wing wall out and let the wing wall hold the hillside. This would also loose the short vertical wall between the first 2 portals and give you a flow to the hillside.
3" was allowed here and some of the castings ended up over 1" thick
Same 3" here, but the rubber Cripplebush rocks are no more than 1". The beauty of them is the ability to bend and distort to odd and irregular scenery contours.
Nice job so far and you’re making some good progress.
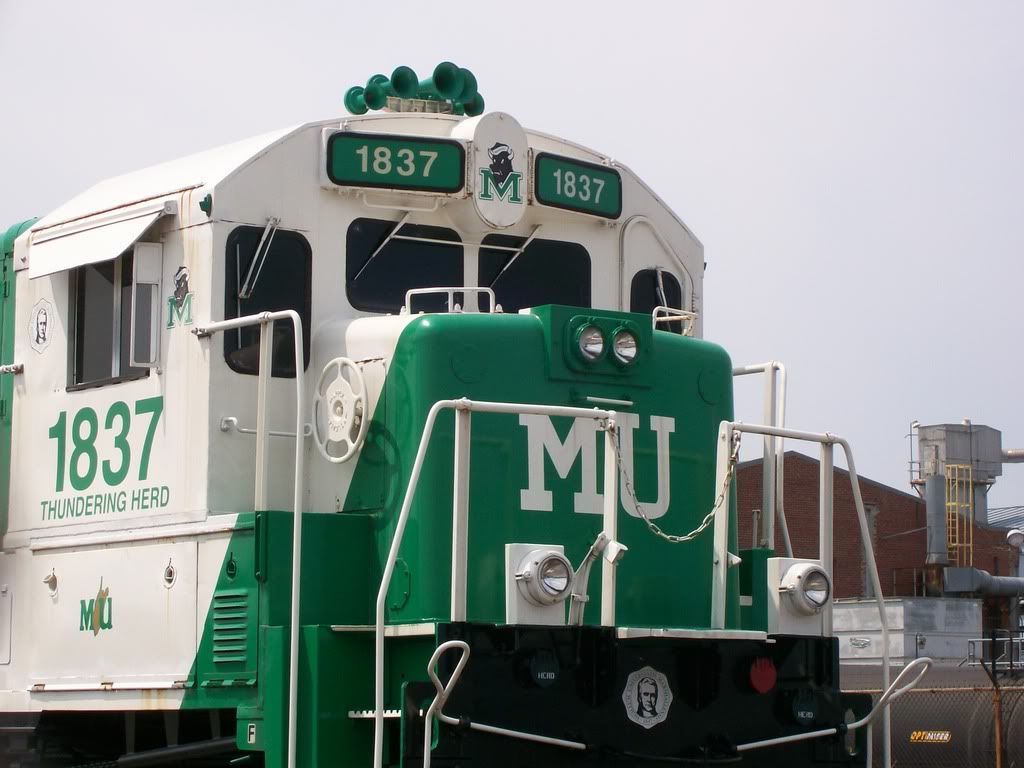
Well no model pictures again so here is a prototype.
This locos home is CSX Loco Shop here in Huntington. Since I started college, now starting 2nd semester I really like this one bunches. GO HERD!
J.W.
really enjoyed your photos!! the look so real.
ray
Nice catches on both counts, Bob. I couldn’t move the center portal out farther because then the hillside would get into the space where I intend to put structures along the siding. Plus, I like the look of the sweeping curve disappearing into the tunnel. I do intend to flare out the hill base between the portals to try and mitigate that hard vertical face.
Regarding the proximity of the hillside to the tracks, I was thinking the same thing as I was laying out the strips. I’ll probably pull the hillside back. The plan is to put some rock castings along the base of the hill there and put a puffball forest up the hillside.
Thanks for the input. That’s the stuff that makes this such a great forum!
Jim
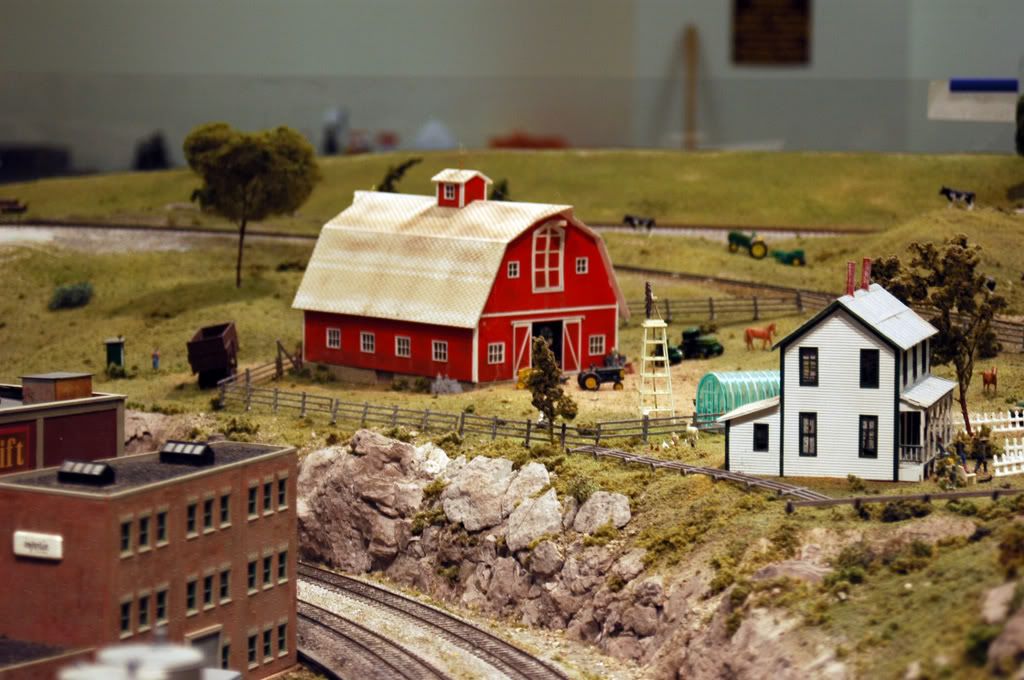
As usual there are some great ideas, great models and wonderful photographs here tonight. I always find something I can use or emulate on this thread.
Here are a few photos taken on the BRVRR during recent operating sessions. Well, actually, we were just running the trains.

Nathan, my youngest grandson, on his favorite perch watching the trains emerge from under the roadway overpass on the BRVRR.

My PK2 GP7, NYC 5809 passing the Redwing Flour Mill on the reverse loop on the BRVRR during a recent operating session.

Here NYC #5809 meets NYC GP20 #6111, a Mantua Model, as it nears the flour mill on the inner main of the BRVRR. These GPs are two of the few non-sound locomotives on the layout. Sometimes it is fun to watch the trains go by silently.
Keep up the good work guys. You are always inspiring.
Nice layout. Great to be able to share the hobby w/ those grandchildren.
Even with all those dark, black, browns and green facias out there, i really like the look of a lighter color as you have
der5997 also does the light facia and it is a nice change of pace

Enjoying everyone’s photos this weekend; I haven’t had time to work on the layout much this week so here’s an older photo of an n-scale coal load made with a scrap piece of black “non-skid” tape I had on hand fitted over a styrofoam form.

Have a good week, everyone!
Congratulations to many of you for some more great photos posted today. There is some nice weathering work posted in particular.
I’m still adding a large extension to the layout, and it will be a long while before I show it.
For now, here’s a picture to honor all the Santa Fe fans out there. It appears that the Chief is on a detour over my layout. Perhaps Santa Fe had a big derailment blocking the mainline.

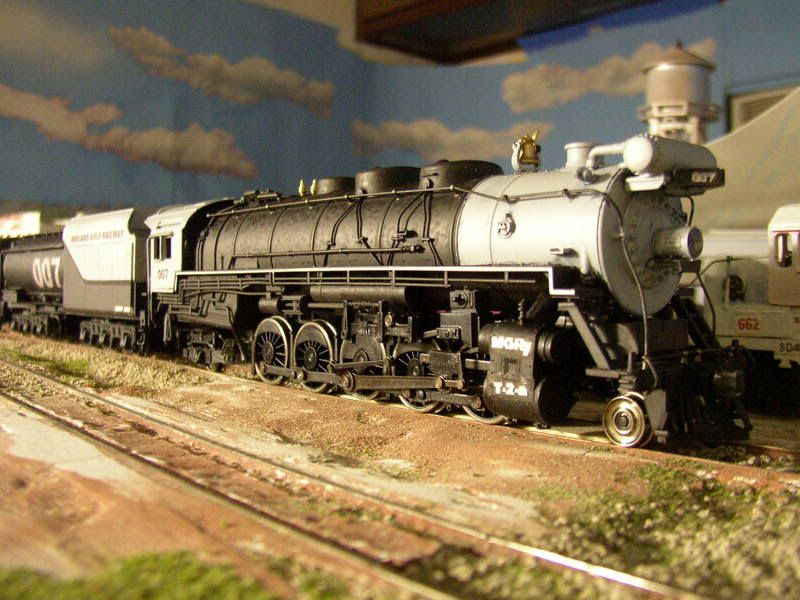
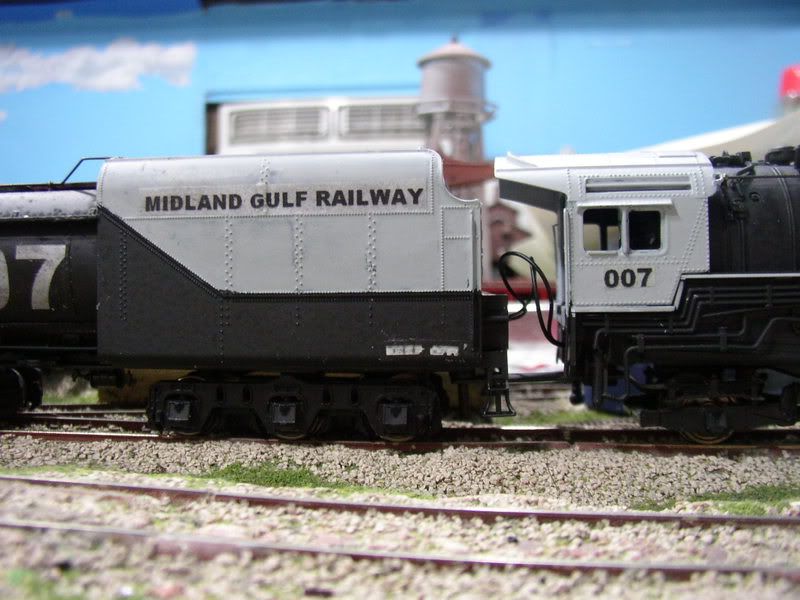
Did more work on the T-2-a last night. It’s now finished.
I’ve got some cracking going on with the paint on this car. I don’t know yet whether I’ll repair it or leave it as is.

Jeff-nice paint job. I was looking at the cracking on the passenger car. I have a couple of thoughts. Did you prime the areas where the white is? Is it possible that the white went on a little heavy in that area? I know that white along with yellow can be difficult at times to apply. Like I said just a thought.Keep up the good work. Bob
Drilline–
Actually, I think Jeff did that some time ago. [:D]
Tom
Nice shots everyone!
Here’s my contribution…
Castle Canyon
http://home.mchsi.com/~ironmaster1960/wsb/html/view.cgi-home.html-.html
Perry … well…uh … It’s certainly creative. …Who’s the engineer?..Fred Flintstone ??.. [swg]
Jeff … is the cracking limited to the small area? I hope so. It should be fixable. I would sand (with very fine grit sandpaper) the affected surfaces until smooth, and then spray again with a few, very thin layers of paint. It should be okay after that.
I spent the day visiting a couple of layouts in the Baltimore area. The first was a great room surrounding affair in N scale built by a local N tracker. His rig is designed to reflect elements of the PRR and the Nickel Plate.
He graciously allowed the Wandering Chopnose to take a spin, pulling a WM work train.

Here we are leaving the terminal for our trip.

A Pennsy passenger train breezes past my work train.

The areas that he’s scenicked look good. He told me that he will shortly be converting all of his track to Atlas C-55.

My friend works for a Caterpillar dealer, which inspired this scene.
Later in the day I was able to get back to my friend John’s layout, the Maryland and Ohio. He’s been reworking a lot of this basement-filling empire over the past year, and the changes have really added some great scenery.
Once again, the Wandering Chopper makes it’s appearance, along with a brace of road power on the lower line.

I also picked up some supplies I’ll need to paint a new member of the locomotive roster… stay tuned for developments…
Lee
Continuing to work on my Crystal River Products enginehouse for my On30 diorama Got it assembeled and set in place, but no roof yet. Really glad I ordered the optional internal detail kit to go with the base model. And the track is still on order for inside the structure. Don’t worry, the structure does lift off the foundation, so I haven’t painted myself into the proverbial corner…


Gotta love the weekends, get off work and get to see what everybody else has done. Great work from everybody!
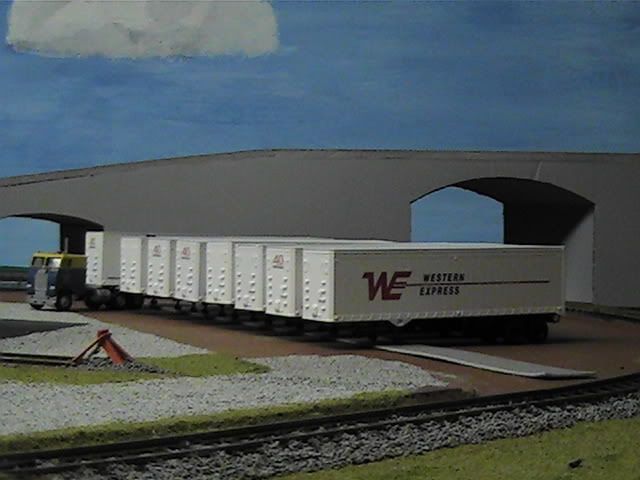
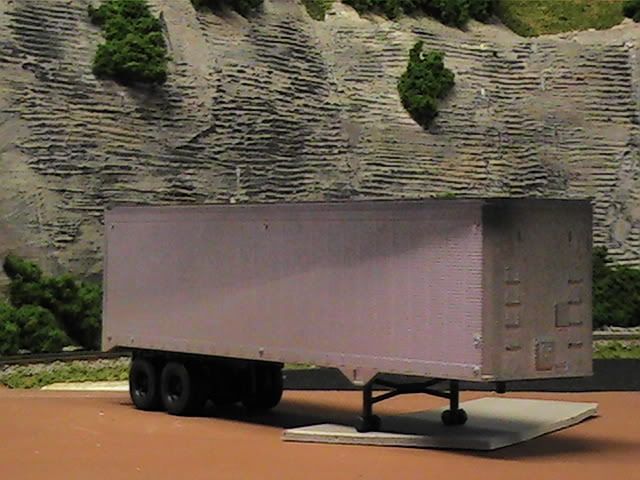
Slowly getting back to modeling after the holidays. Aquired a bunch of the old Athearn impack cars which will be made into the Santa Fe Fuel Foilers sometime this year. Got to have trailers for them so that’s my current project, stripping some 40’ trailers and repaint, weather, ect.
Starting out with some I found cheap
Stripped and repainted with some weathering
Got a lot more to do, so better get back to work.
I do believe I found the reason for the cracking paint.
The primer I used is water based. I had expected to paint over it with acrylic model paints. Being unable to obtain said paint I had to use white paint from a rattle can. One of the other cars is showing a crack that’s very small. I only found it after a very close examination. In comparing the two areas I find that the white was a little thicker in those areas. This is an easy fix.
These are Bee you tee full [:D]