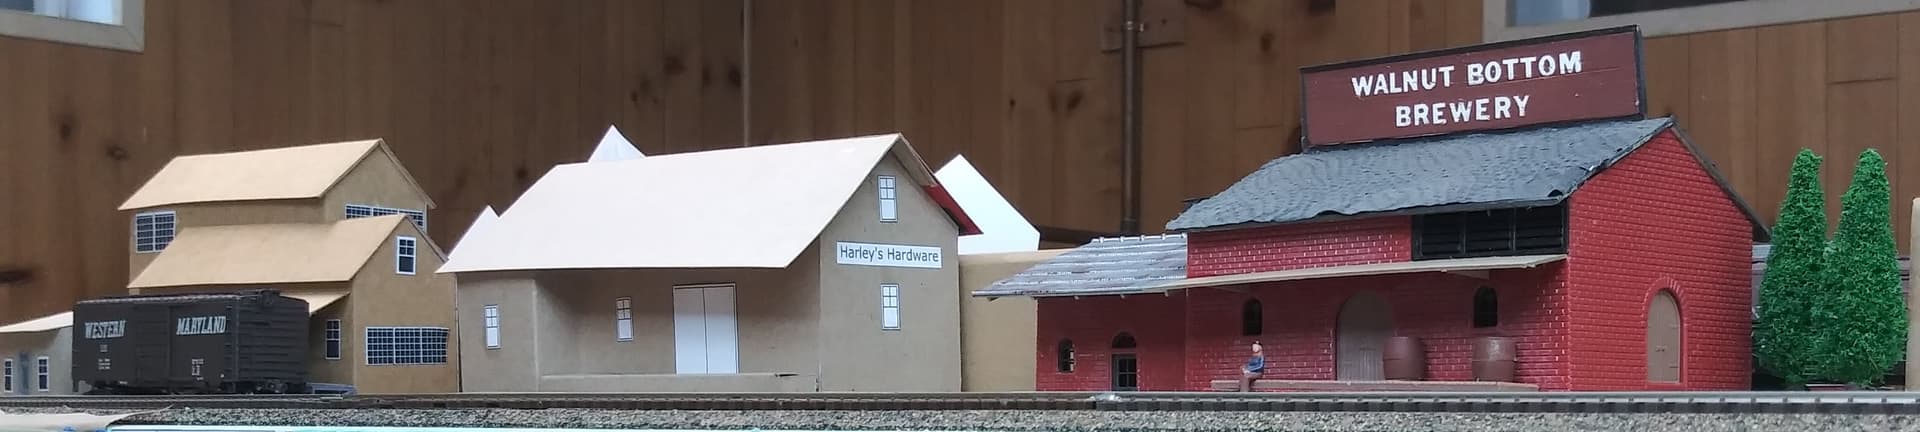
I’m still trying to figure out what details makes a kit structure more realistic. The Walnut Bottom Brewery is very similar to cardboard structures i made
i’m awre that there adhesive sheets with brickwork or siding that can be applied to cardboard. Cutting out windows and doors for plastic inserts is less work with cardboard than styrene
The difficulty is less with styrene if you have a ‘hot knife’, a tool I first discovered produced by the old Auto World company for use on model car parts in the '60s. This was essentially a pencil soldering iron modified to take the chuck for an X-Acto #1 blade, and the utility of the device is much improved if the iron has temperature control.
I have not yet used these tools with typical 3D prints (e.g. in PLA) but I see no reason they shouldn’t work well.
is there a need? wouldn’t you print the part with space for the window or door, or even with a molded window/door? isn’t this one of the benefits of 3d prints?
Hi Greg,
Card kits are used in the UK quit a lot. Metcalf are a major producer and their kits are often seen at Exhibitions. Metcalf Card Kits
Their website is worth a quick look, if only out of passing interest.
Paul.
If you’re modifying or trimming an existing piece, or removing struts etc. Not everyone will choose to make software modification and full reprint if making changes.
I started my first layout when I retired. I didn’t know a lot about anything with a model railroad. The first structure I had was a plastic kit. I guess I just went from there as I started scratch-building structures – I made them out of plastic.
I never considered using cardstock or paper.
After seeing some of the structures in this thread, I’m going to start trying some of those. They look great.
Have you taken a look at the cardstock structures offered by Clever Models? They offer a number of inexpensive pdf files (some are freebies) that are easy to download. Take the files to your favourite print shop (or print them off on your printer) and get them printed on heavy-duty cardstock. The exterior is completely finished - no painting or weathering required.
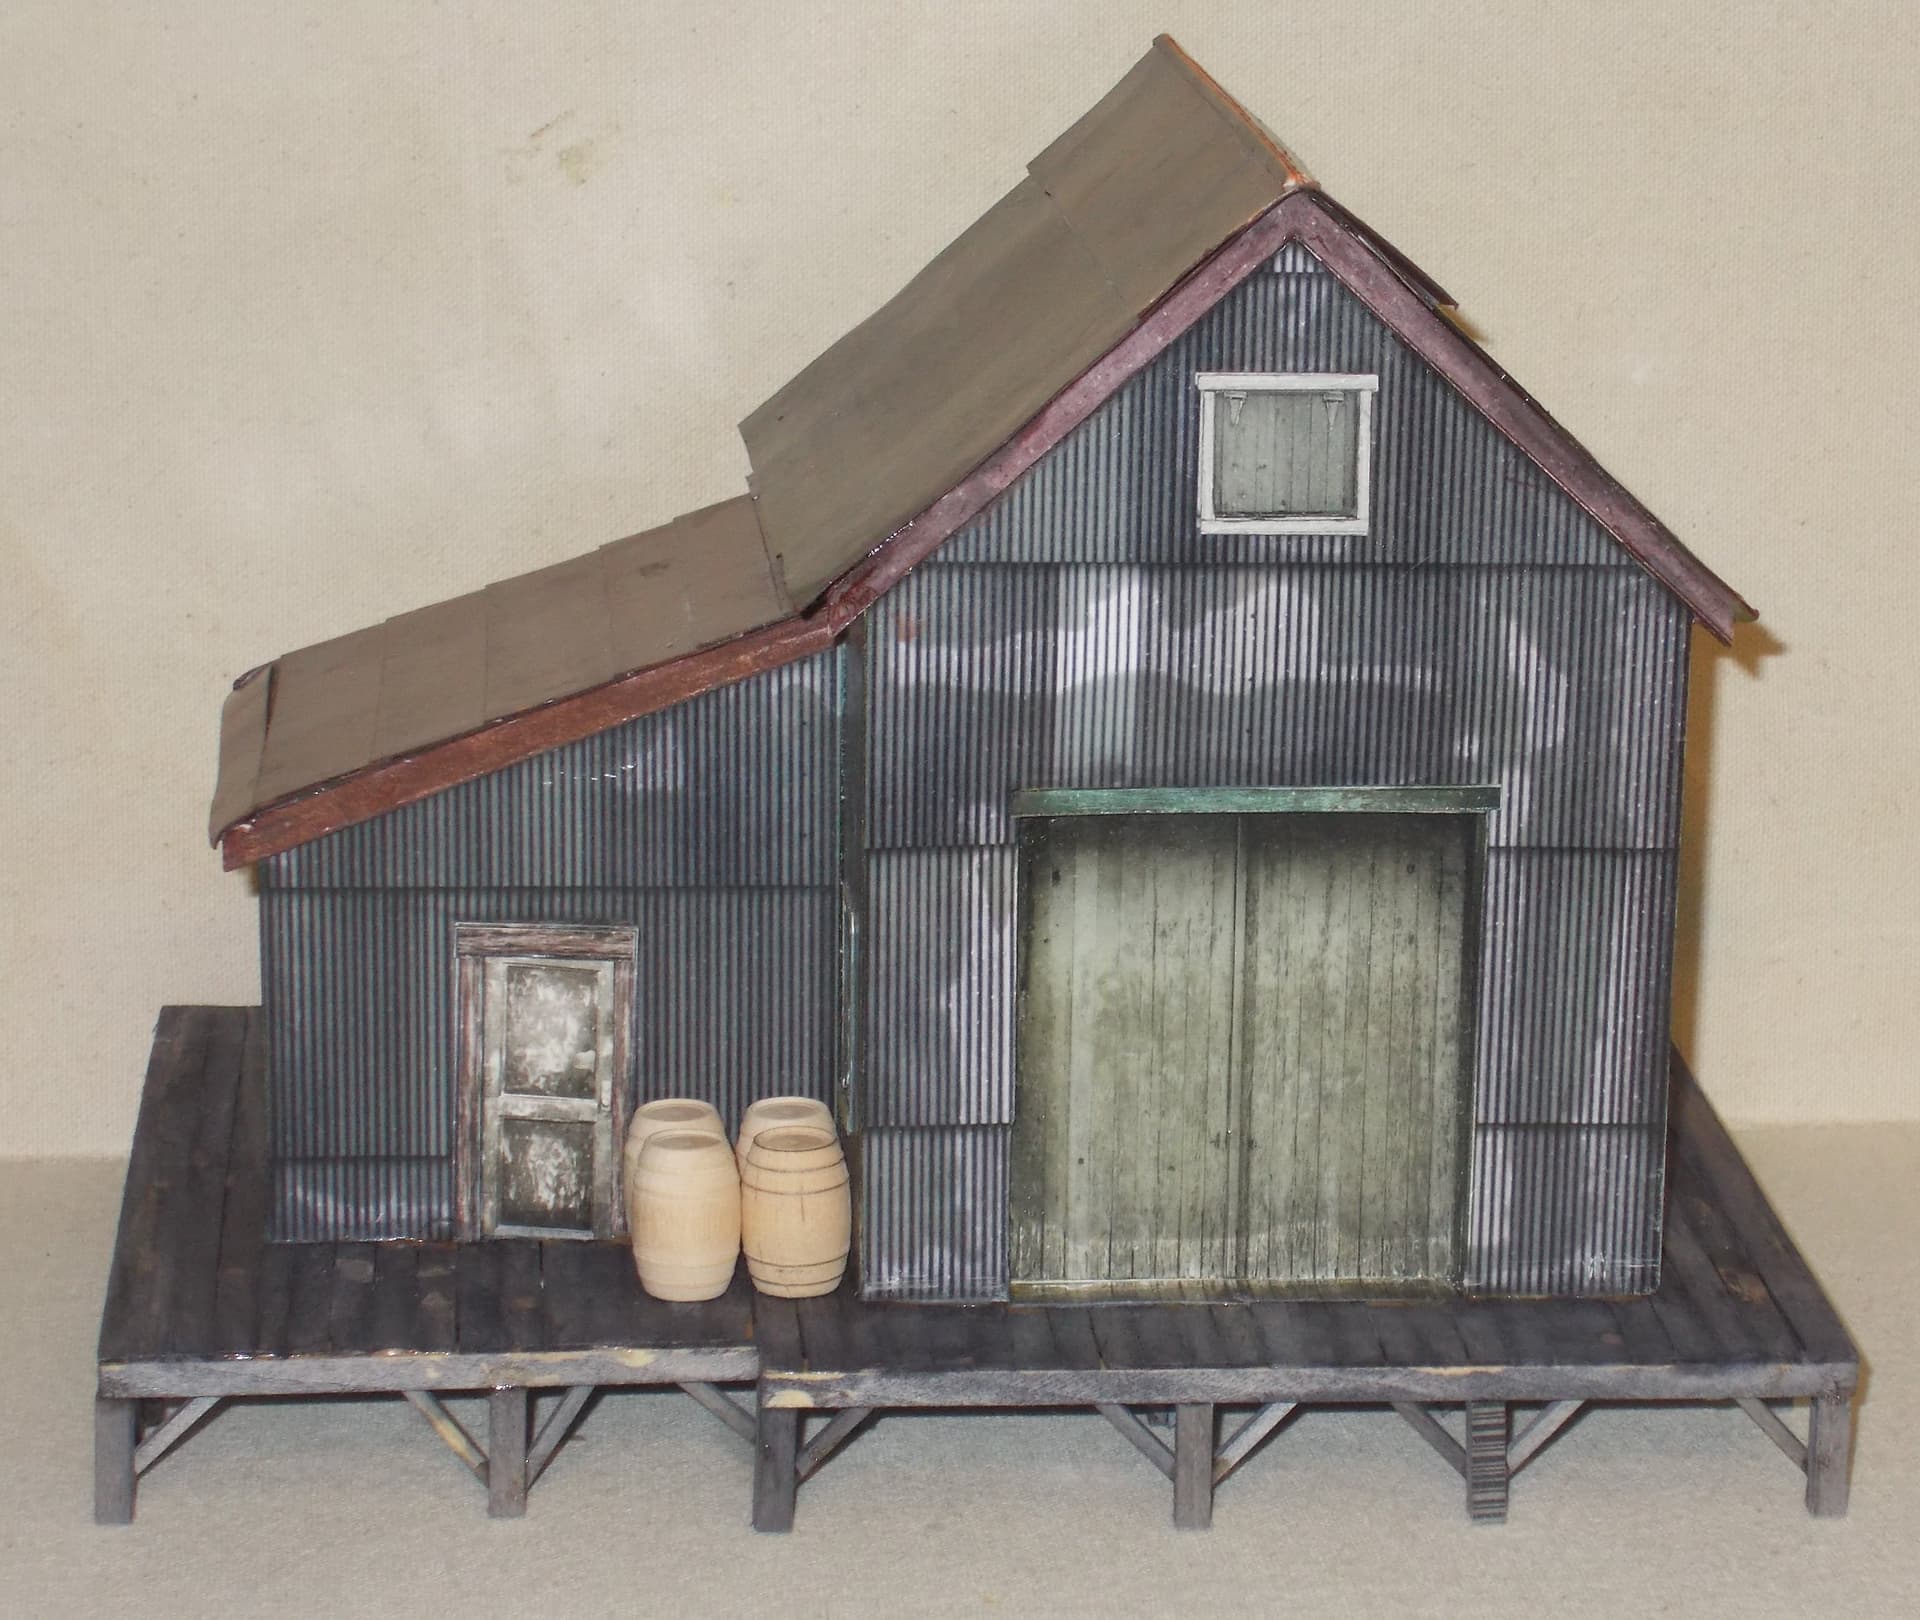
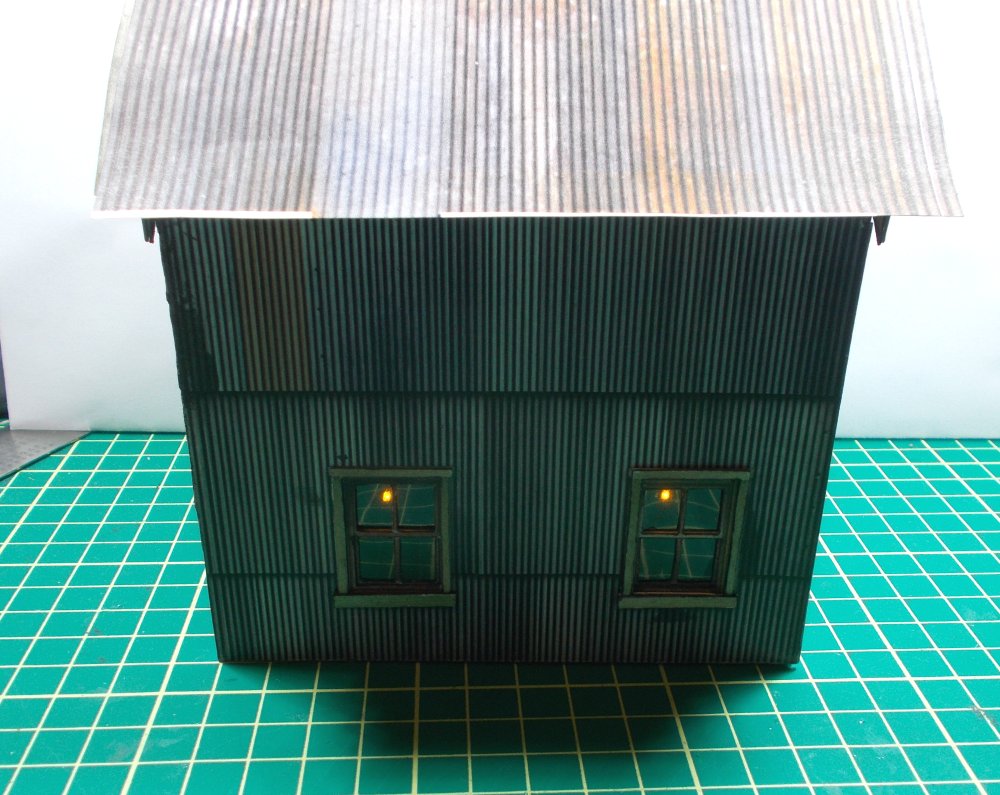
I’m currently working on my 2nd one (Silver City Tool Shop) with the platform to be completed in coffee stir sticks (I model in On30). I’ve installed yellow SMD LEDs on the inside so they shine through the windows Here’s pics of the first one I did.
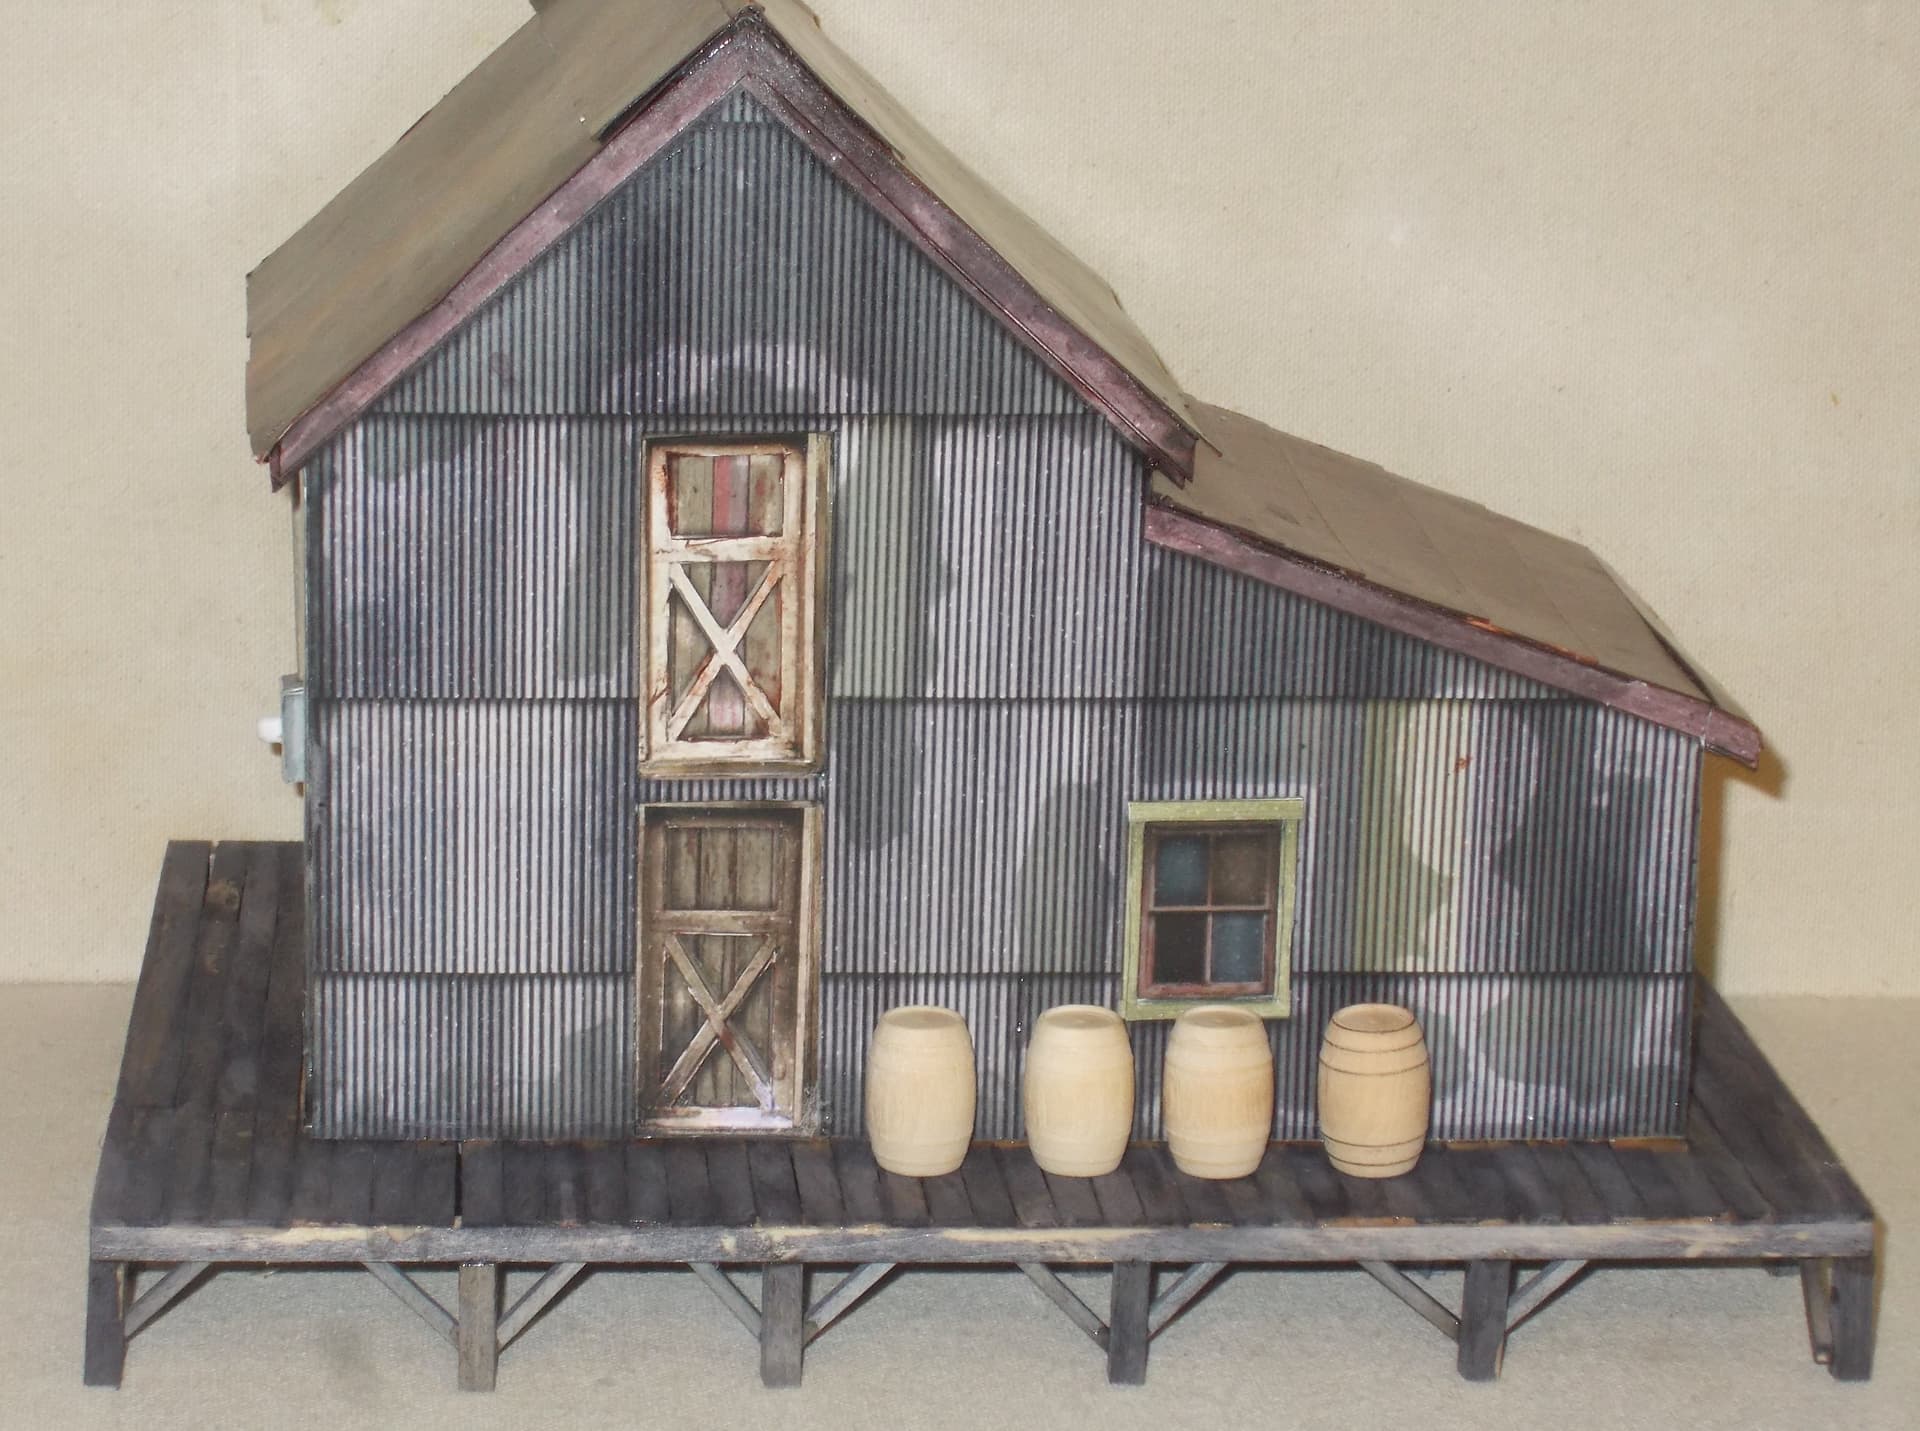
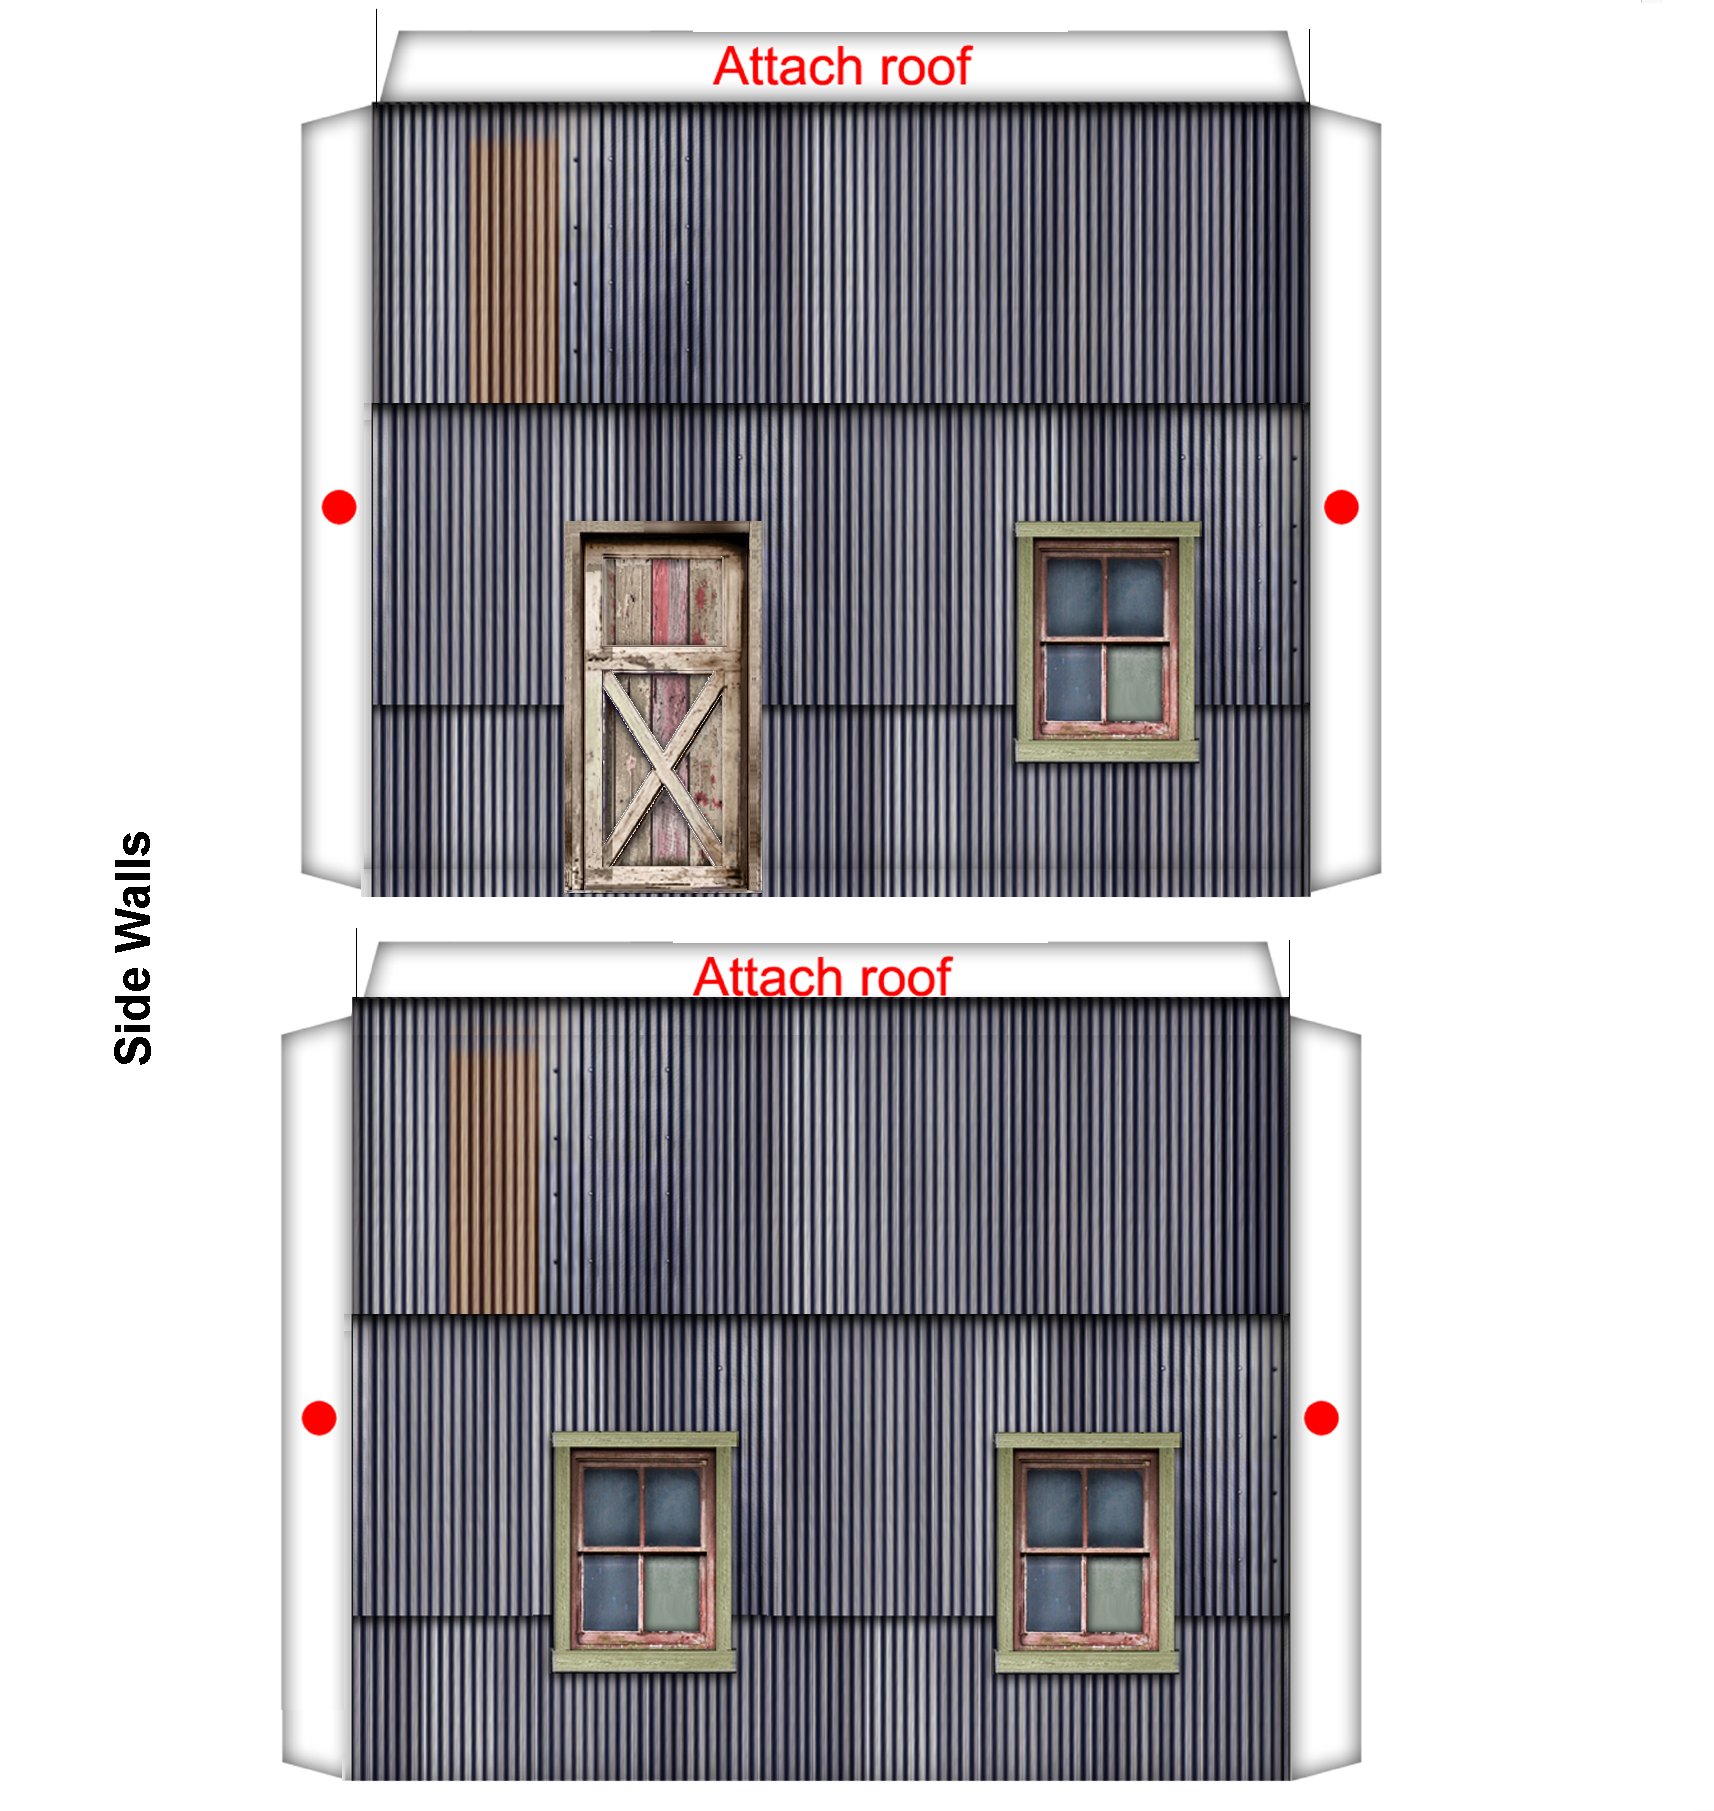
I’ve taken the cardstock structure one step further. Using screen prints of the pdf files and copying them into my graphics software, I’ve graphically “kitbashed” the “Silver City Tool Shop” into another structure. For example I’ve gotten rid of the lean-to and put windows and a door in the side walls,
I’m in the final stages of completing the assembly. This is an exercise in ensuring everything fits together. When I’ve got that done, I intend to send the files to Clever Models to add to their inventory of structures.
I use printed buildings extensively. They are infinitely flexible and you can alter them to any configuration you choose, even for the most awkward sites. I usually spray the printed sheet with a matte varnish or fixer to stabilise the ink before starting to cut and glue.
I use cardboard kits mostly. My wife thinks they look better than plastic ones. One reason is that they don’t have to be painted (too much).
I make kits at shows when I’m passing myself off as a craftsman.
I have one building that I made in high school (over 60 years ago!) and I just recently re-glued it because I used the wrrong model glue.
For my “digitally kitbashed” cardstock structure, I’ve add yellow SMD pre-wired LEDs in the windows to make it show the building is “occupied”. Kind of looks effective, eh!? I find lighting effects add another dimension to the structure.
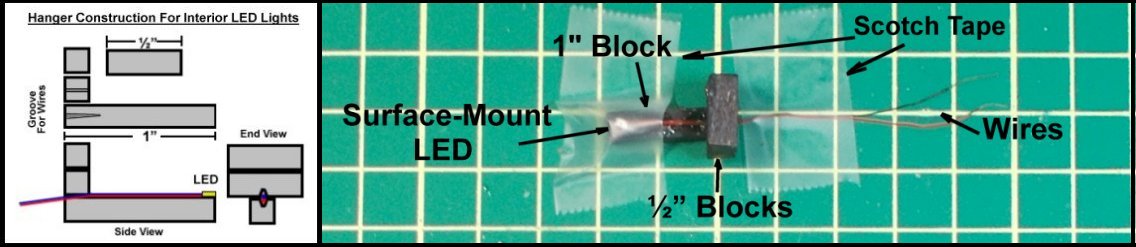
The LEDs are “hung” behind the window with a very simple fixture to place them so as to illuminate the middle of the window. It’s best to do the LED install and wiring before putting the roof on.
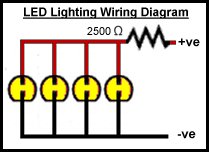
if Ve is relatively high (~12V), the LEDs can be wired in series with a smaller resistor (~1k) they will draw the same current (~10ma) as each LED when wired in parallel as shown in image
2 strings of LEDs can be wired in paralell with opposite polarity if the voltage is AC (i.e. DCC). 2 strings of 3 LEDs in parallel will draw just ~10ma
Thanx for the info, gregc. It’s hard to read the colour bands on the resistors that come with the LEDs. I used my analog ohmeter and they tapped out at about 2500 ohms.
One of my options for powering is to use DCC. Good info to know about the parallel wiring. Many thanx. (I’m still wrapping my head around the 1000 ohm resistor and the ~12 volts.)
I use epoxy glue exclusively. I’m into module railroading and my modules are stored outside in my tent garage 24/7/365 in temps that go below -30°C. The interior is coated with West System epoxy and the exterior sprayed with a urethane varnish from a rattle can. I have 2 cardstock structures added about 9-10 years ago on my modules that have been treated this way. So far, they’ve withstood time better than some of my plastic or wood structures.