Colorado Mac;
They both seem to be “Keepers!!!”
Colorado Mac;
They both seem to be “Keepers!!!”
I have special Spectacles too, although this makes me look, well, uh… Oh Boy…
Perhaps this picture will be deleted soon…
Actually they are incredible glasses, I will be needing them to solder the, New No-See-Um LED’s I just got… Thanks that they are in a zip strip so I can actually find them!!!
I am naturally near sighted, so I do not need to rely on these very often.
My apologies forward, to those I have scared with picture… (see you next Haloween)!!

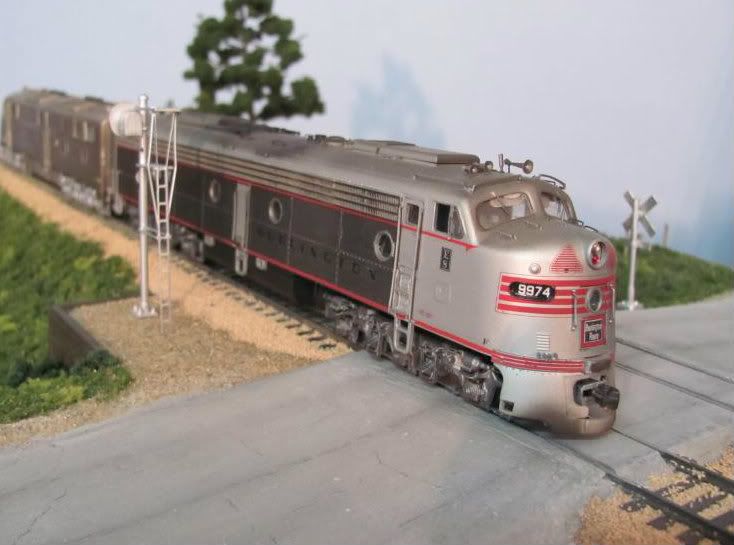
The Twins are heading for the industrial district in Mountain Gap to do some switching’

Tom
Jarrell, Jarrell, Jarrell**!** We’ve been through this before… That workbench is way to neat to make a convincing photo of you actually doing anything. Now next time clutter up the space with a bunch of other items so it will look like you are actually working there… Remember compose the whole shot before you take the picture. Something more like this:

[swg][(-D]
73
I’ve been building a small diorama to take pictures of my models on, instead of just a white background. It’s not finished, but it;s far enough along to take pictures one.
More serious now, & after a little internet interruption…
Here is the progress I am making on my Atlas Dash 8, BNSF Warbonnet Tribute, Old Dogs just Weather & Rust! I worked more on the cab, & found it did not have a silver base coat, so my paint stripping efforts yielded a gray plastic under the red. I then dry brushed Testors silver on the areas I was concentrating on, & I think it looks good, except it is a slightly different tone than the rest of the shell, but more realistic to me, in a metallic sense. This is OK, as I have to work in layers of weathering efforts. So I made an initial dry brushing of the rest of the locomotive shell & walkway with the Testors Silver. It is beginning to match & starting to have nice contrasting undertones, a couple more sessions may follow. So Far (other than my slow progression speed of the project), I think it is coming along fairly well!


Maybe it is a result of Heat Stroke?
Comments Welcomed!
Hi Tom,
nice photo of your two little critters. Looks like you tethered them together and share pickup so I’m guessing they run well too.
If I can get hold of 2 I’m gonna do the same.
cheers
AlanJ
Hi, Alan.
Thanks for the kind words. Yes, they are semi permanently coupled to eliminate stalling on the frogs. I also rewired the headlights so that only the headlight on the leading unit comes on when the direction is reversed. Here’s a video showing them in operation. Don’t expect a real high quality video. It was made with a $40 security camera from Menards.
Tom
Hi, Alan.
Thanks for the kind words. Yes, they are semi permanently coupled to eliminate stalling on the frogs. I also rewired the headlights so that only the headlight on the leading unit comes on when the direction is reversed. Here’s a video showing them in operation. Don’t expect a real high quality video. It was made with a $40 security camera from Menards.
http://www.youtube.com/watch?v=_WDWkpz7M2s
Tom
Ray! How in the heck do you find ANYTHING on that bench!!! [:O]
Seriously, I’ll bet you know where each and everything is… in the dark.
Jarrell
Jacon, Chad, Ray … You are making spectacles of your selves.
Onequicknova … I like the diorama. The E-8 looks great. Please tell us about it.
Thanks. It’s just an old, original run Proto that I modified the windshields on and threw some grab irons on. It was a quicky I did about 6 years ago to pull my Twin Cities Zephyr at a train show.
Wow it’s been a LONNGGGGGGGGGGGGGGGGGGG time since I posted anything here. Well, to make a very long story short, here’s my excuse: Junior year of high school.
Anyways, I’ve found some time to do some modeling, and a lot of trial and error and bing.com mapping and google earthing, and I have some plans now. and they’re explained in this video
Also, I finally repainted my C420. Now, the white is handpainted Testors enamel and the red is Chevy Flame Red Lacquer from model master (my airbrushes are all poc and out of commision [8o|] ). Also, Hobby Lobby is about the only place I can get any hobby paint.
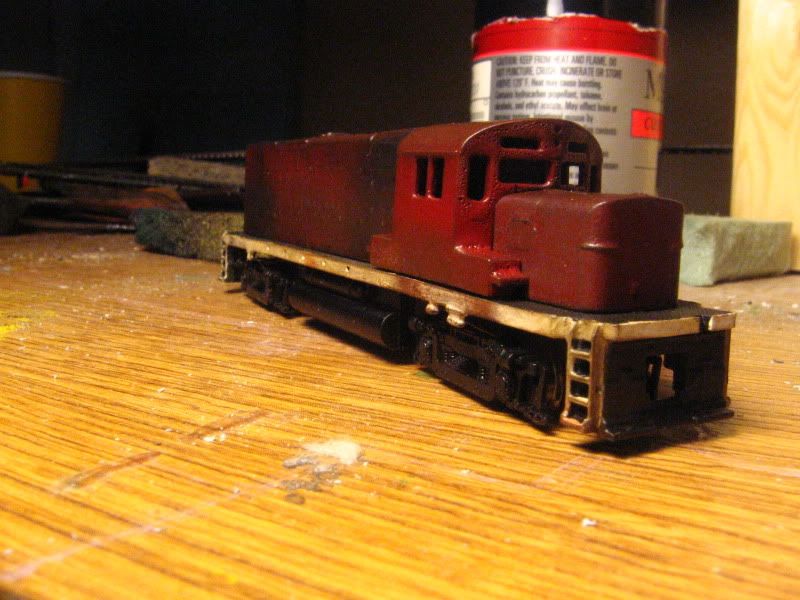
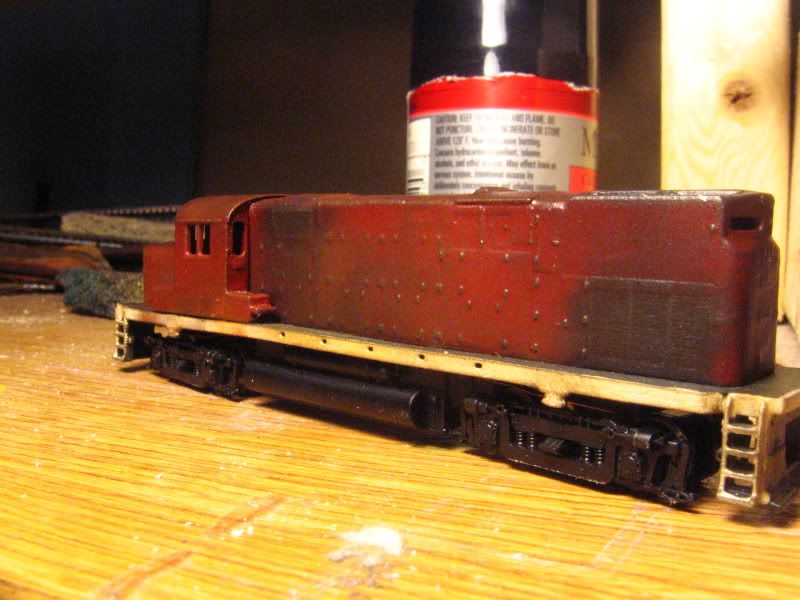
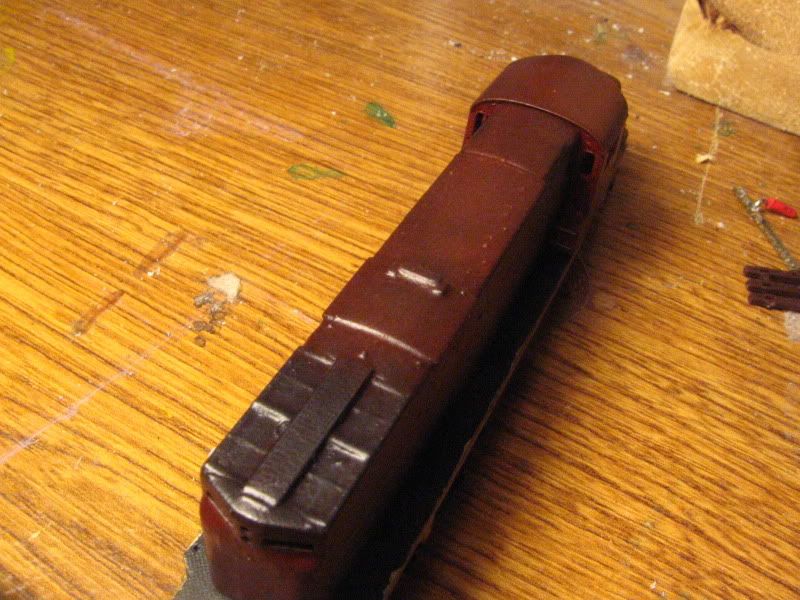
Decals and handrails to be added at a later date (handrails are soaking in iso alcohol, decals will be added when the name and number are finalized).
Some good shots, good to see other people at work as well
SAWYERS back,
Good to see you my friend, its been a while since we seen you? Looking forward to another season of packers football? You dont play anymore do you? good job on the locos.
Jeremy
Yessir! I’m absolutely ecstatic for this upcoming season; it should be a great one! and nope, and I don’t play rugby either, too many shoulder injuries and too busy.
I jut got this far on the diorama, so I think i’ll post it. In addition to the C420, I started this photo diorama to take pics outside and also practice some scenery for the next layout.
I started with this foam:
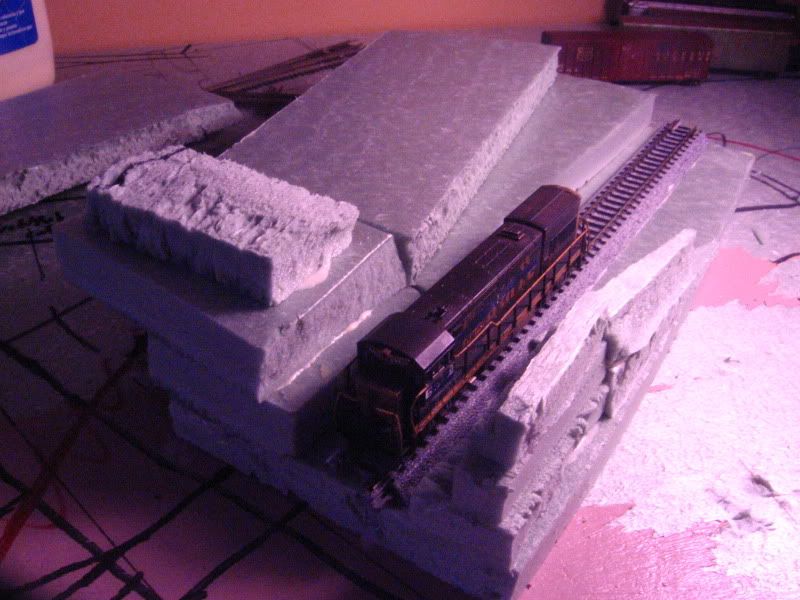
Then shaped it to this:
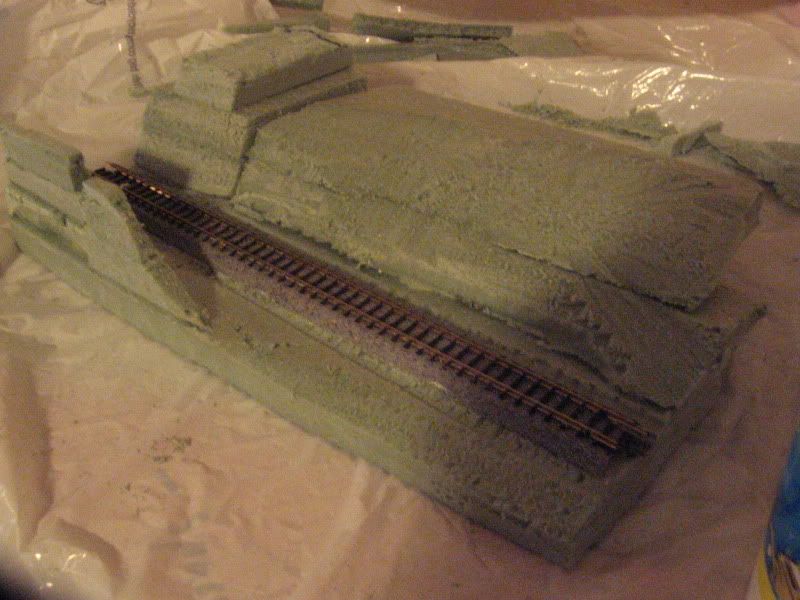
And then added sculptamold:
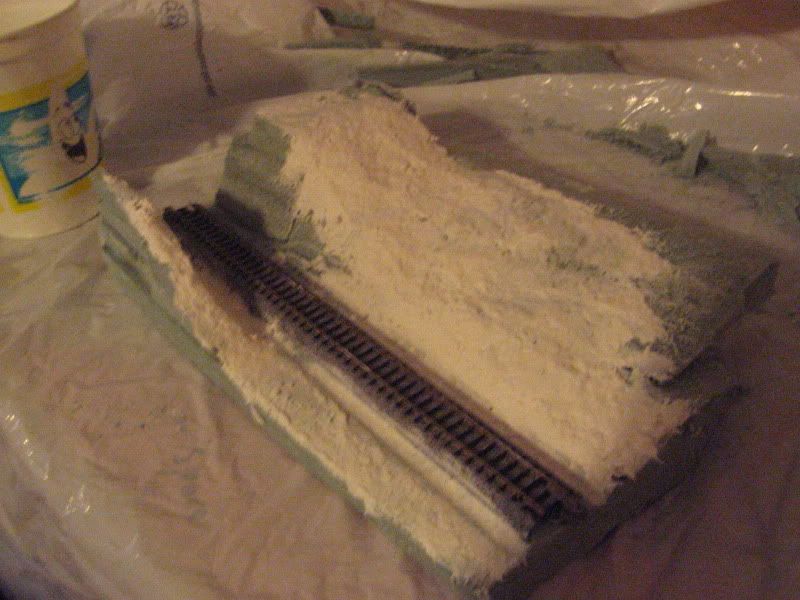
The exposed foam on the left will have a styrene retaining wall.
Sawyer, if your airbrush is plugged up inside, take it apart, put the parts in a jar and let it soak in laquer thinner (no plastic parts in the jar [xx(] ) for a day or two. Dry and try it again. Also, your needle and tip may be worn resulting in poor spray patterns - replace them. If you use a Badger air brush, they have an excellent free repair service.
http://www.badgerairbrush.com/Service-Supprt.asp
A couple of years ago, my air brush just would not work, no matter how I tried to clean it and replace parts. I sent it in to them, with a description of the problem and what I had done to try fixing it. They returned it in a few weeks good as new. There was some paint way inside that I colud not get to; but their experts knew where to look.
I have a harbor freight double action that I took a screw out of trying to fix it…I couldn’t really figure out how to fine-tune it and get the paint flowing right. I also have a Paasche that I’ve done the soaking with, and it won’t reassemble that well. However, my best airbrush had to be my Badger model 250. I just haven’t managed to get it going back the same since spraying some model master lacquer through it. Thanks for the link, I’ll see if I can get the parts together and contact them.
I added a white wash (thinned Polly-Scale reefer white with 70% alcohol) to the trestle, got the nut-bolt-washer castings in place, and assembled the railings for the fire deck.


I painted, lettered and weathered a handful of locomotives for my freelanced Cherokee Foothills Railroad this weekend:
An Atlas GP30:
![]()
A Lifelike GP20 work in Progress:
![]()
And here’s a Model Power light pacific I weathered:
![]()
GREAT JOB EVERYONE & THANKS FOR SHARING !
Have a great week !