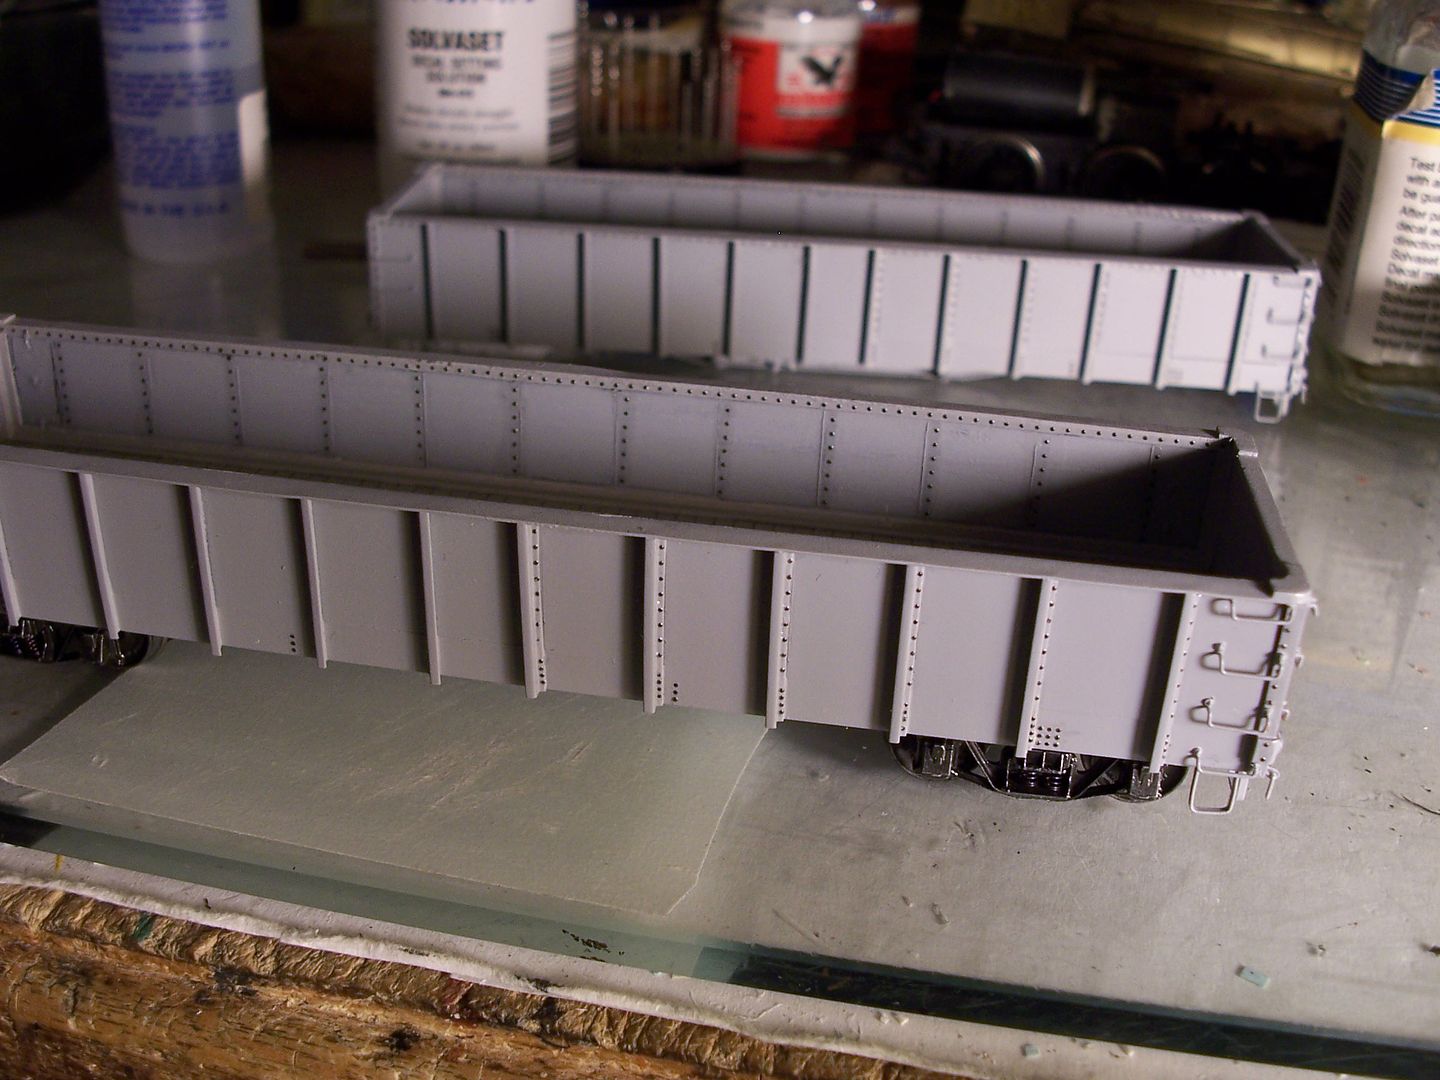
I have four Proto 2000 E8s I am putting together for my model railroad club’s freelance railroad. A friend of mine did the paint and decal work on the shells, and I have them back now for final assembly and other stuff.
I wanted to clear coat the shells first so that handling would not take off paint or decals. I used Testors Dullcote in a spray can, and shook it thoroughly for about 90 seconds. I applied the dullcote in warm and dry air (the stairs in my apartment building) and made several light coats on each side from about 8 inches away. I let it dry for several hours, and the result is this:
Needless to say, I am not thrilled, and I’m not sure what I did wrong. Is there a way to fix this?
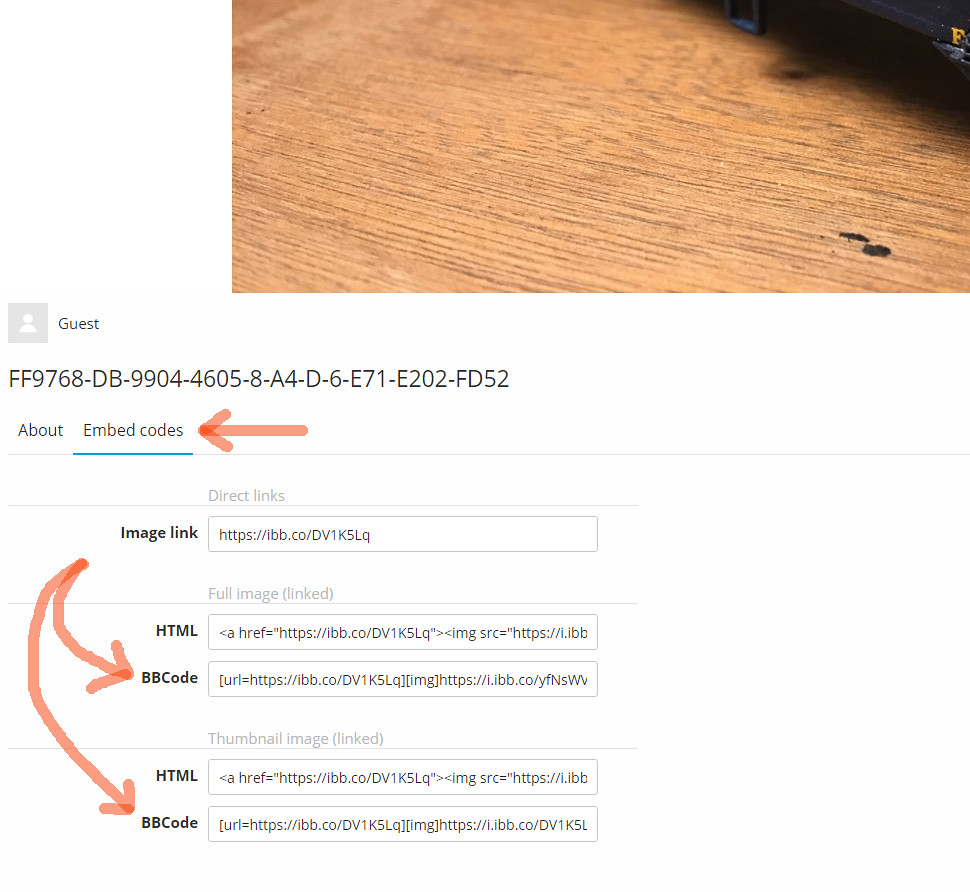
I used the “BB Code” and clicked the copy button, then in the MR reply text area simply hit Ctrl+V to paste the link.
Well, now I can’t stop the remainder of my text from being a link! [banghead]
As far as the Dullcote. I’ve been there. Sometimes, mostly in fact, I get a nice flat finish. Other times I’ll get a chalky “alligator-skin” finish. I have heard all the reasons from temperature/humidity spray angle/distance, etc.
All I can suggest is try to re-shoot it a little heavier. Sometimes I think I’m putting on too heavy of a coating but it flashes off pretty quickly so you might try to get a slightly heavier coat on next time.
And there’s the biggest potential problem. Dullcote from the spray can rarely gives a finsh comparable to Dullcote from a bottle, that’s been thinned somewhat and run through an airbrush. You didn’t necessarily do anything “wrong.” You got the results that can more or less be expected from the method used.
It looks like what I get when I try to spray one light coat. Heavy coats actually turn out better.
An airbrush is best, and I have one, but I still use a spray can and have no complaints. I spray outside in the sun and it it looks like yours when wet, it will look like that dry.
That rough looking finish would seem to indicate the dullcote dried before it actually hit the model. I agree with BigDaddy, I think you tried to make each coat too light. The only way I’ve ever used Dullcote was in the spray can, and maybe they’ve gotten lower in quality in the past few years, but I never got a sandy looking finish liek that and I am anything but an expert painter. I actually had good results with the Walmart store brand clear flat, big giant can for a fraction of the price of the tiny can of Dullcote. I only recently got an airbrush and all the accessories to use it (compressor, spray booth, etc) and I haven’t had a chance to actually play around with it yet.
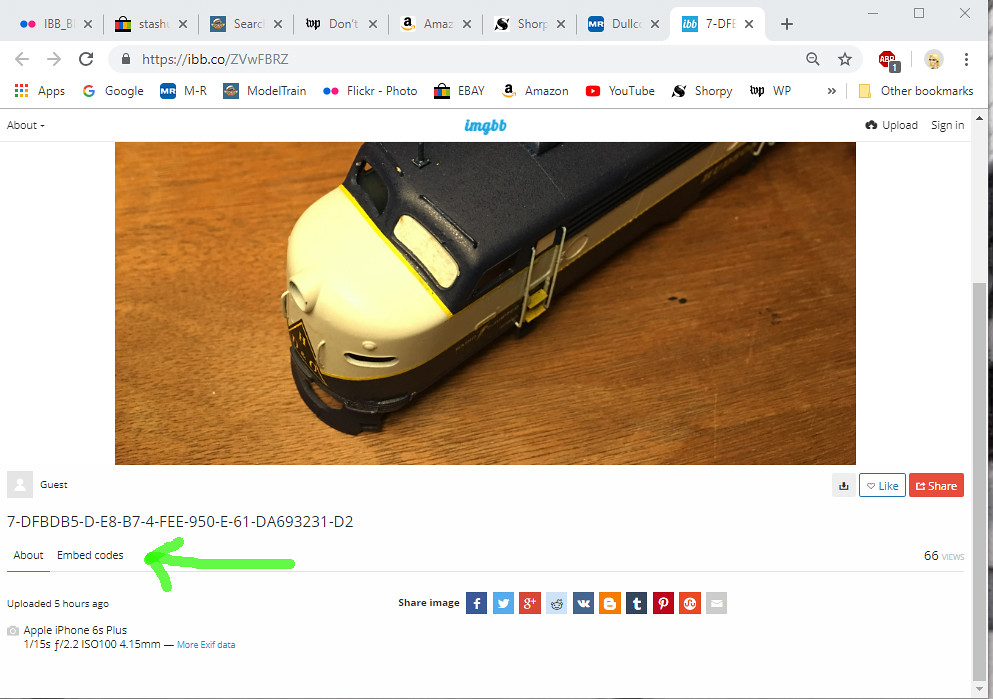
In P42s original post, I clicked on the little box where the photo should be. That took me to the ibb site. There, in the lower left of the frame is a tab that says “embed” click that and you have options for linking and embedding. A “copy” button automatically appears. Click it, then paste the BB code (BulletinBoard code) into the text frame here in the reply box.
Thanks for all the info everyone, I appreciate the help (and the fixing of my embedded images)! That’s good to hear that it is possible to fix with more dullcote. The poster who said I may have tried to apply the coats too light is absolutely correct. I was, ironically, making an effort to do that in order to avoid a bad finish like what I get anyway.
I will get myself a fresh can, just in case, and test the heavier coats on a scrap freight car shell. Should I apply it the same way I did before, and simply add more total coats? Or should I make each pass of the can slower?
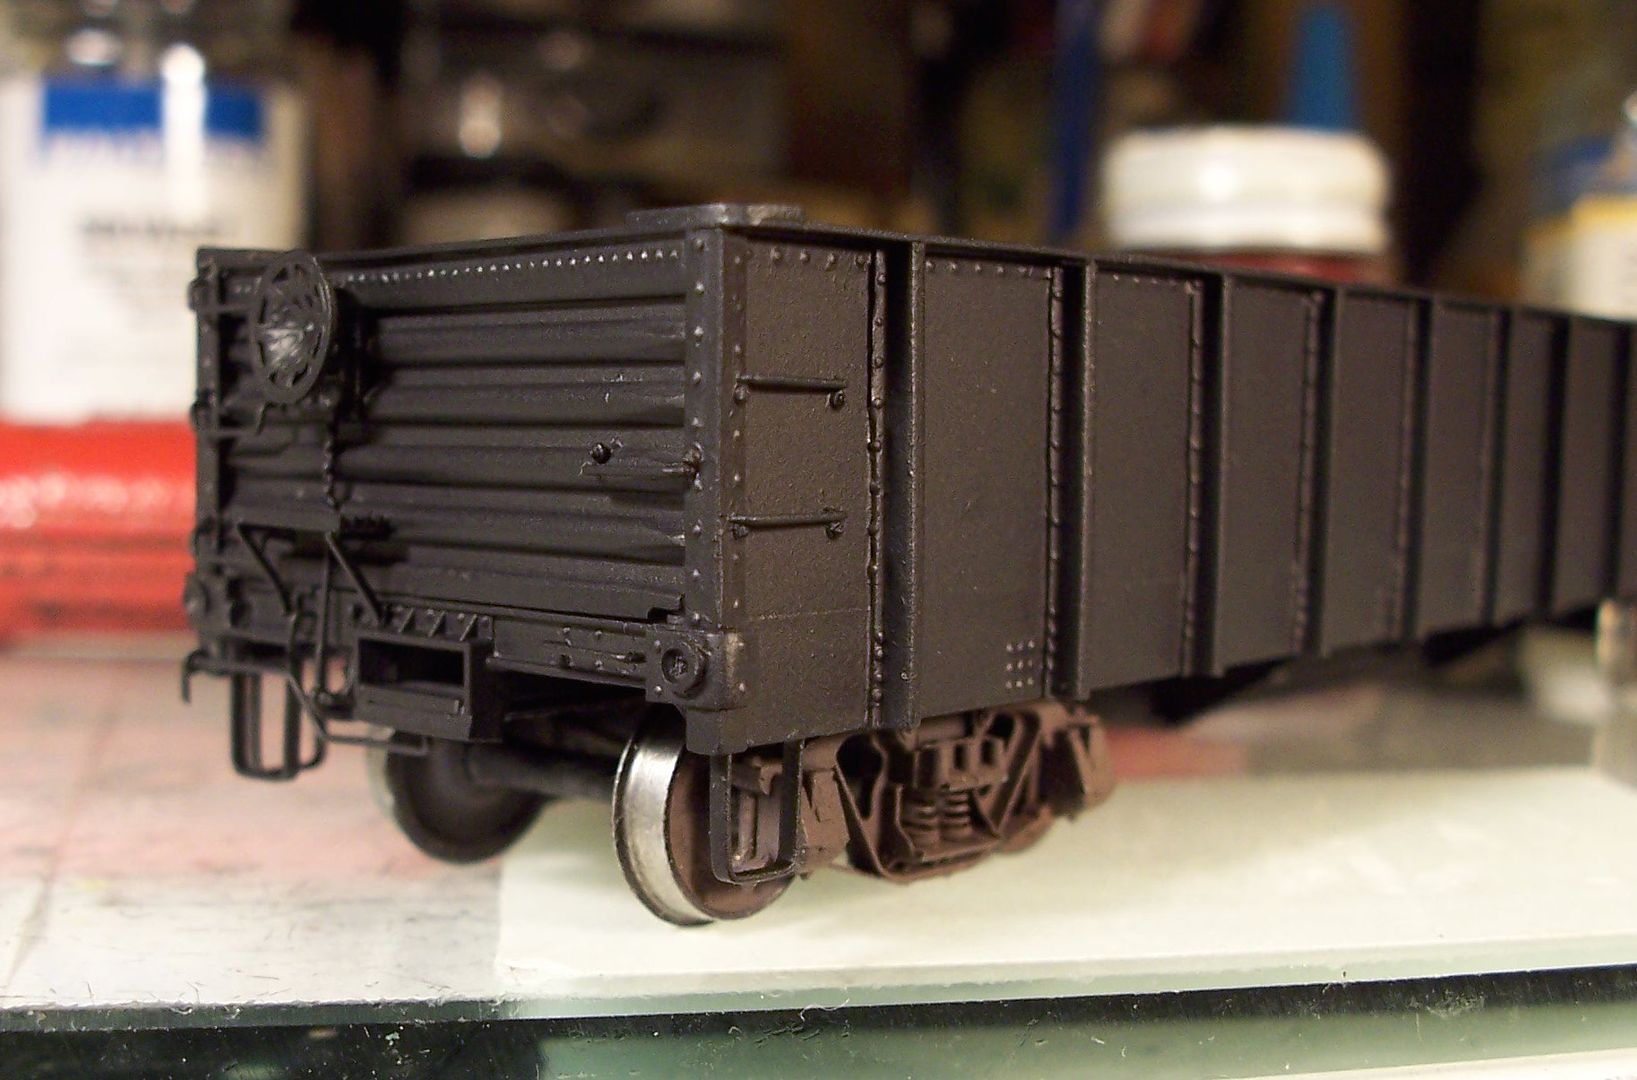
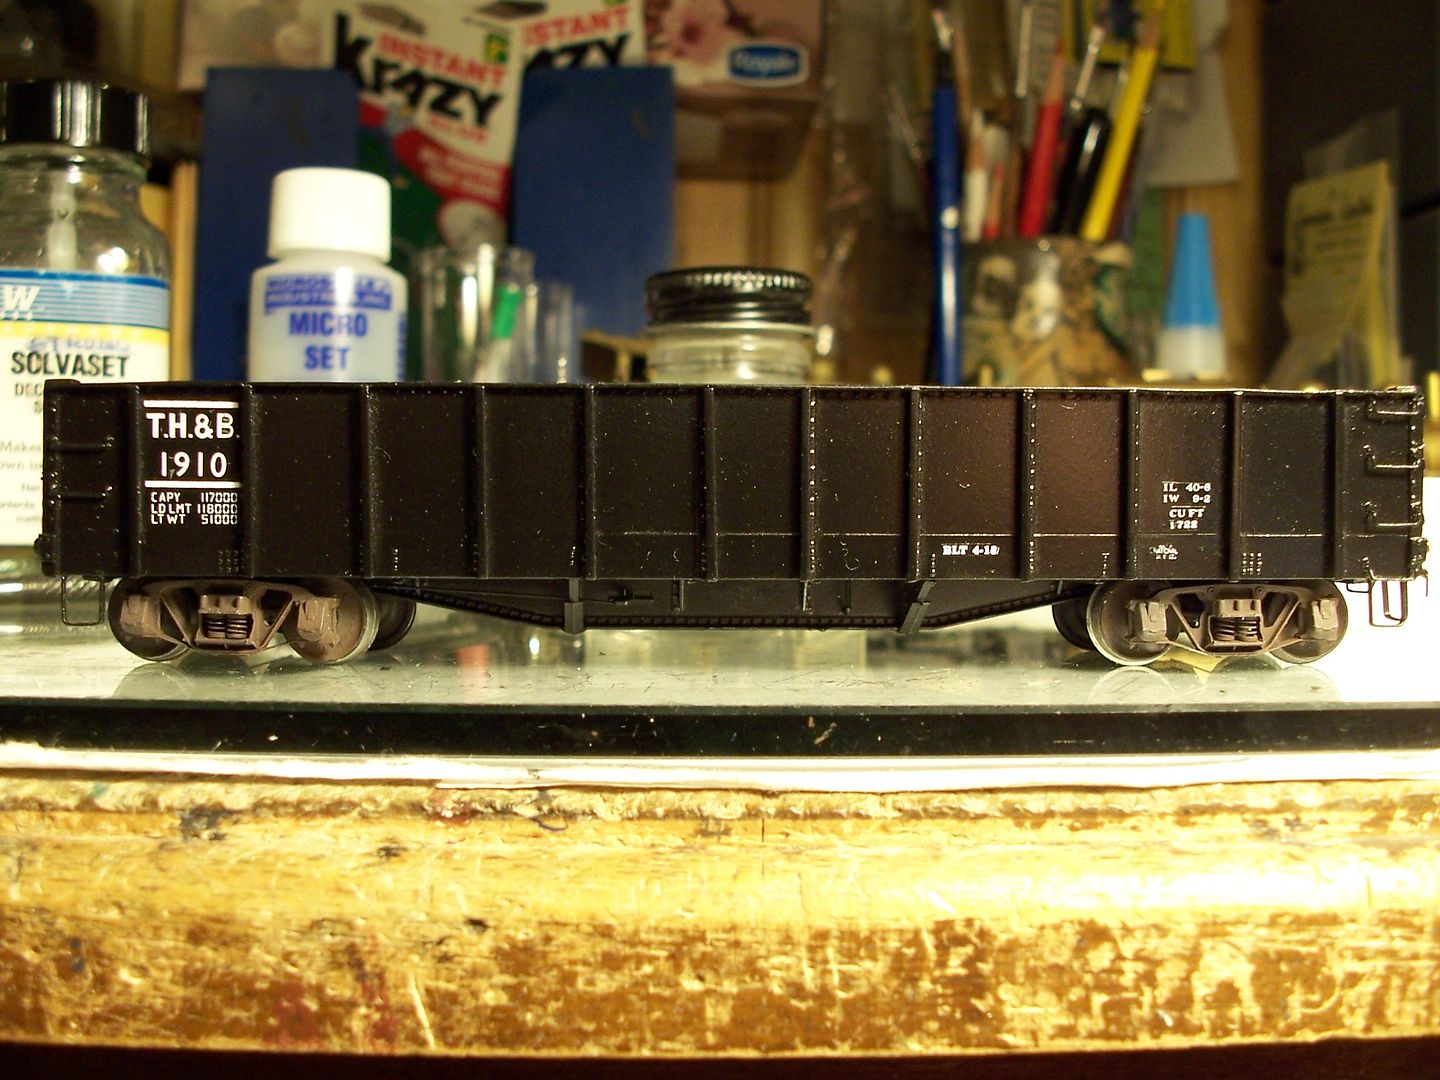
Testors Glosscote before decal application, airbrushed…
Testors Glosscote, airbrushed after decal application, and Testors Dullcote, airbushed immediately after the Glosscote…
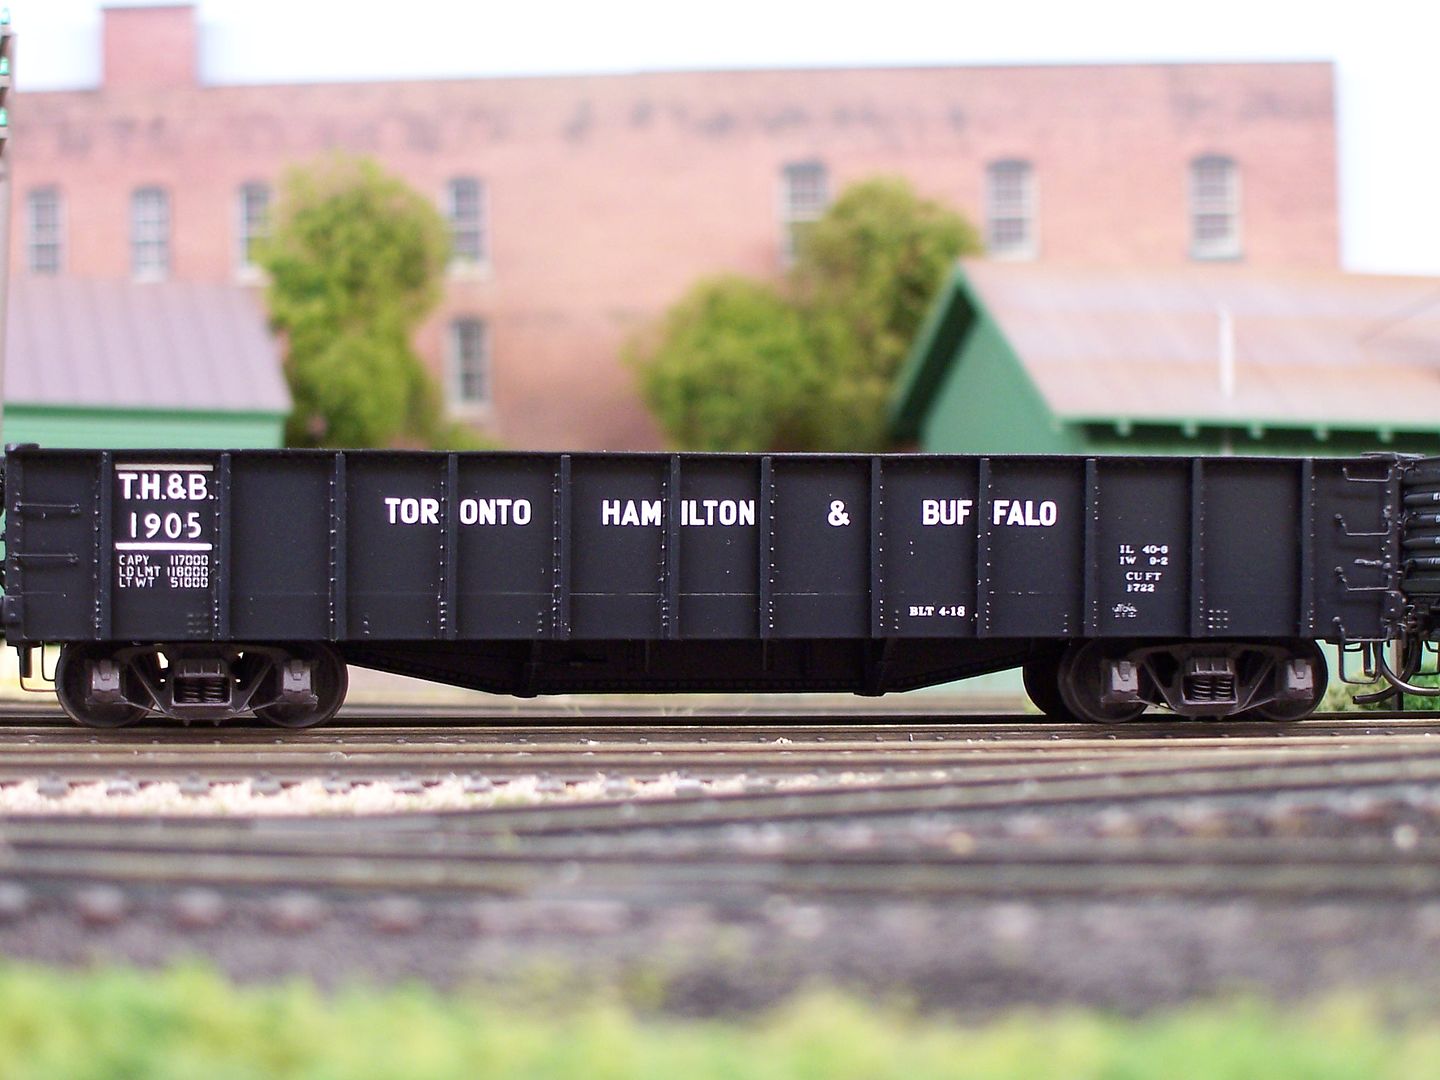
Airbrushed weathering is next, perhaps followed by some brush-applied pastels - no more clear coats, though.
The airbrush gives more control over the application, both in the finish and in the amount of materials used. One bottle of Dullcote and some lacquer thinner will go a lot farther than one spray can of Dullcote.
When using bbimg, instead of using the BB code, copy and paste the direct link. Then, click on “Insert/edit image” button on the forum menu, then paste the image information in the “Source” window in the pop-up window. Usually, when you insert the image that way, it will be huge. Don’t worry, it will automatically resize the image when you post your comment.
Hmmm… the BB code on Imgur starts with brackets enclosing IMG, not URL. Need some NMRA standards for BB code.
It (the imgur code) can be directly copied without any icons. The one good thing about the IT in this forum is it resizes all the large pics into the same size.