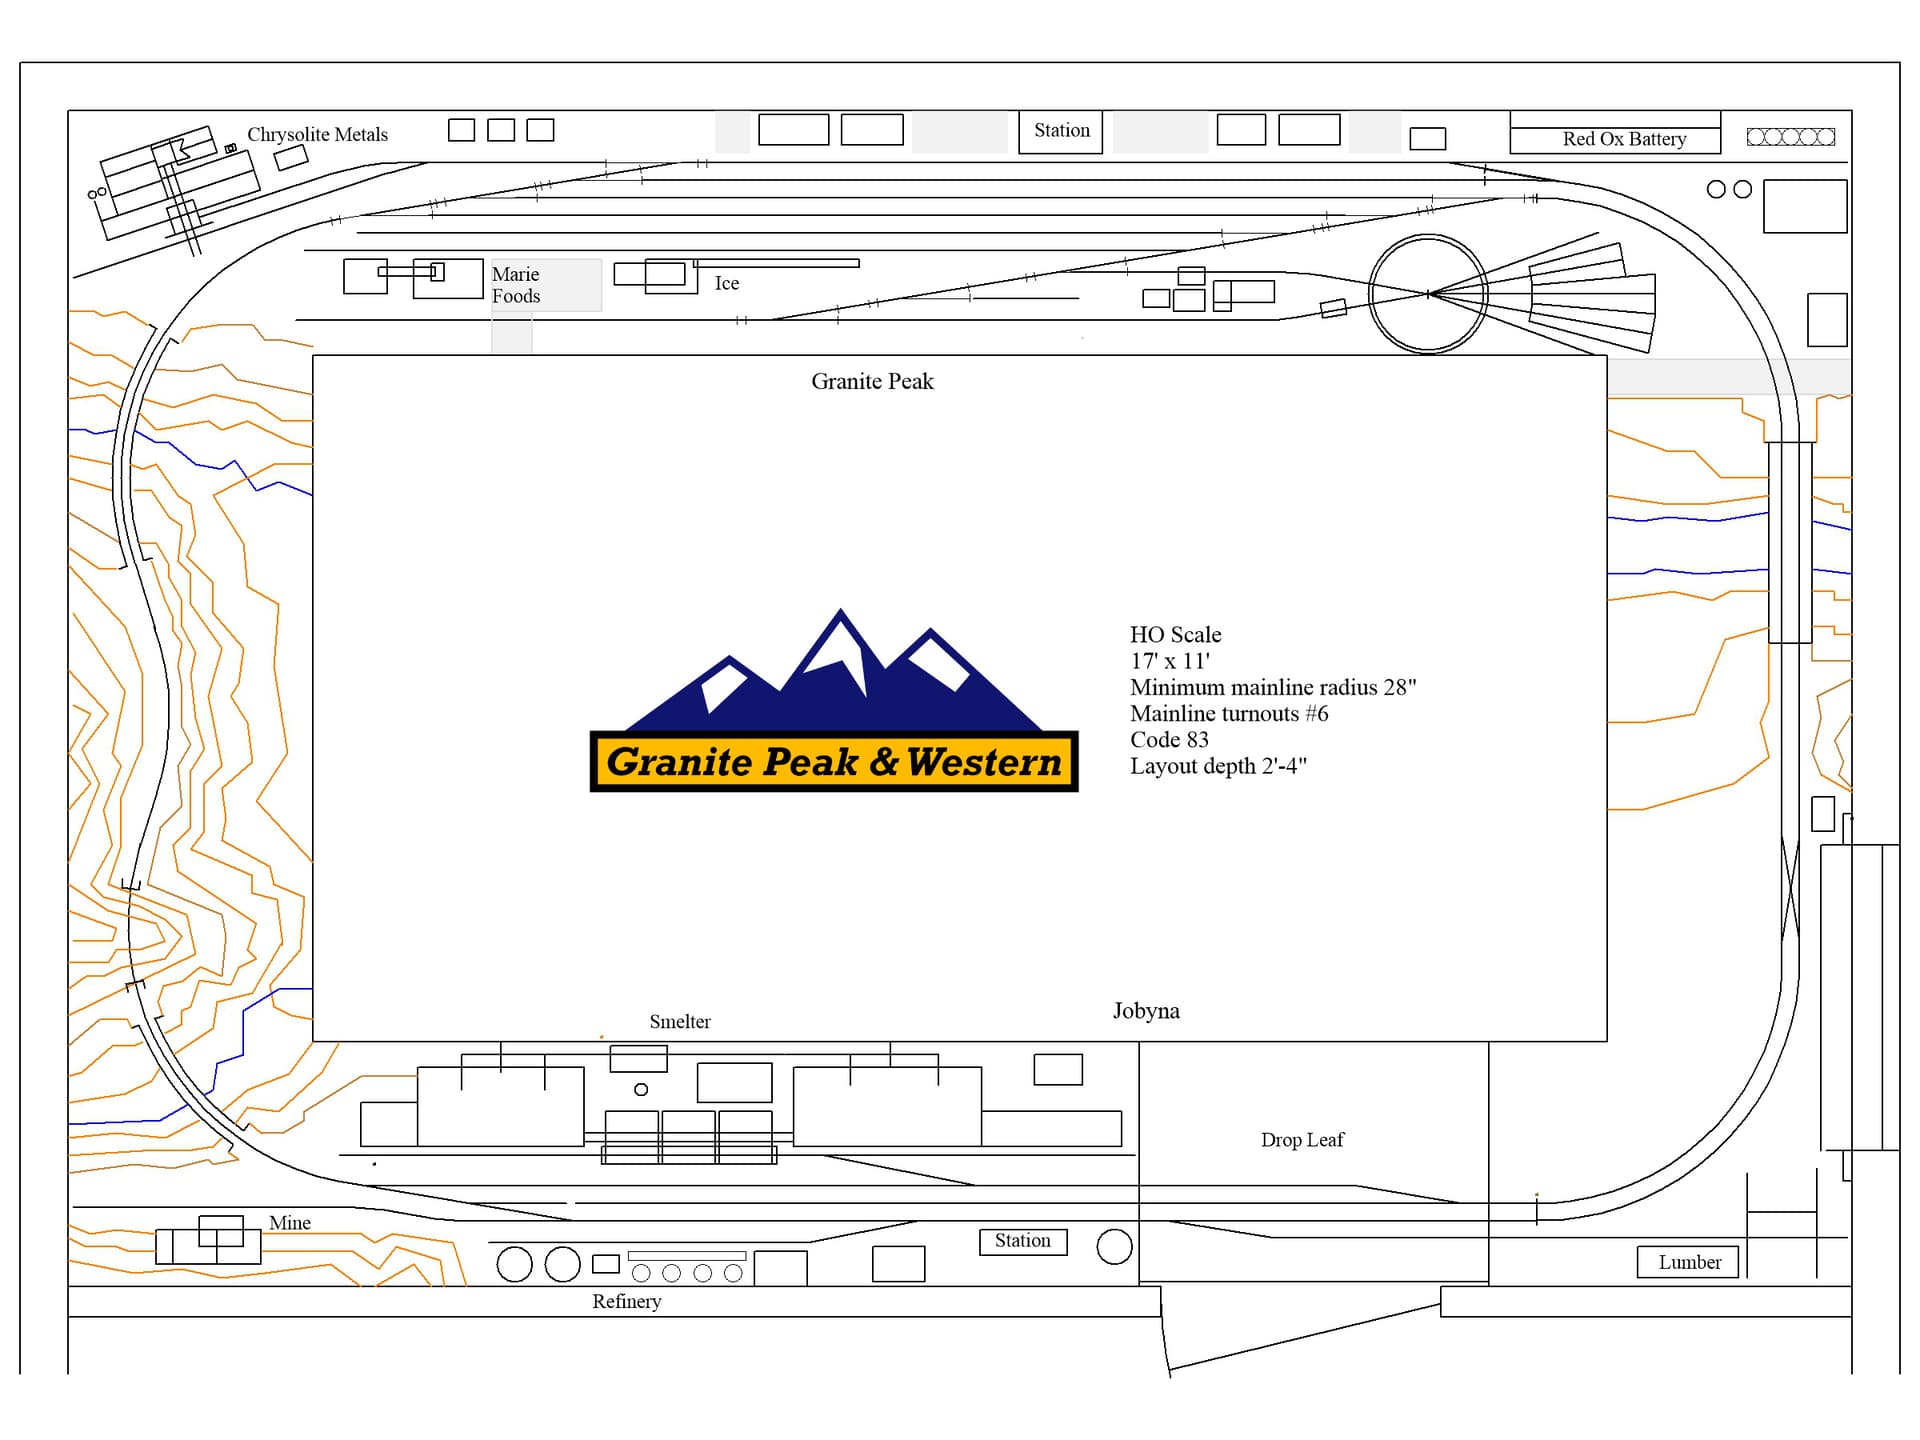
Welcome to the Layout Journal of the Granite Peak and Western Railroad.
HO Scale 17’ x 11’
Enjoy
Eric
4 Likes
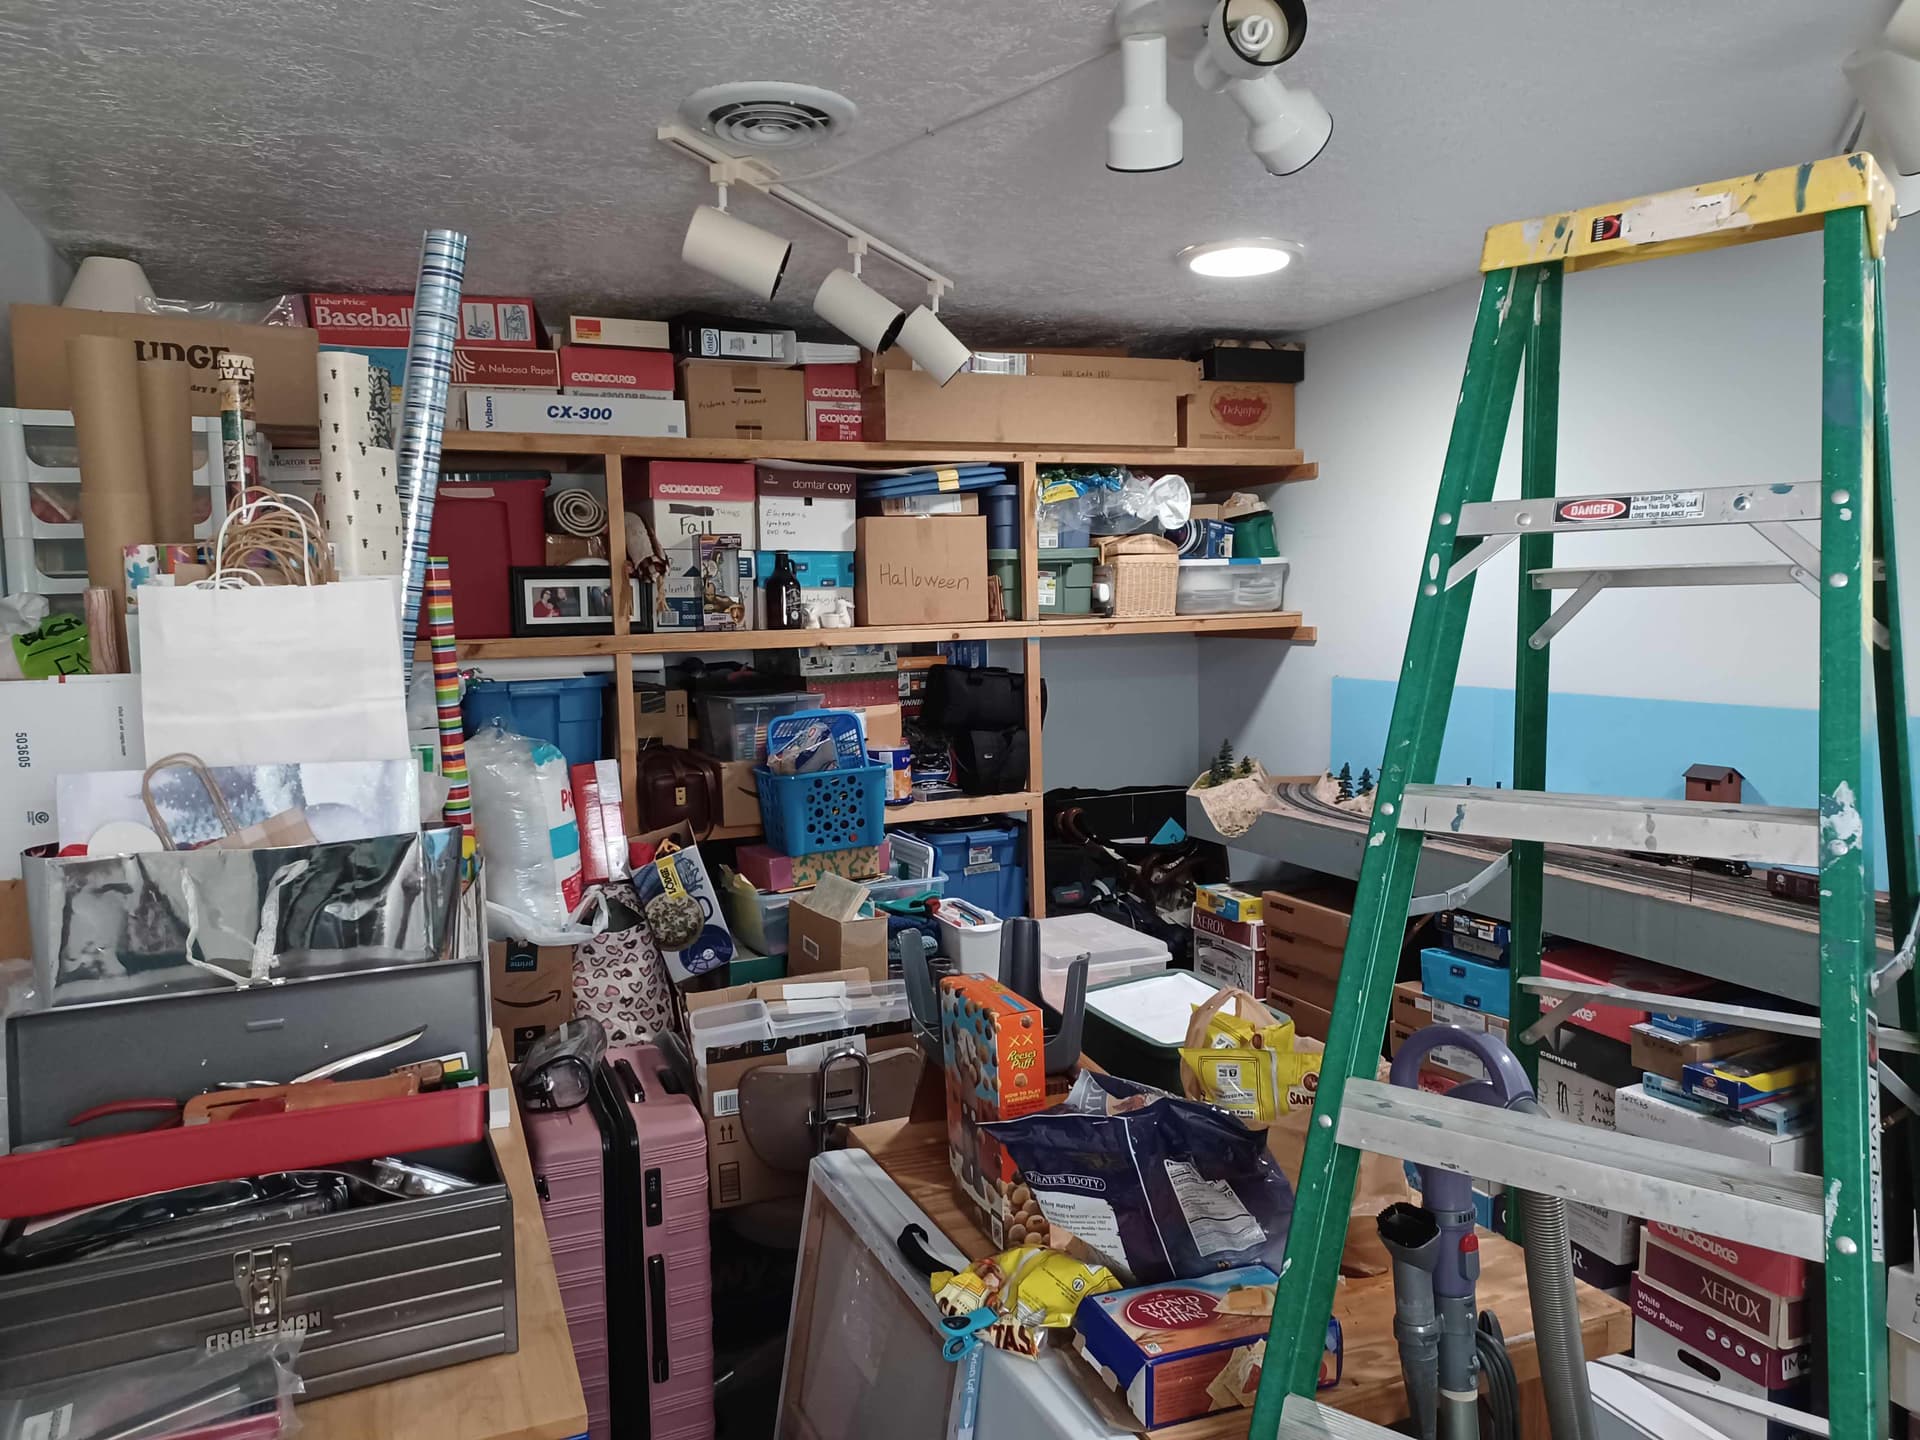
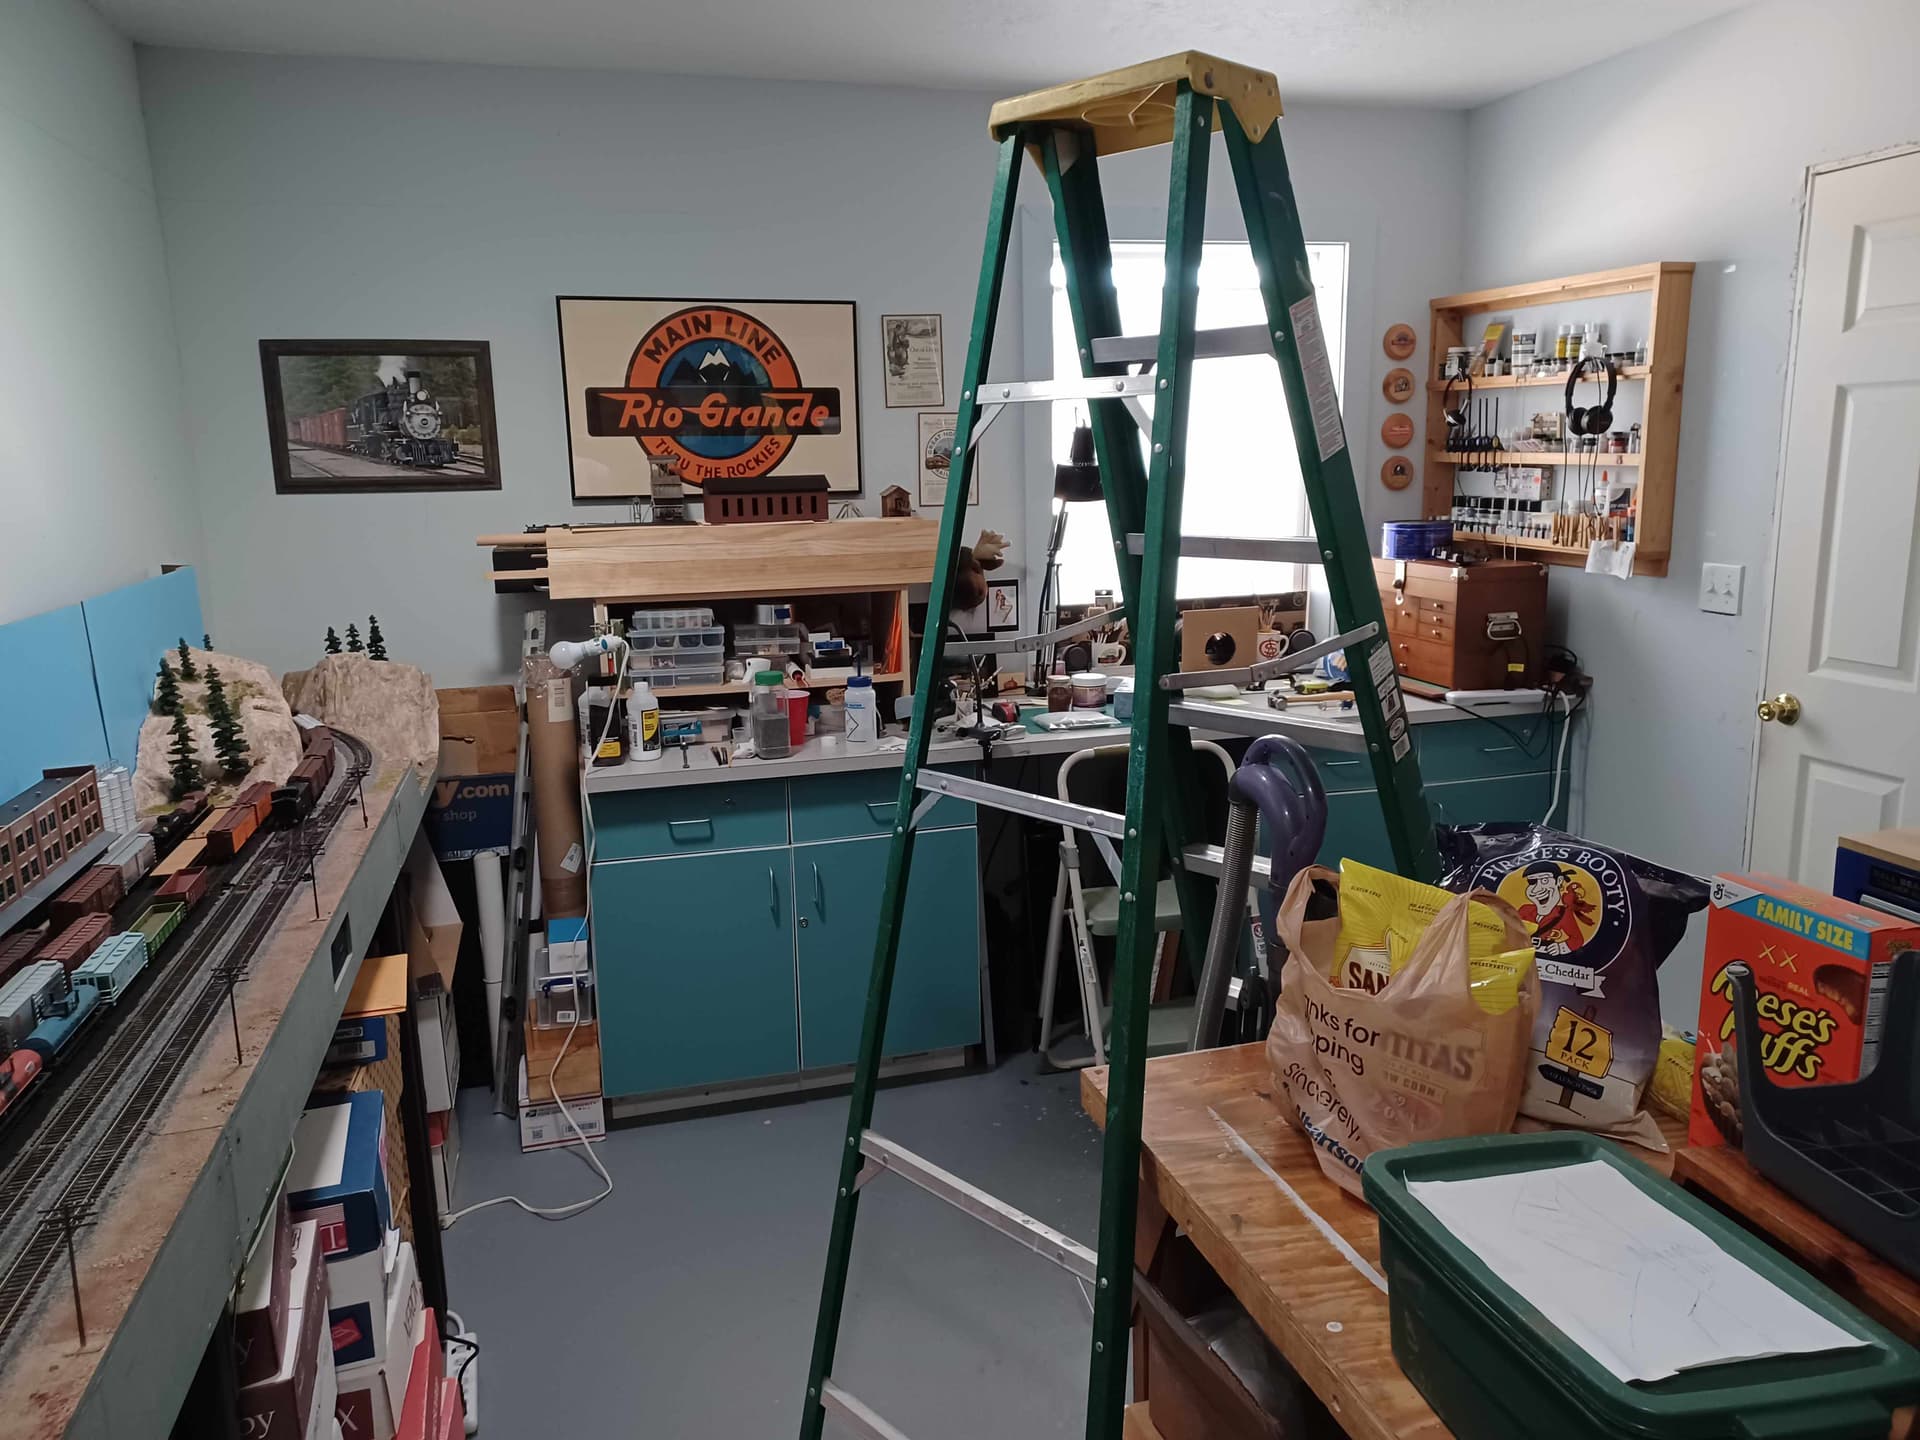
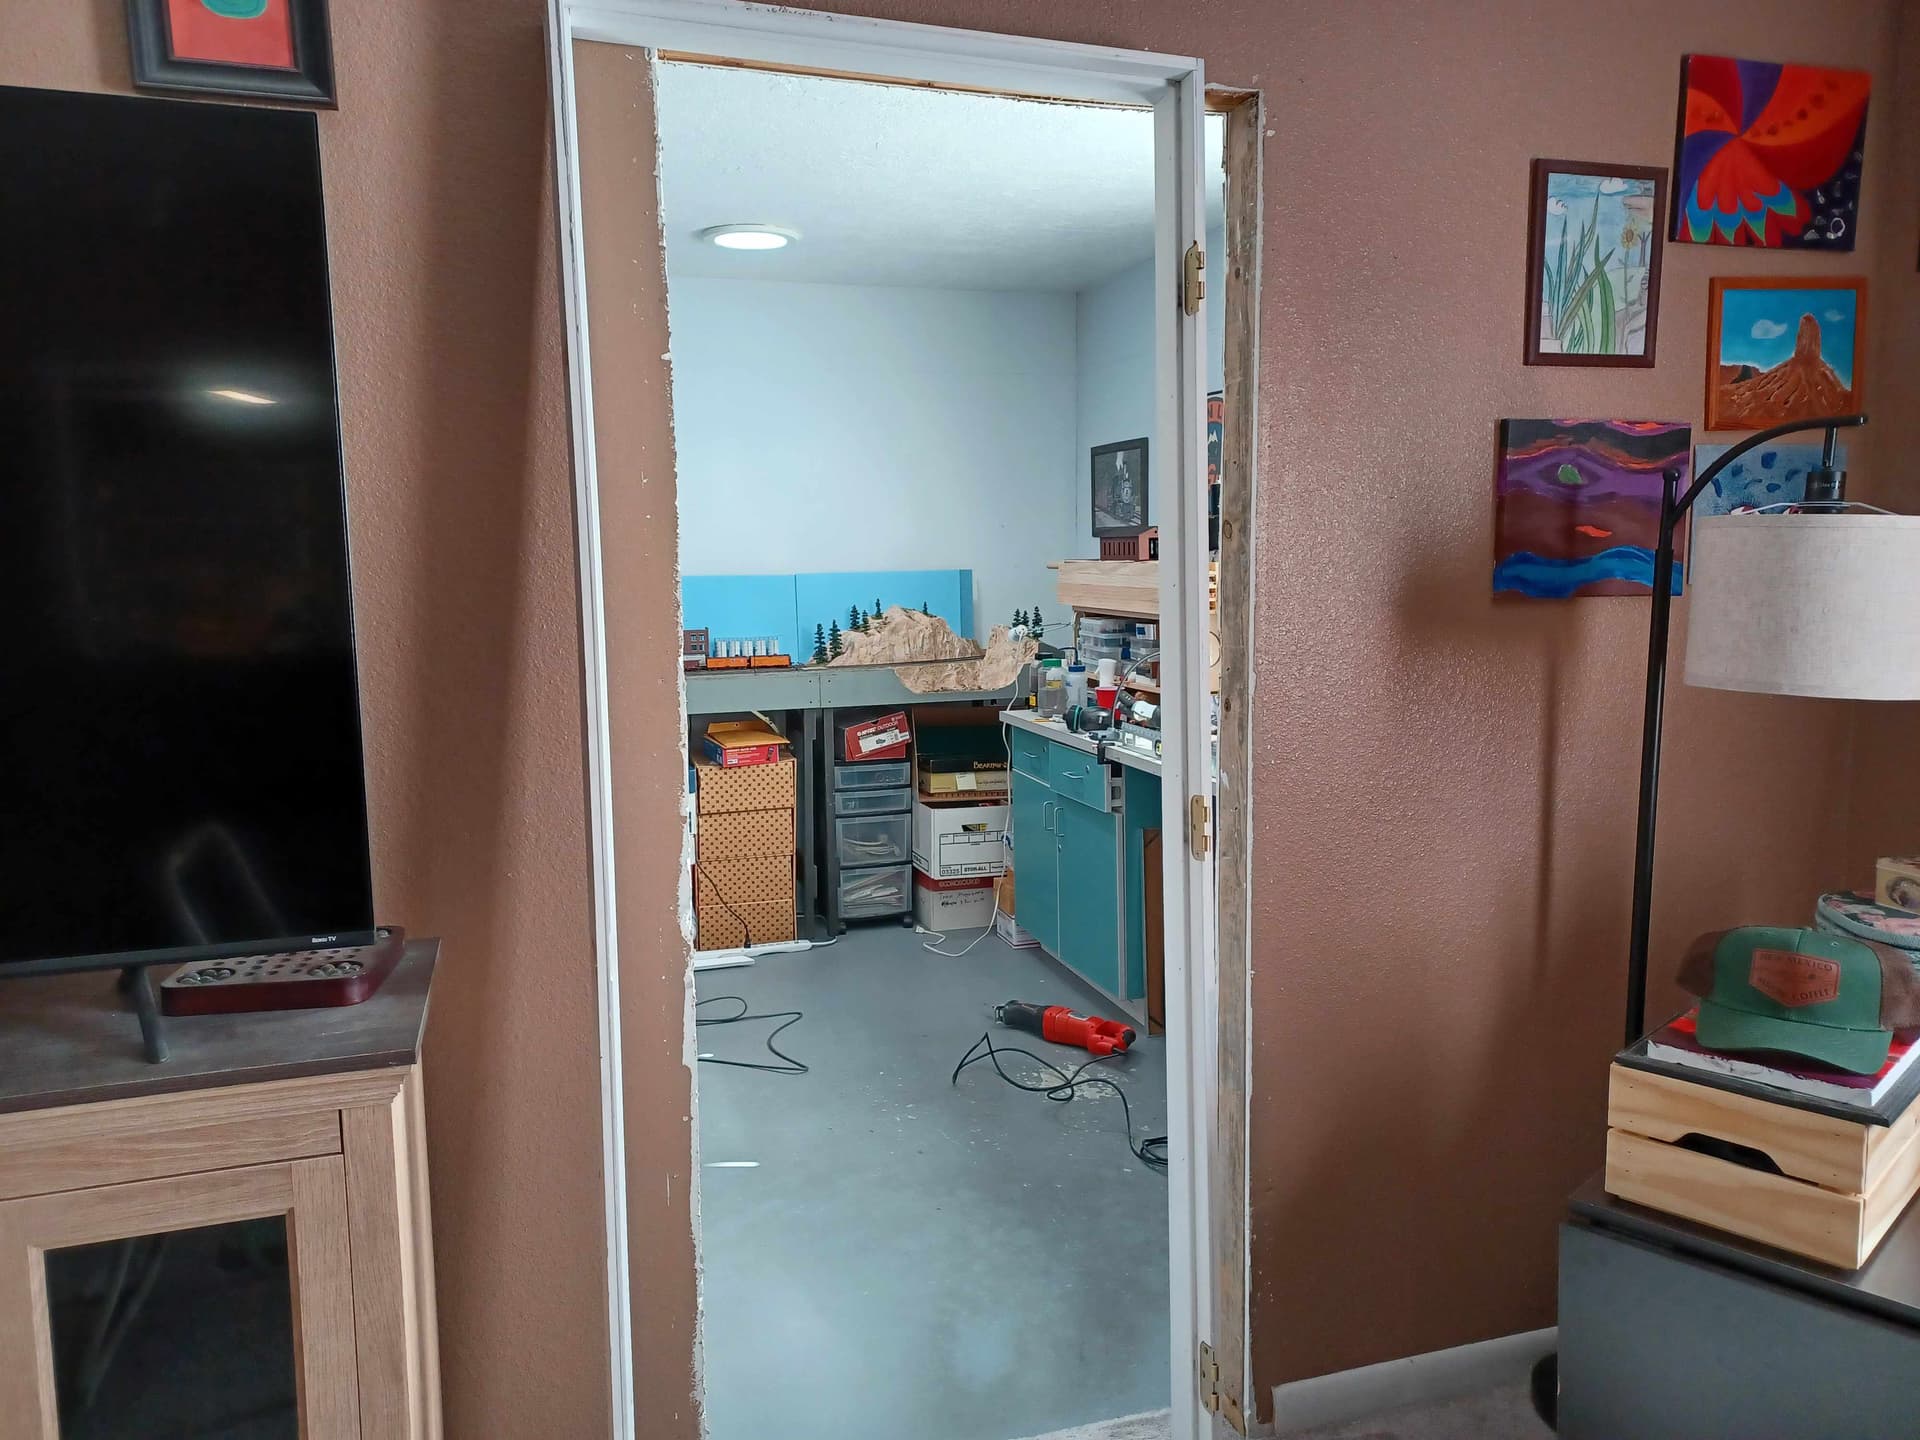
Time to build my dream layout in the room I had designed as part of the addition to my home. I dismantled the Granite Peak Mining & Chemical Ry and moved out a whole lot of clutter.
3 Likes
Looking forward to progress reports.
Rich
1 Like
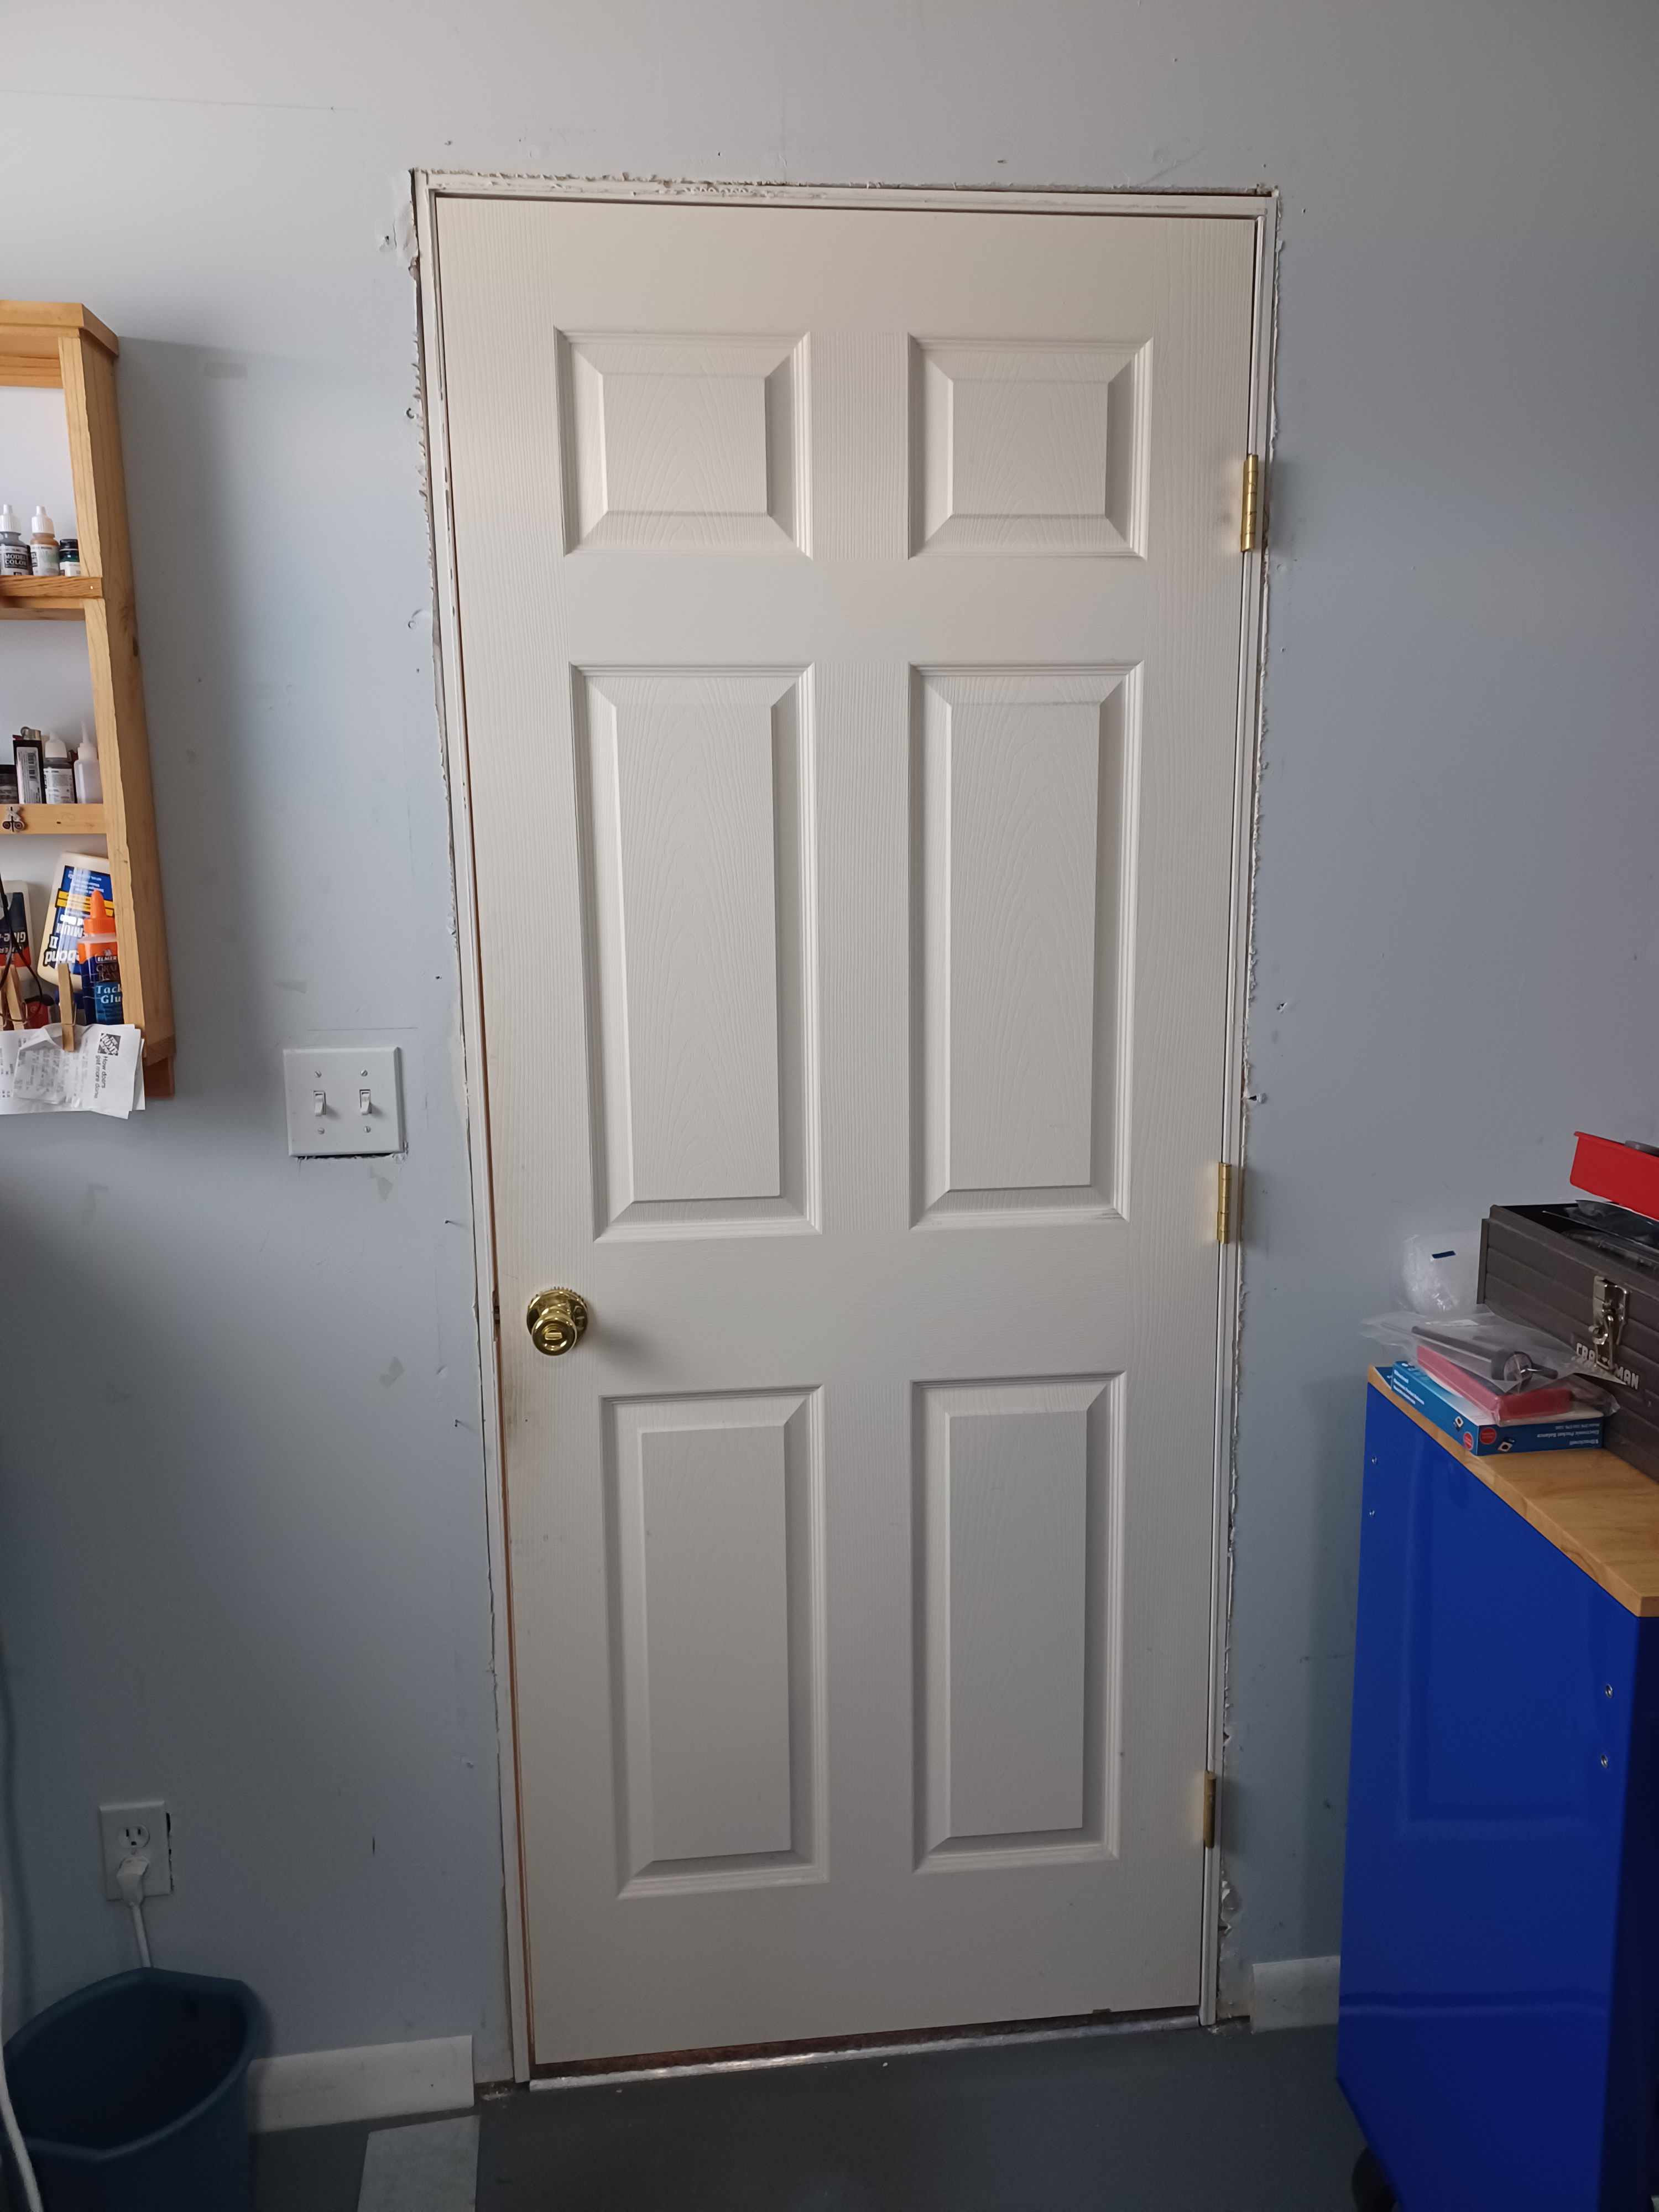
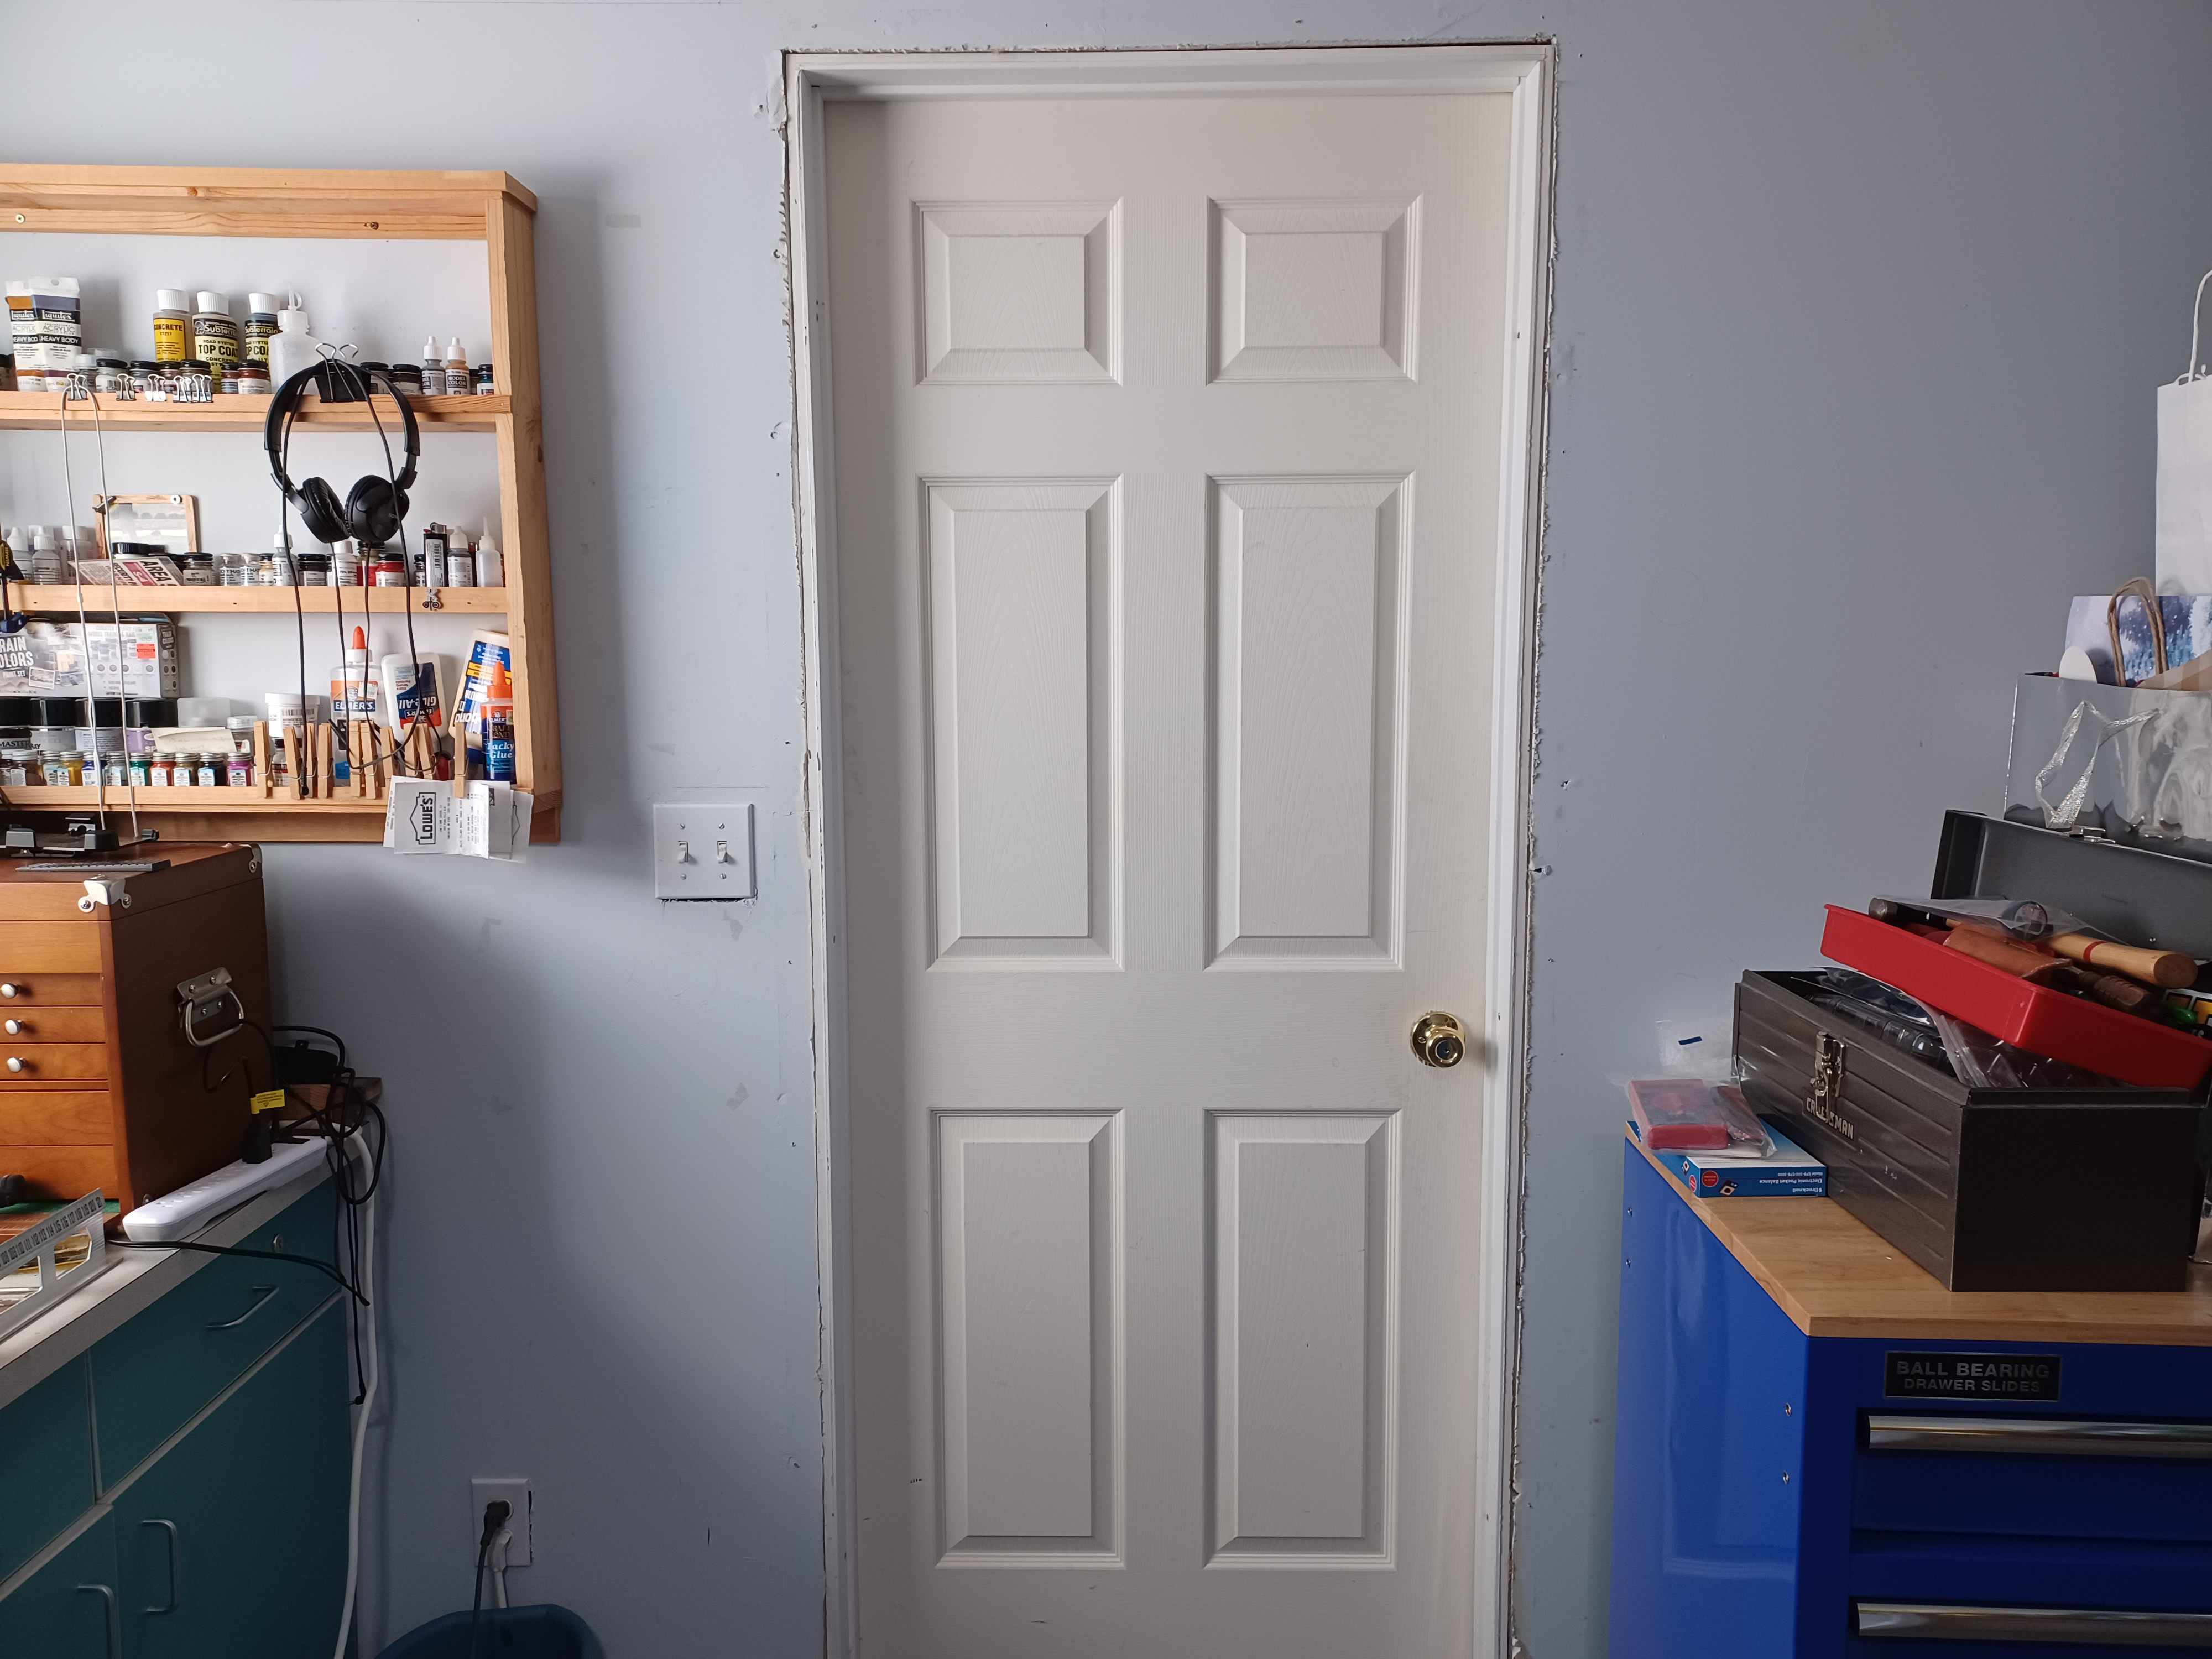
I needed to reverse the door into the room as the plan for my layout evolved from what I originally intended. I carefully removed the trim, sawzalled the nails in the jamb, and reversed the pre-hung door. I lined up everything again, re-mounted the jamb, and re-installed the door.
2 Likes
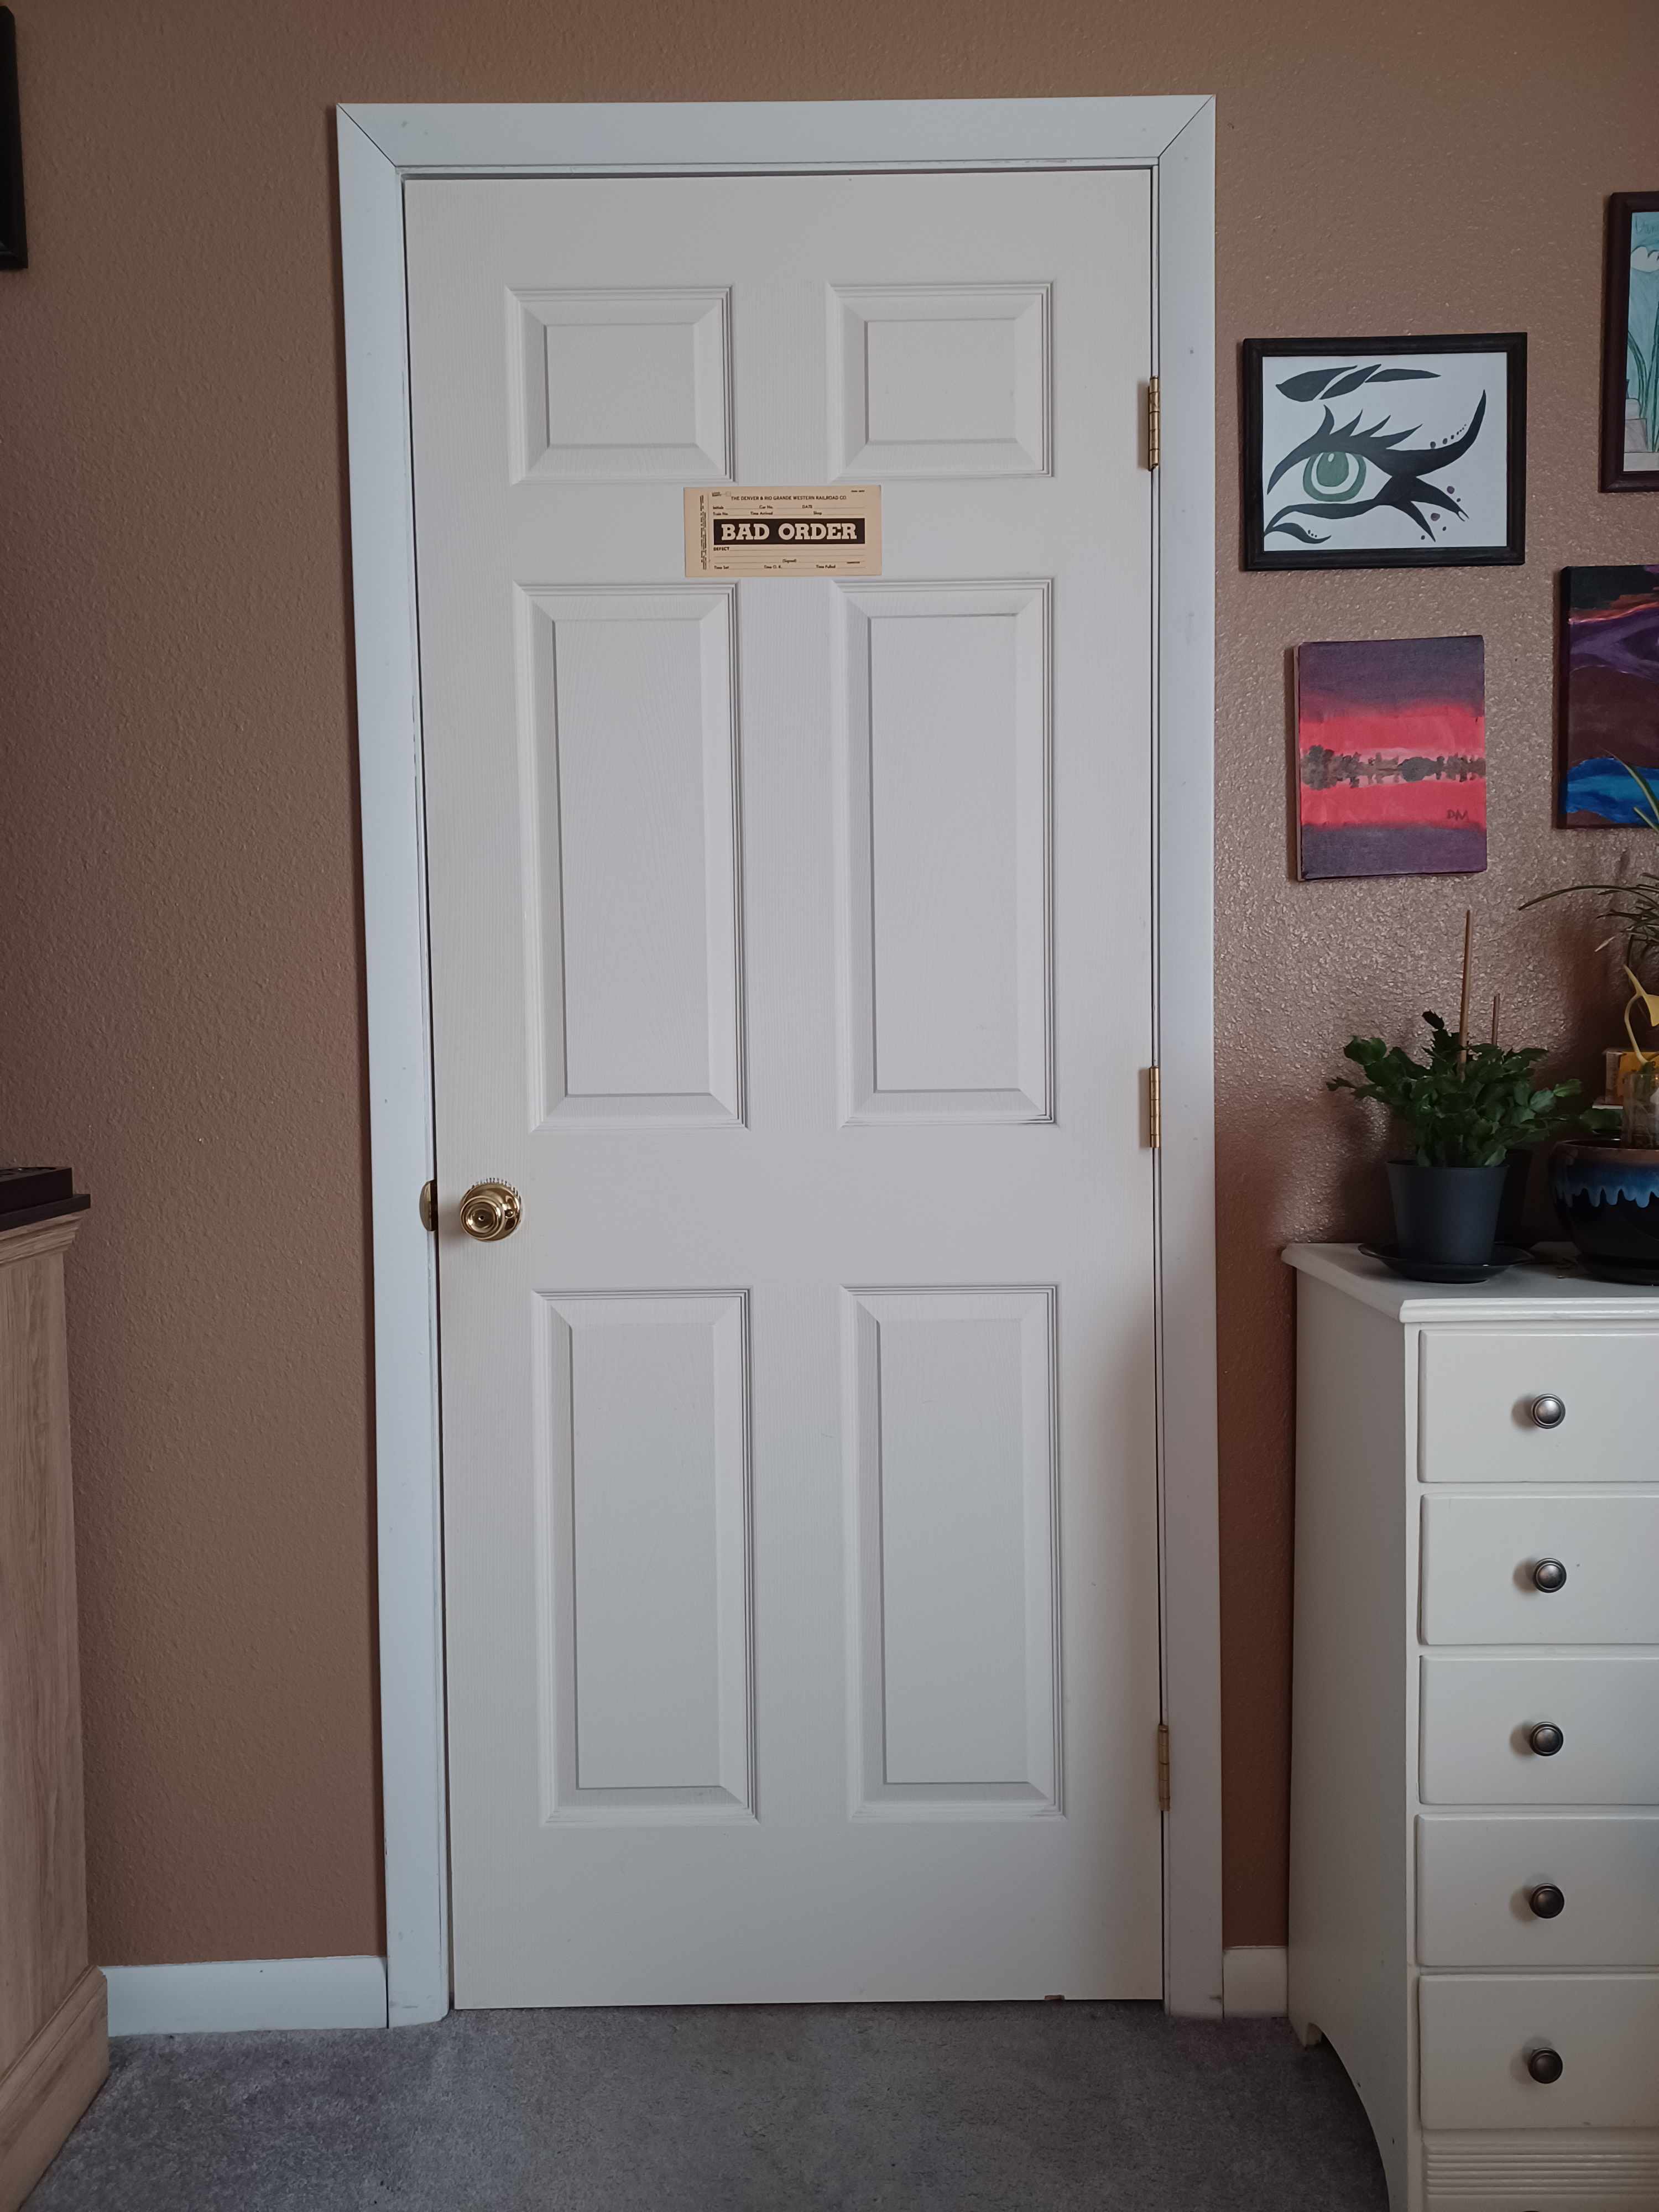
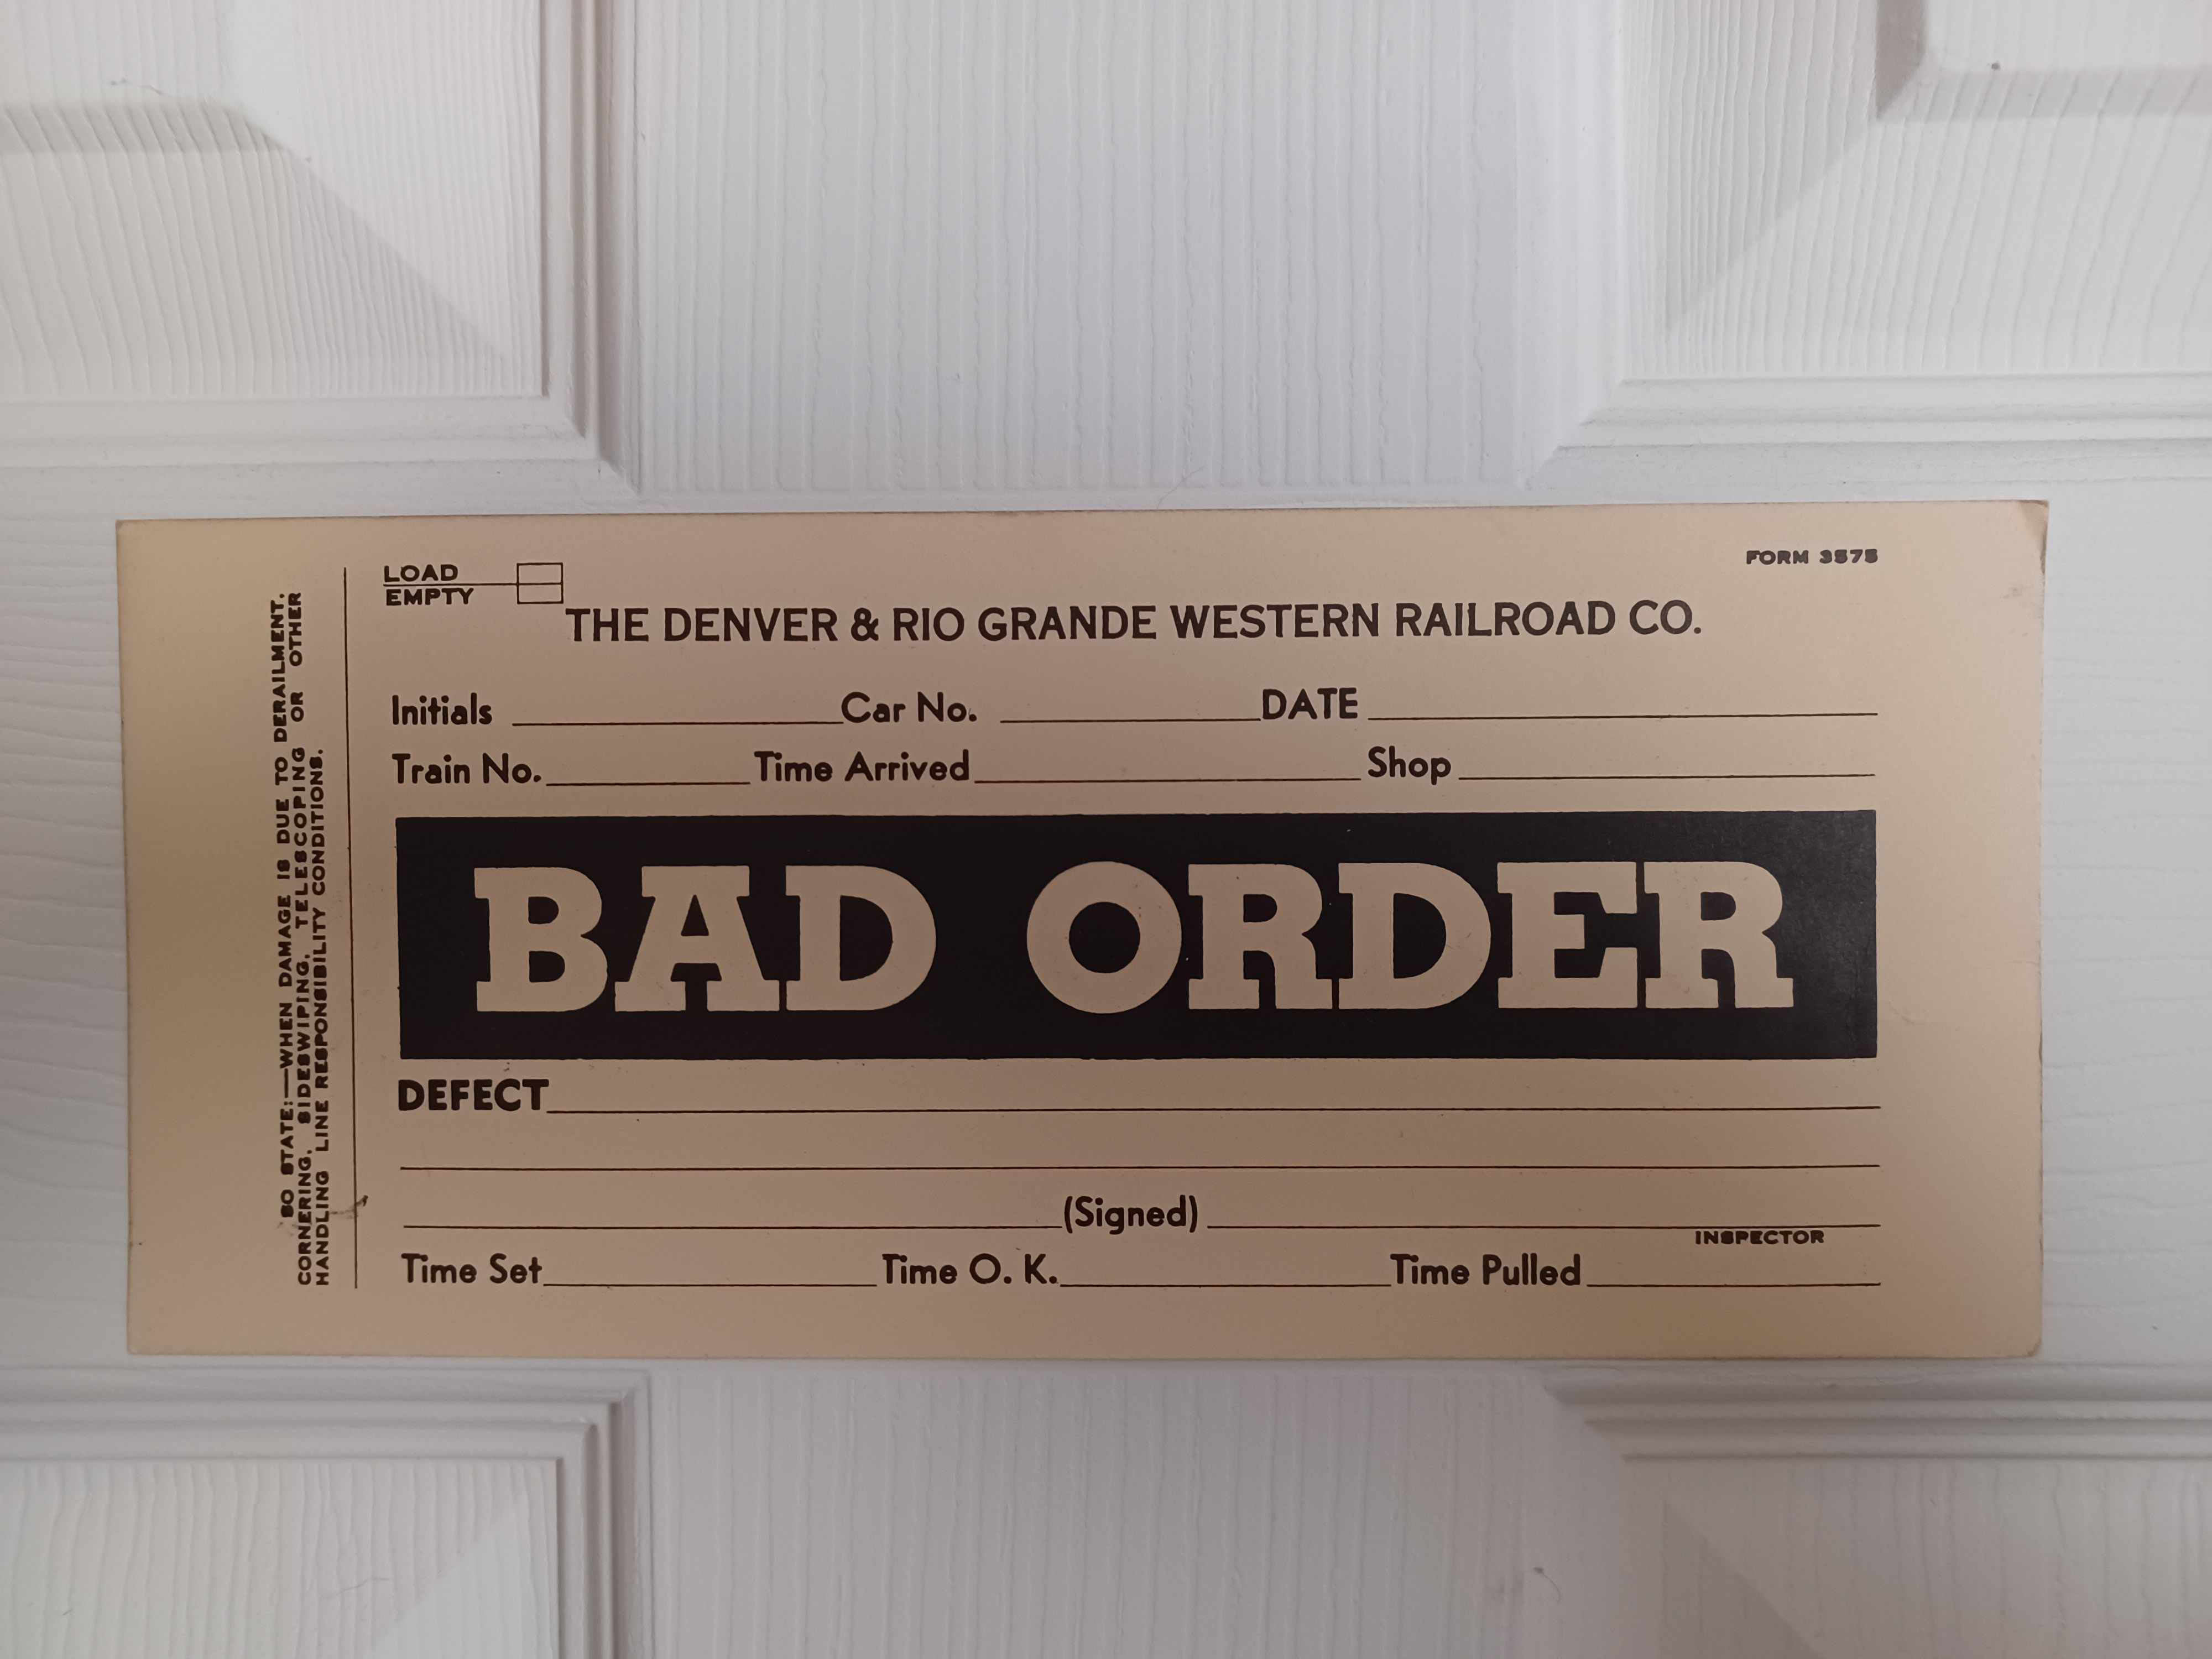
The trim was reinstalled and touched up with paint. A friend of mine gave me a D&RGW bad order car repair card.
3 Likes
Nice work on the door.
Rich
1 Like
Nice work, E-C-Mills! Love the photos, and I hope you can keep us up-to-date as the work progresses.
3 Likes
Looking forward to seeing this new layout progress, Eric! It will be great to see you ideas take shape on a much larger layout than your last.
3 Likes
Like everyone says,looking forward to the progress!
3 Likes
Thanks Everyone!
1 Like
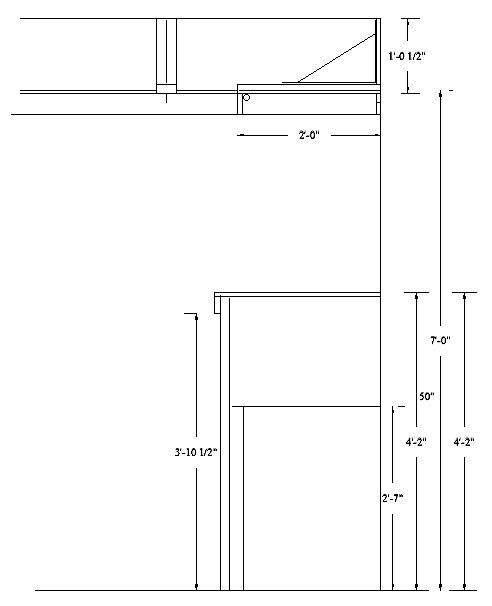
The layout room still needs to have some storage capability. So, I decided to build dual purpose overhead shelving and lighting valence. I did not want any brackets to be seen below the shelves. A challenging build to make hanging shelves. Here is a sectional sketch.
2 Likes
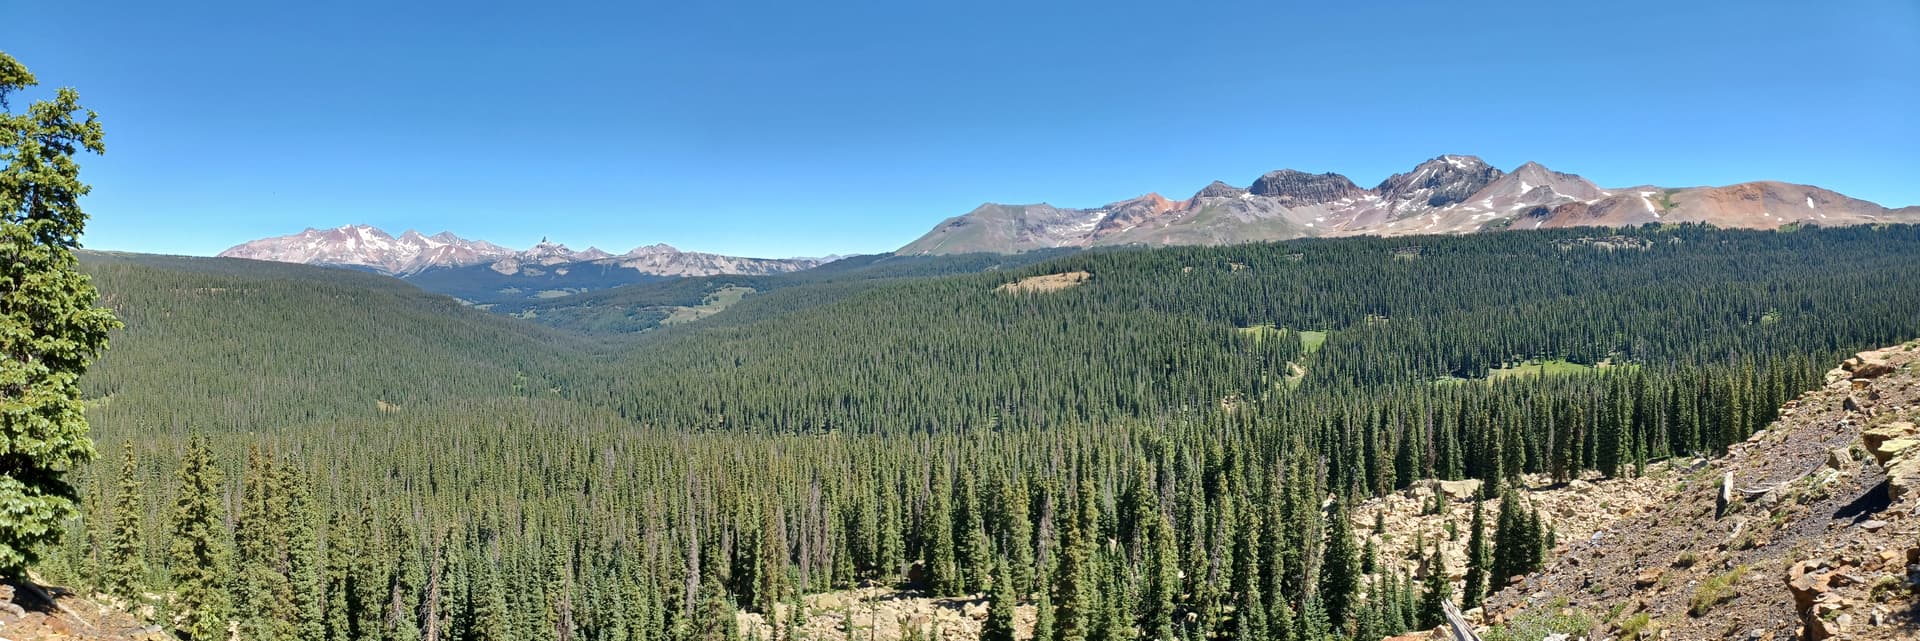
The color I chose for the shelving and upper sky for the backdrop is nearly the same color code as the dark upper portion of sky seen here over Lizard Head. This is from one of my favorite spots not too far from home. The Wilsons on the left and Sheep Mountain on the right.
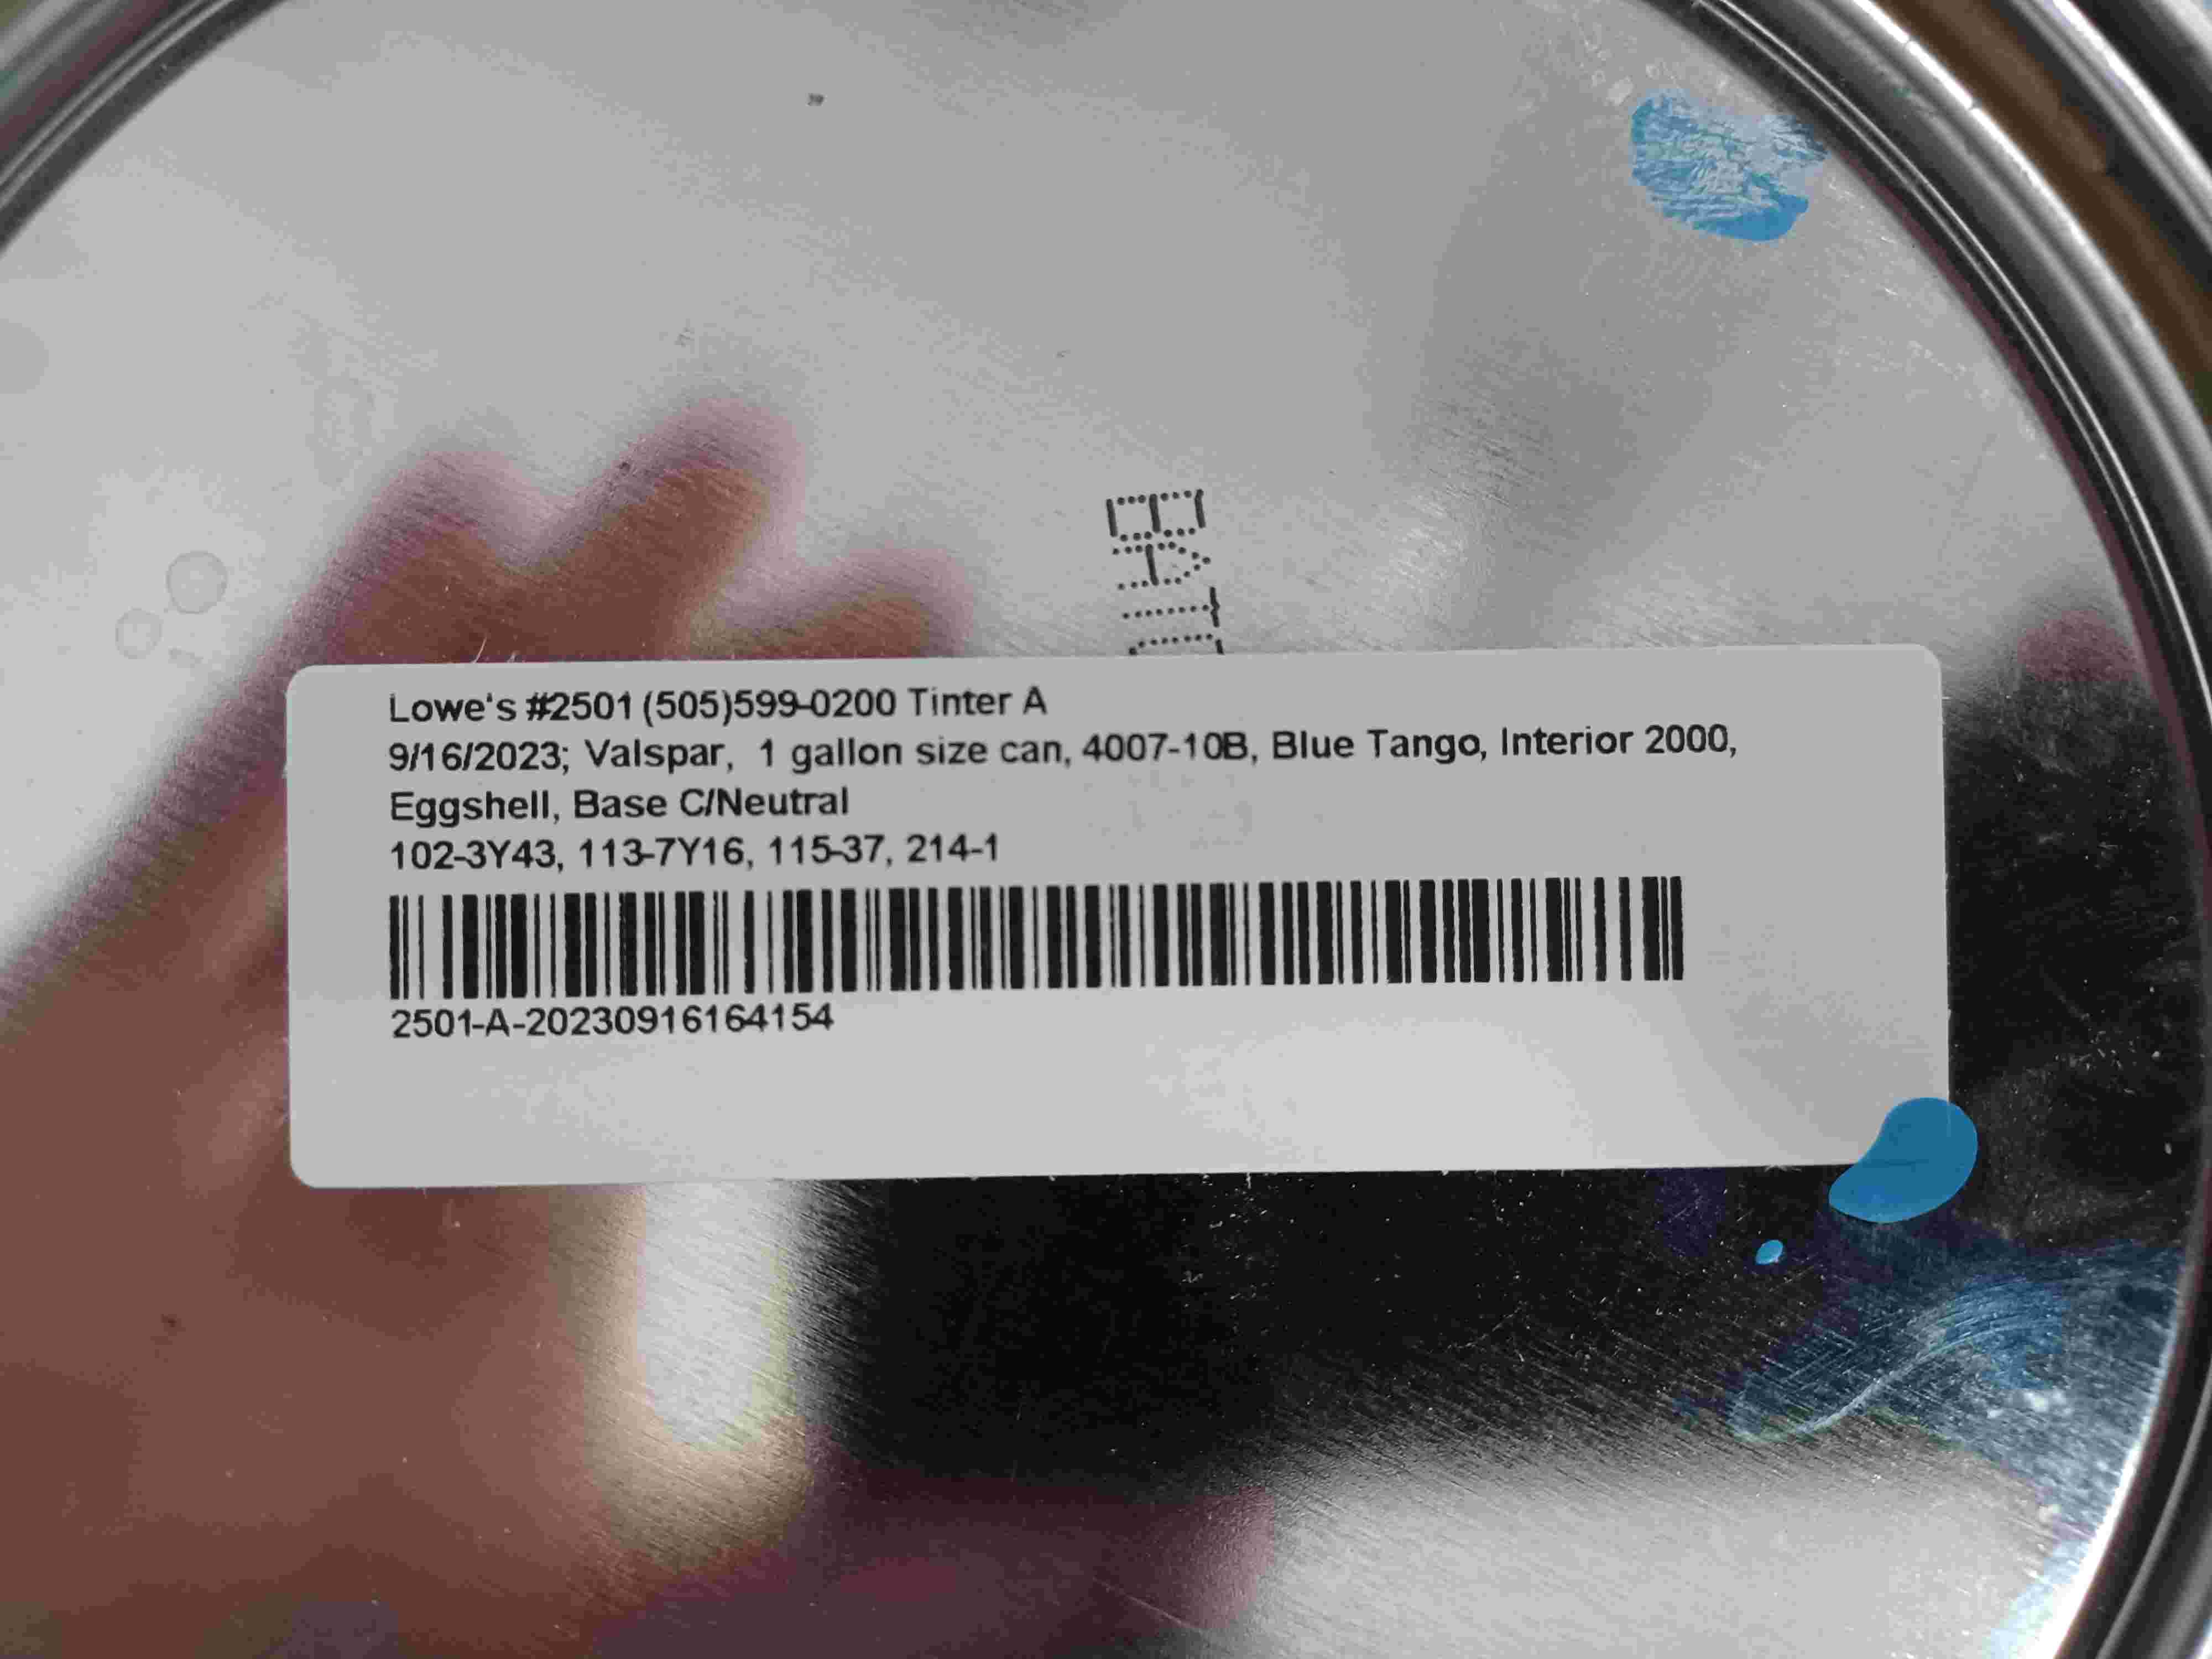
All the parts were pre-painted.
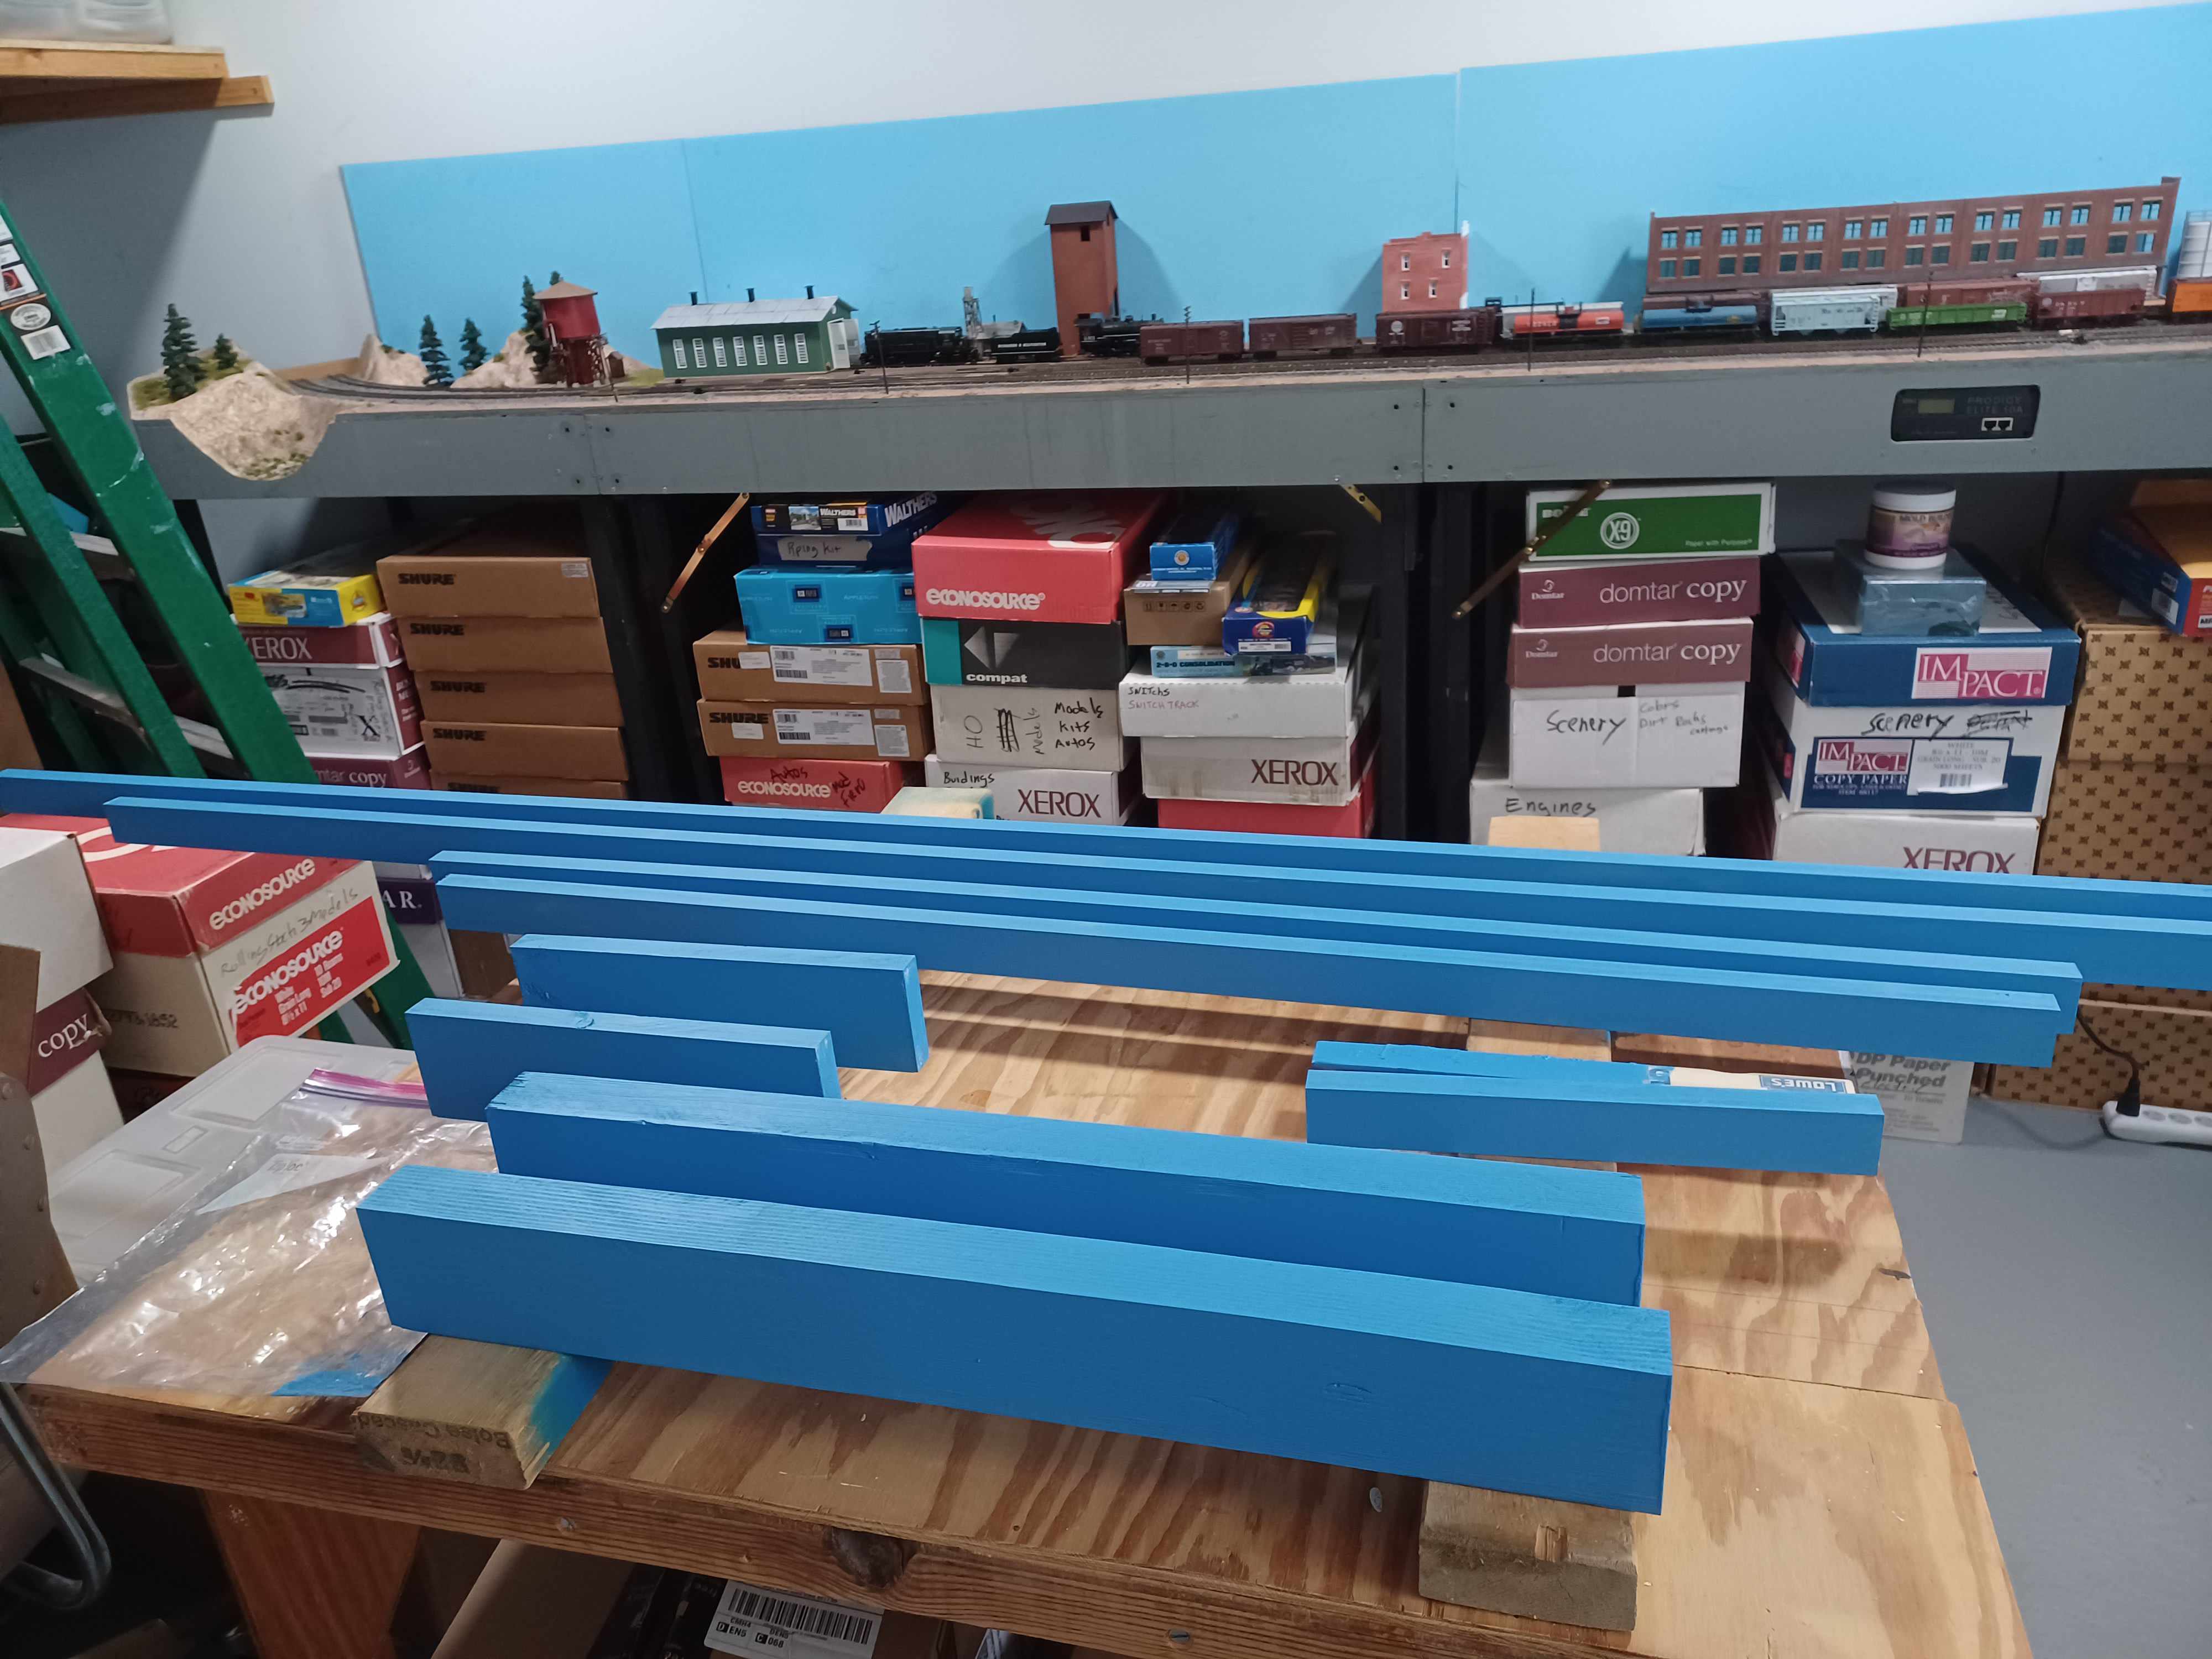
2 Likes
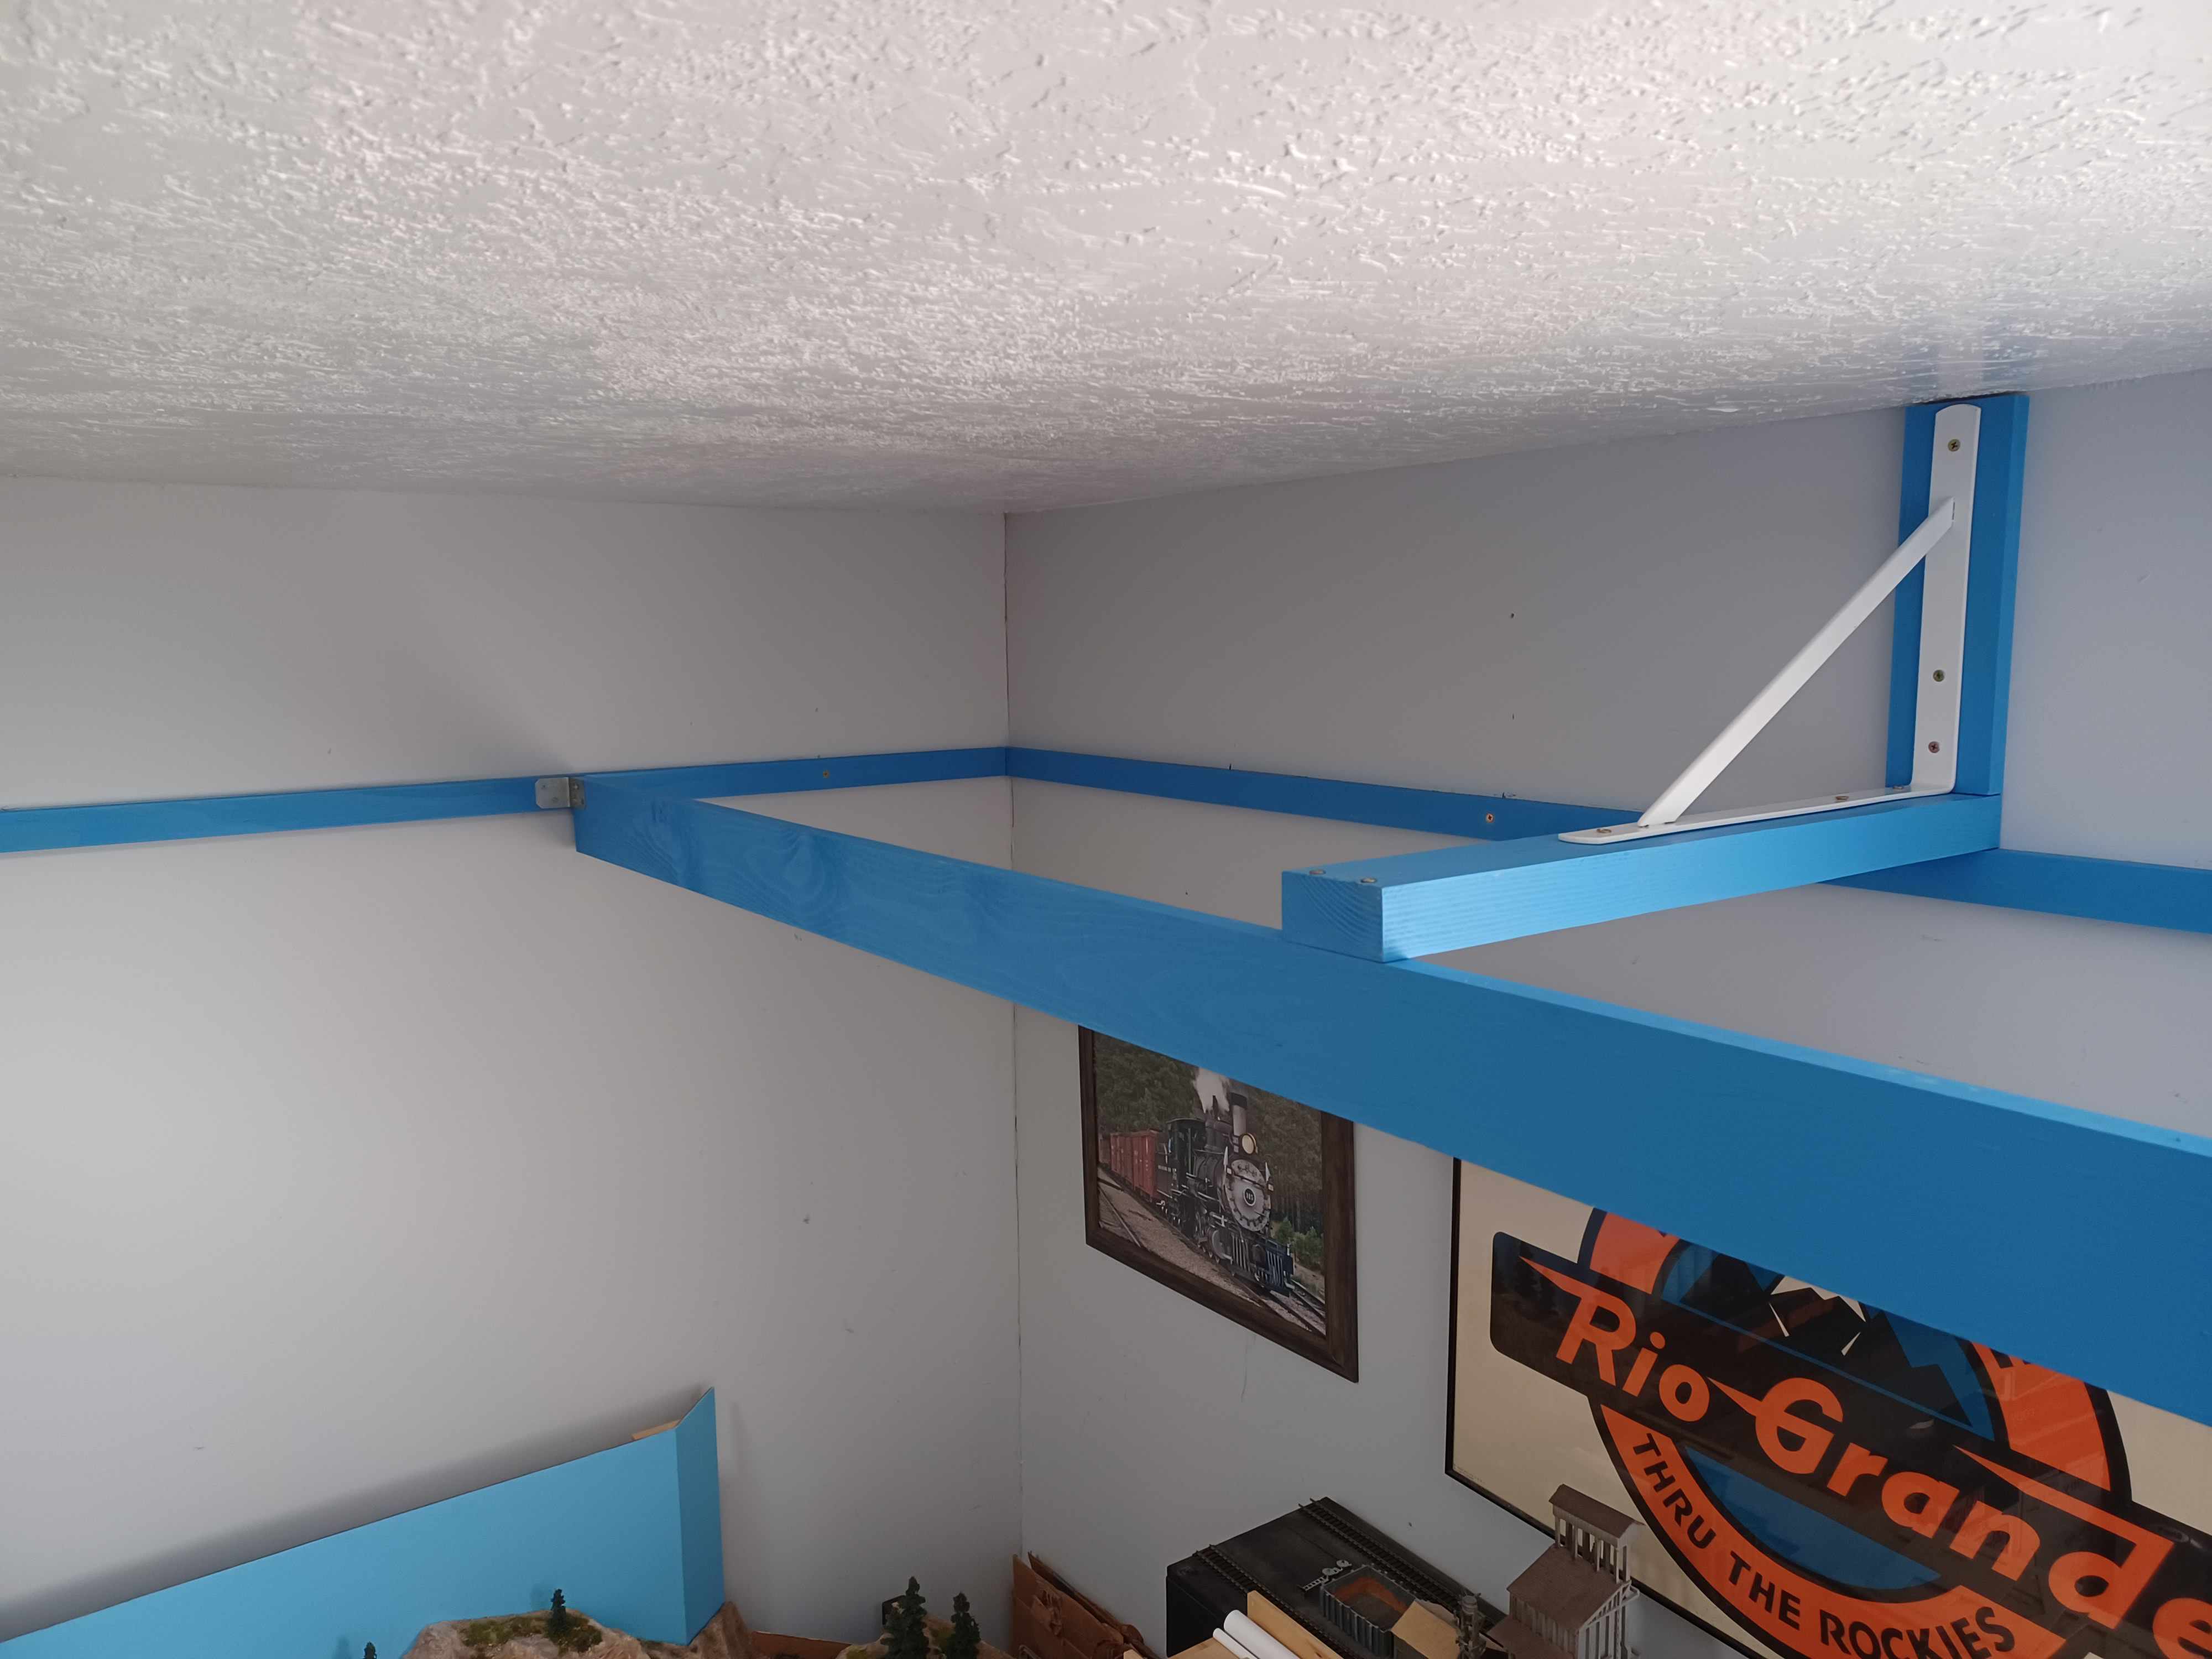
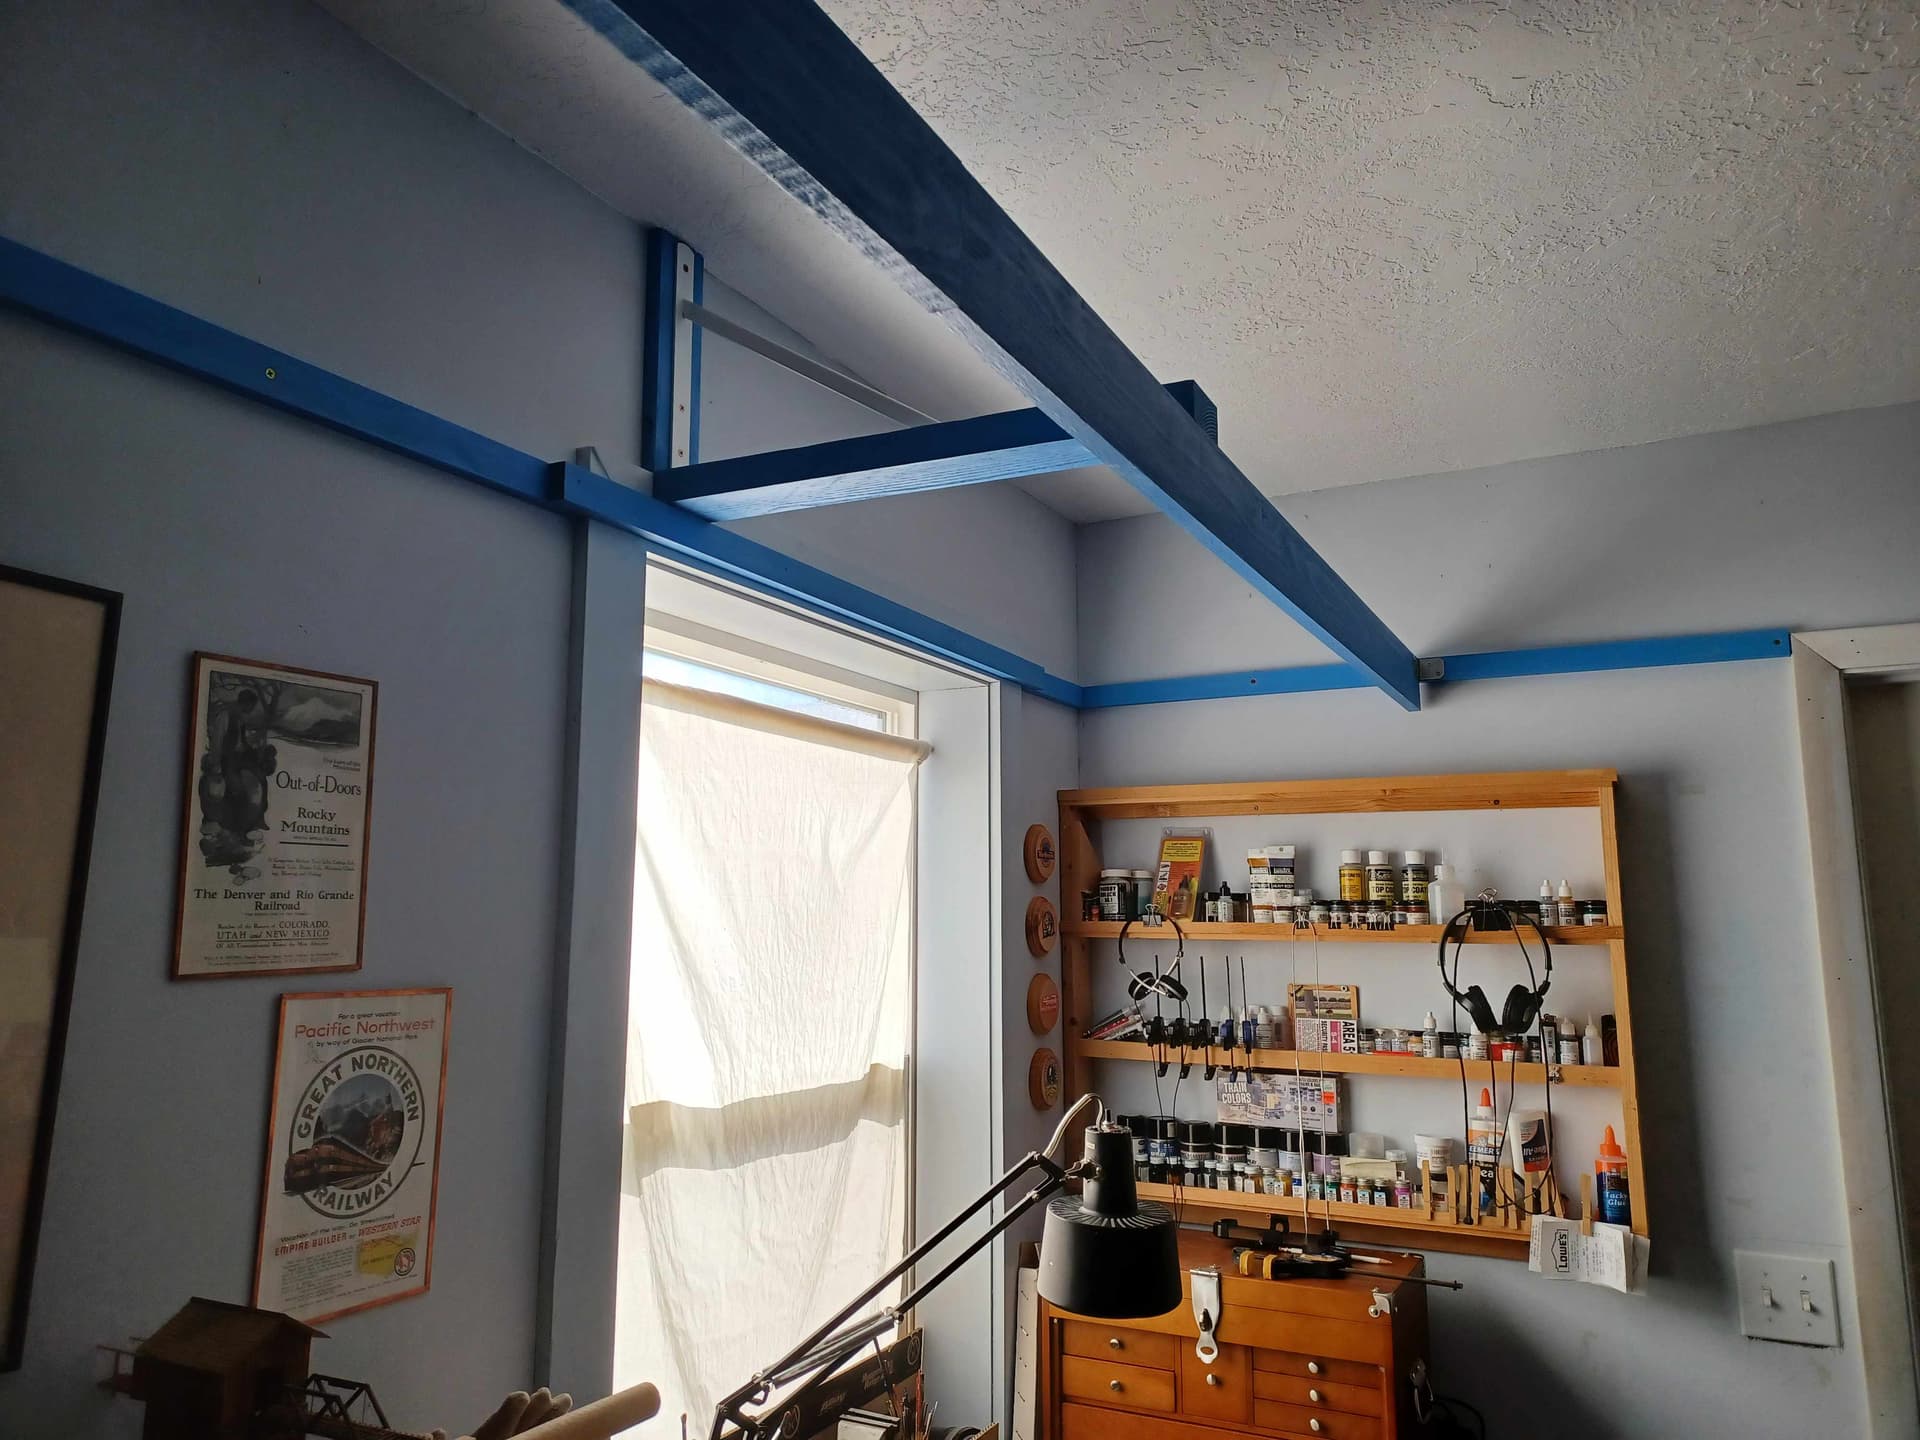
I installed 1x2 cleat around the walls just low enough to clear the entry door in the room. This is where it landed across the window.

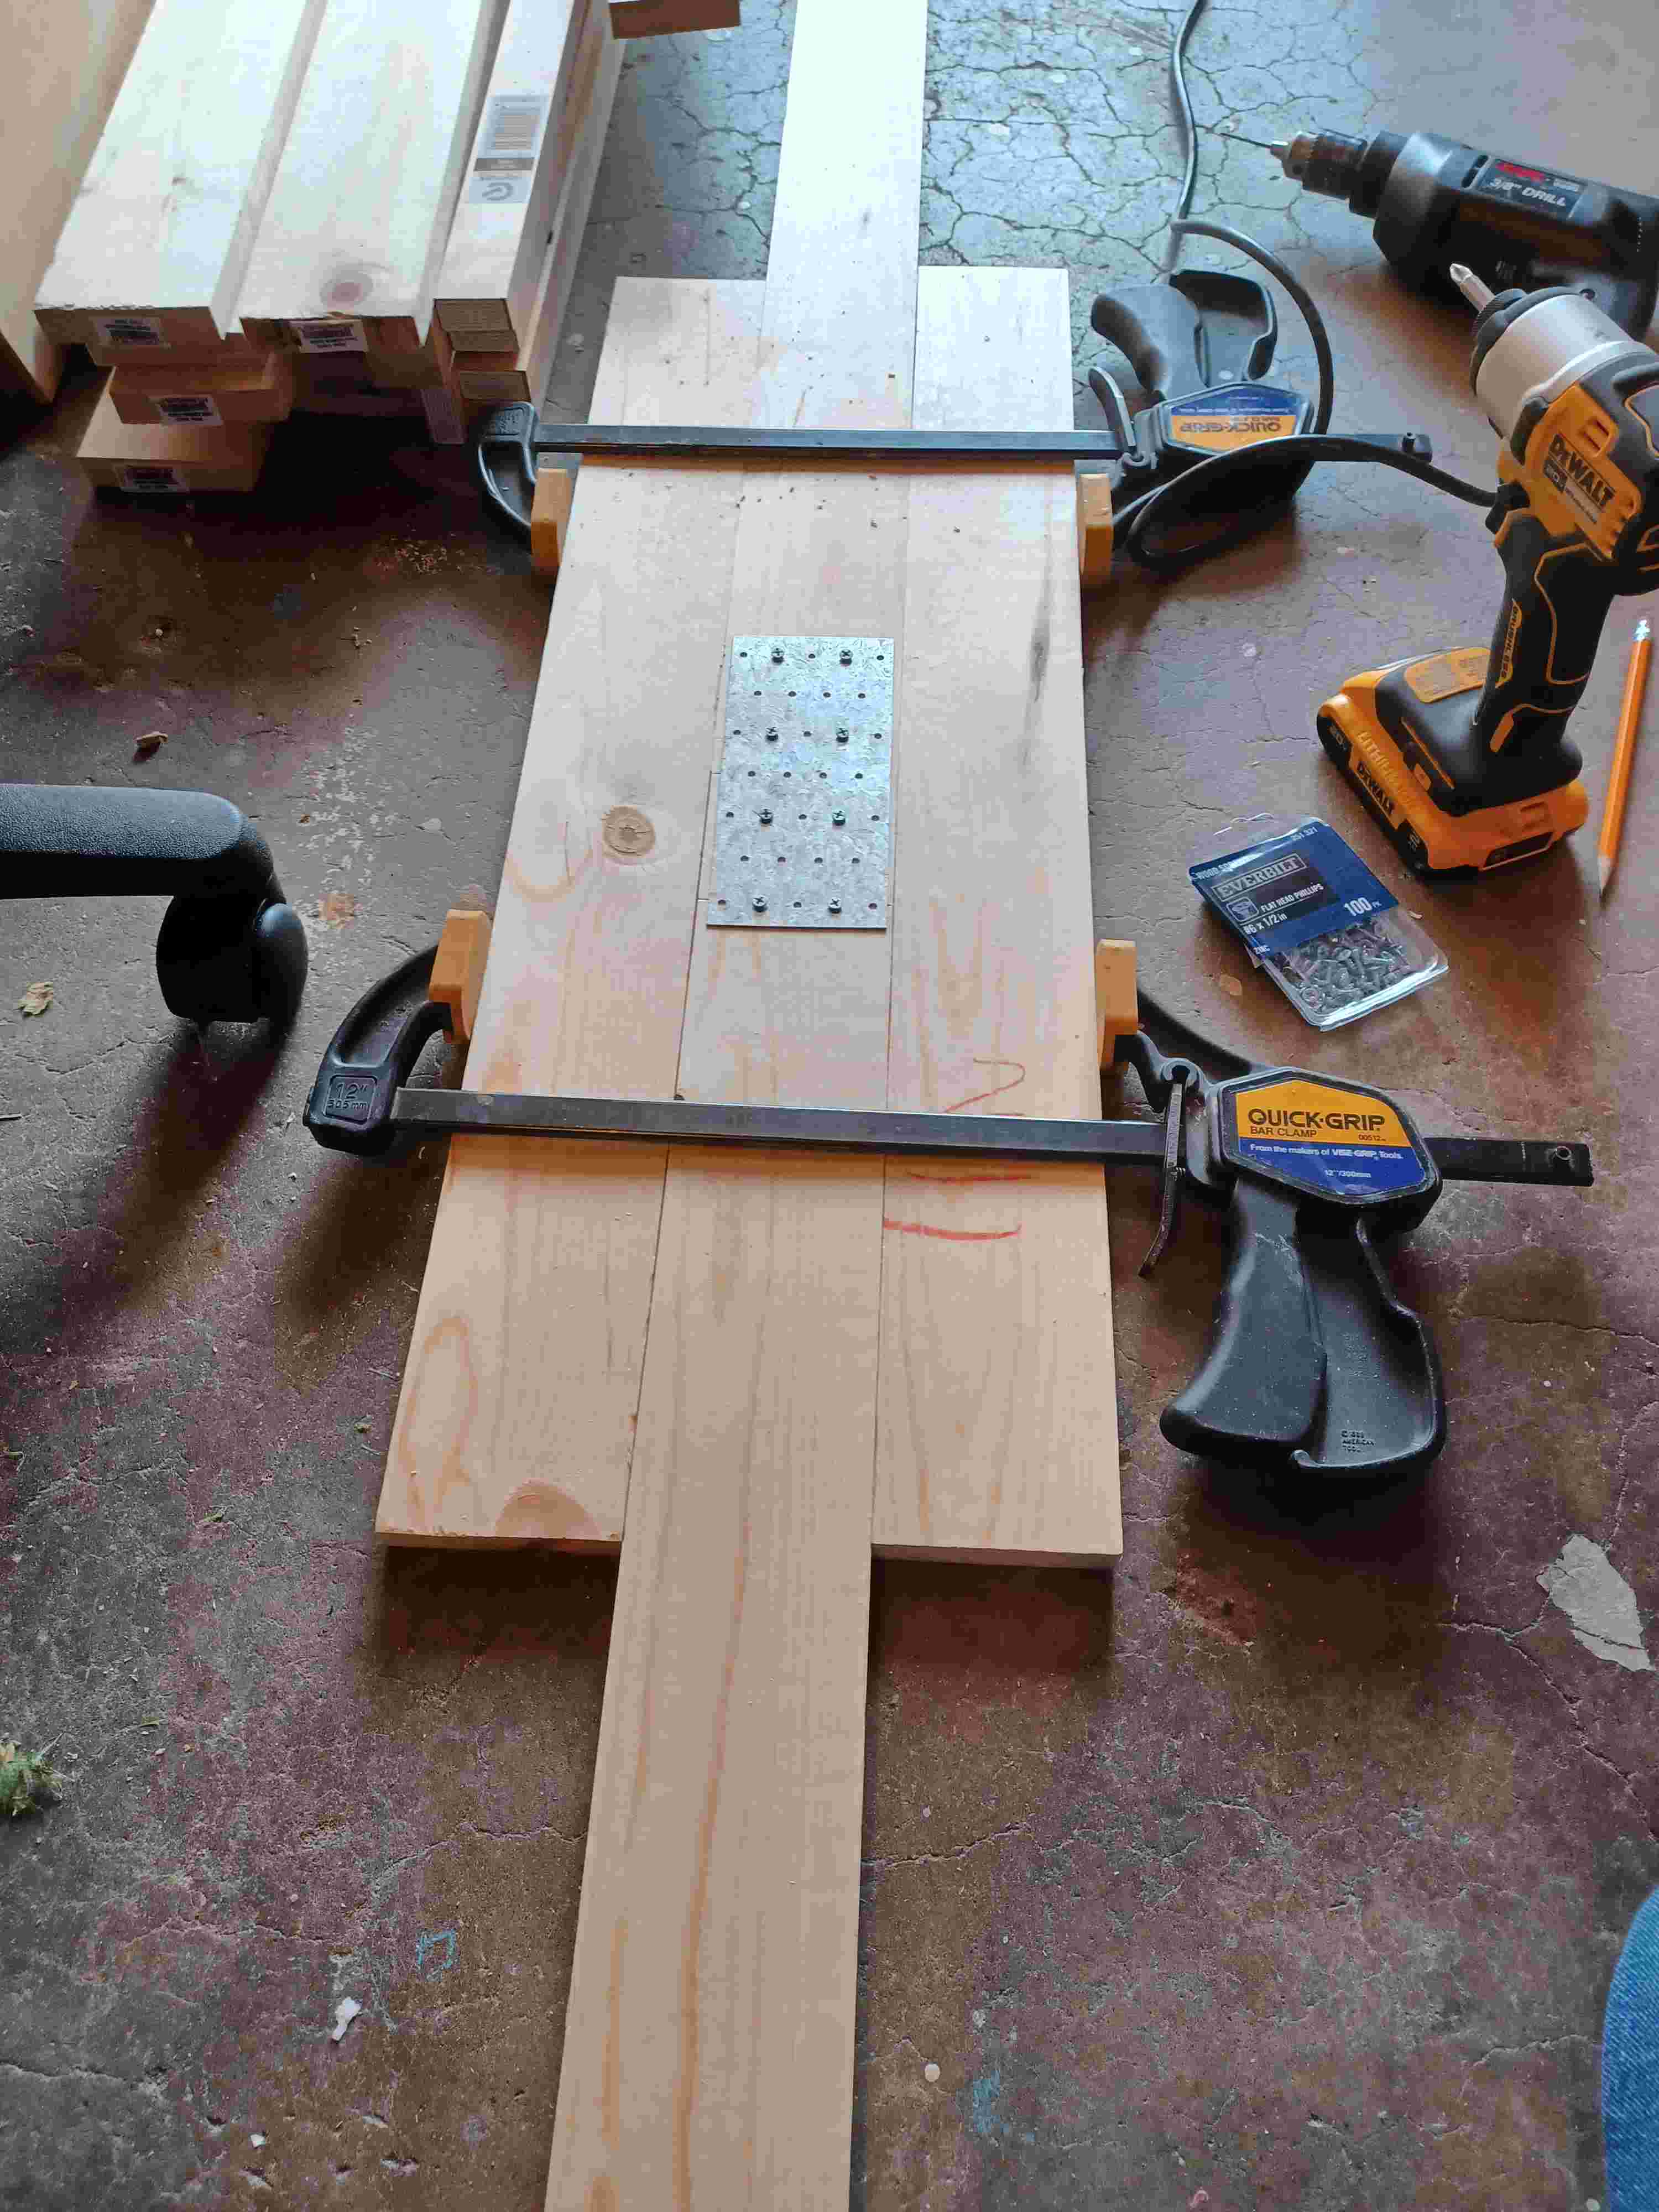
I got the largest metal brackets that would fit the overhead space. Further support is provided by 2x4 dressed on the table saw. Since the bracket assembly will essentially hang, I needed to square things up and pre-assemble them on the former shelf which was square with the walls.
This way you could line things up at the studs, mark the screw locations, and pre-drill into the studs. We have long screws going in to the studs that will provide anchoring.

8 Likes
Clever storage solution, Eric. Good use of the space behind the light valence. Glad you could use those San Juan skies to inspire your color choice. That area is my favorite part of Colorado.
5 Likes
I’ll say.
Rich
2 Likes
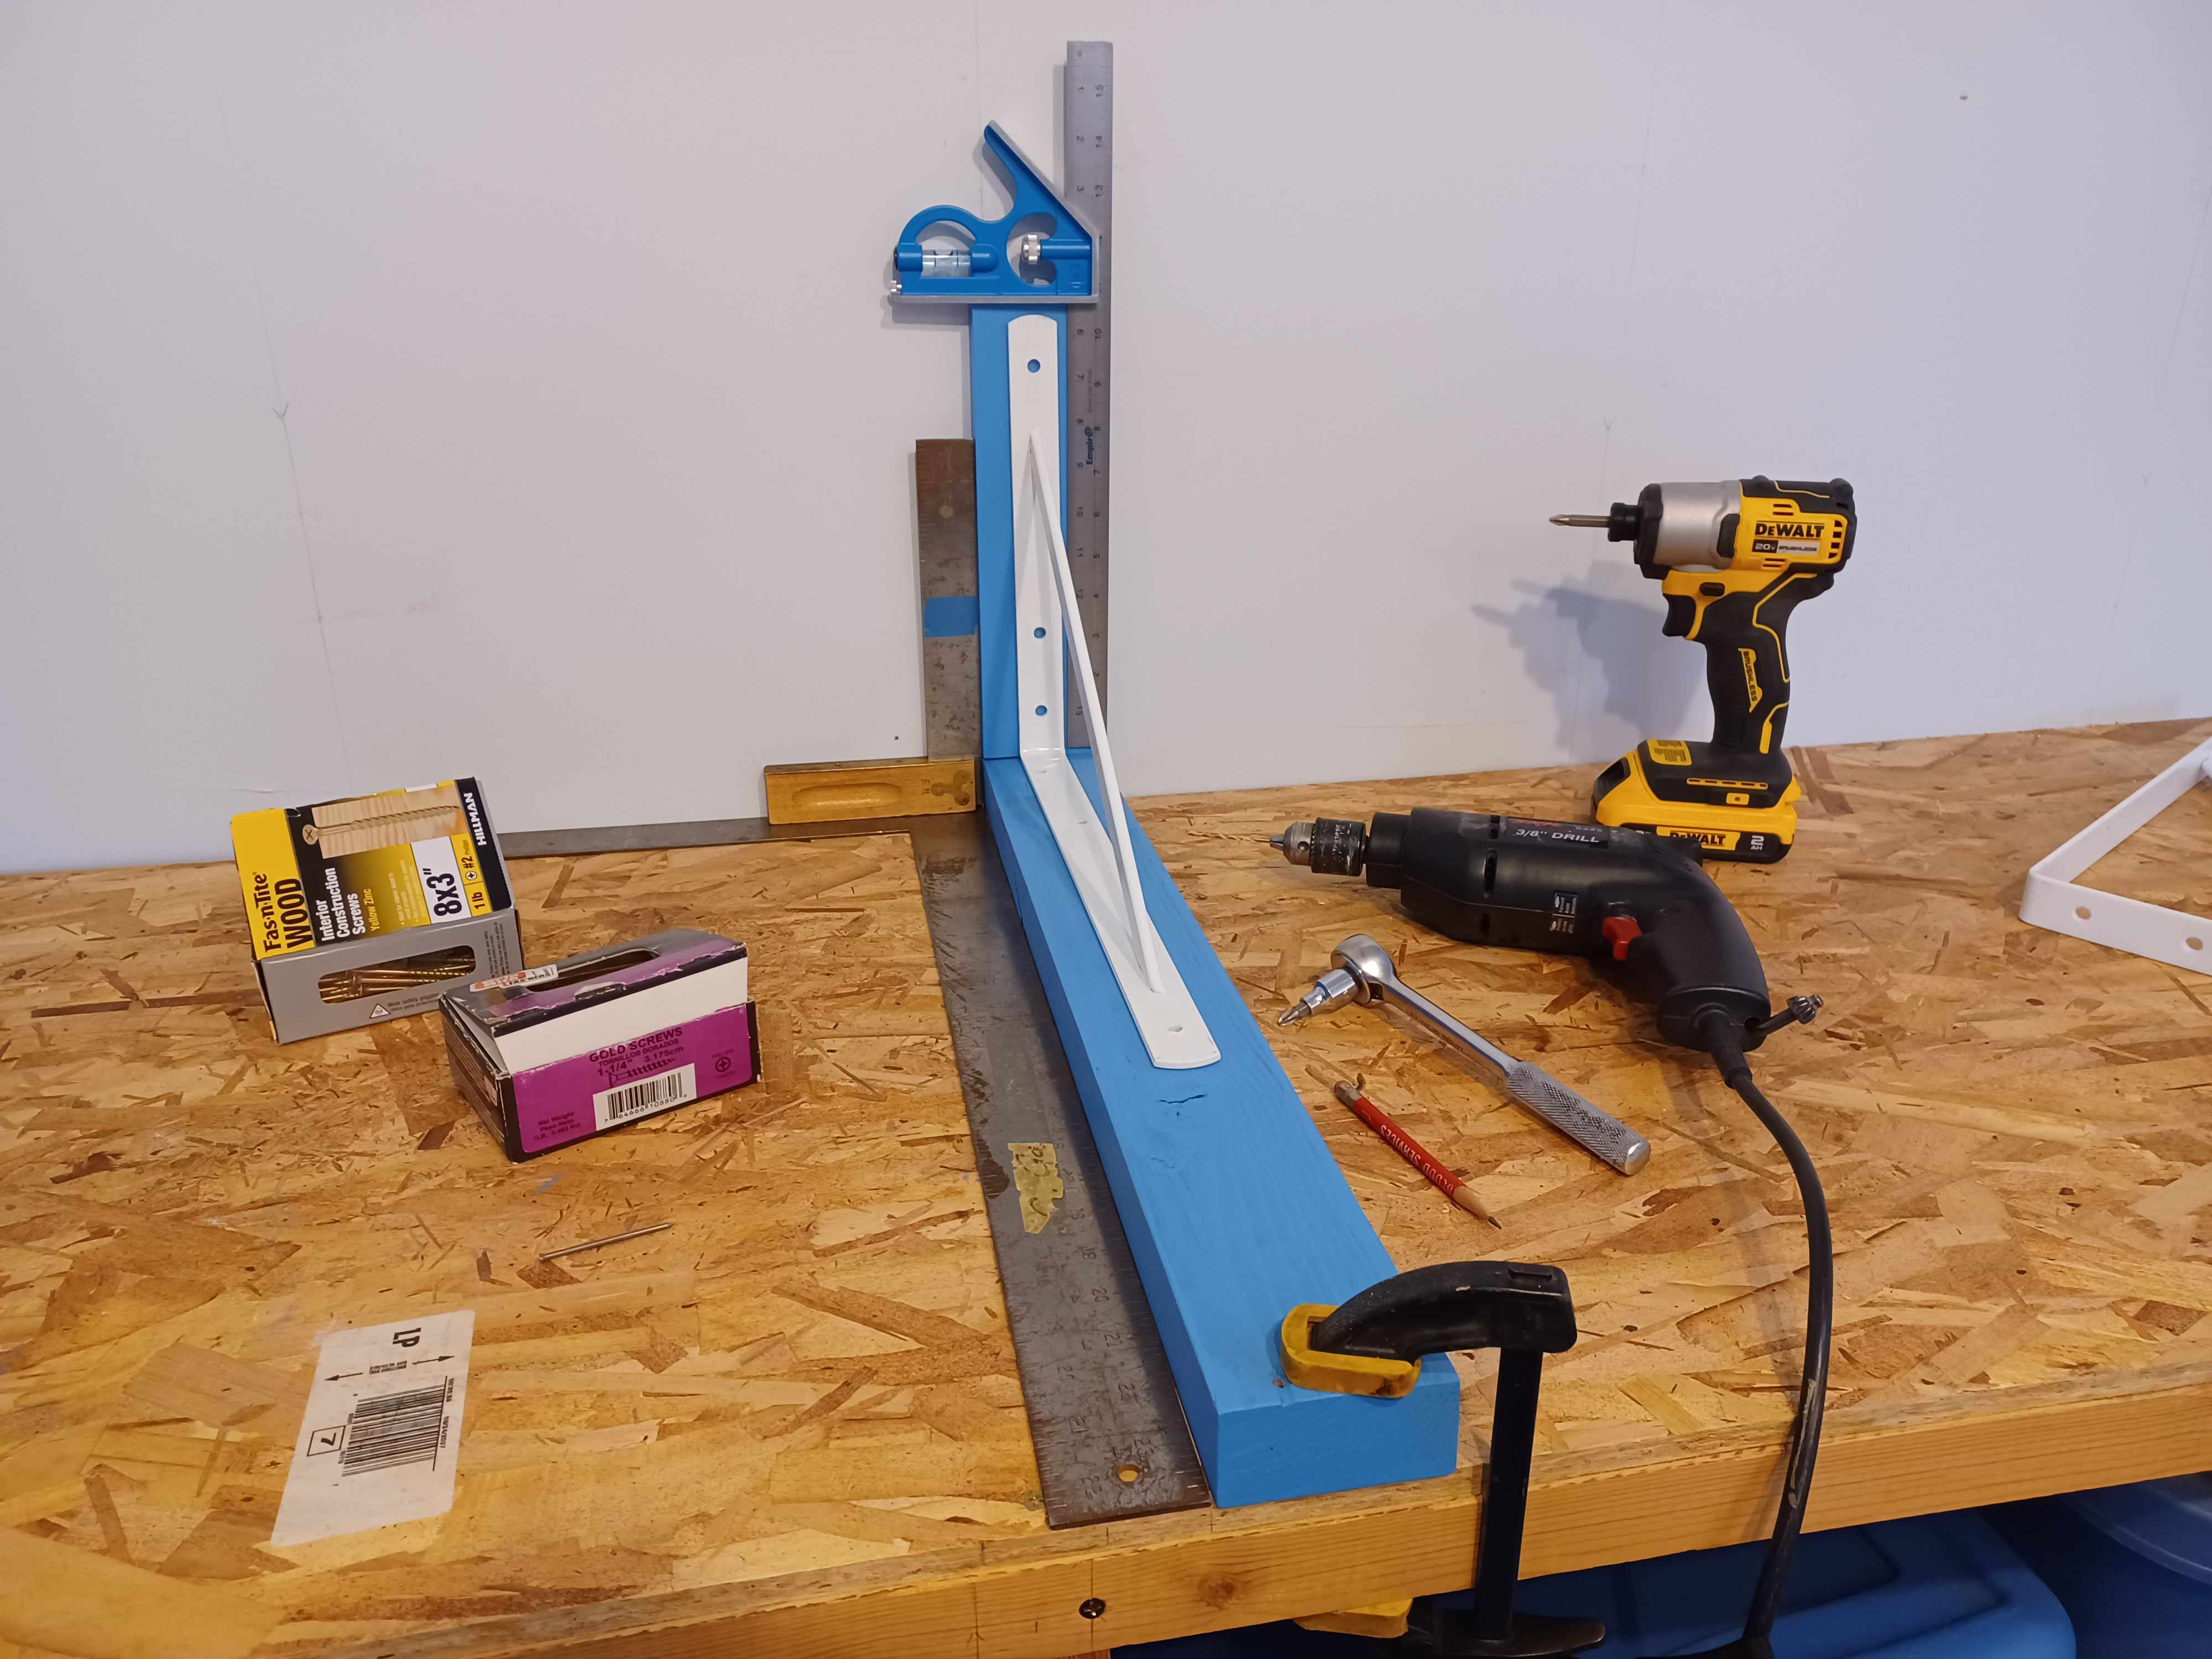
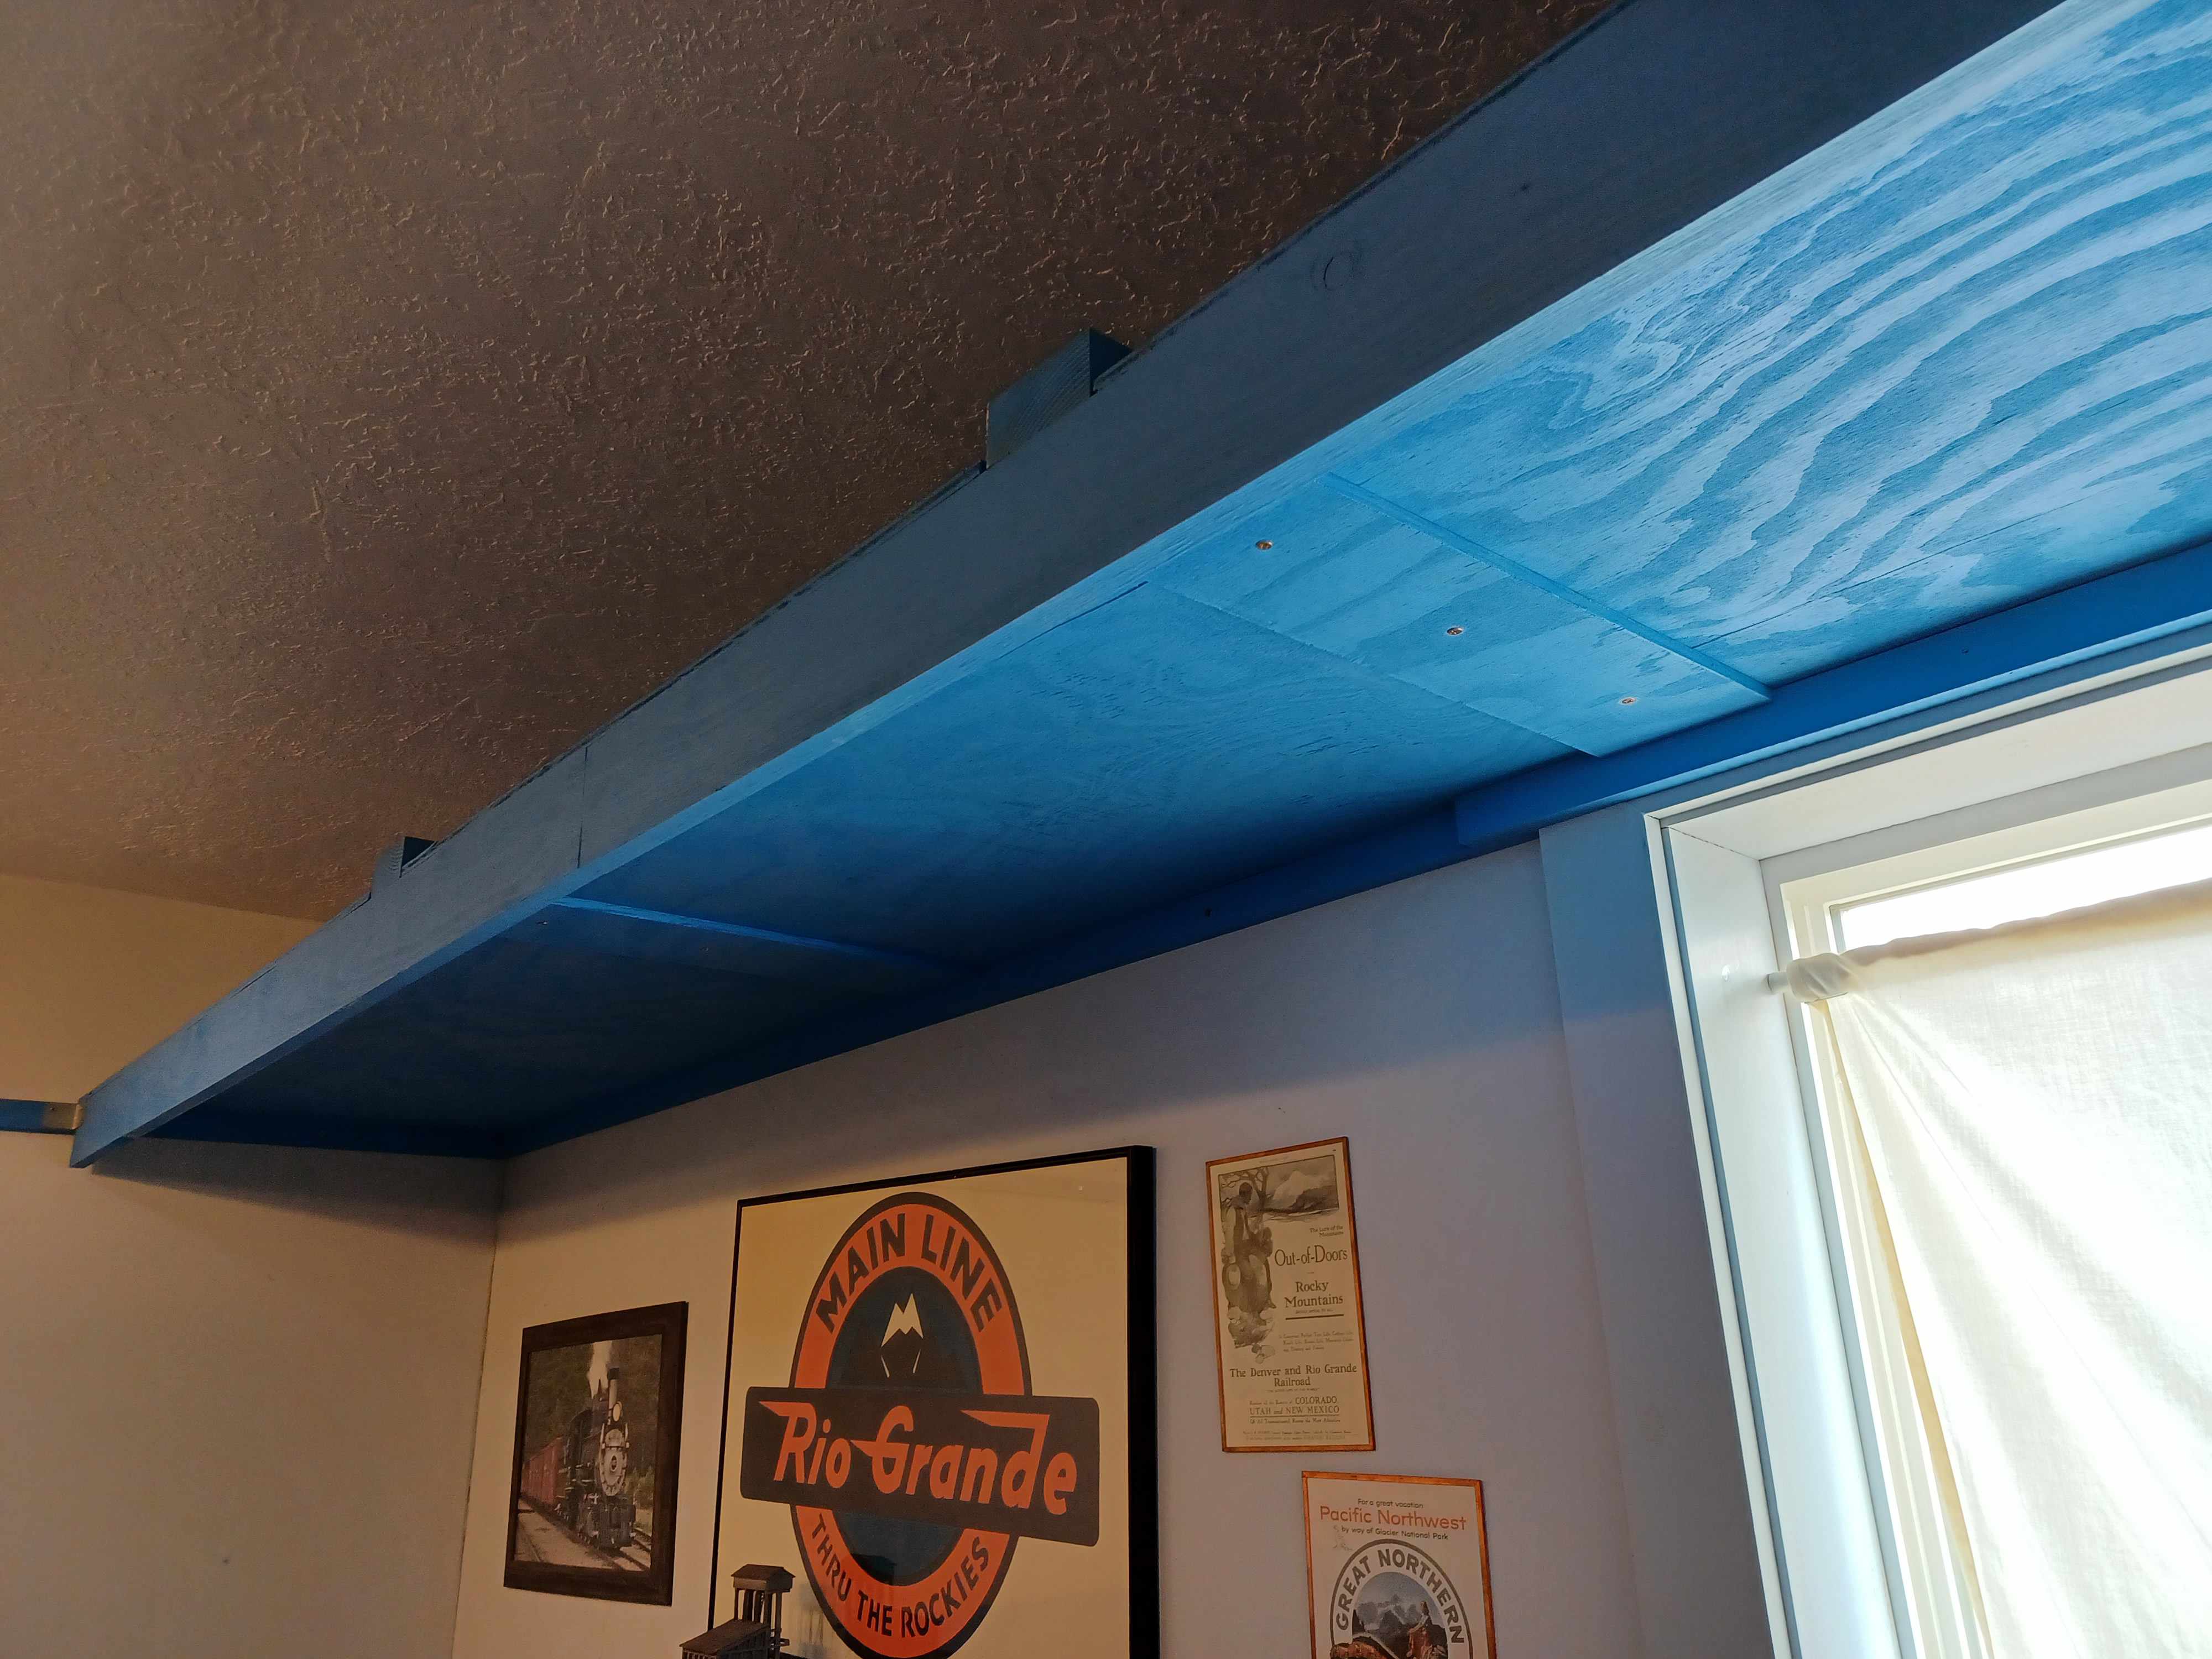
Making the front facing stringers that will carry the front of the shelving and be the valence. I probably could have done some better joinery, but this is holding together ok.
3 Likes
Before I mounted the brackets I pre-drilled screw holes at the ends of the 2x4s, with the drill press, so they could go straight into the stringers. Then I clamped the stringers, pre-drill, then fasten. The stringers are anchored at the ends with metal brackets.
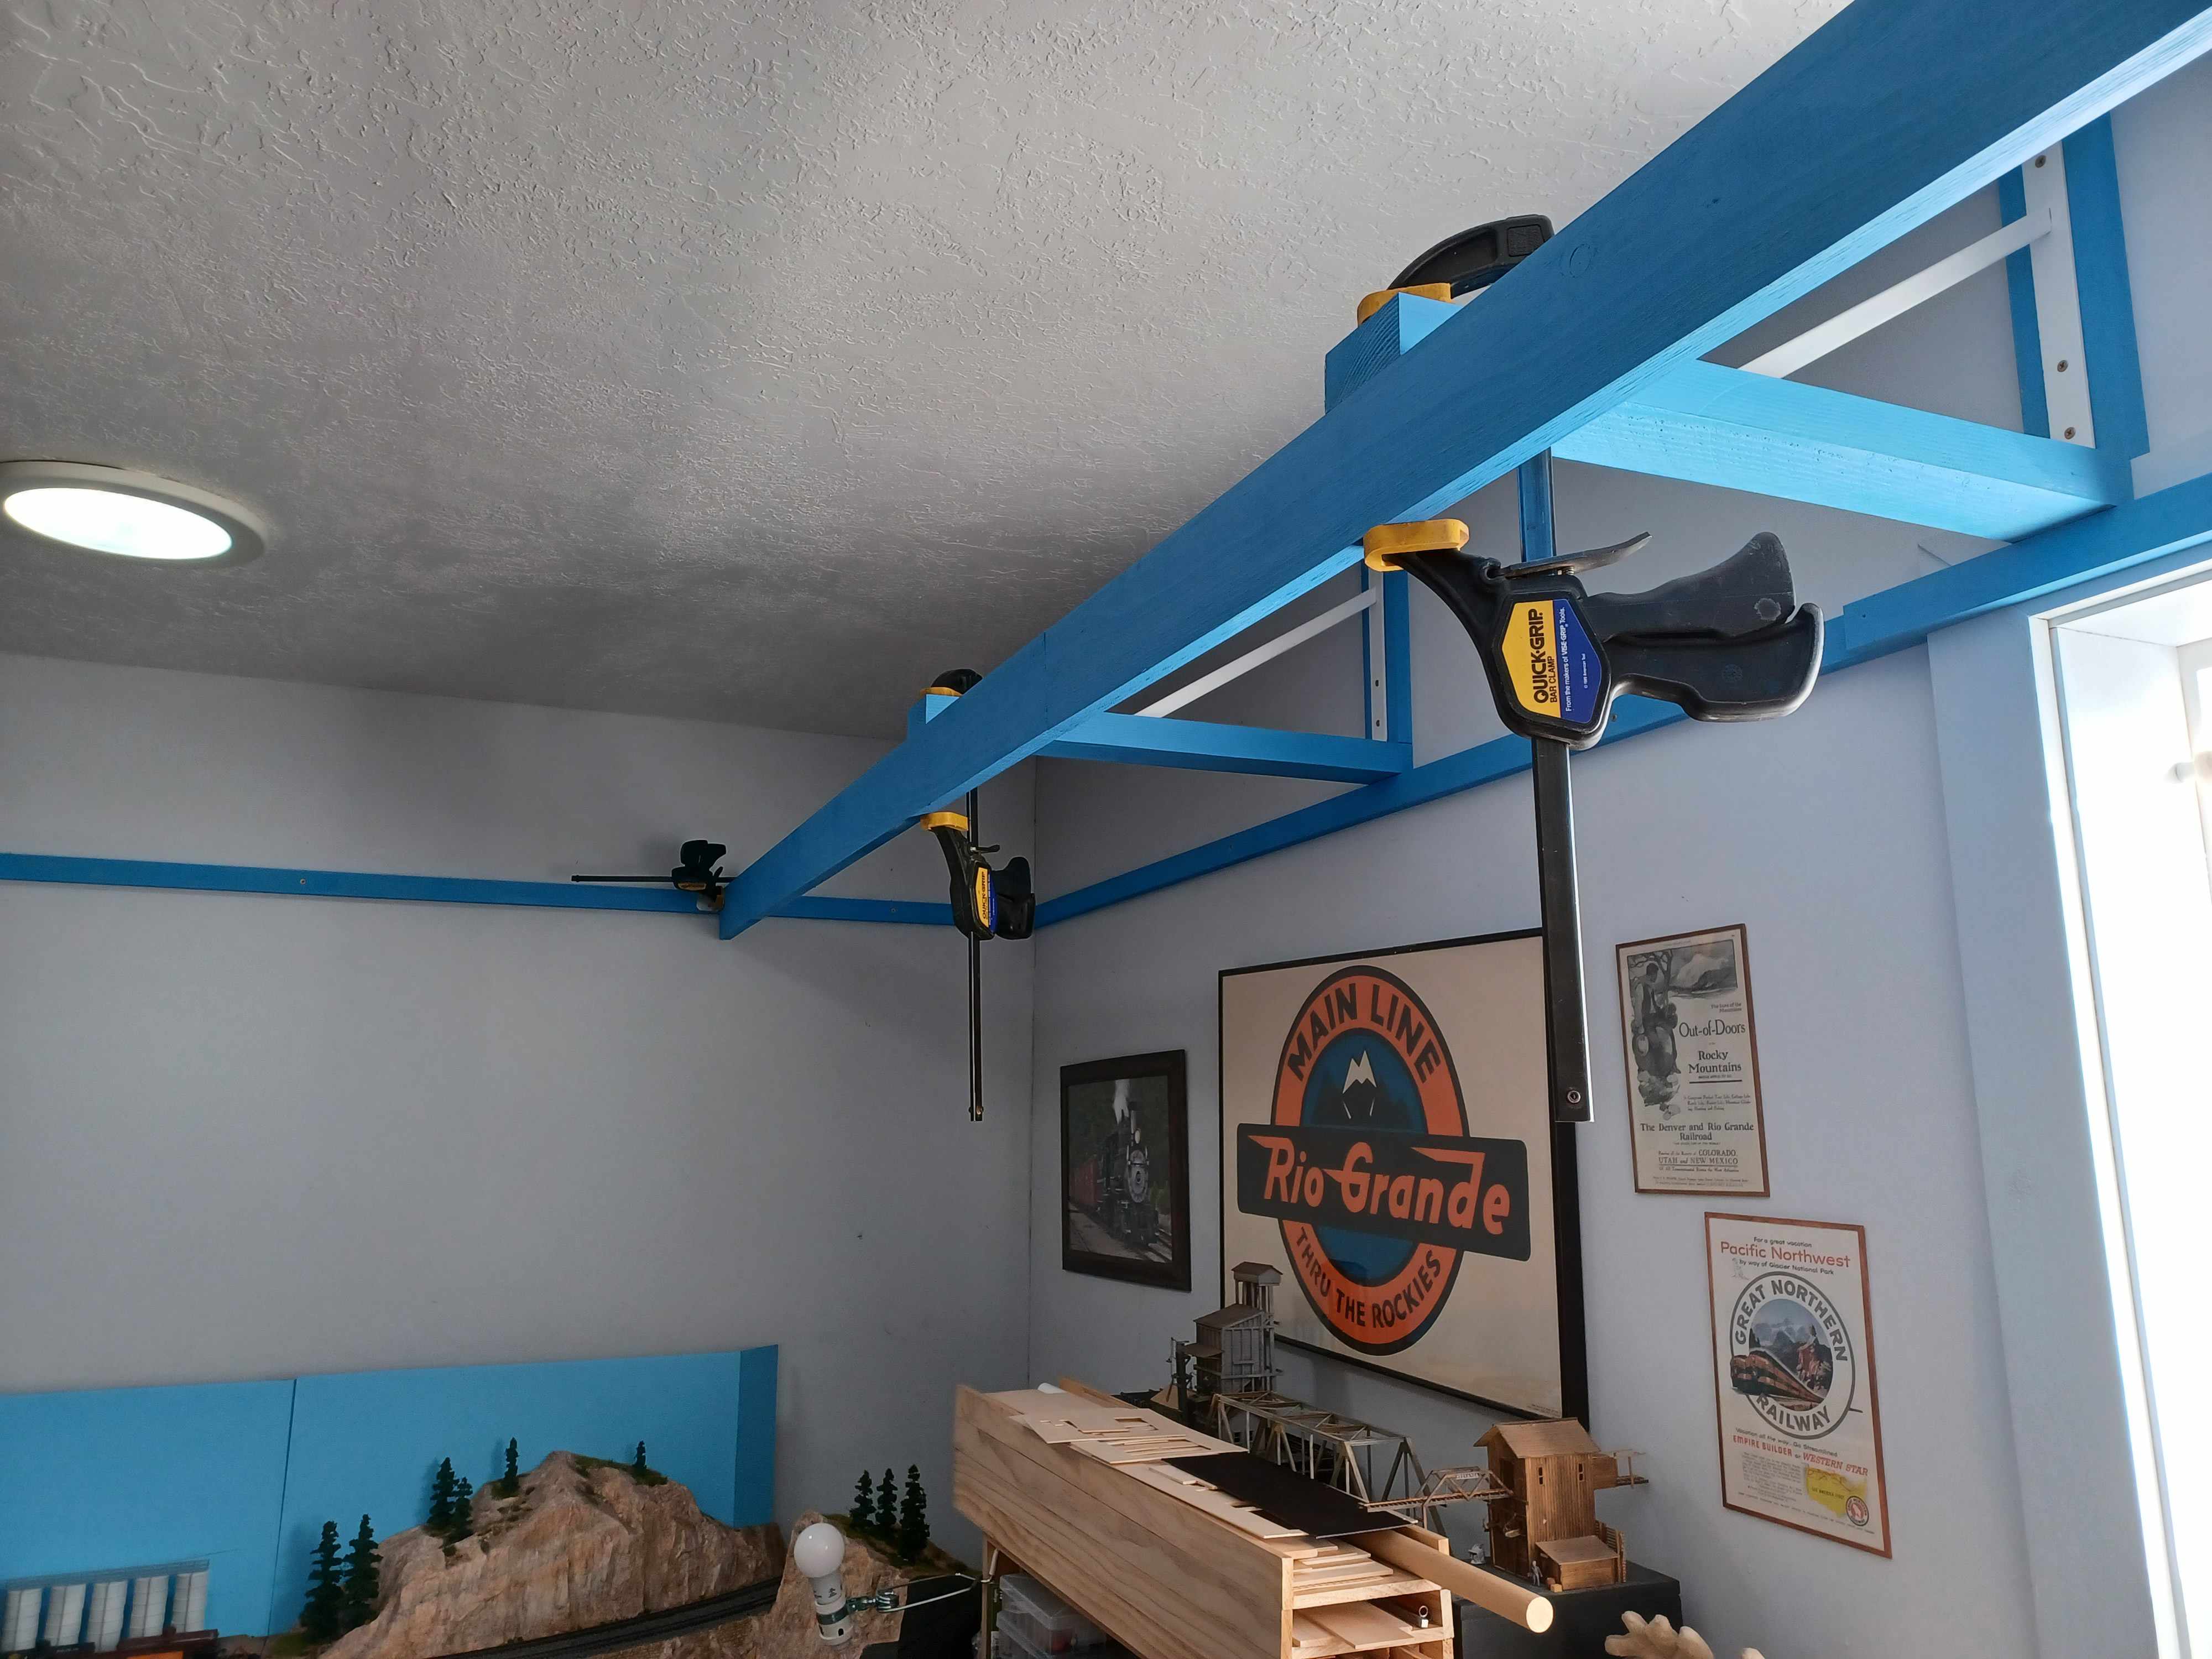
4 Likes
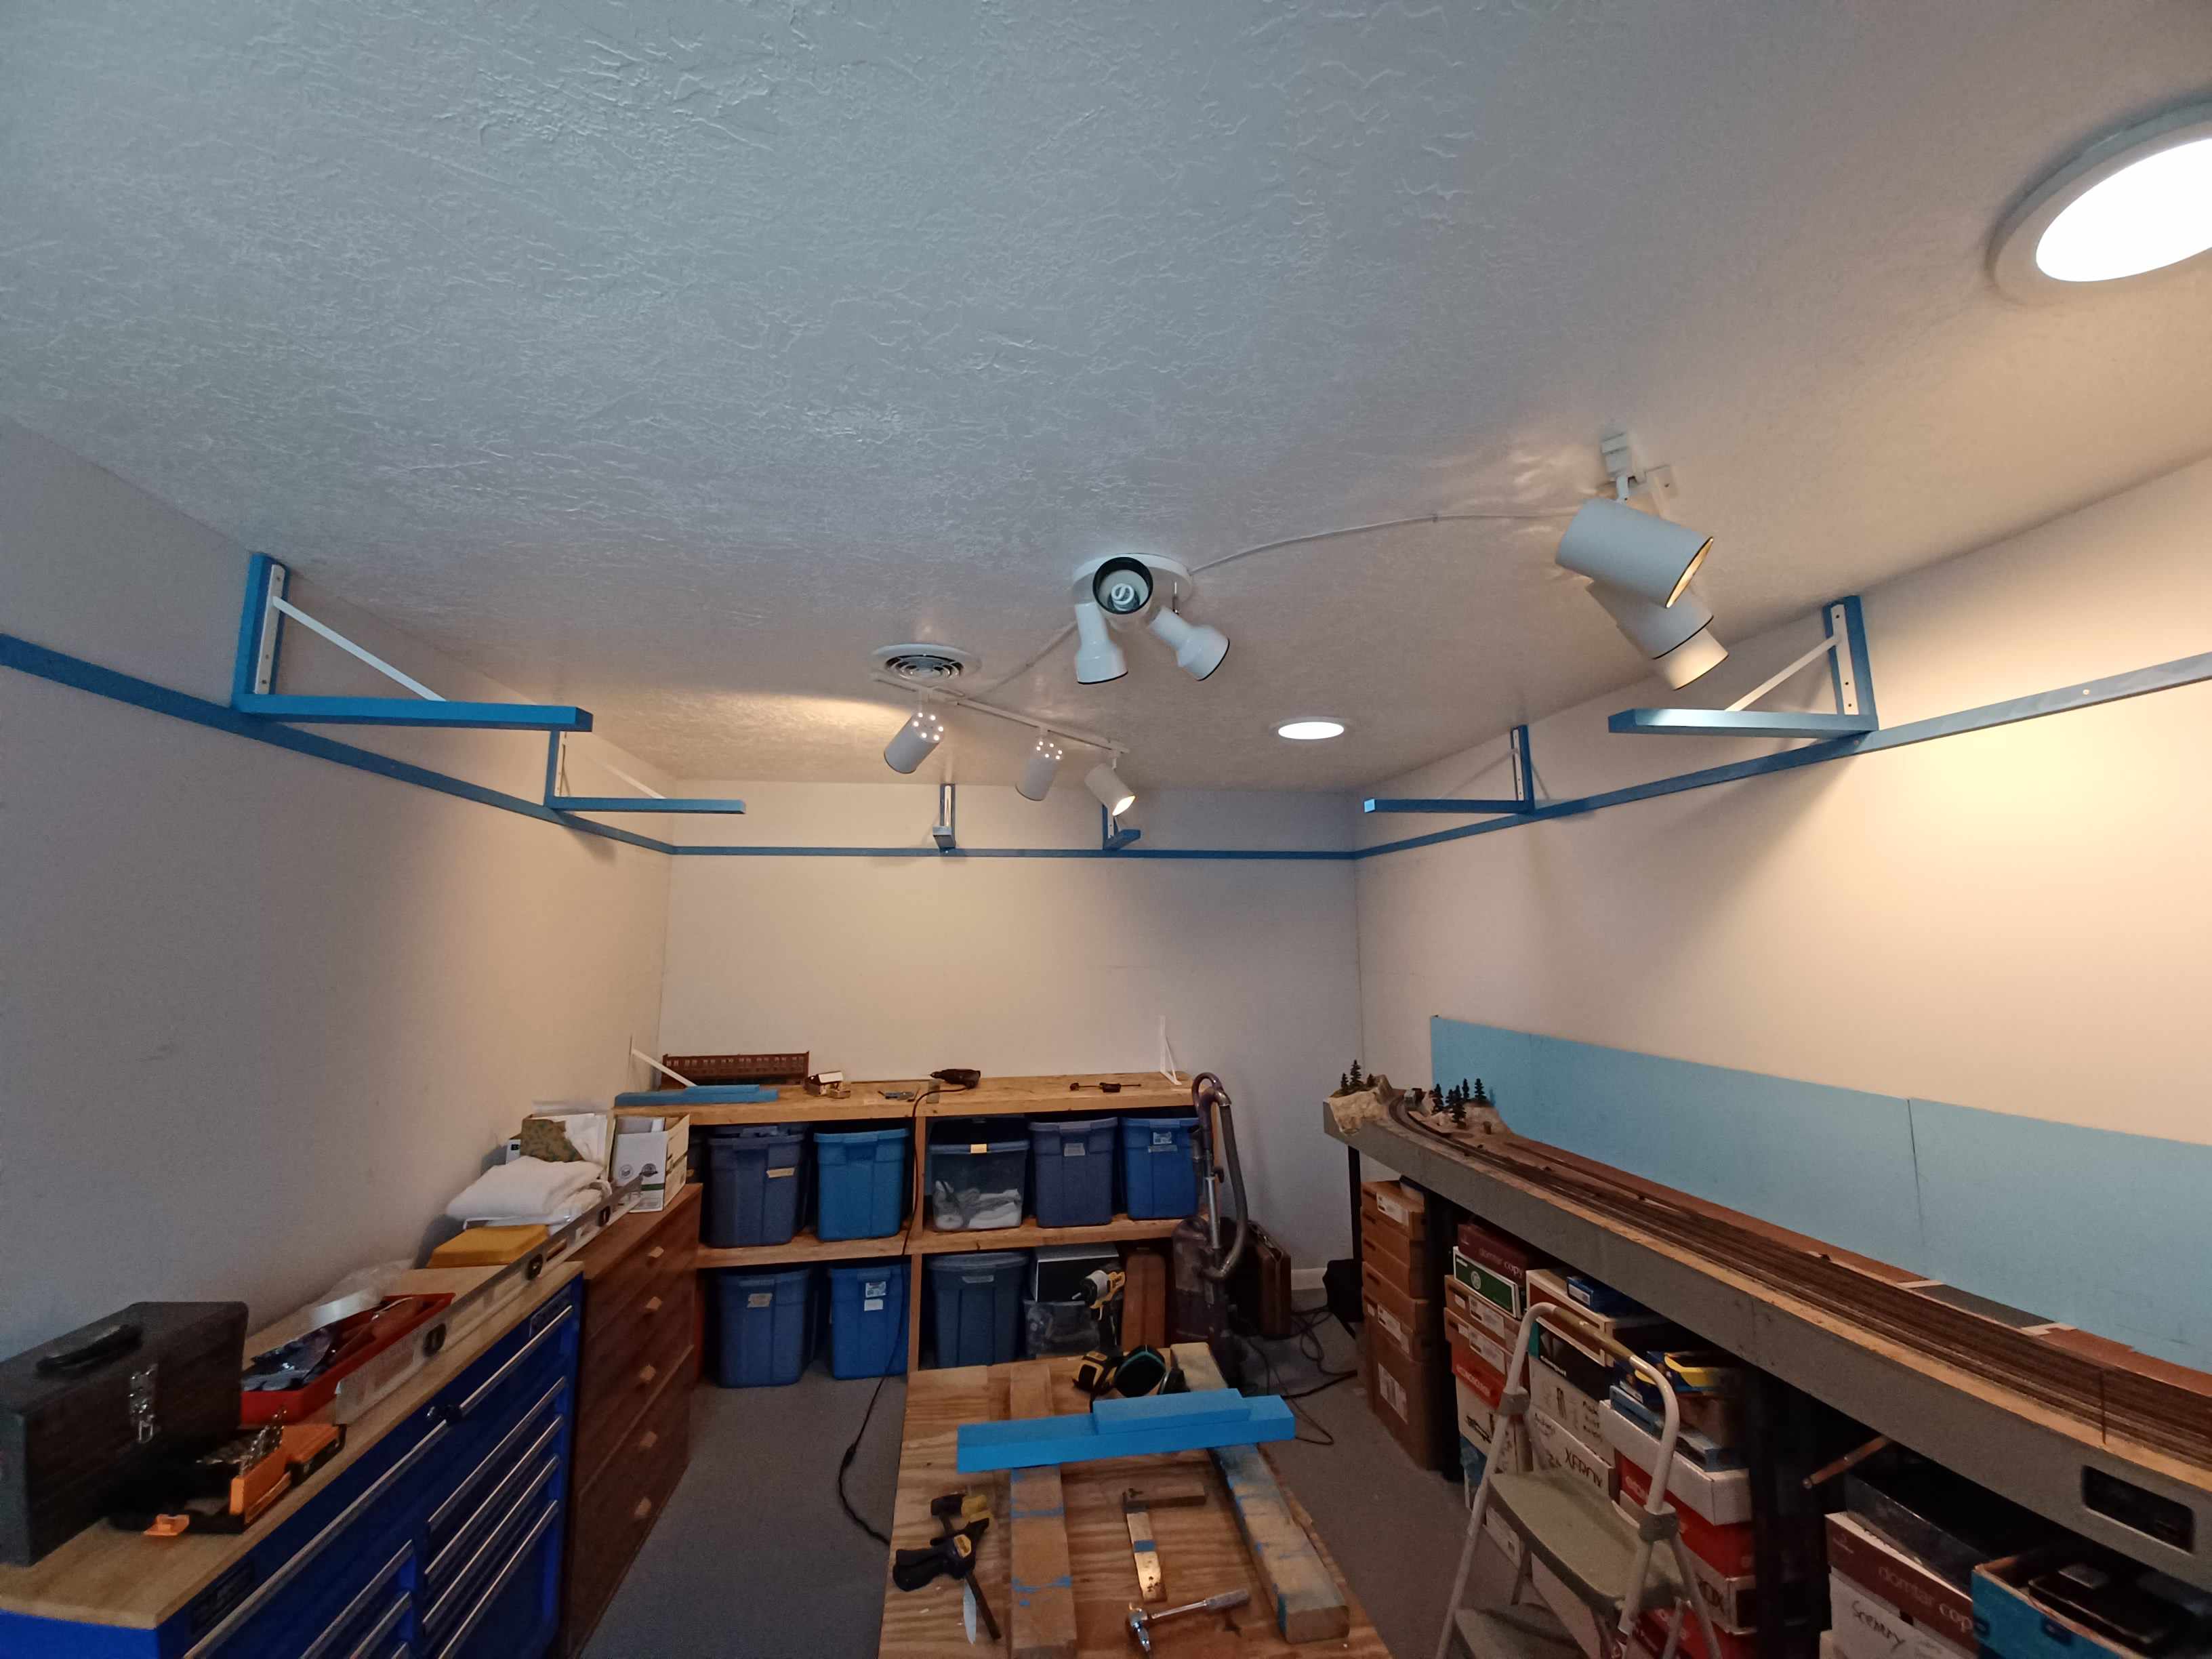
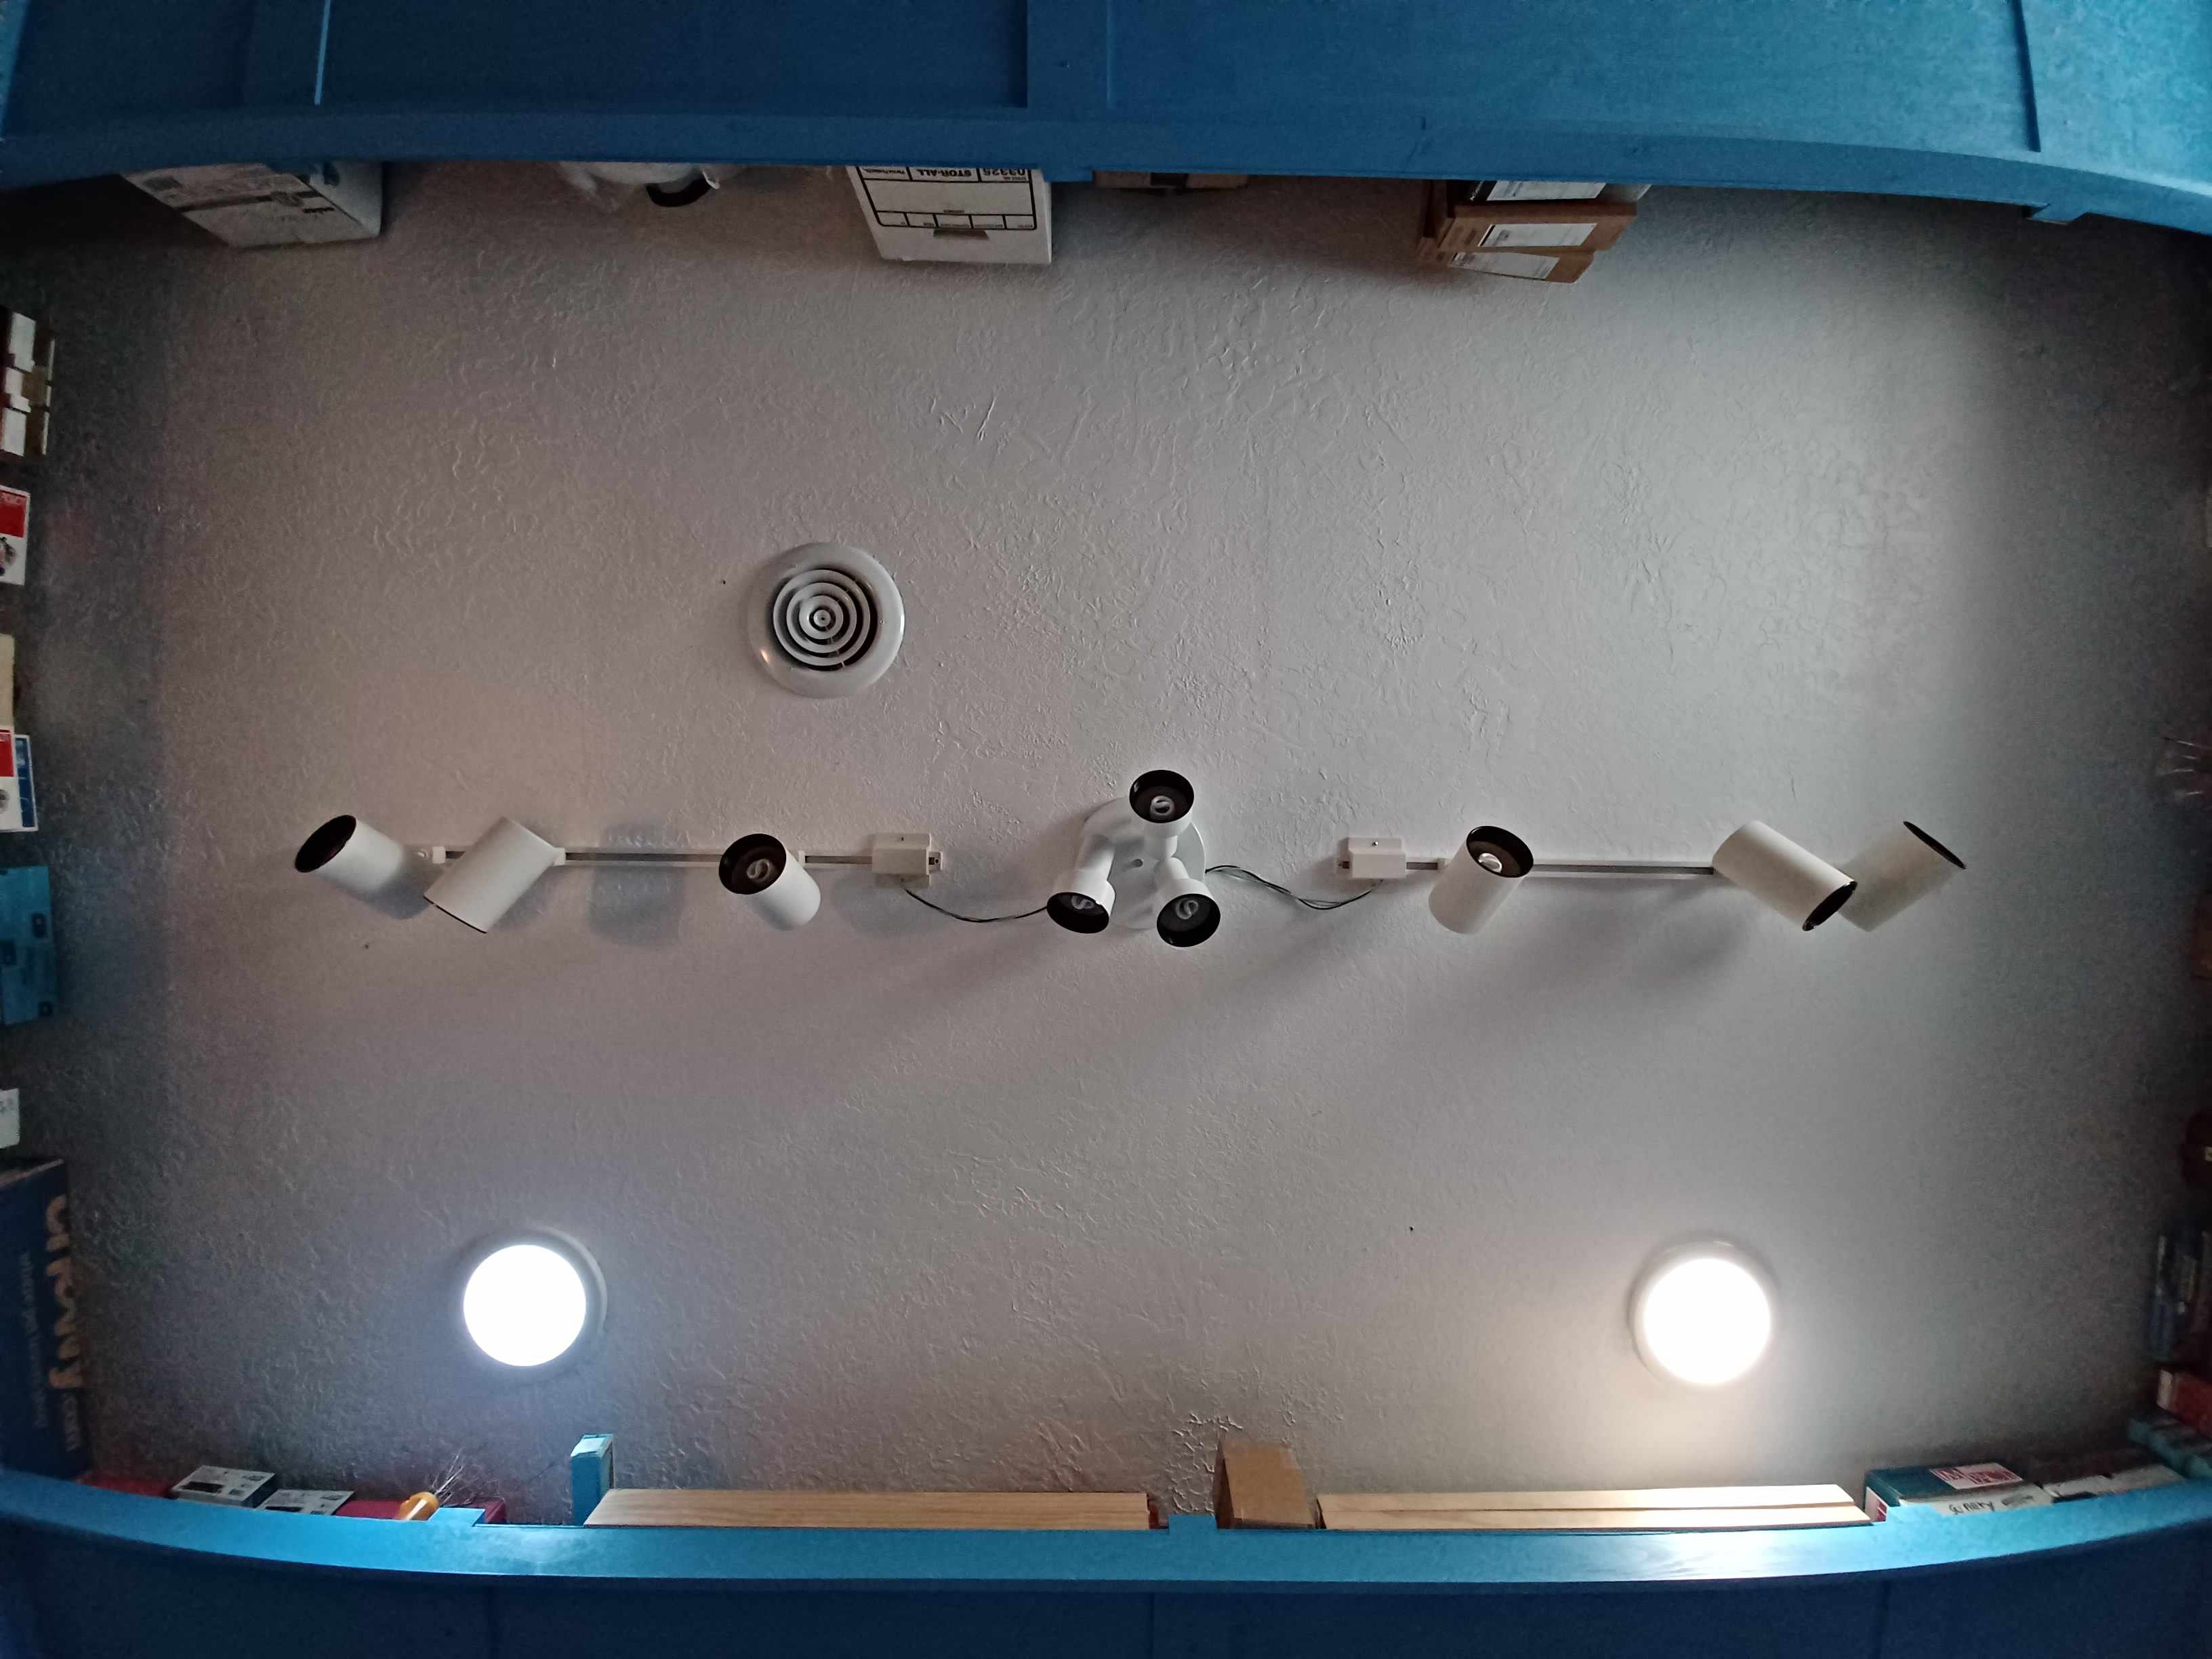
With the shelving / valence in place, it’s on to the lighting. Here is the lighting plan. I moved my old track lights to go straight down the center of the room for general room lighting and for illuminating the front of the layout. Nice that there was a rafter running down the center of the room to securely mount them. The track lights and the central lighting fixture have separate switches. I had installed tubular skylights when the room was built. I was trying to be architectural with the offset.

1 Like
I went with these 24V RGBWW LED Strip Lights. This kit came with two reels of strips for each half of the train room, power supply, controller, and remote. The total power of both strips is 48W. You can choose whatever colors you want. Cool white to warm white and anything in between. These respond to music for when you want to have a party in the train room.

In order to disperse the light a little better, I installed diffusers.
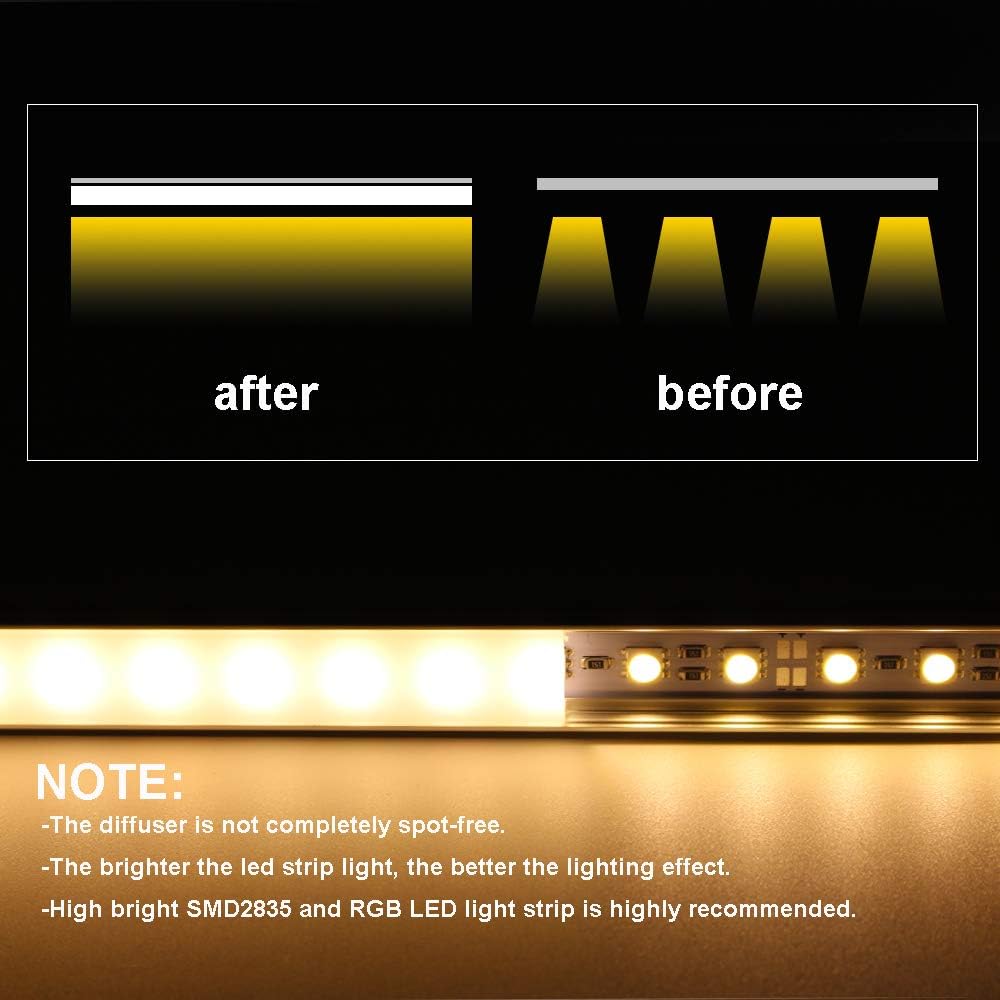
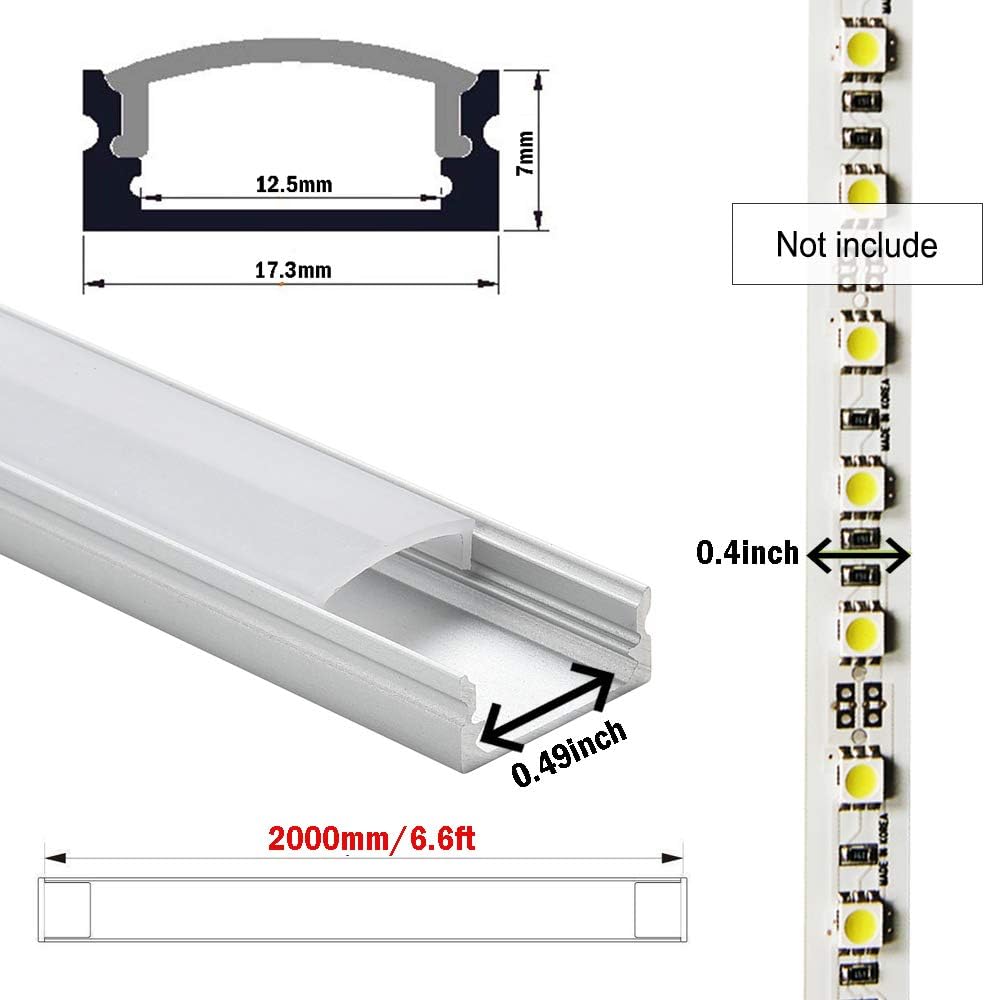
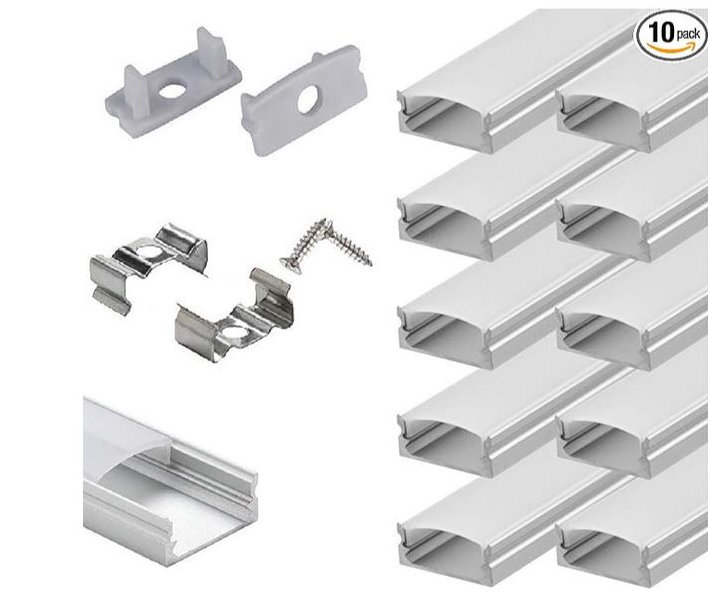
4 Likes