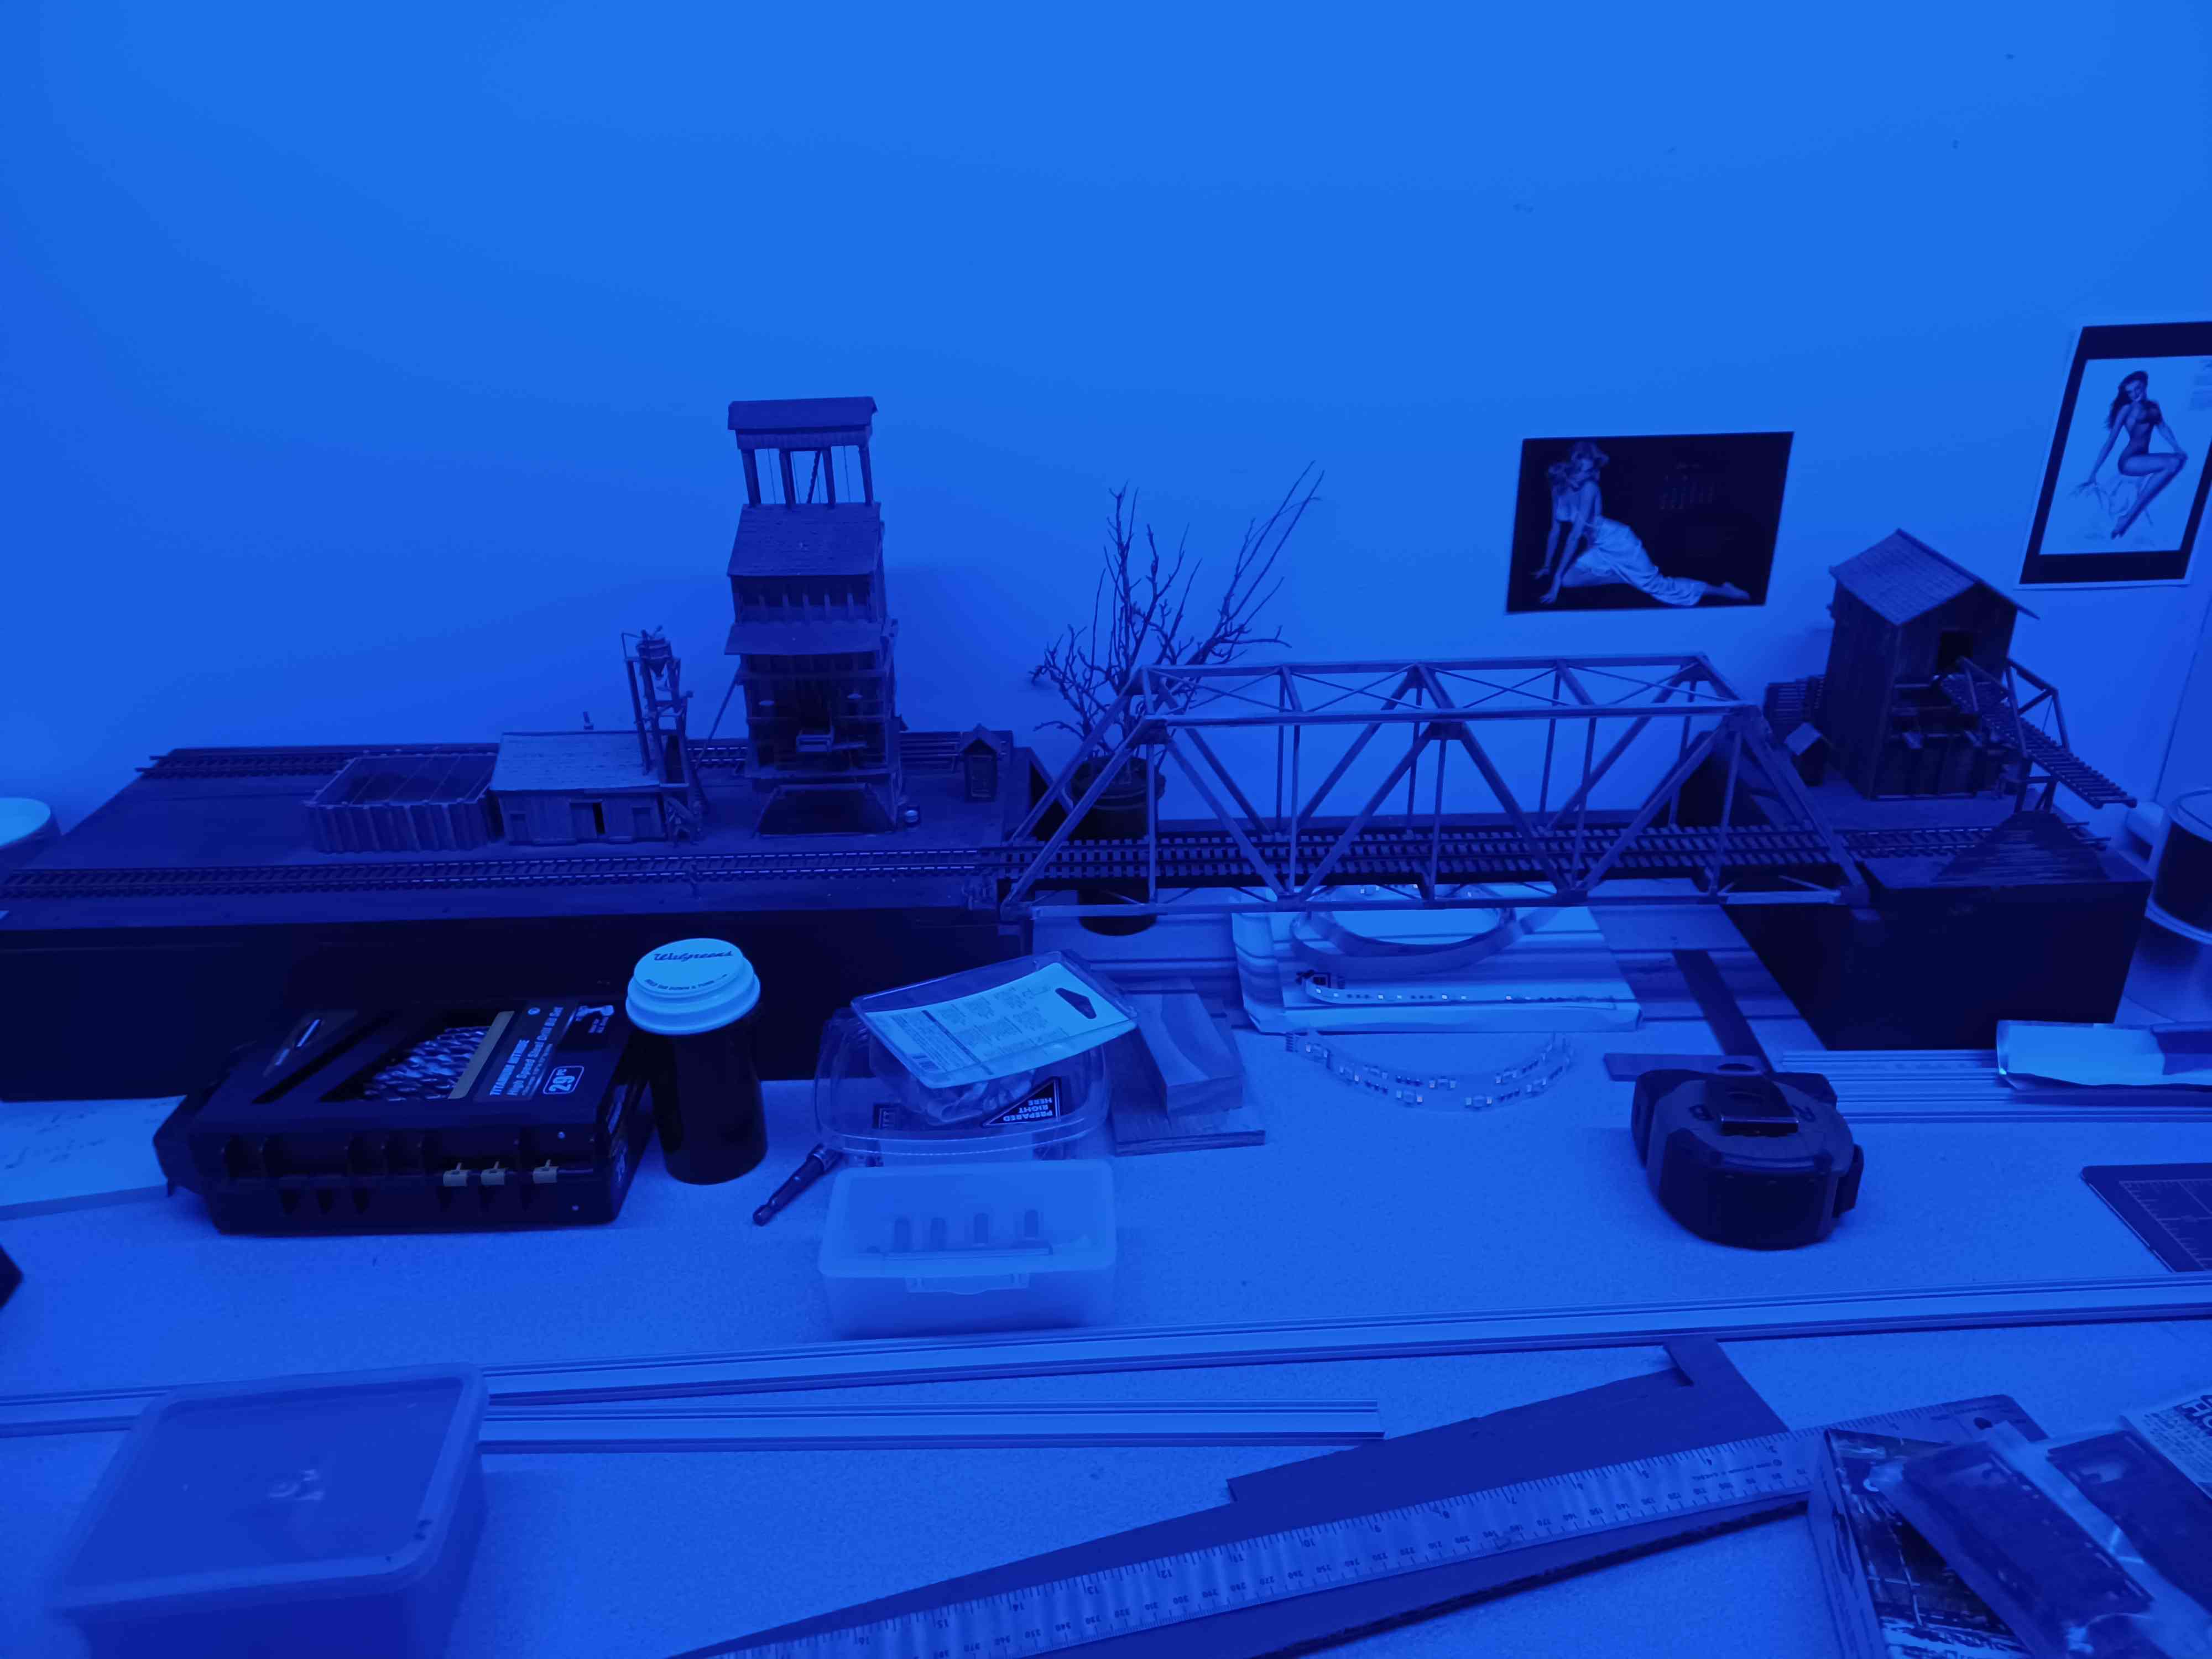
Good call, going with the led strips, Eric. They are a great innovation for lighting and are pretty flexible for a variety of situations. I use them to light the staging yard beneath my layout.
Now, if you do ever choose to run some 70s era equipment, you can have disco running sessions.
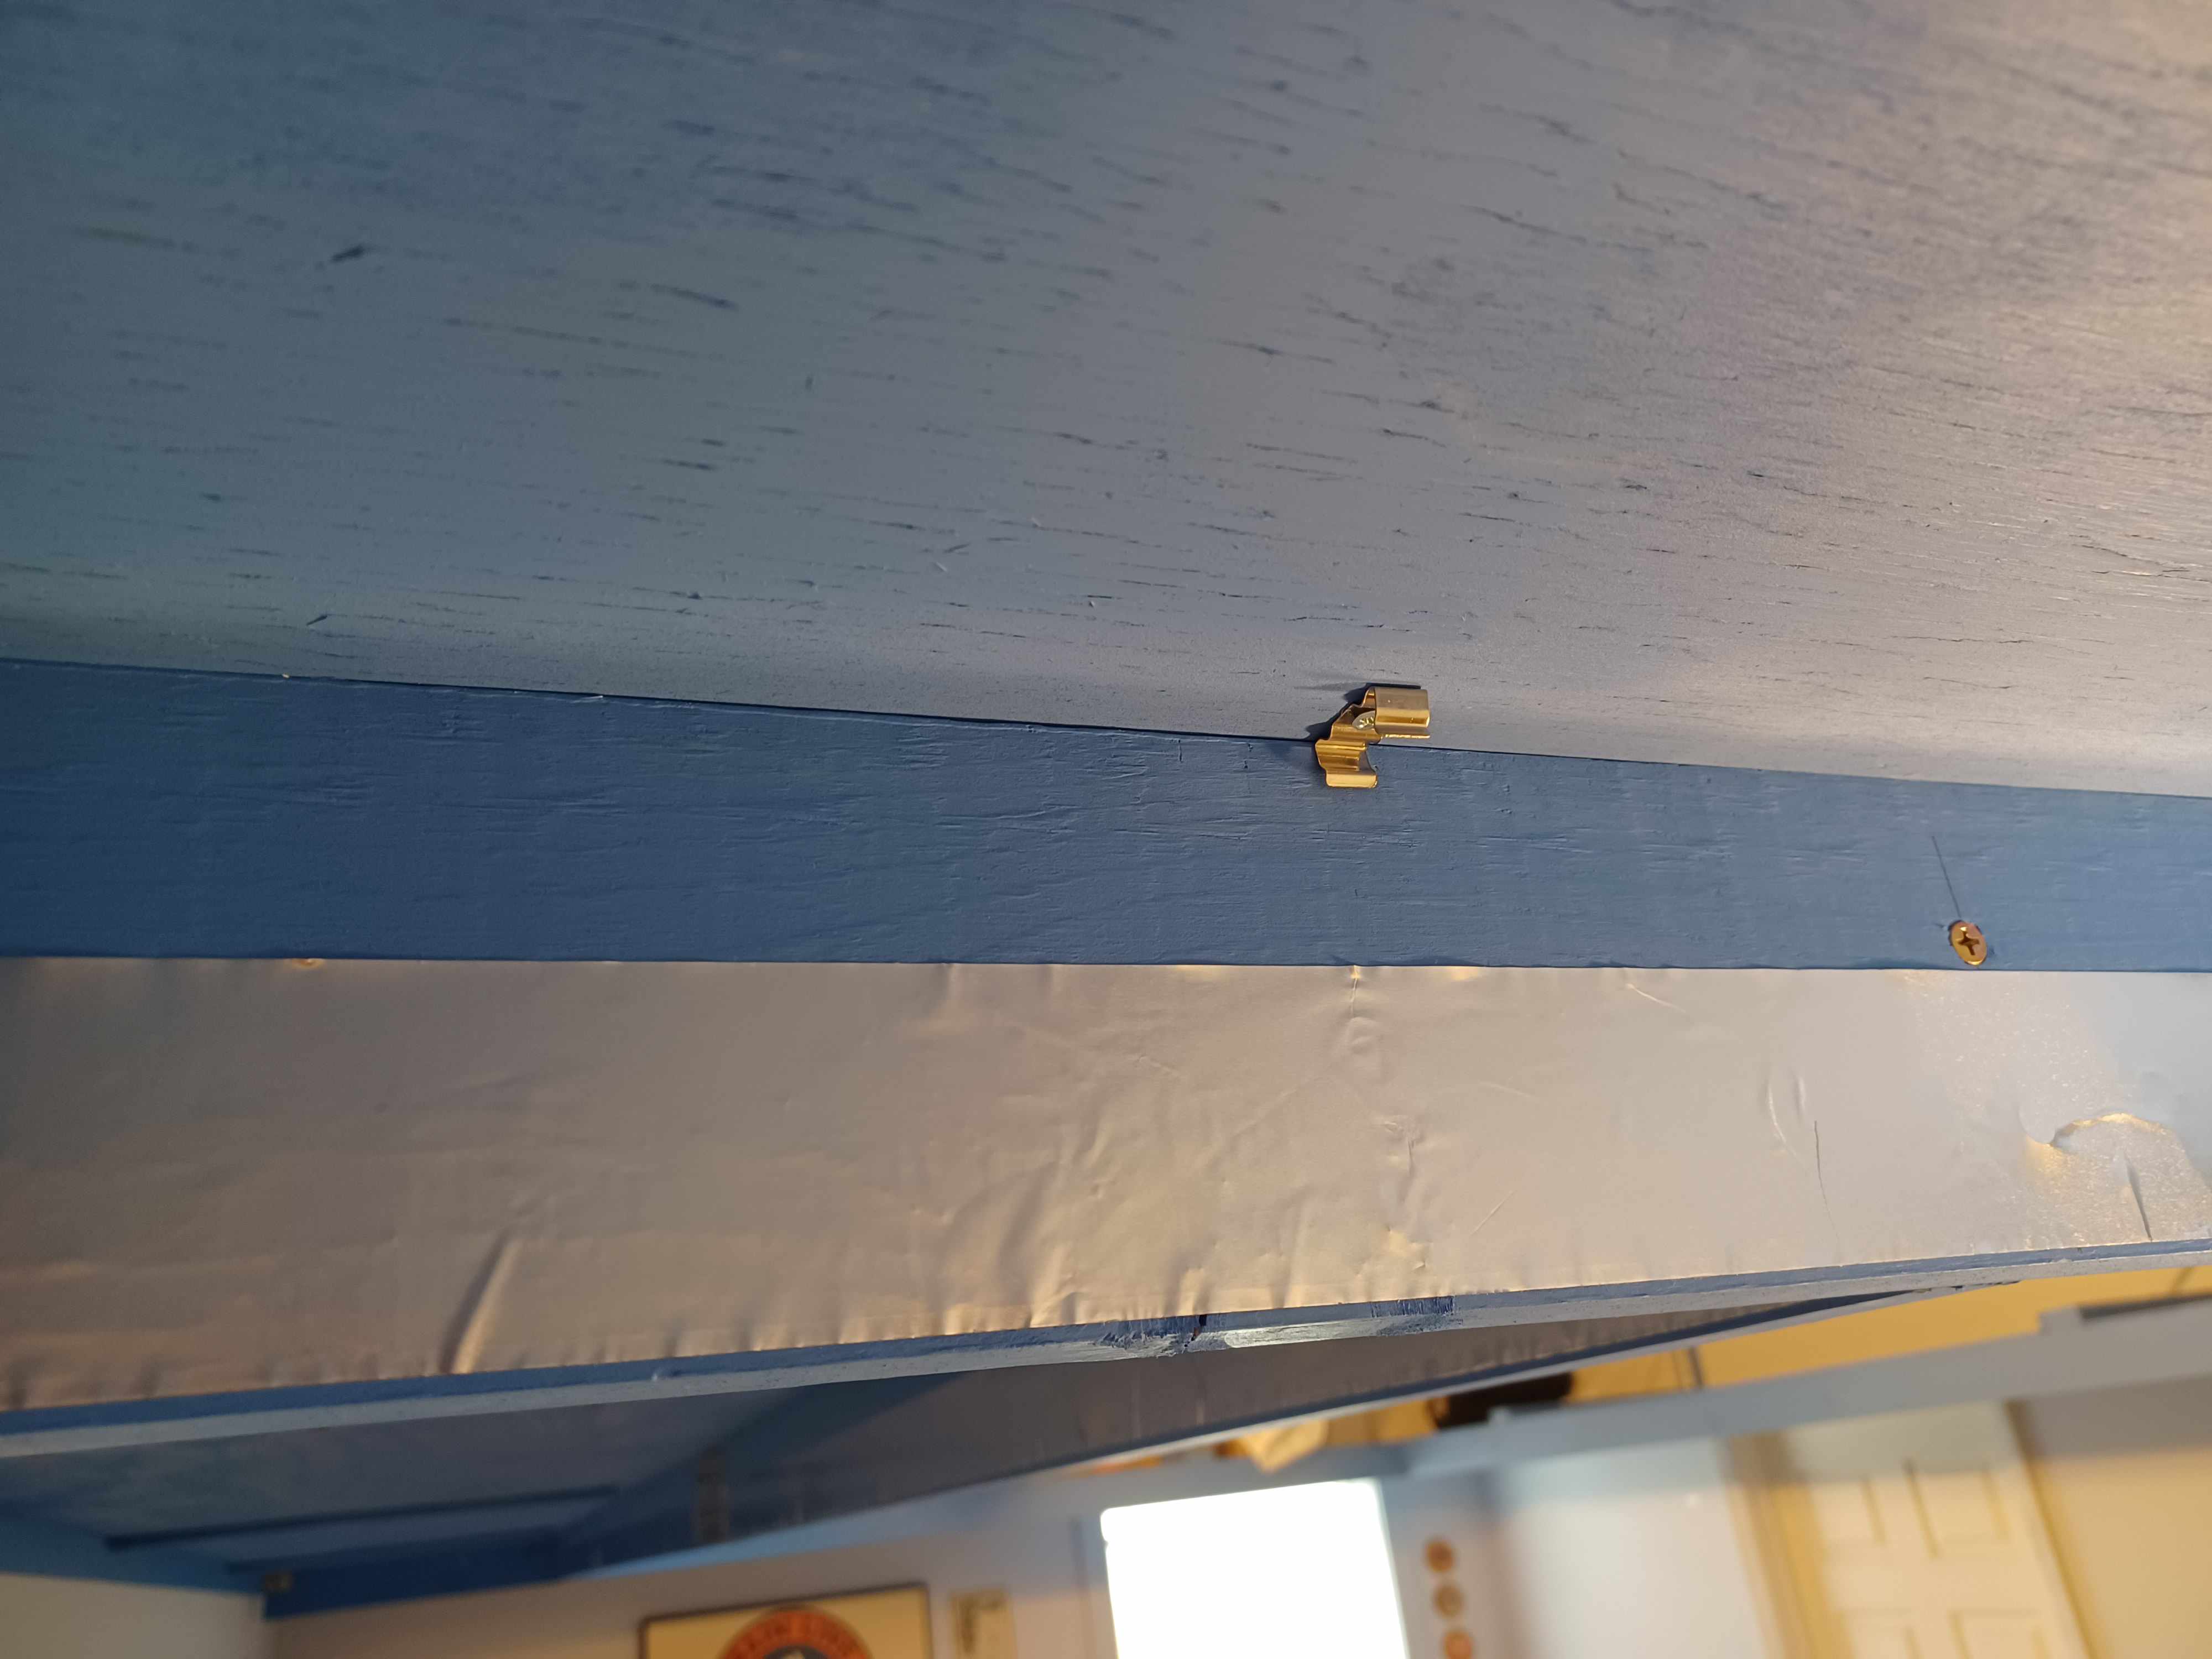
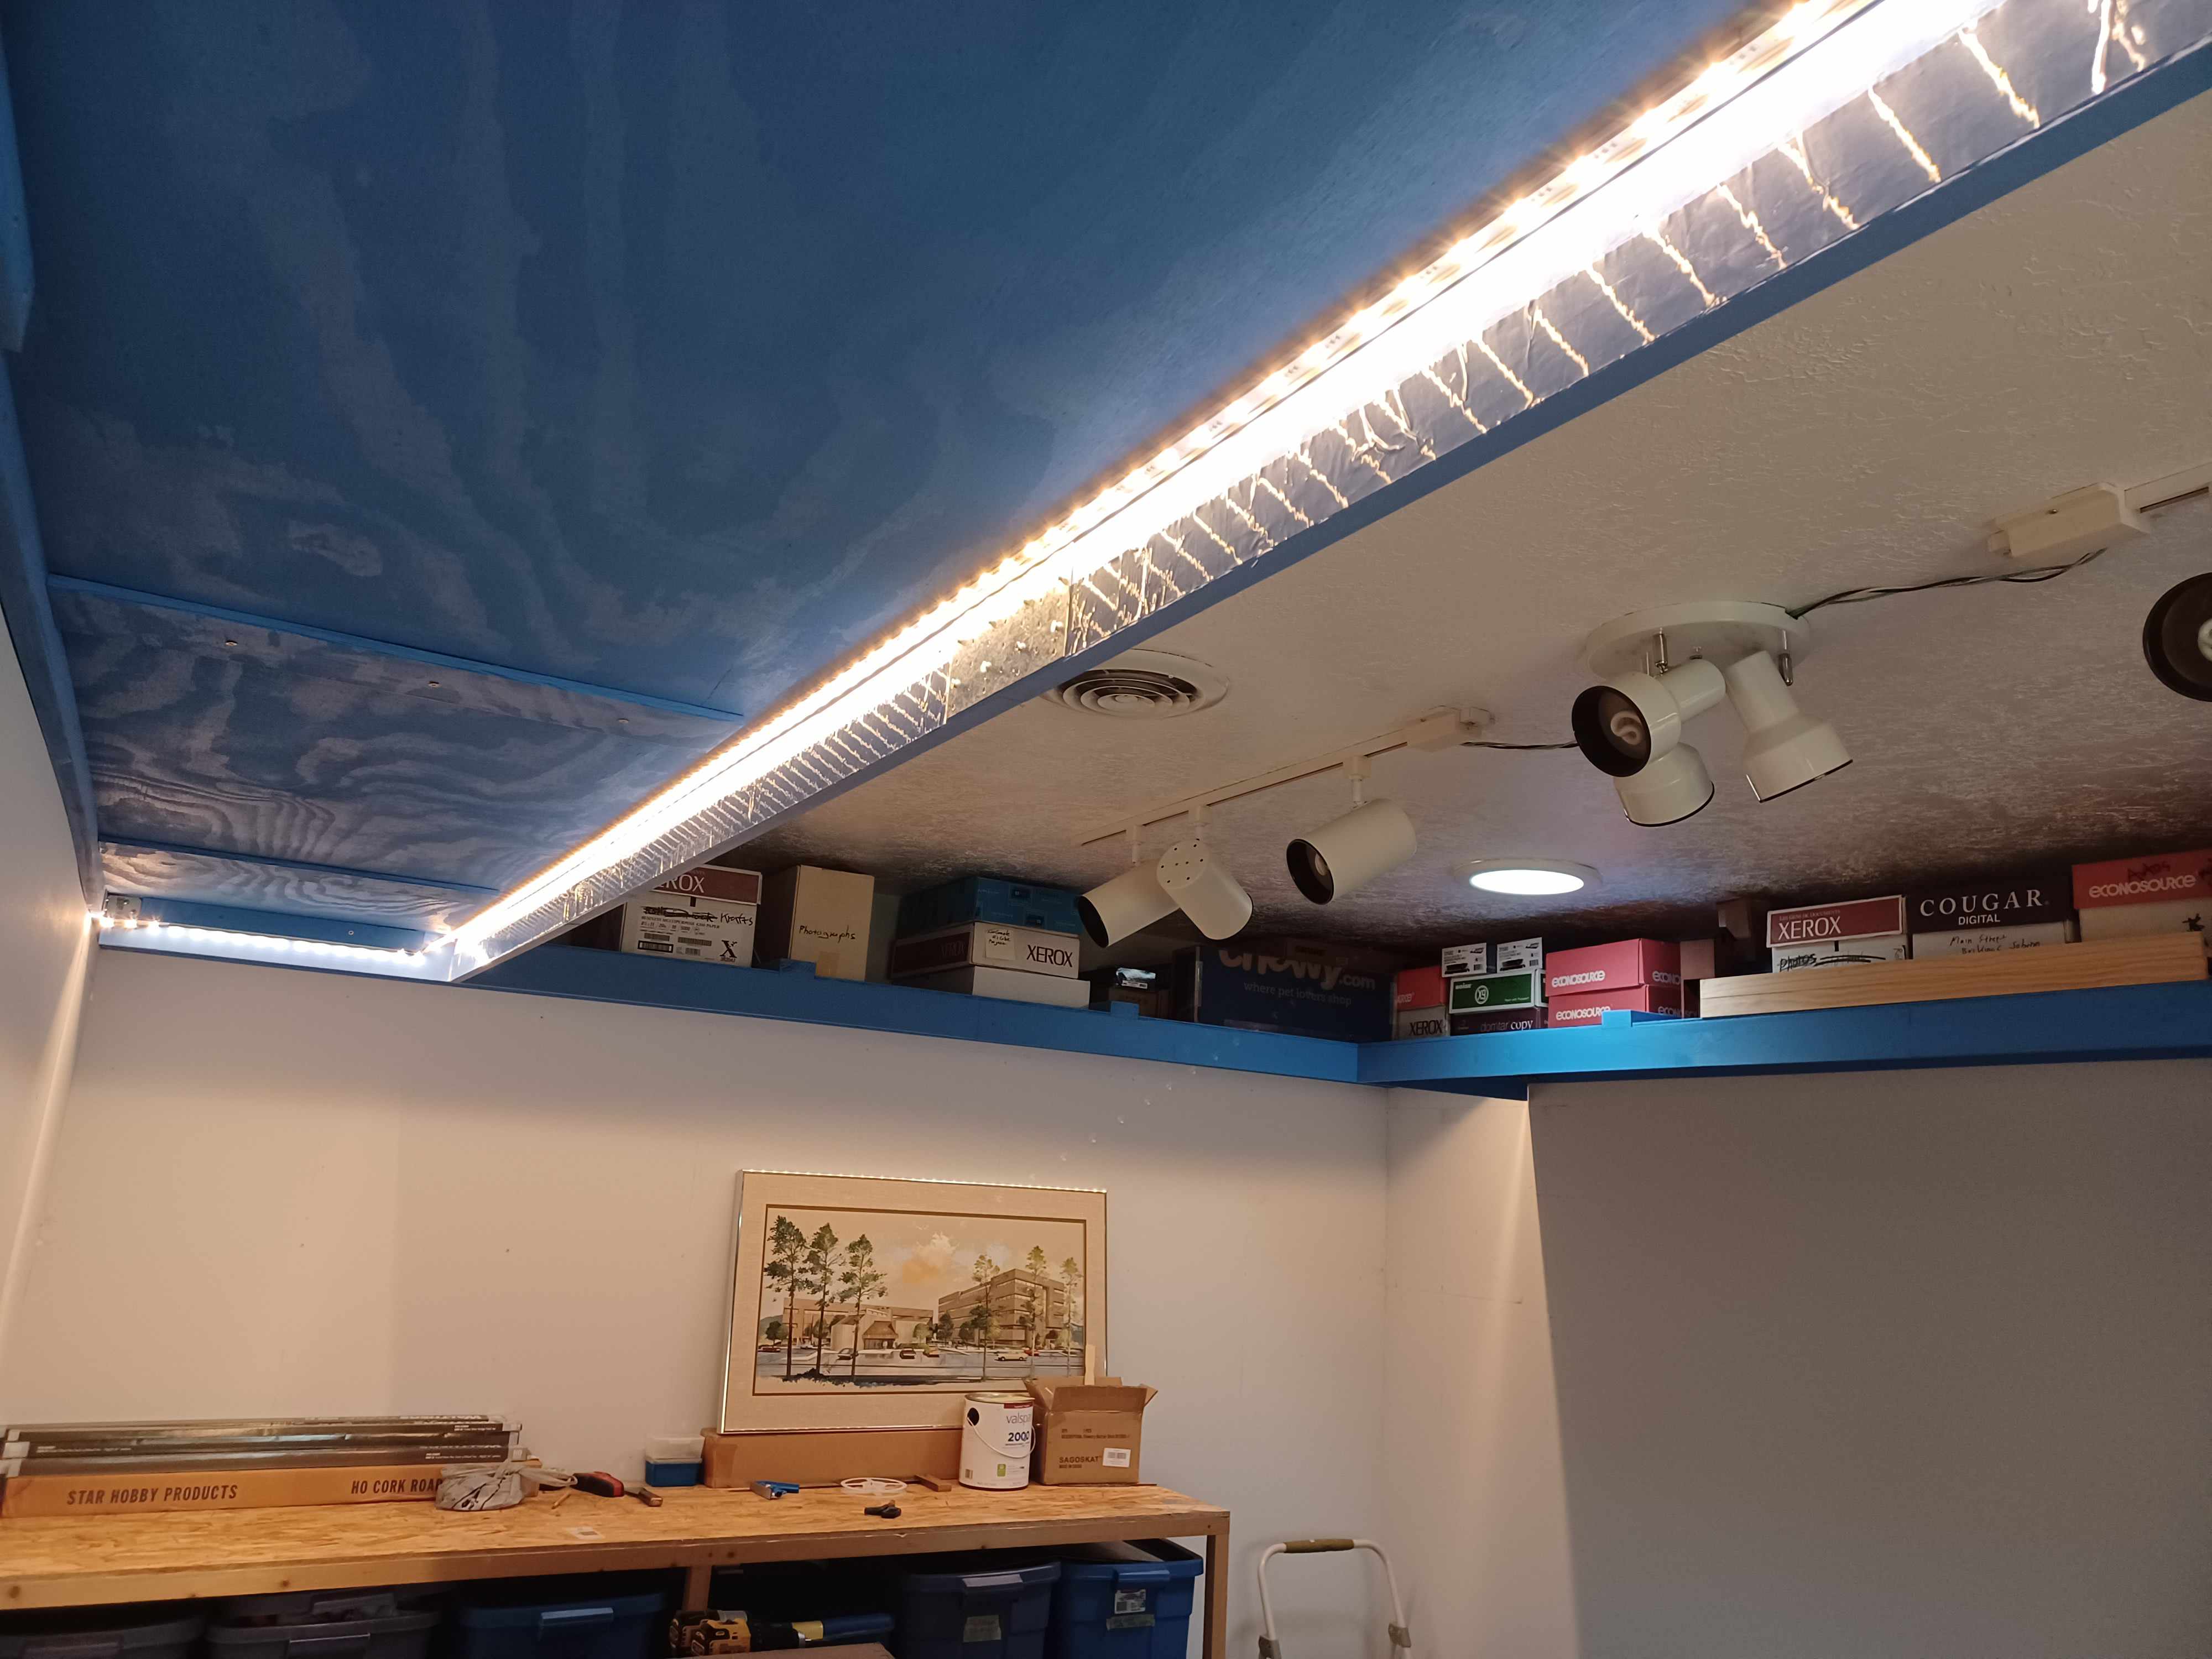
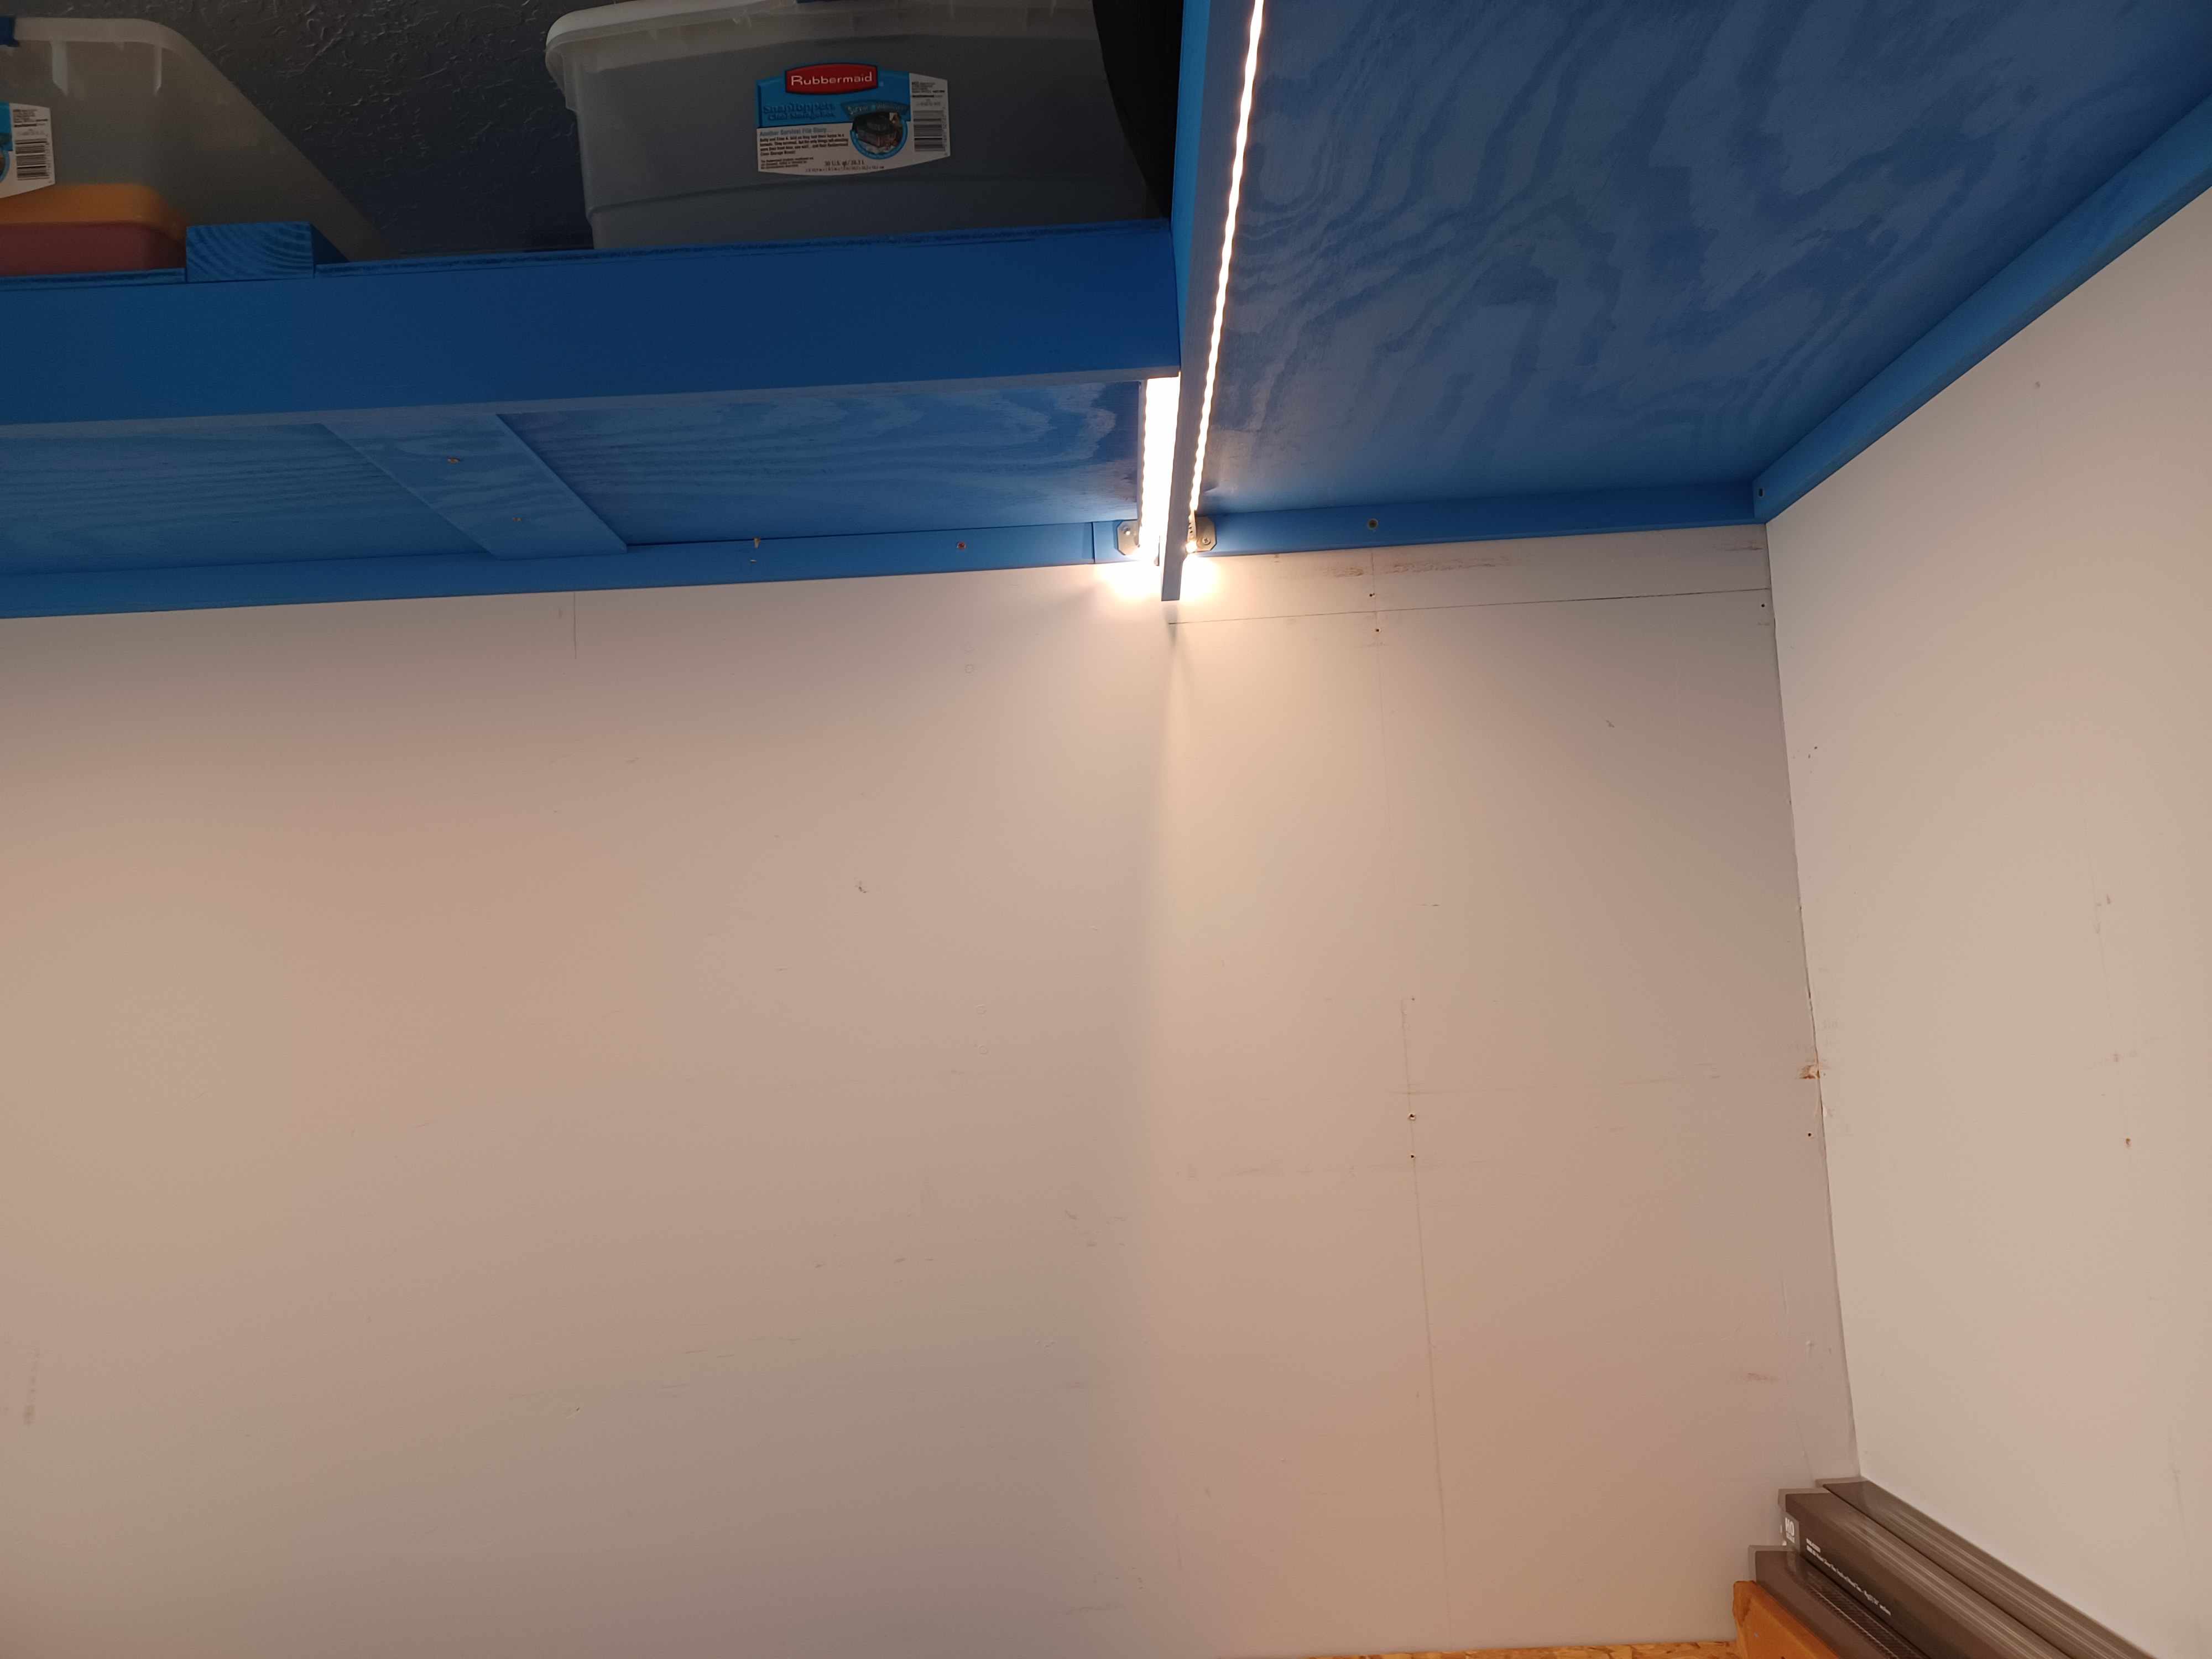
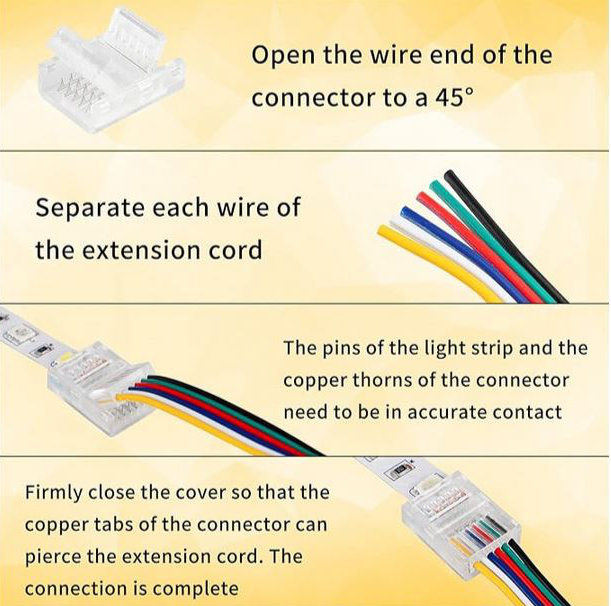
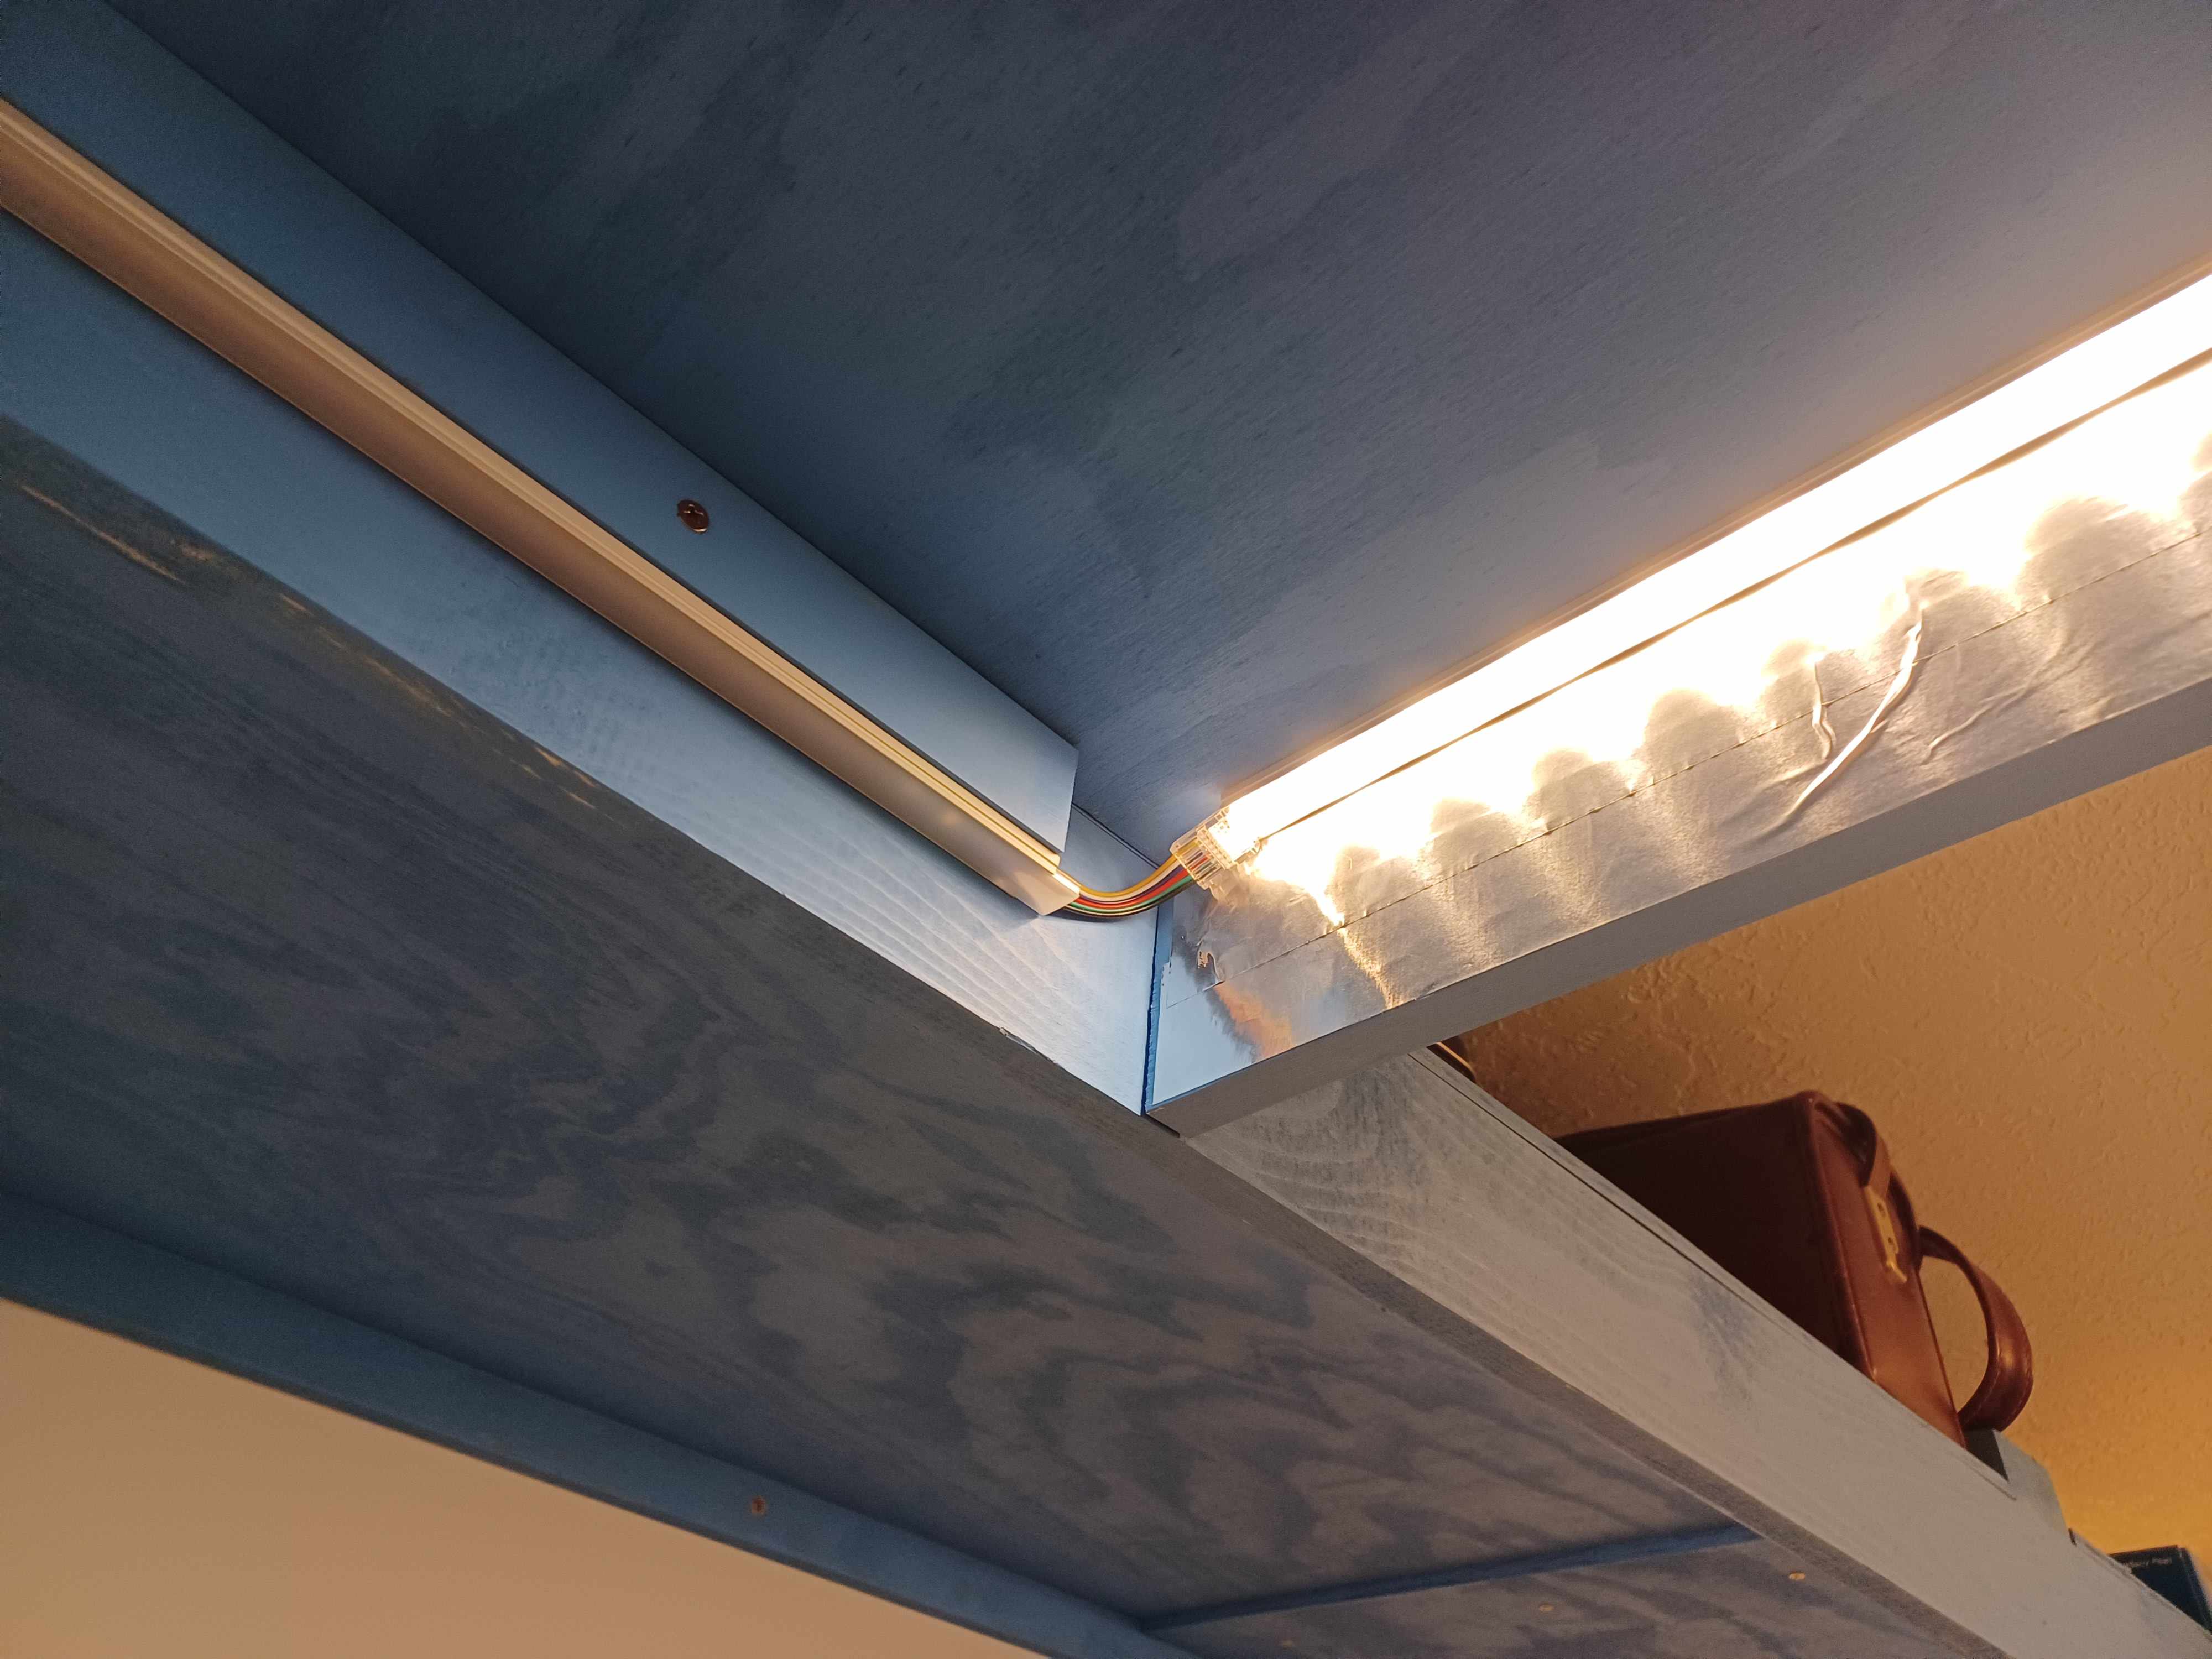
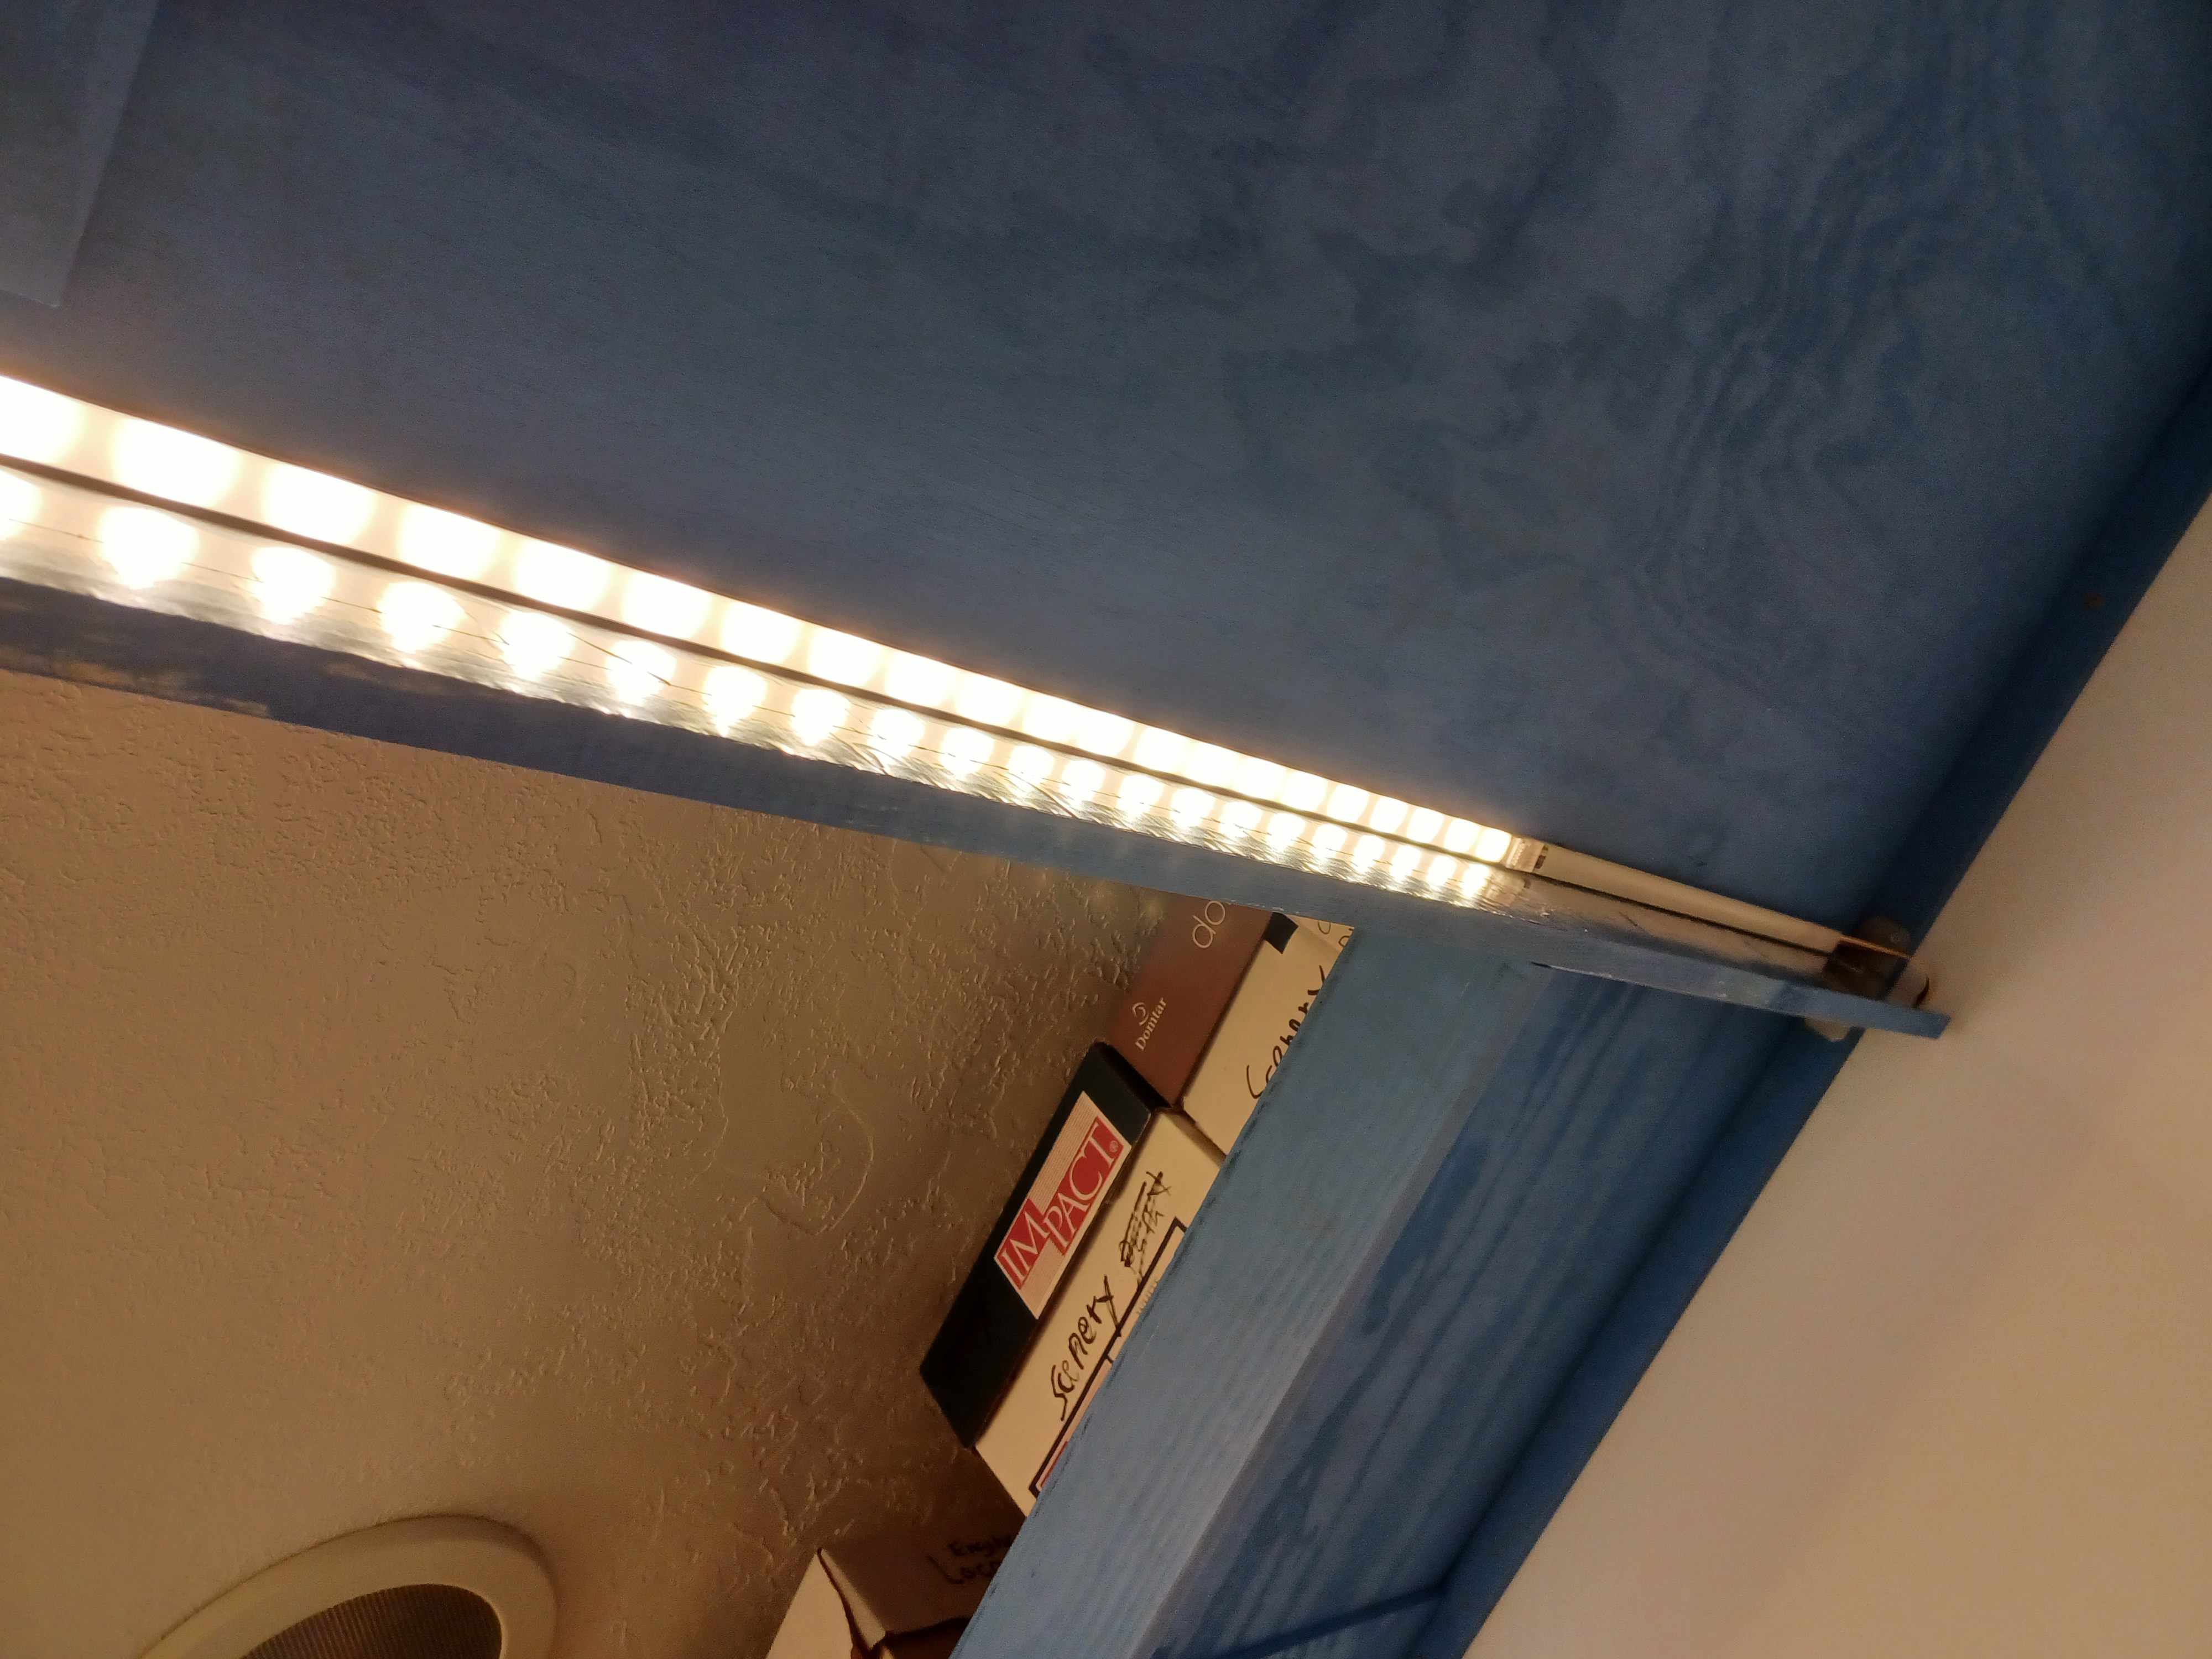
I lined the back face of the valence with reflective aluminum duct tape to reflect as much light as possible. The LED strips self-adhere to the diffusers in the channel. The diffusers clip into the mounting brackets. I had to cut down the screws so they would not penetrate all the way through the plywood. The covers snap into the diffuser channels.
Originally, I ran a given strip around the stringers without cutting. However, some strange shadowing occurred at the ends of the stringers. I did not anticipate this.
I did some experiments blocking off light at the ends. I went ahead and cut the strips (at the connection pads) and connected them with extensions as shown. This made the shadowing at the stringer ends tolerable.
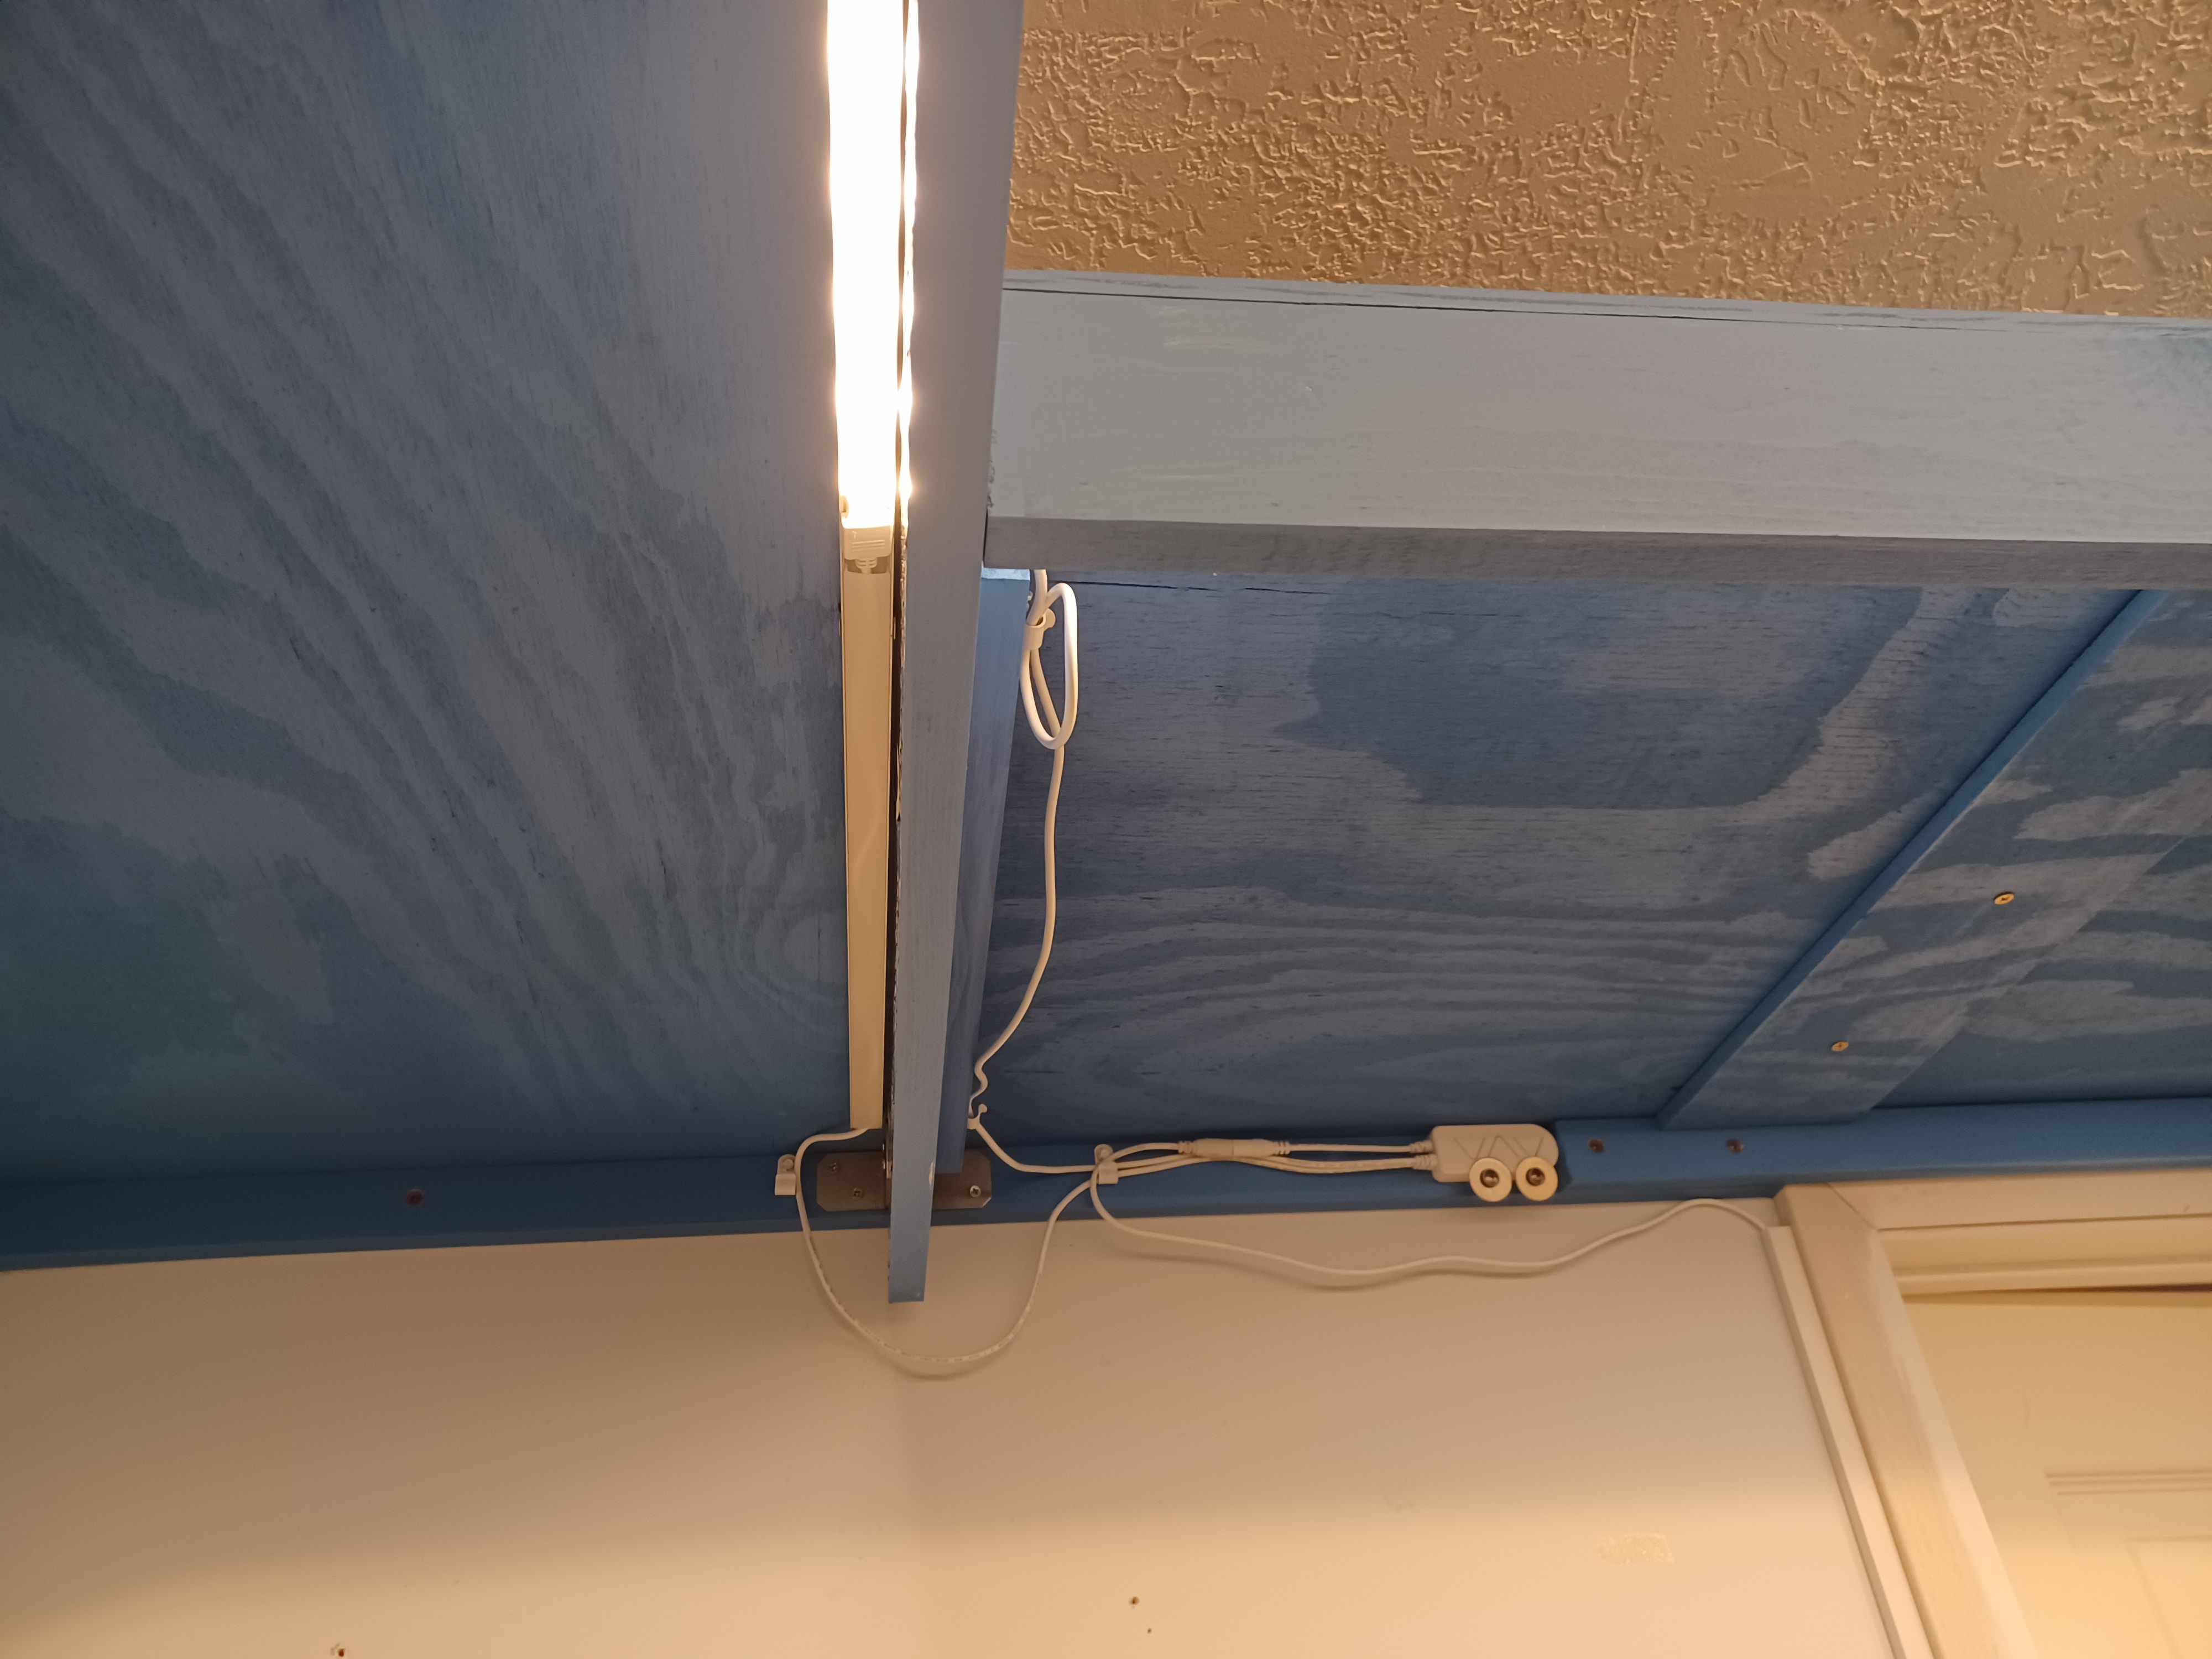
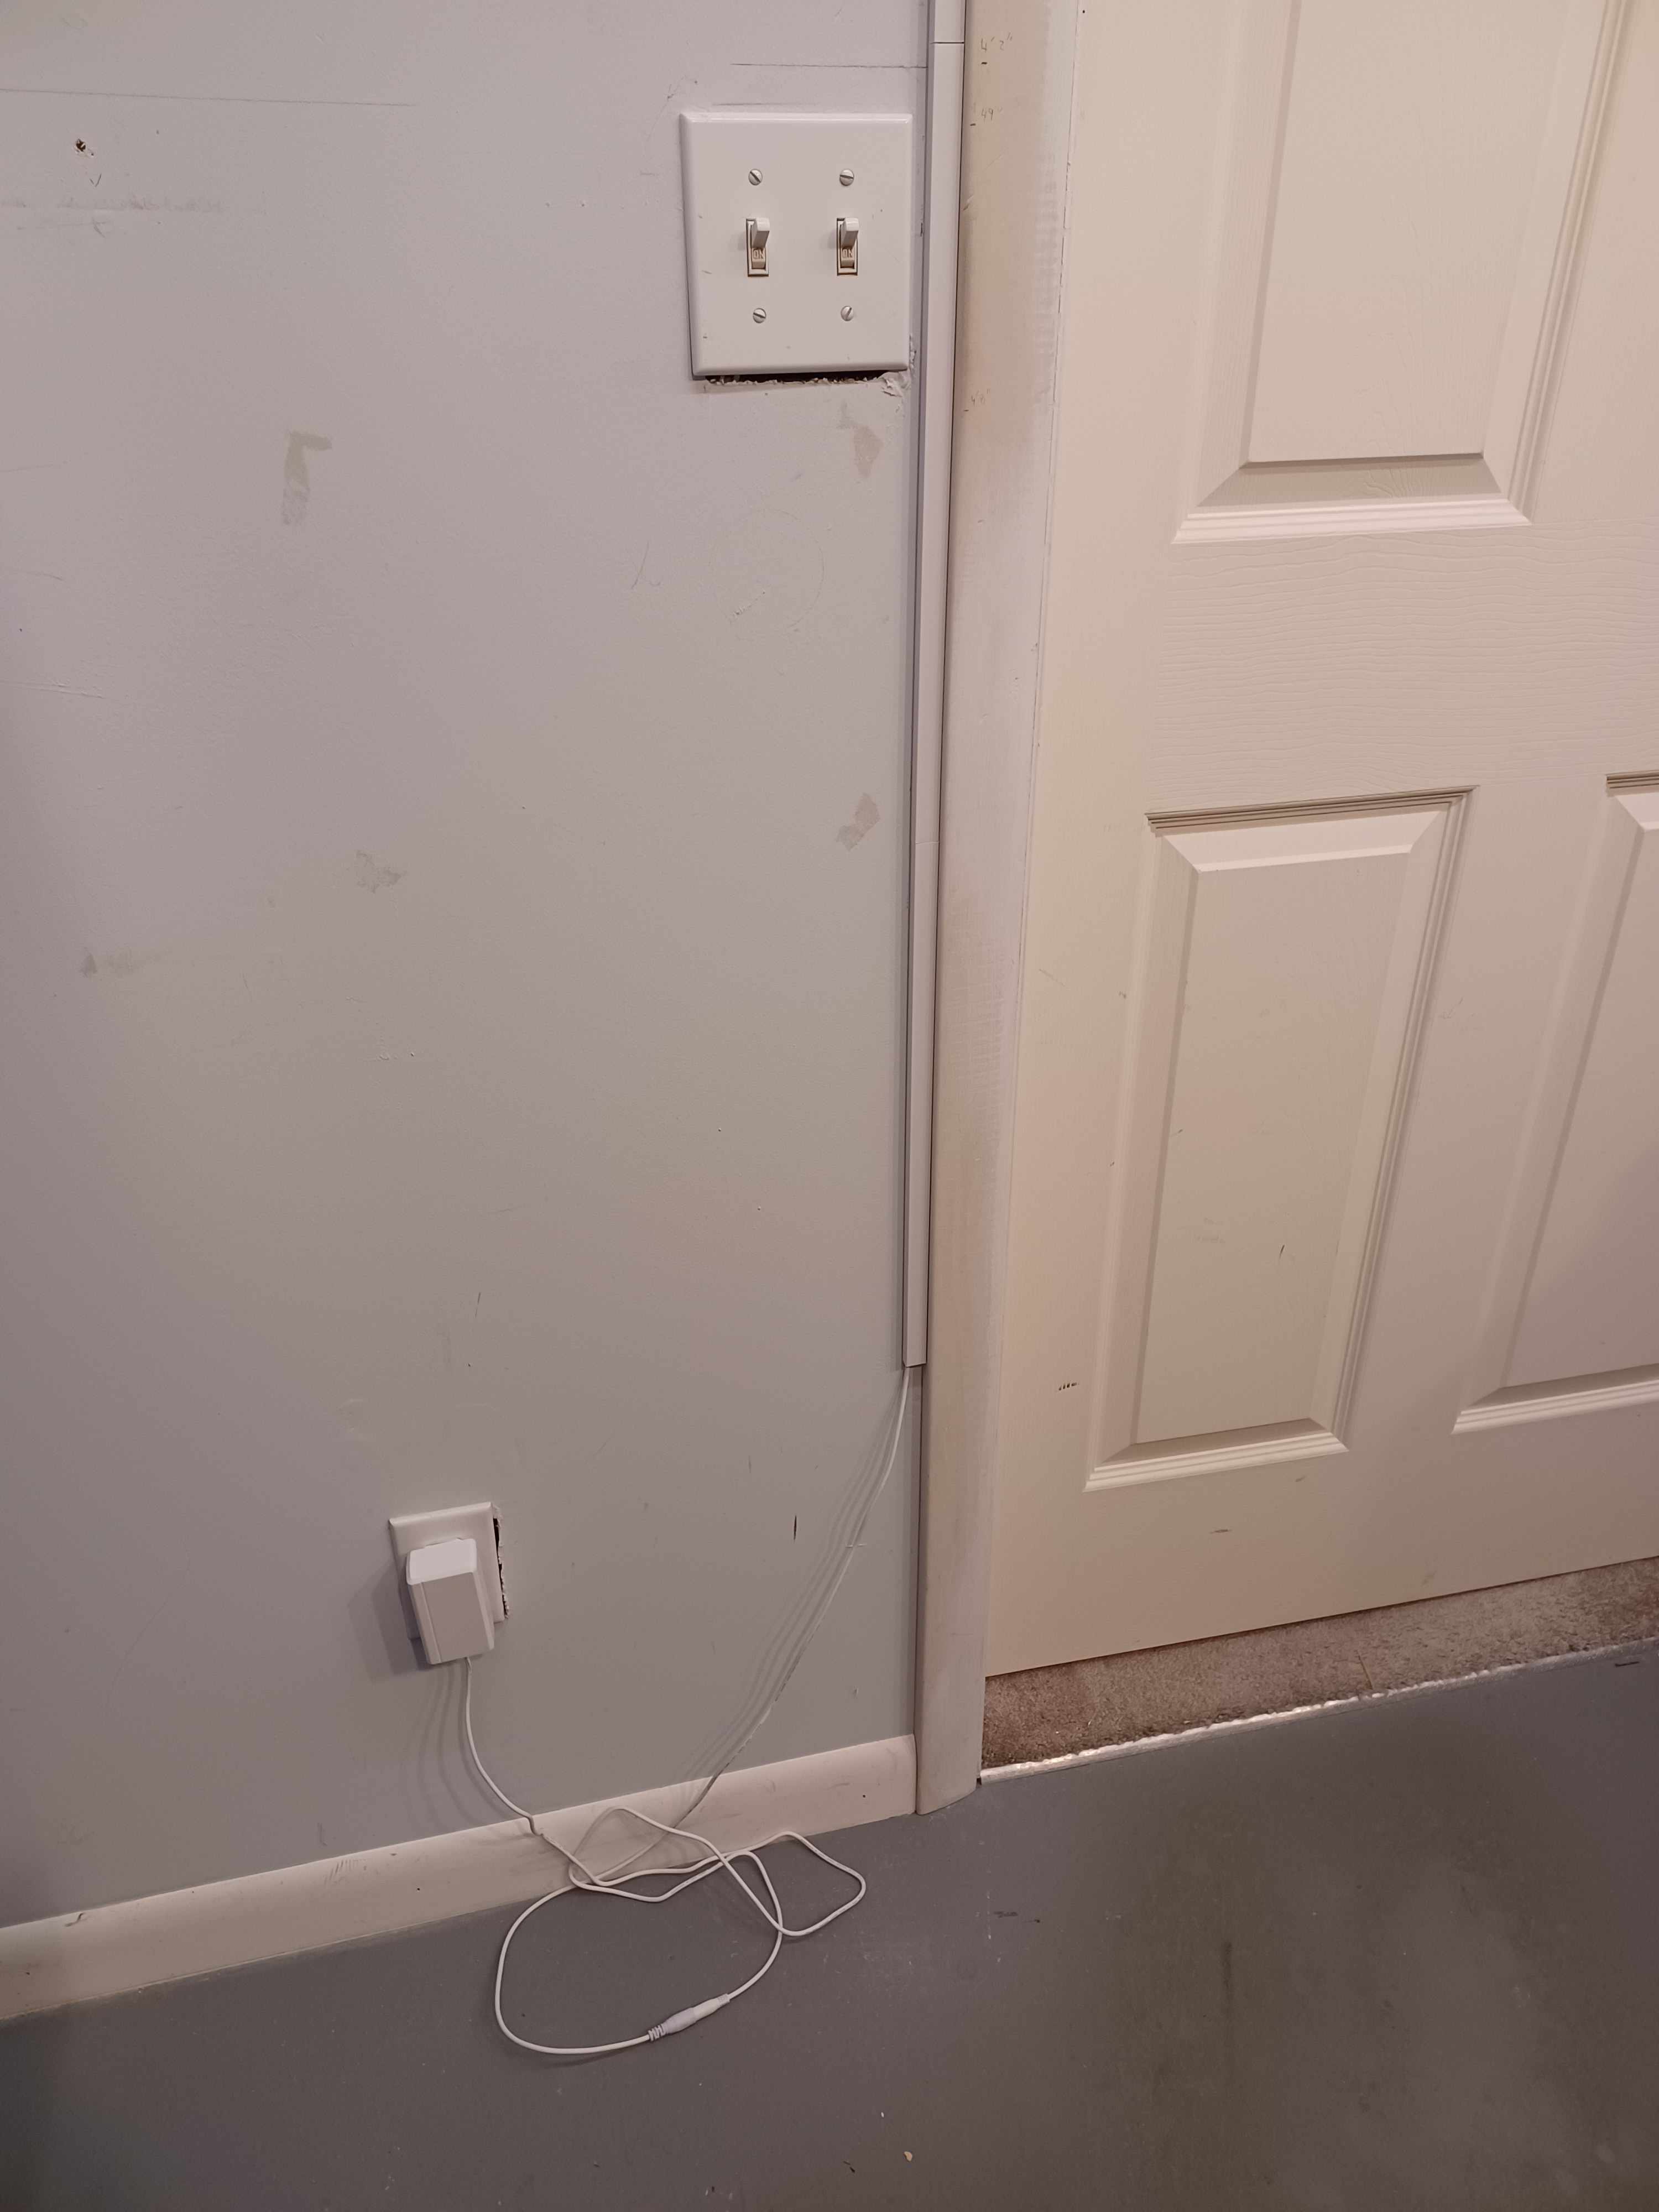
The power controller is mounted by the door which powers both strips in parallel fashion. I purchased an extension cord and cord hider to run down next to the door to the outlet. I will make this wiring a little neater later. Actually, you don’t even notice it.
Very neat, E C Mills! Are you happy with the amount of light these strips put out? I’ve thought of doing something like this on my layout, but I have never been sure of what I want. Thanks for posting this.
Yes, pretty happy with the light output. Also the whole set up was in the $150 range. And less than 50 watts total! Its also fun to play with all the various white temperature ranges, and then the full color ranges.
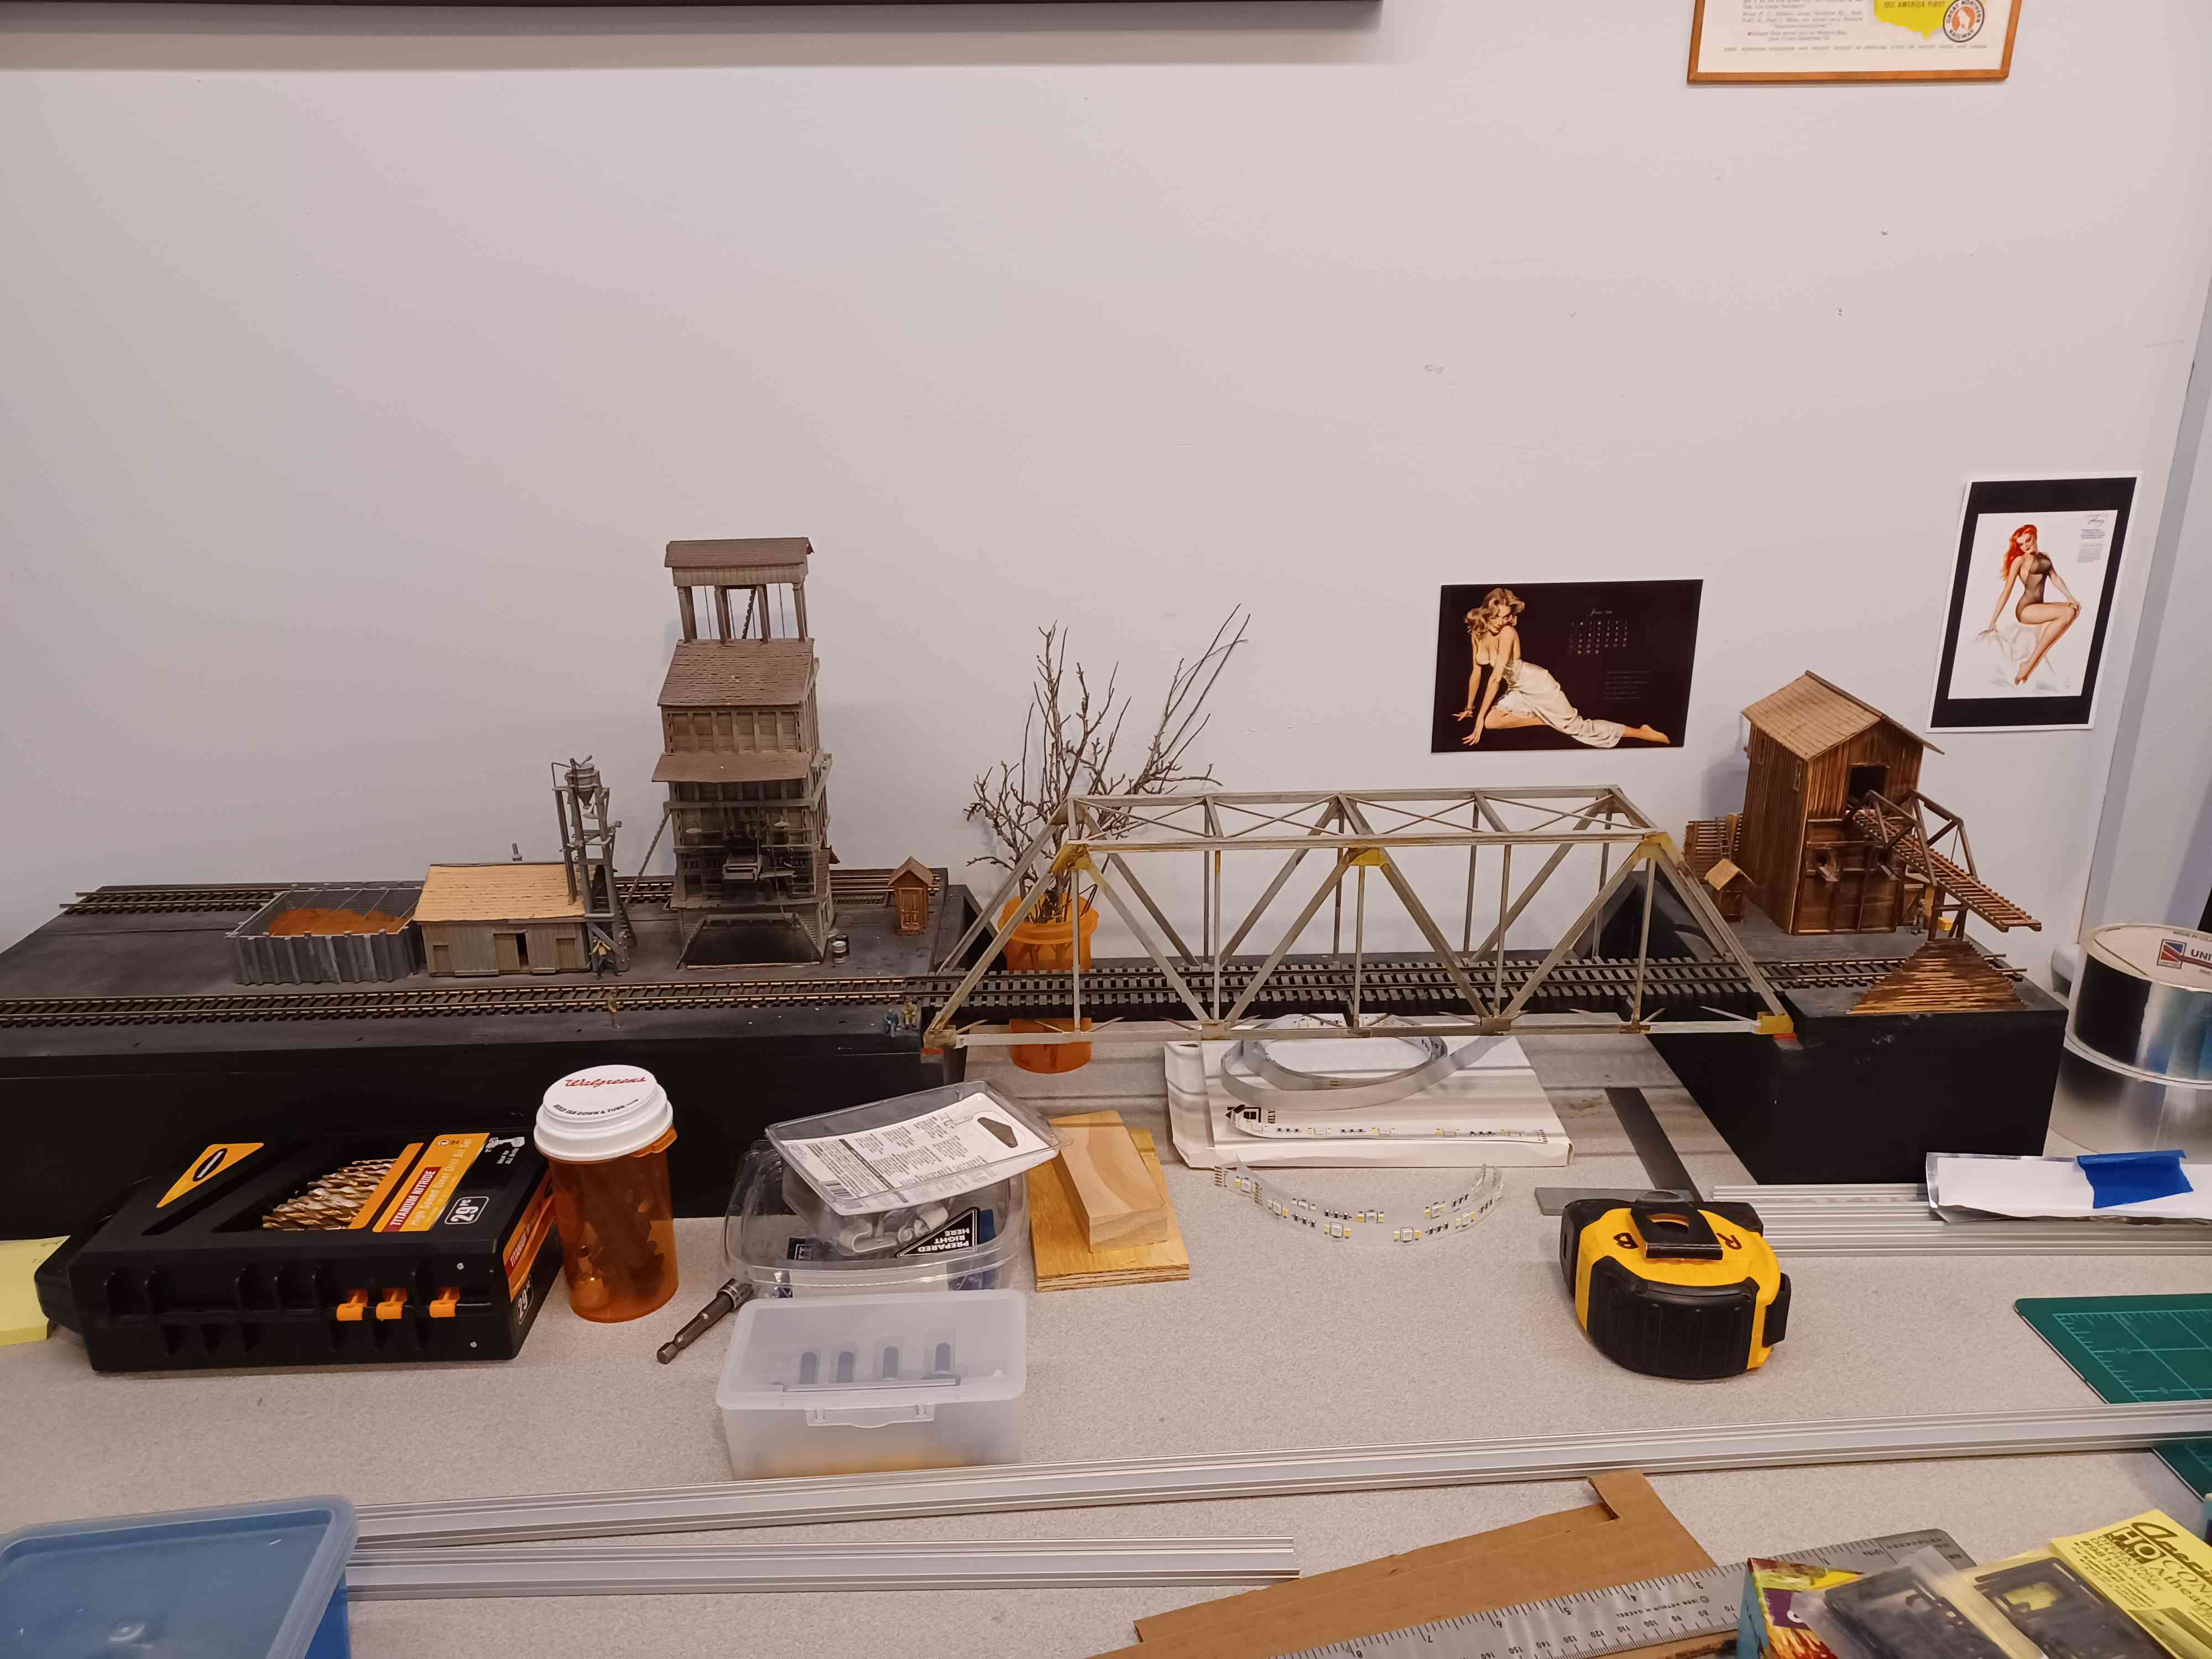
This little model display is on my workbench which is a foot or two below the layout height.
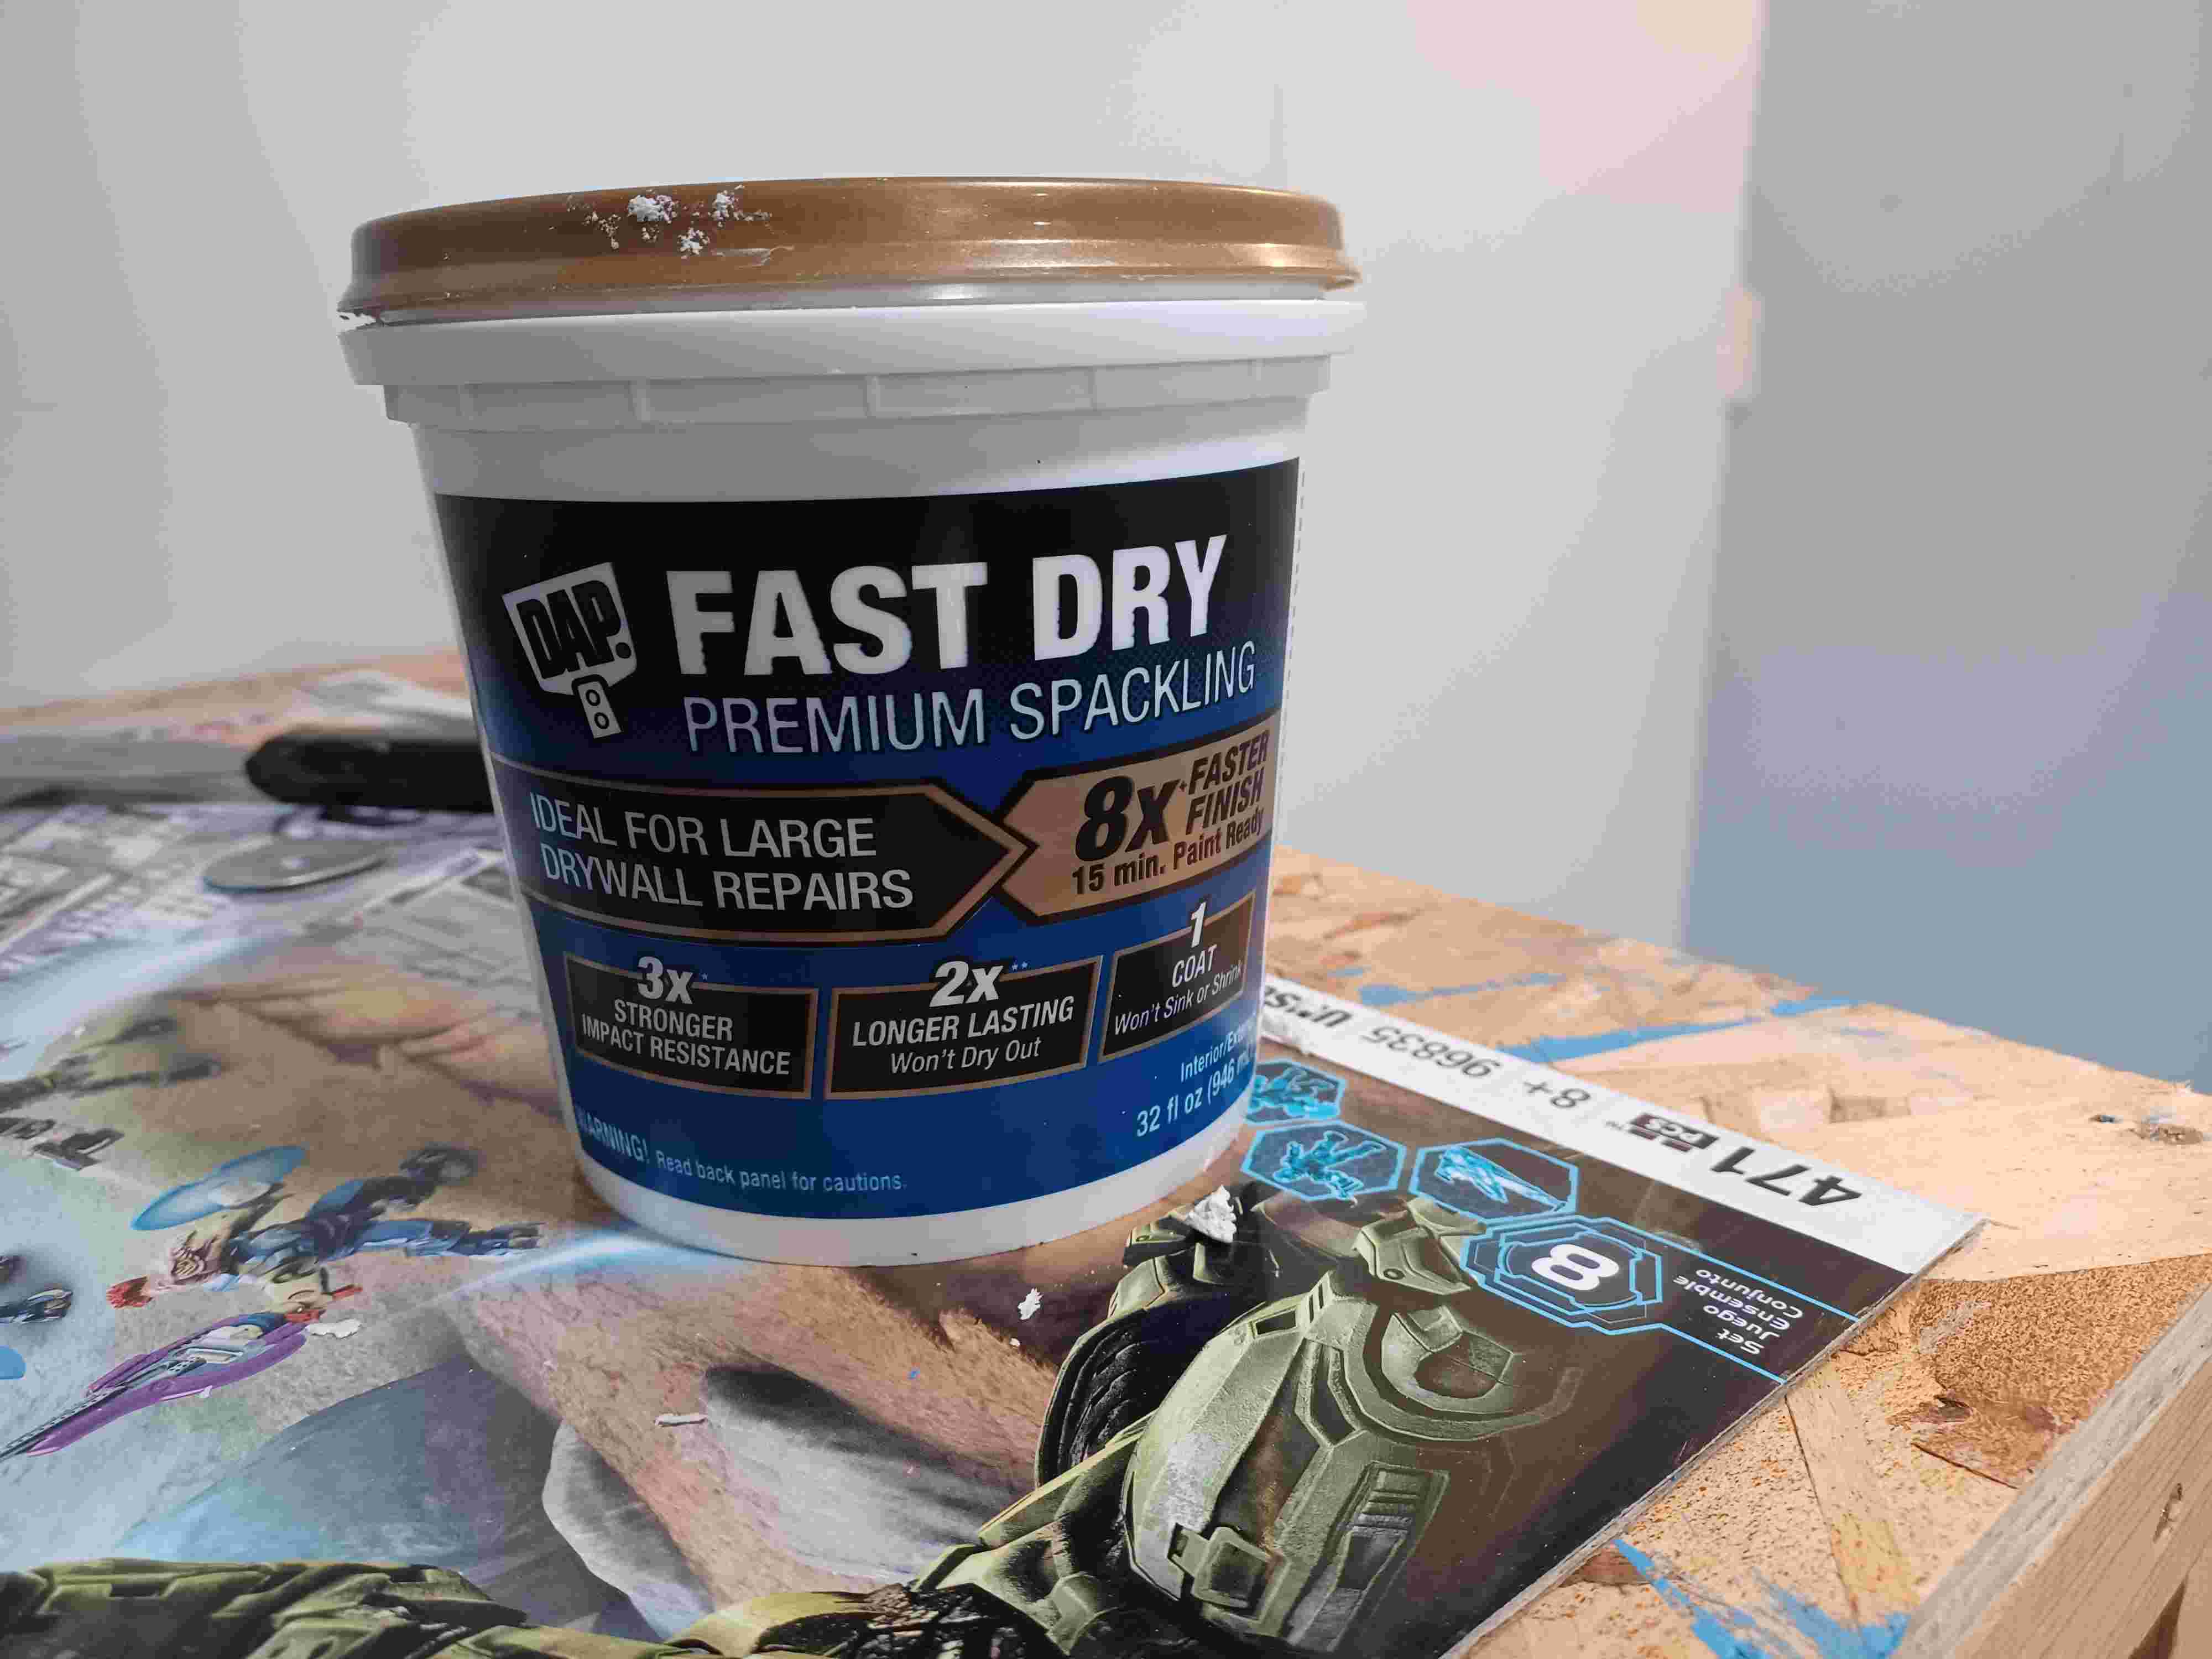
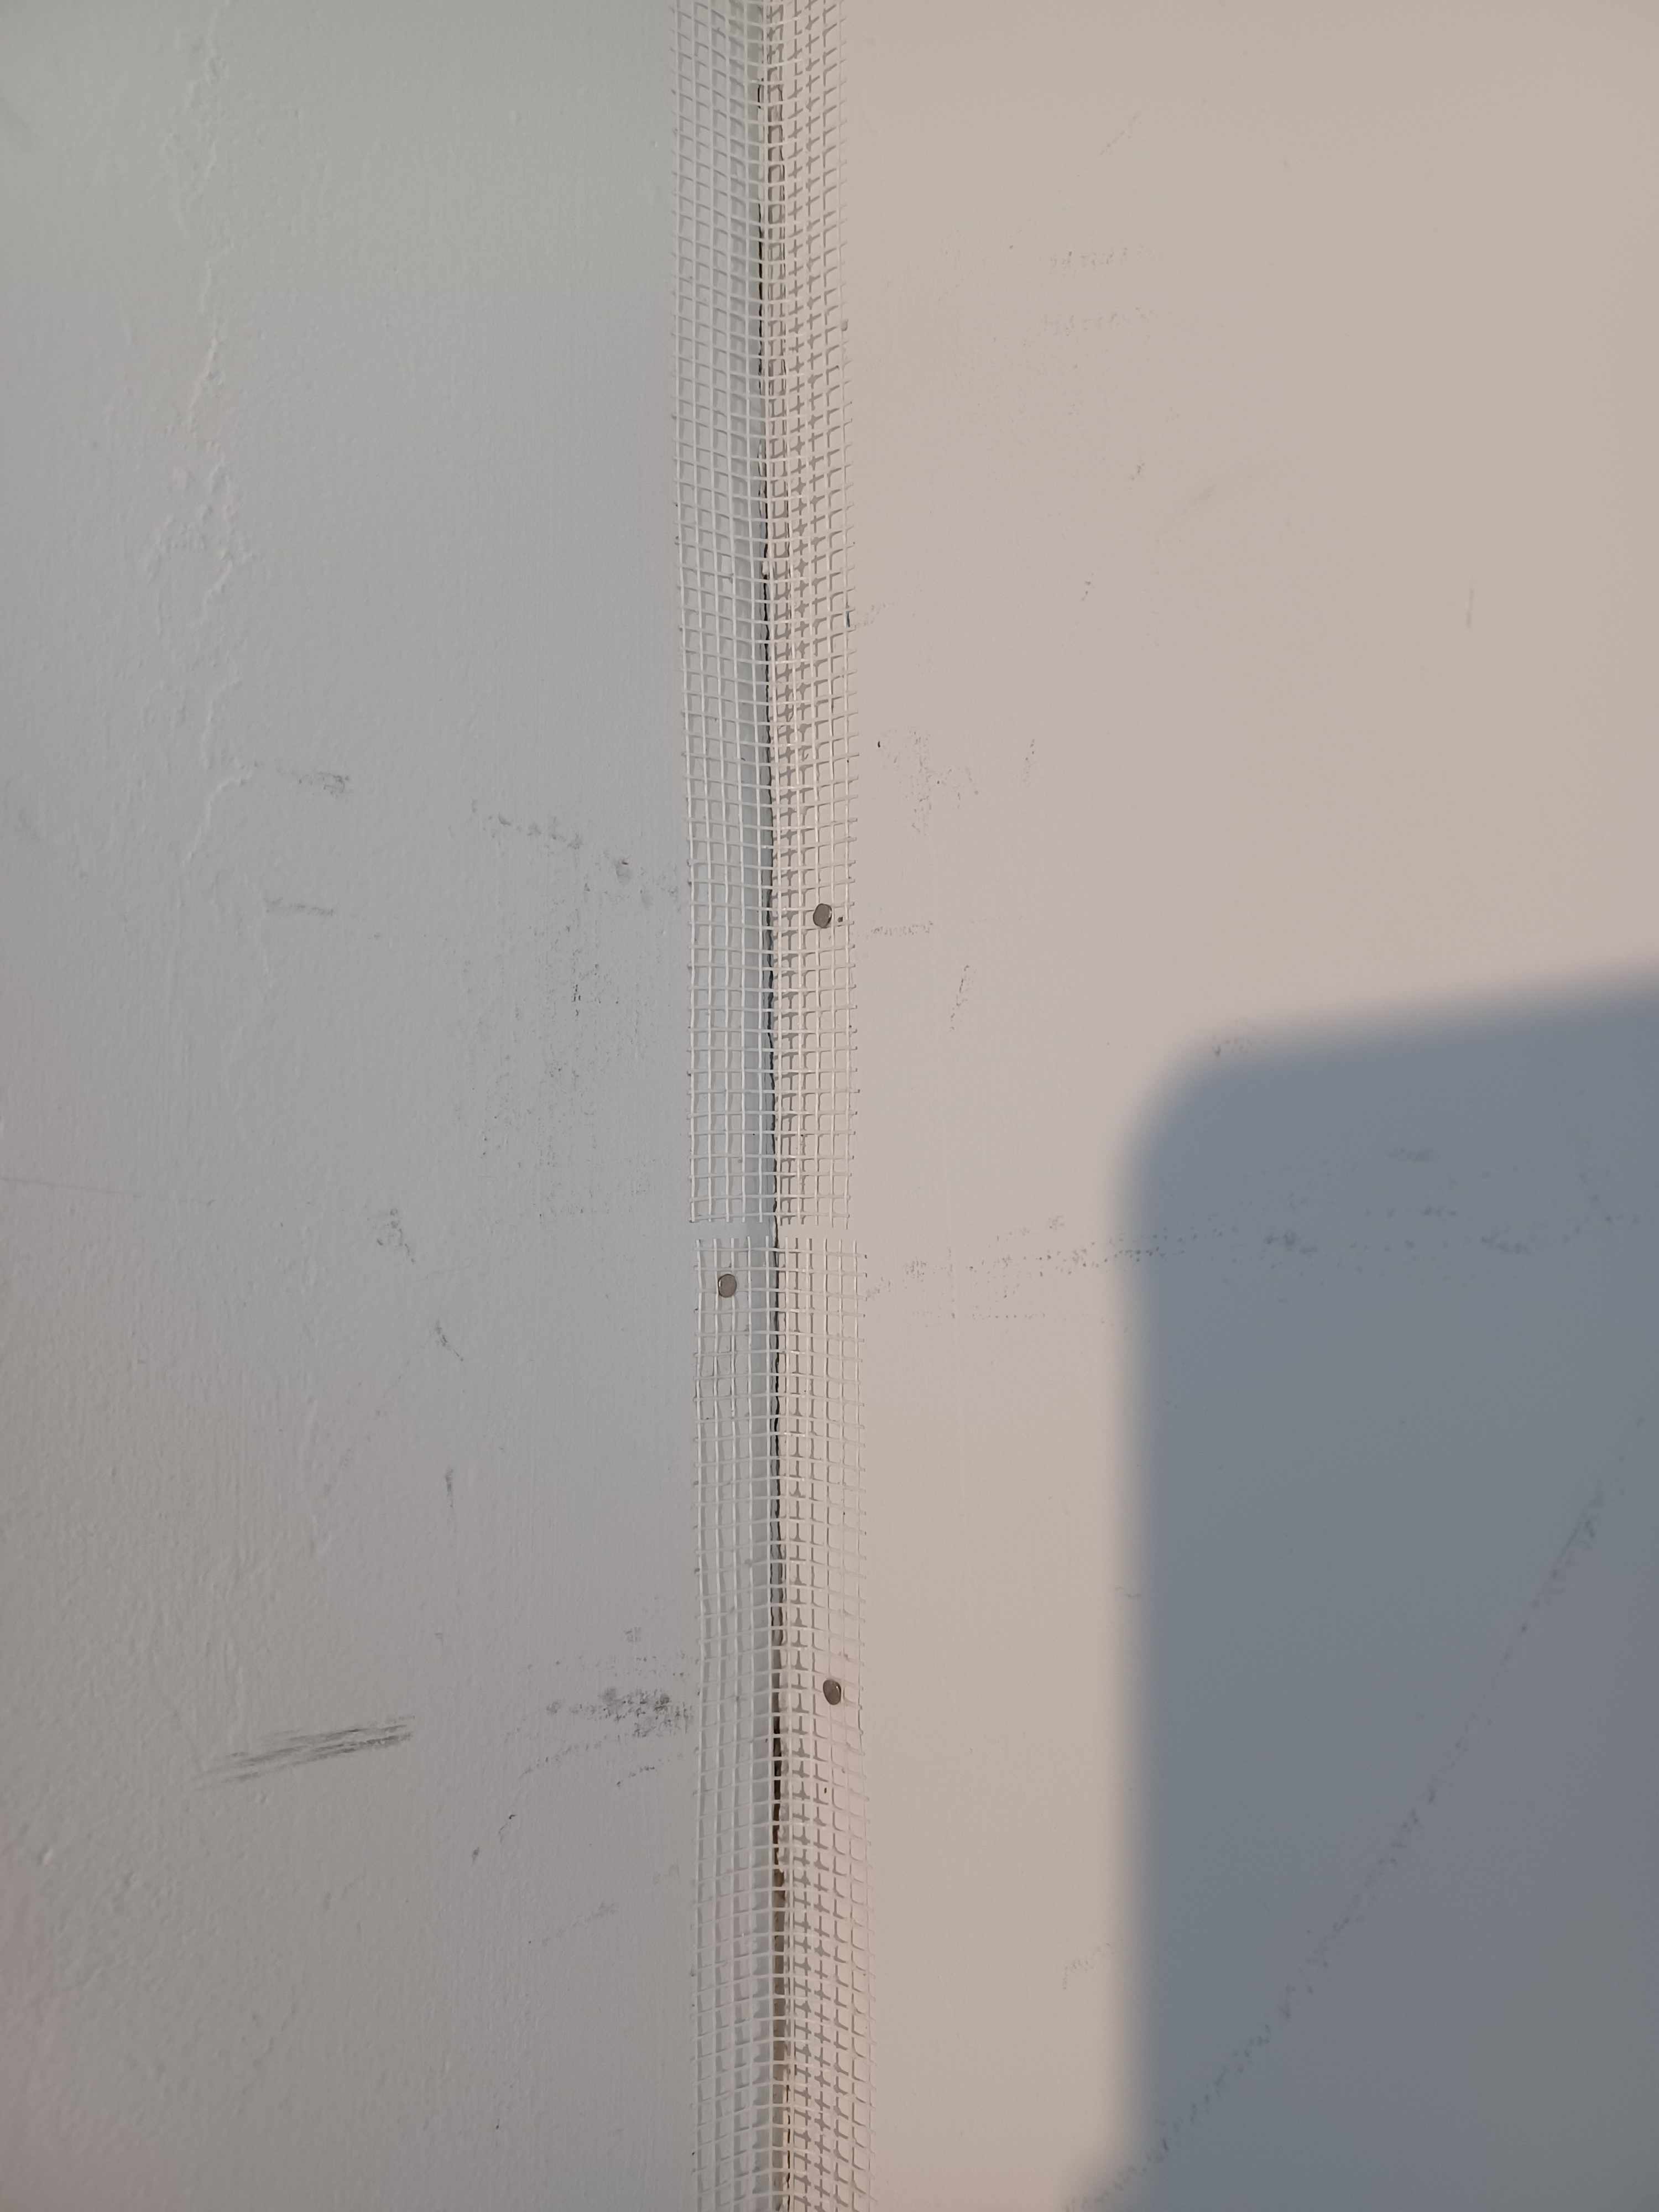
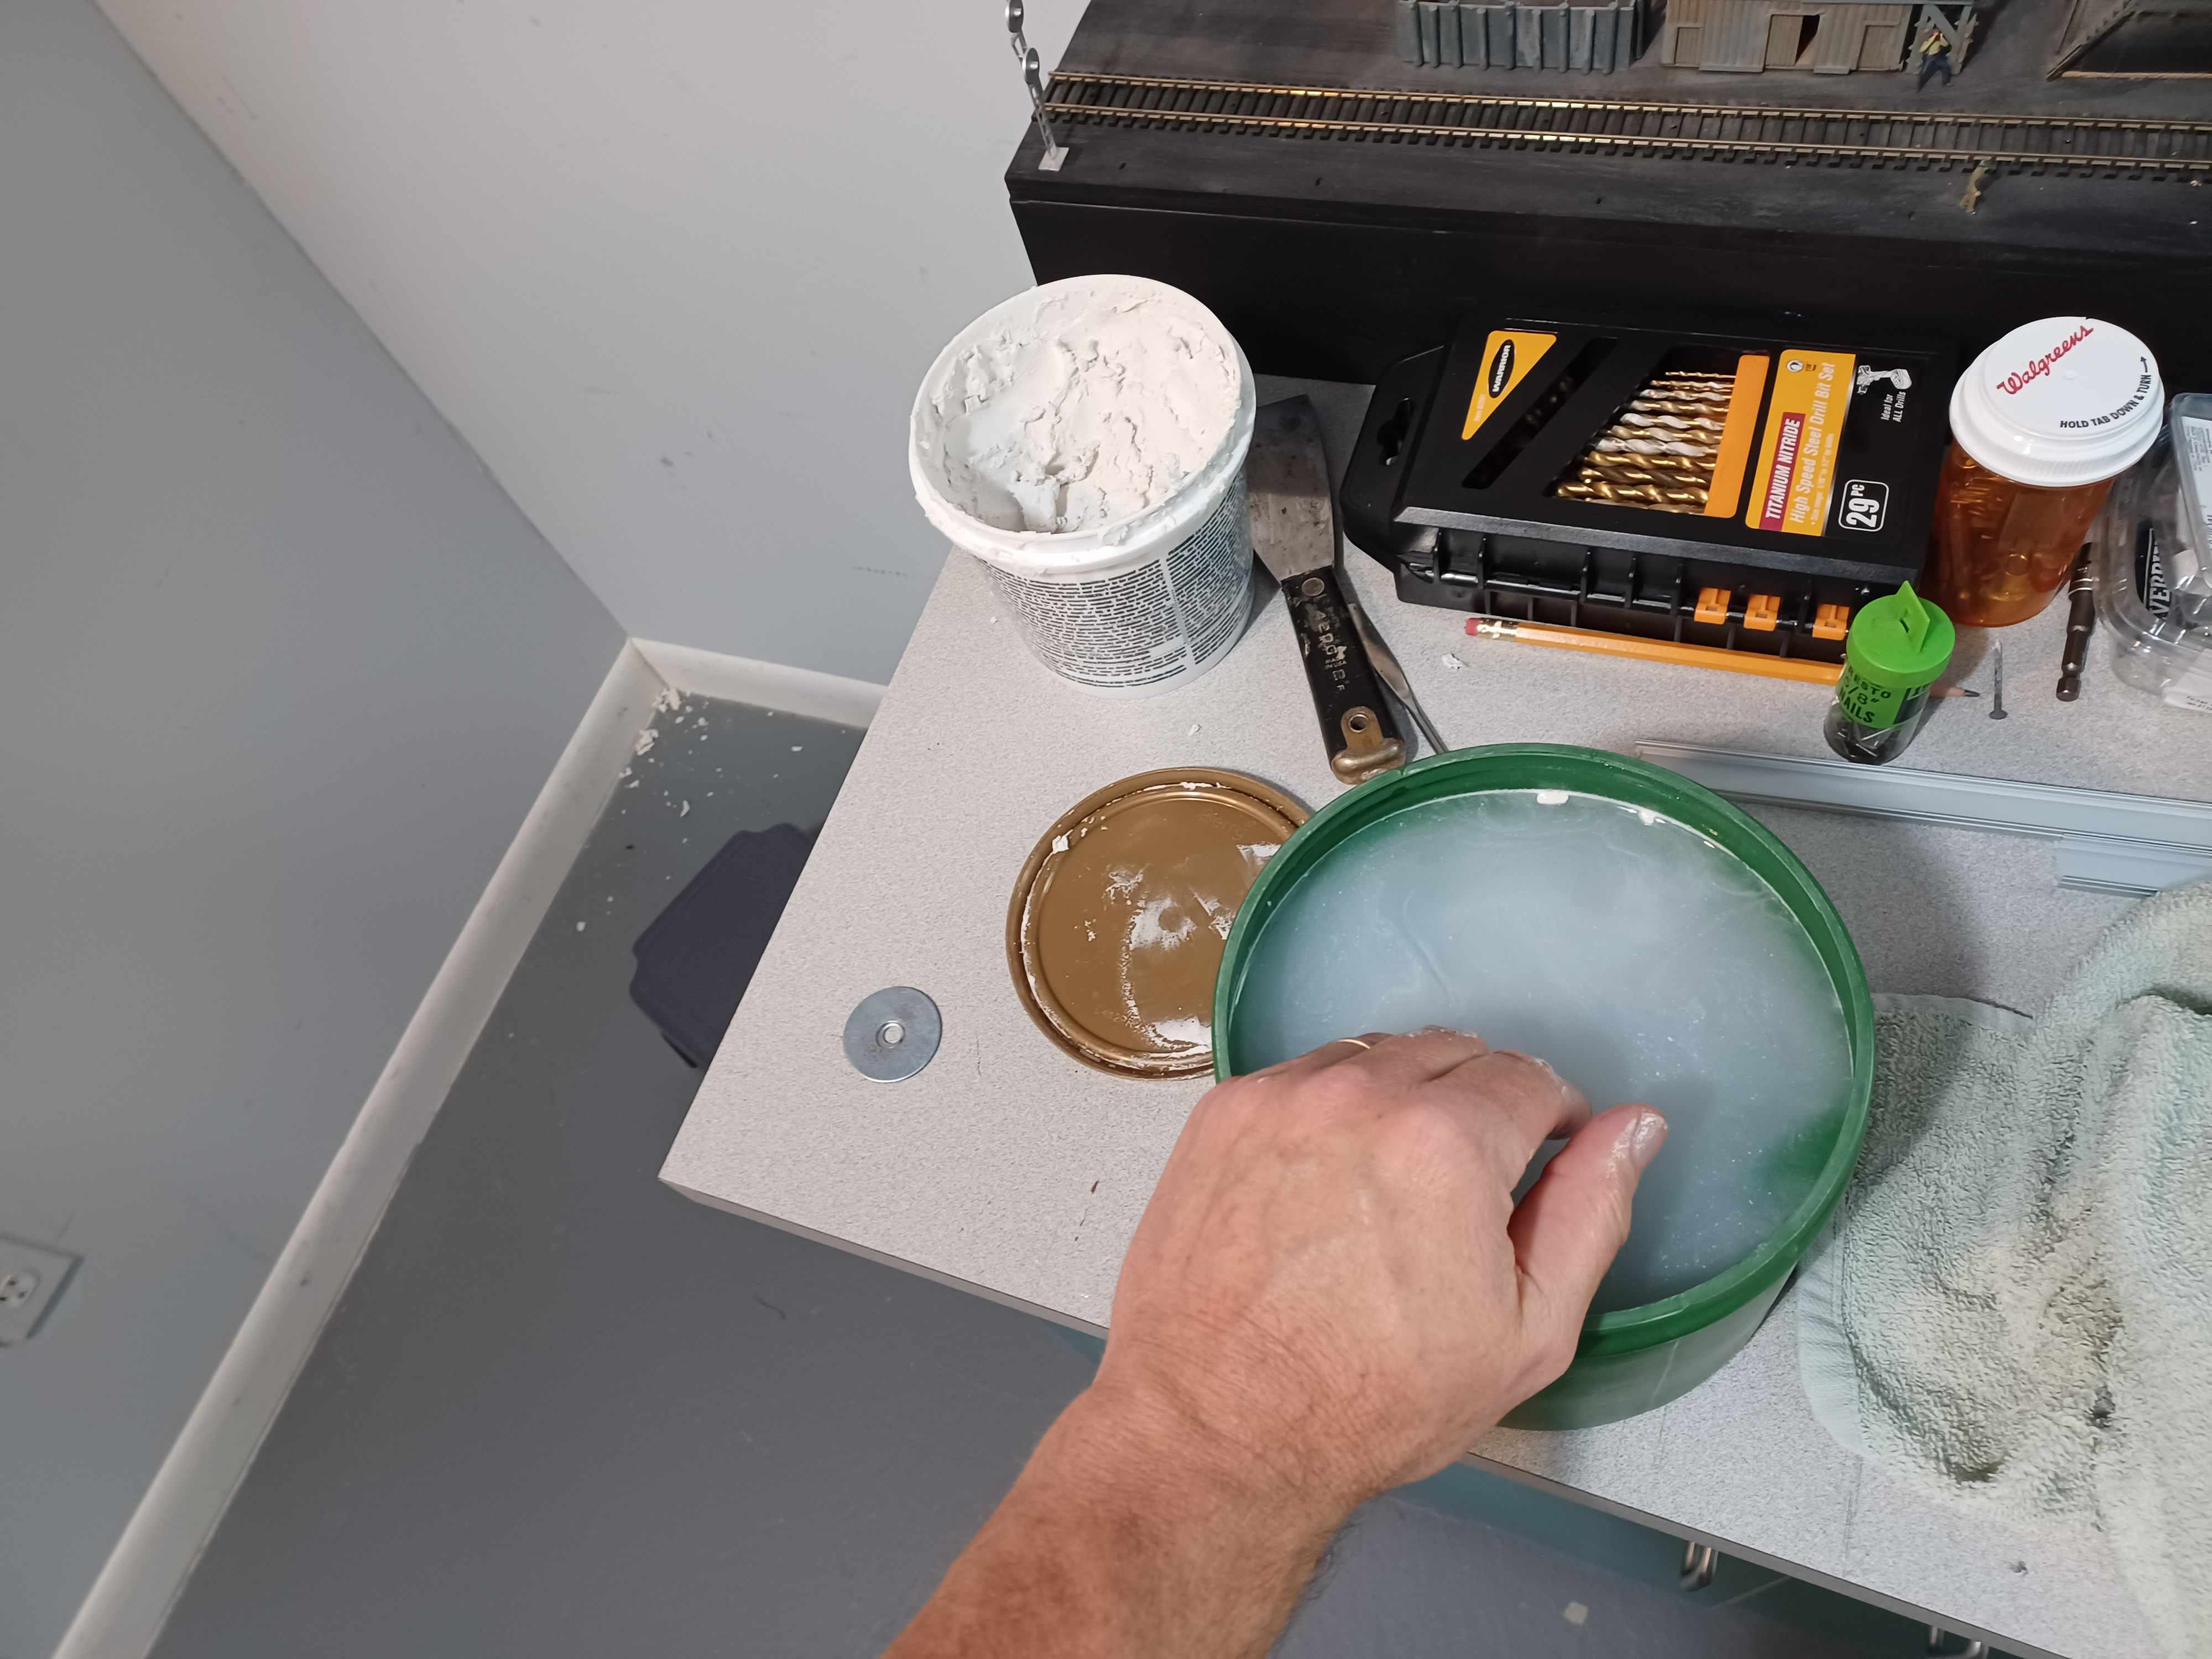
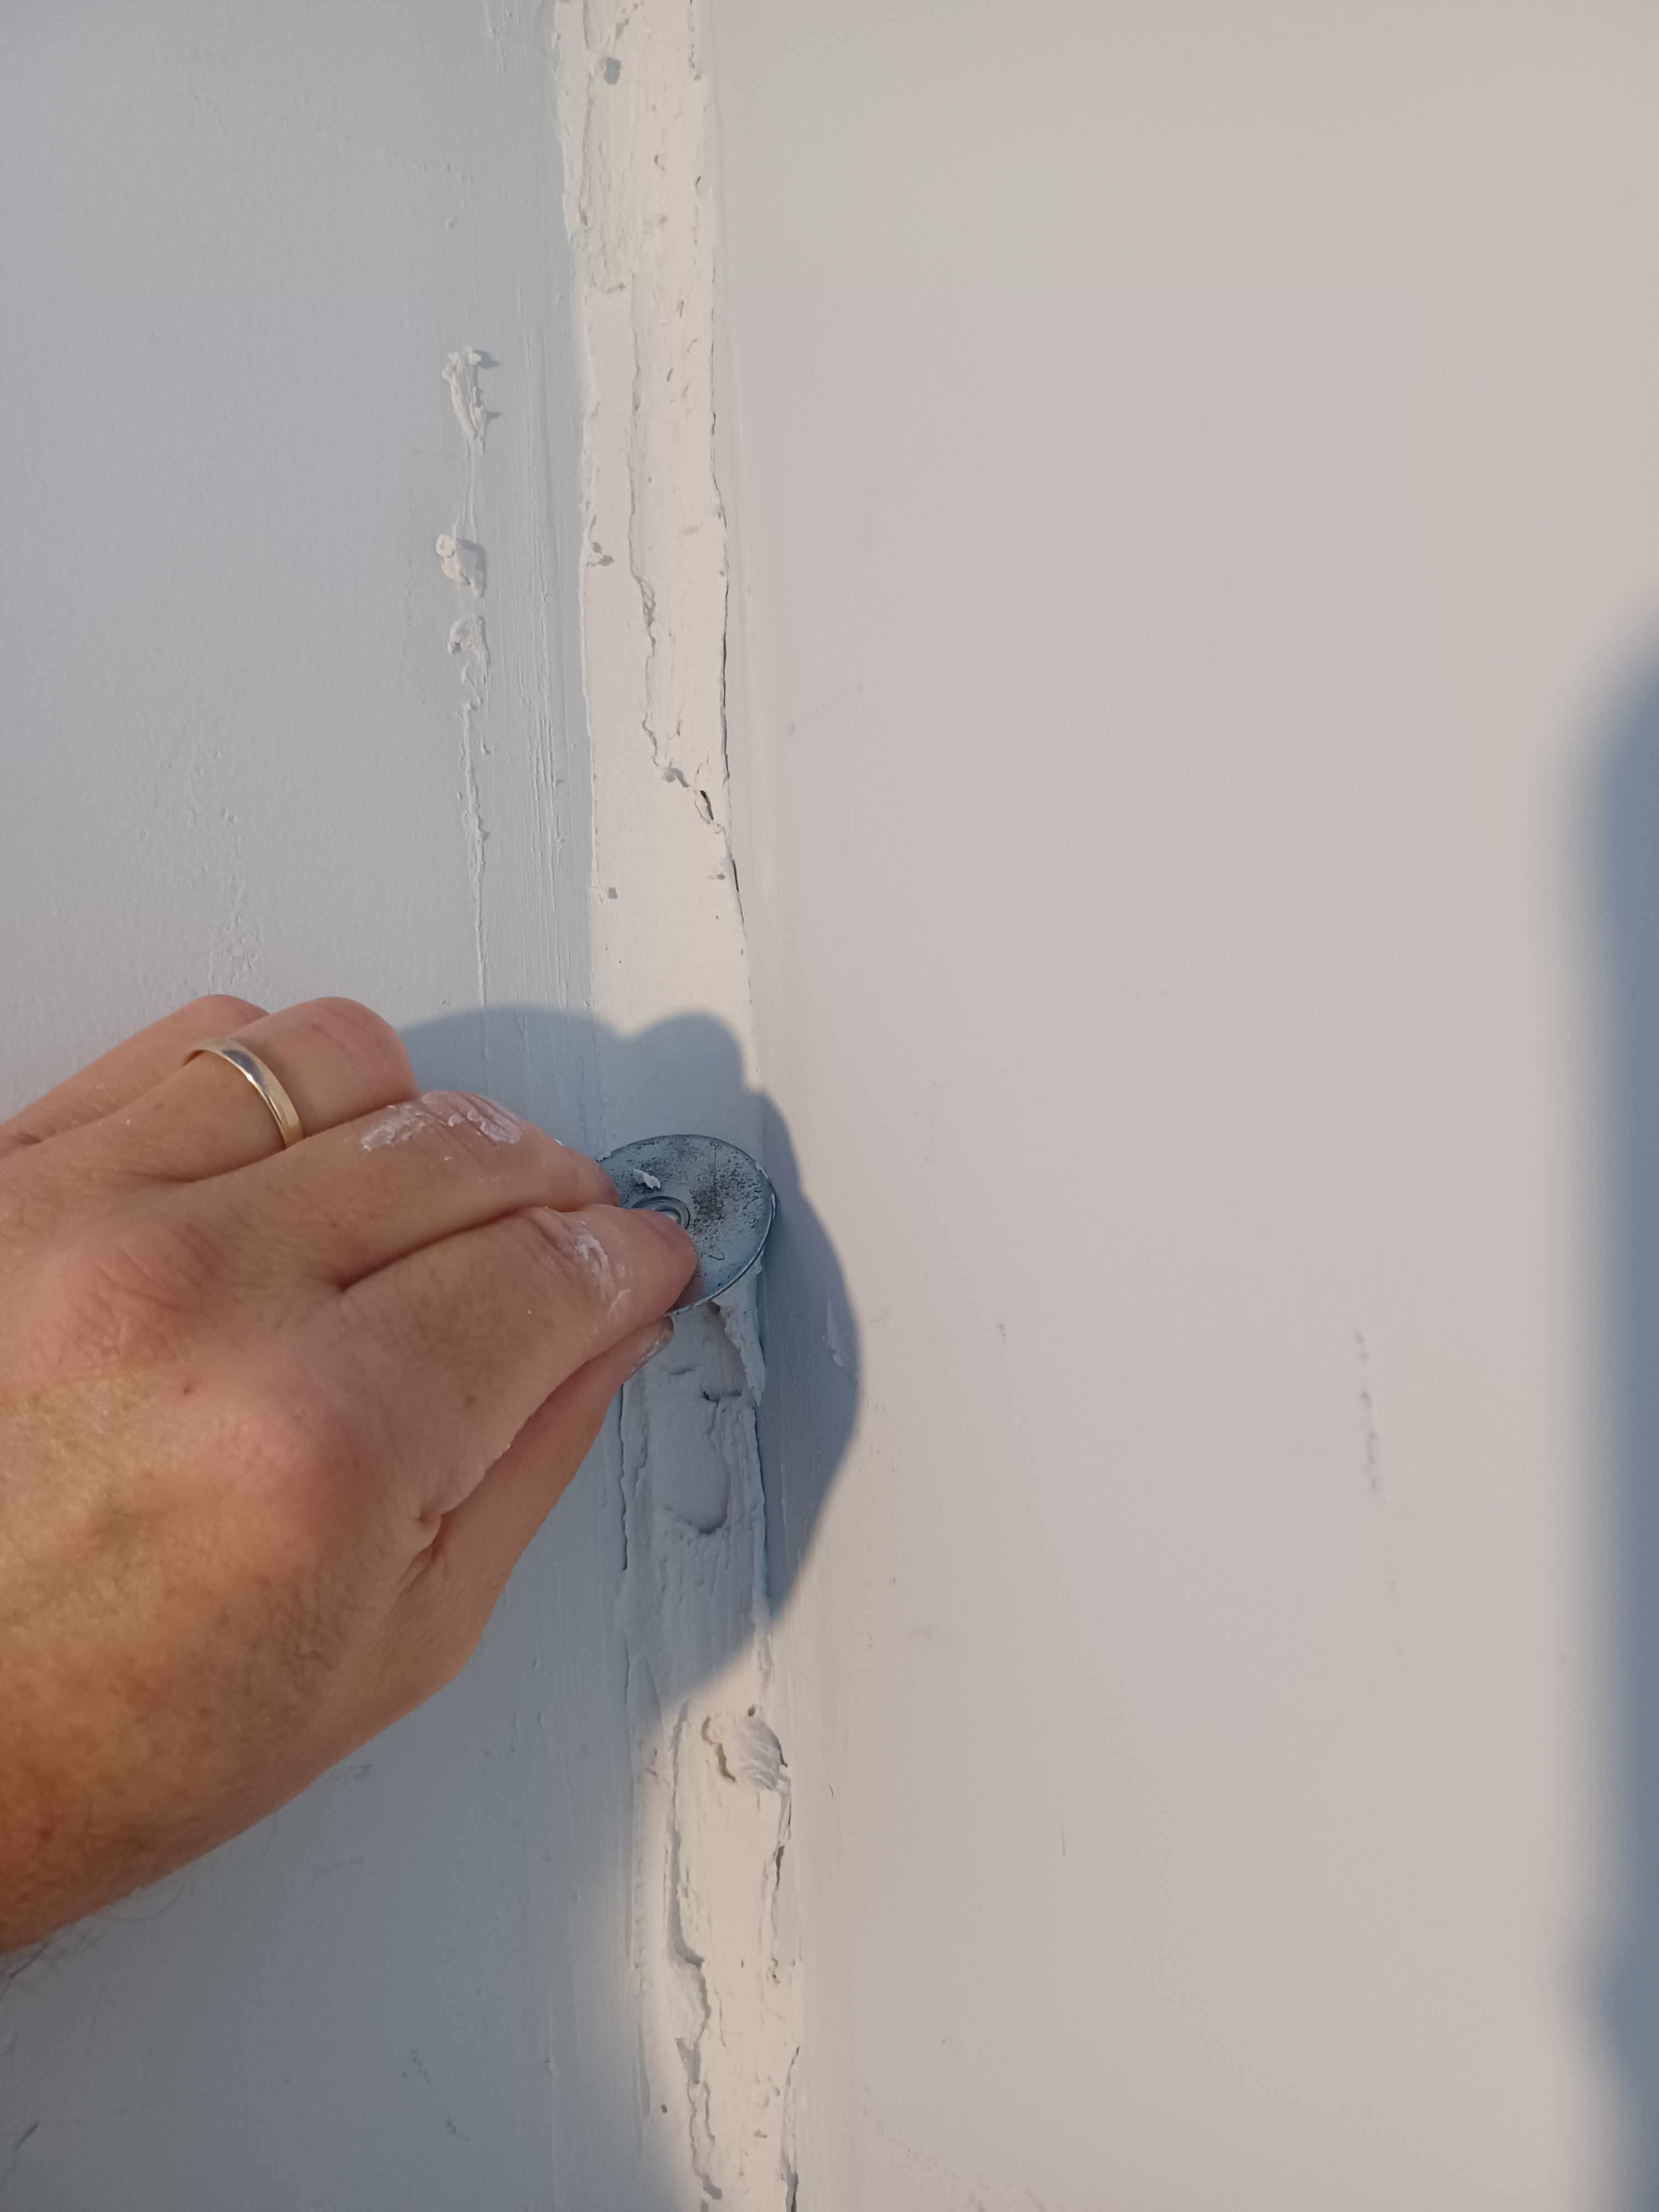
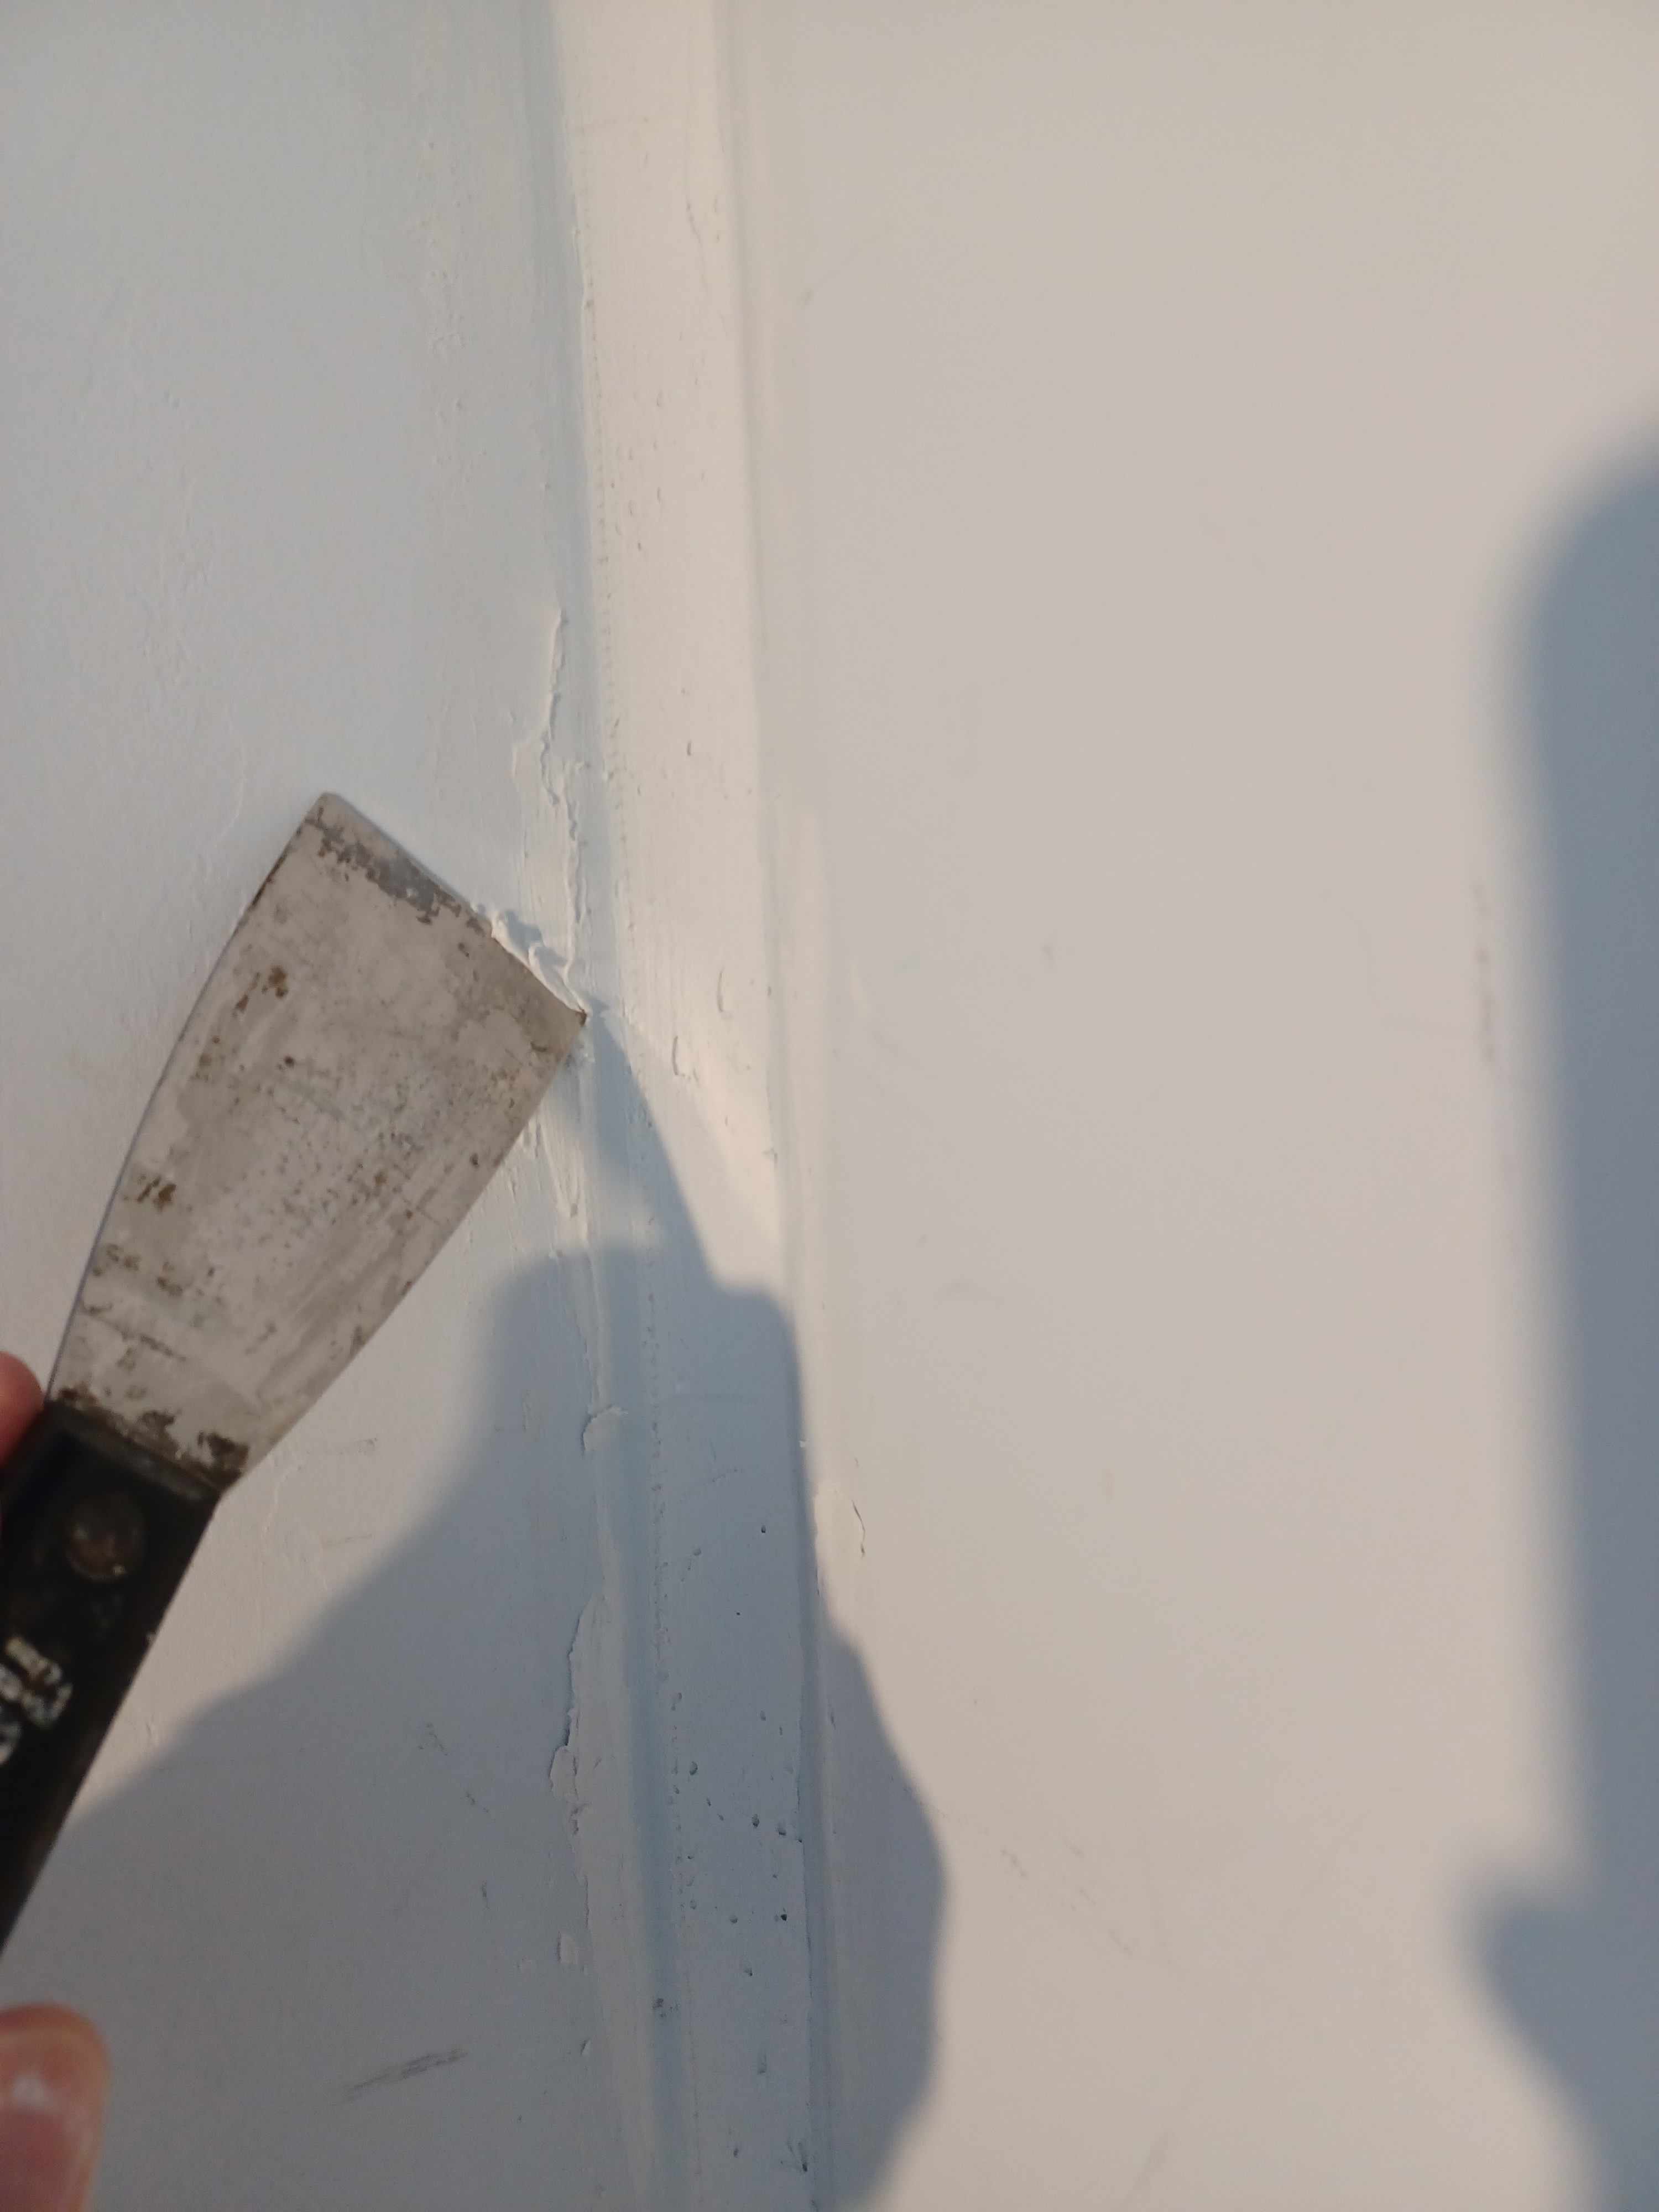
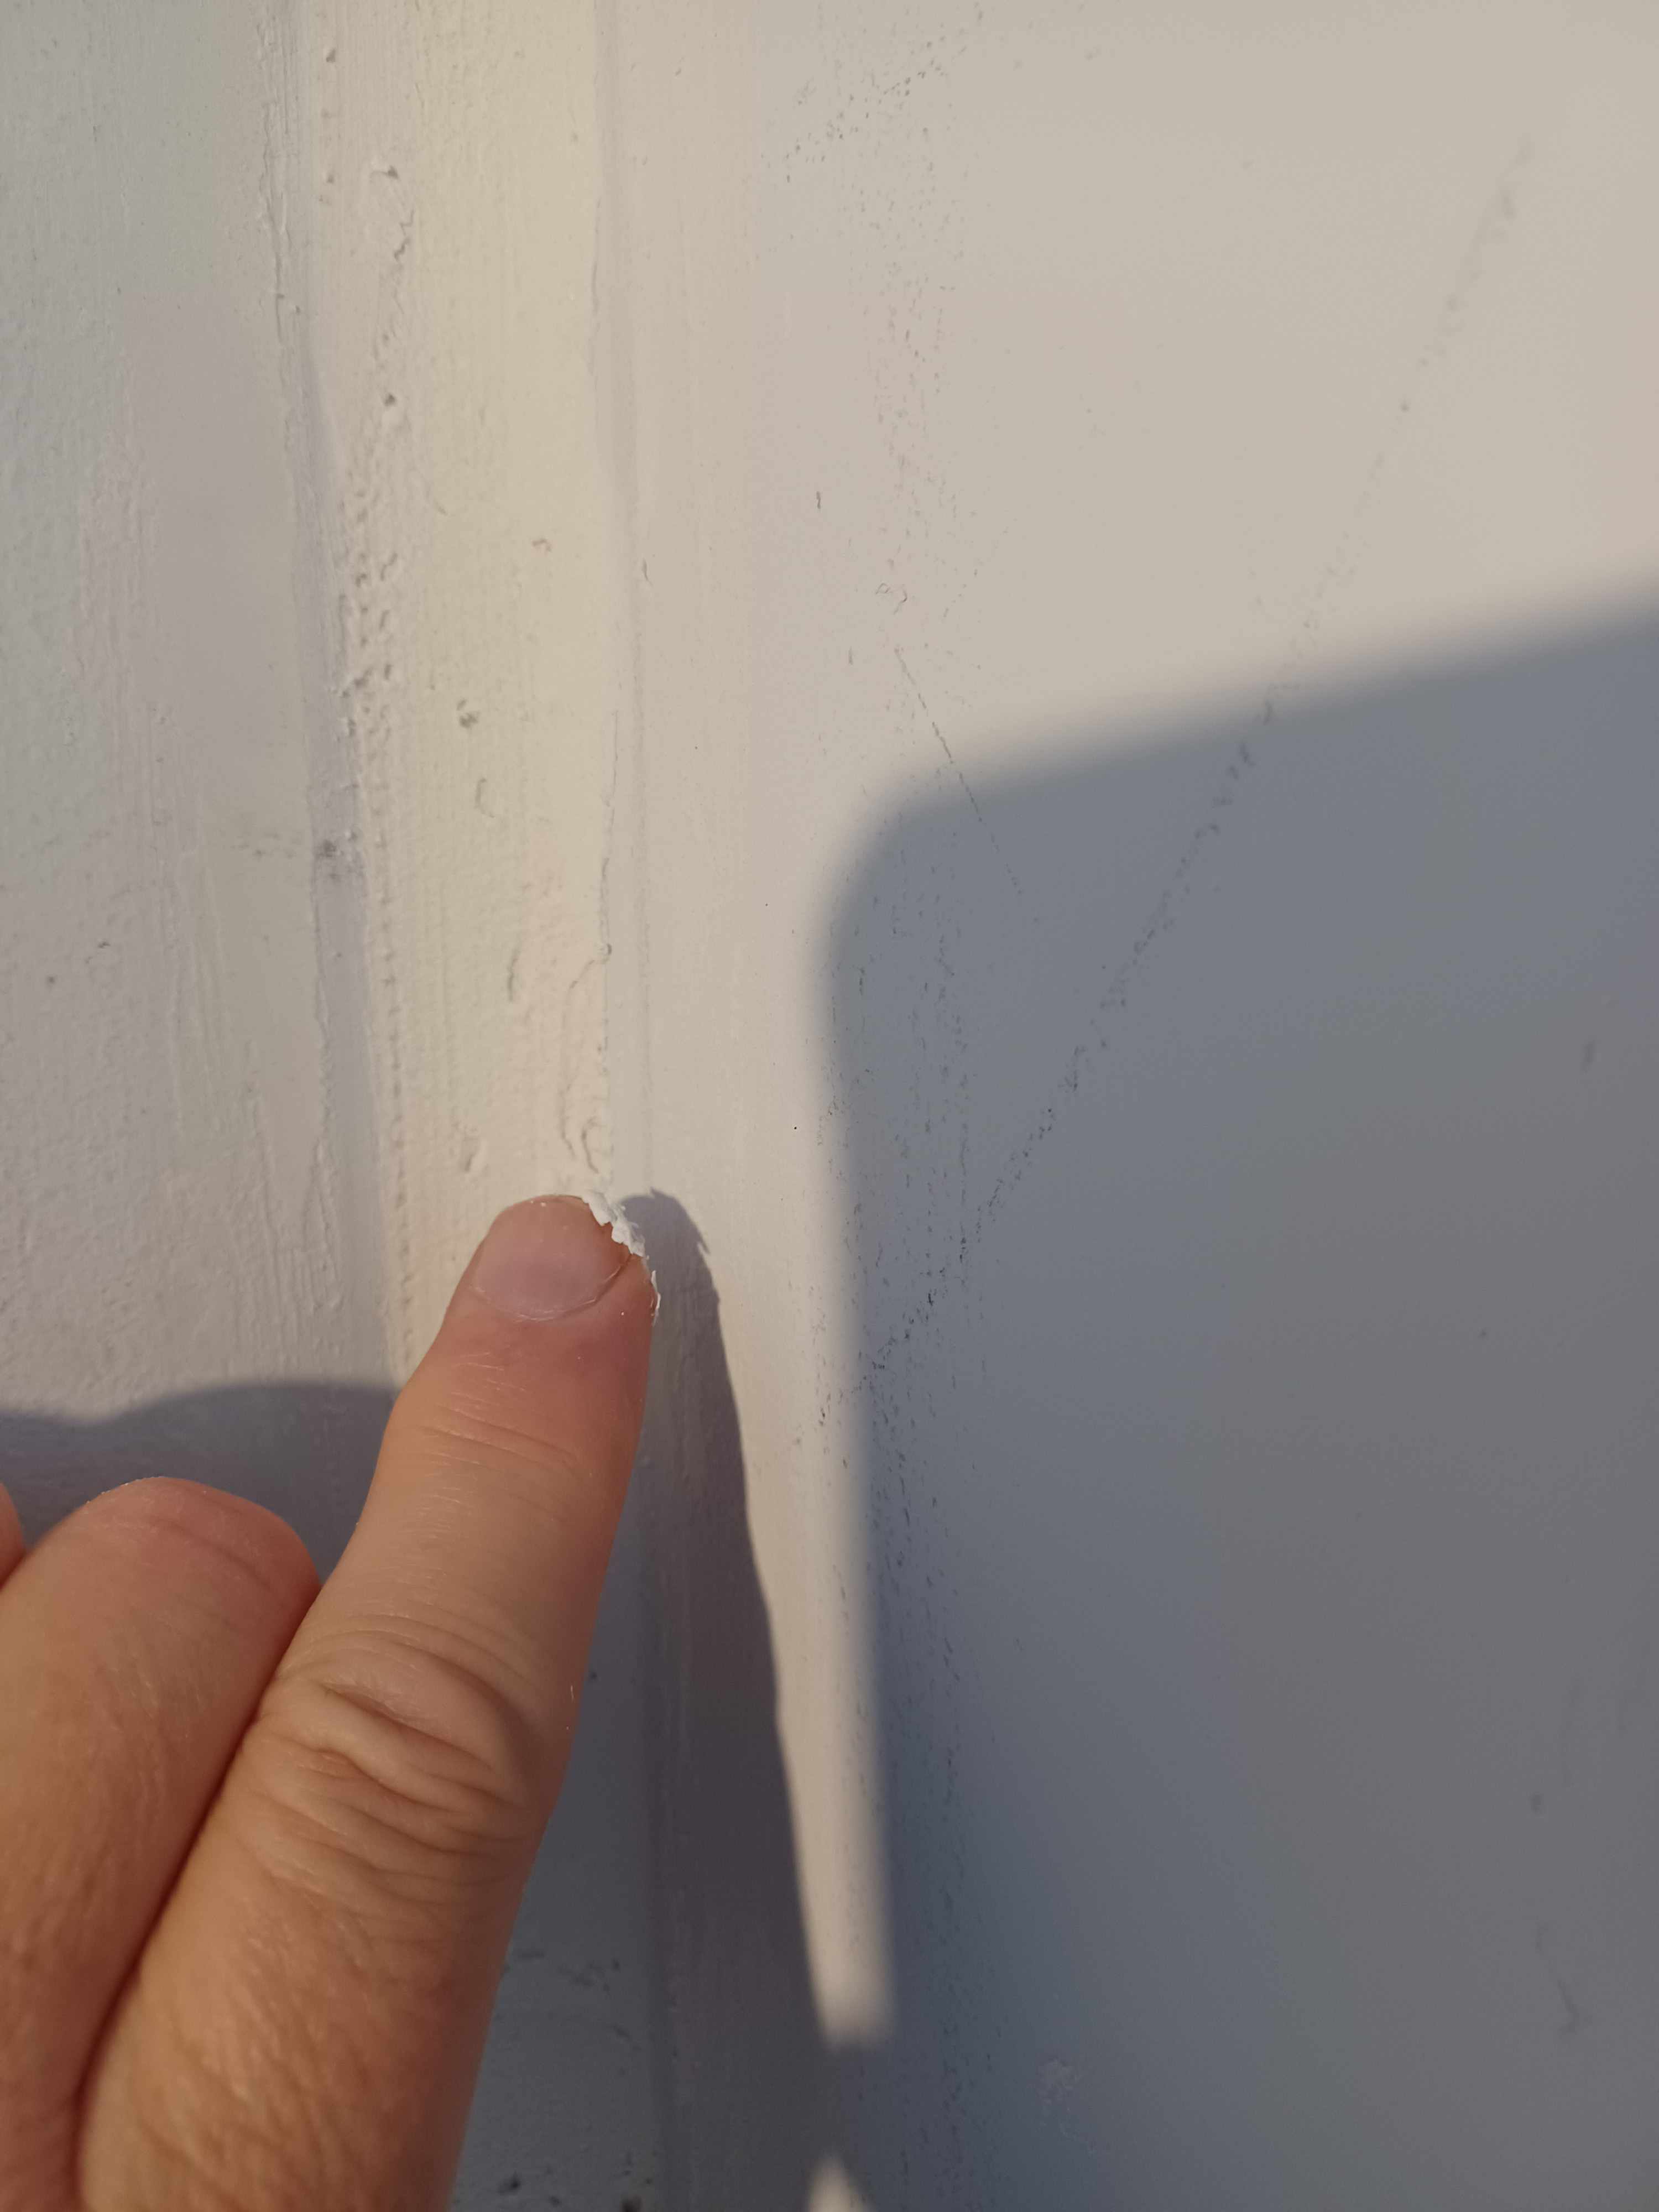
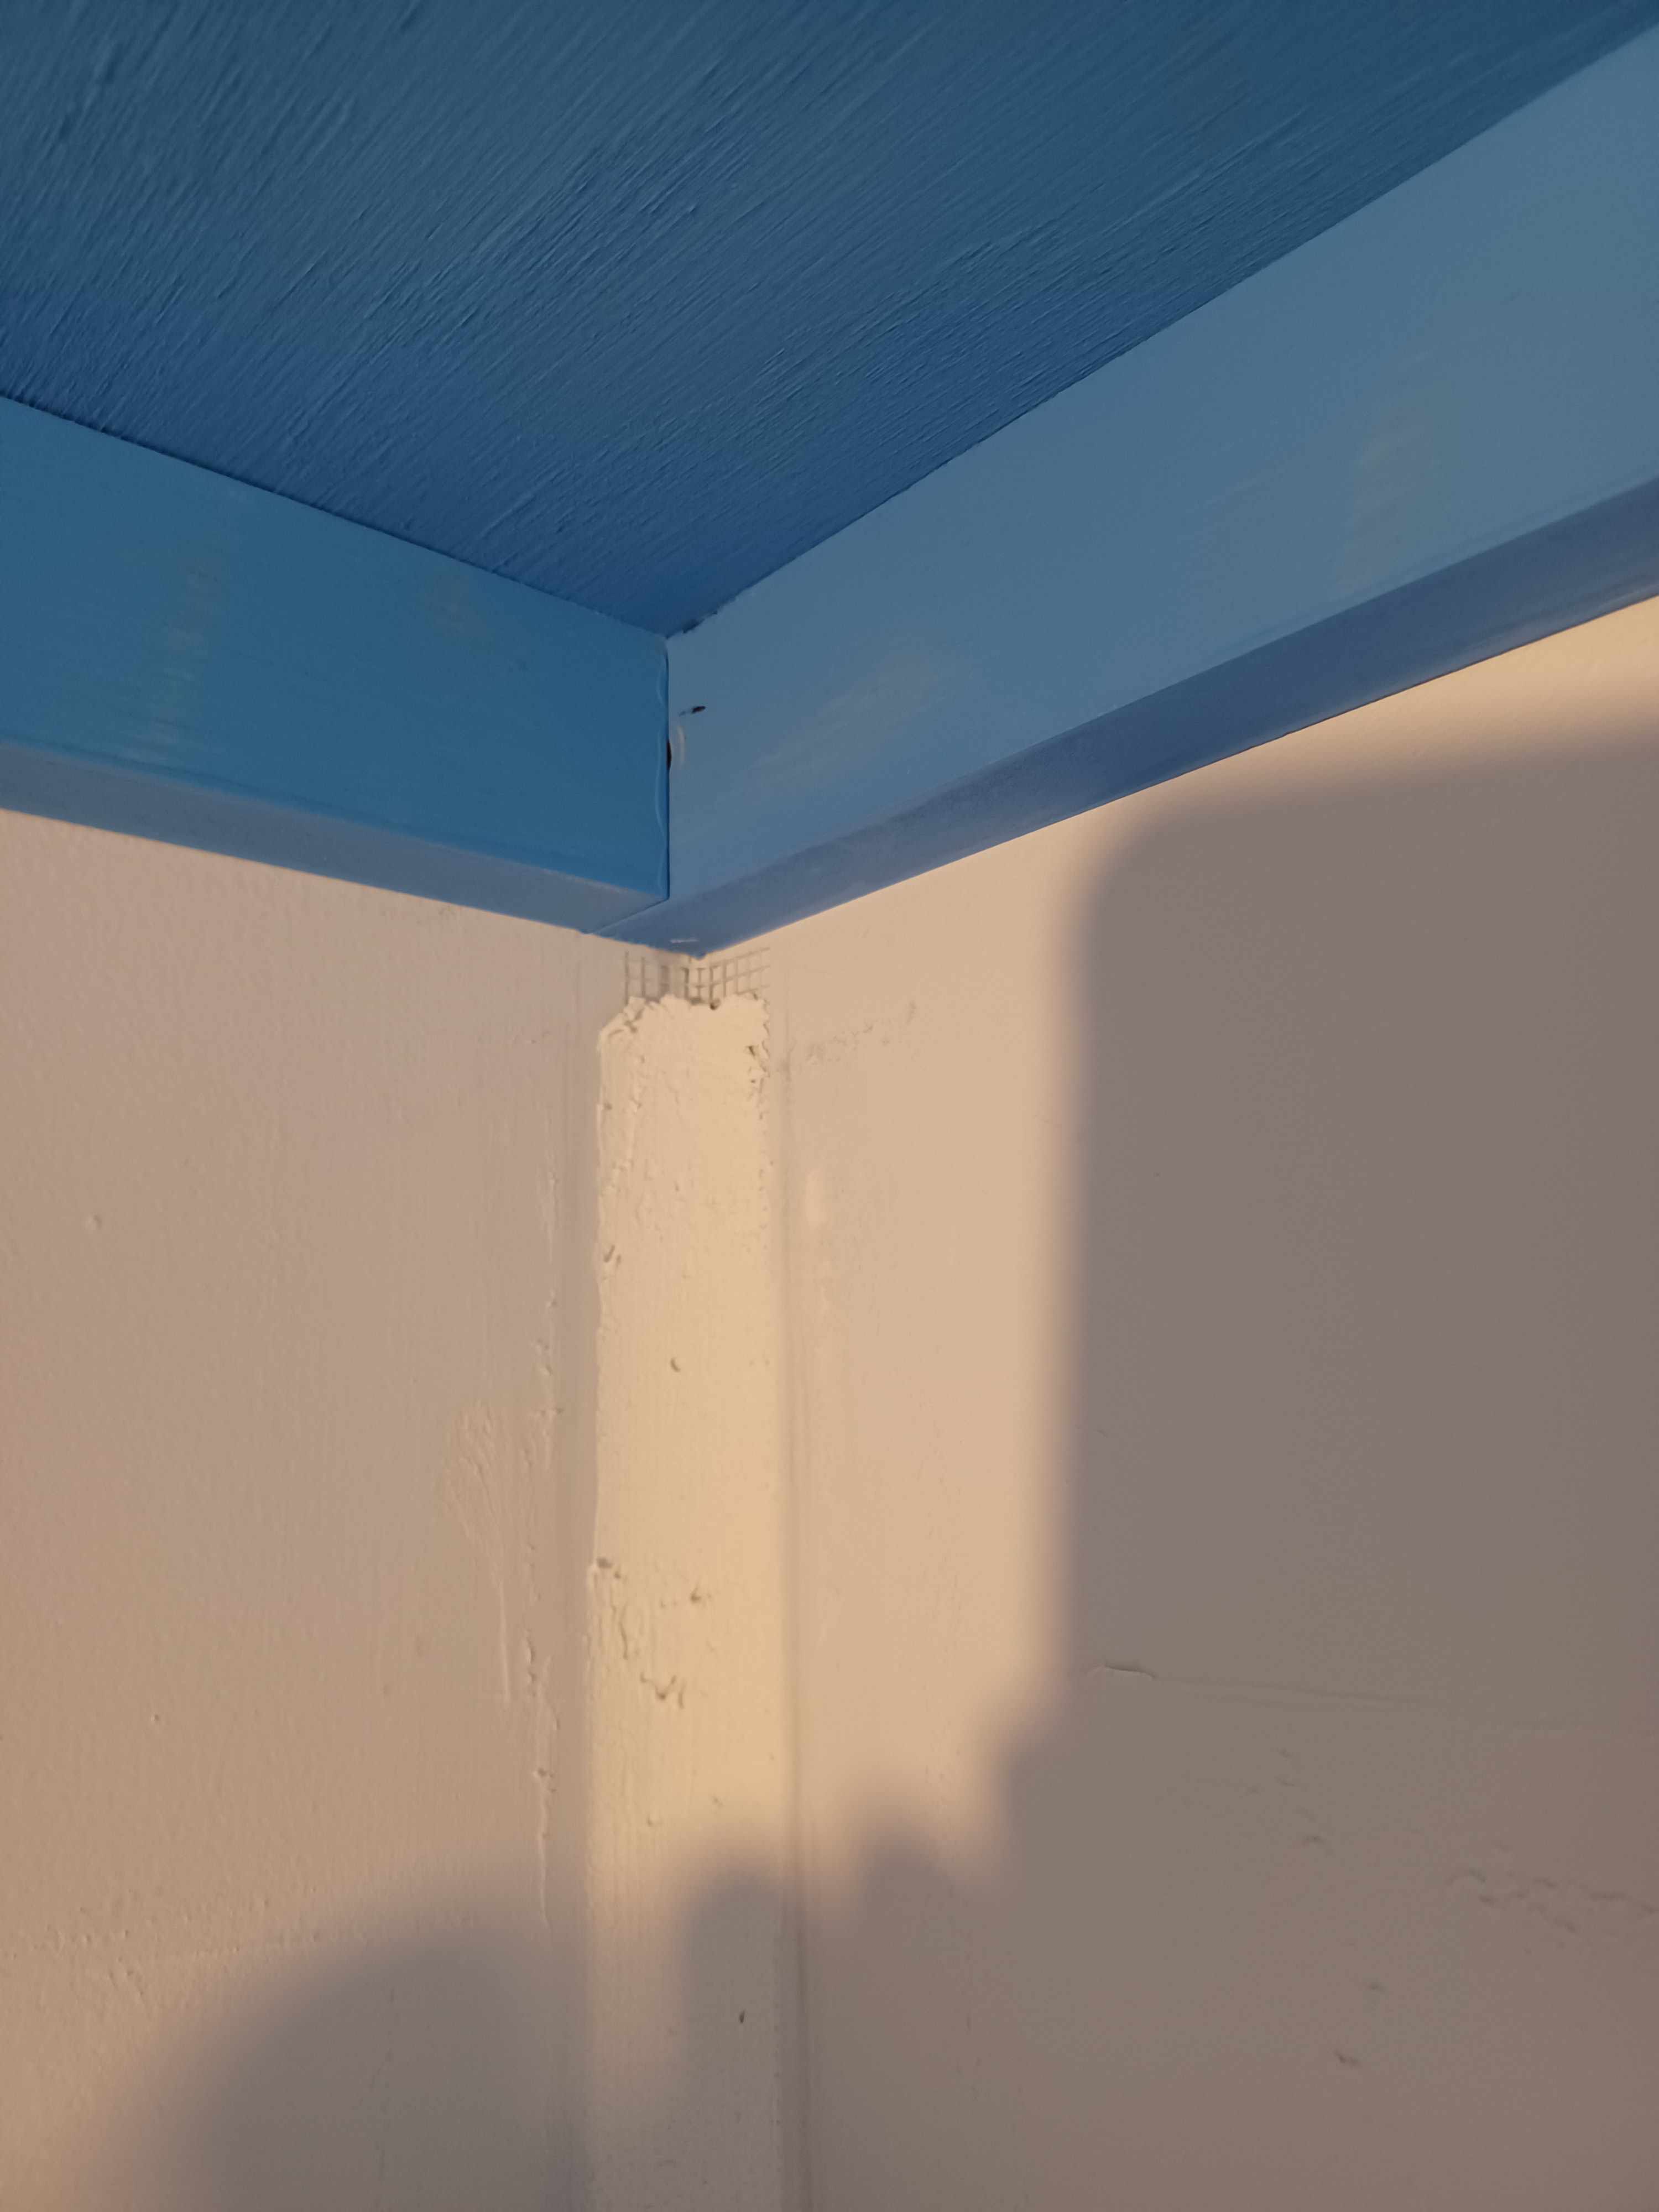
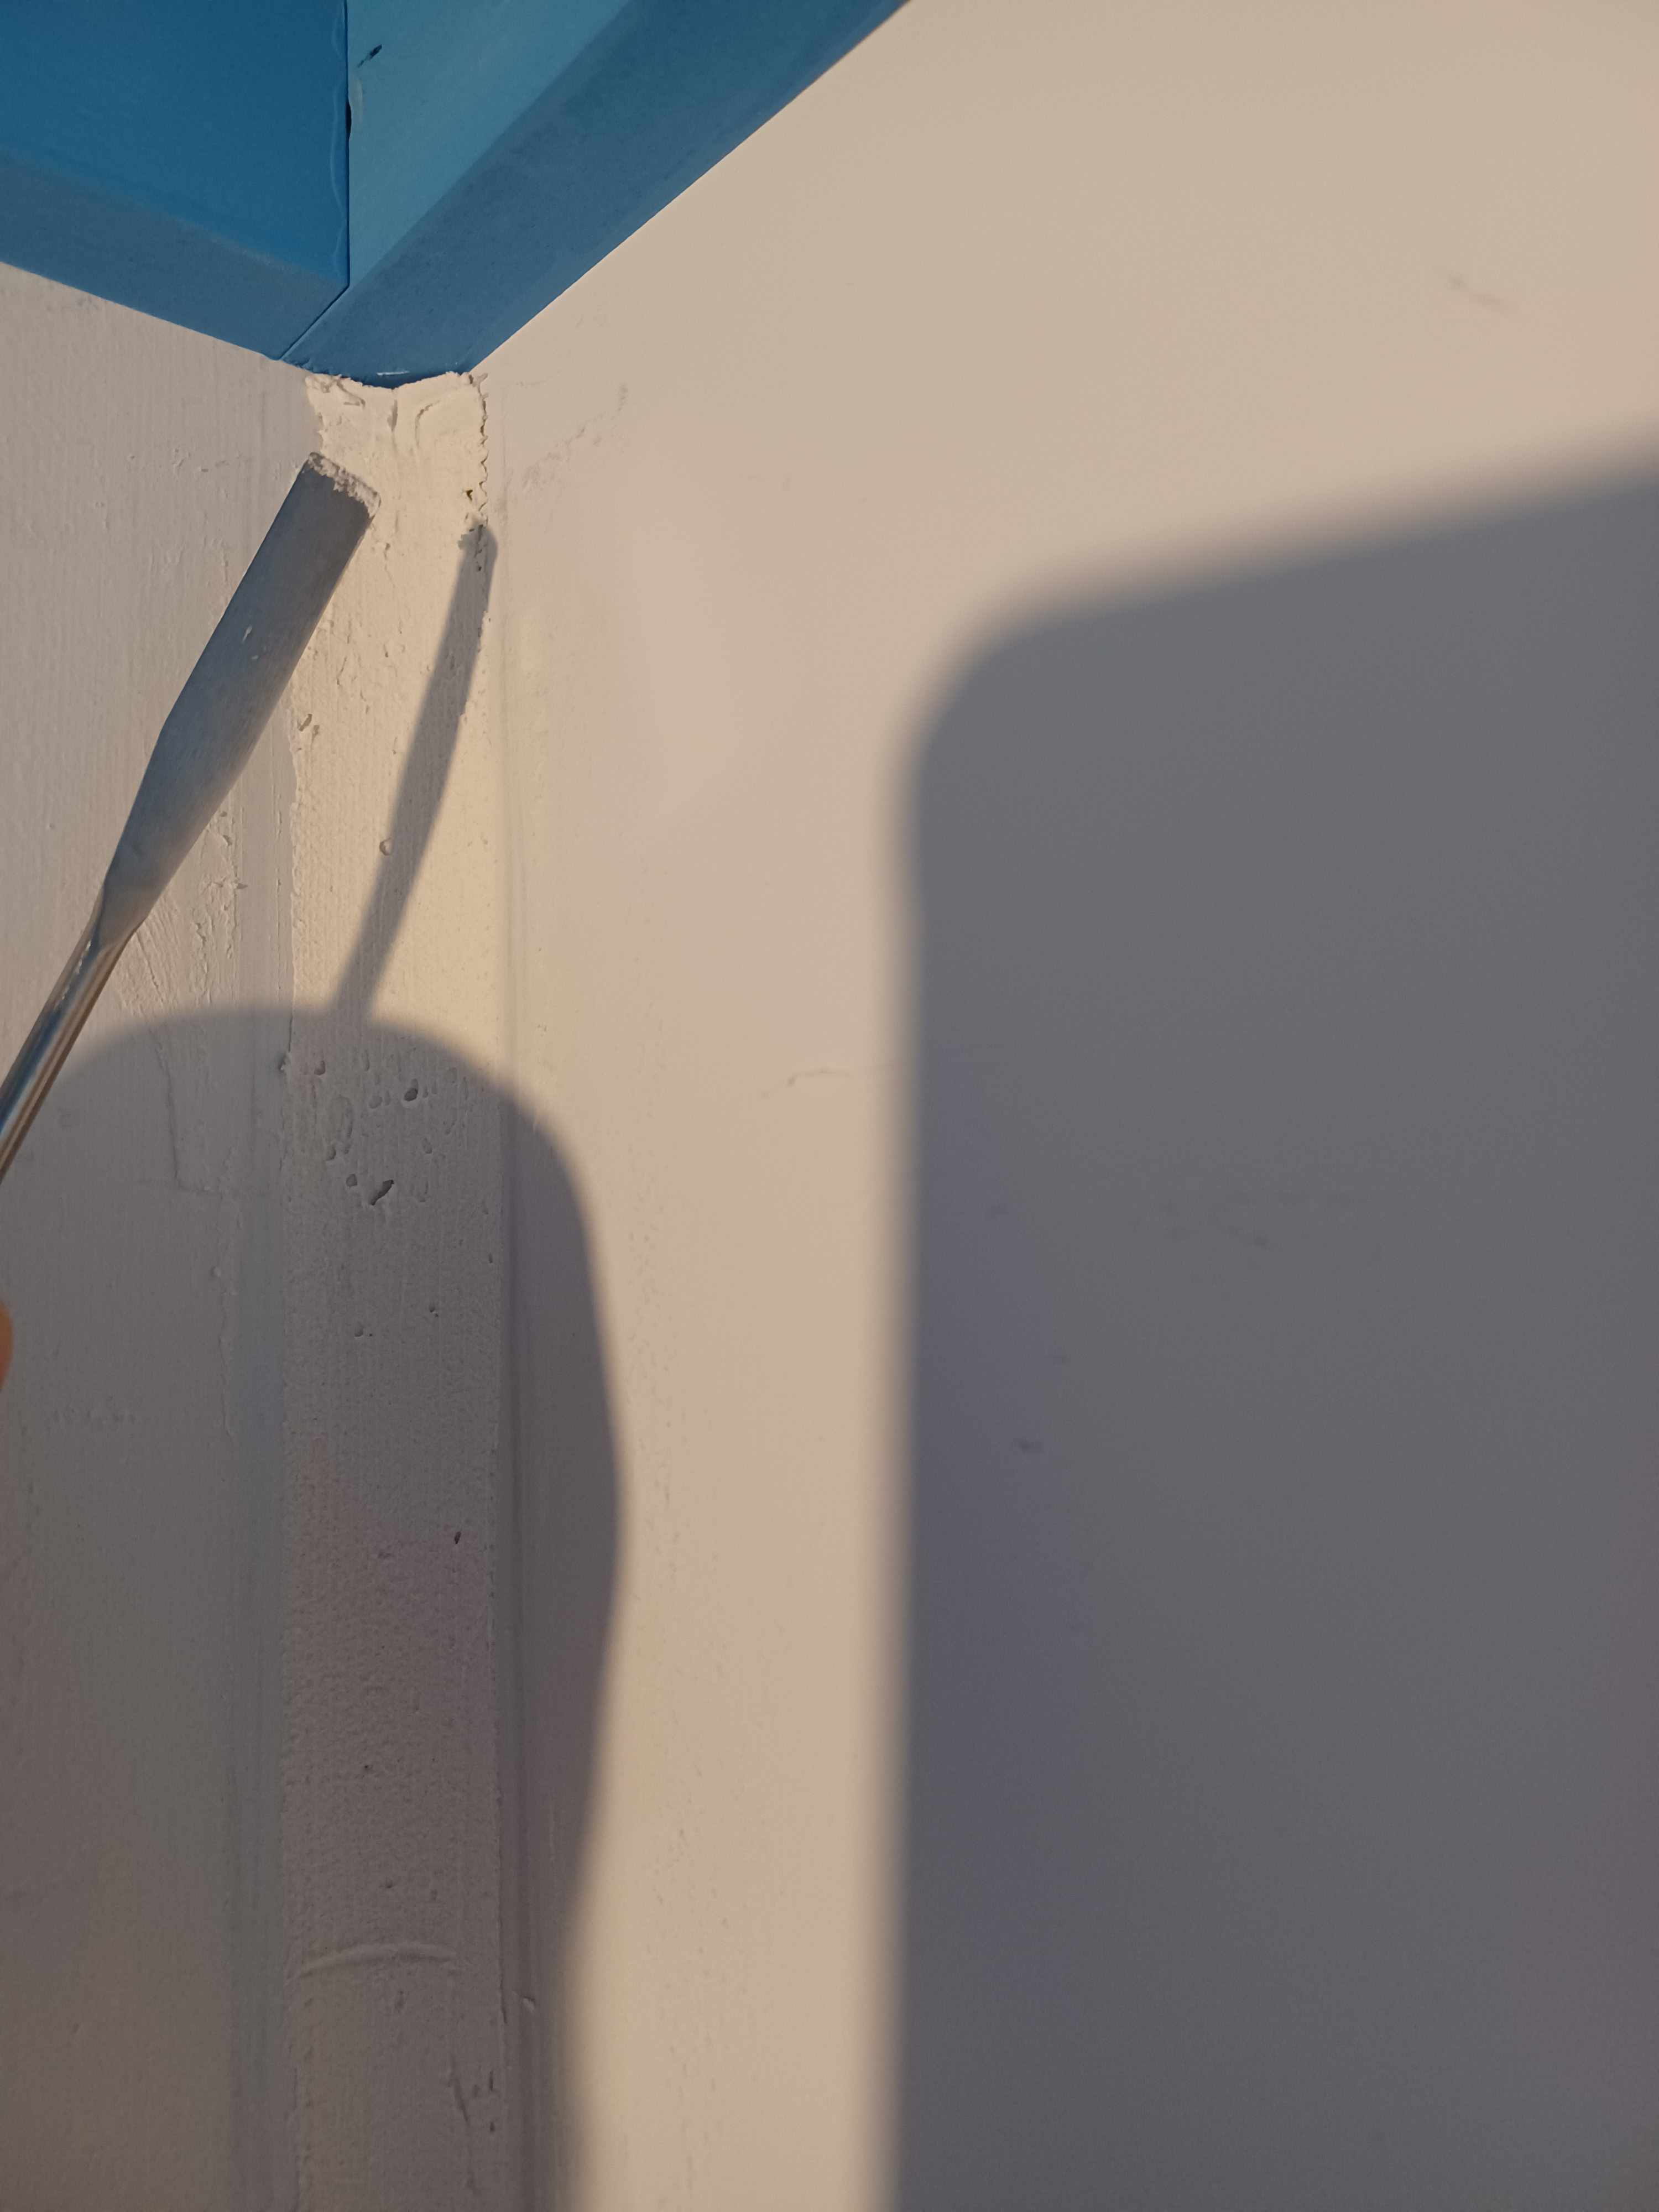
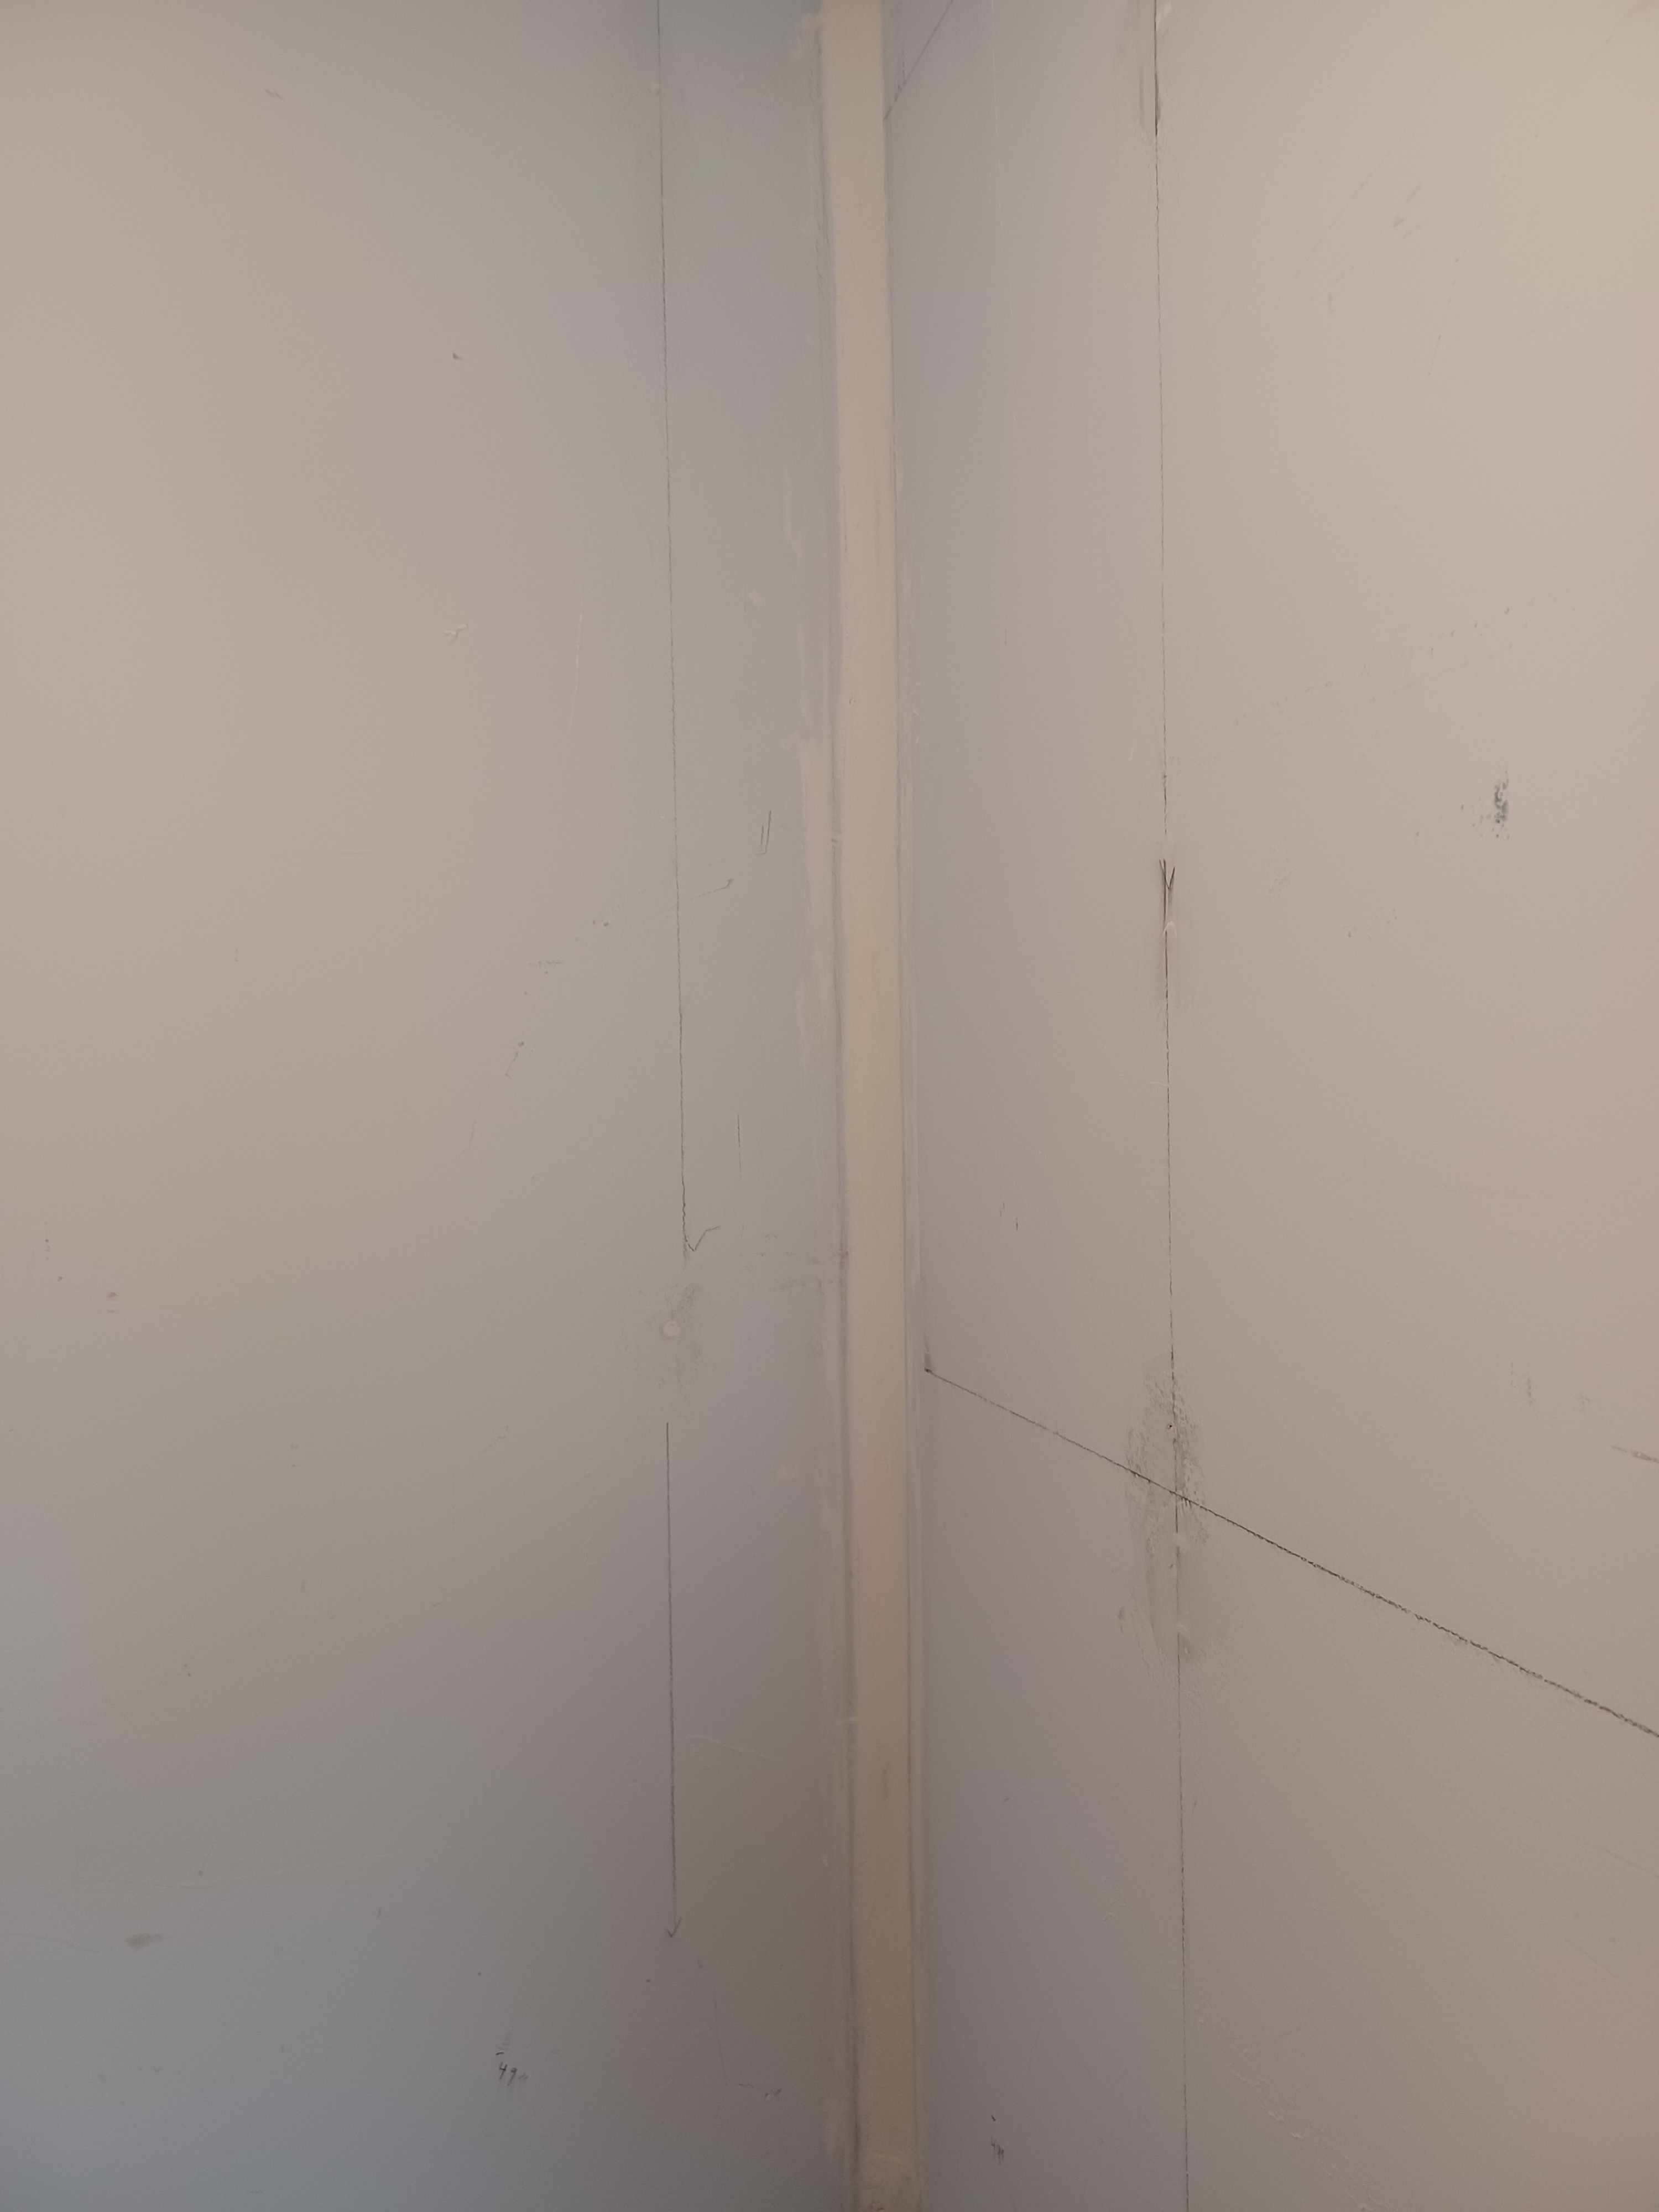
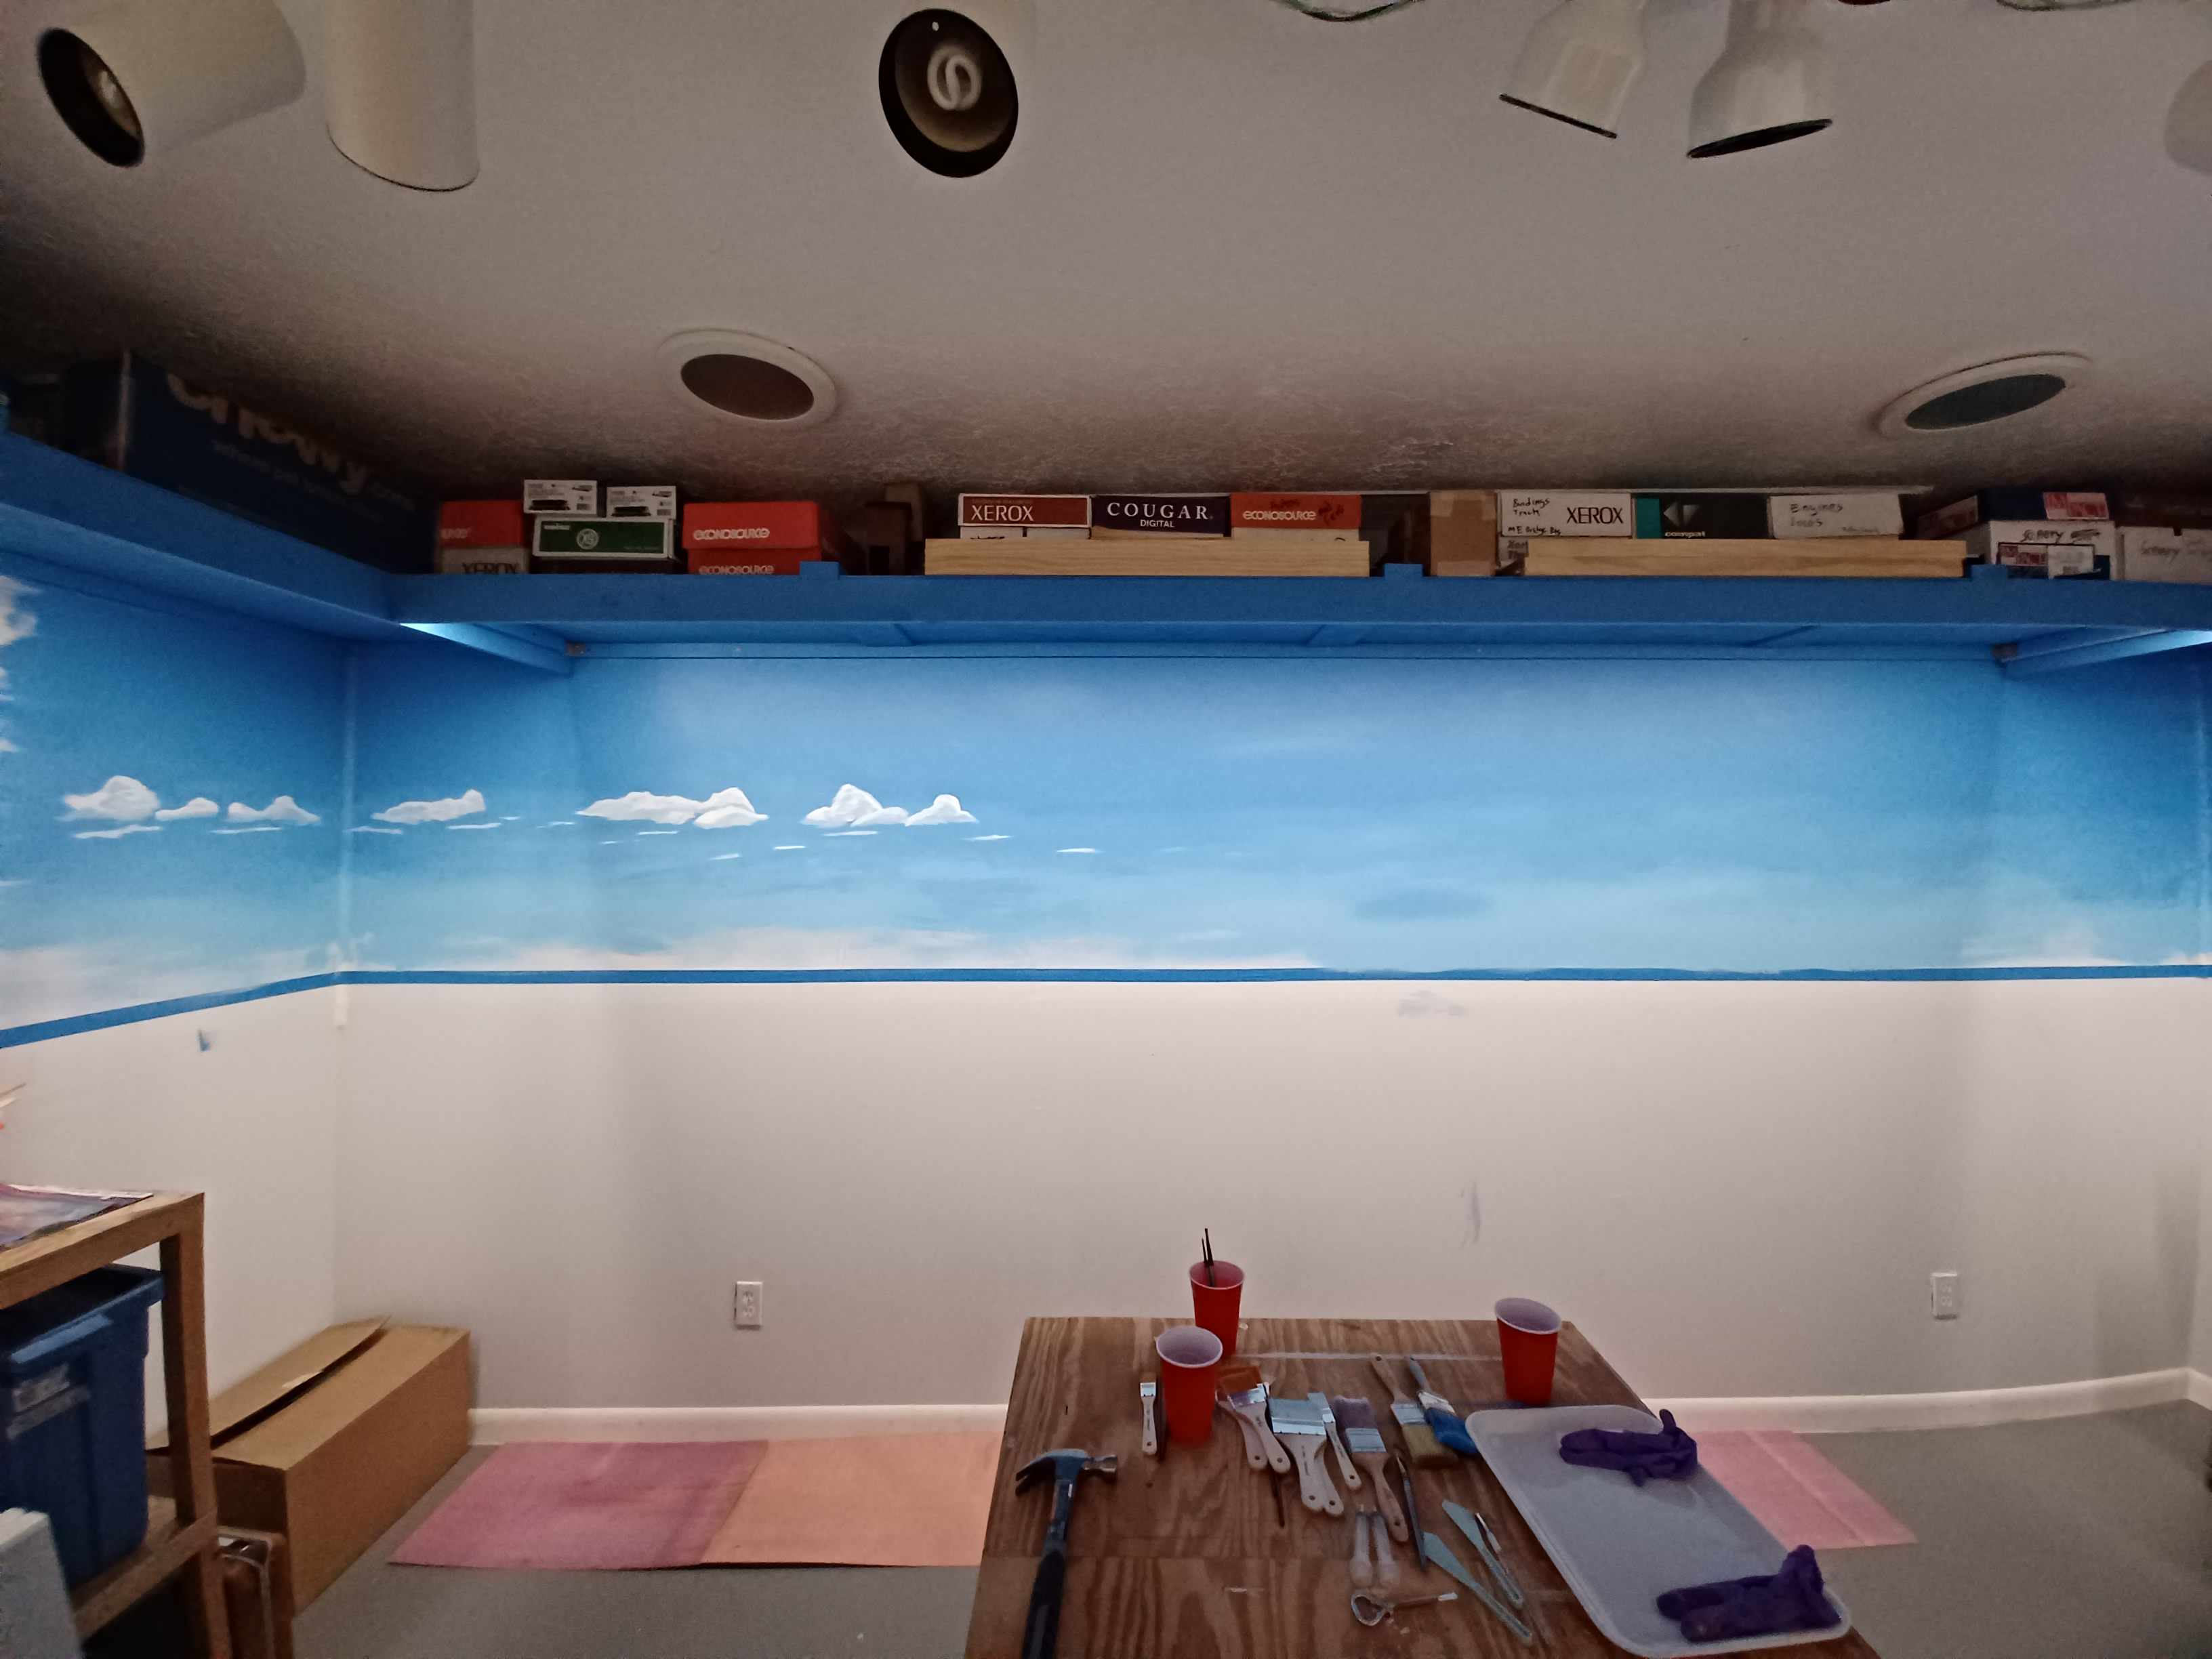
With the lighting taken care of, it’s on to the backdrop. When I had the addition built, I had the contractor make a “no texture” finish on the drywall with no finish done at the corners. Now time to finish them, I made small radius coves at the corners using this spackling and a large washer.
I’ve looked in to using photo backdrops and took many panoramic photos with the intent of using them. However, I have friends with painted backdrops that I think look great, warm, unique. And for some reason, I just wanted to learn how to paint.
I watched a bunch of YouTube videos and started to practice on some leftover Masonite material. A friend of mine whose wife is an artist gave me some pointers and feedback. I also got an extensive private lesson from another friend, Bill Hatch, Professor of Art, at San Juan College.
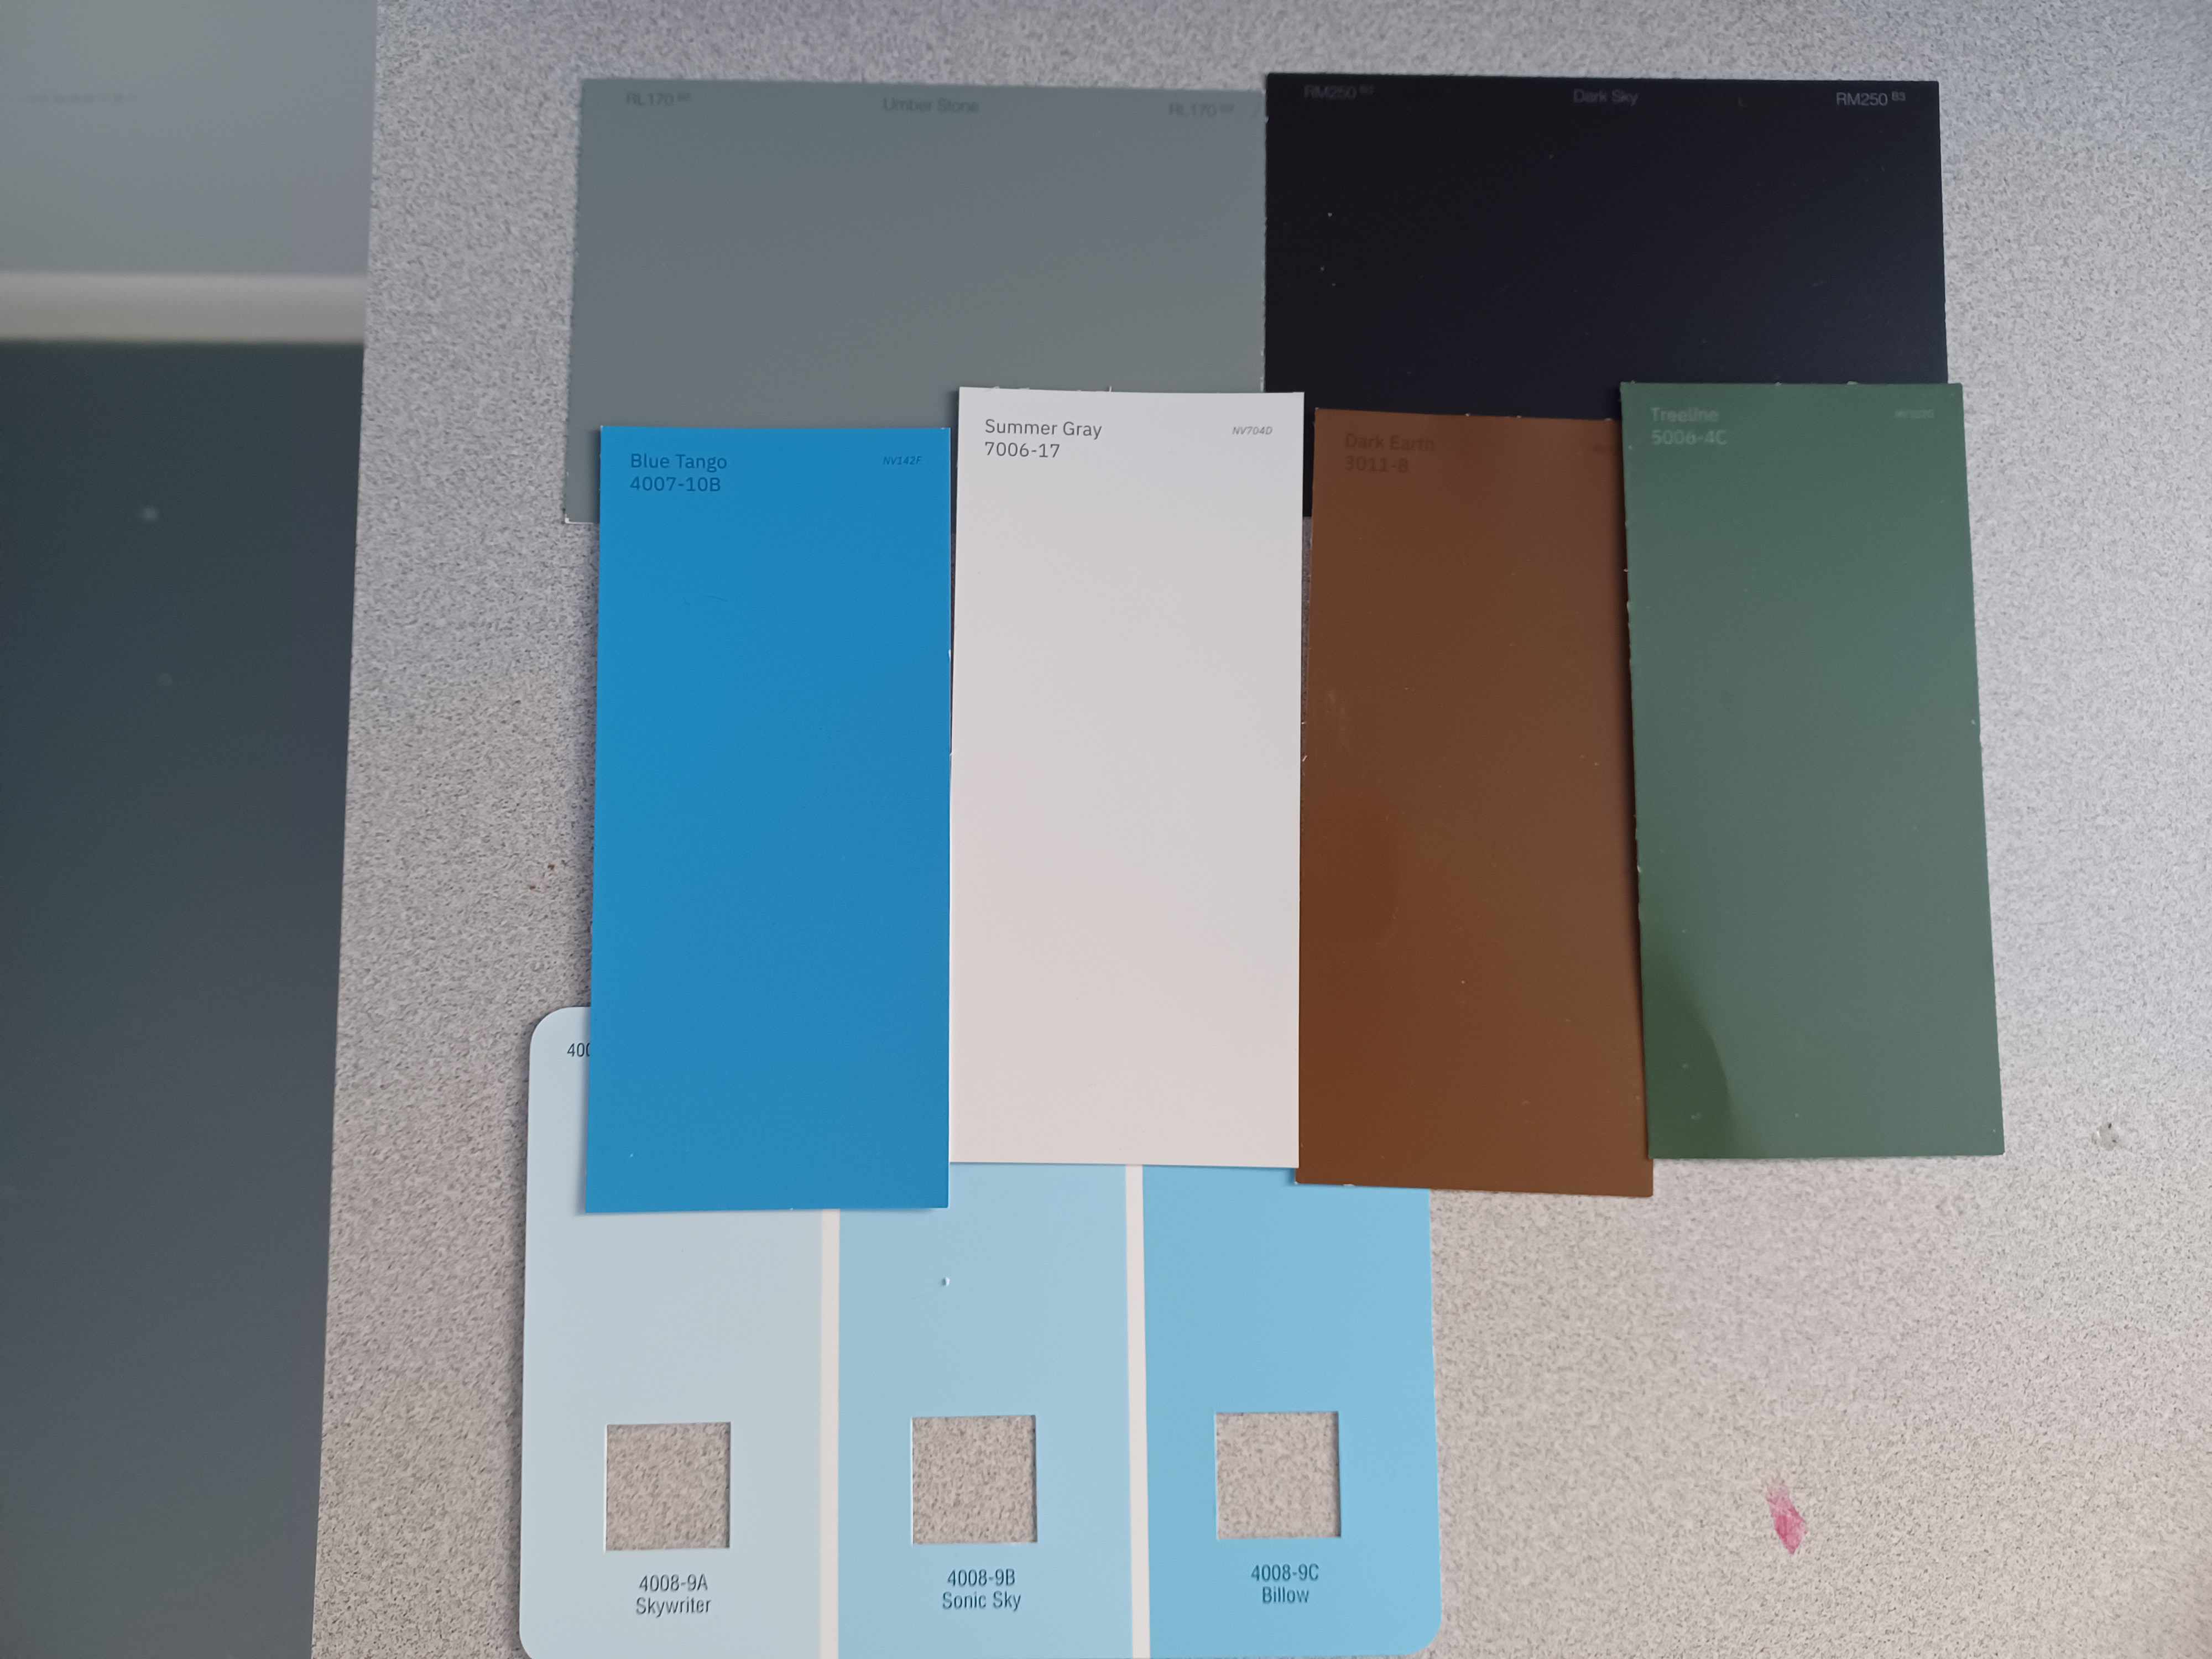
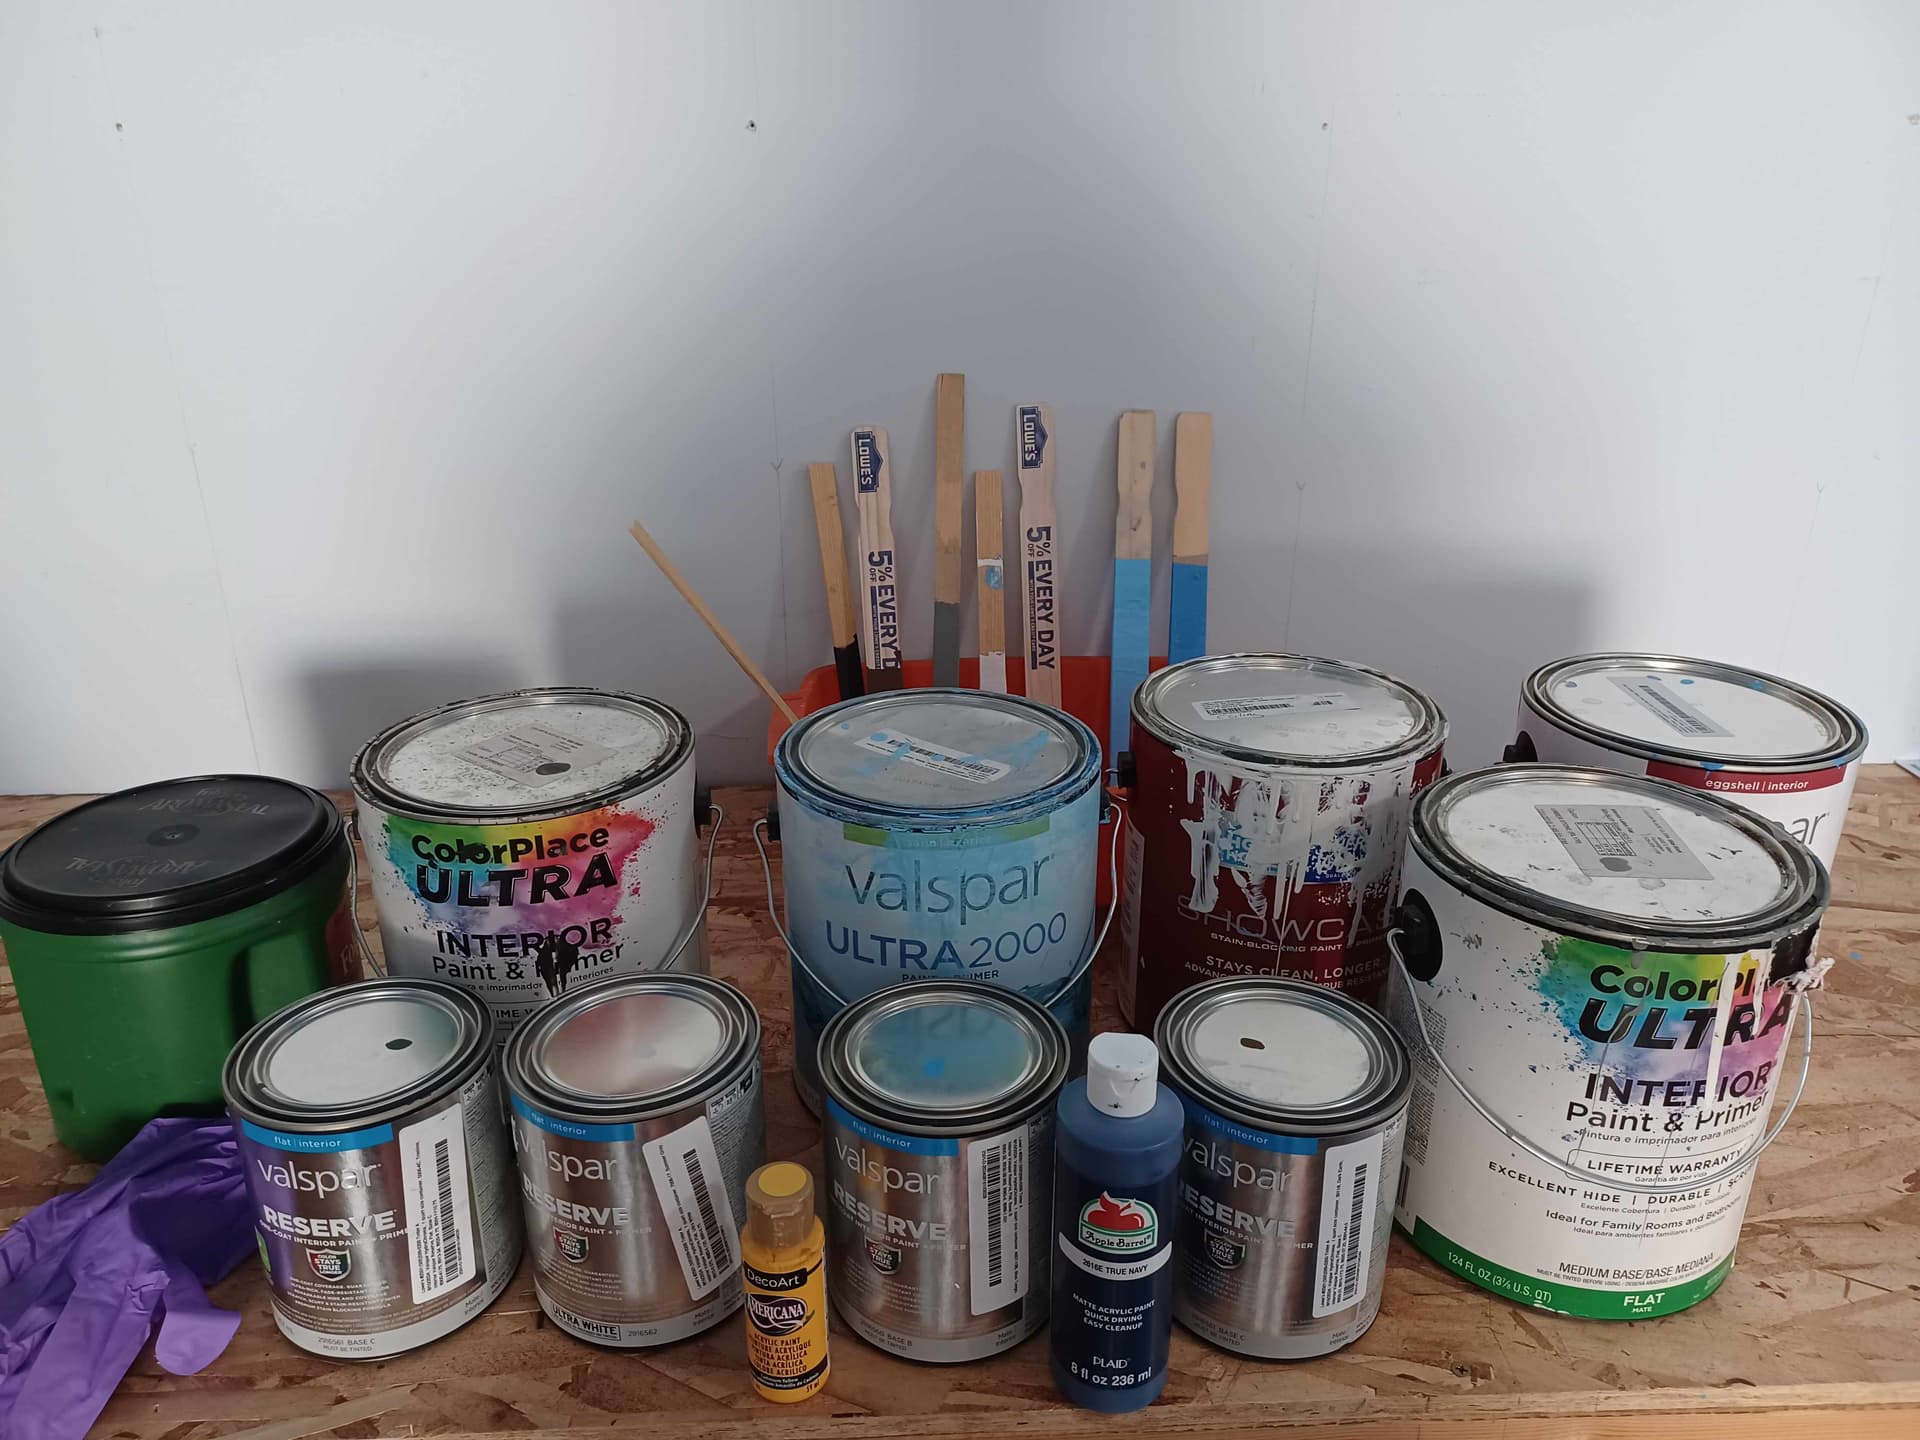
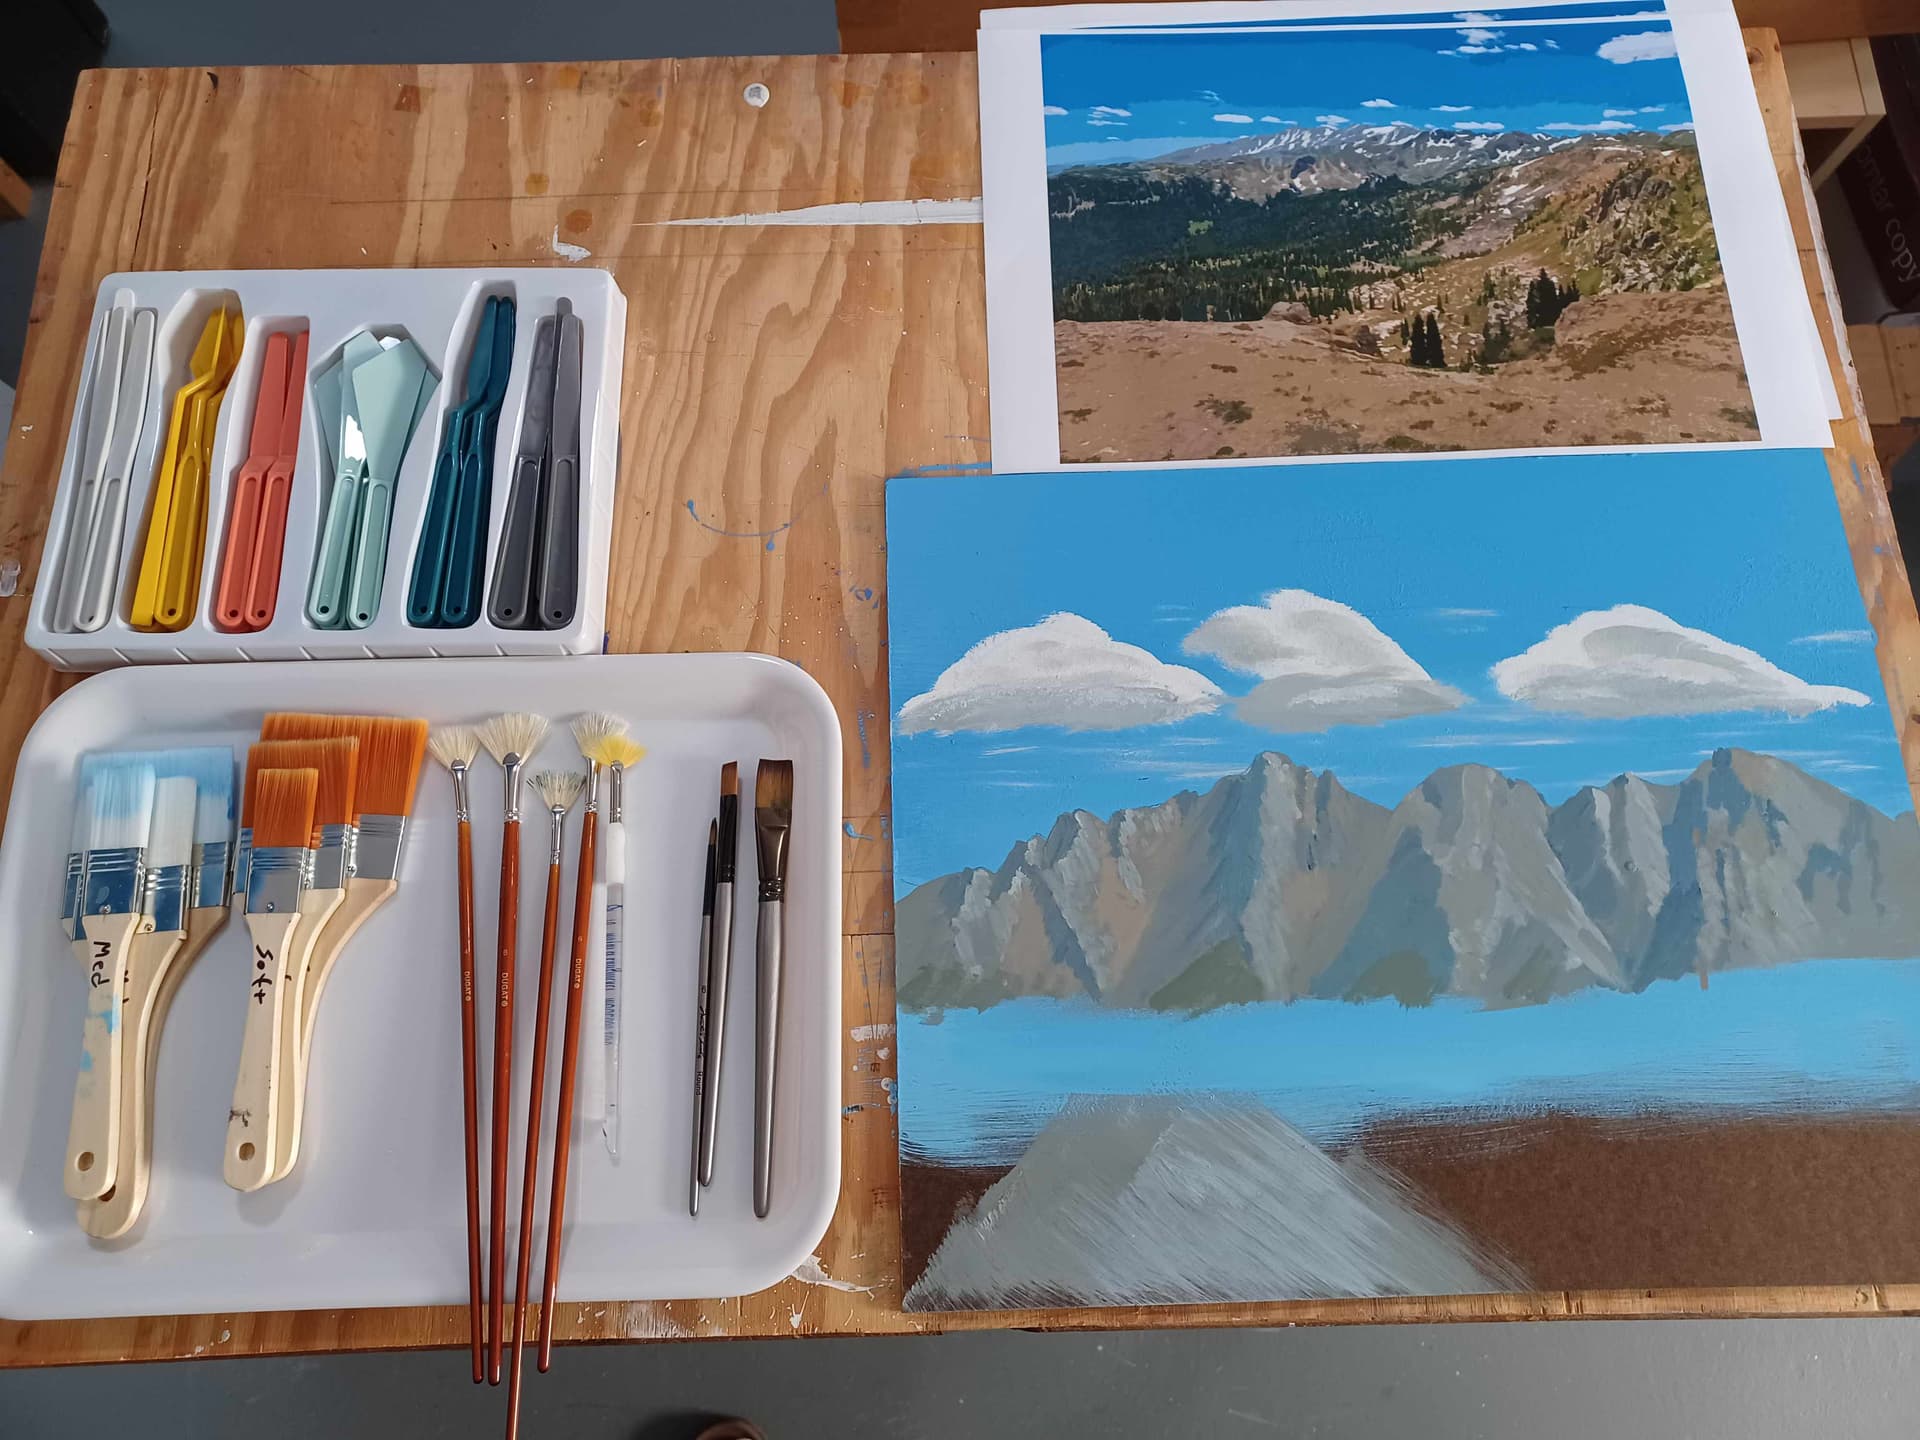
This is my collection of various house and craft paints that I have used. Some I had on hand, and some I went out and purchased to round out some colors.
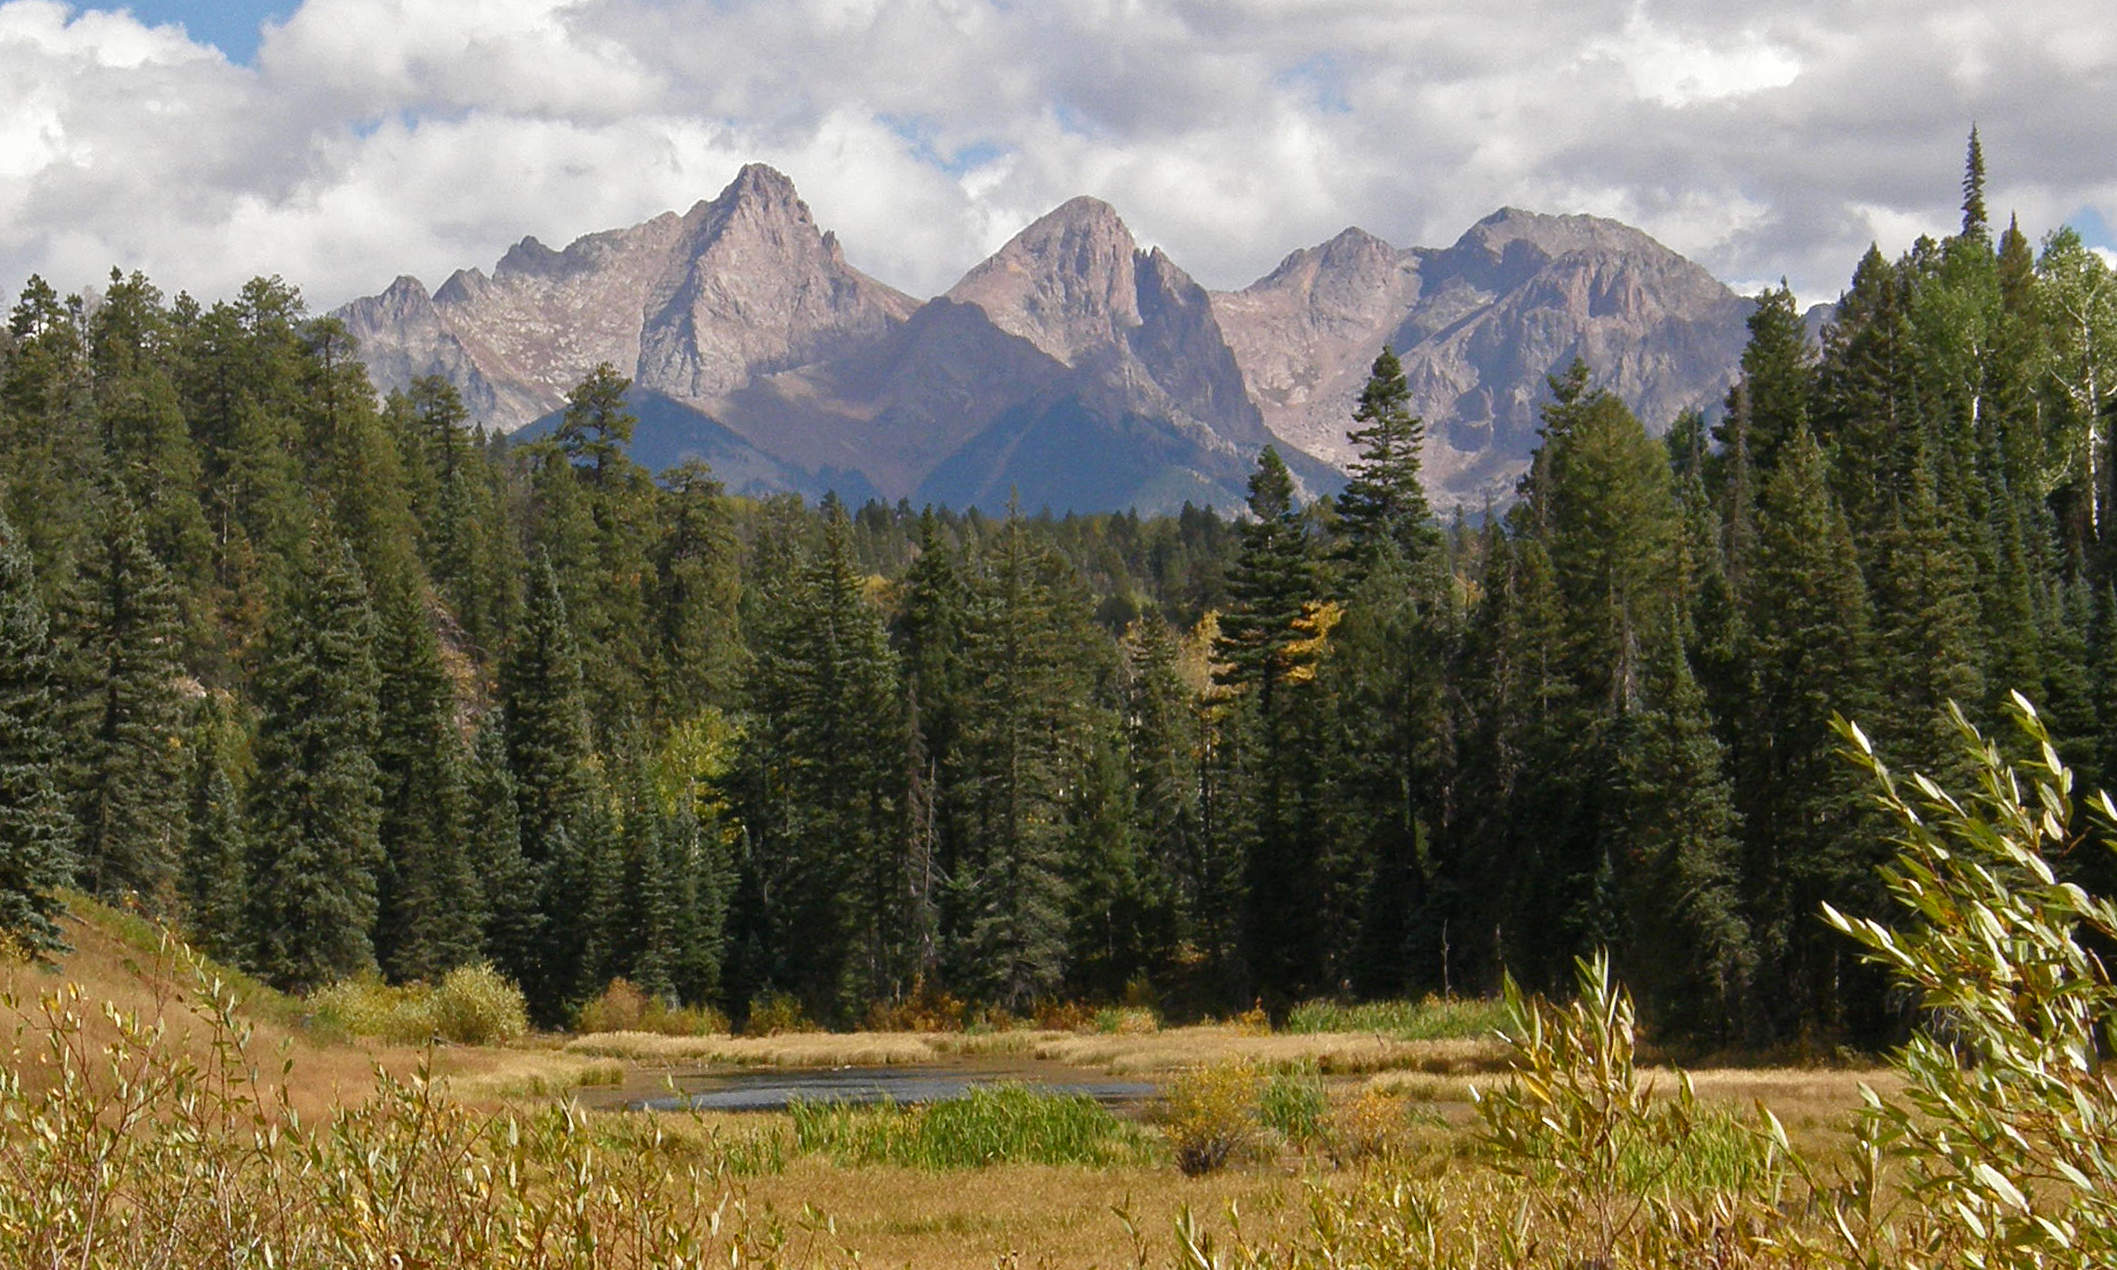
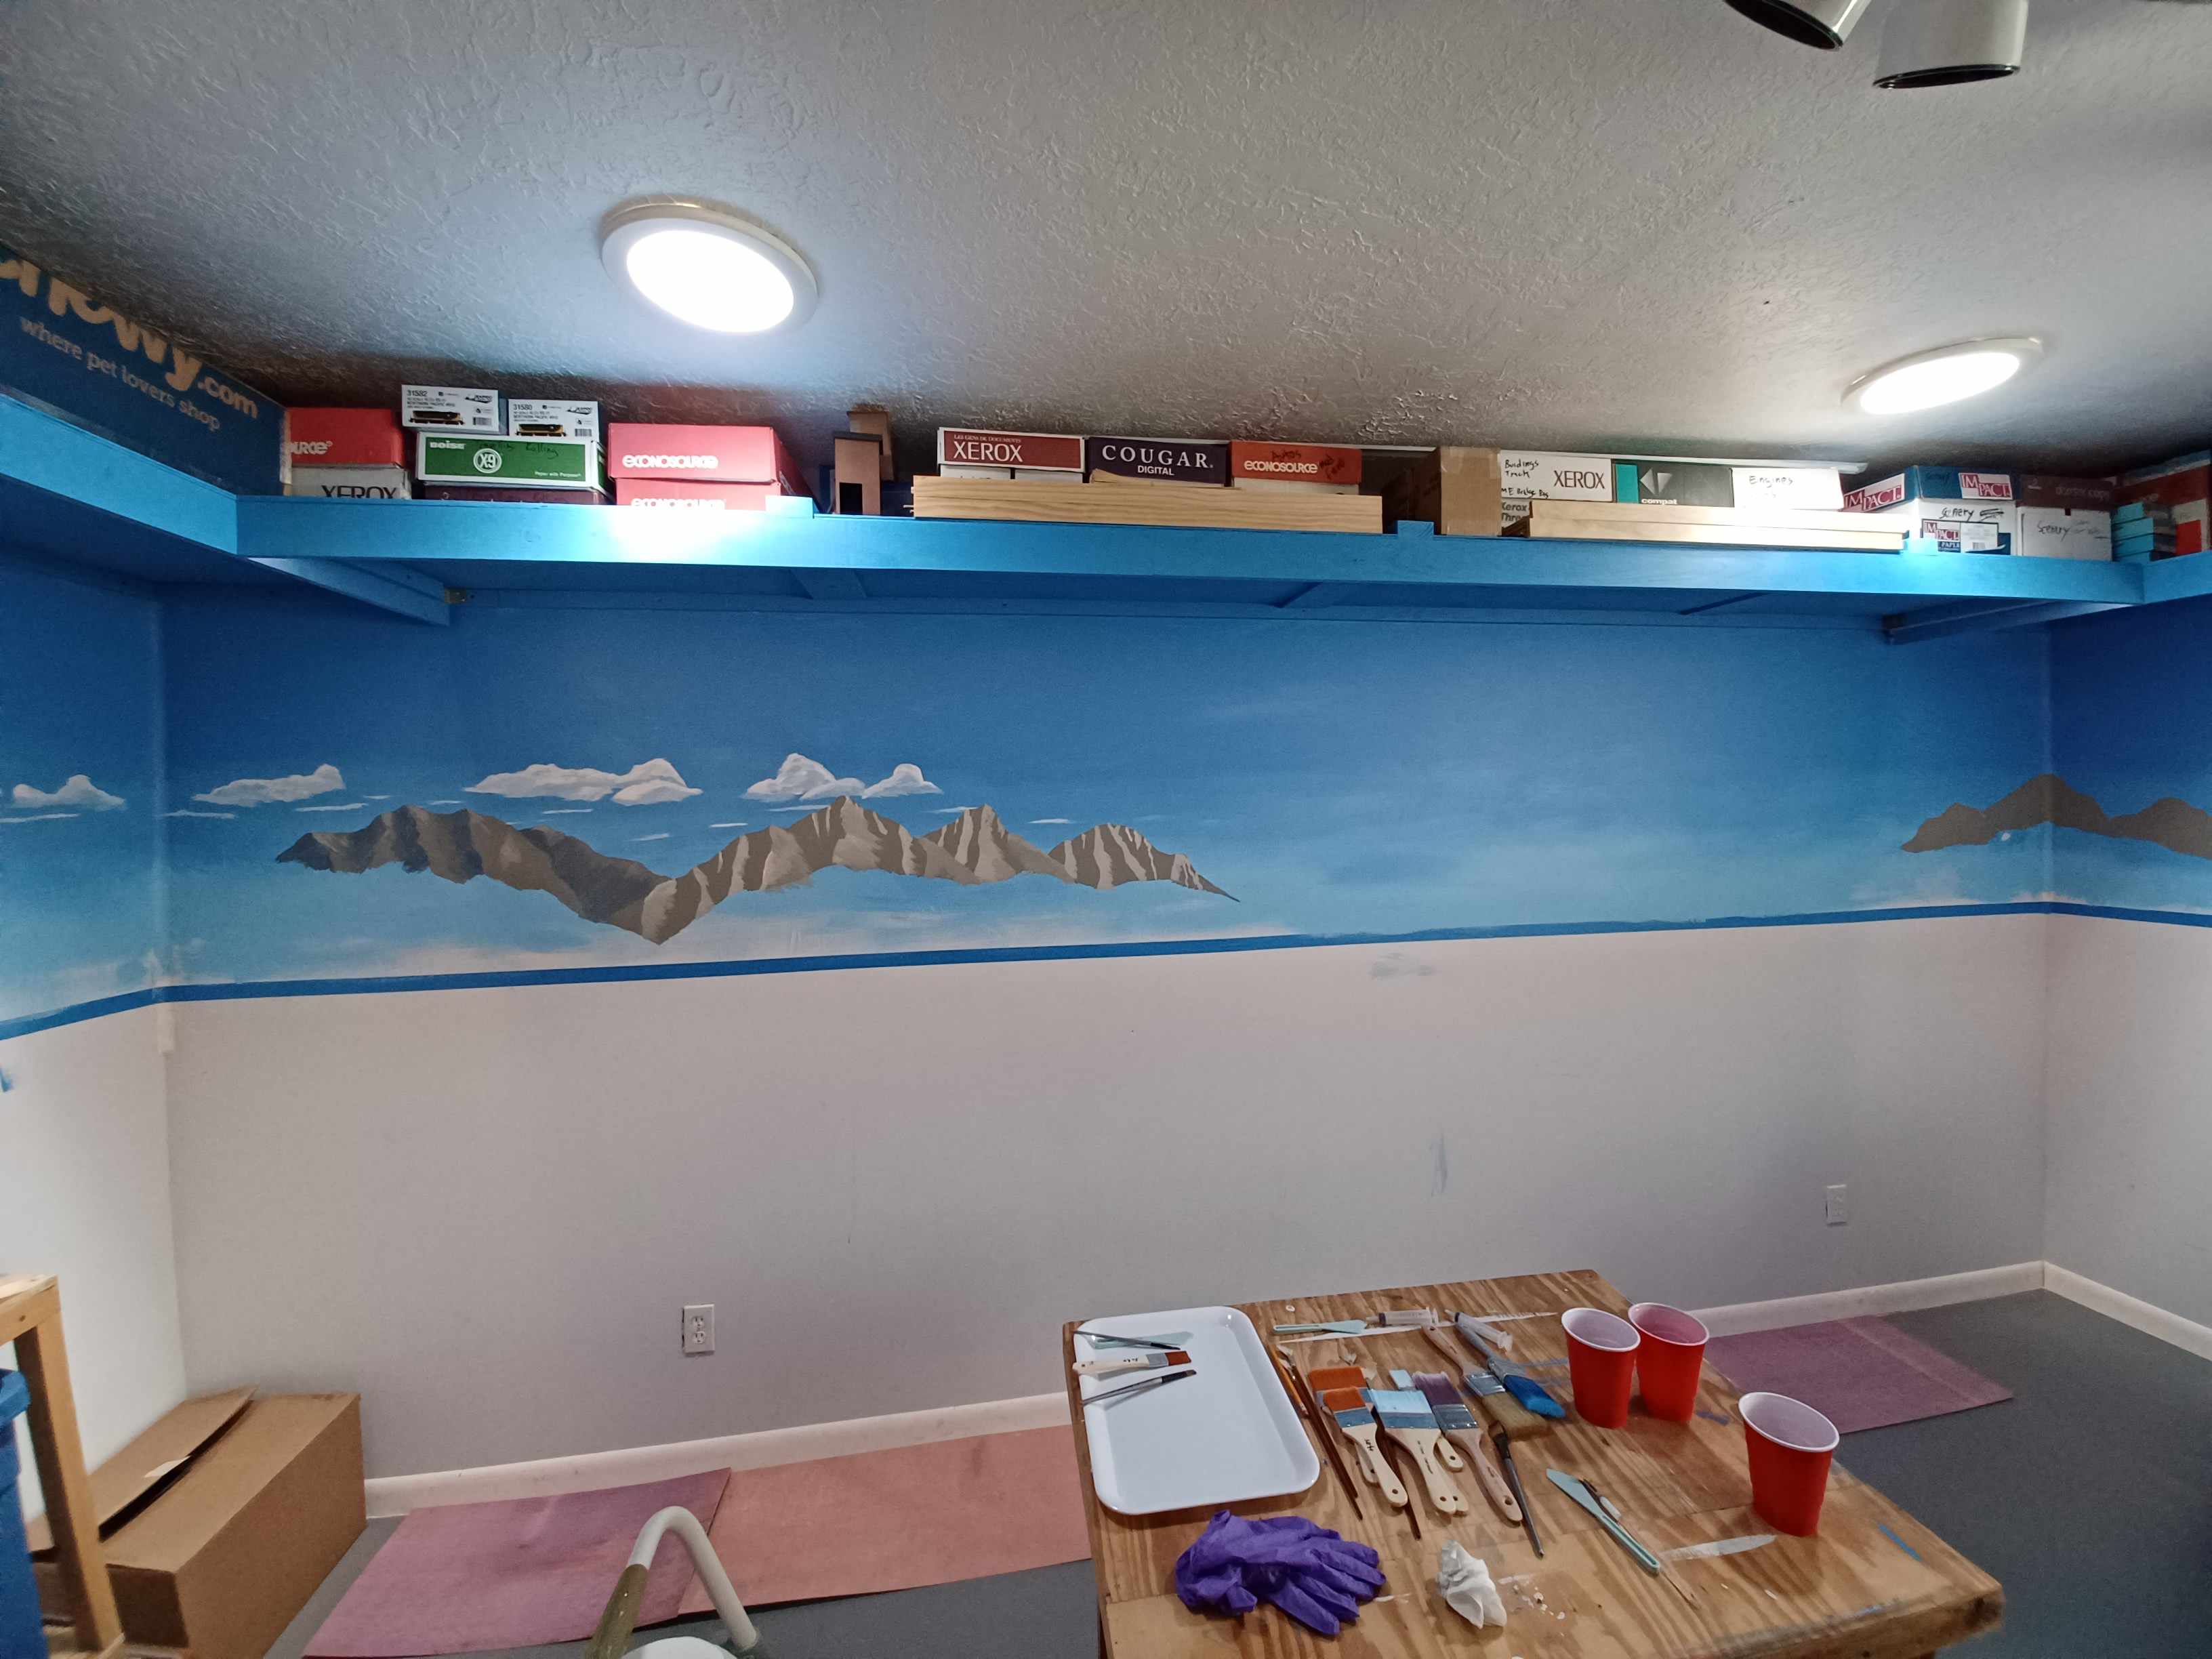
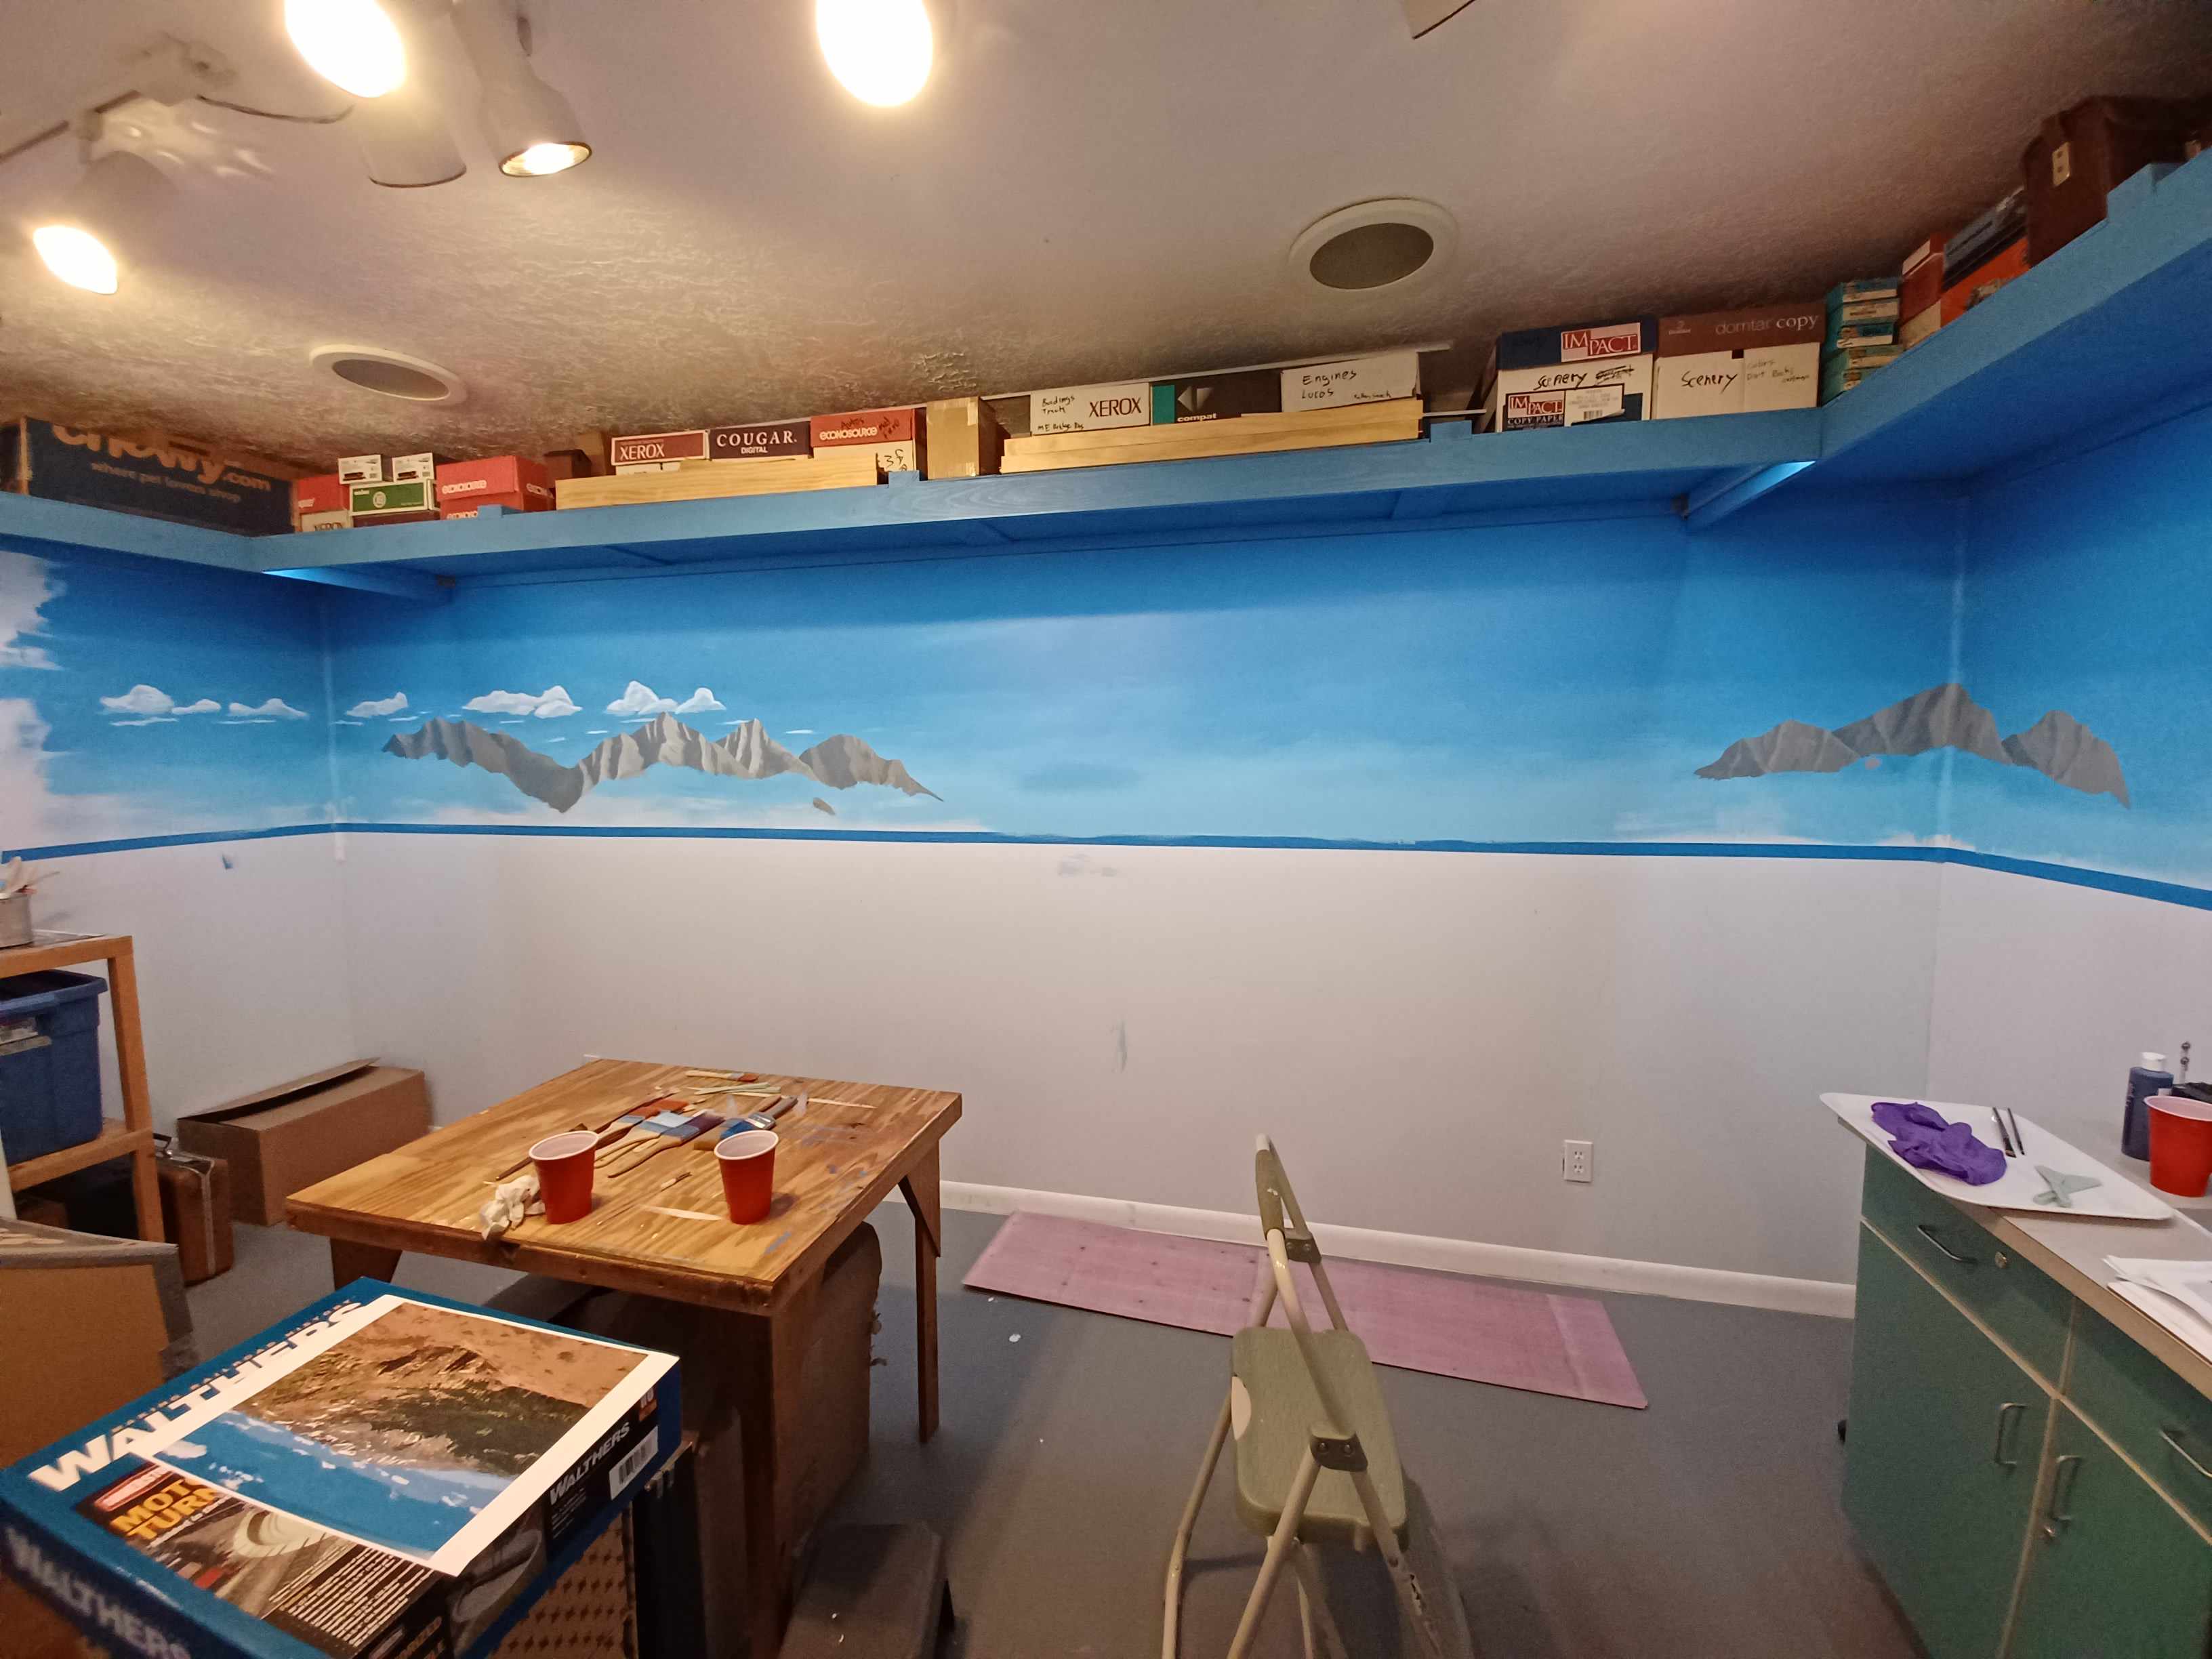
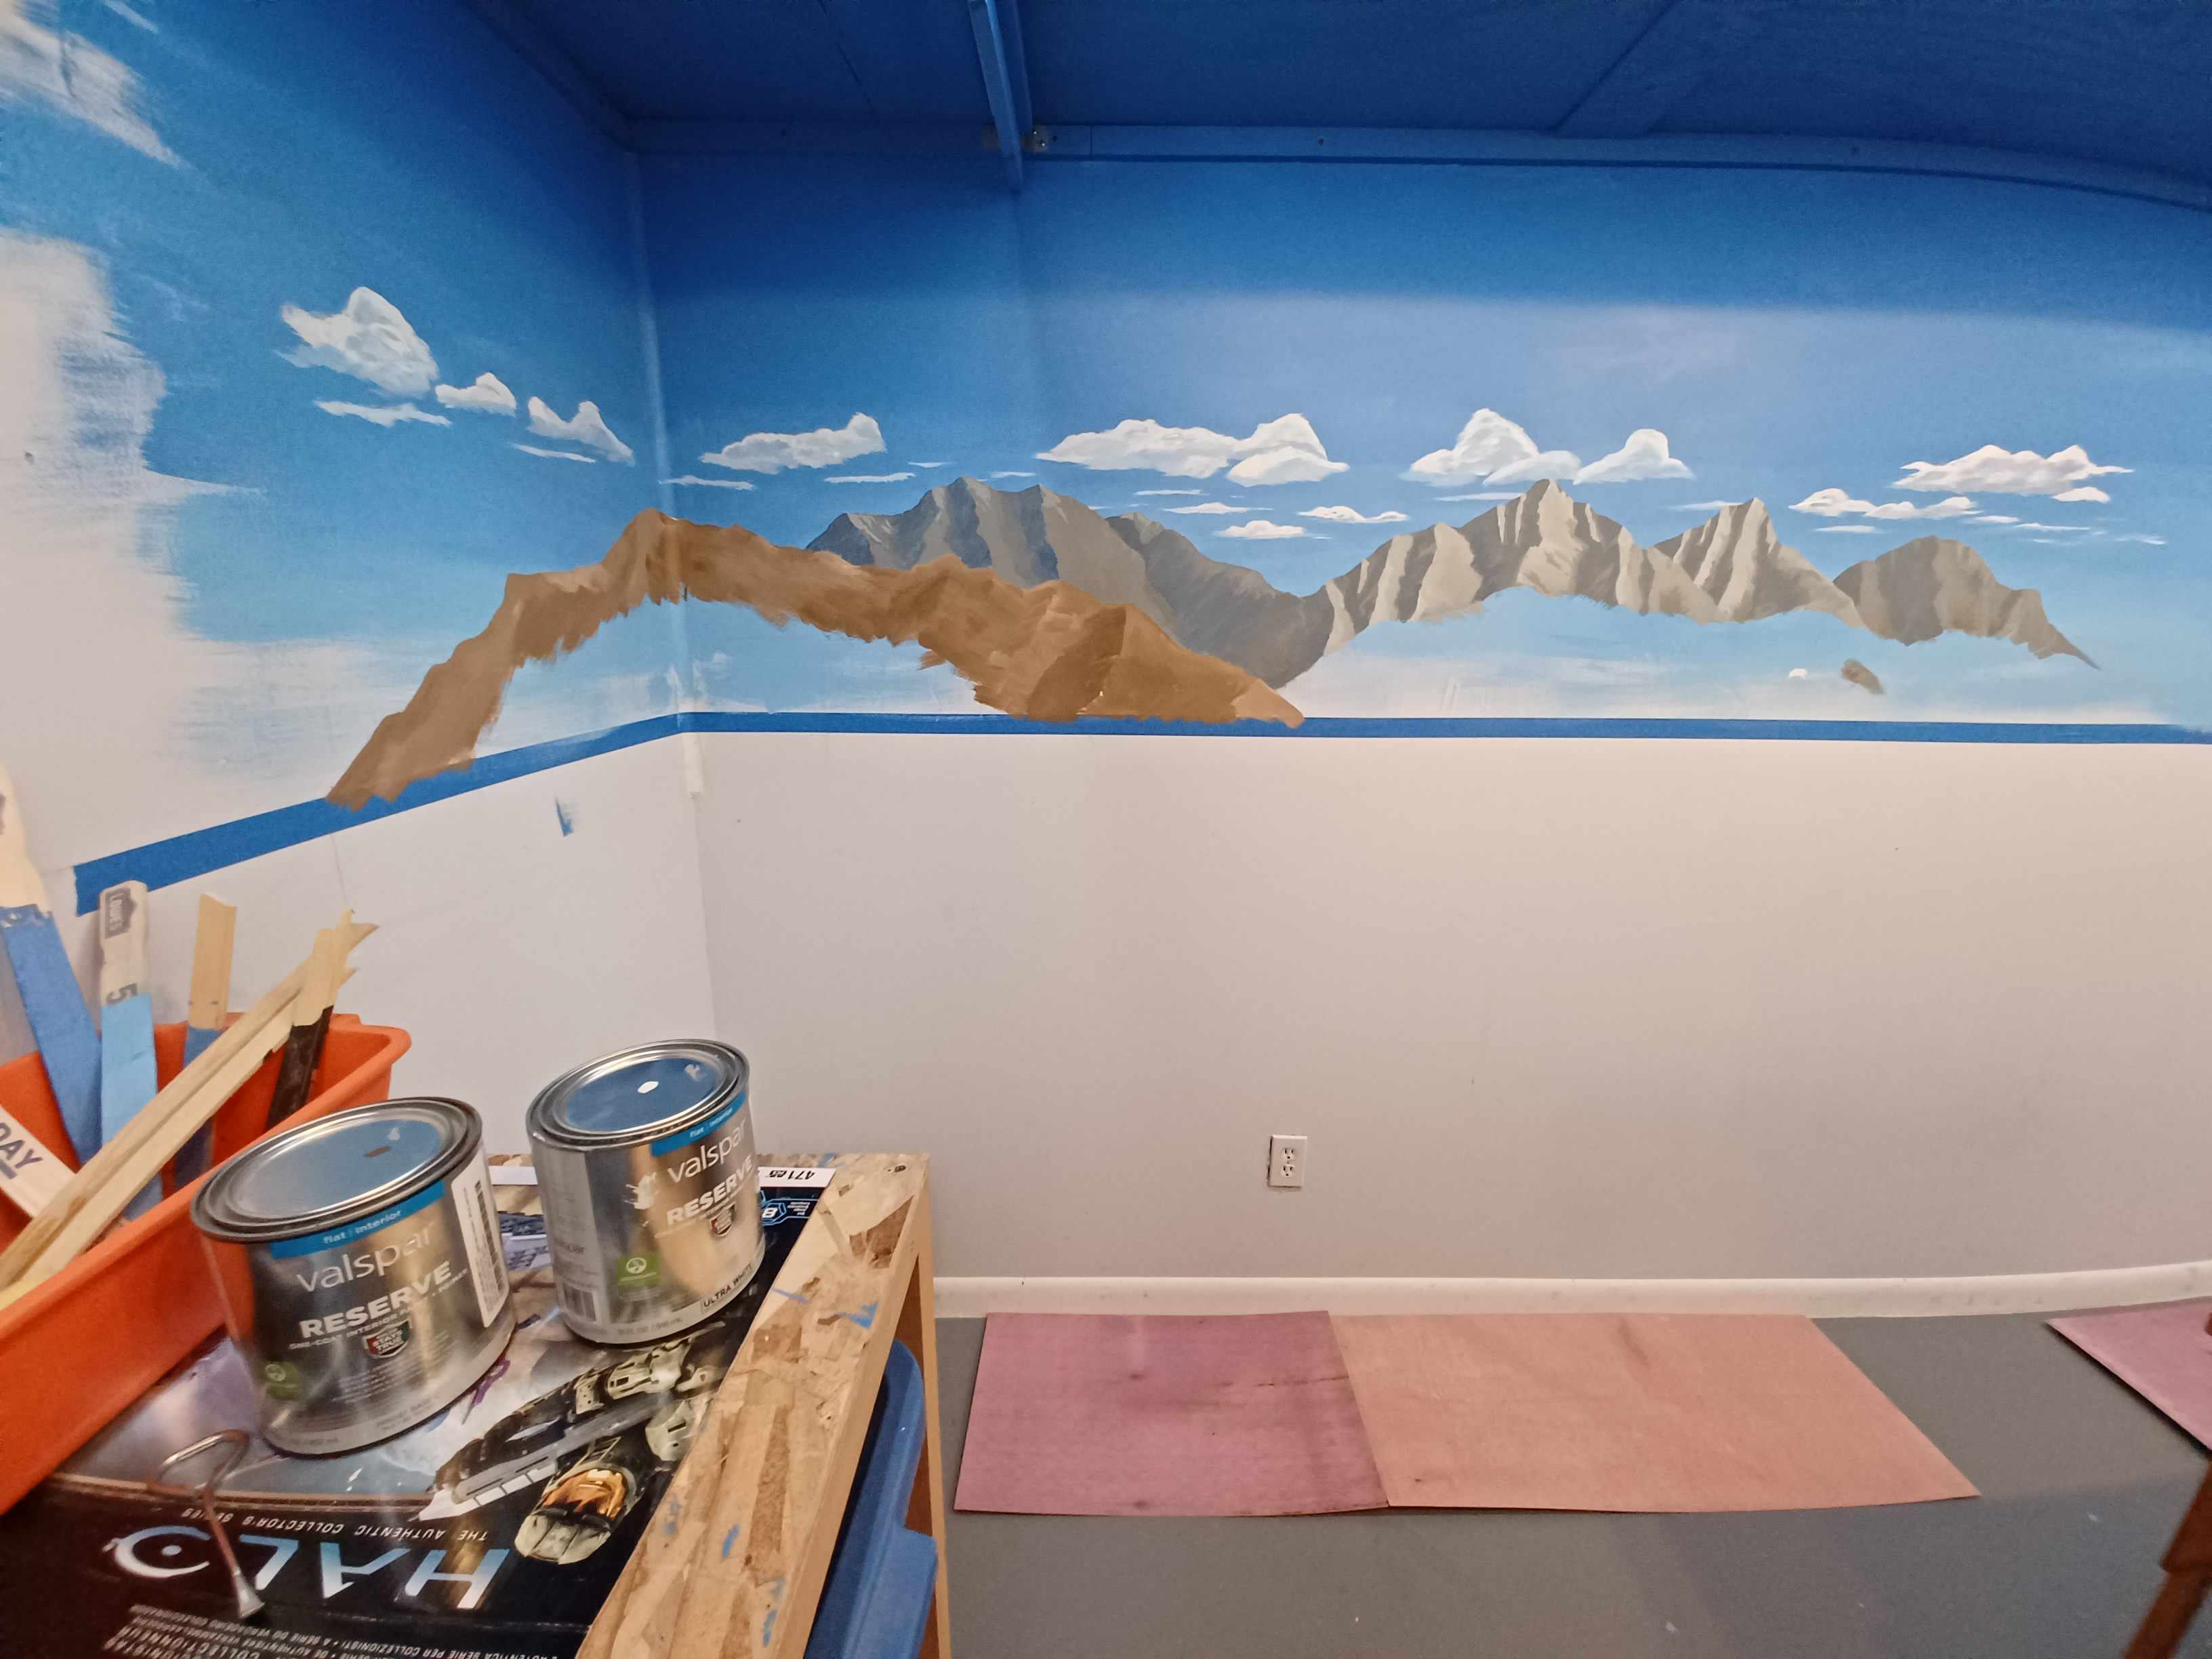
Tools of the trade. I found essential, the pallet tray that is holding those brushes in the photo. The pallet tray is used to mix in paints to adjust color giving variation. And it cleans up nicely. The upper right photo is of Mount Massive, taken from the top of Hagerman Pass. It has been posterized, which is helpful to practice and use for painting.
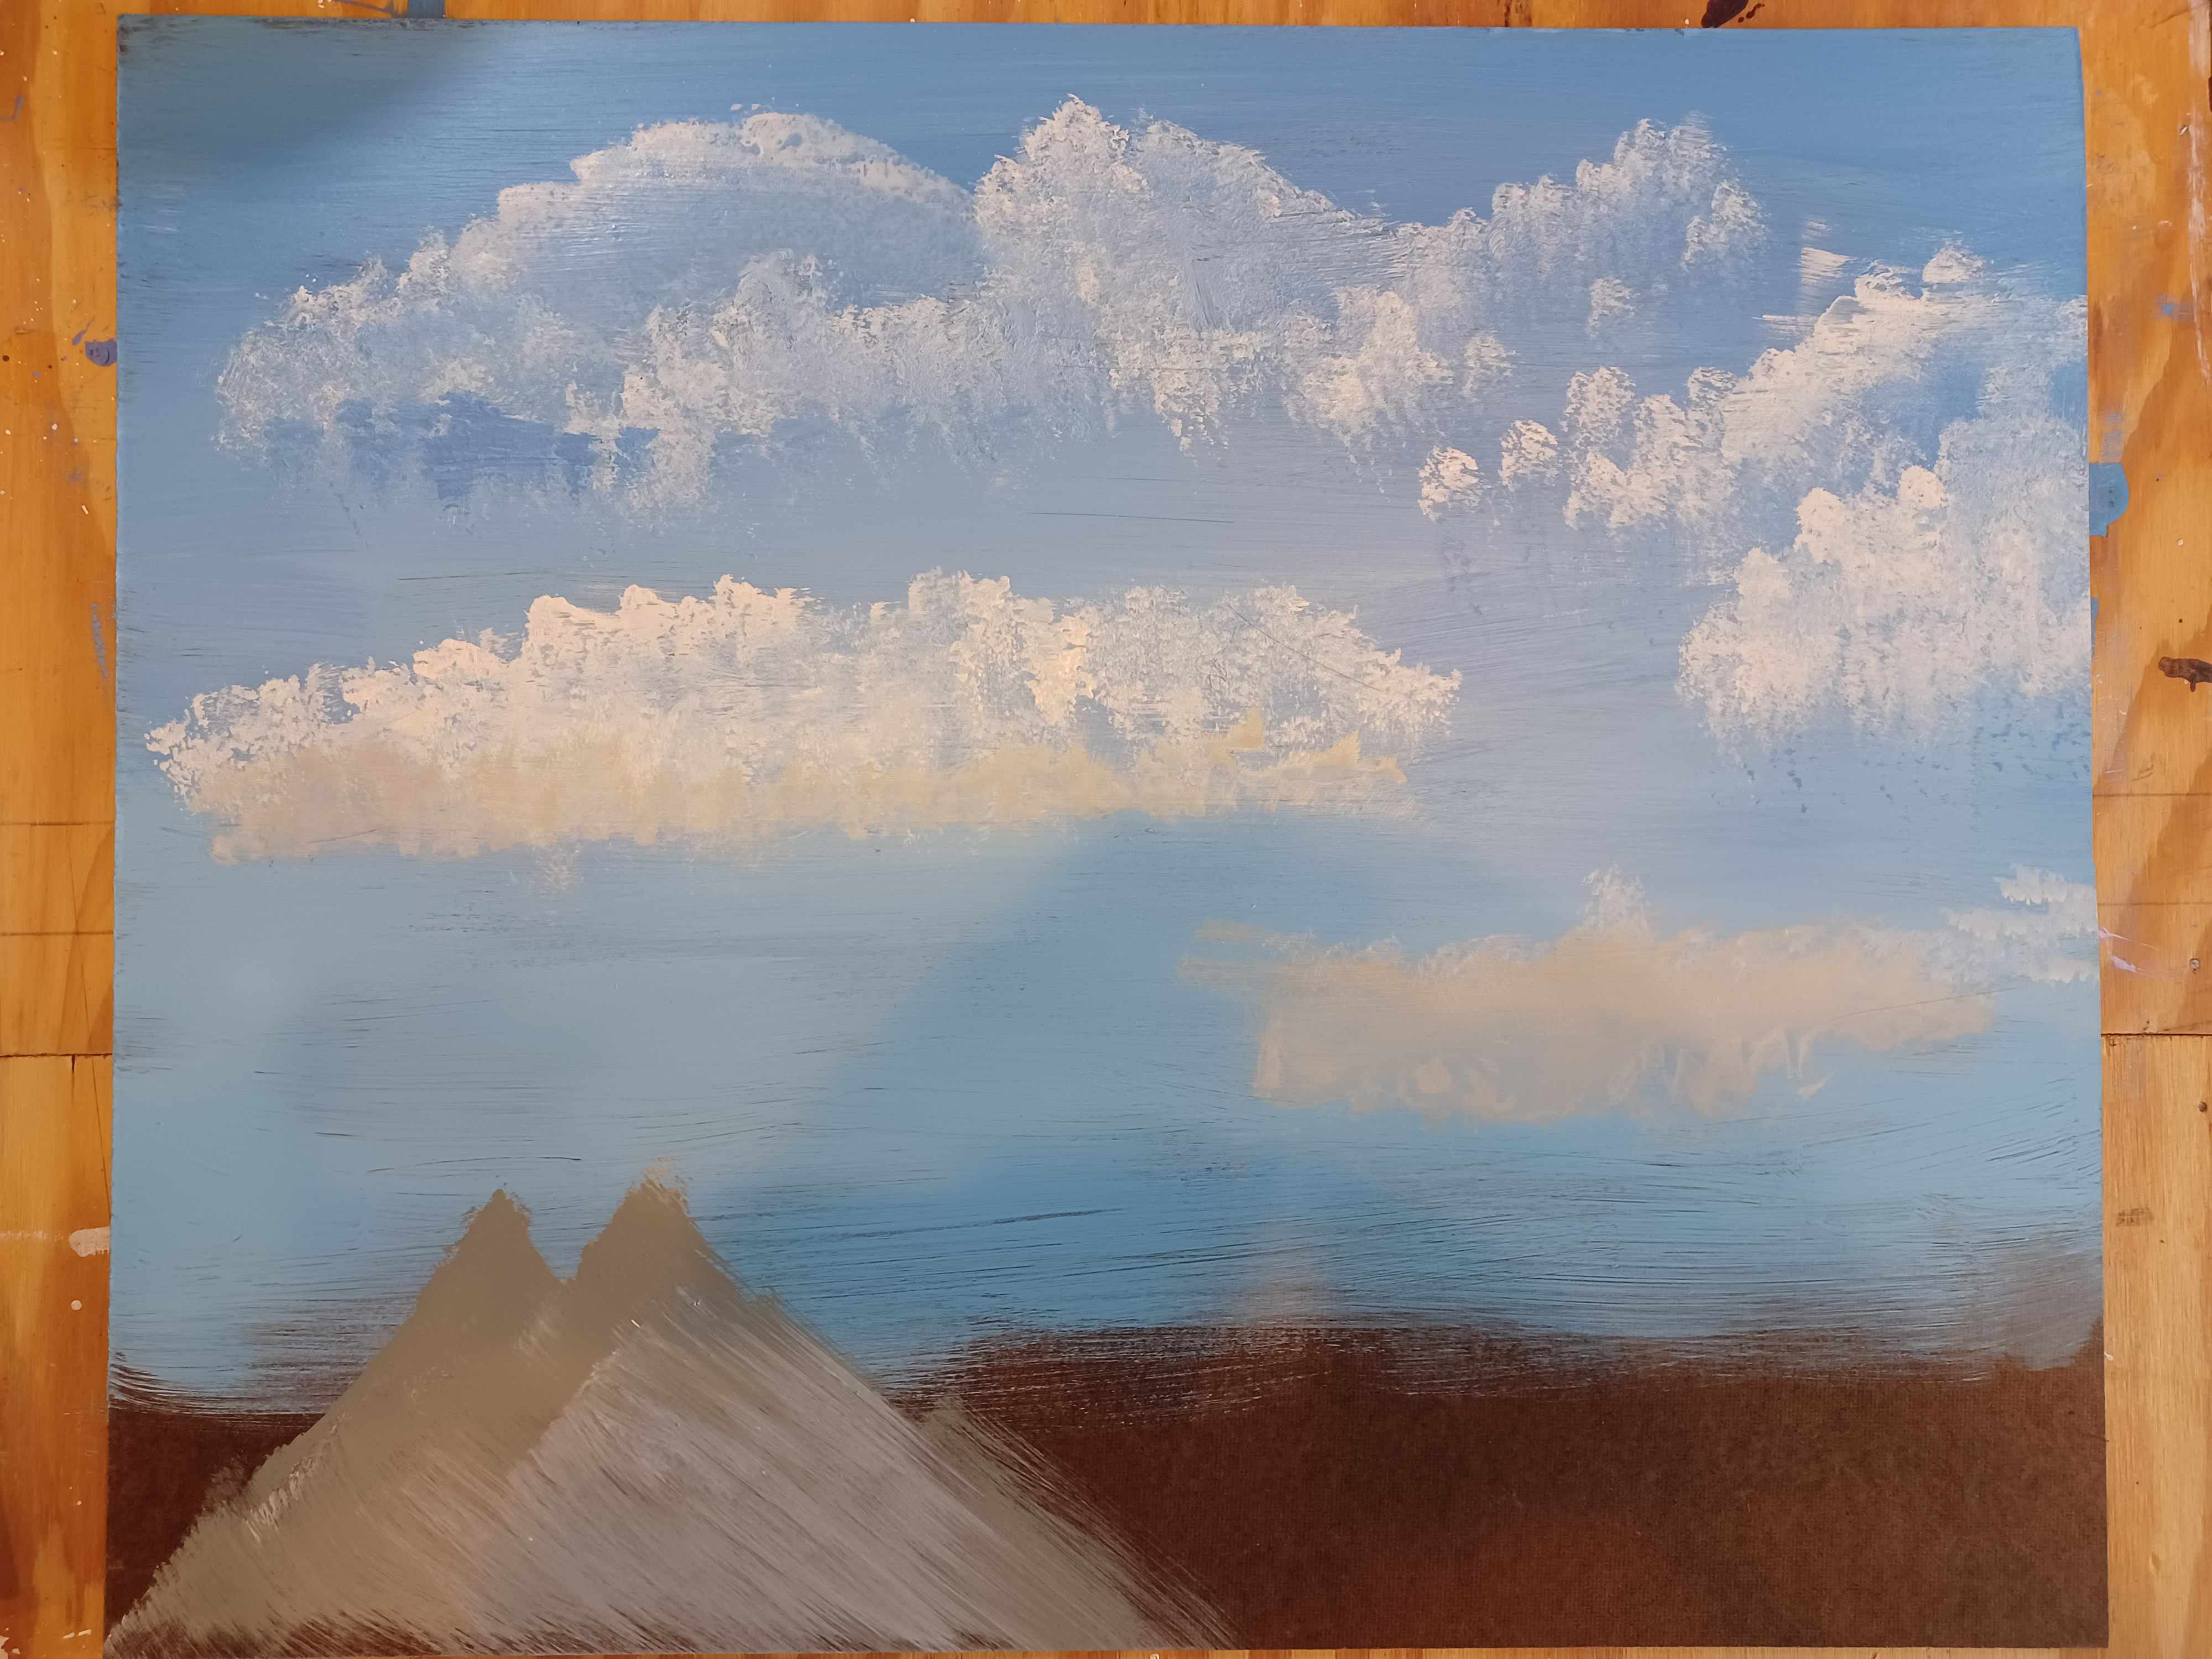
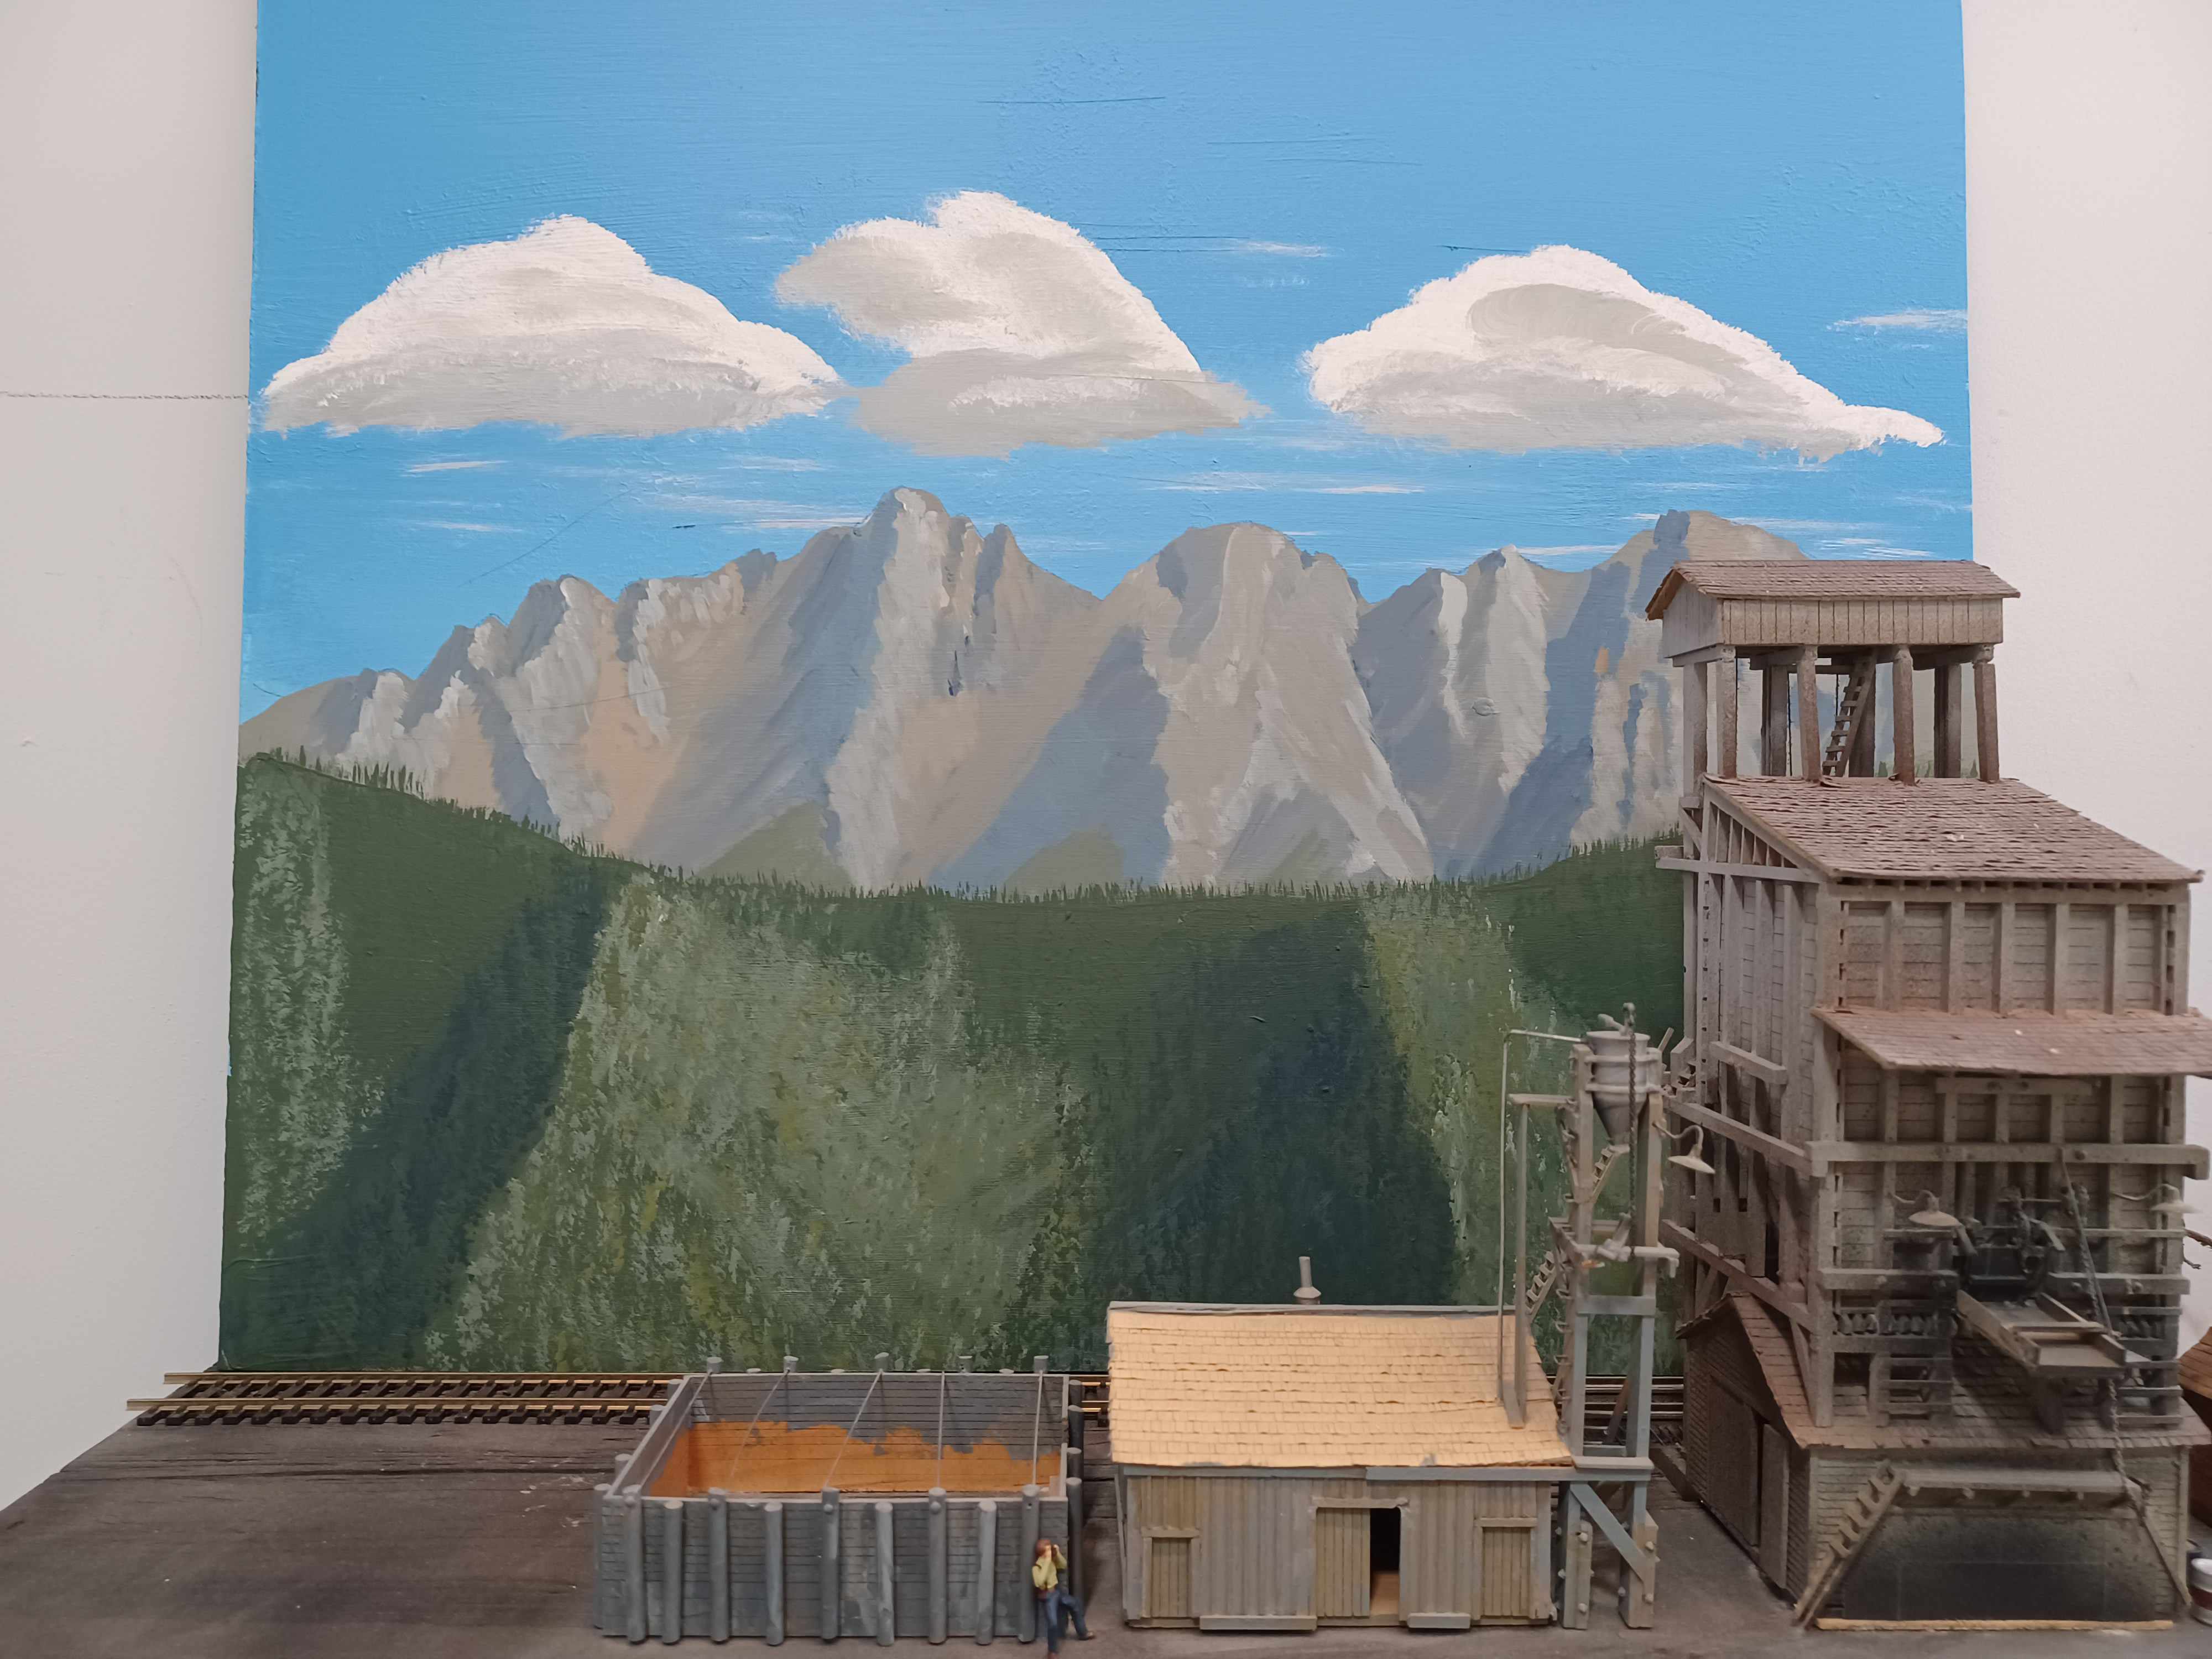
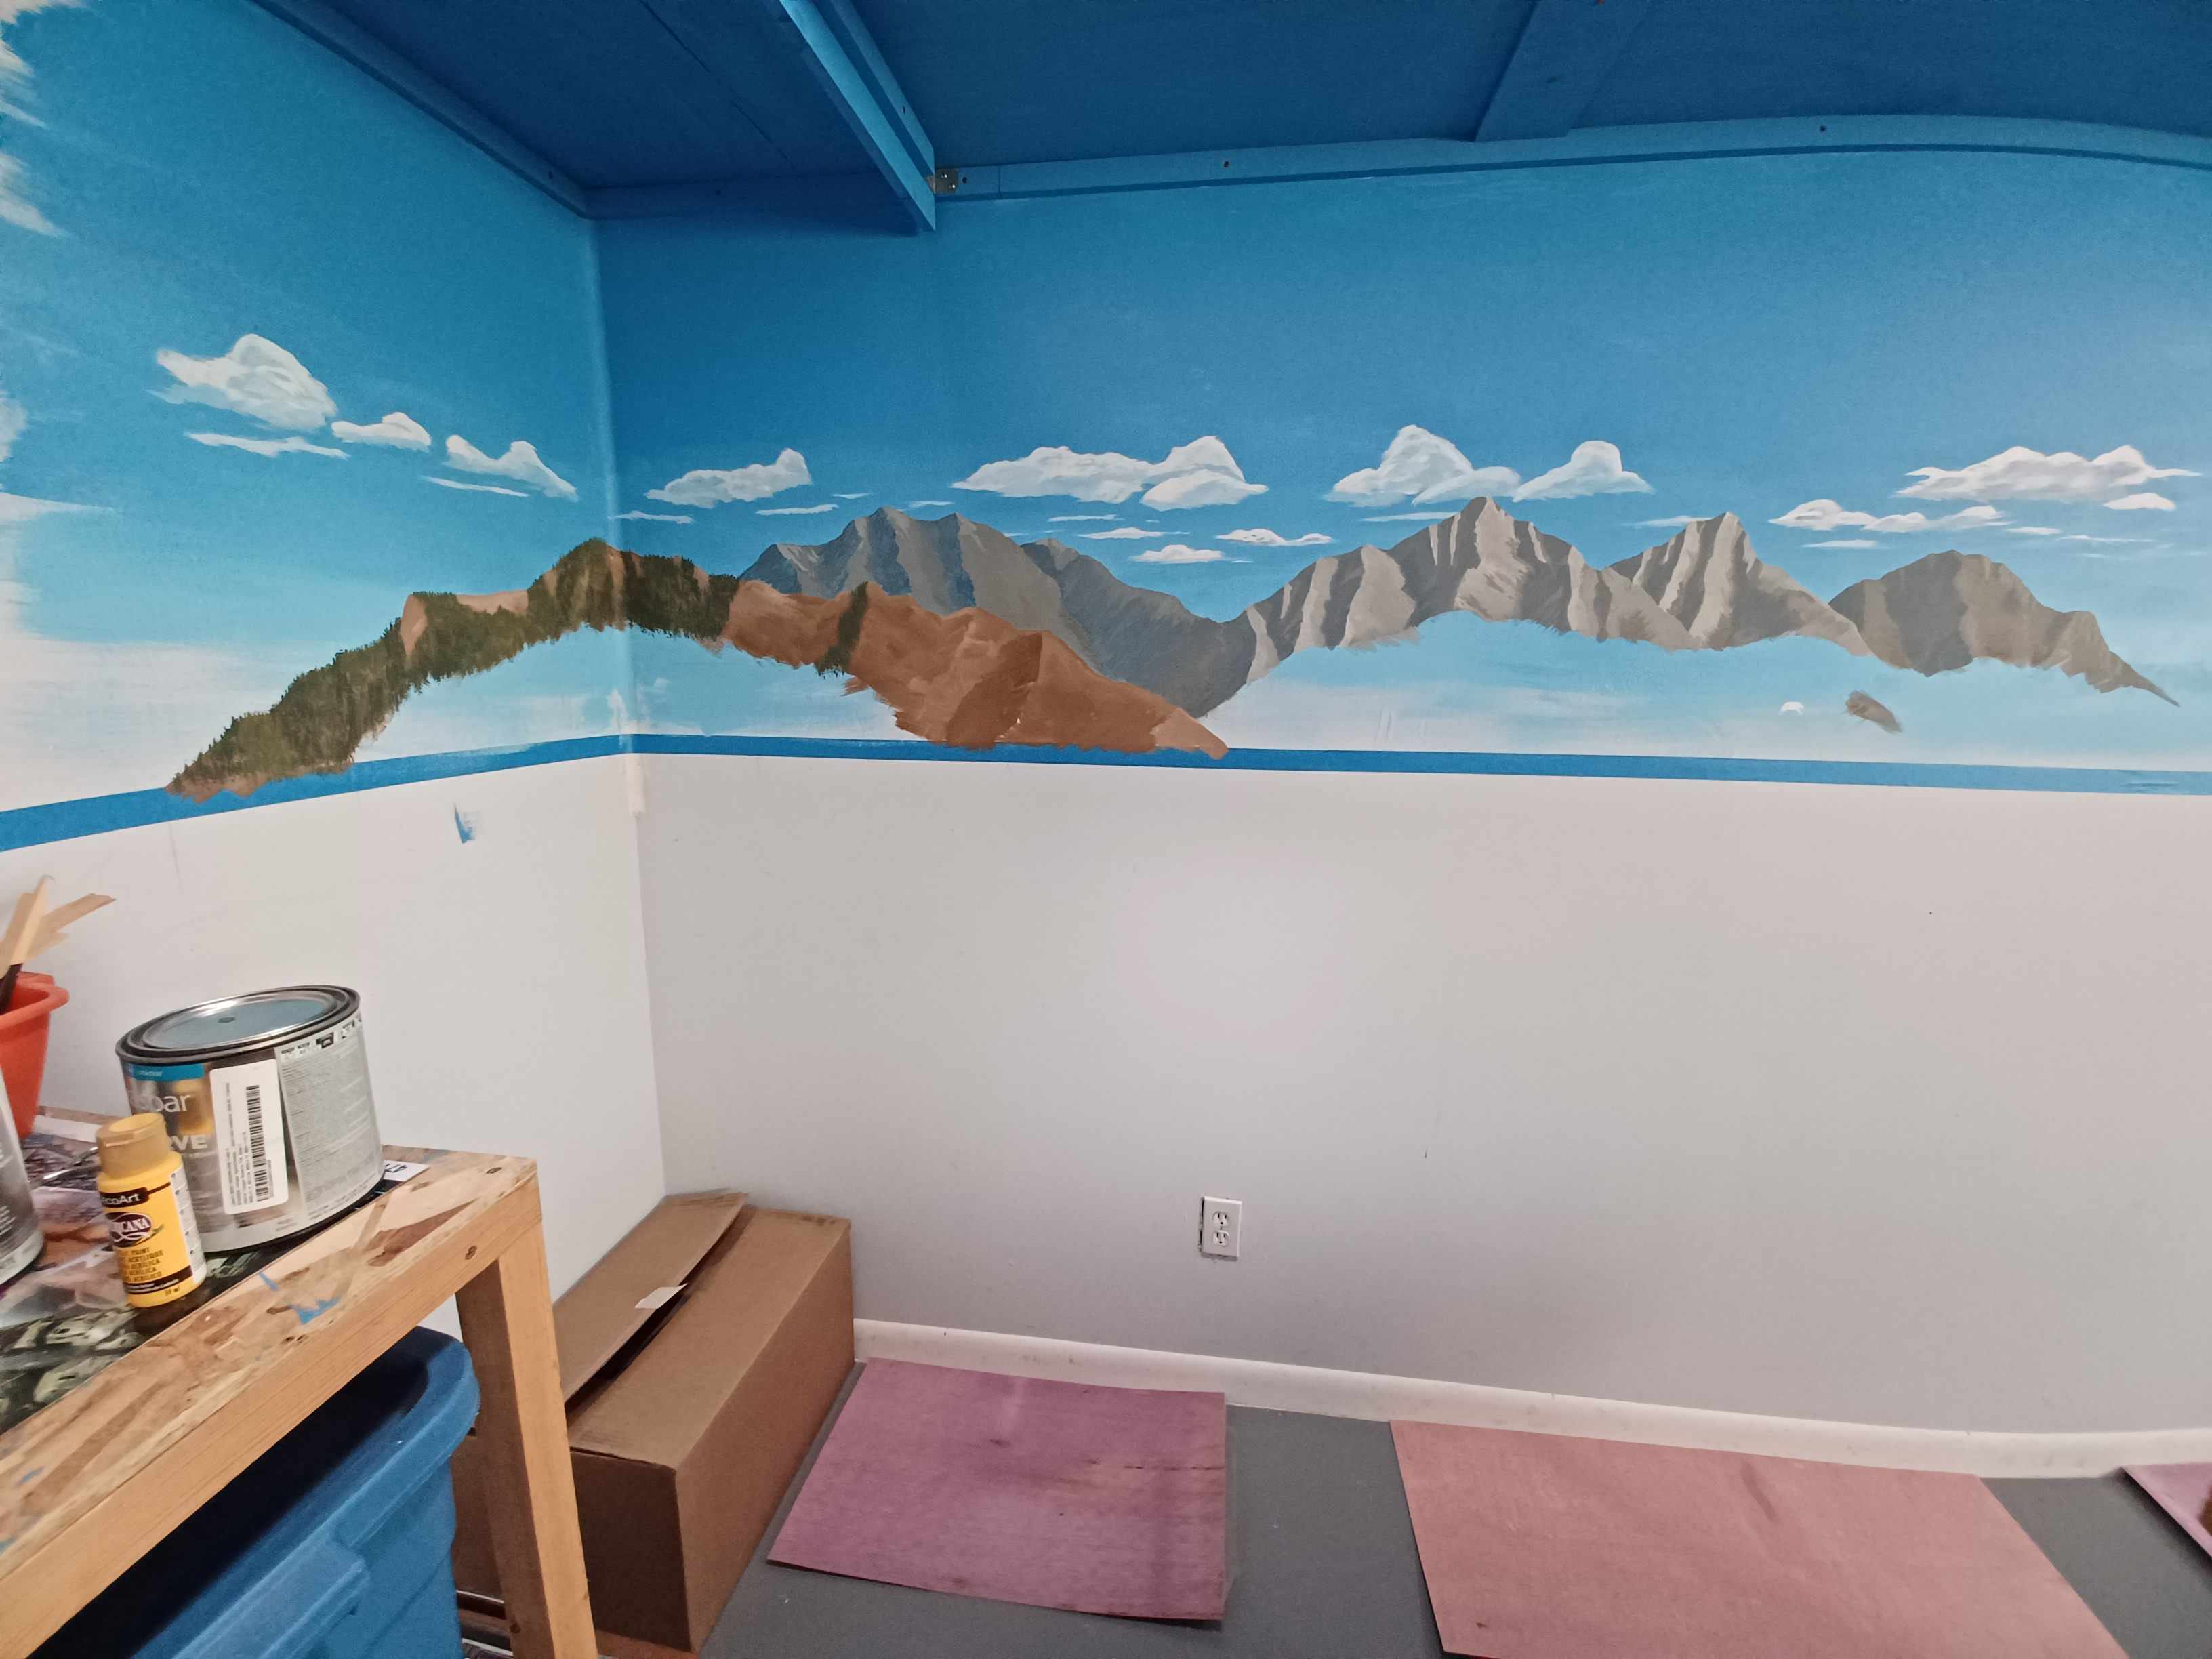
First, I practiced making sky and clouds. Make the sky dark at the top and lighten as you go down towards the horizon. I used a fan brush for the clouds. Make the clouds darker on the bottoms.
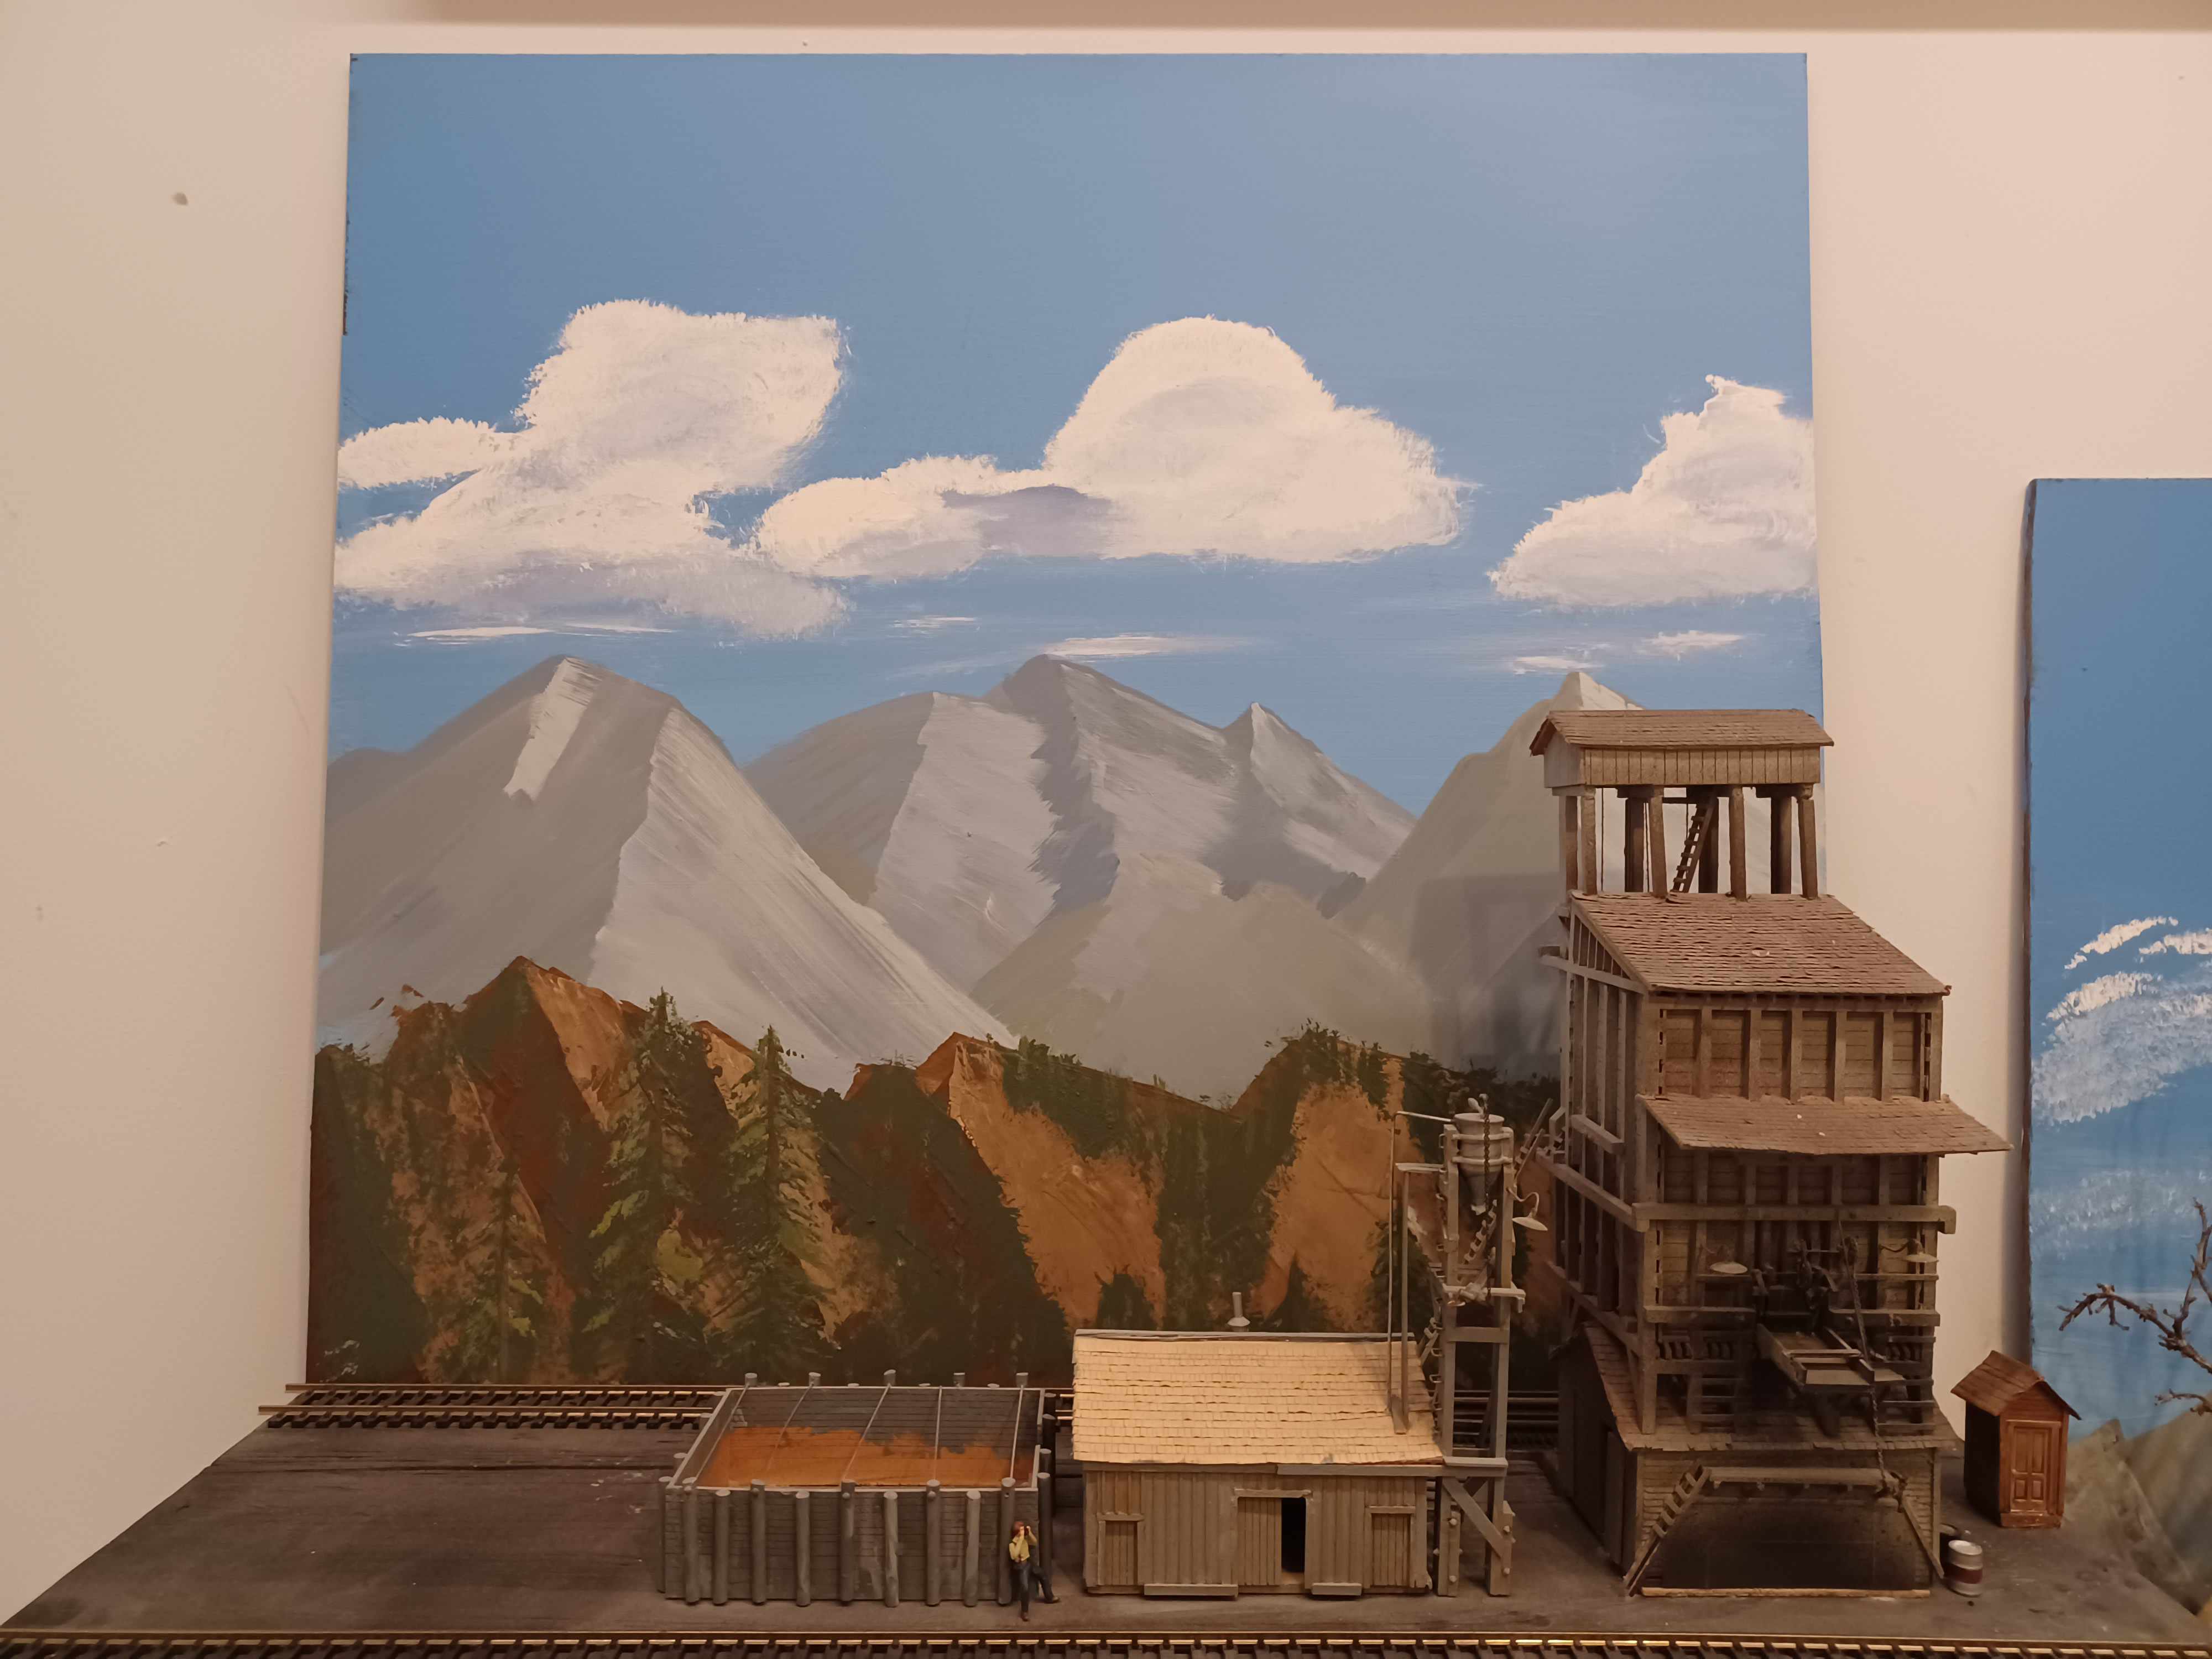
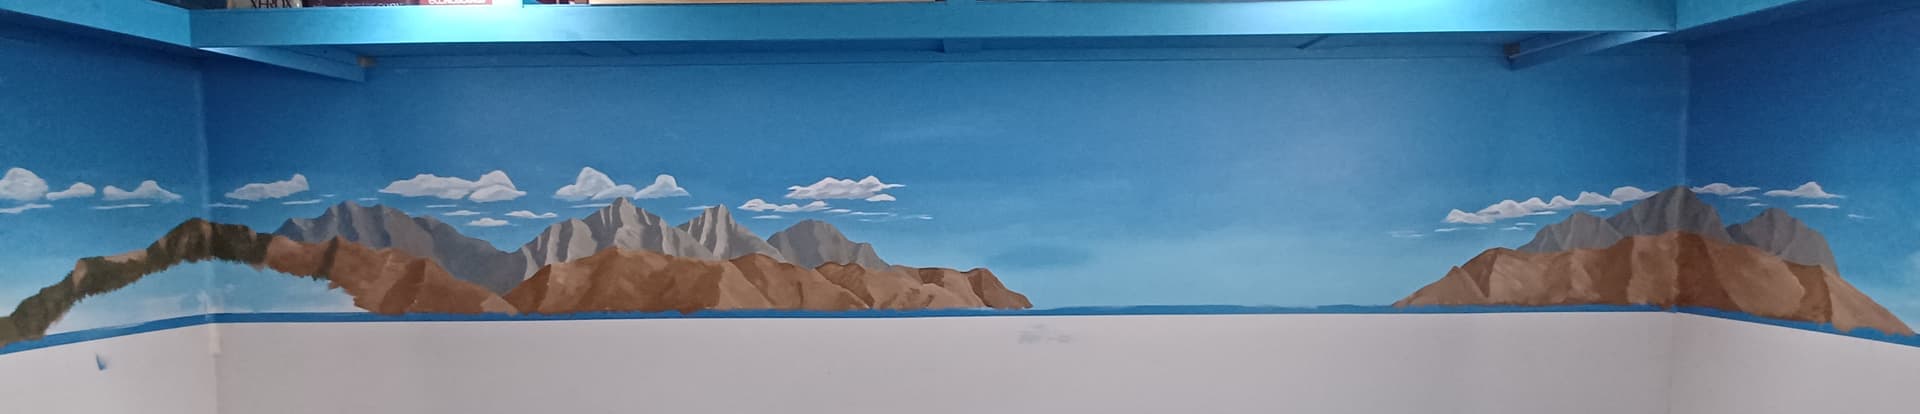
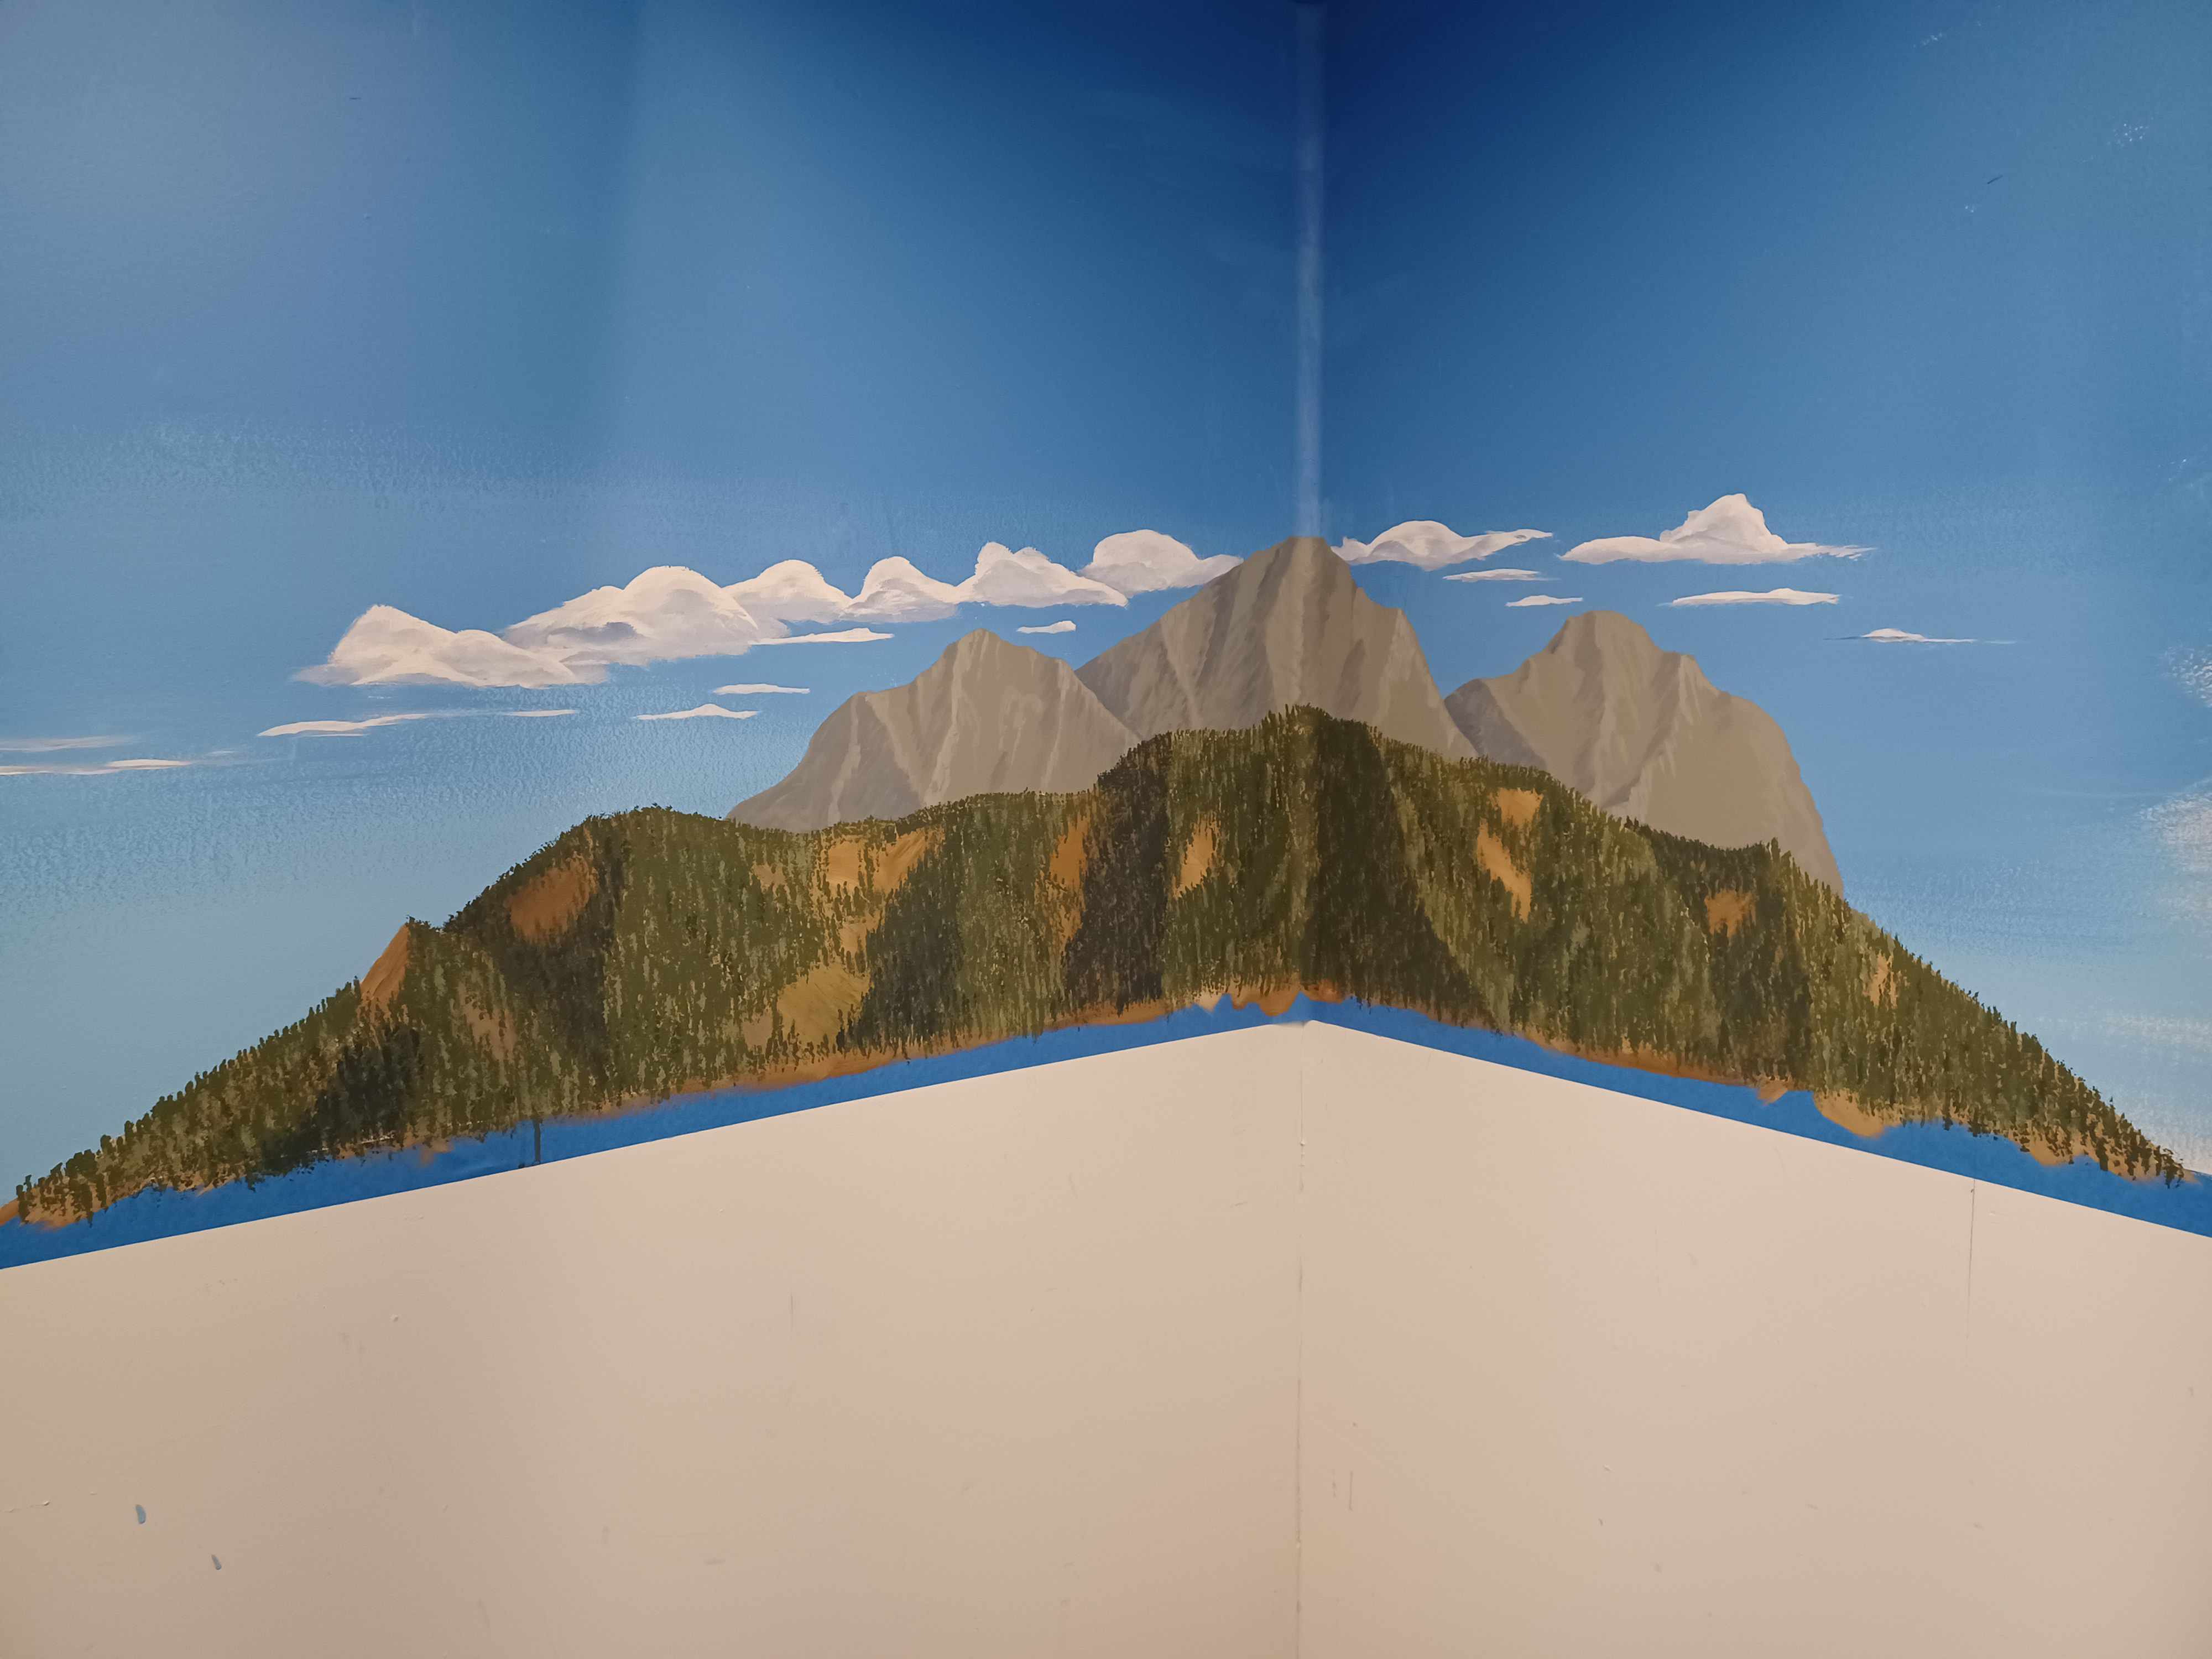
Eric, great looking backdrops! Those are excellent. Thanks for showing your progression in techniques. You’ve done a nice job captuurng the shadows on those peaks and it the forested slopes in the foreground. You are ready for some walls, for sure.
I too enjoy painting backdrops. It just another fun skill to learn as part of this hobby.
Thanks and yeah, model railroading involves a variety of aspects which is fun!
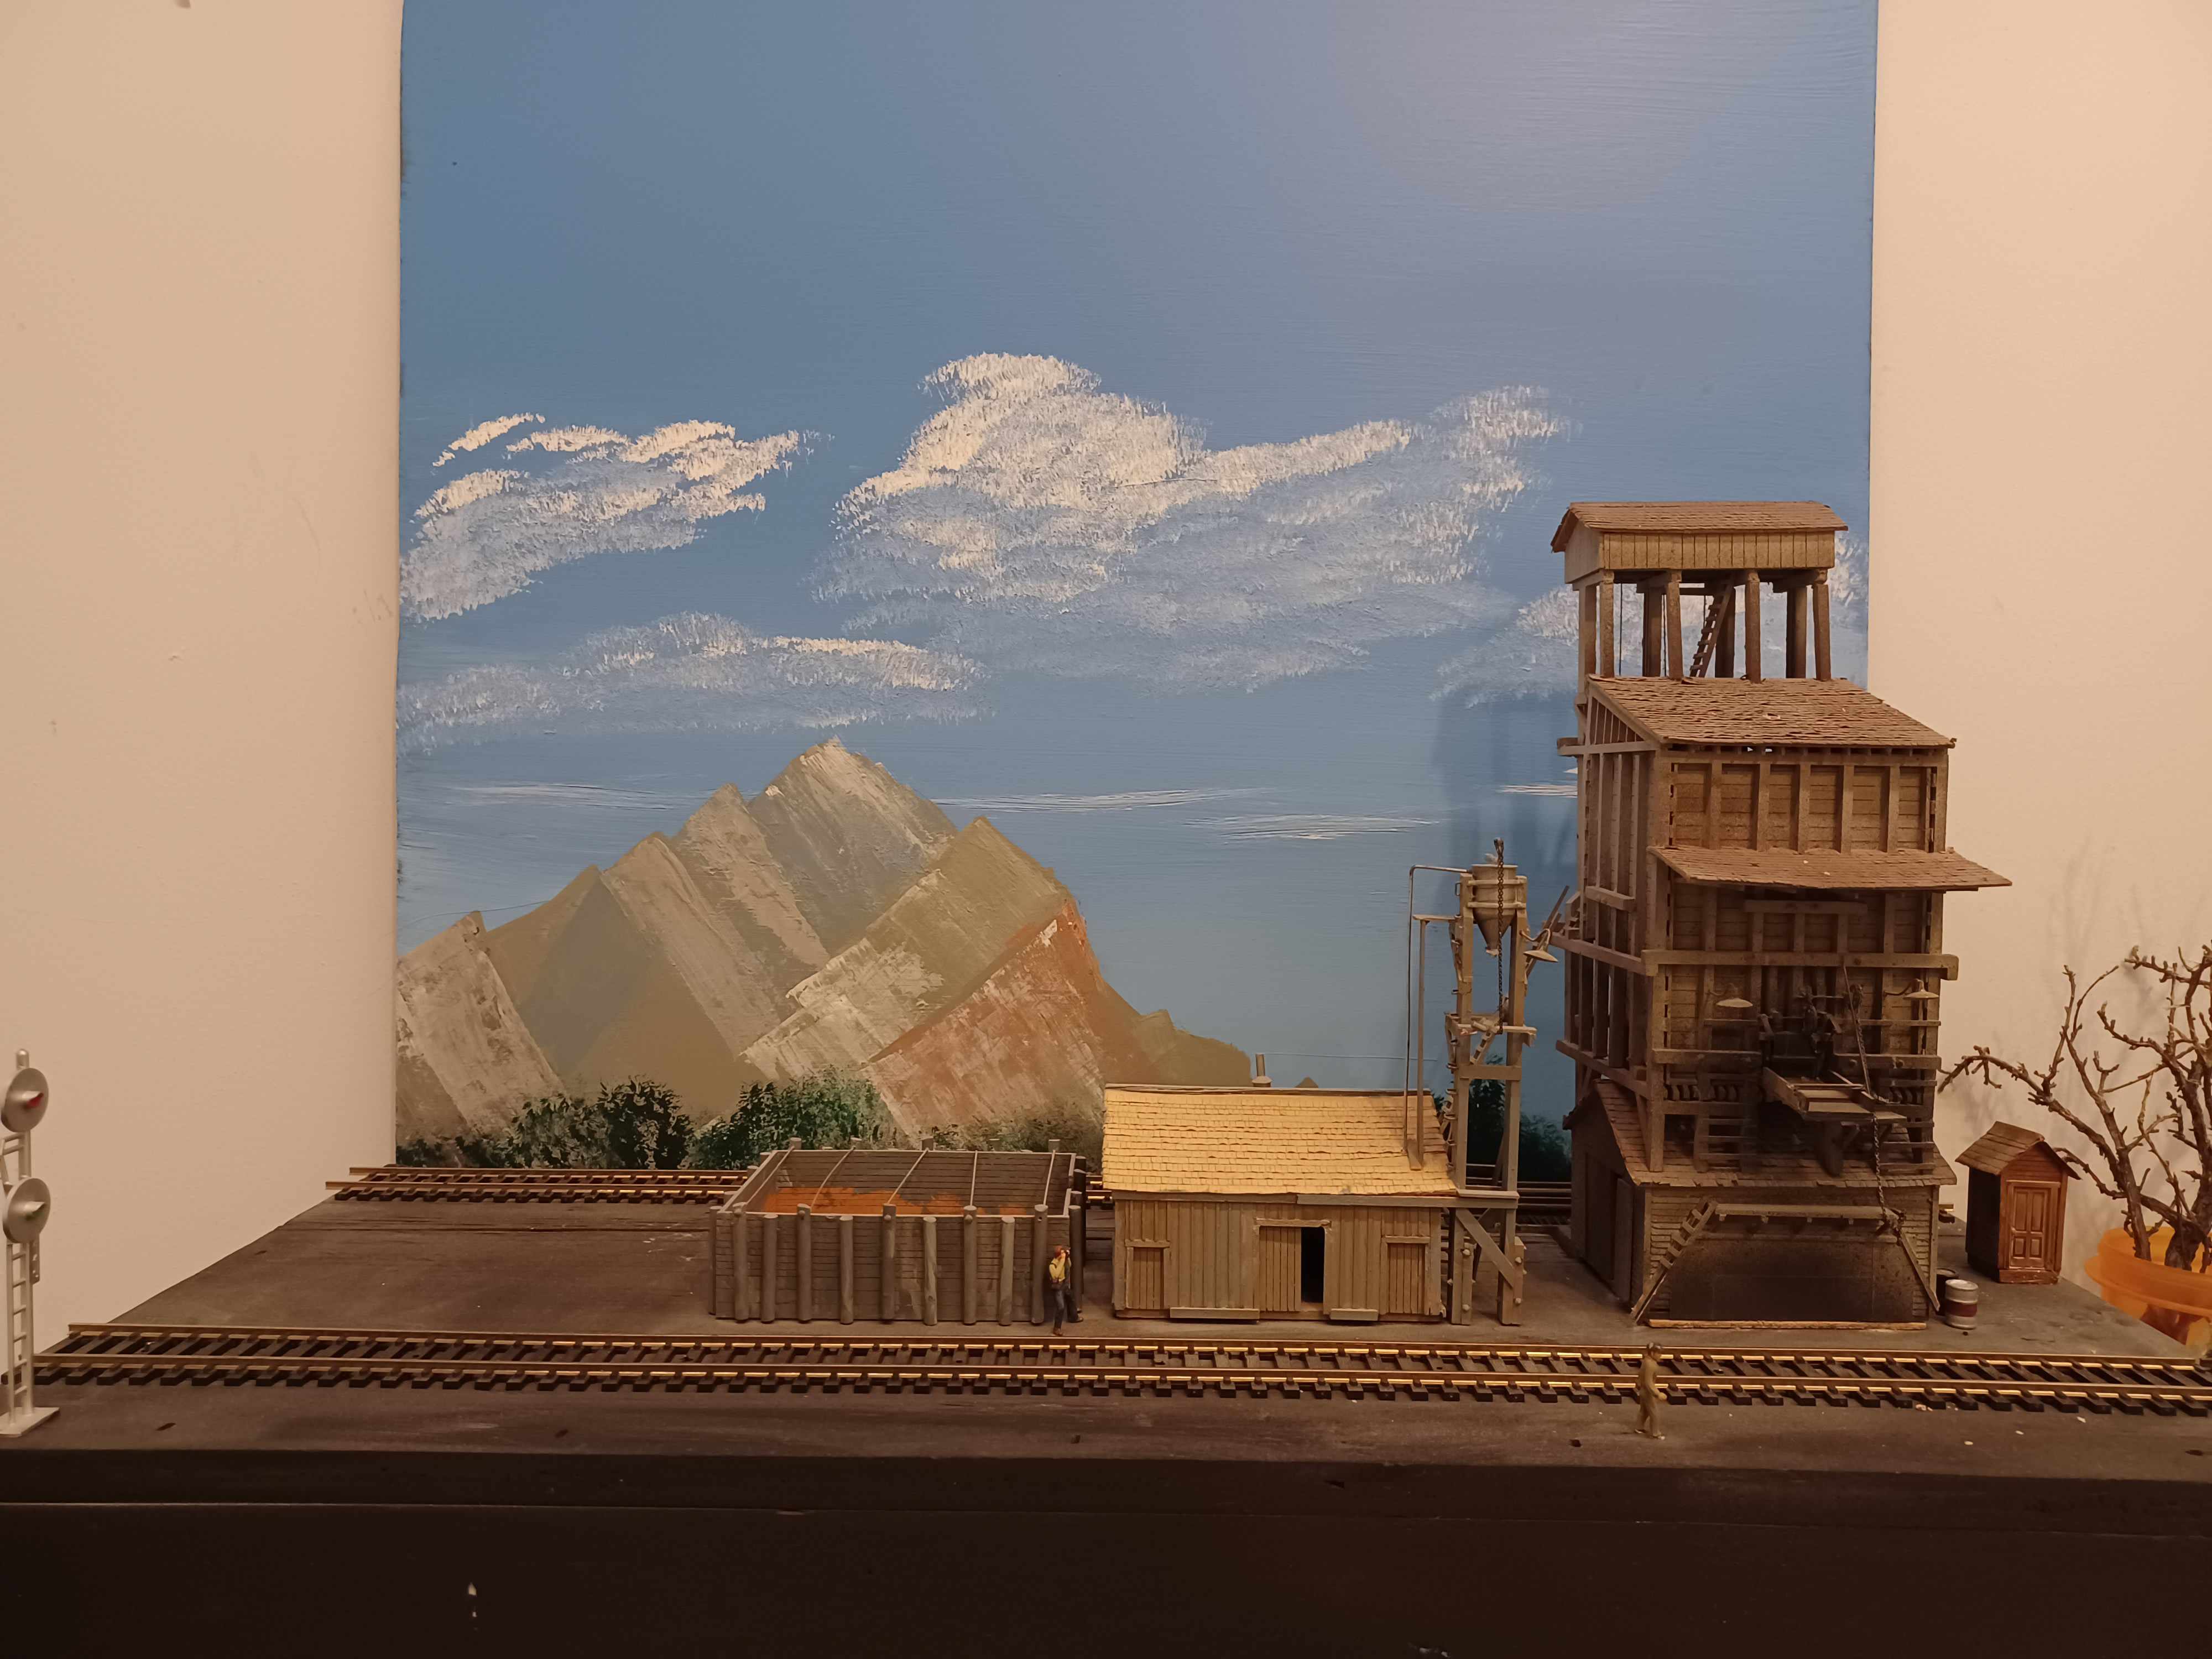
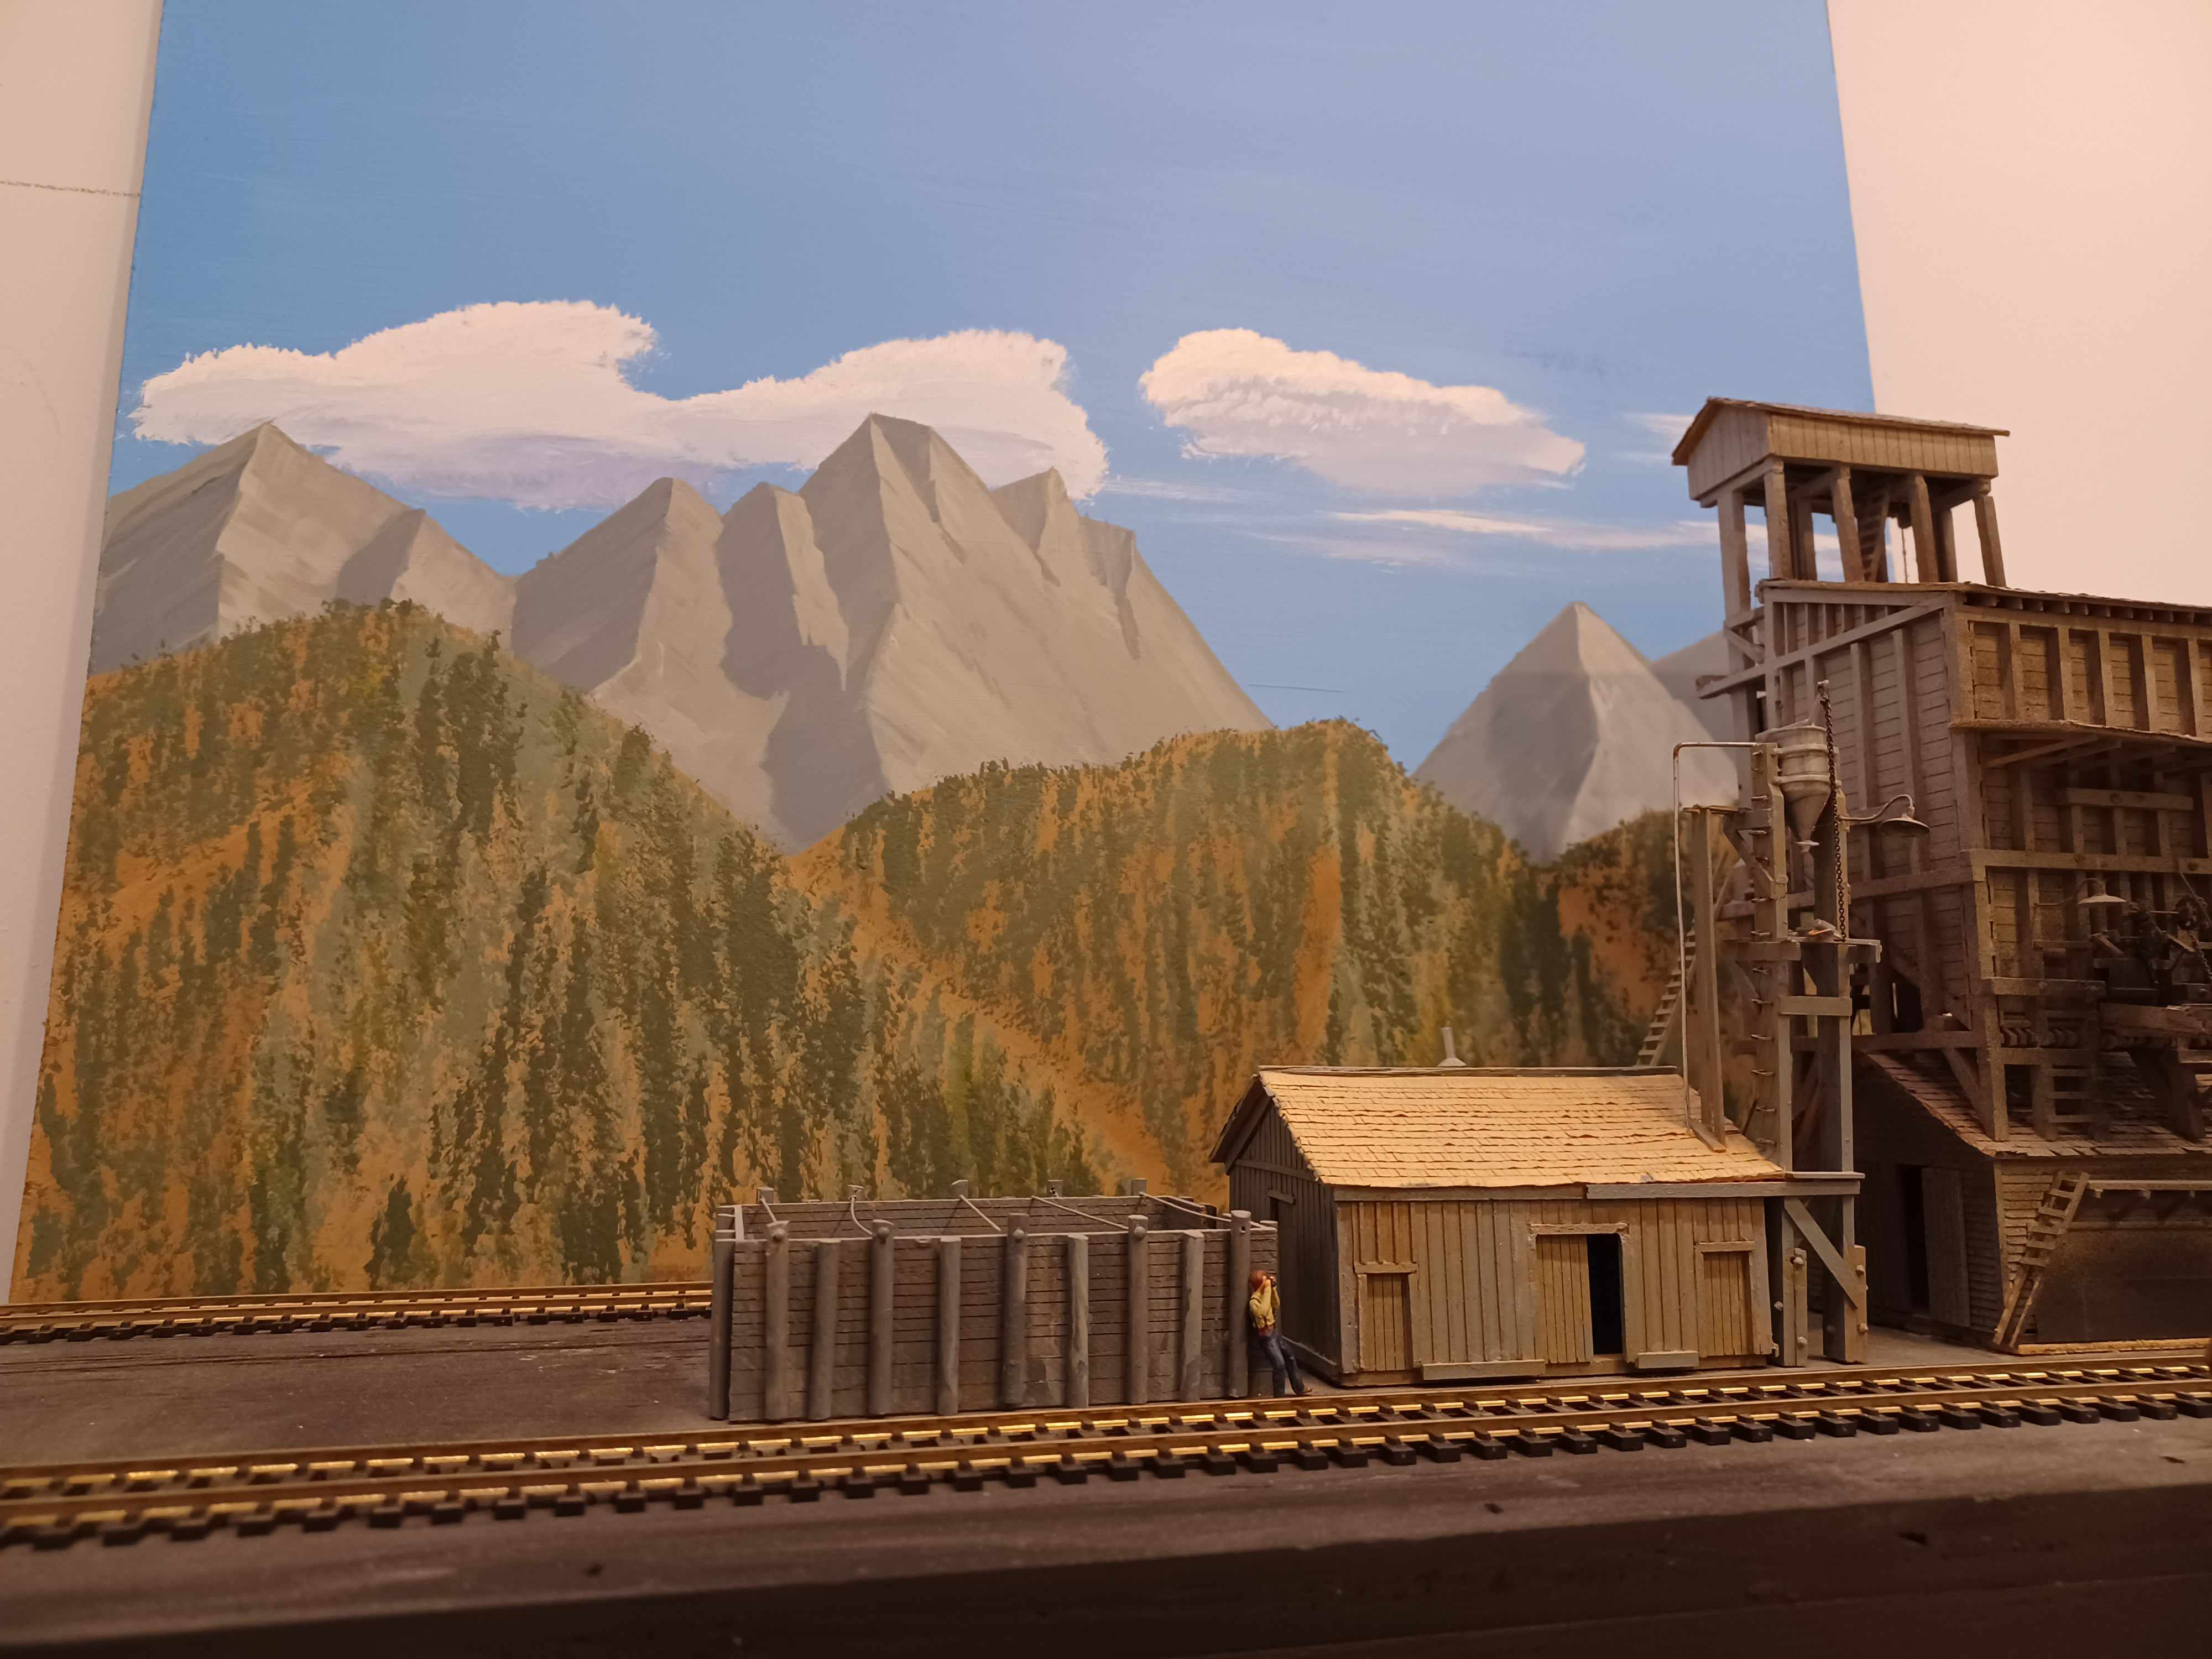
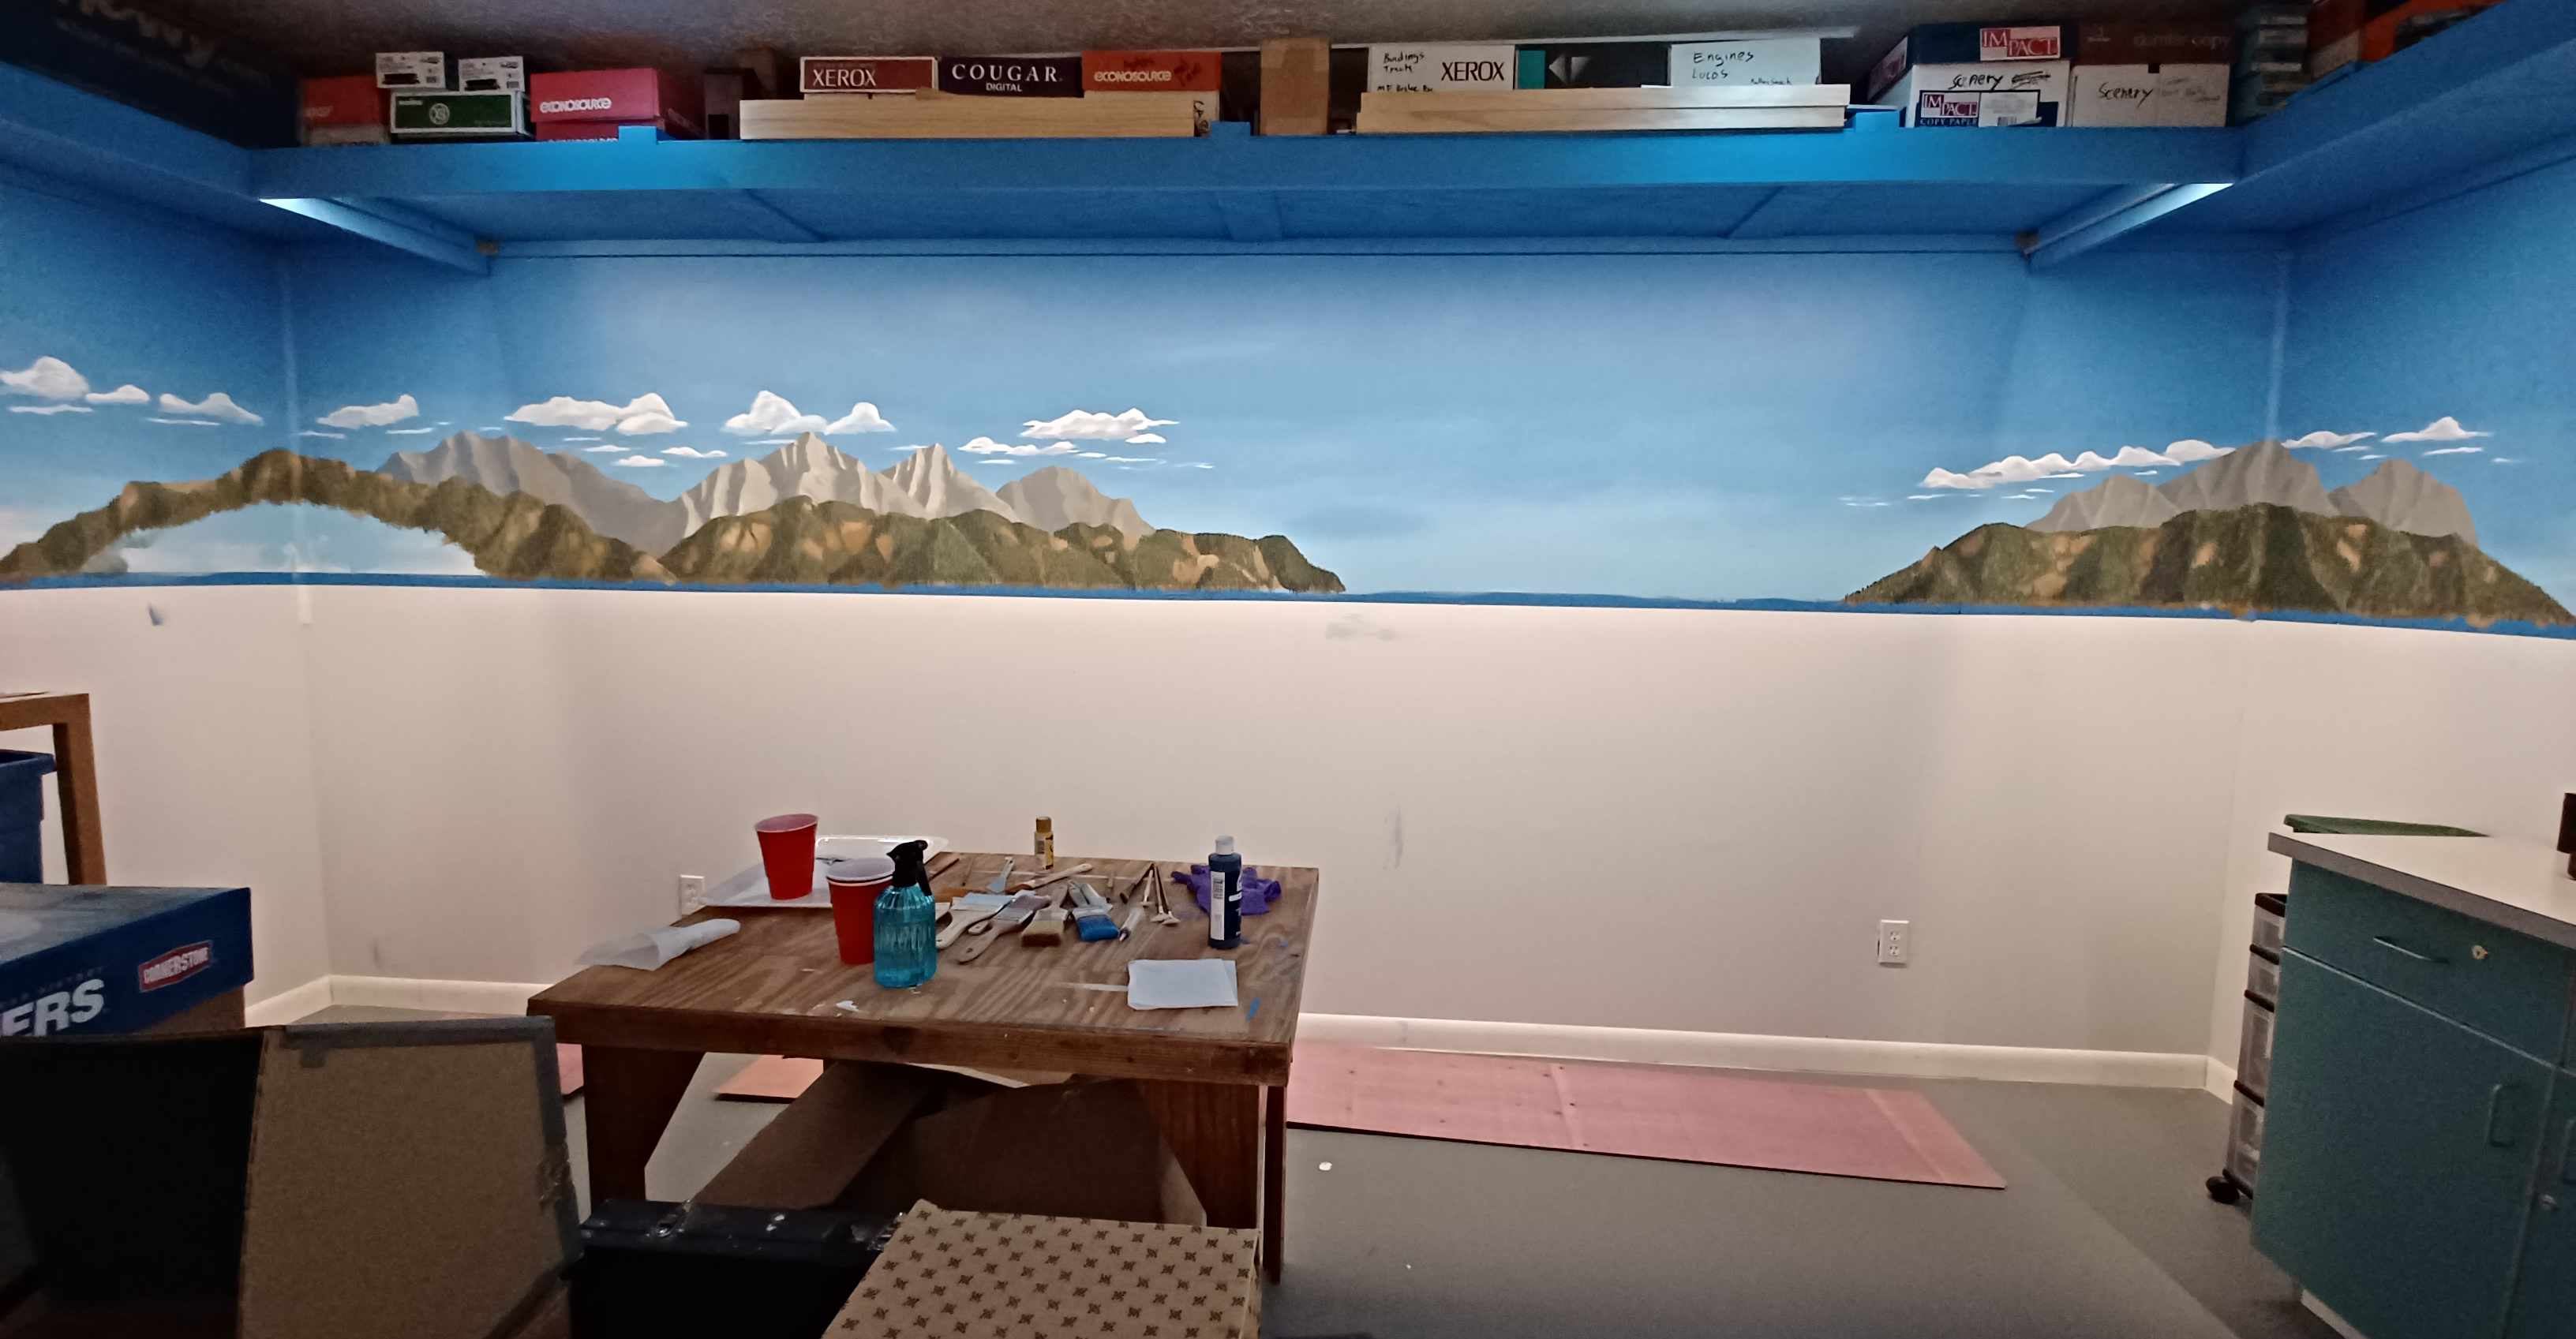
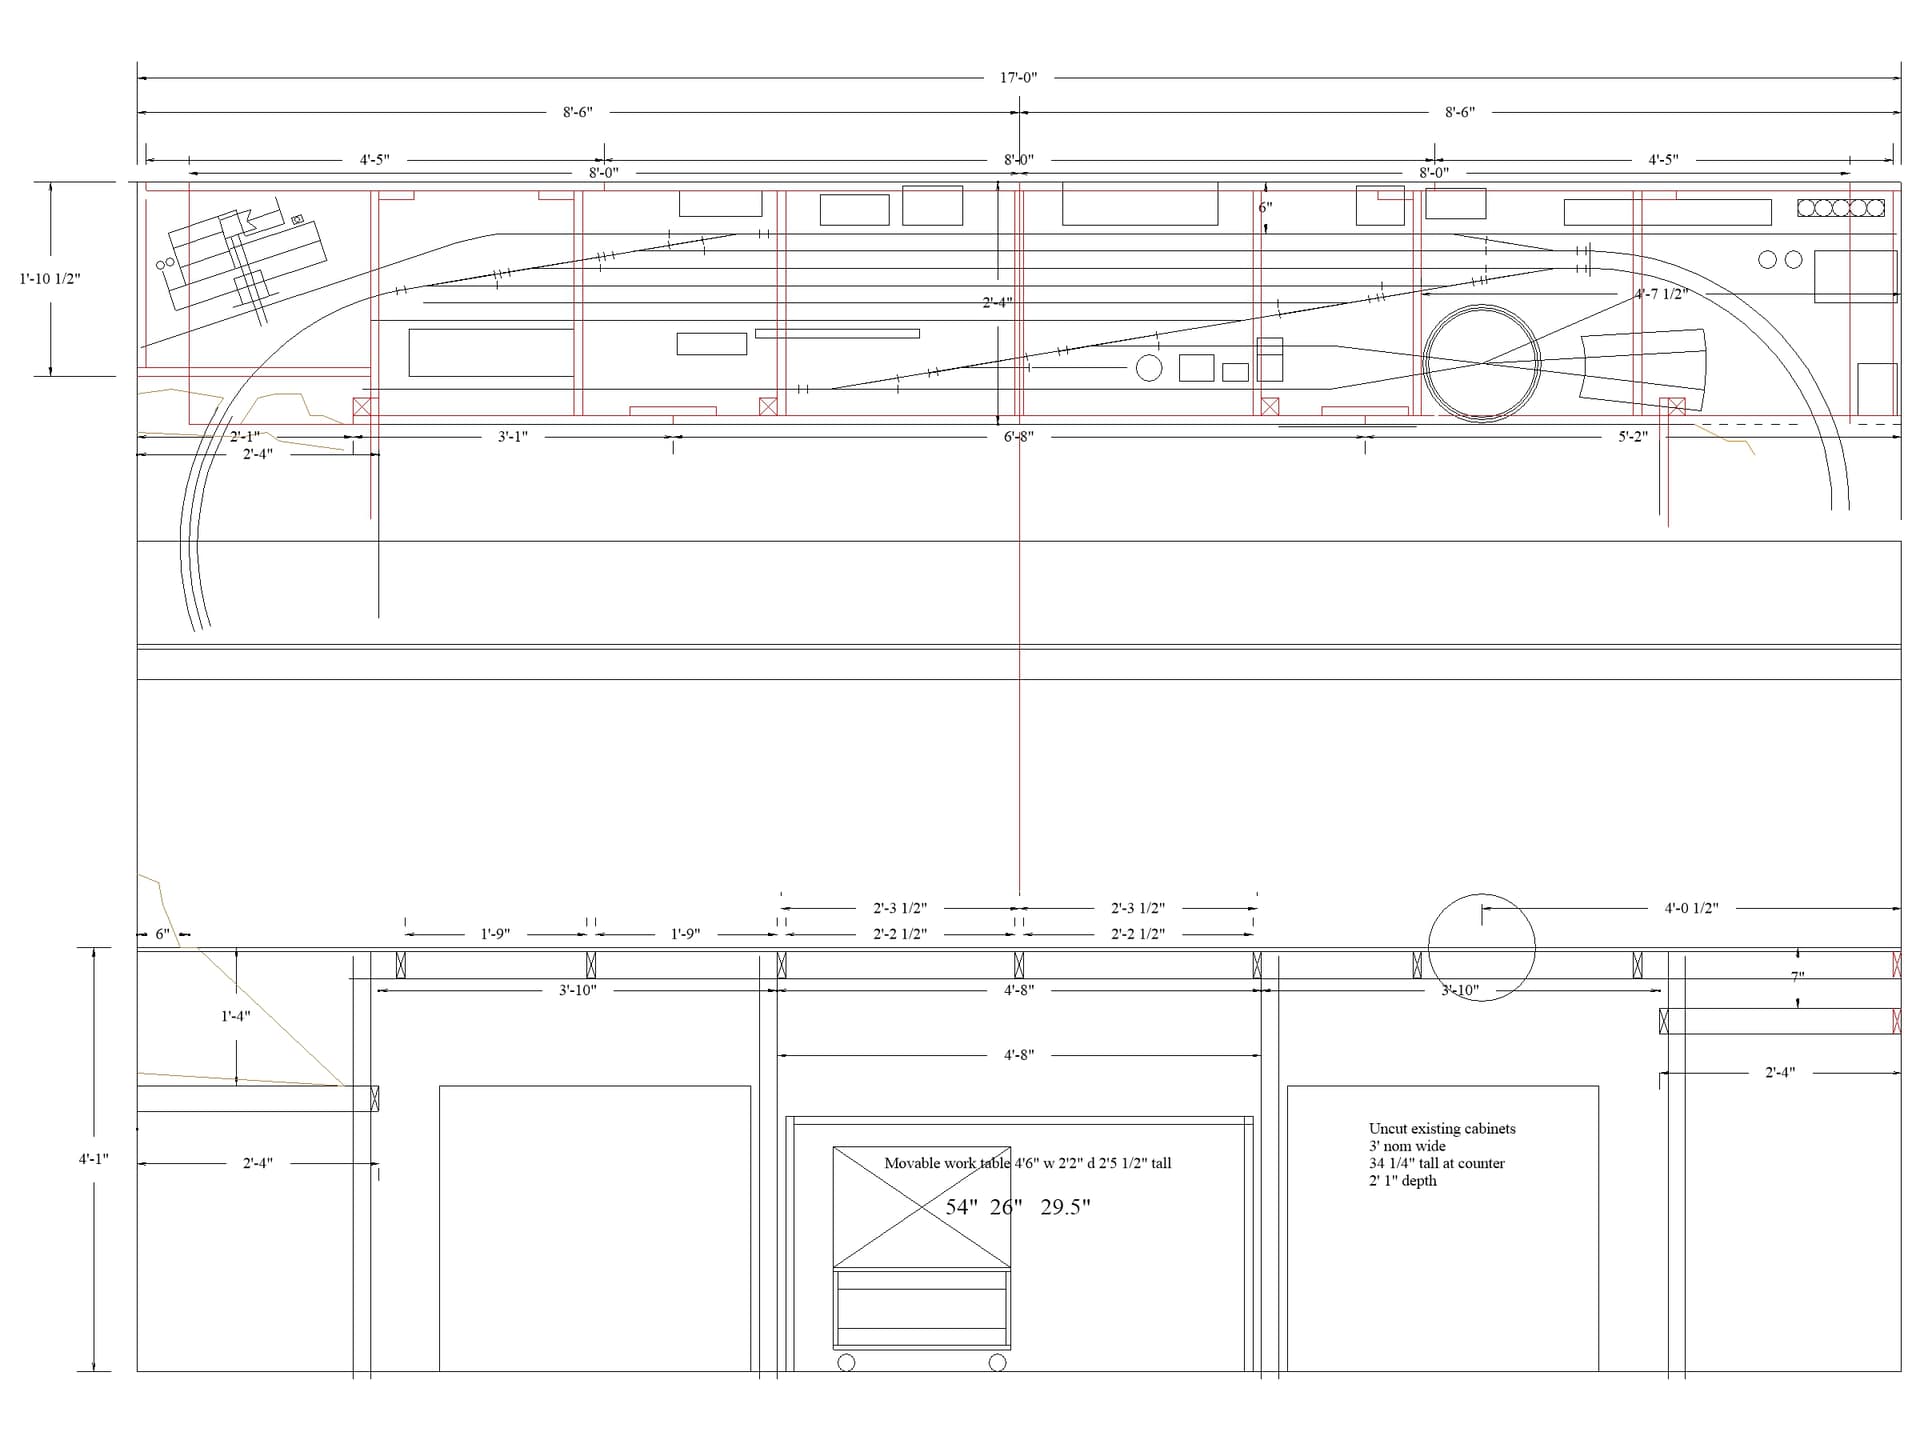
The first part of the layout I am building is the Granite Peak yard. Here is the blank canvas for the backdrop. I filled in any holes and sanded down any lumps on the walls. The photo progression tells the story.
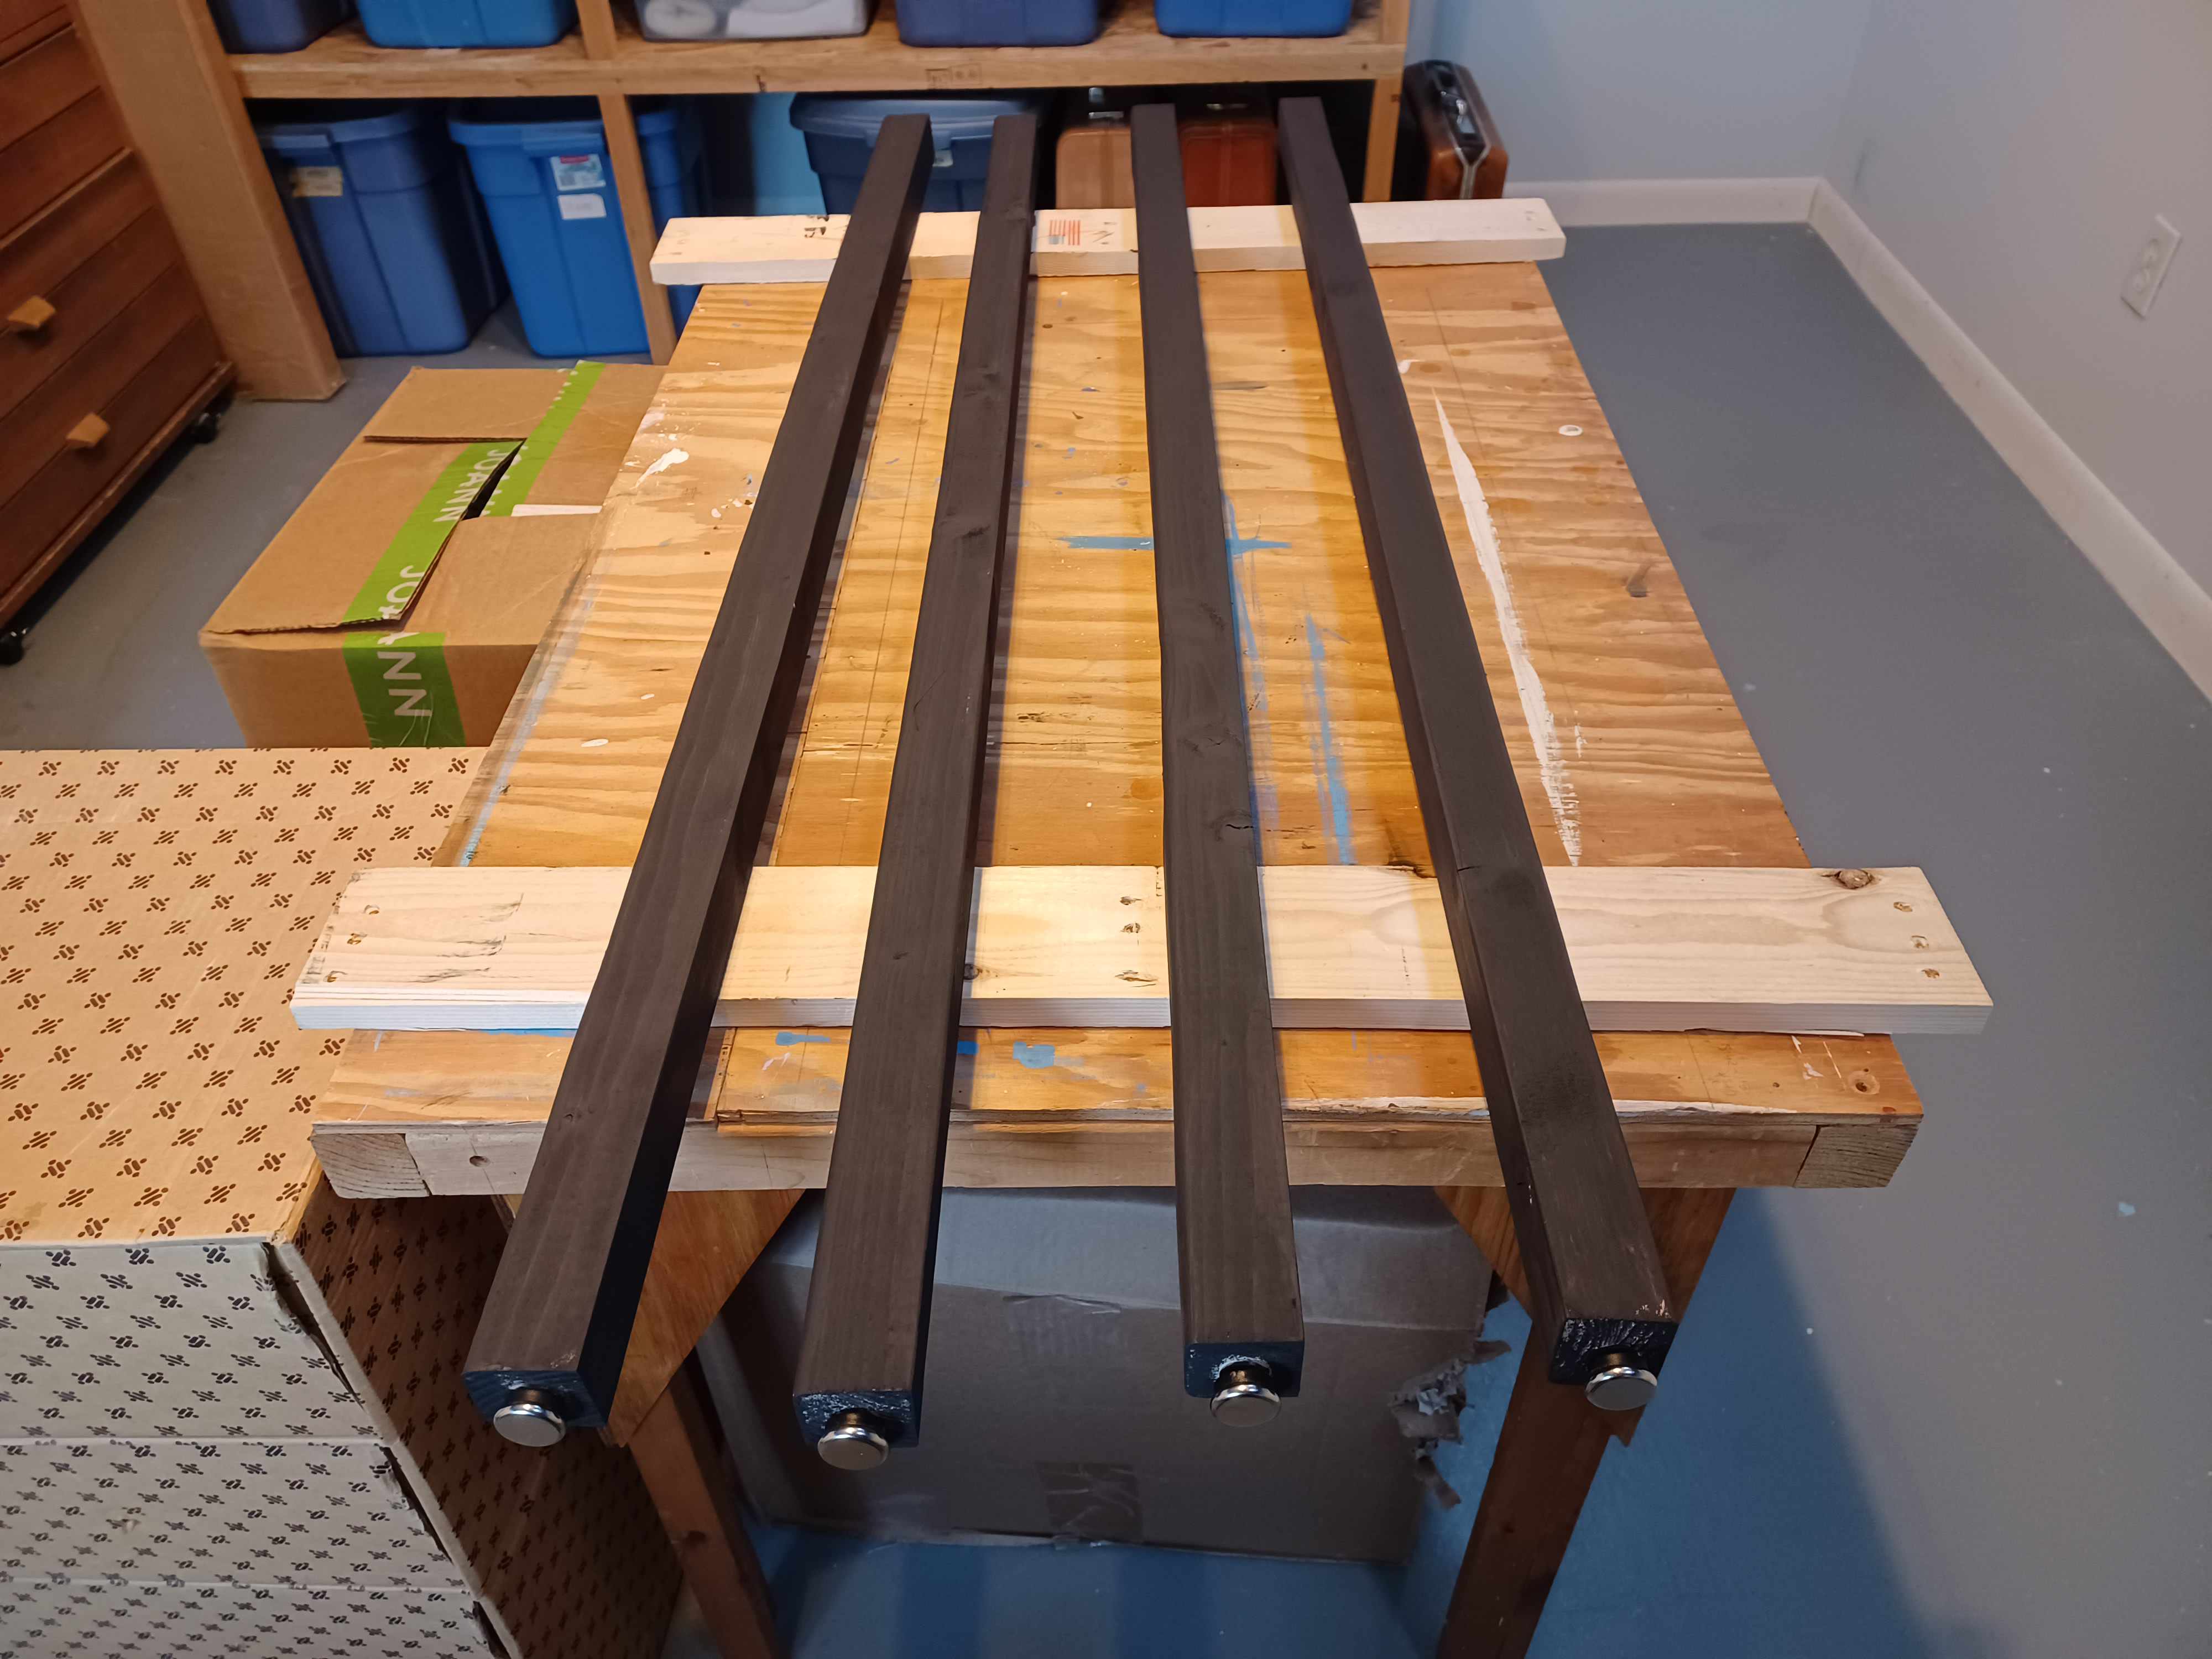
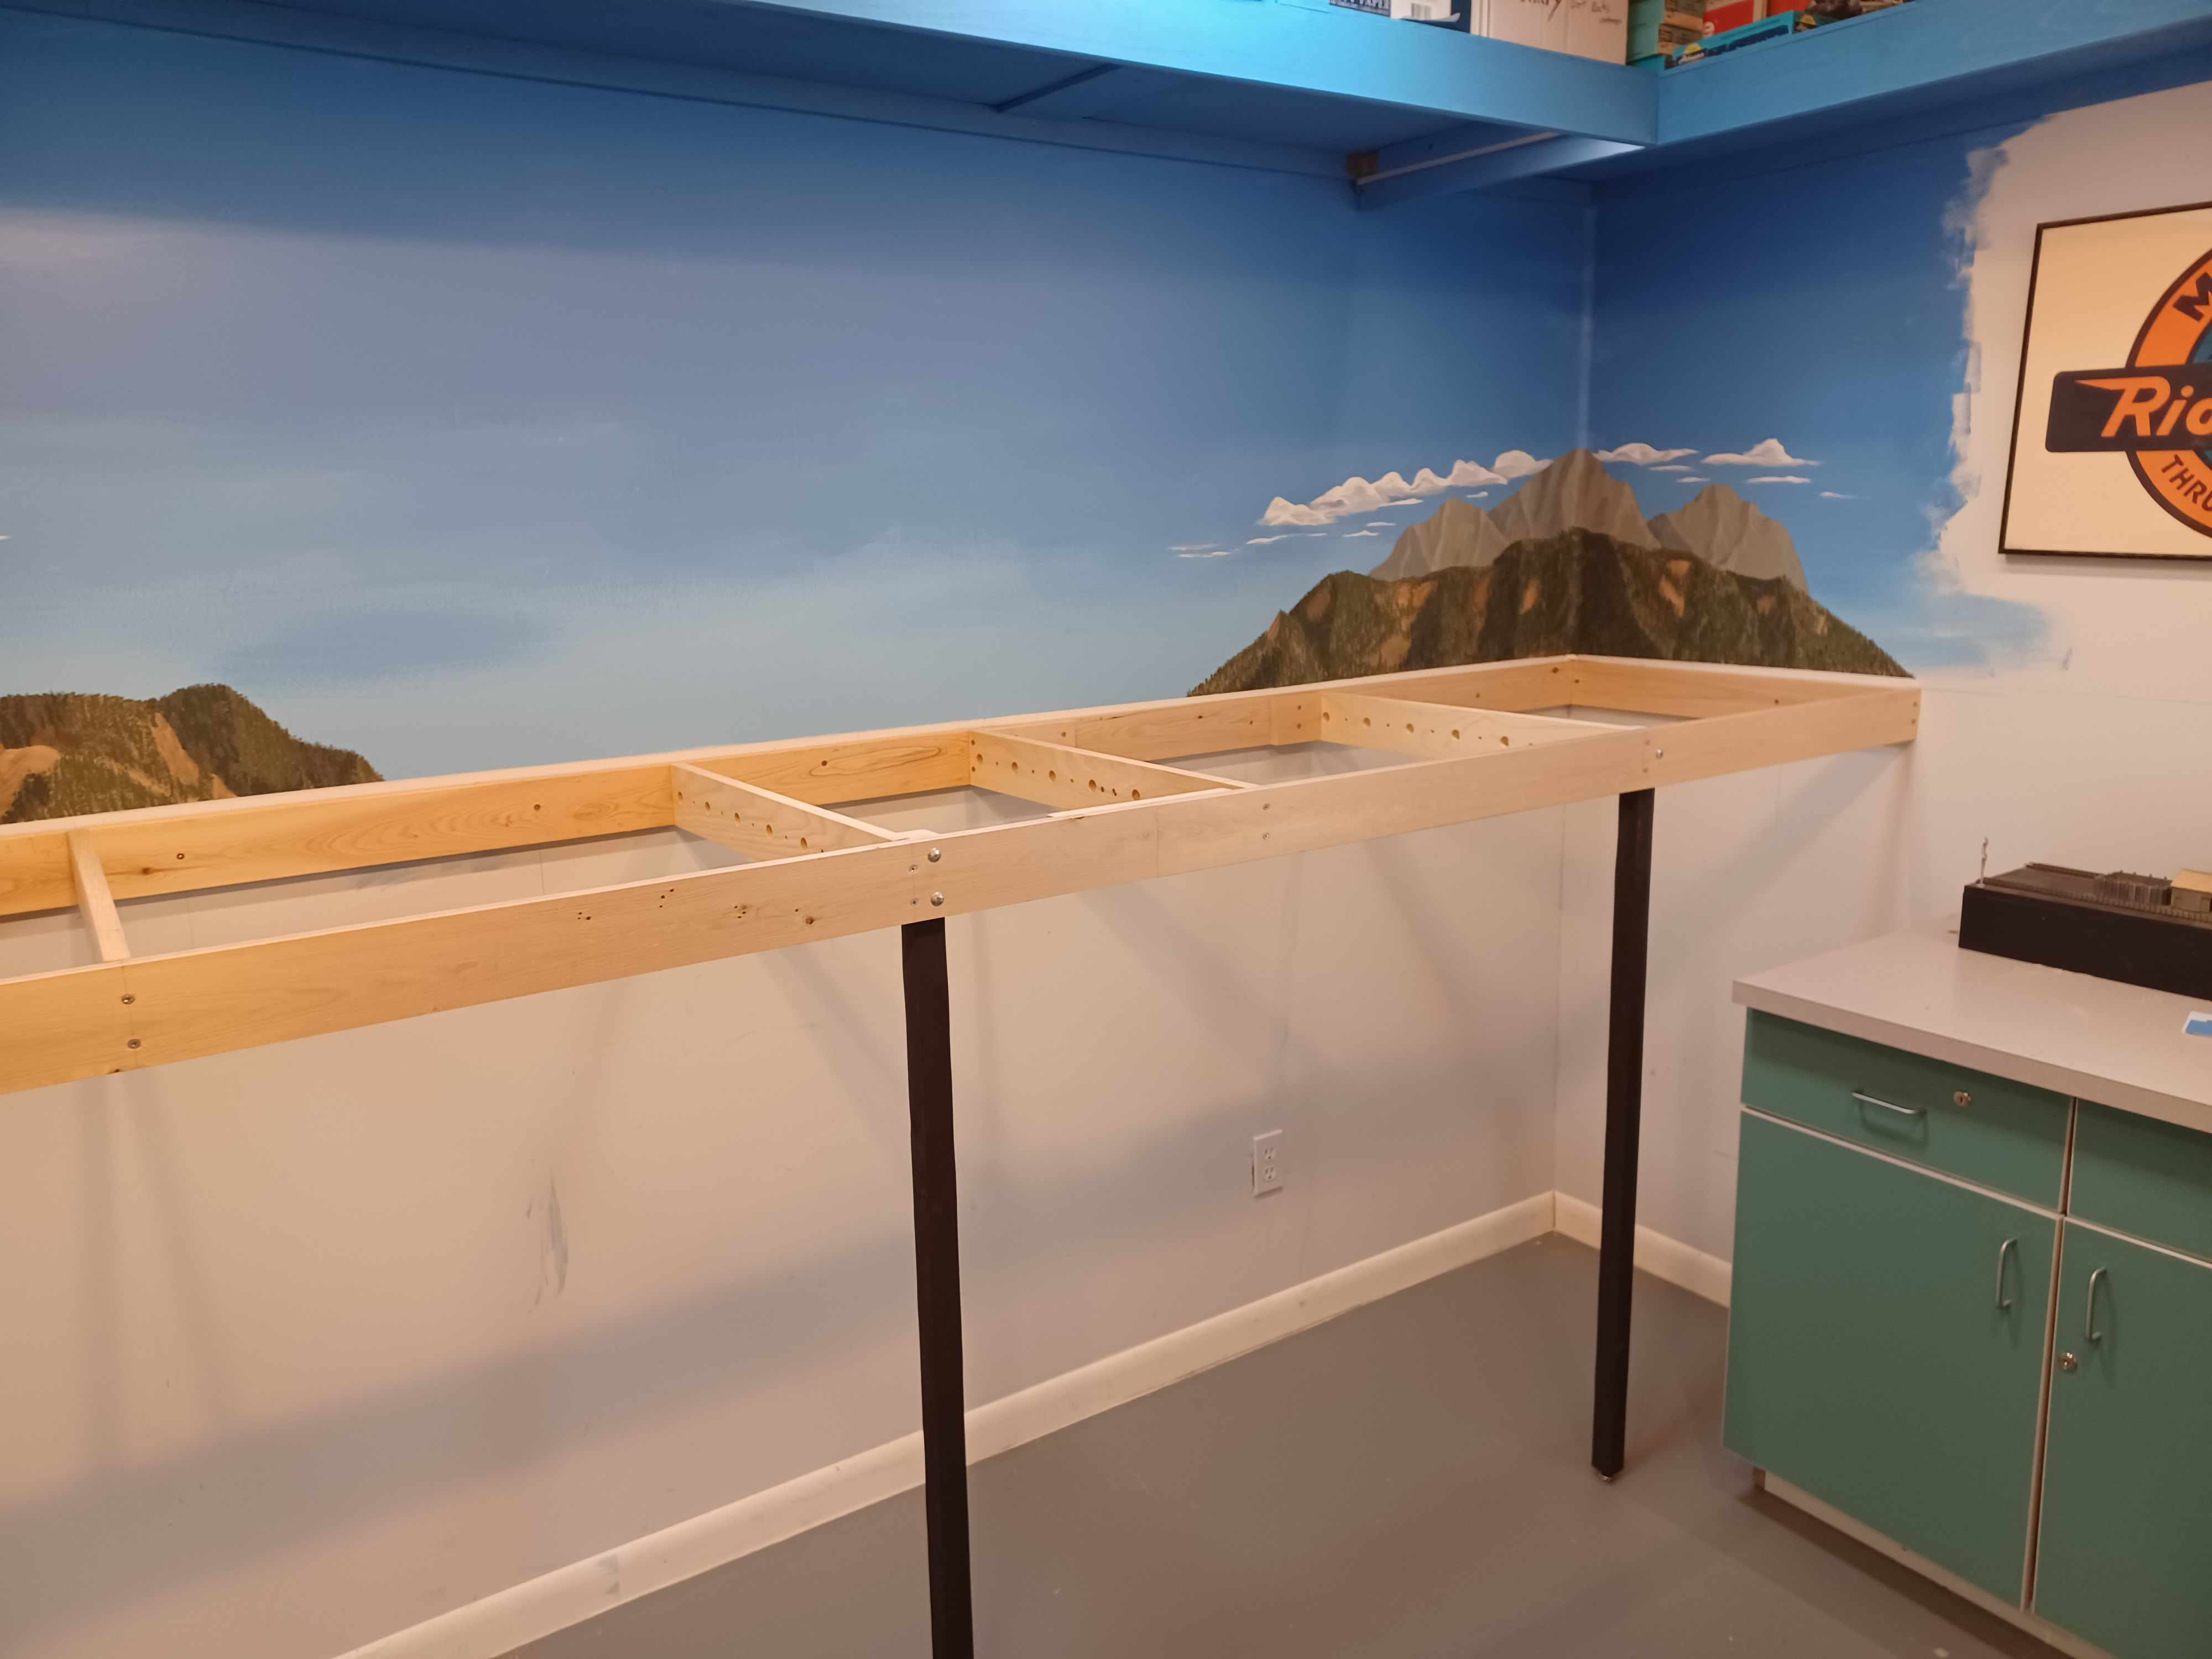
The legs for the benchwork are made from ripped 2x4s to make reasonably straight 2x2s. Cut to length taking into account the adjustable feet. They were painted flat black (Glidden, Dark Sky, RM 250 B3, Flat).
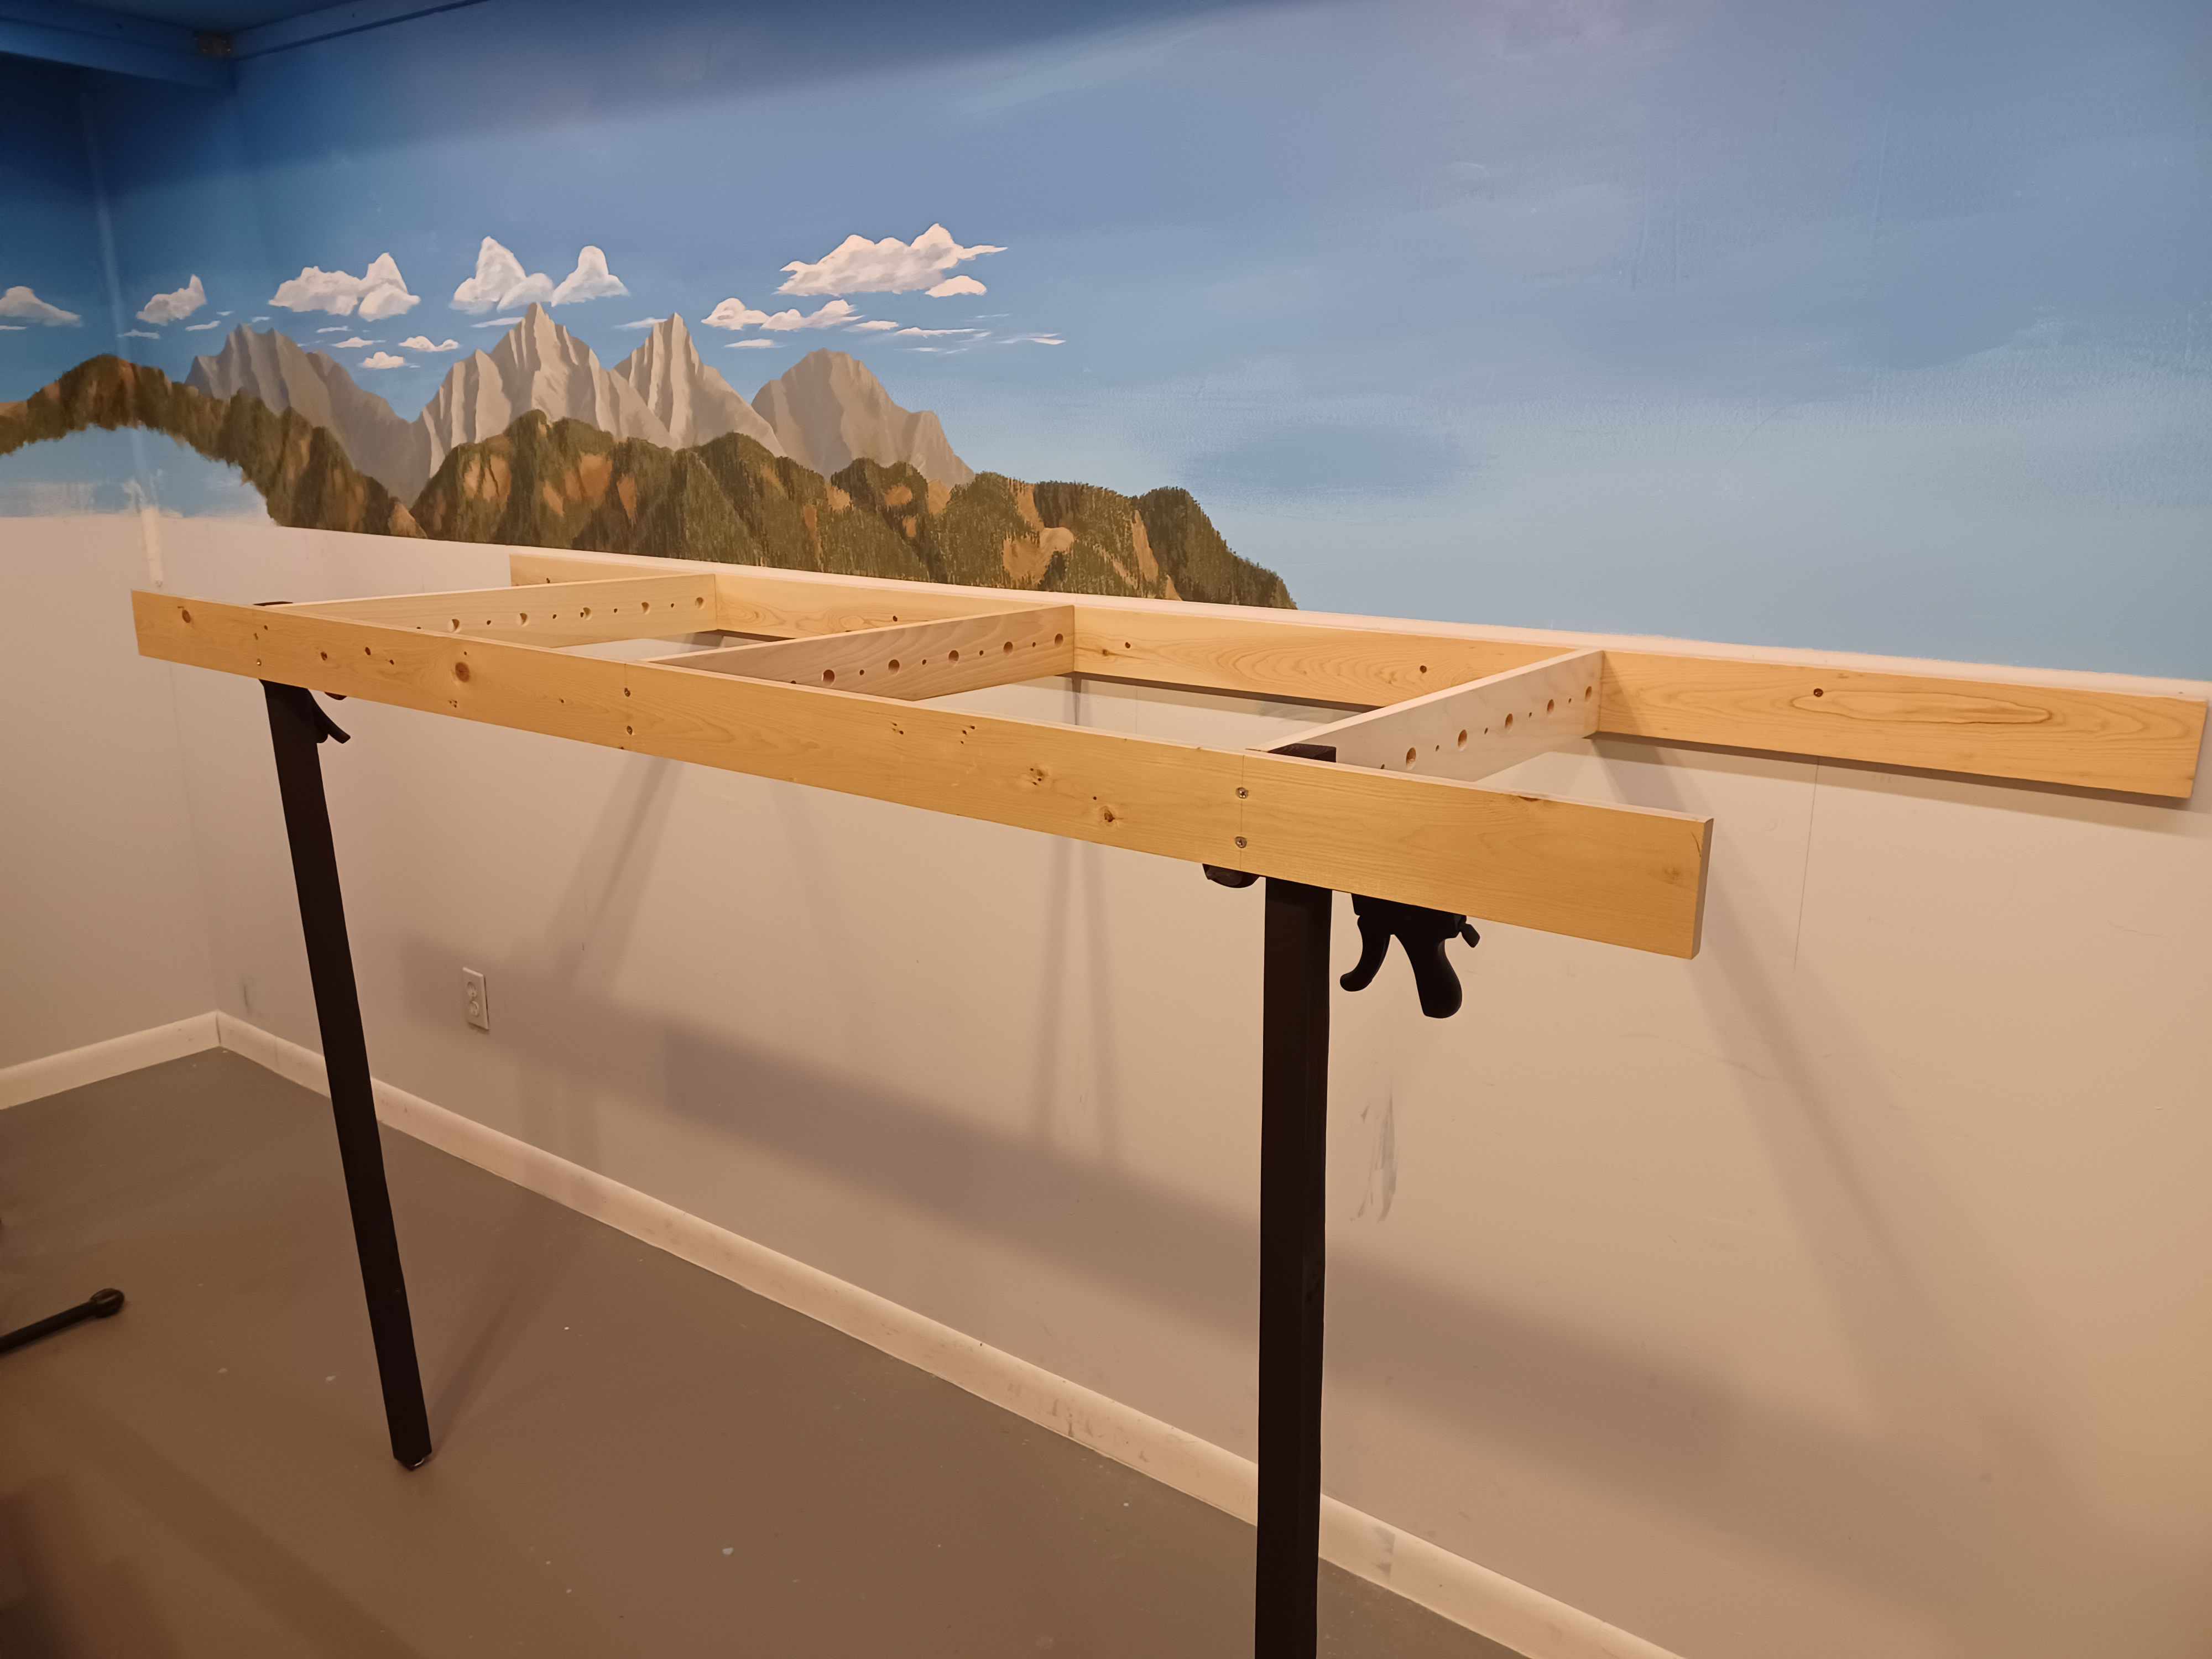
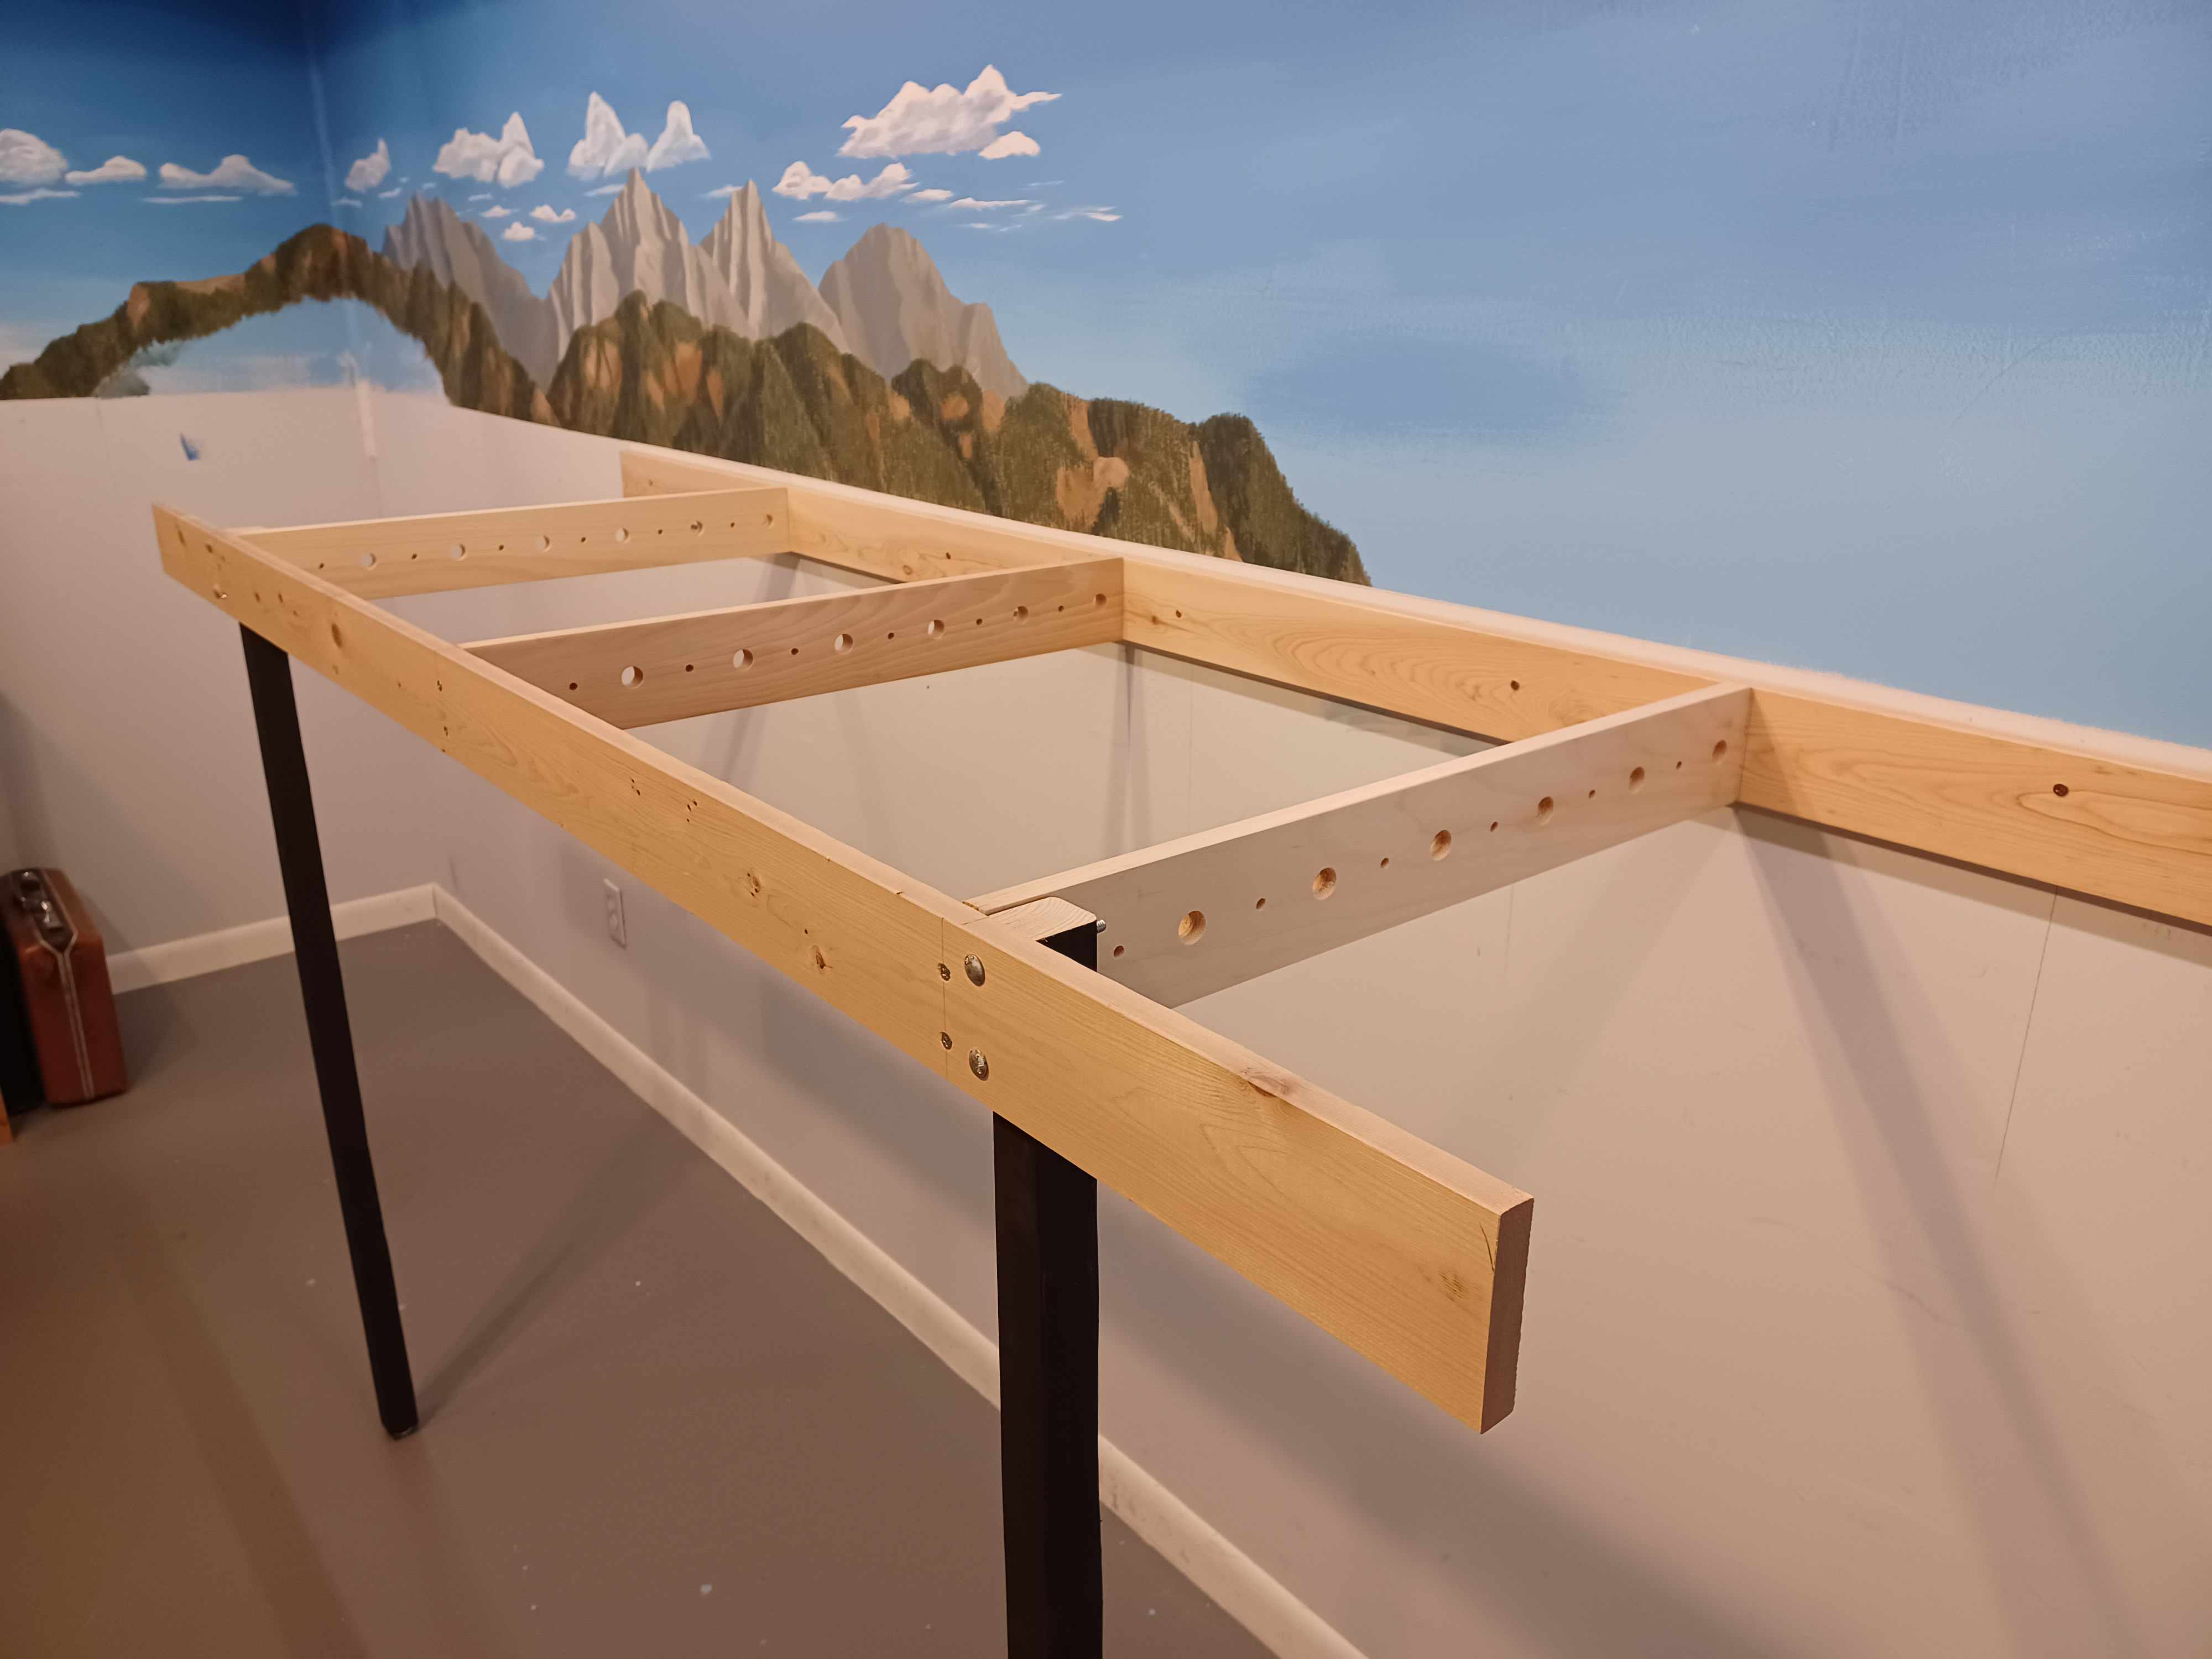
One of the neat things about being involved with the NMRA is all the people you meet. Several years ago one of our group was moving out of the area. He ended up giving me a box of Sievers bench work. Great quality lumber already pre drilled for wiring. I’m using it for all the cross members after cutting to length.
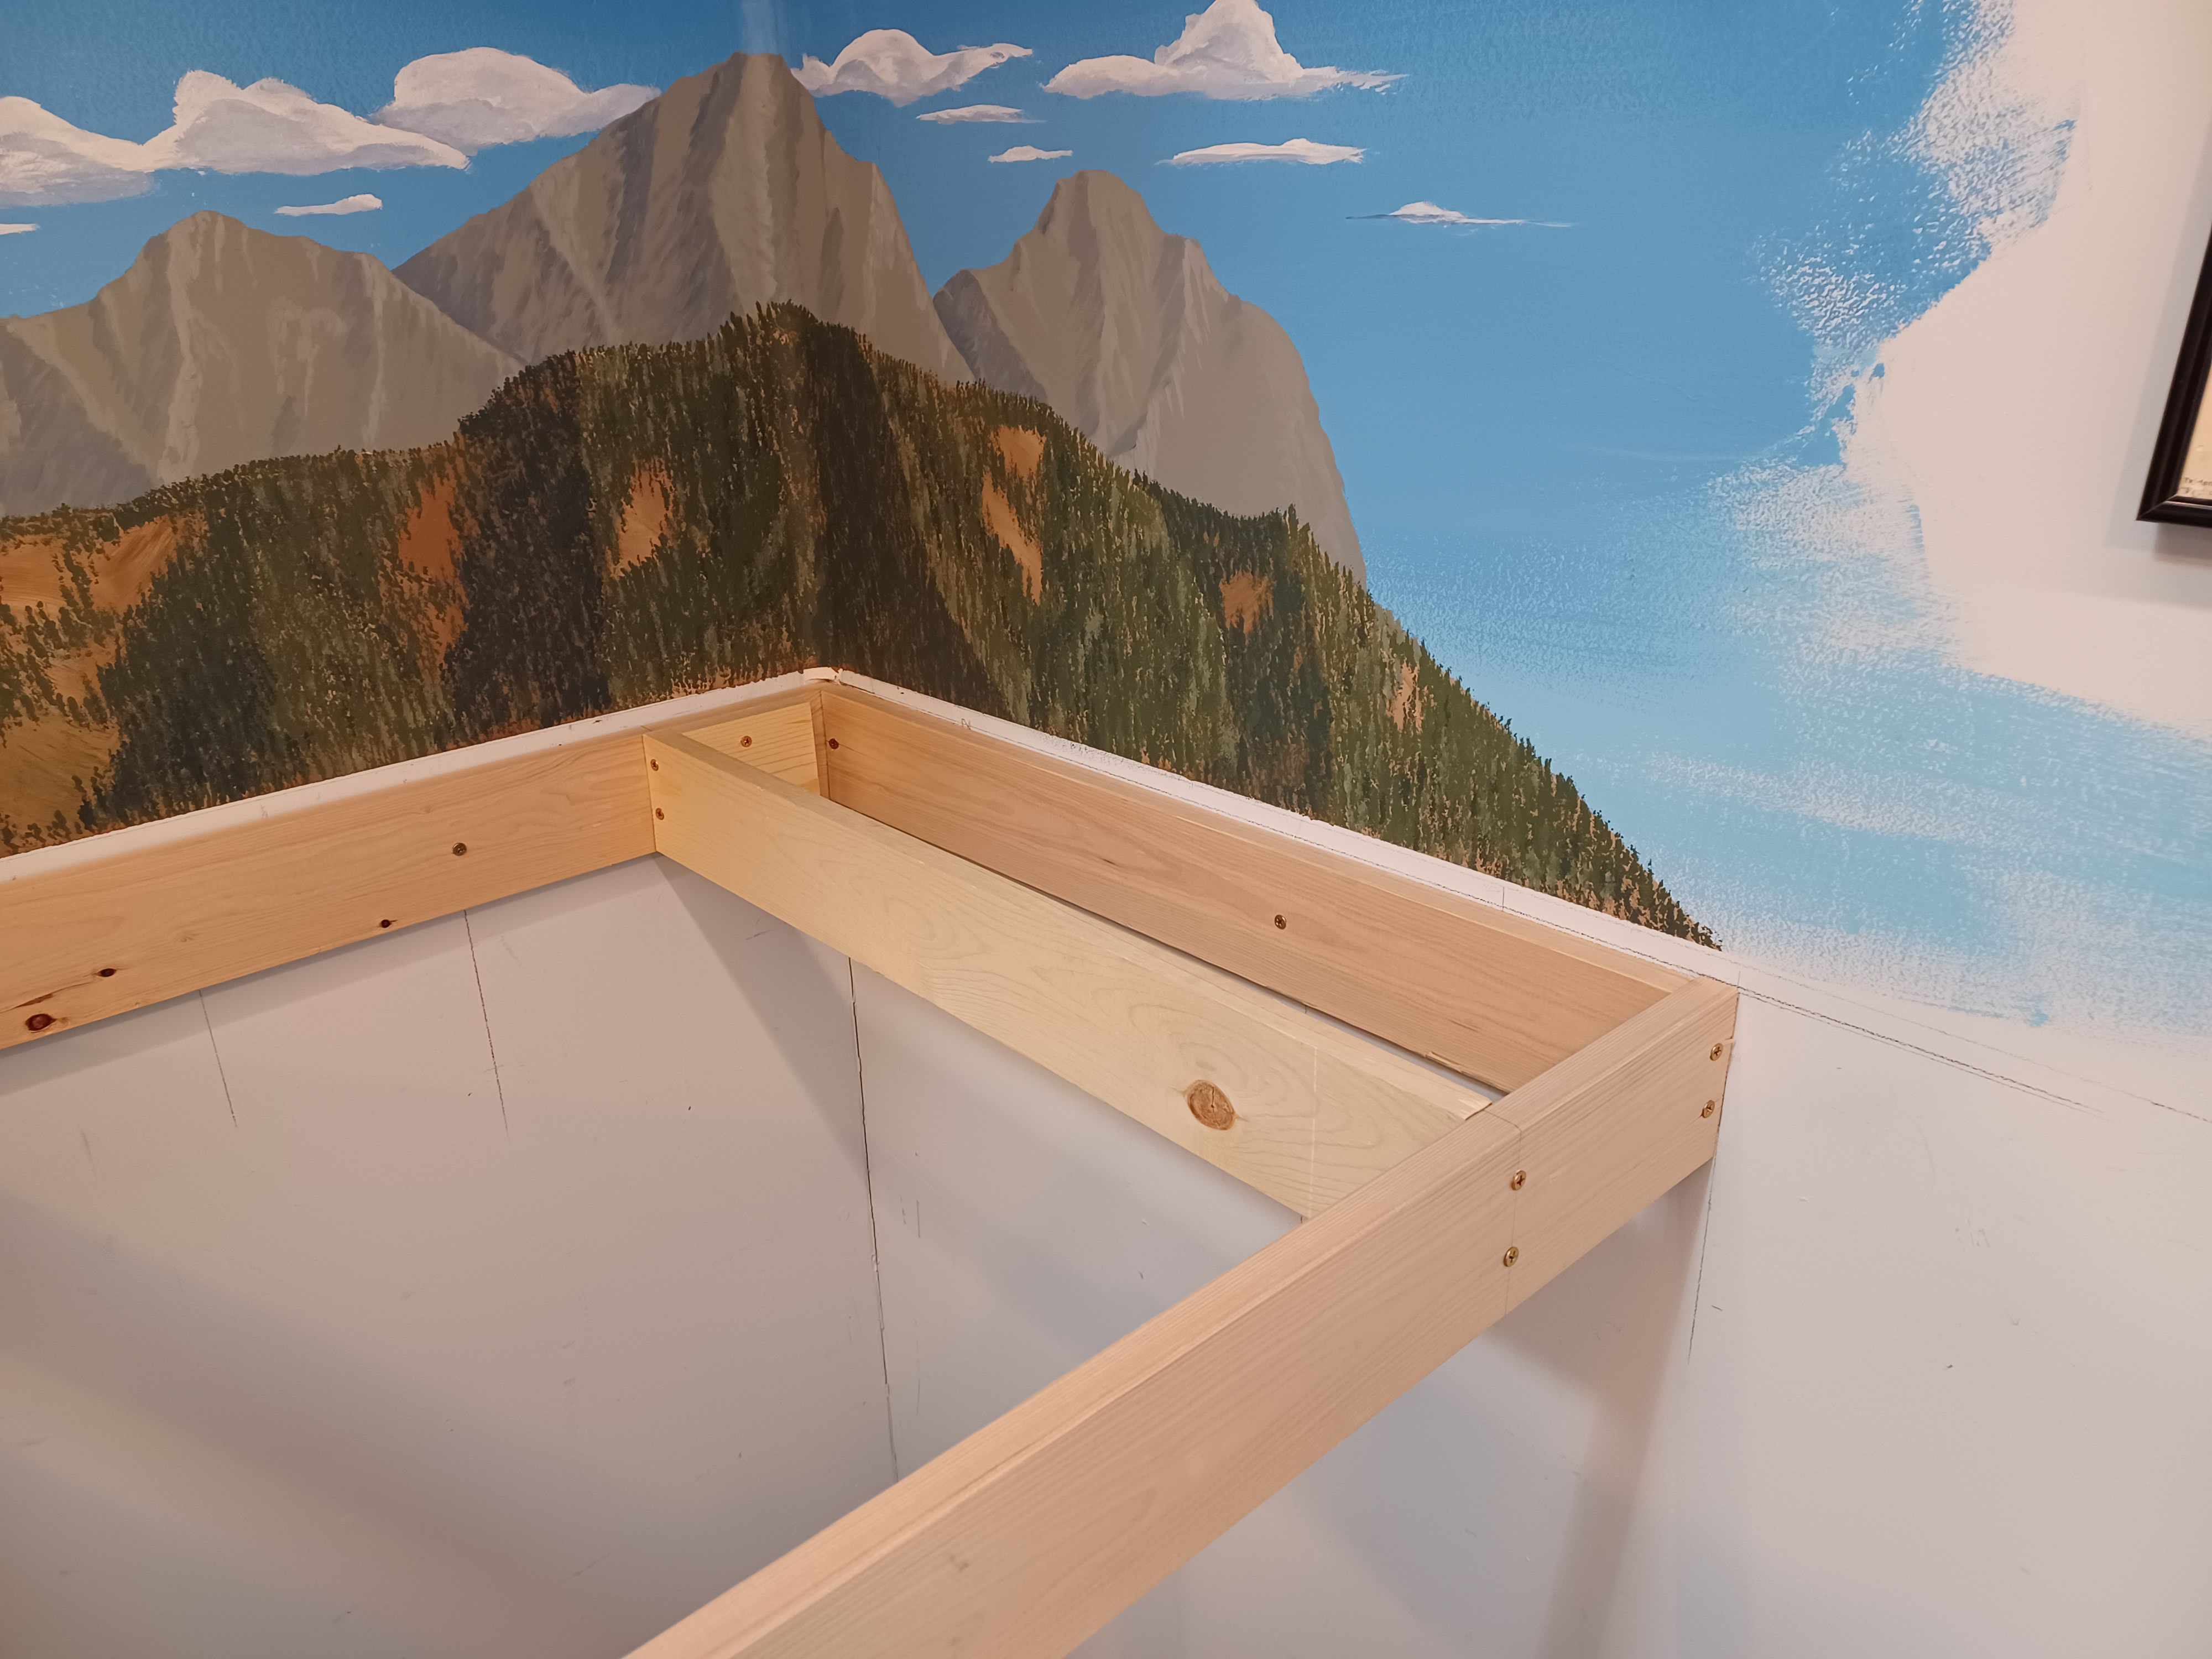
For this first middle section I pre-assembled the cross members. Using clamps and legs, I centered and levelled the section along the wall and screwed the rear stringer to the studs. Here it is before final drilling of the leg bolts.
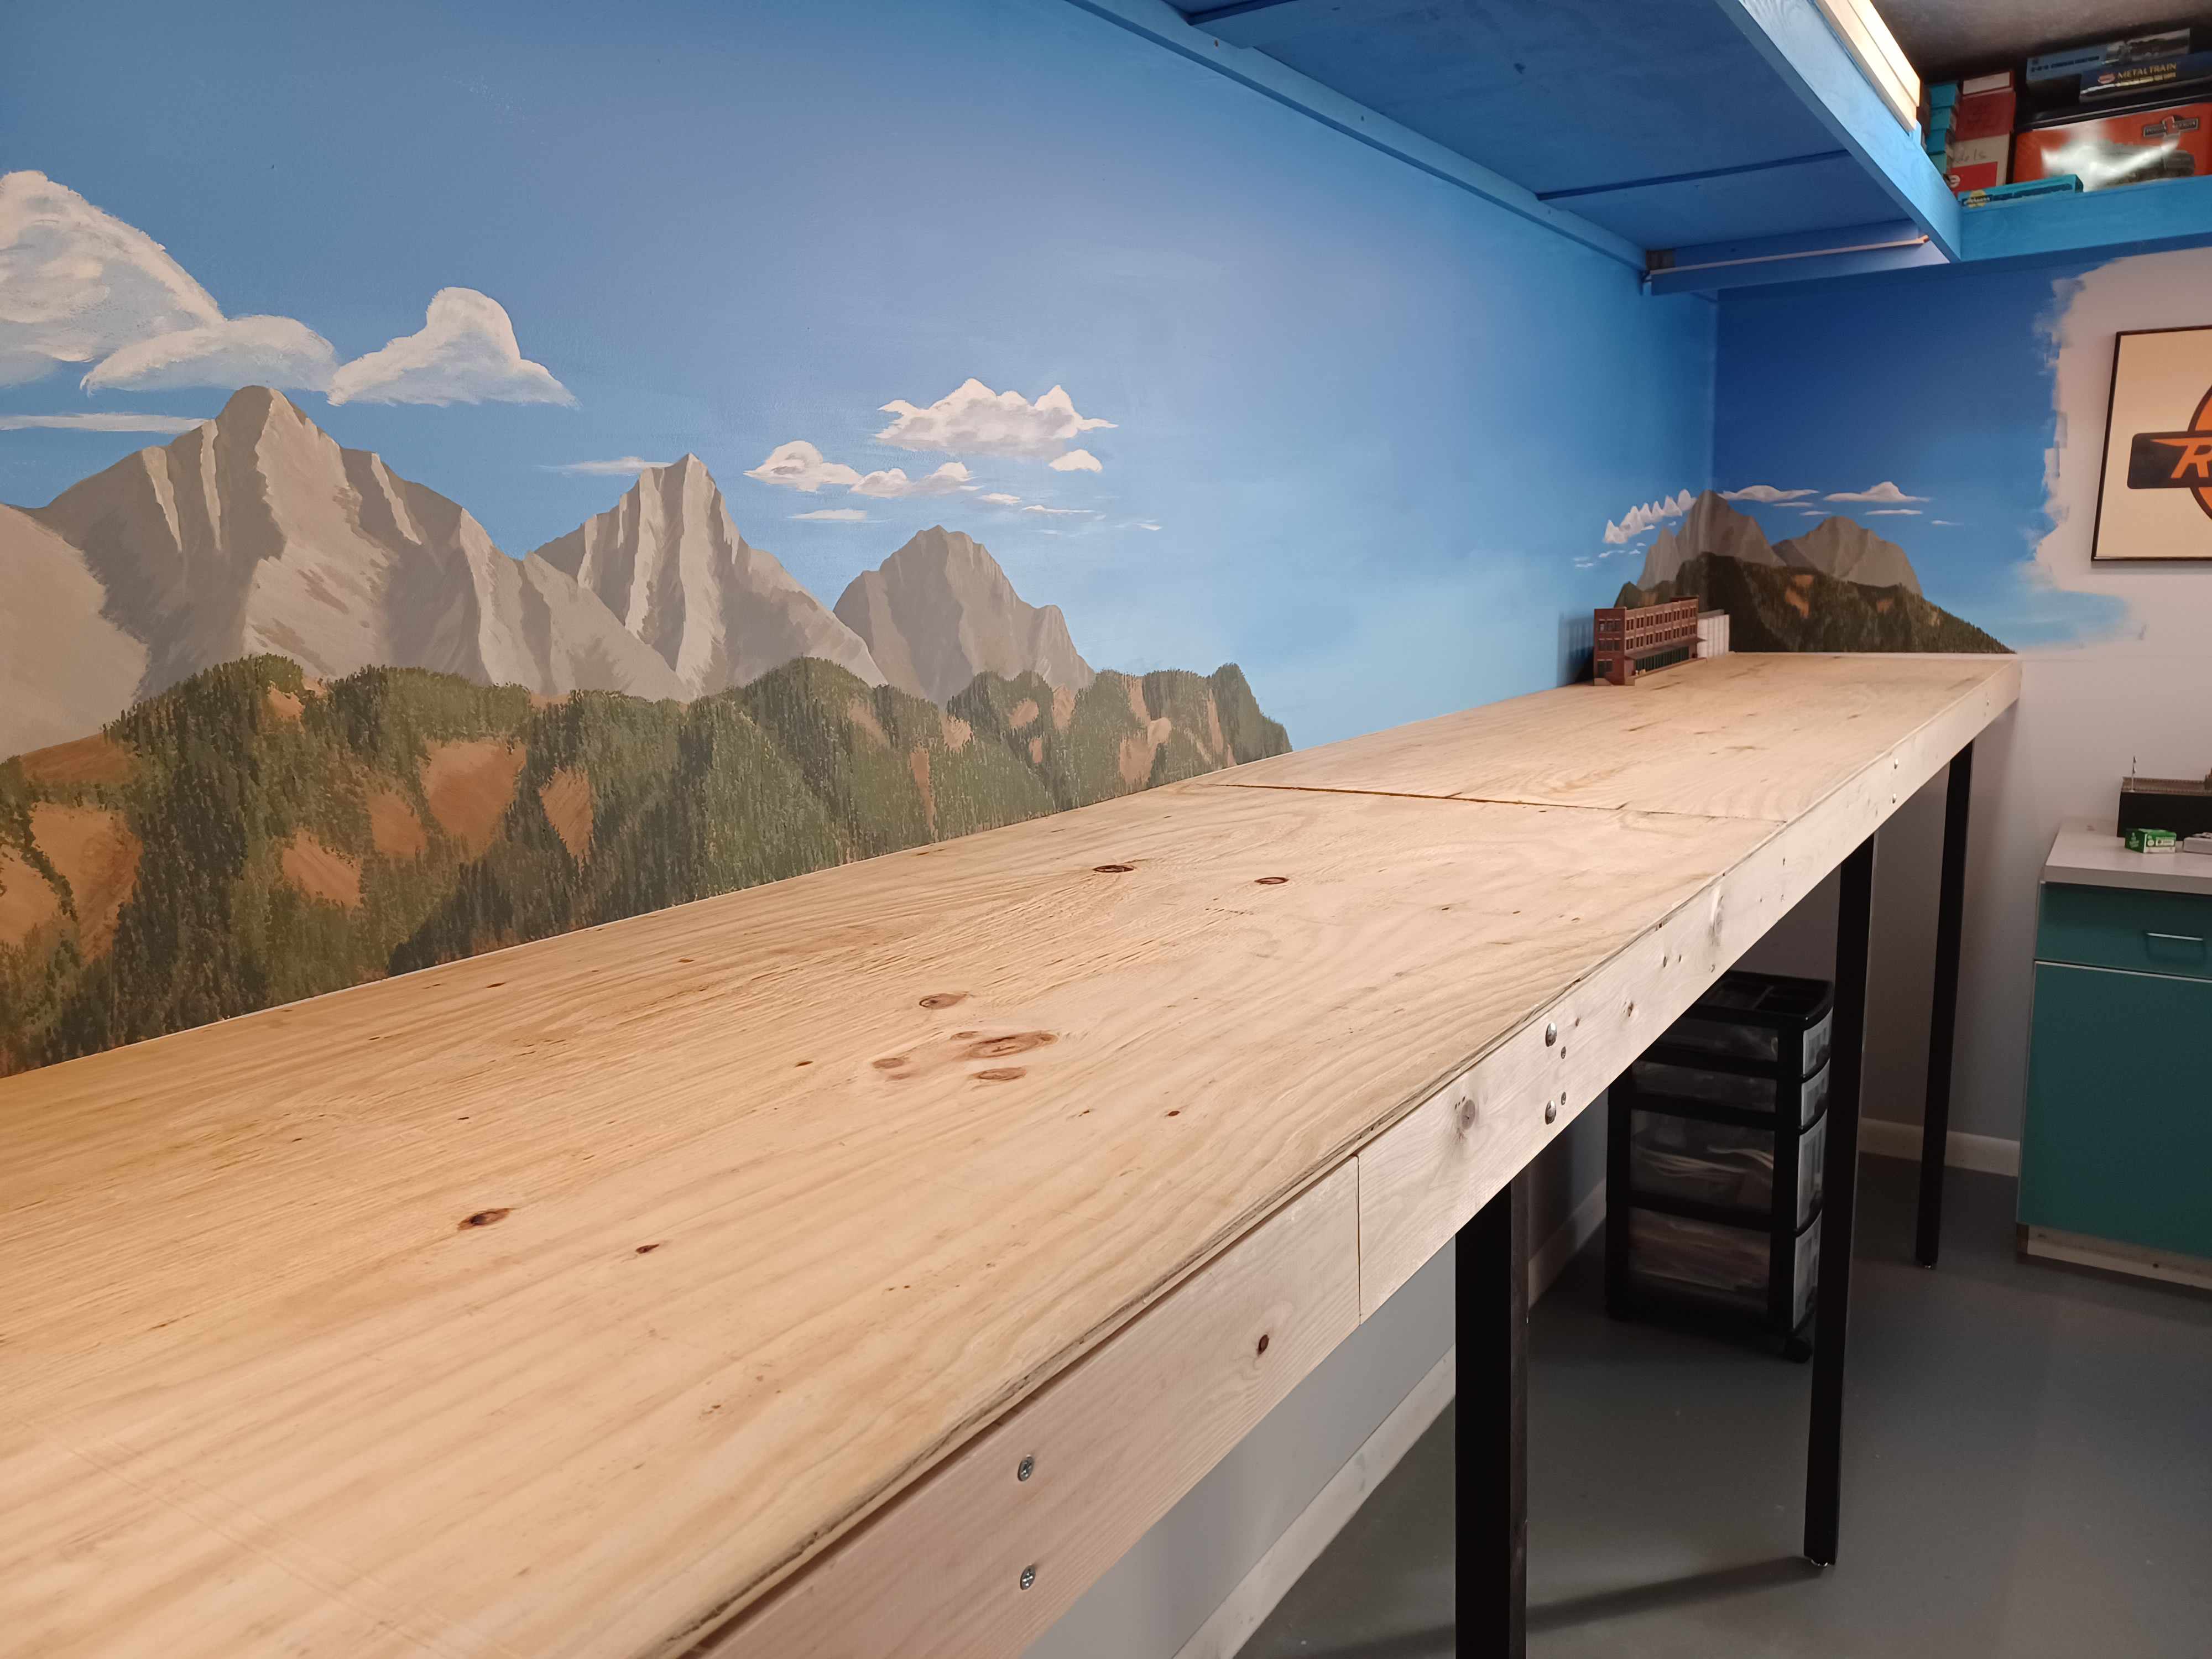
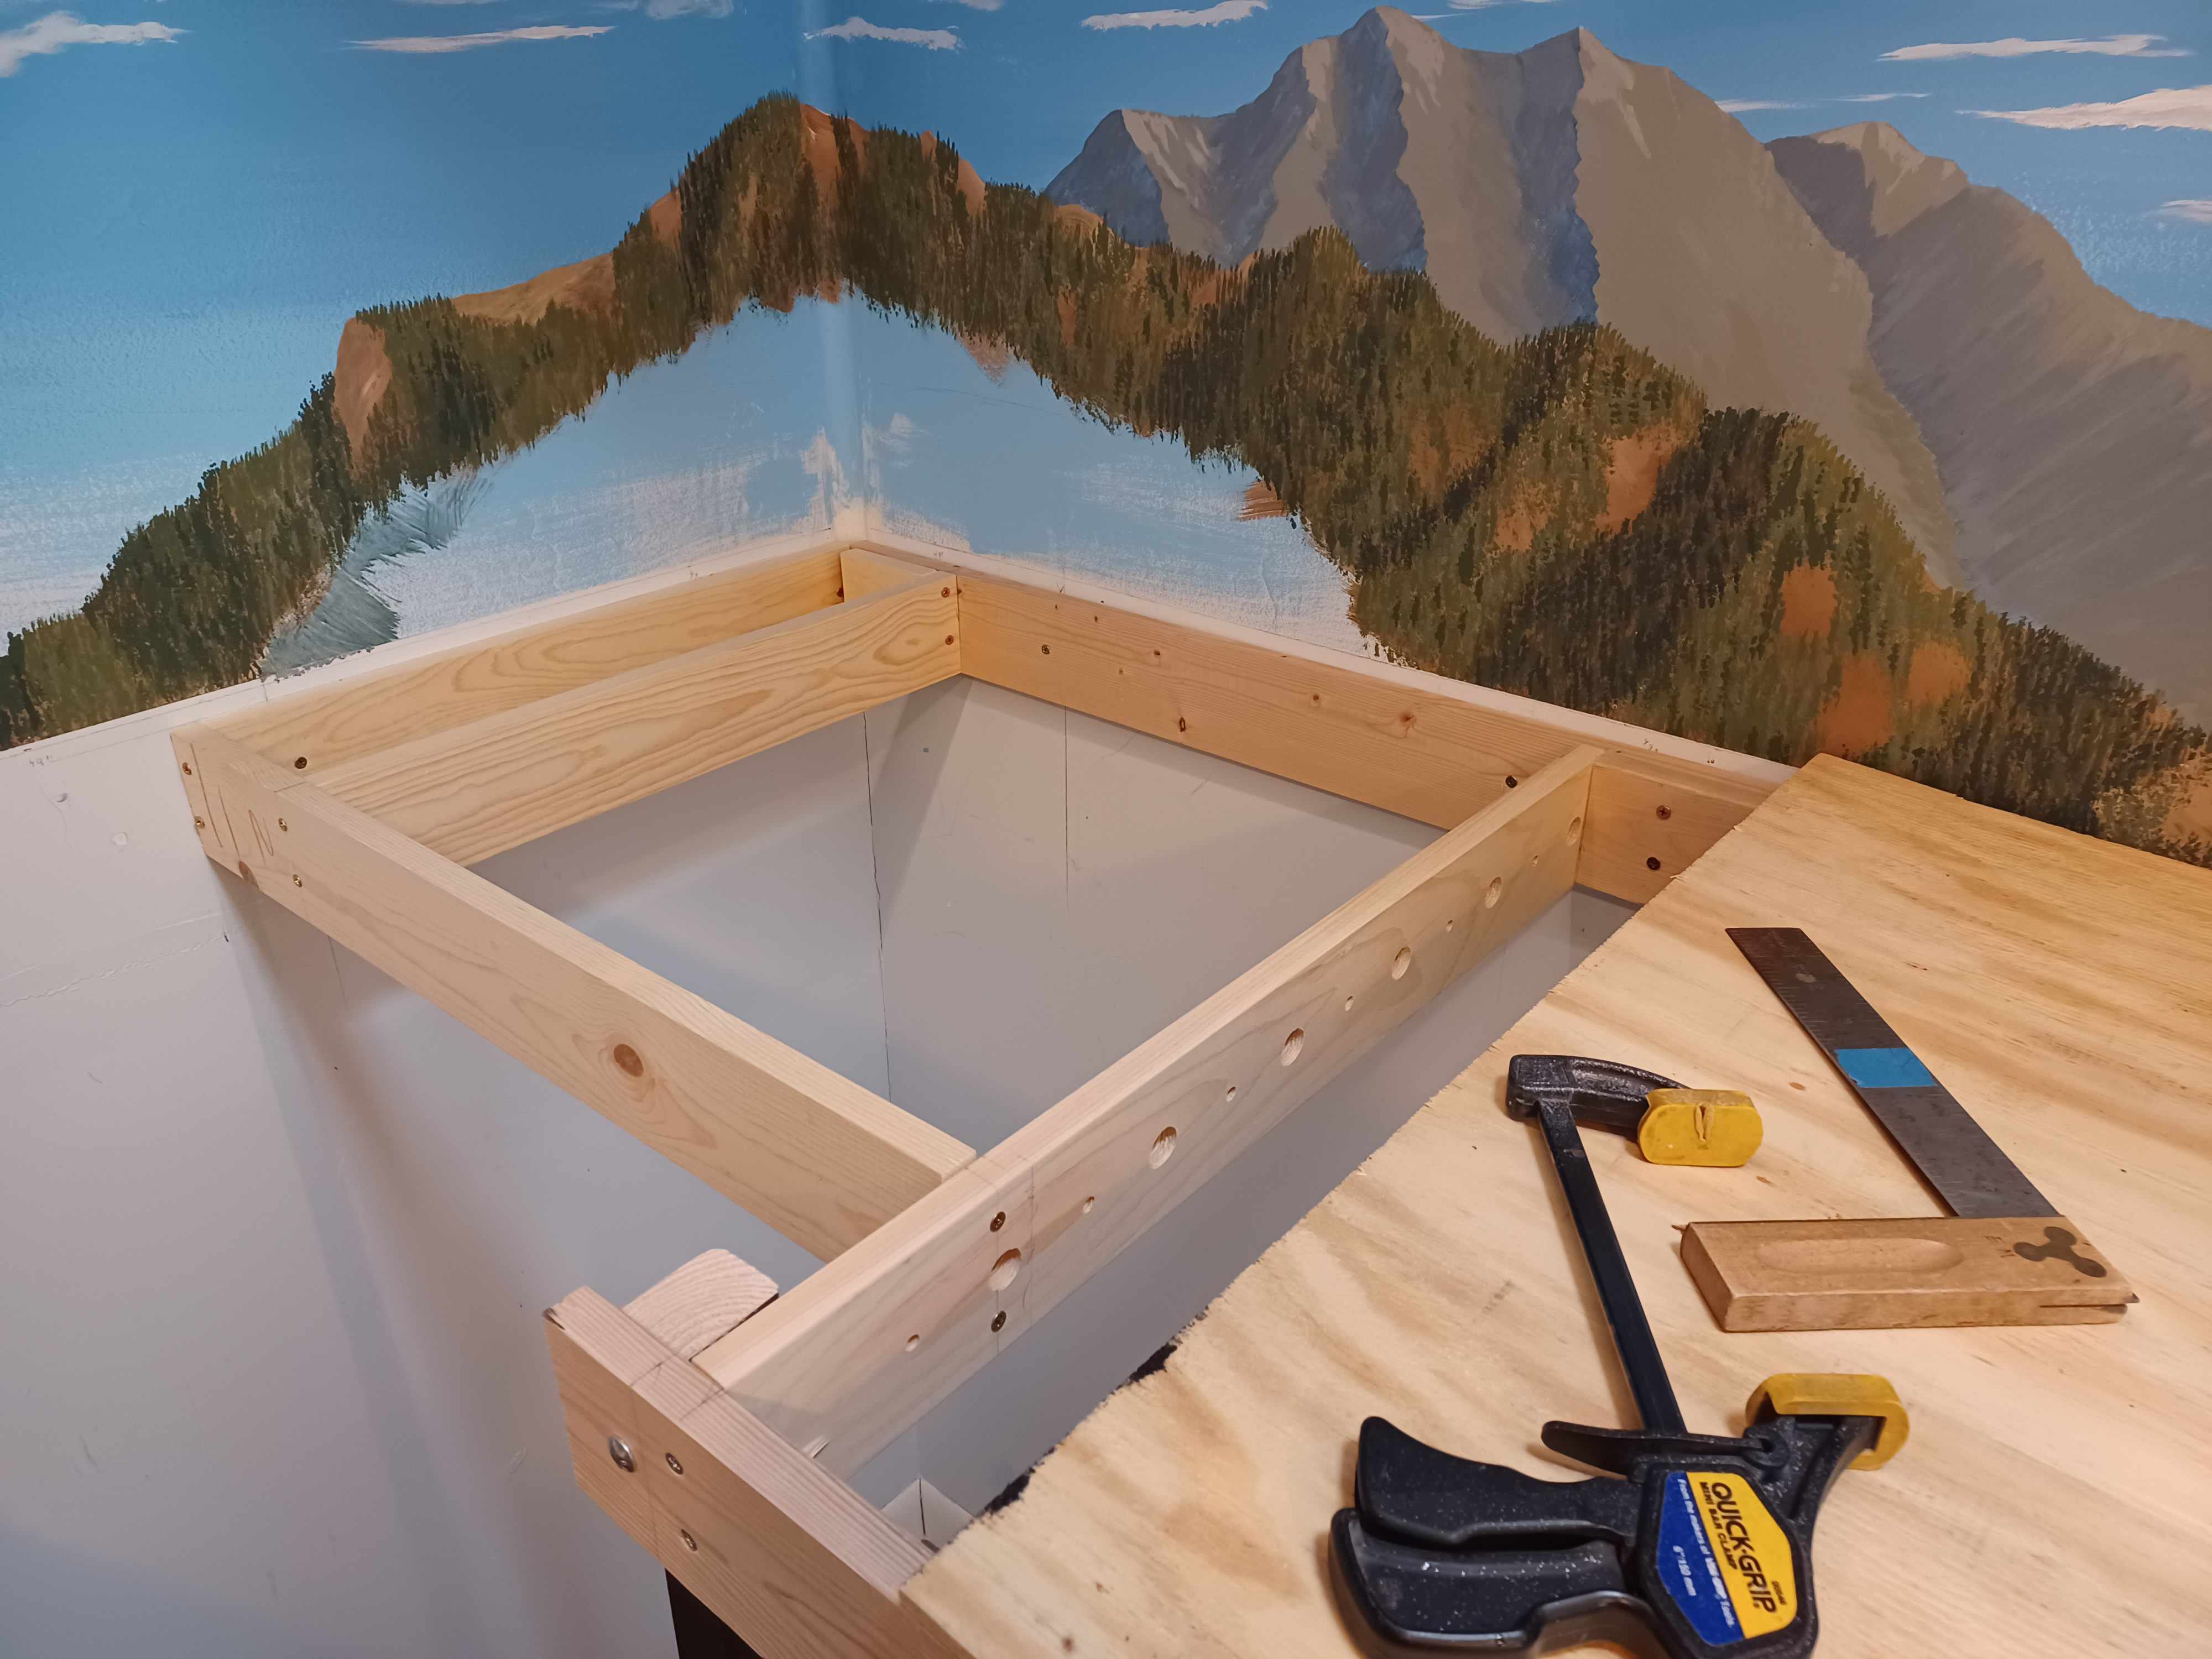
The remaining structure was made by first screwing the rear 1x4 to the studs. Then assembling the cross members and front stringers using blocks. The jog on the left is for the scenery that will go below grade.
I made each 8’ x 2’-4” x 7/16” plywood section break right down the center. That left about 6” at each end that needed a cross brace and a short section of plywood.