You are making great prgress! Looking forward to seeing it all come together.
3 Likes
I’ll second that.
Rich
3 Likes
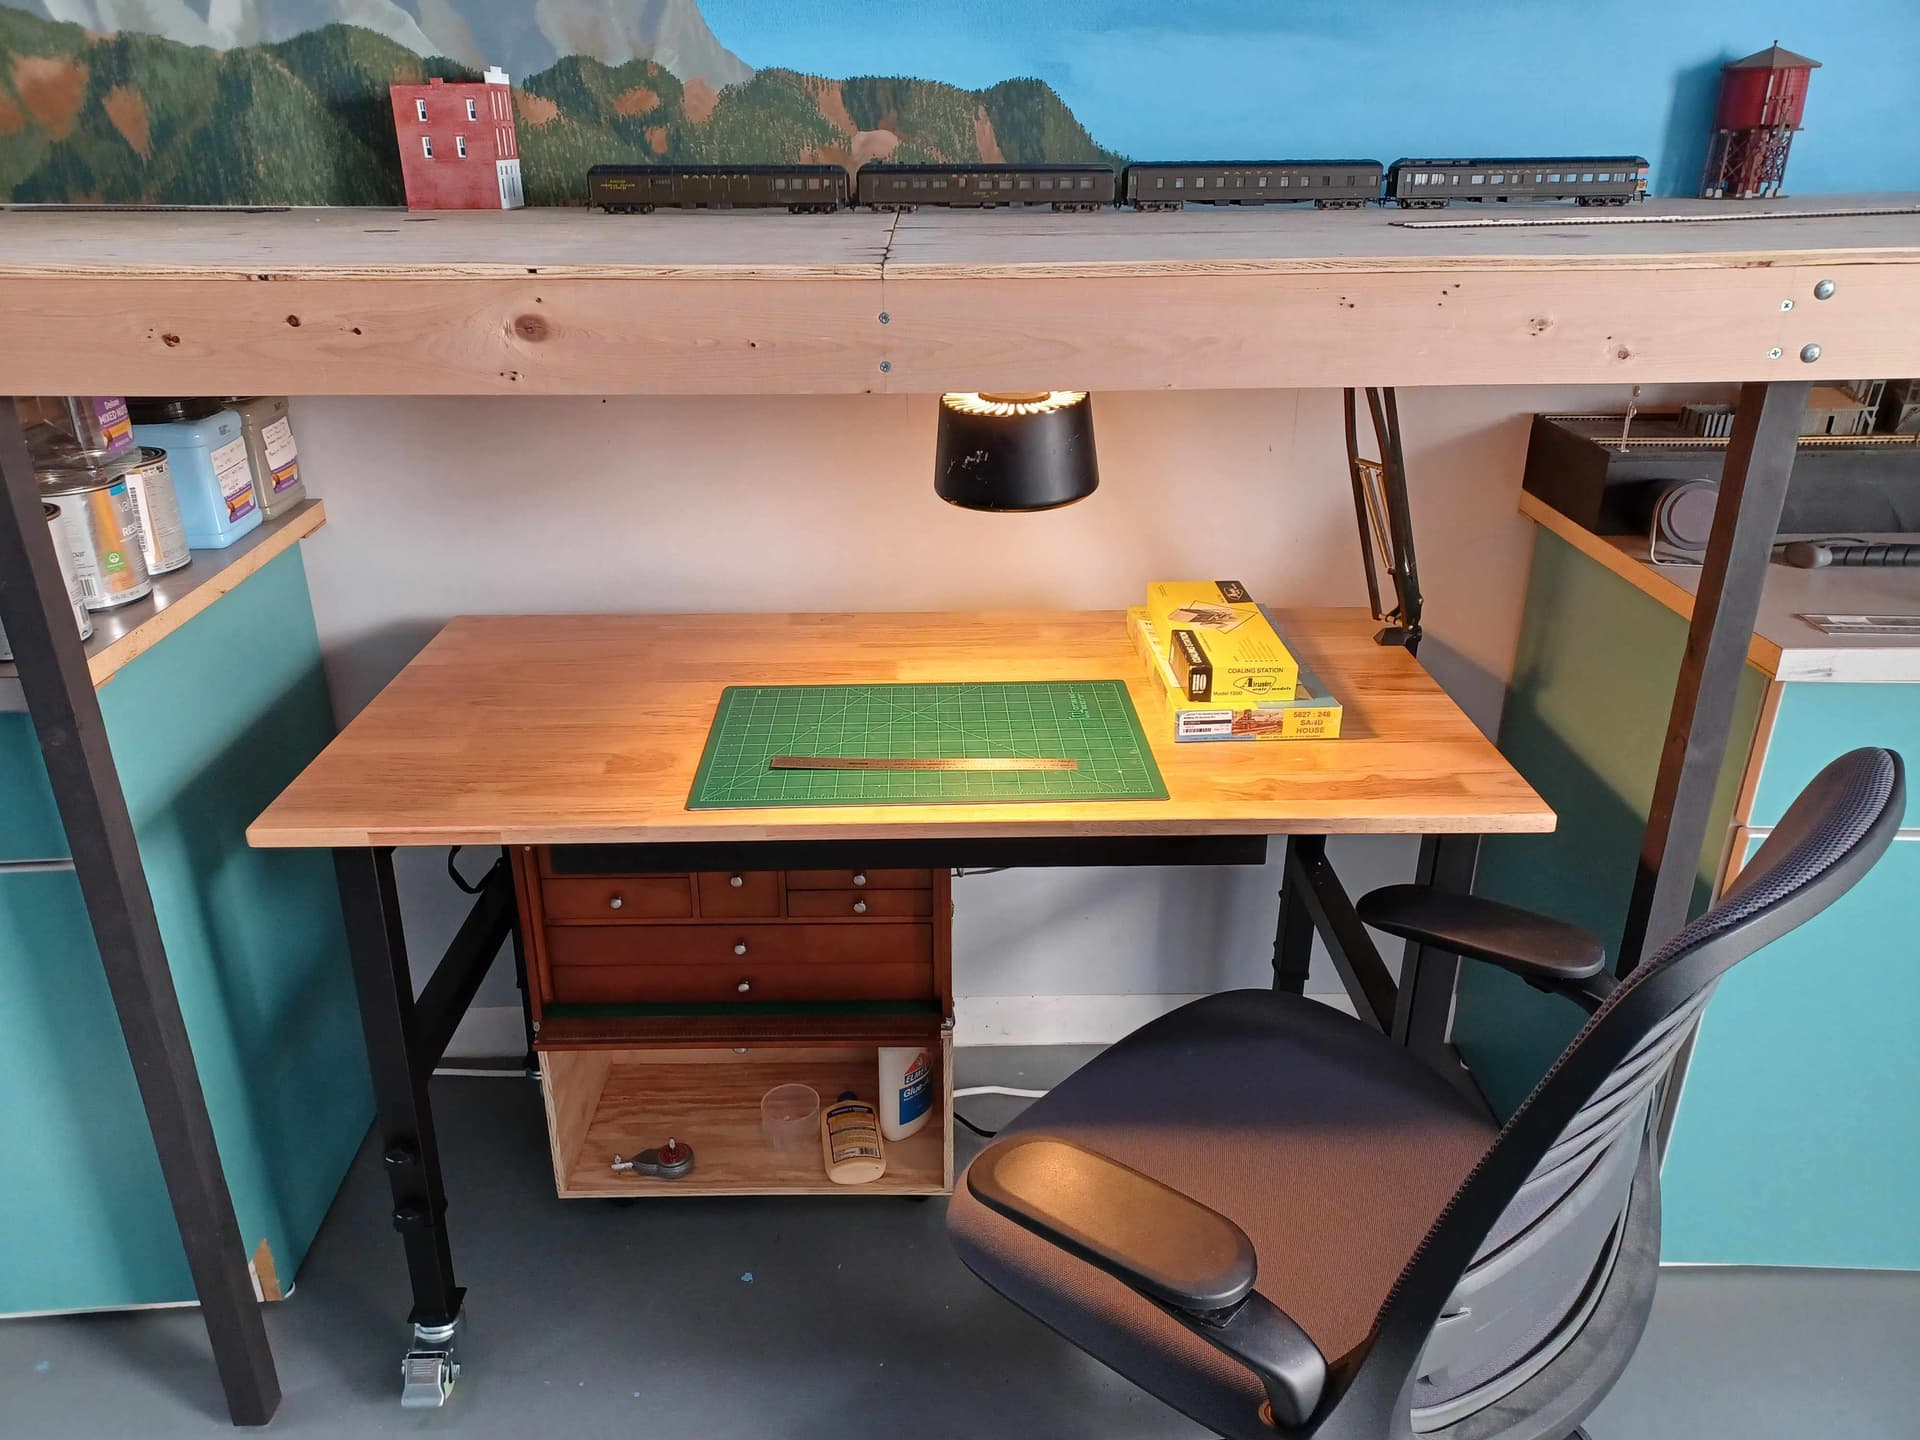
I disassembled my former workbench and attached plastic feet under the cabinets to make them more movable. I cut the countertop to fit atop each of them. I was going to build a custom work bench to fit under the benchwork, but I found this stout, adjustable worktable for a great price delivered to my door. It has a power strip built in with USB port and a center drawer. I can roll it wherever I want. However, my toolbox was taking up too much real estate on the tabletop, and it was difficult to access.
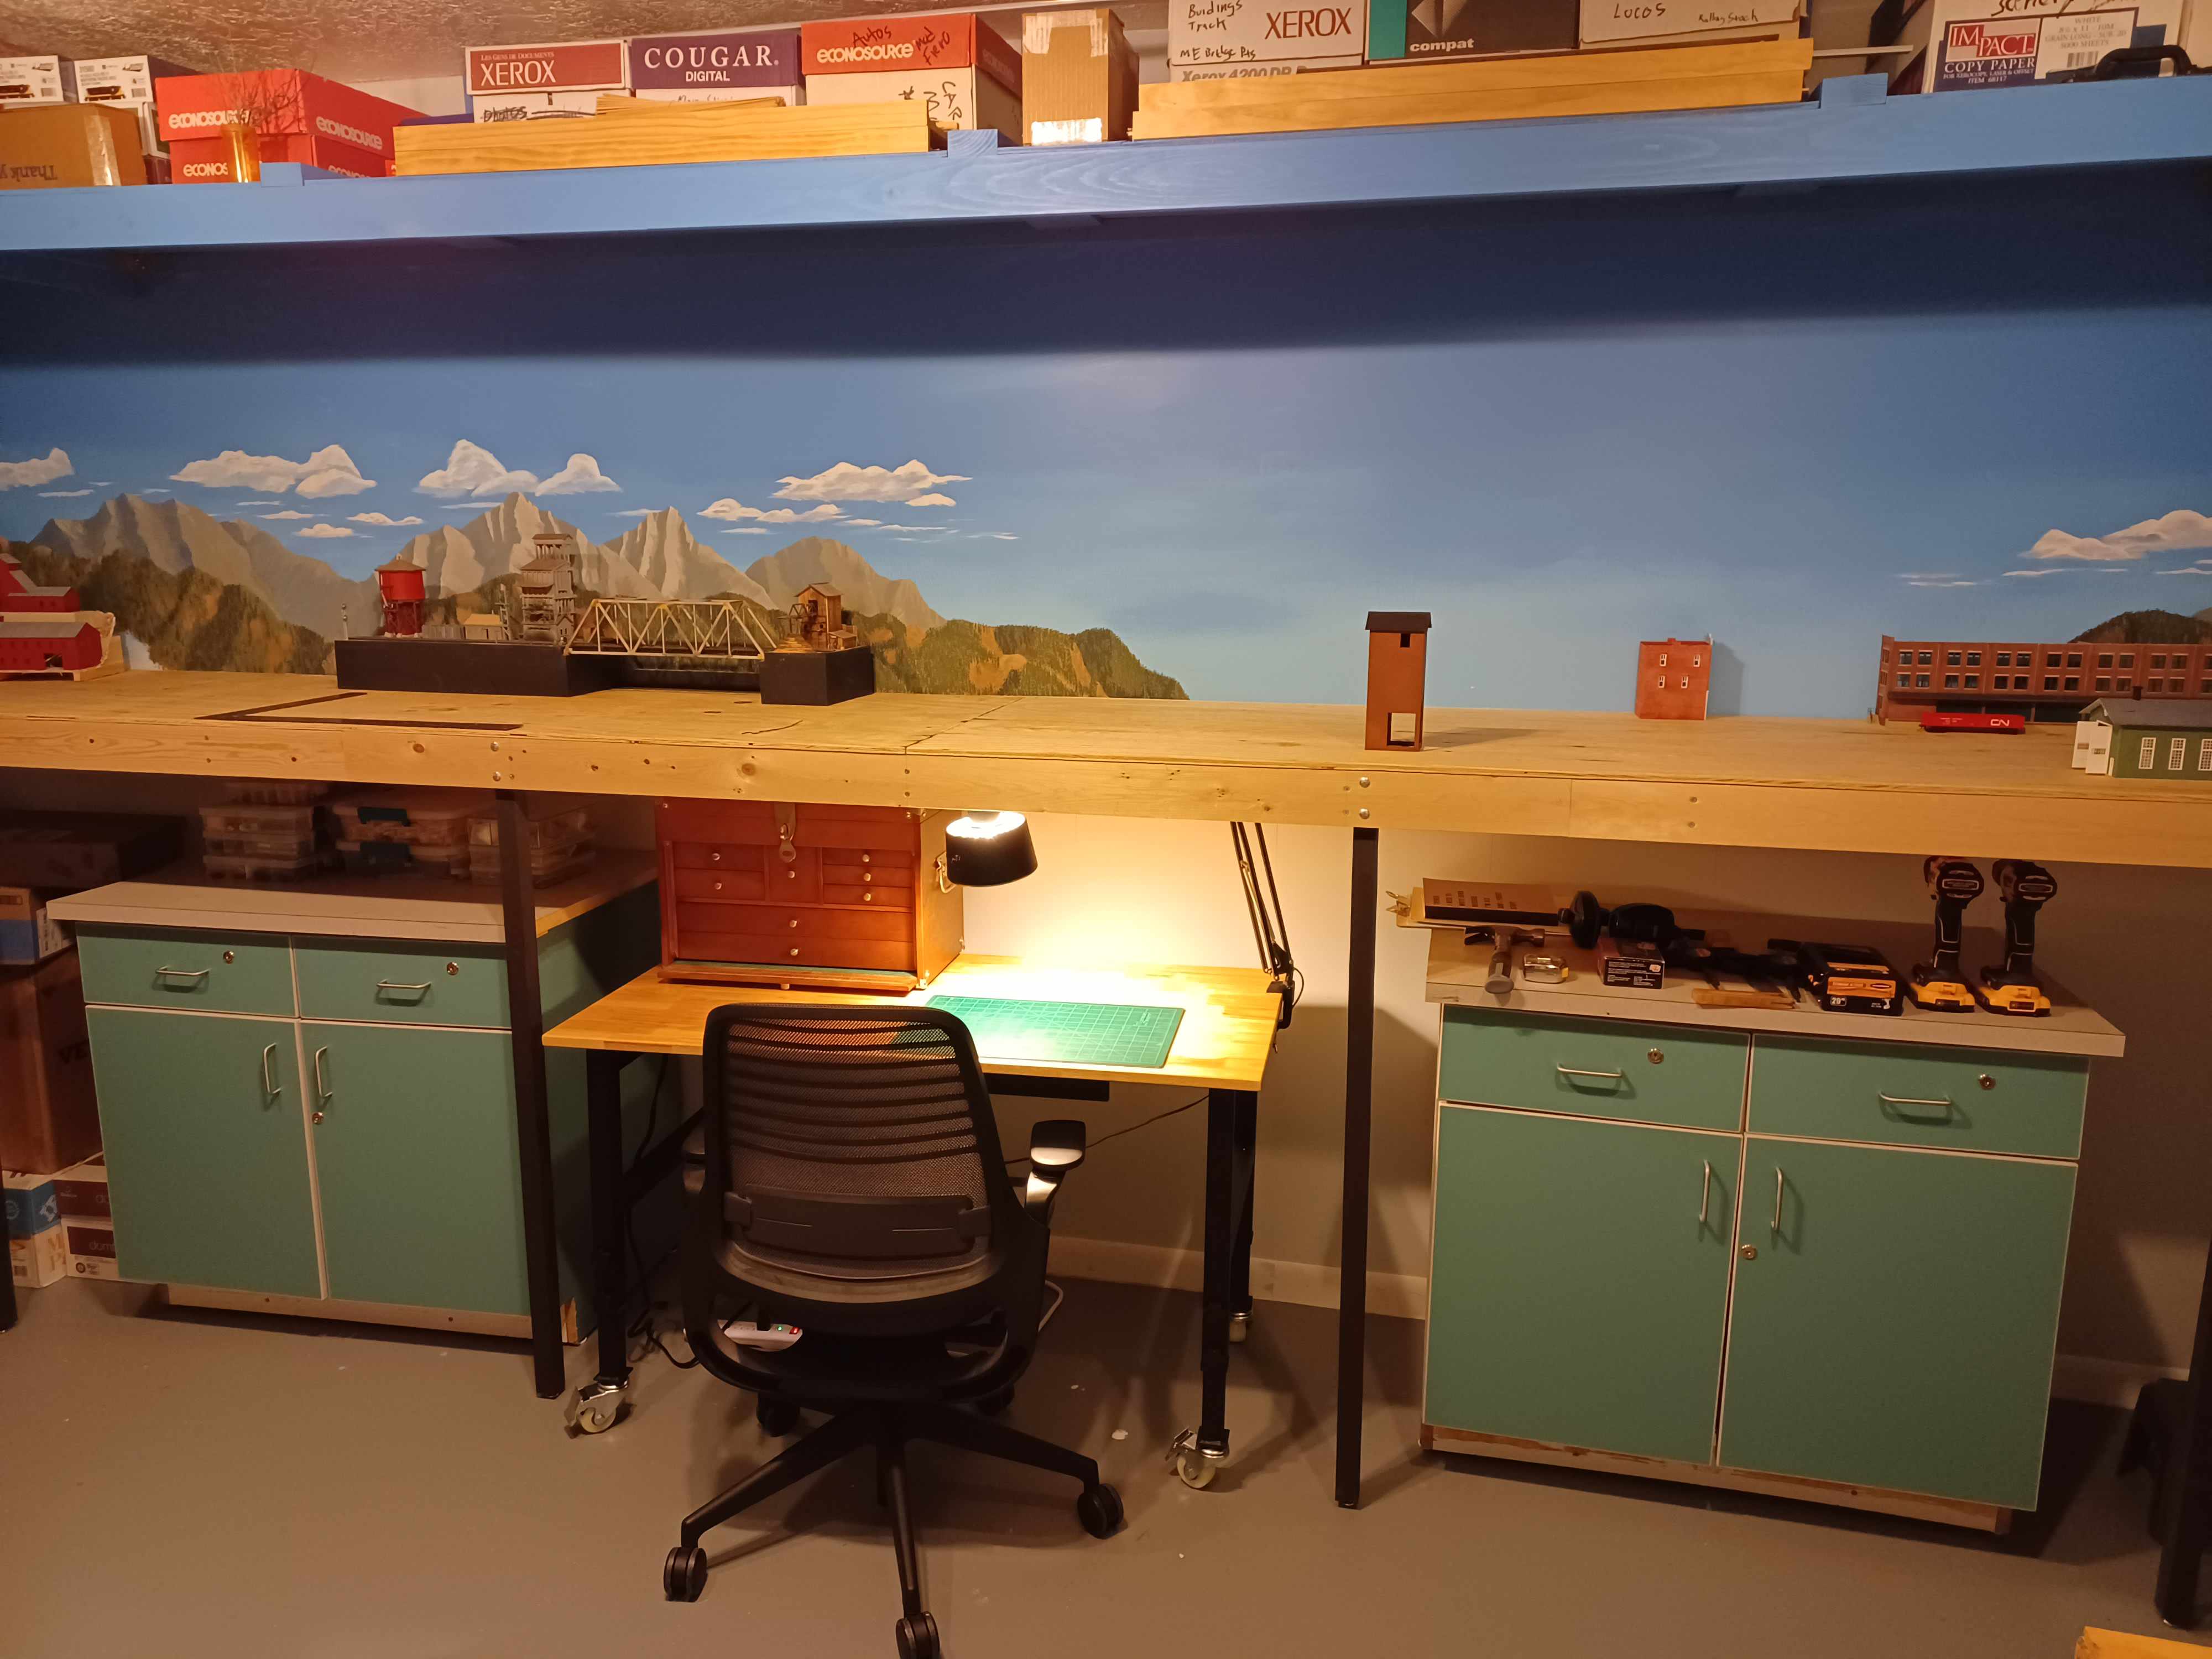
I have plenty of scrap lumber, so I carefully measured things and designed a roller base for the toolbox to fit under my table.
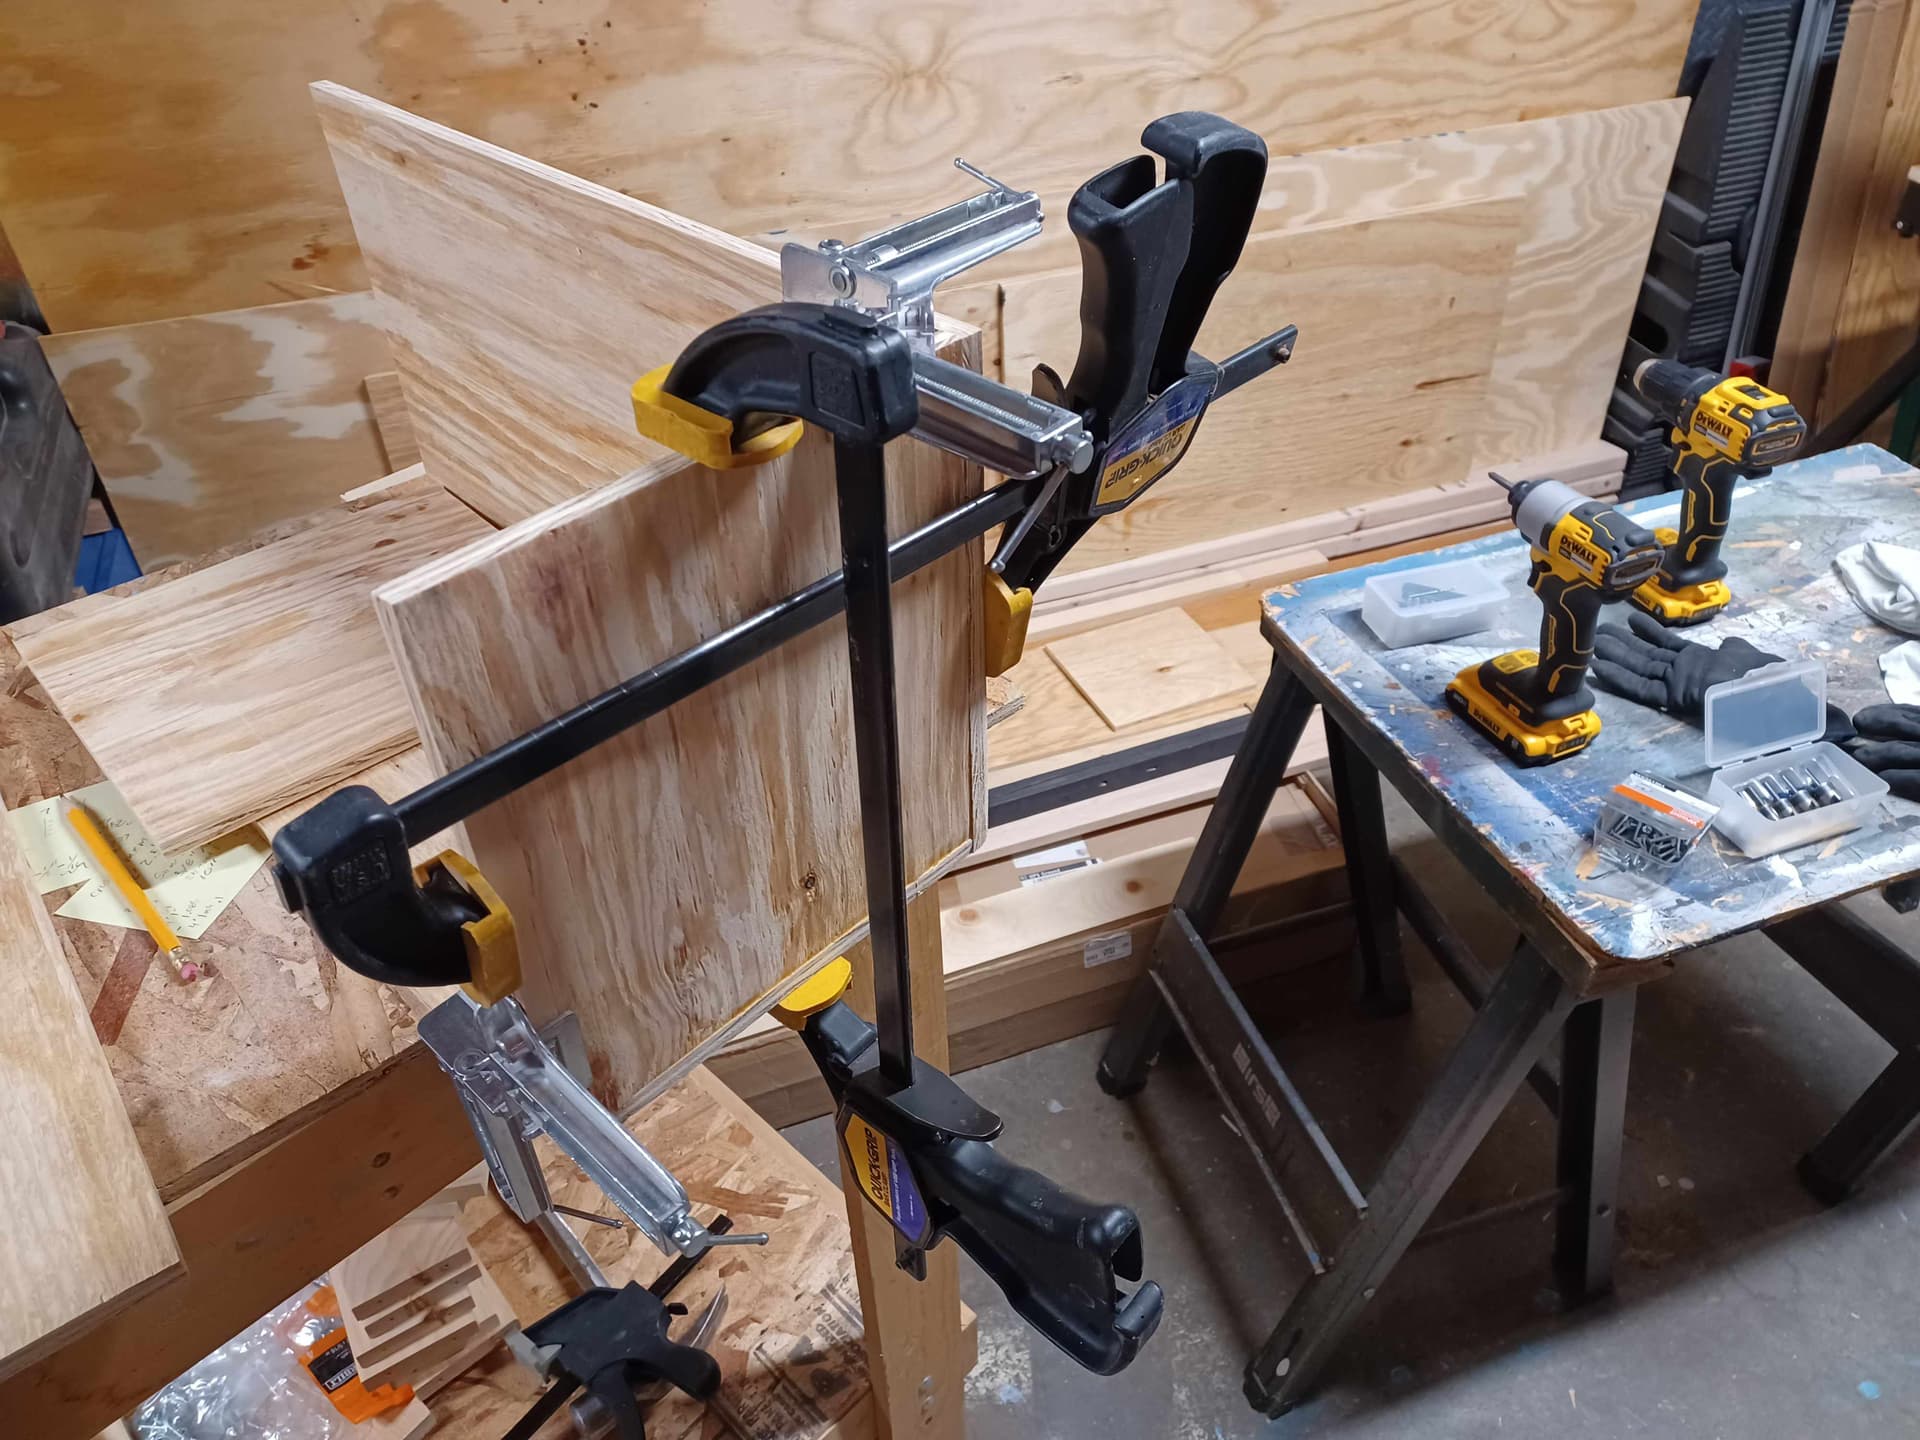
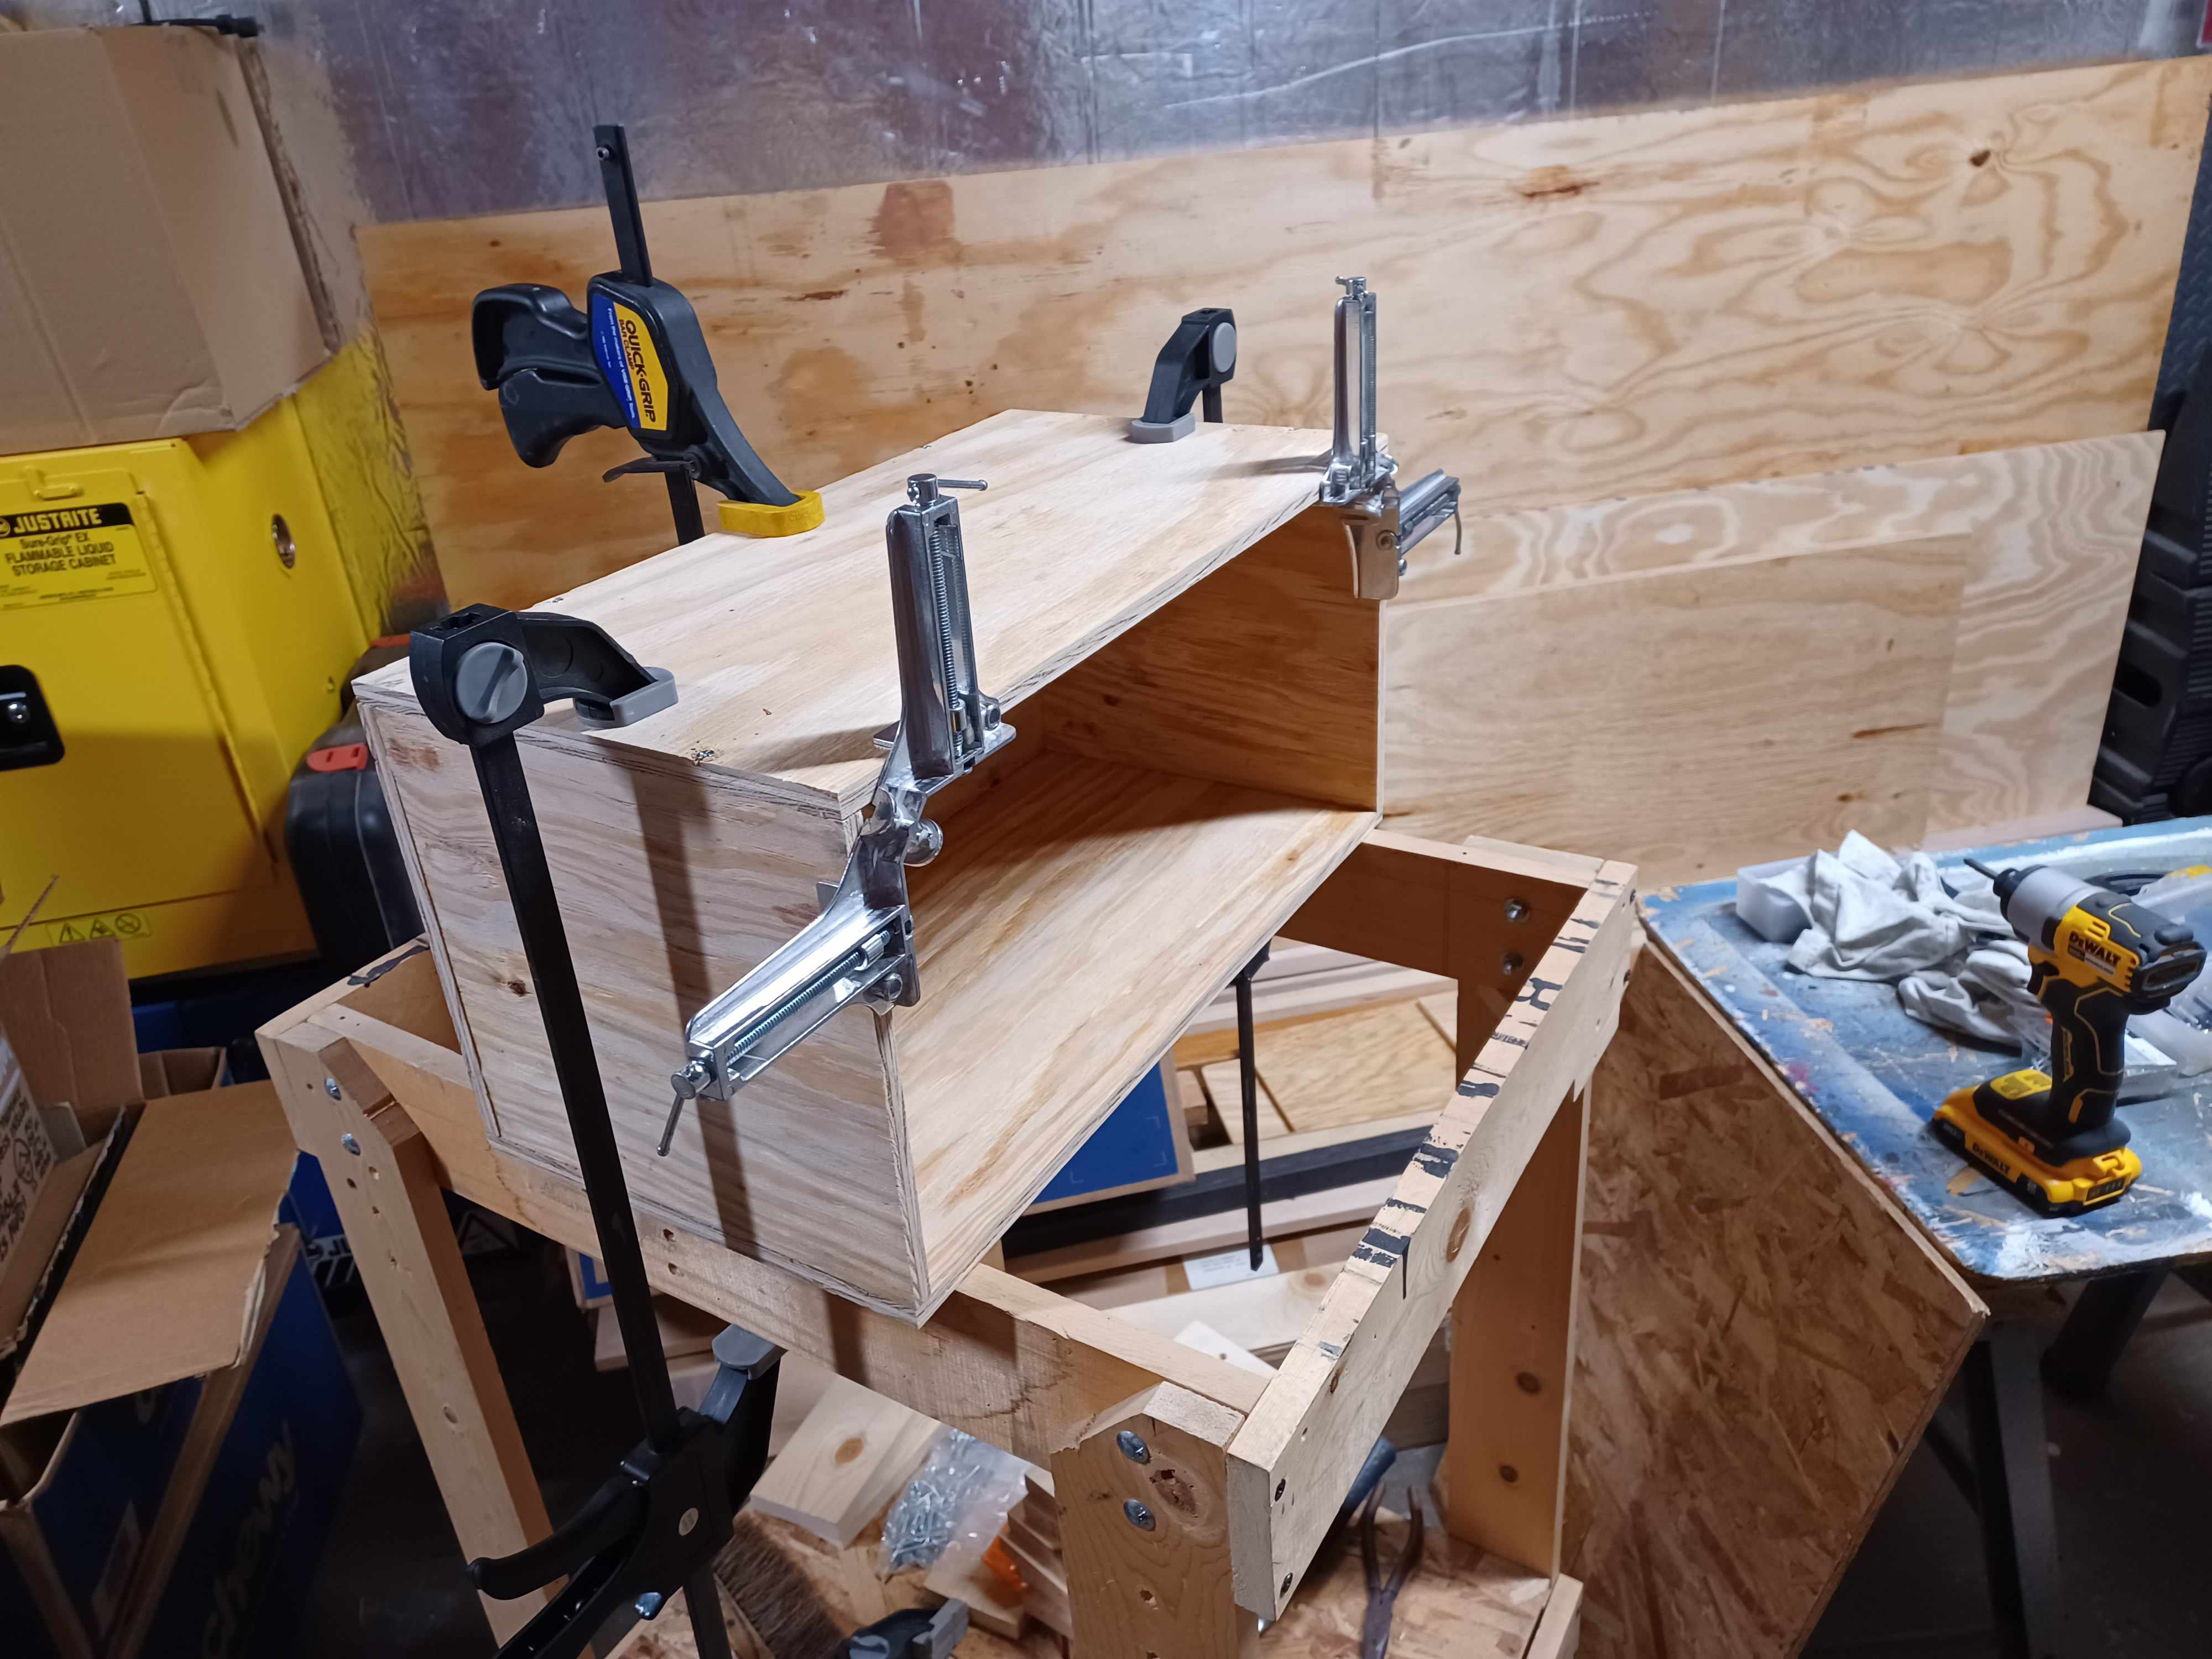
I mounted some freebie secondhand casters on the bottom creating a roller base.
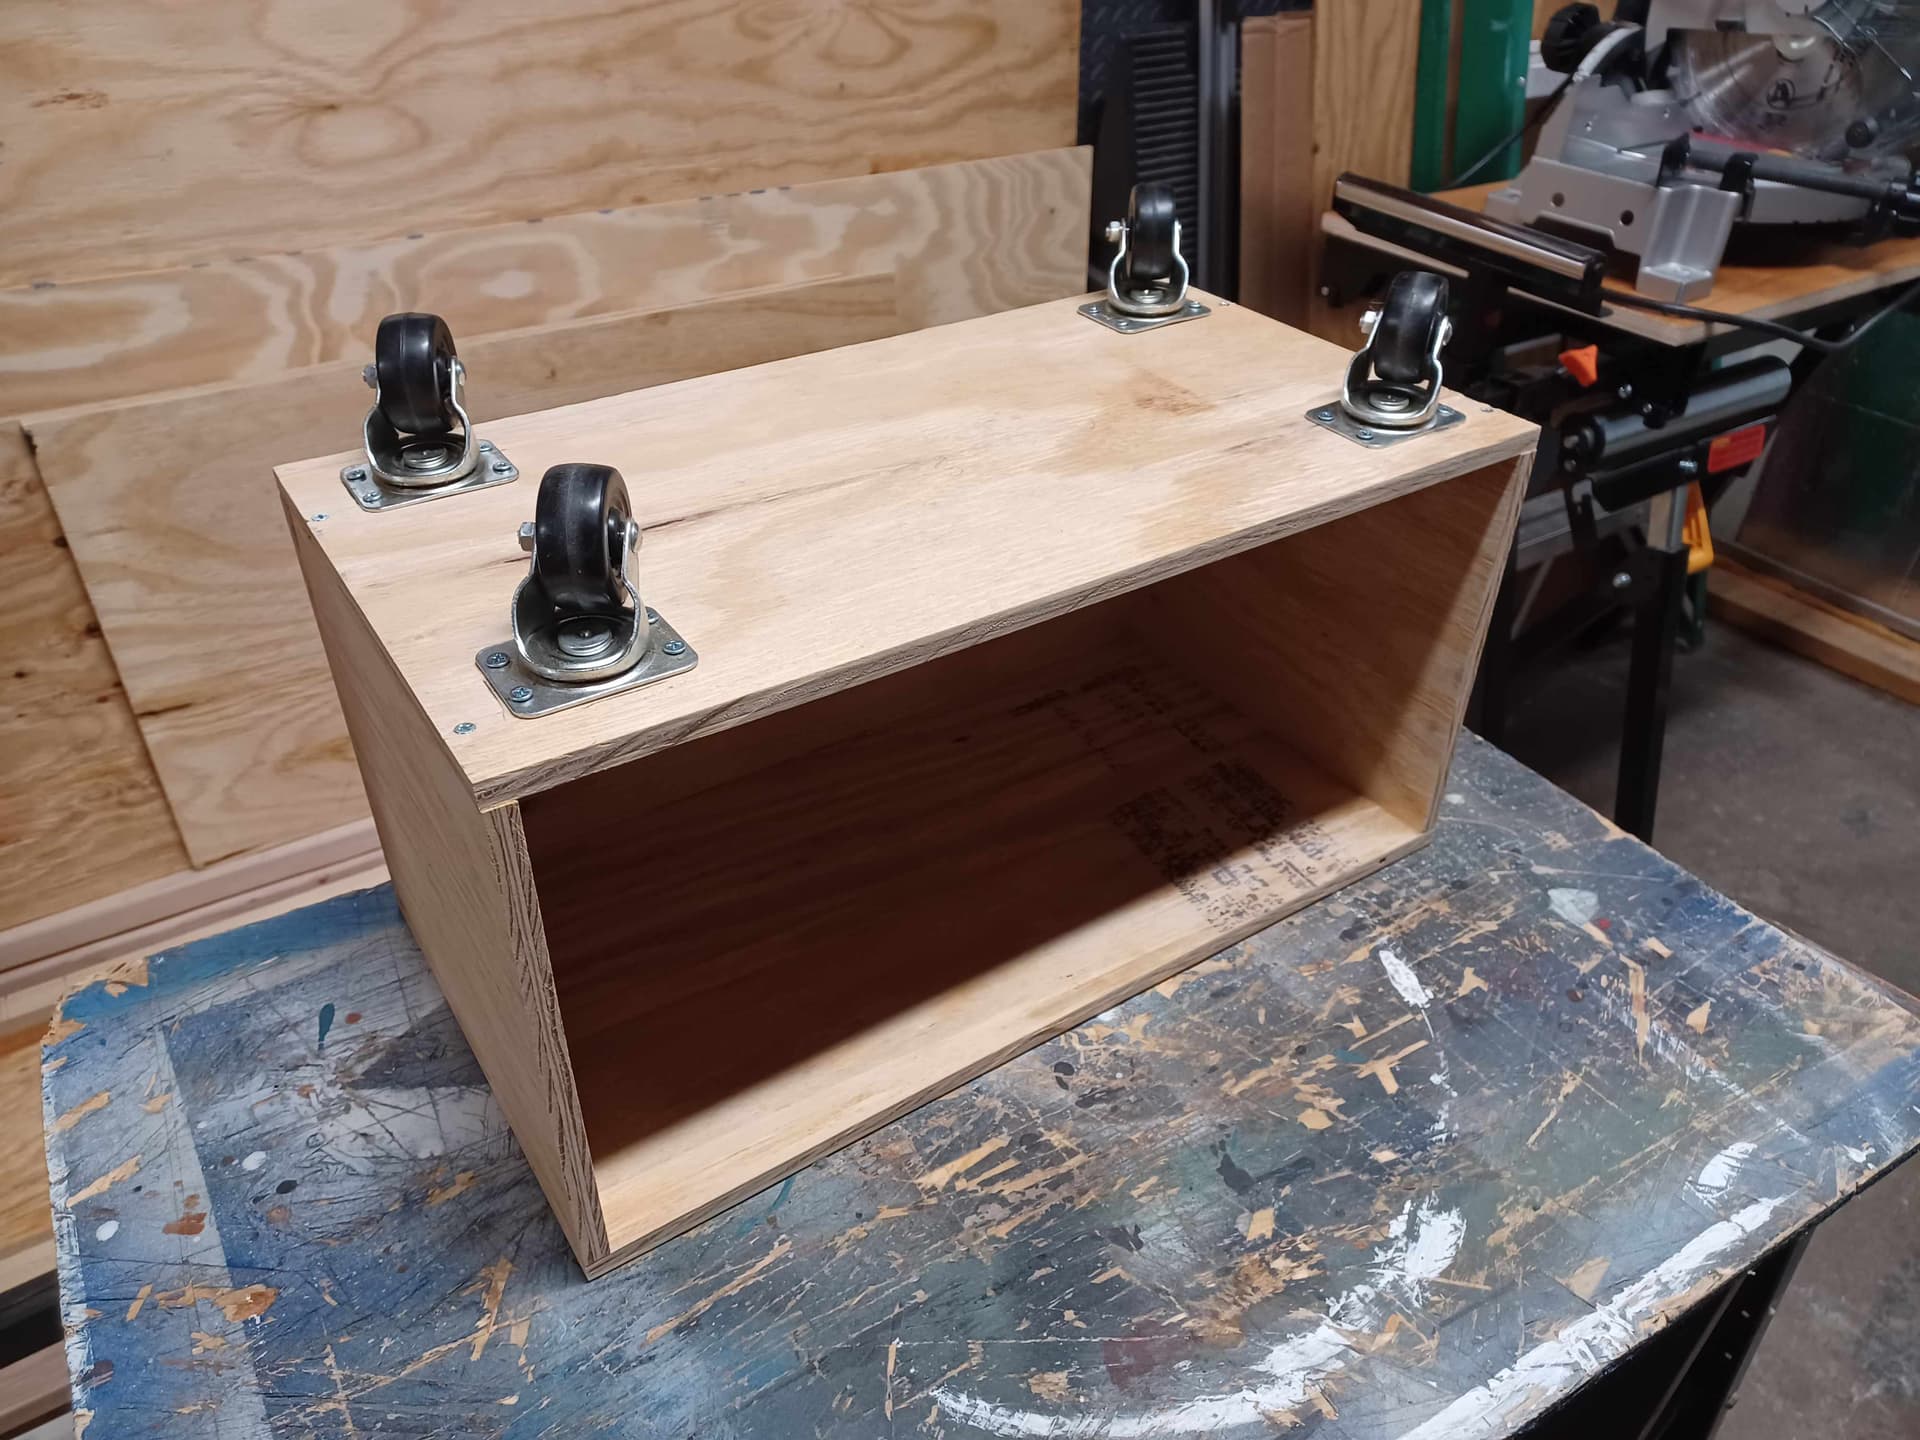
And so, when not in use, the toolbox can stow under my worktable.
5 Likes
![]()
3 Likes
Nice work!
3 Likes
Dig your backdrop artistry. Nothing like having the draw of a comfortable and open workspace, btw, sure like the machinist chest tool box. Regards, Peter
2 Likes
Thanks Everyone!
Yeah I really like that tool box. It was not an expensive one but still well built. I tried to find the company to see if they made a matching roller base but I could not find them. So I built my own. ![]()
Eric
3 Likes
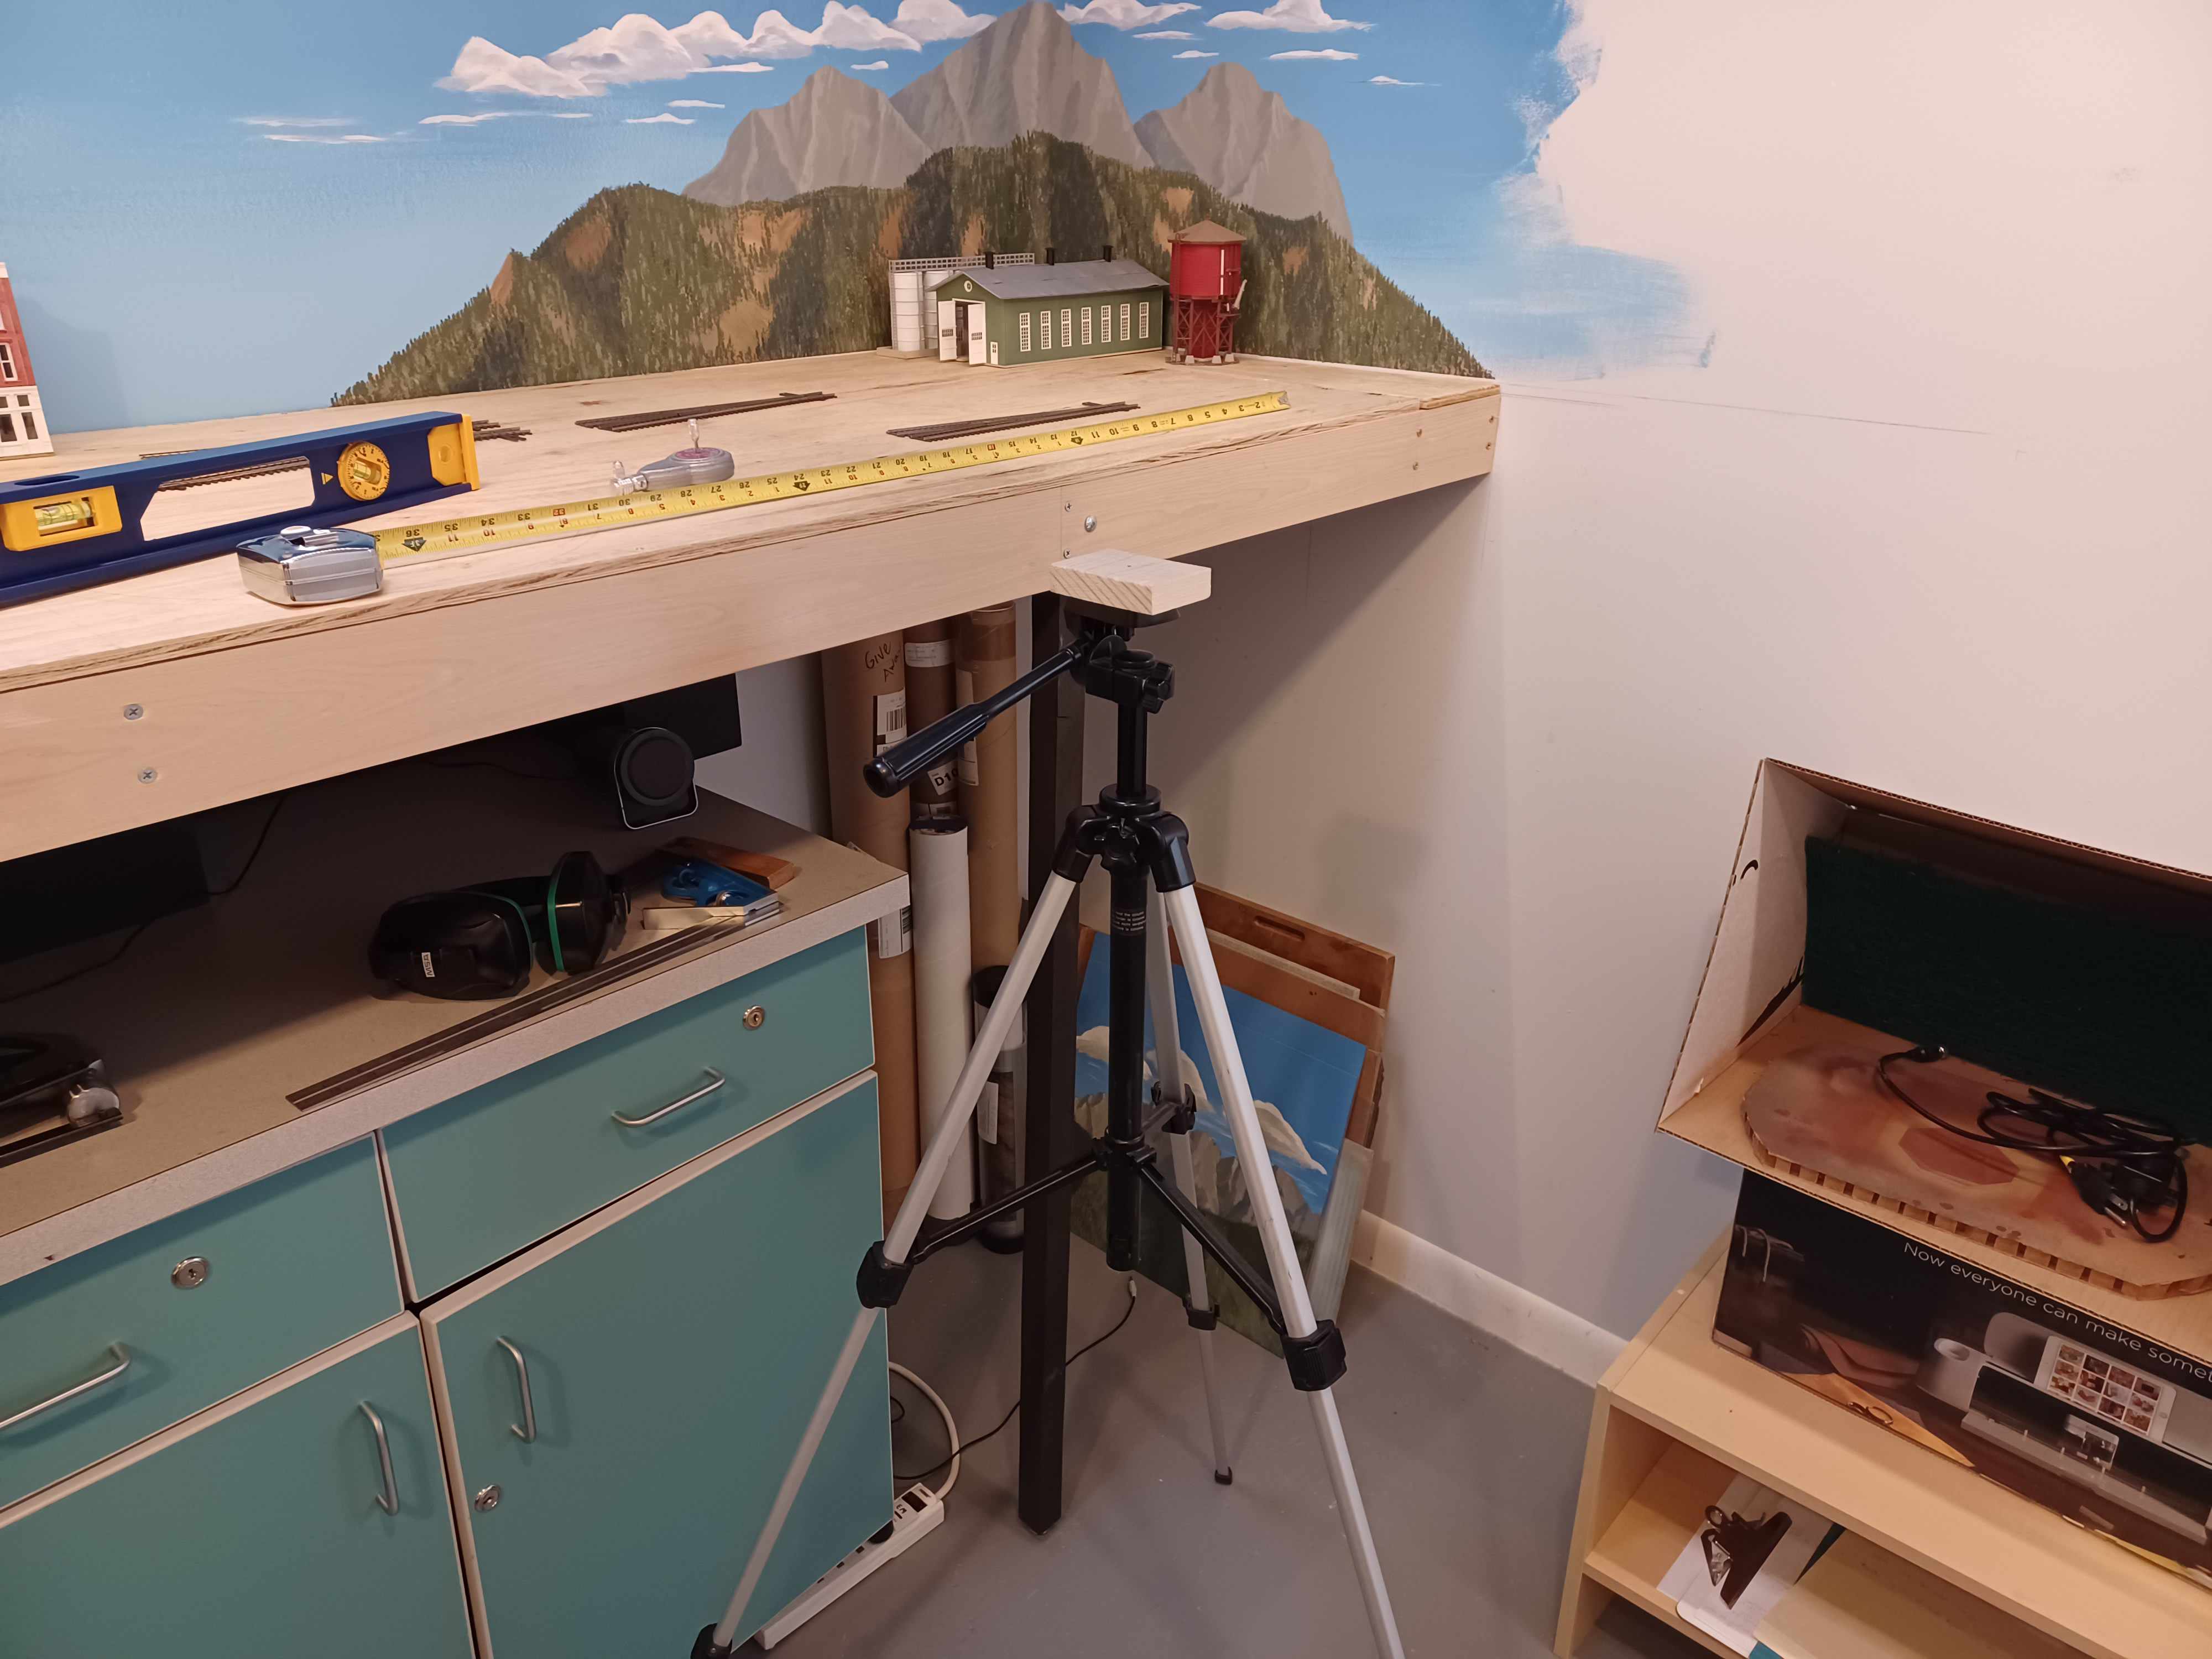
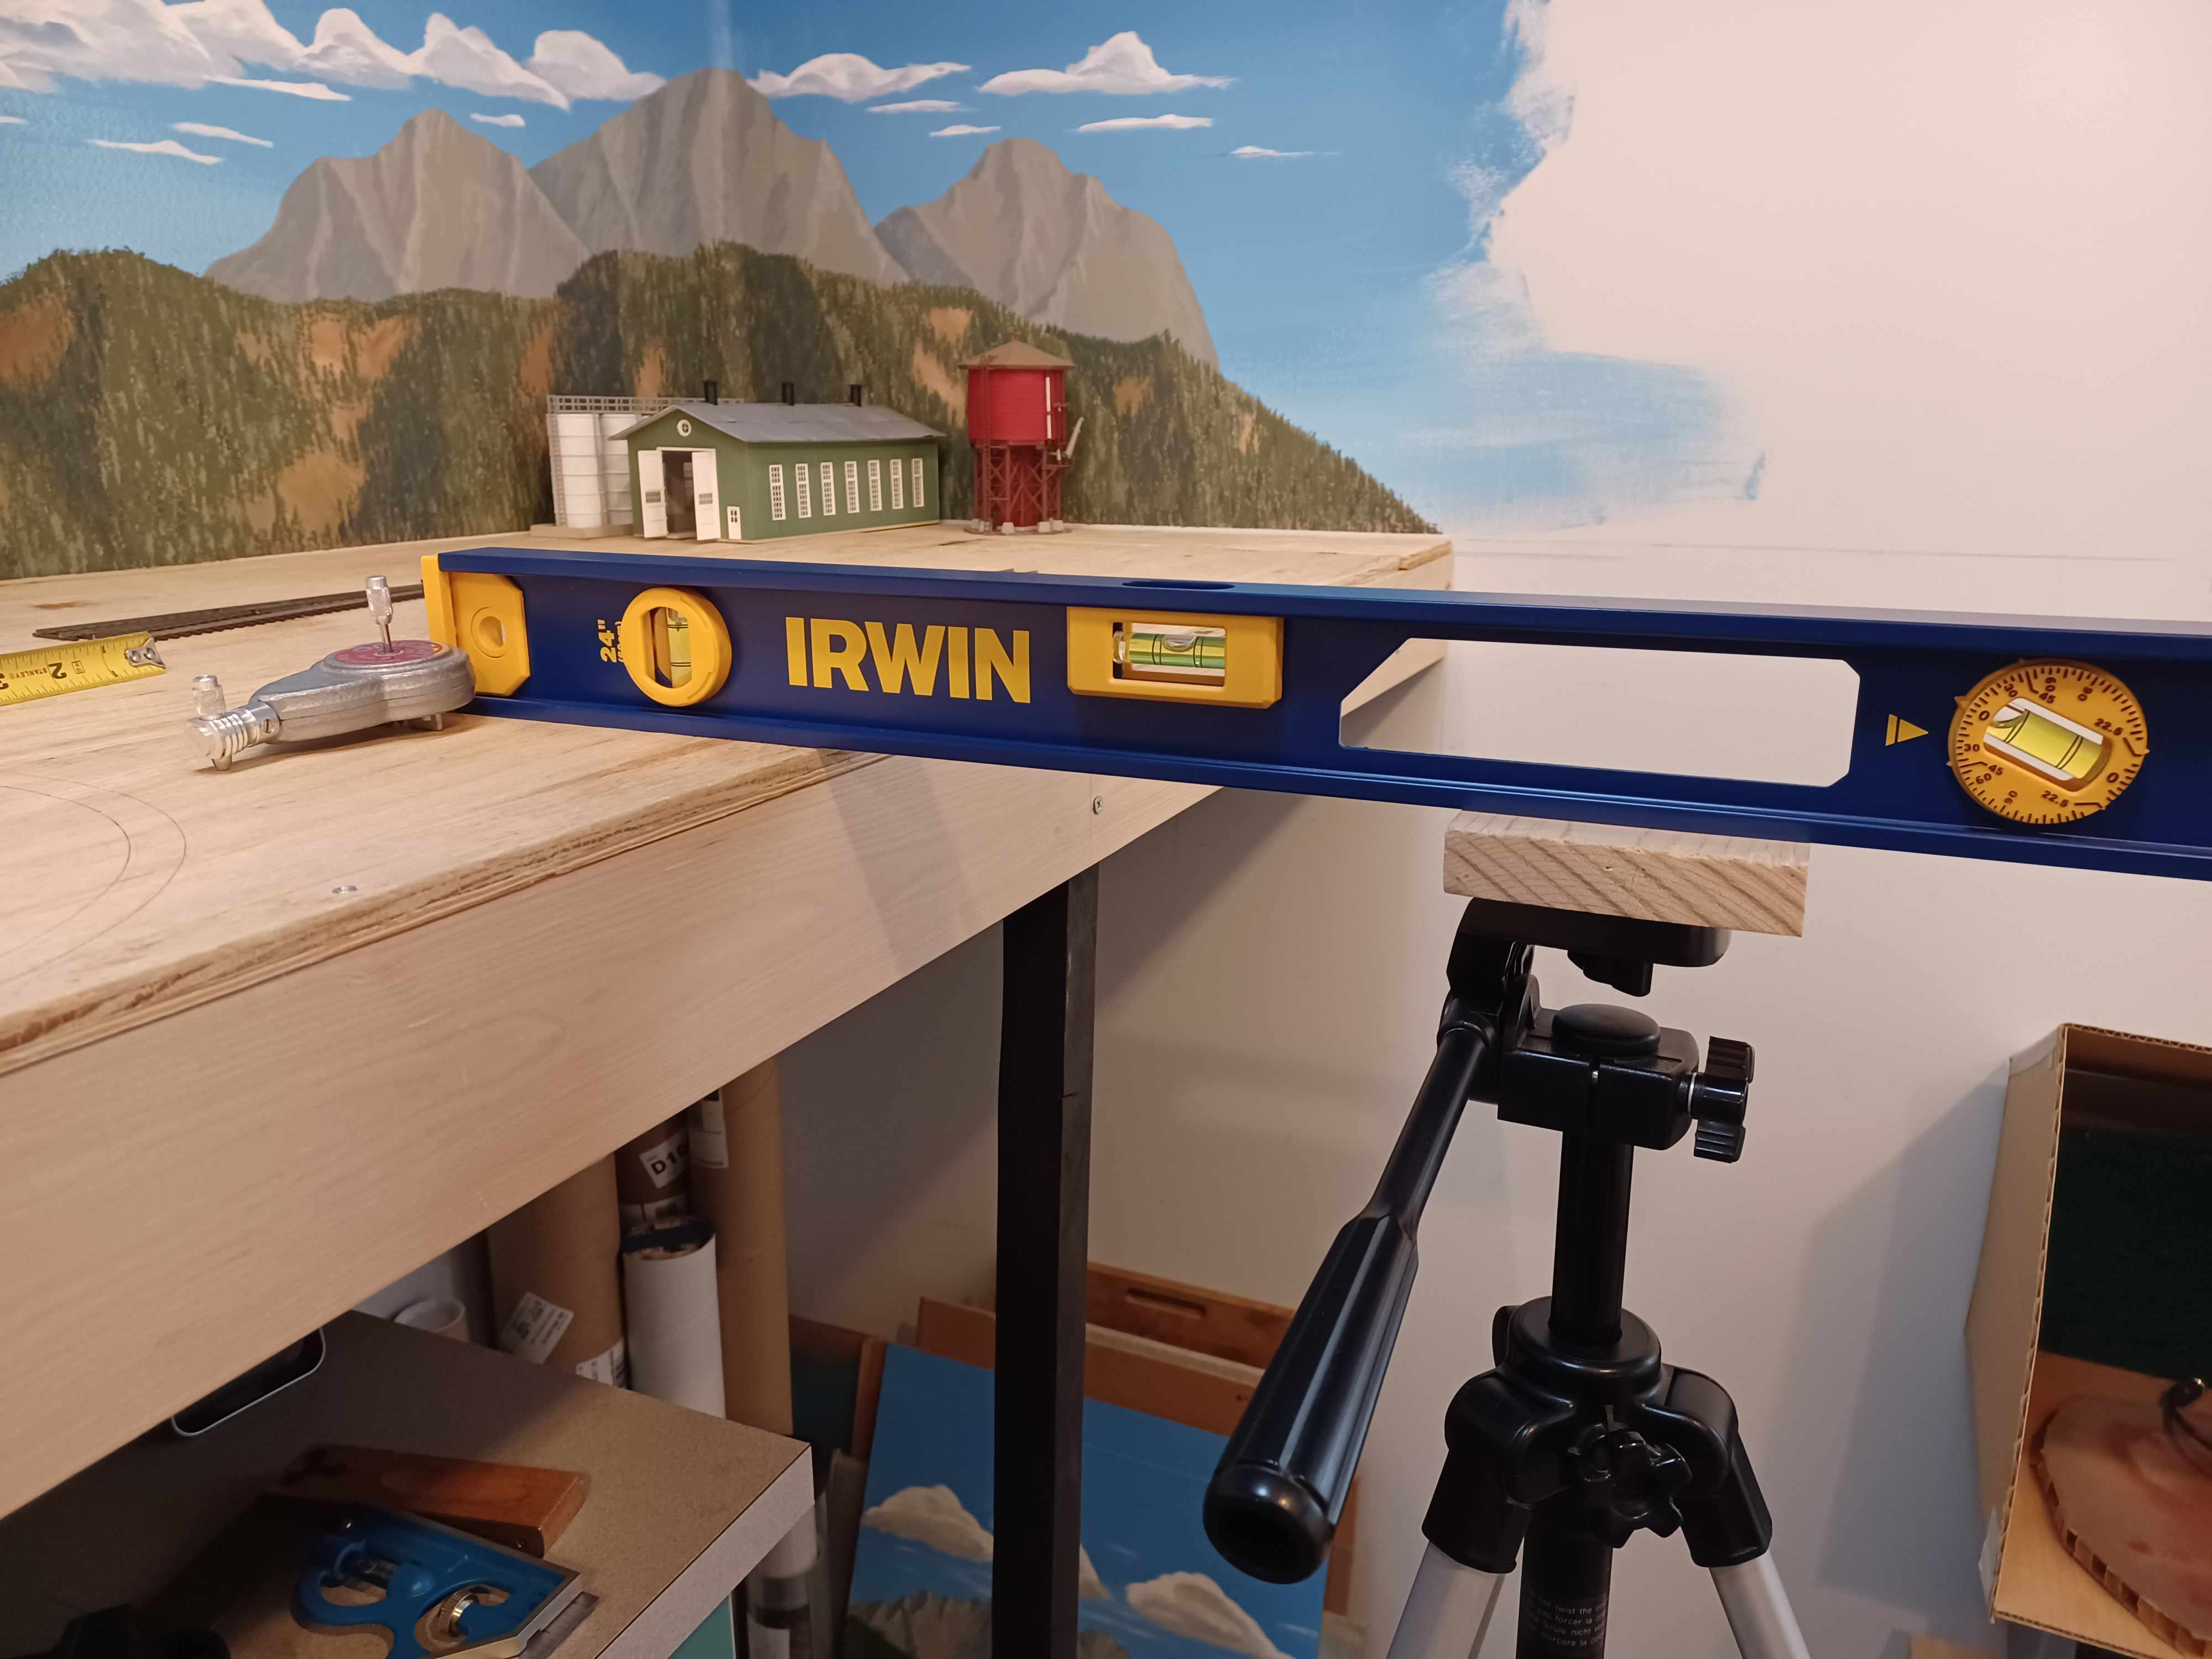
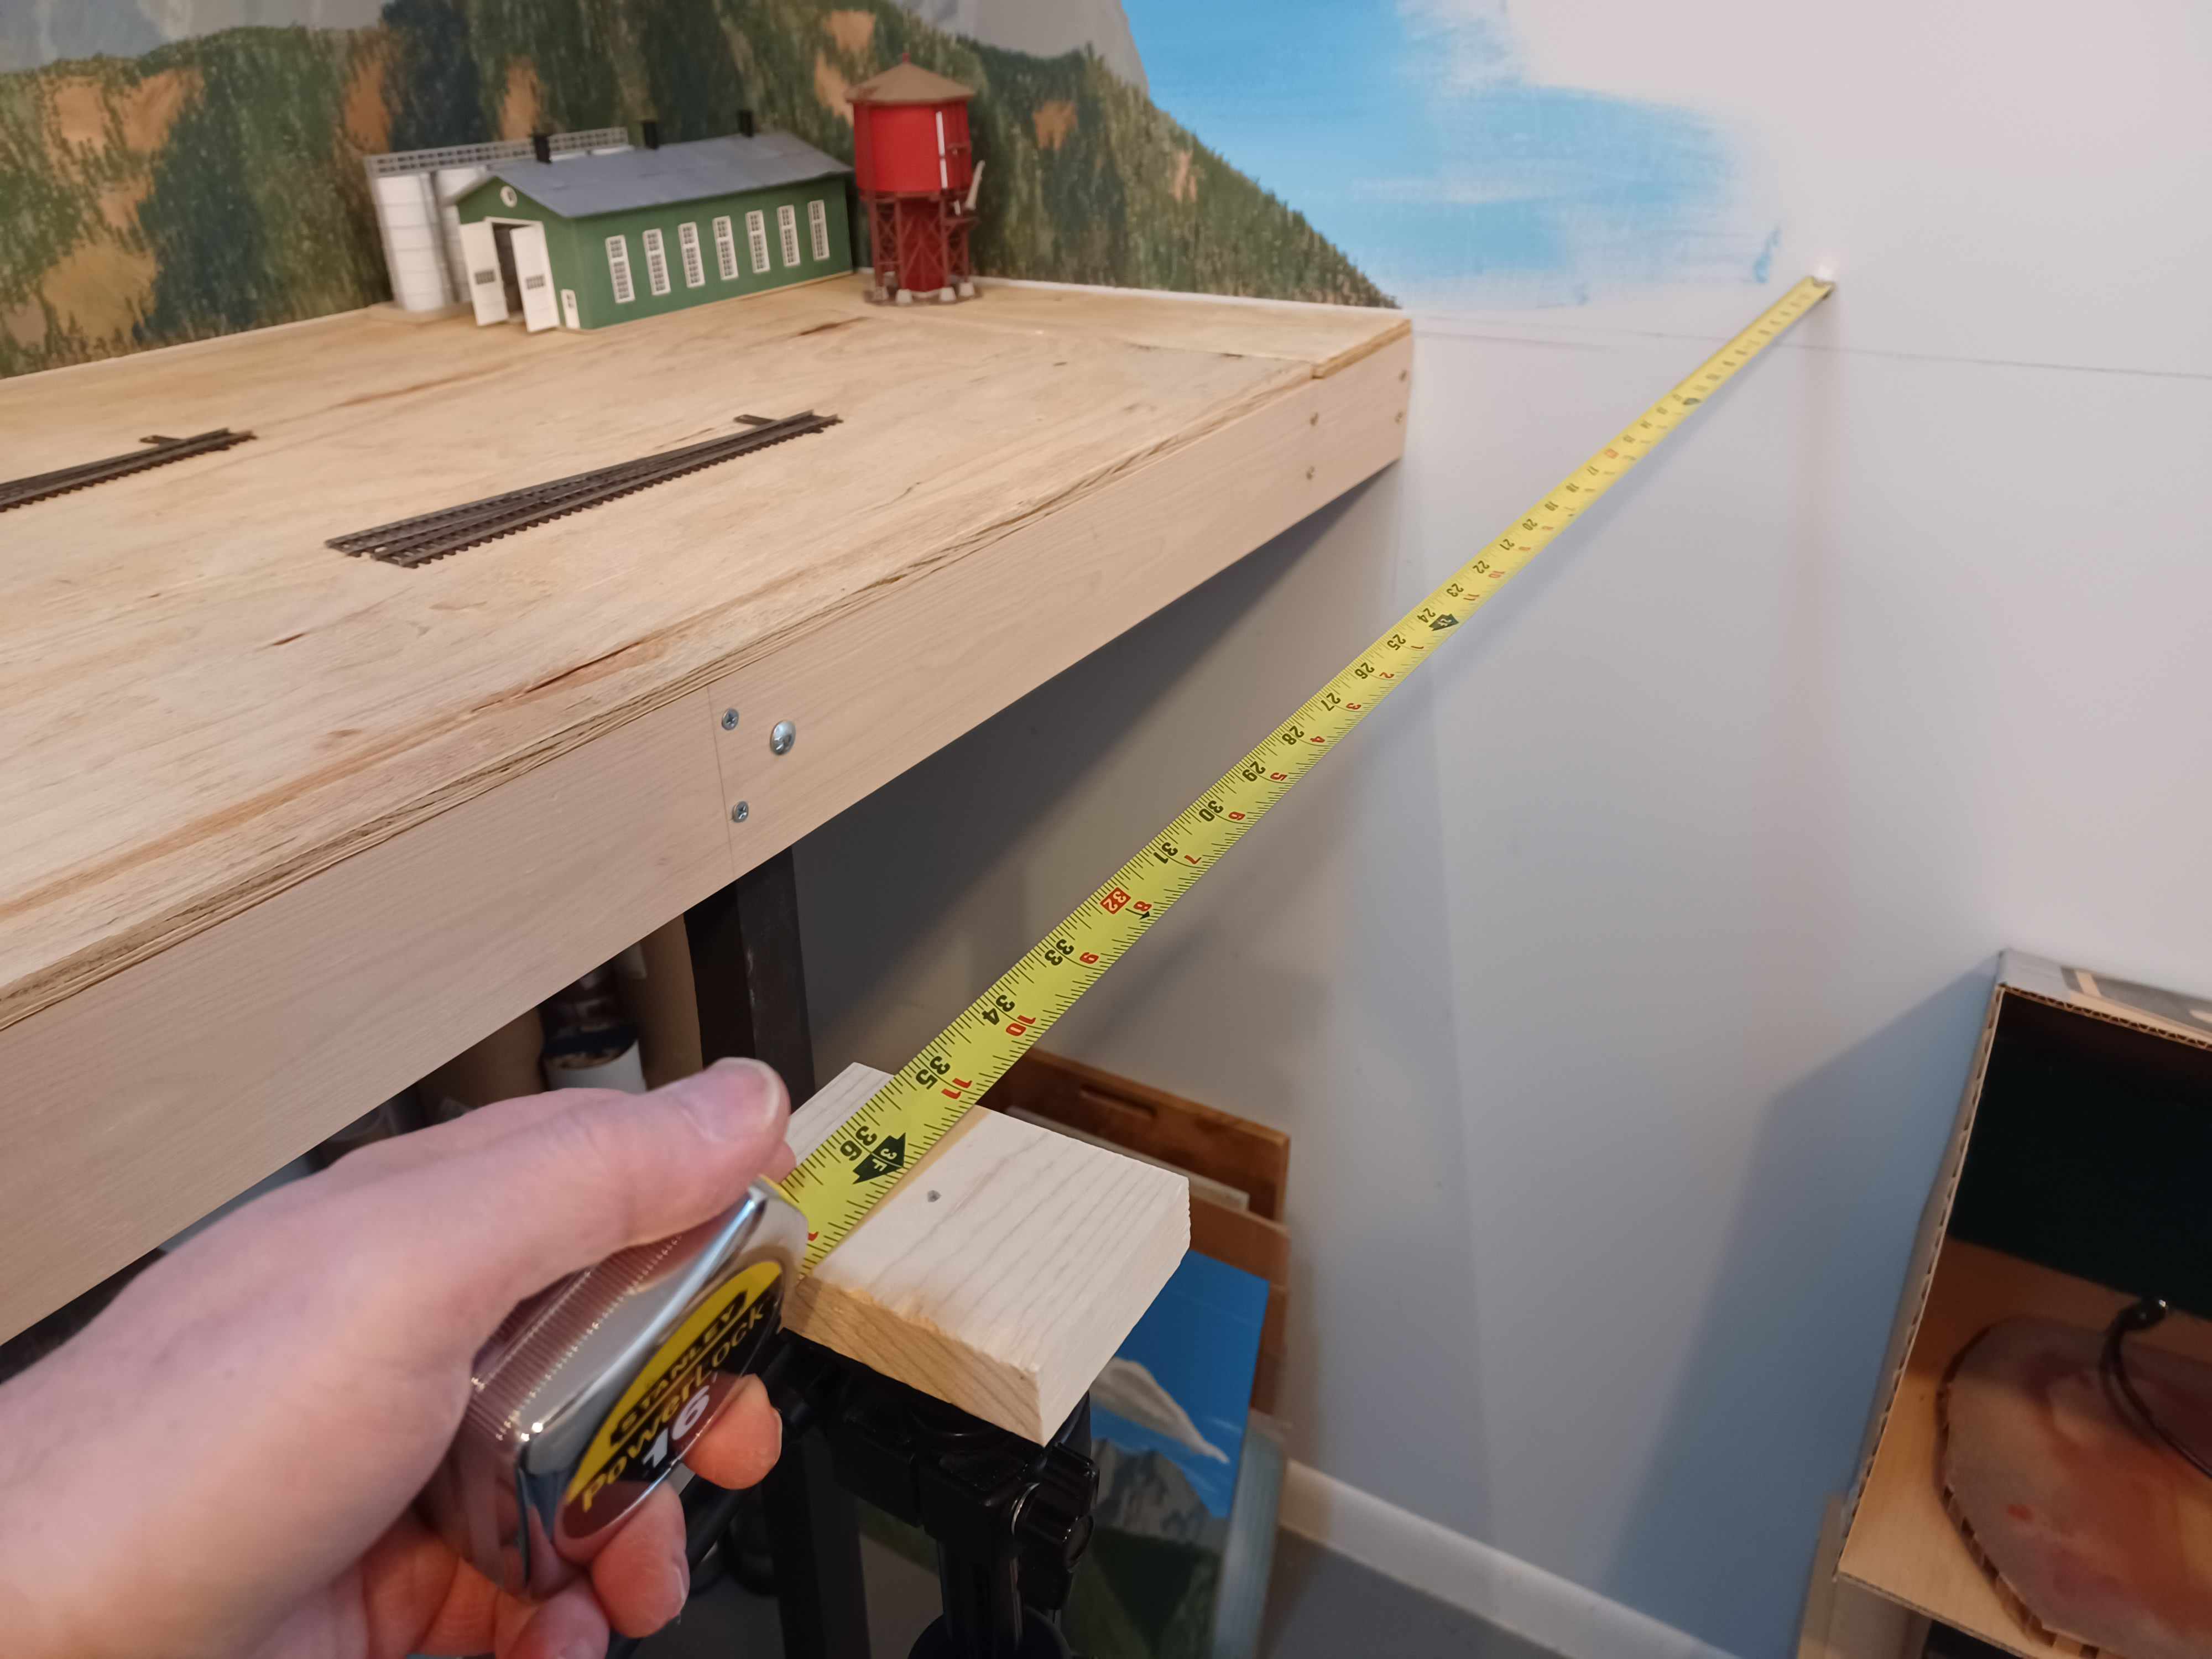
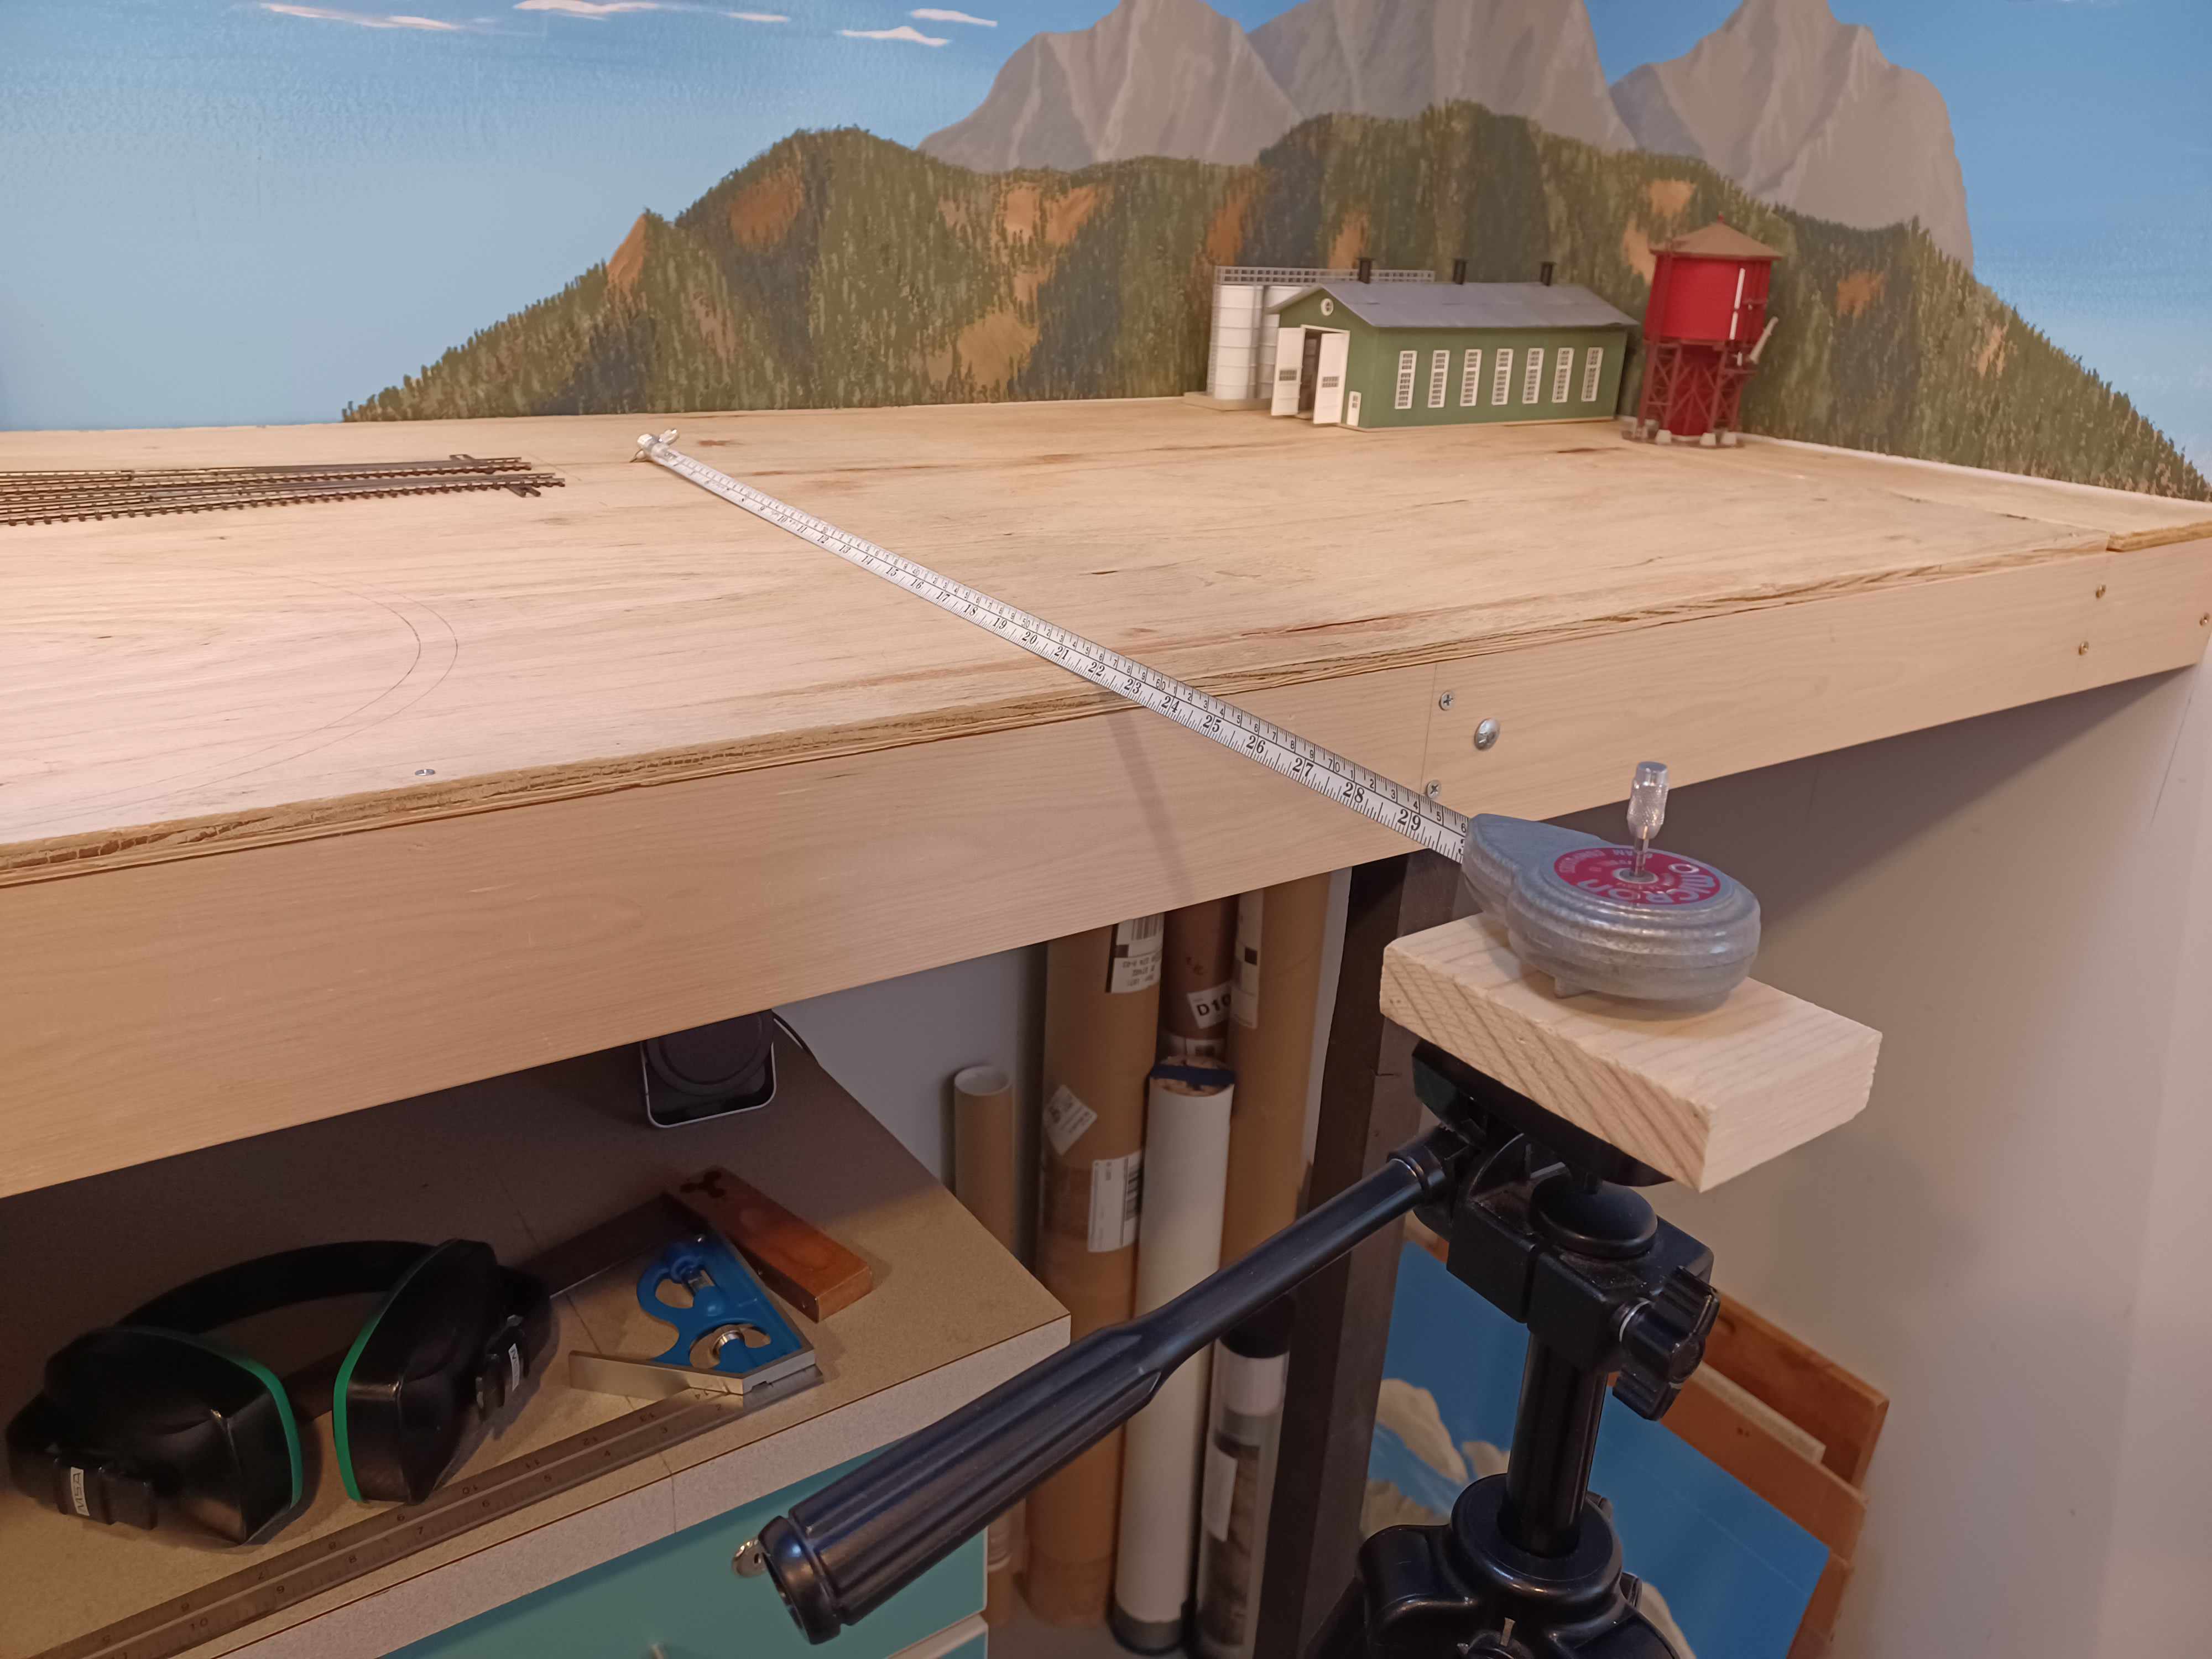
And now on to the surveying for laying out the track. The mainline tracks are located by their distance from the walls. The rest are relative, more or less, from there. Here is how I transferred the curves from the drawing to the benchwork. I made an adapter block for my camera tripod. Then I used this cool 50 year old compass of my dad’s. The centerline of the curves is set by the distance from the walls according to the track plan drawing.
8 Likes
I’ve heard of those measuring-tape trammels but never actually seen one. Now I wish I had one…
3 Likes
That is simply fantastic !
2 Likes
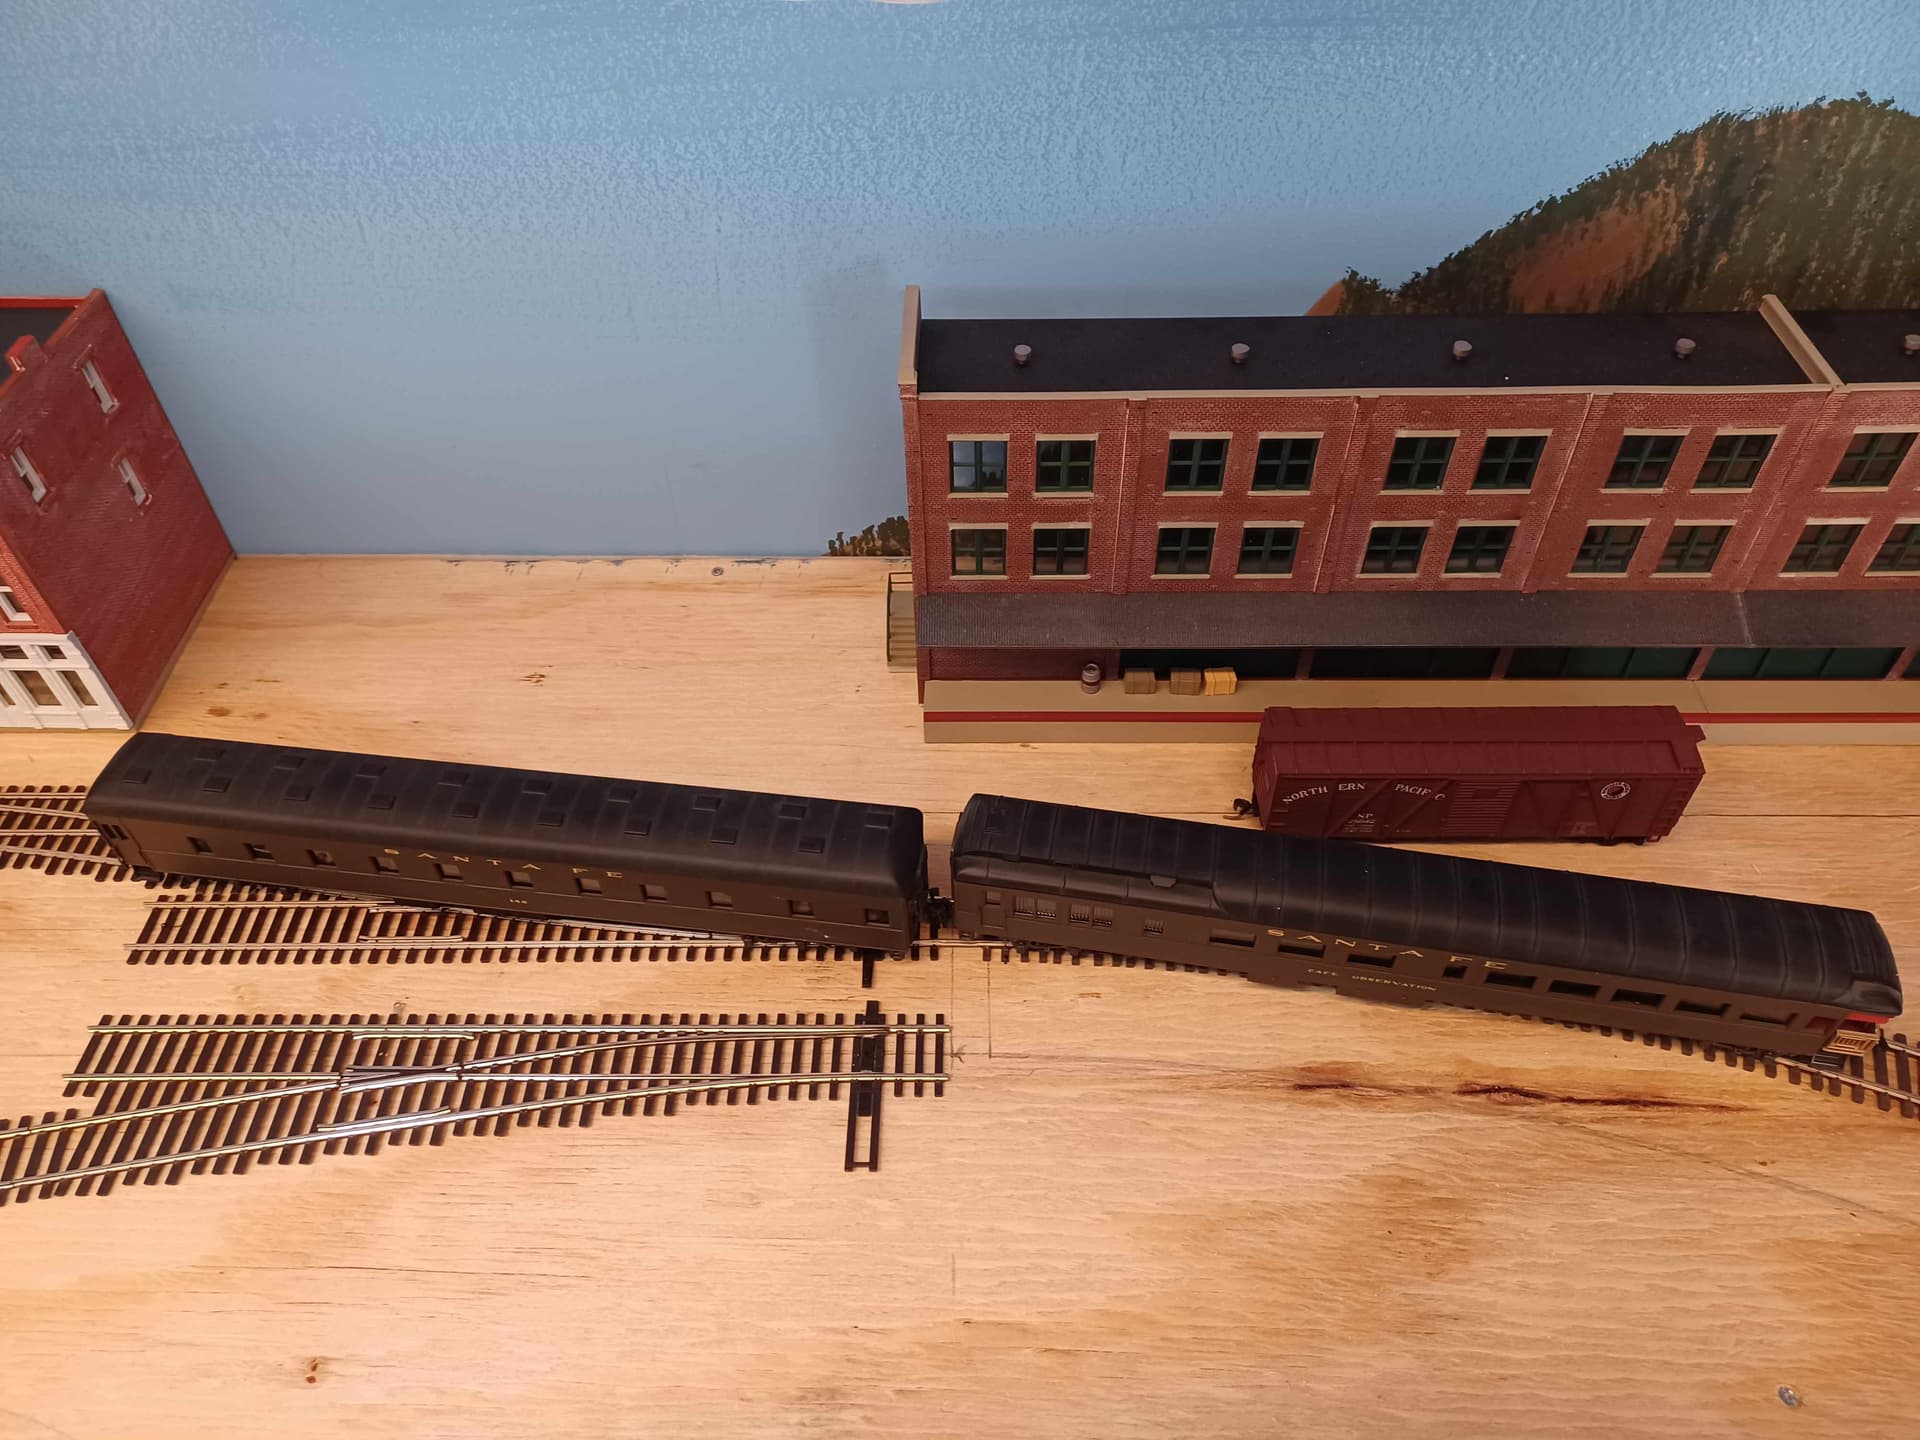
Originally, I was going to make the turnout from the main line to the station track mirror the arrival departure yard throat turnout. It looked good “on paper” but I was concerned about the S curve such a situation would create. So, I tested things out. Sure enough, we have a pretty bad looking kink with these long passenger cars.
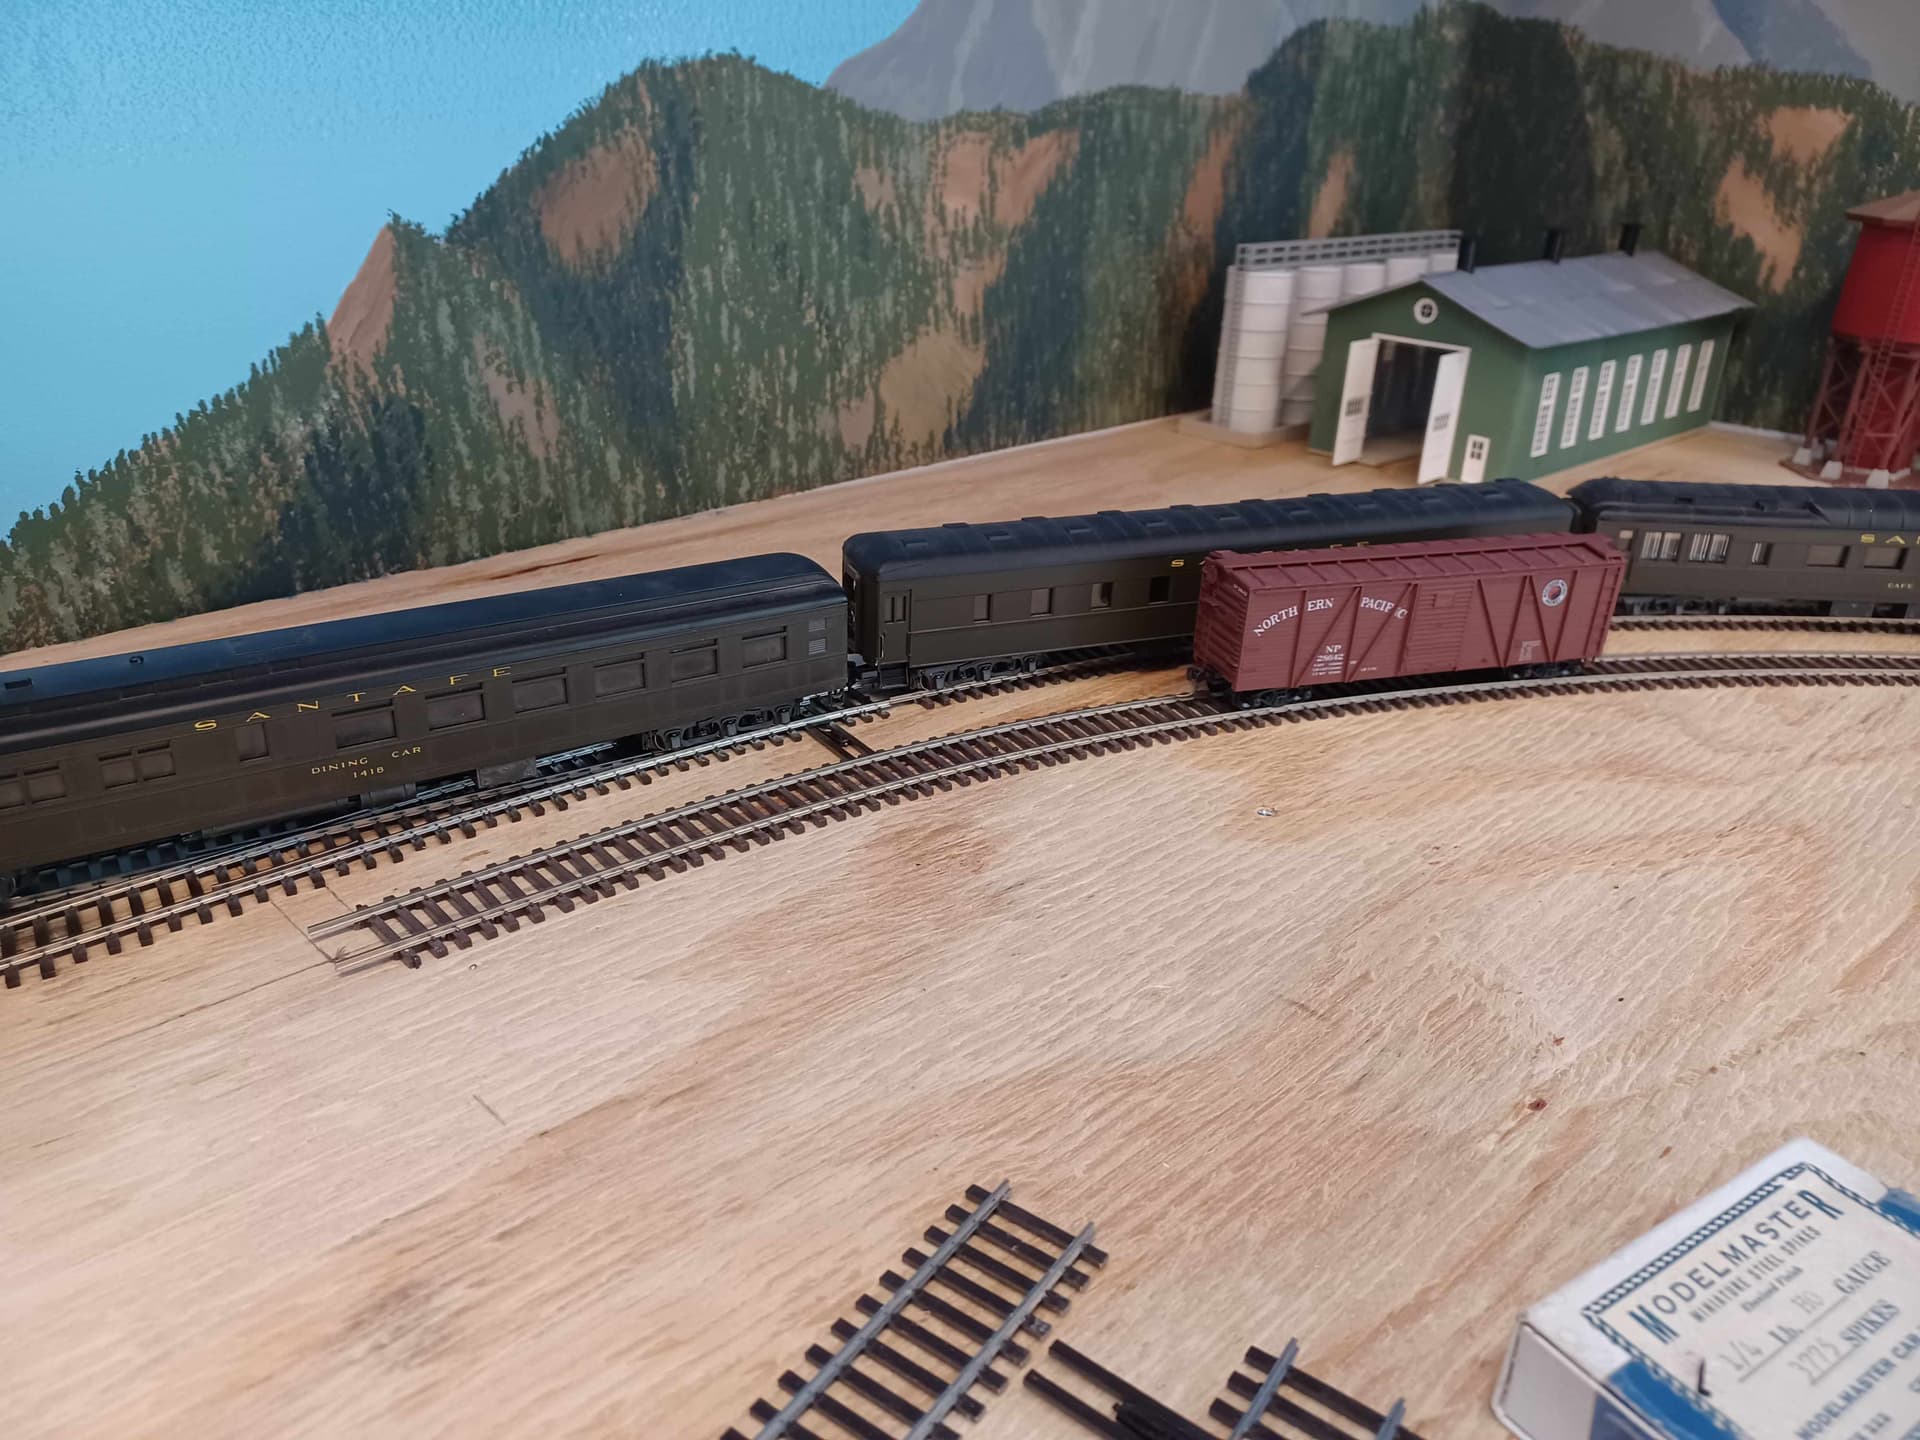
So instead of a right hand switch, I placed a left hand switch in line with the curve to smooth the flow better. This will be acceptable for me.

The 2” track spacing on a curve, while looking good in the drawing, is not recommended practice. We see why. While the long passenger cars will clear, it’s a bit crowded. I will balloon out the mainline outer curve by ½” , similar to NMRA recommendations.
7 Likes
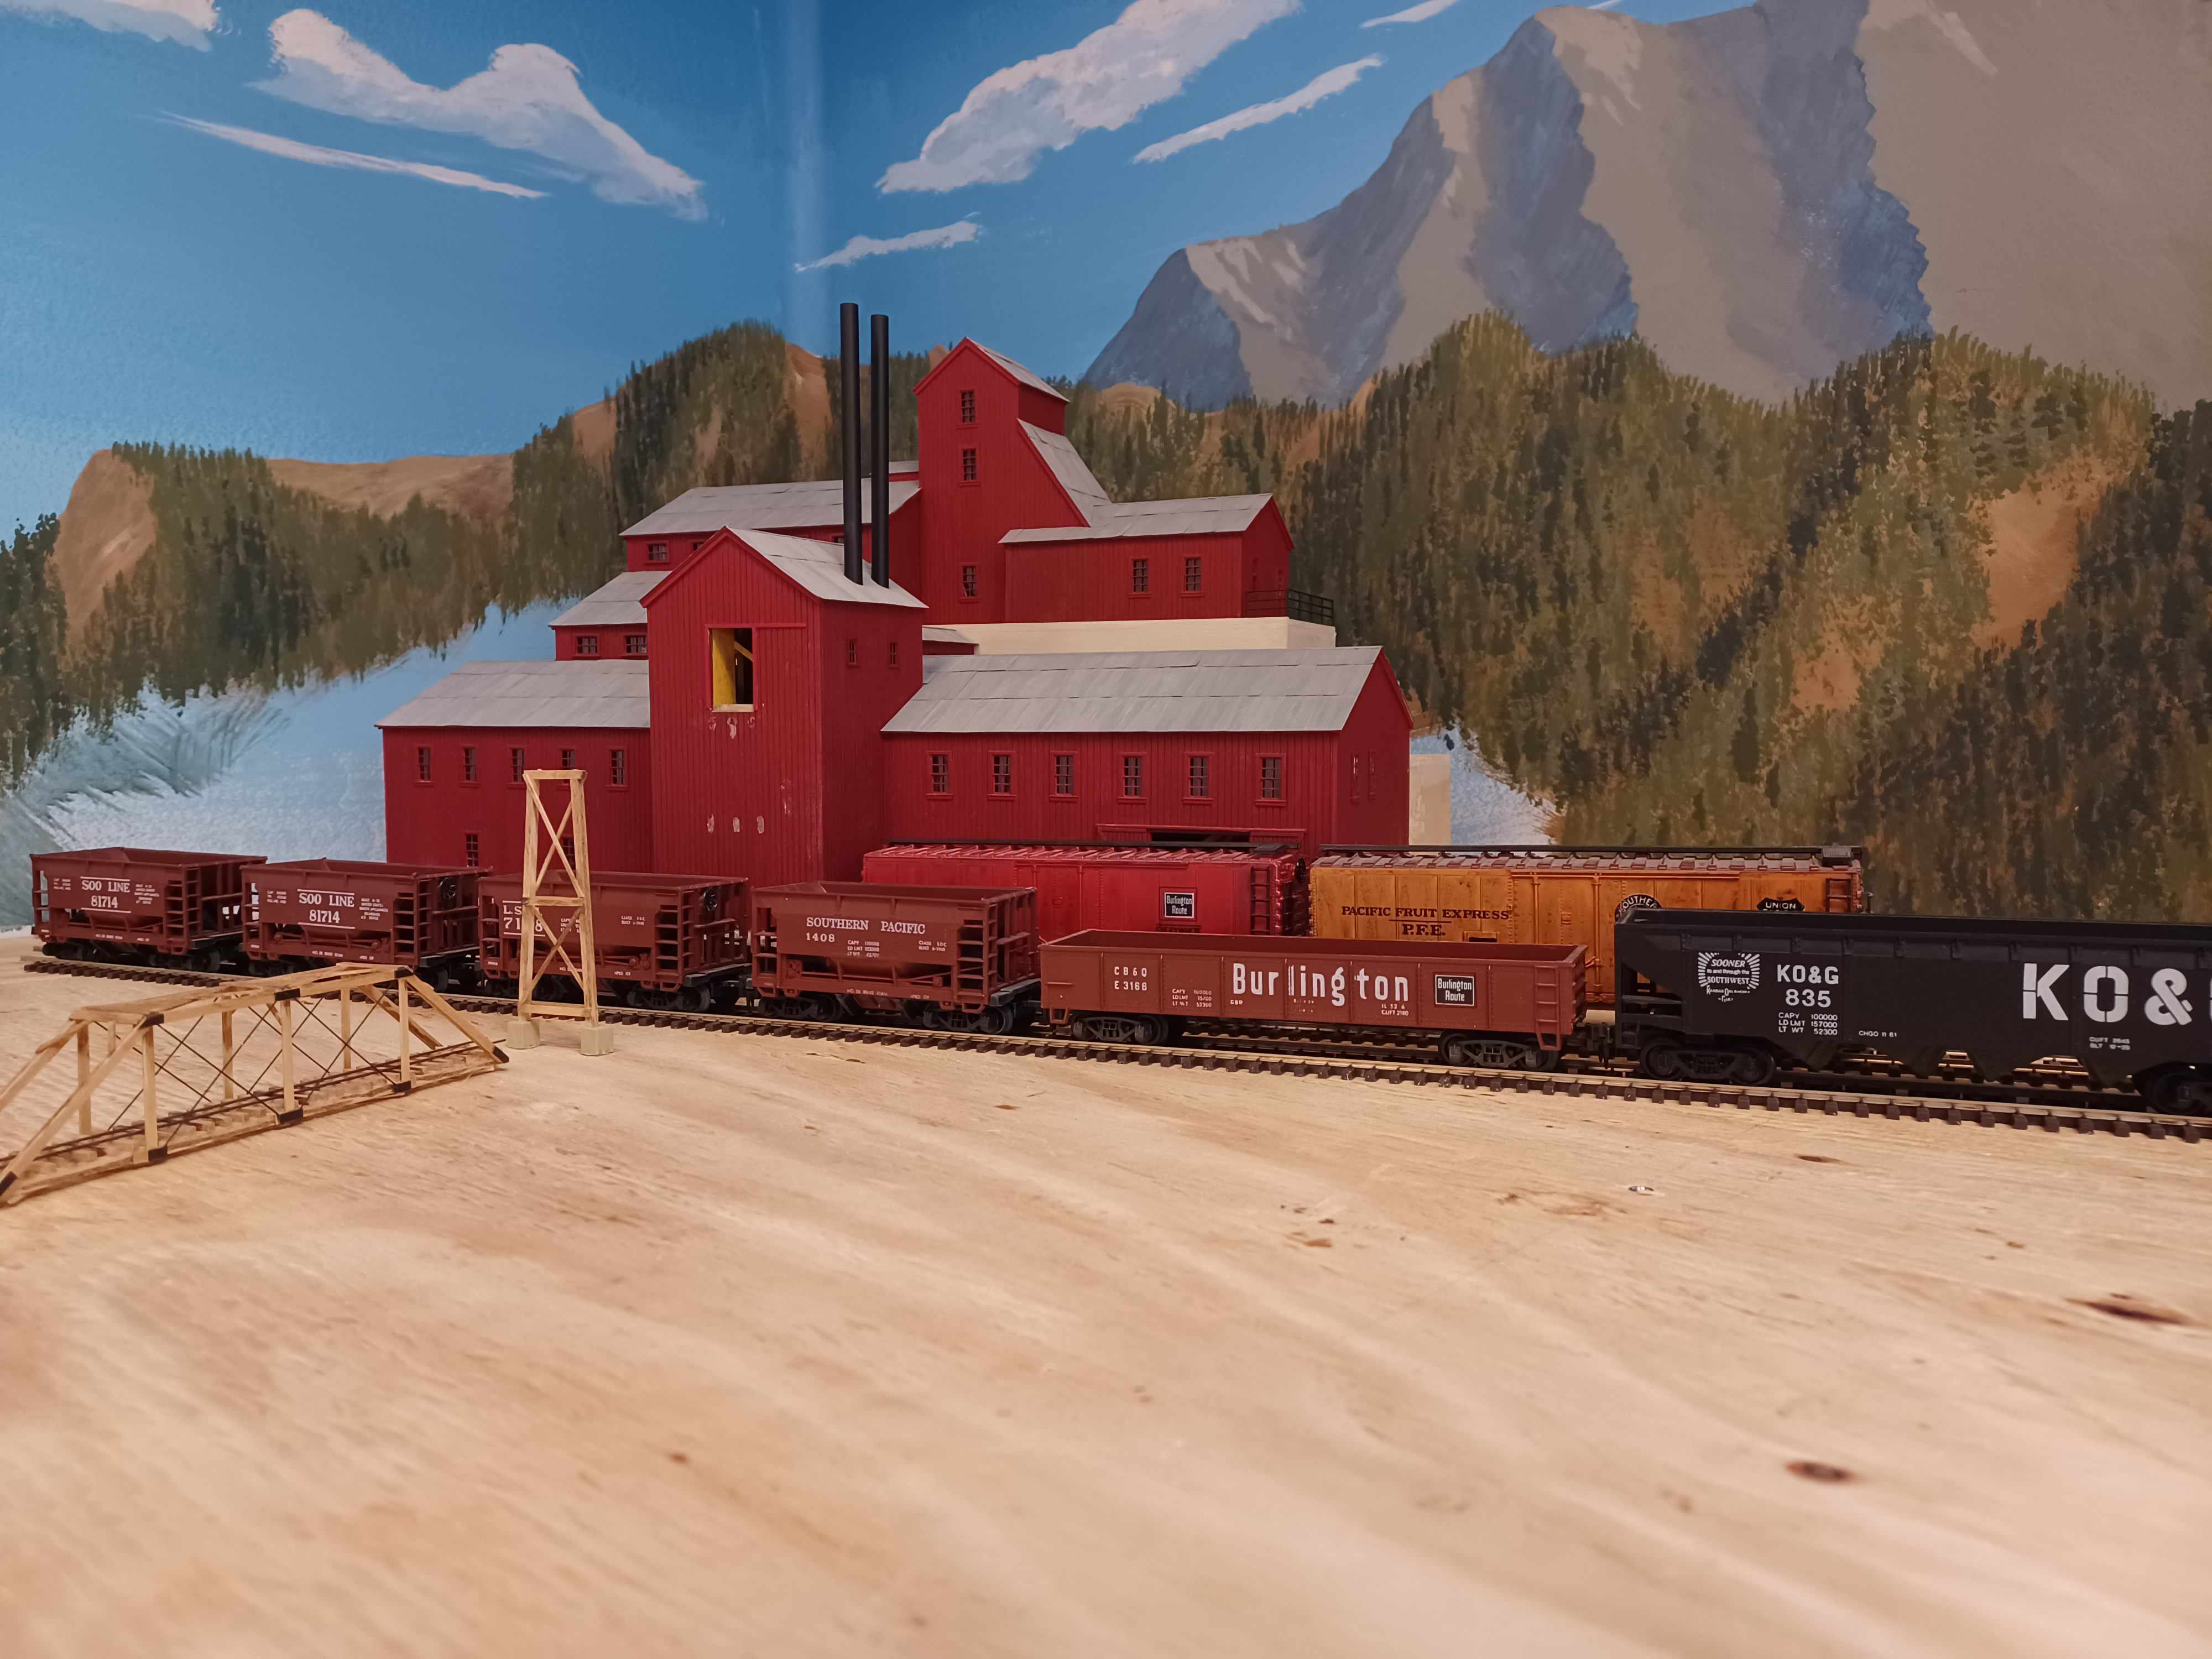
On the west end of Granite Peak Yard, I will re-purpose my scratch built Chrysolite Metals mine and mill that used to be on my old Granite Peak Mining and Chemical Railway. There is an extensive write up on building it in that thread.
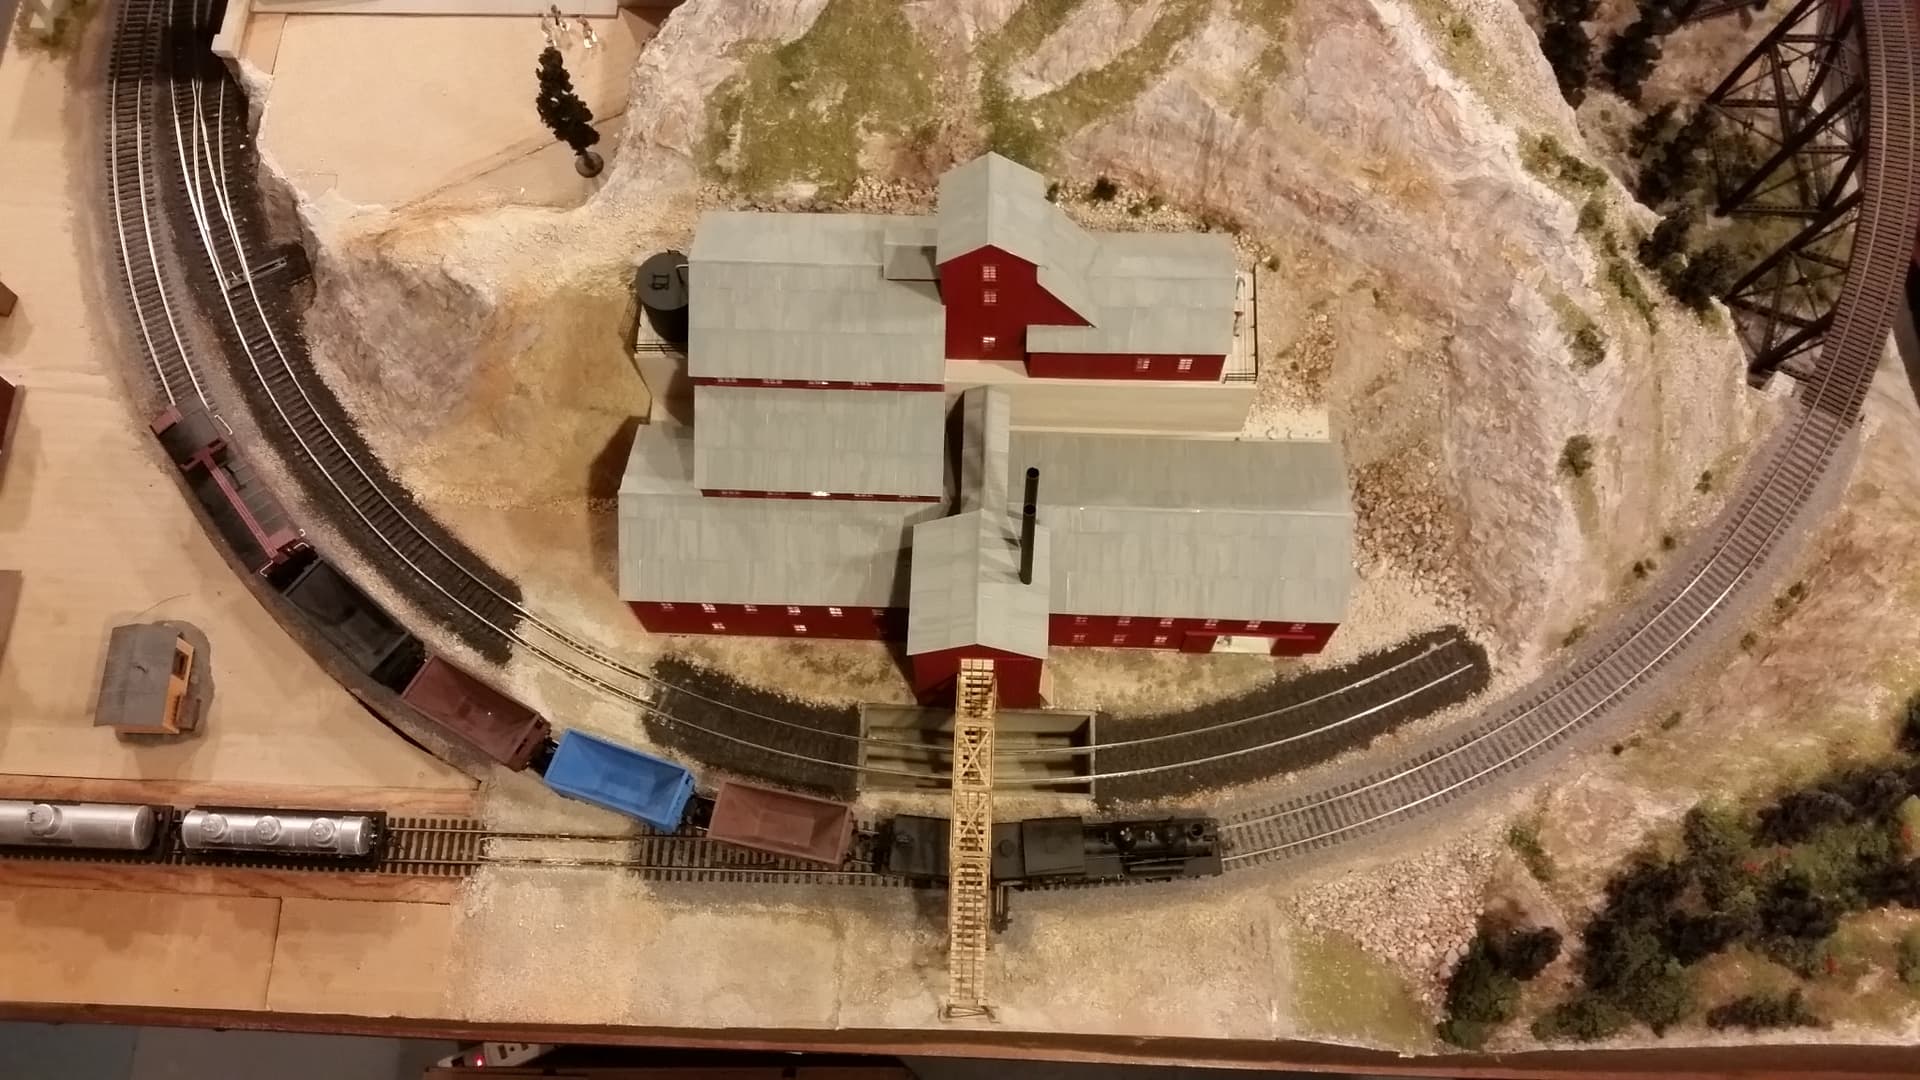
The original design was for a curving service track on my circular layout. After exploring options for its new home, without any major renovations to the building, it fortunately is possible to add a second track for concentrate loading, while keeping the track for coal and ore delivery. Using some of my ancient old cars it looks like this will work fine.

Not that we are going to load concentrate into reefers. ![]()
8 Likes
That’s gonna be a great scene - beautiful job on the backdrop!
Mike H
3 Likes
Awesome to see this coming along! It is looking great.
3 Likes
Thanks!
Best Wishes
Eric
1 Like
ECMills
like your mountains, the perfect namesake, also the forests and clouds, the shadowing and perspective gives such nice depth, and at the same time not overpowering. Testing out track configurations, clearances and structure placement can be an invigorating and joyful aspect of layout building. Peter
4 Likes
This is all shaping up very nicely. ![]()
Rich
2 Likes
Thanks I appreciate the encouragement everyone.
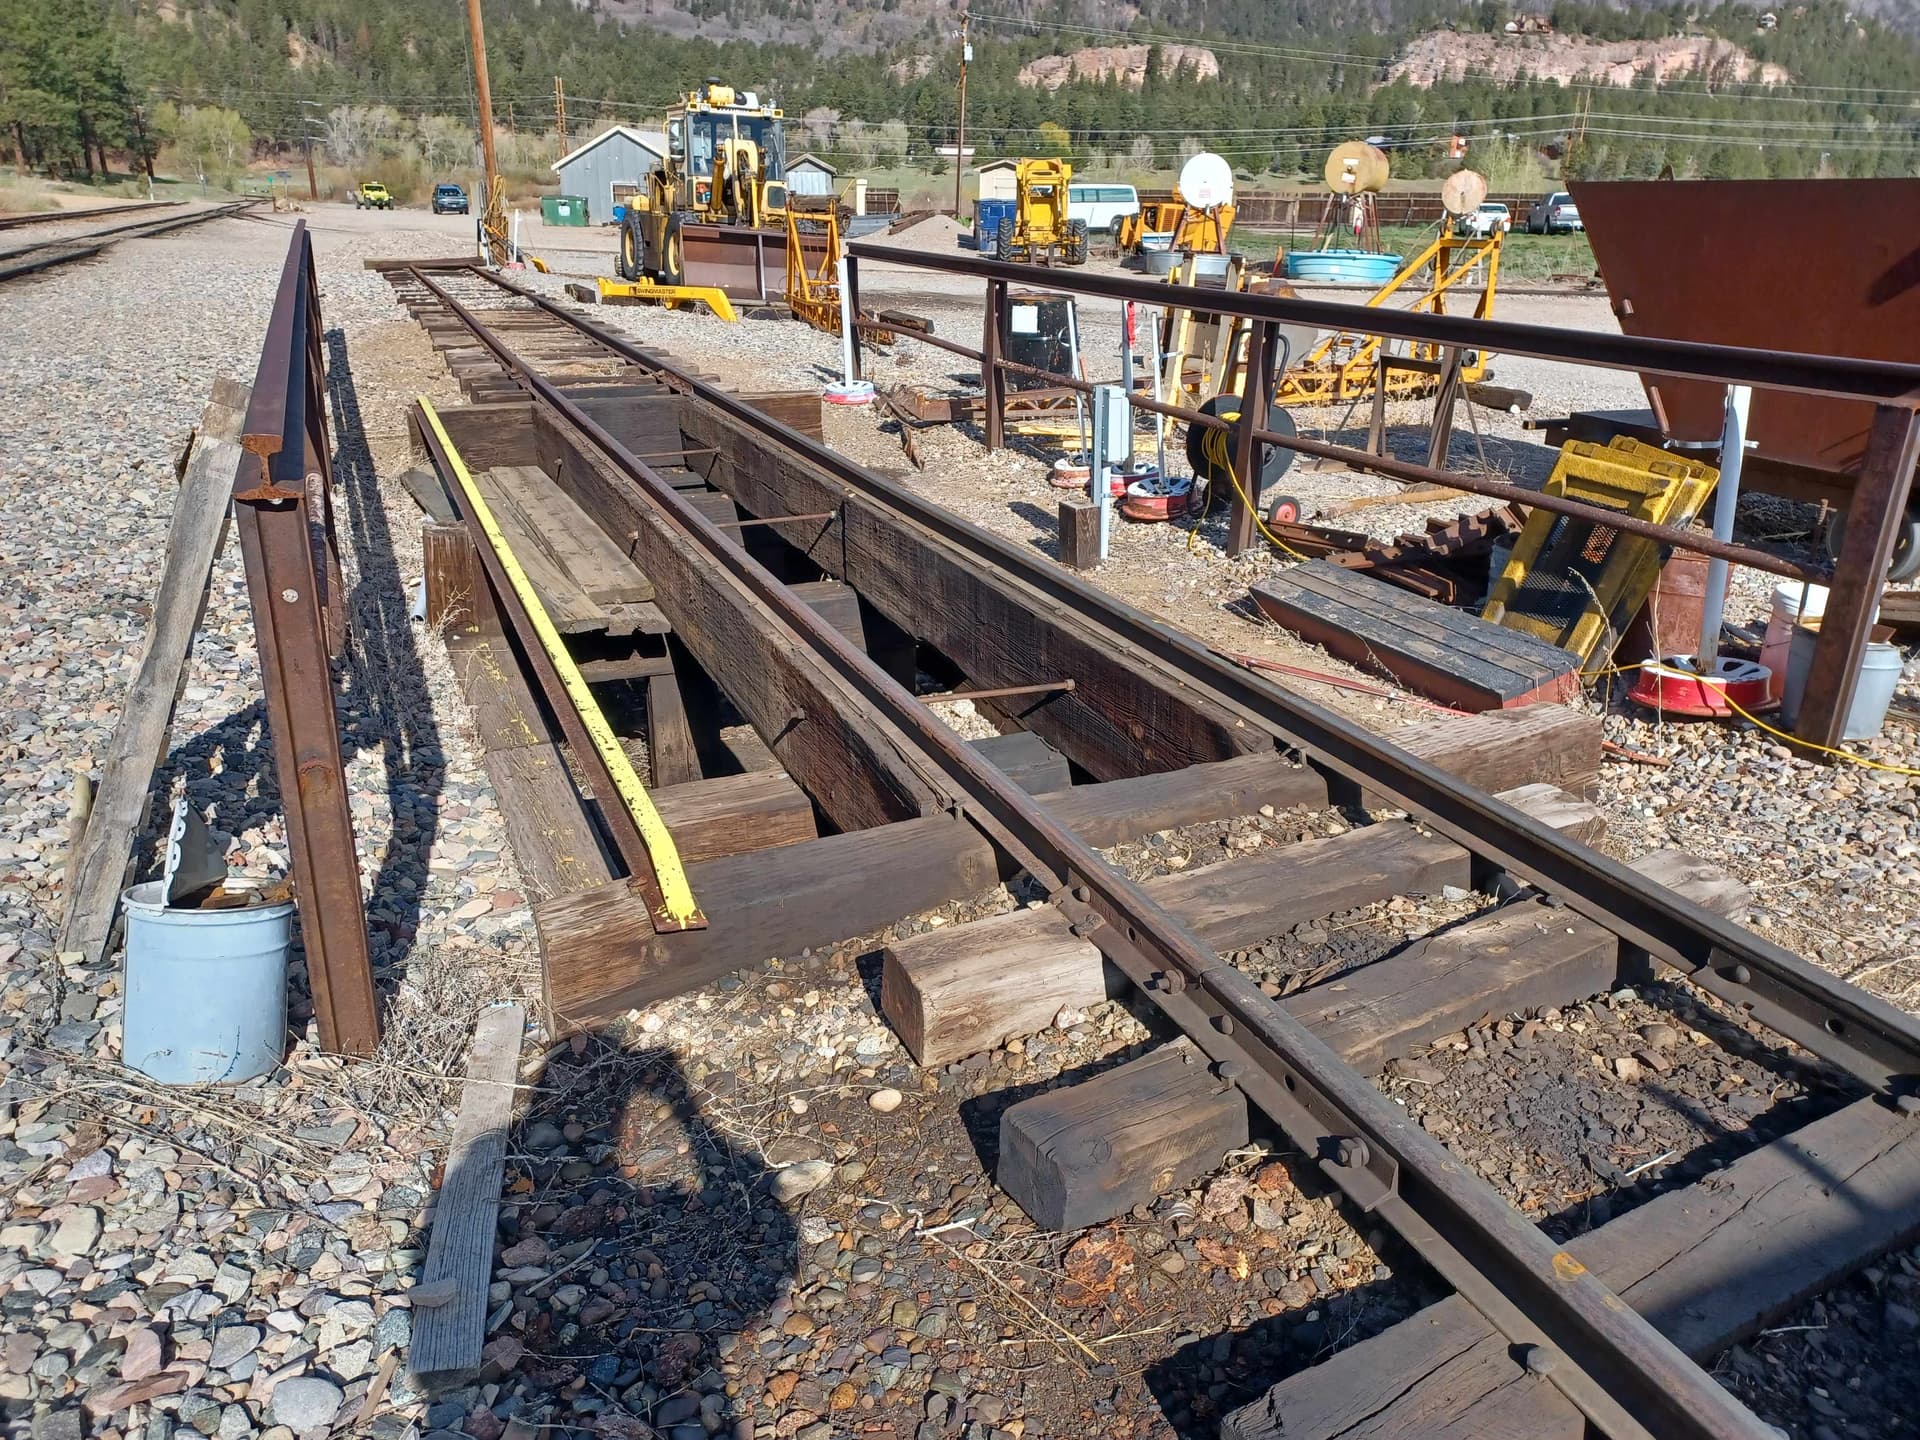
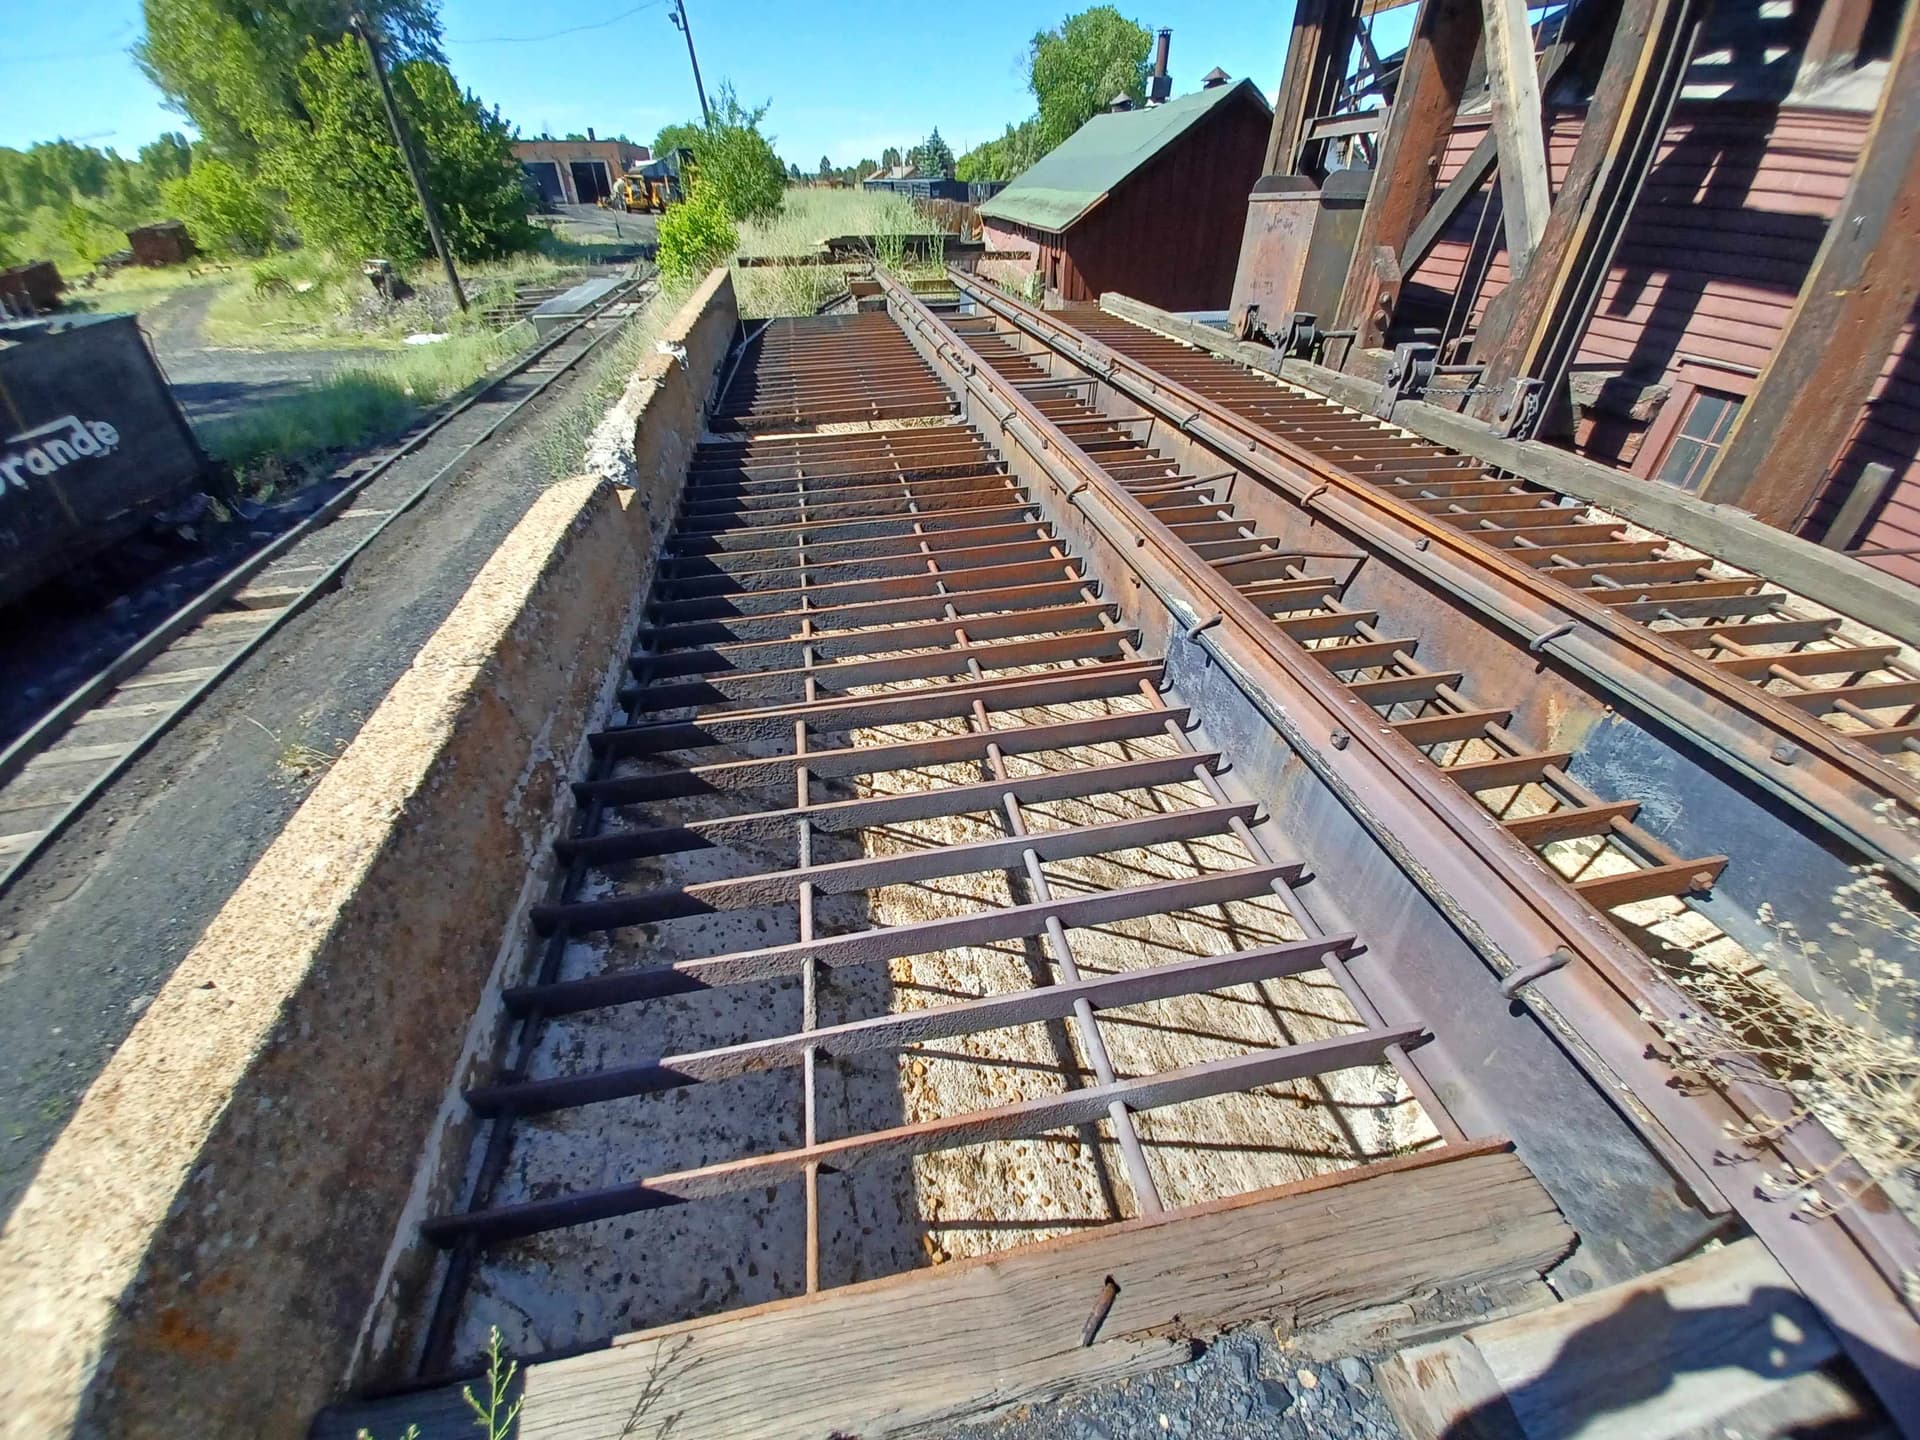
I made a new ore and coal receiving bin for a straight track similar in style as this servicing pit at Rockwood along the Durango & Silverton RR.
Similar to the receiving bin at the Chama coaling tower.
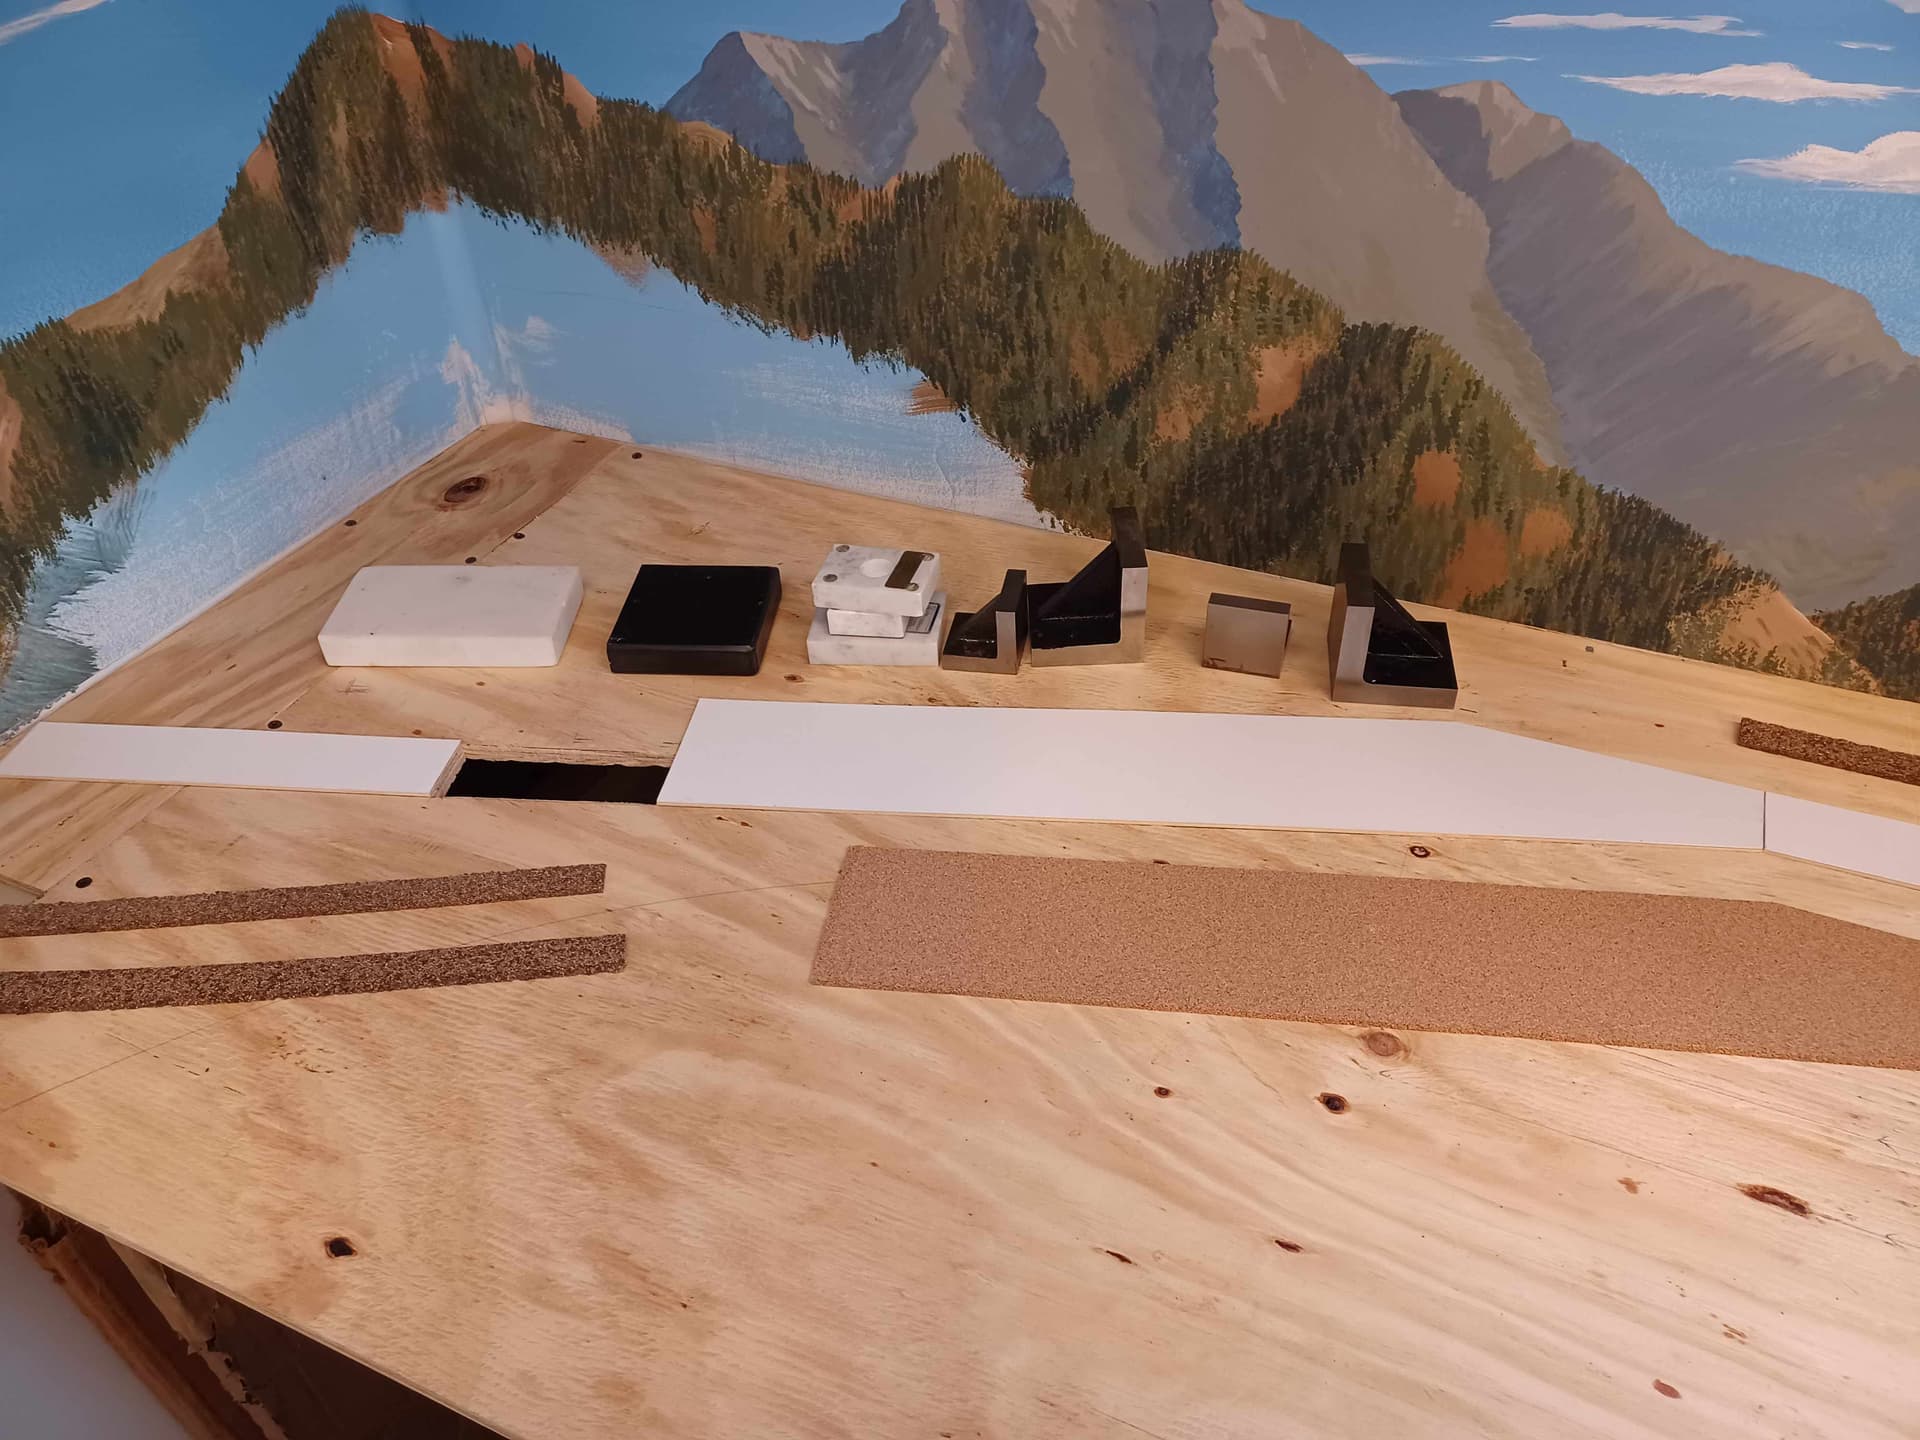
The mine / mill tracks will be a little more elevated than the yard. I used some matboard for the extra height. Here is the new bin before painting, and the hole cut in for it.
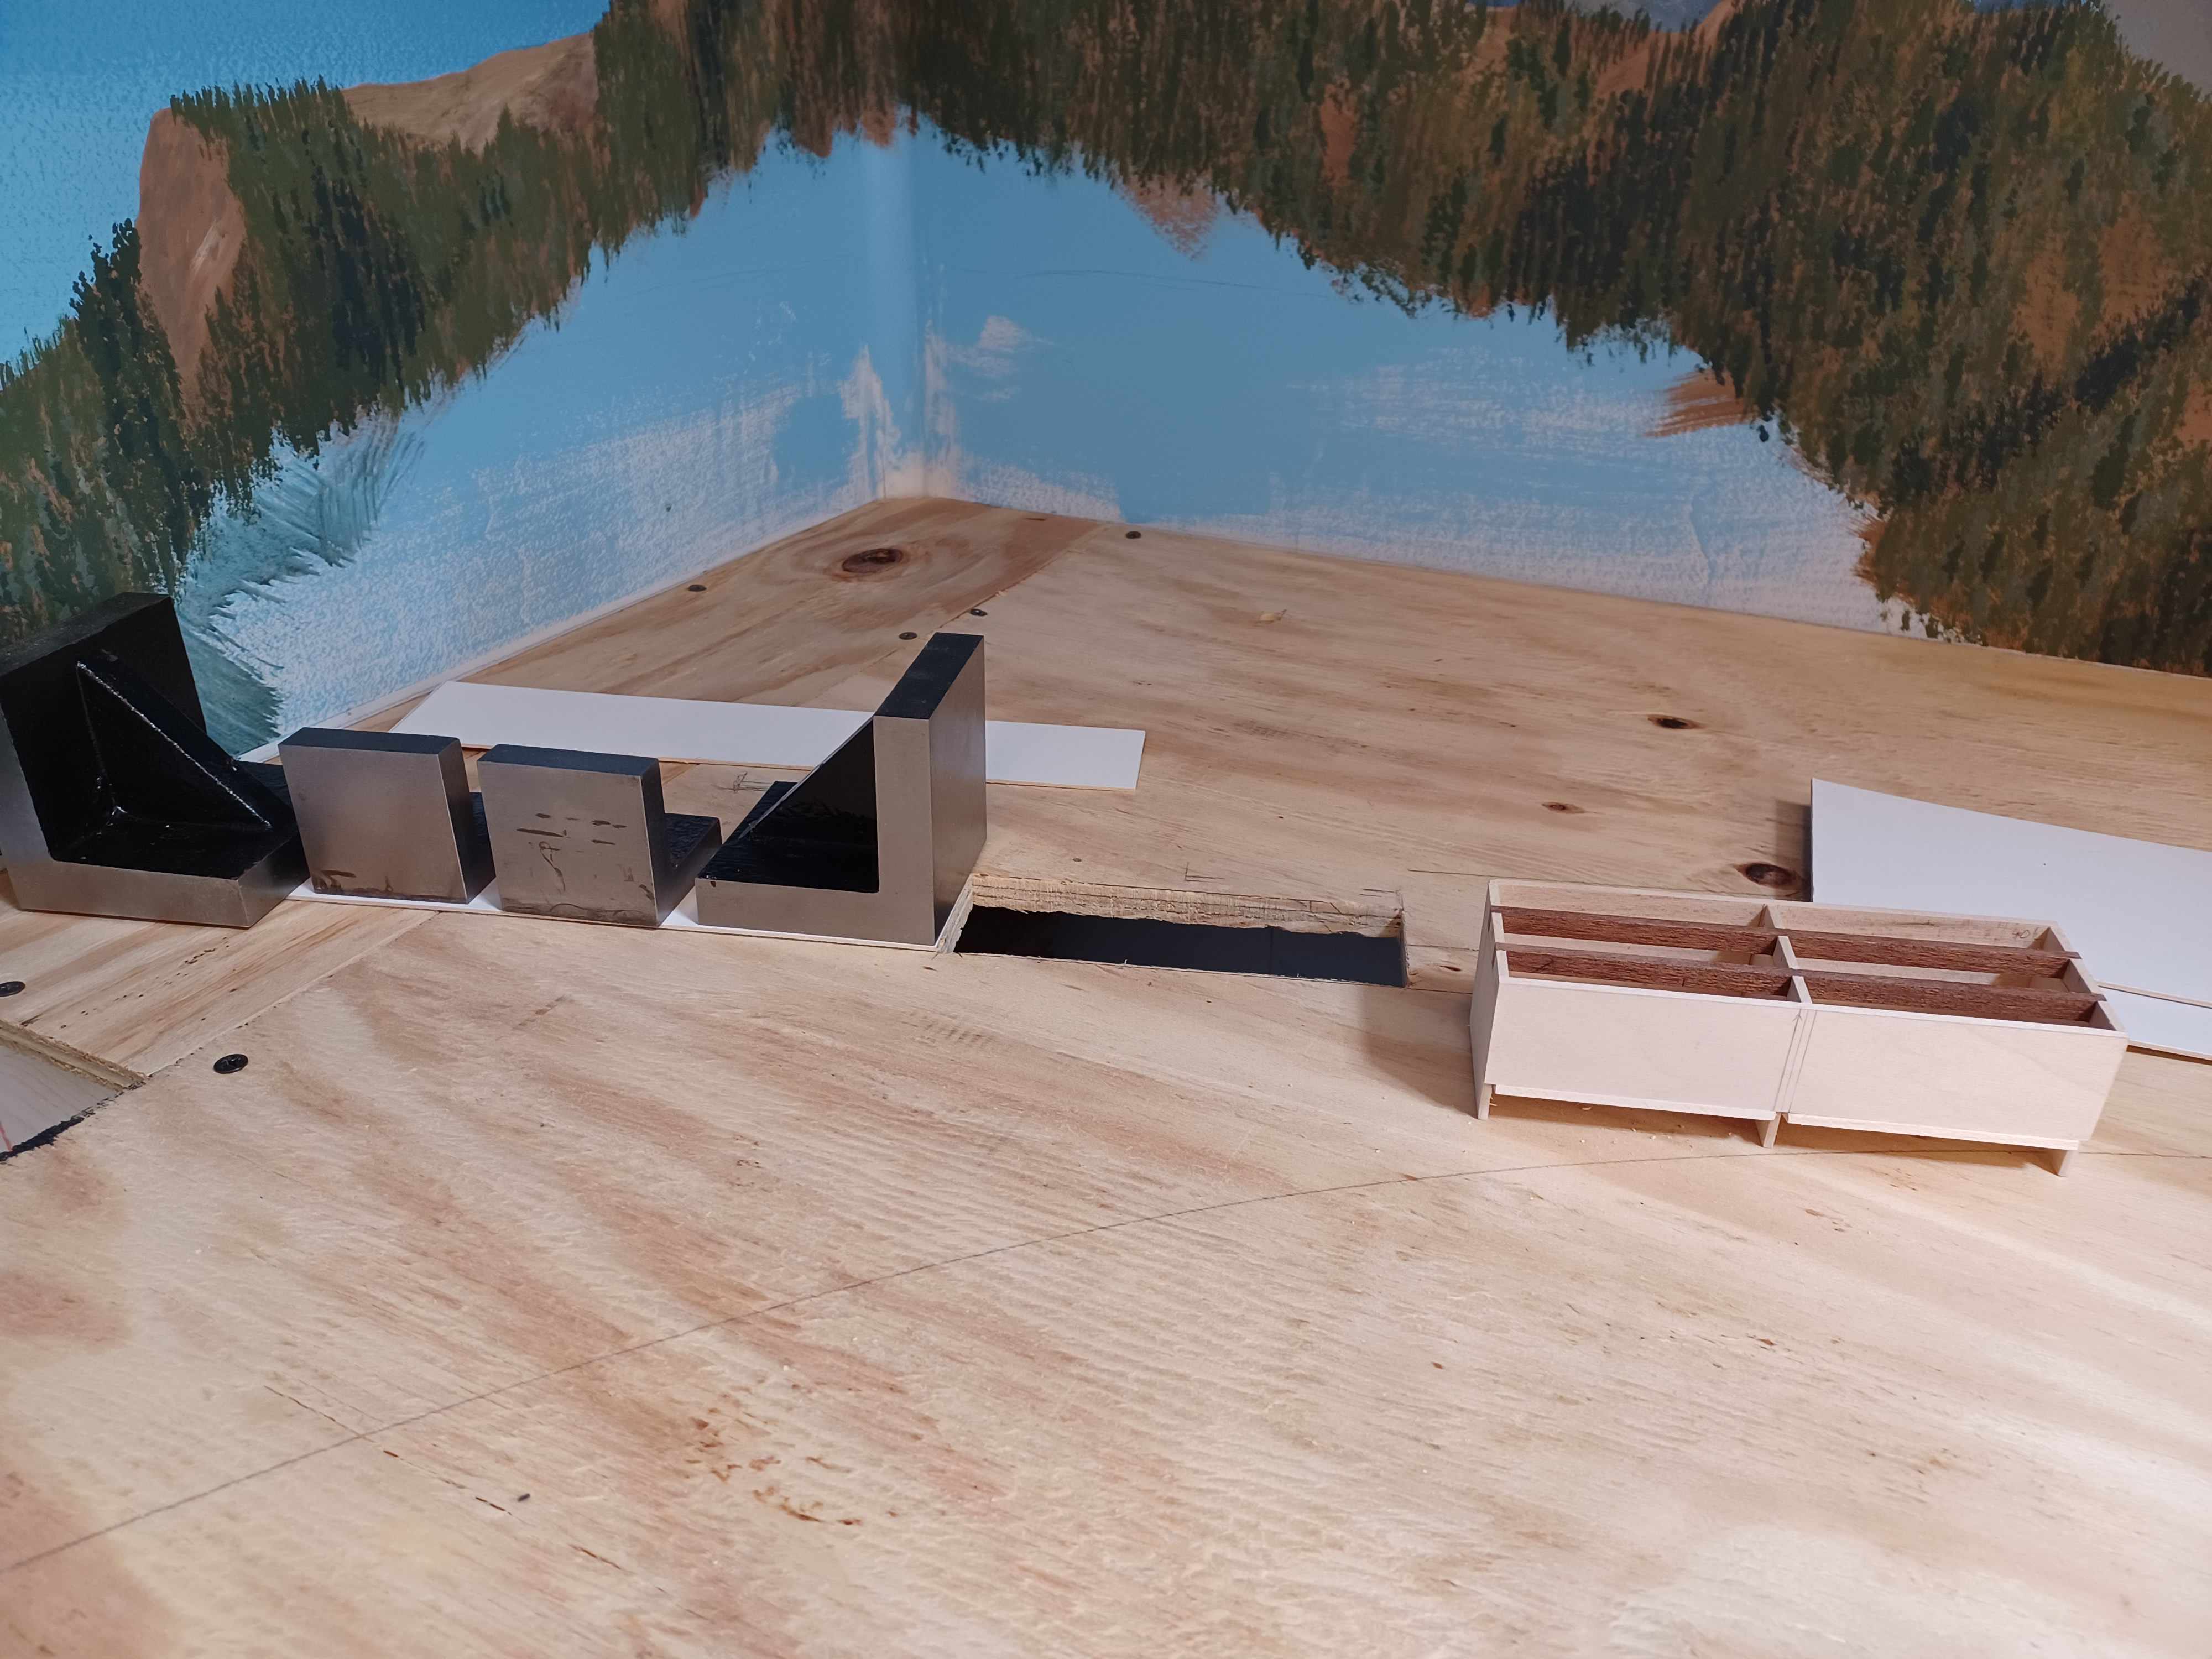
Stepped up the grade using mat board and card stock. Smoothed in with spackle.
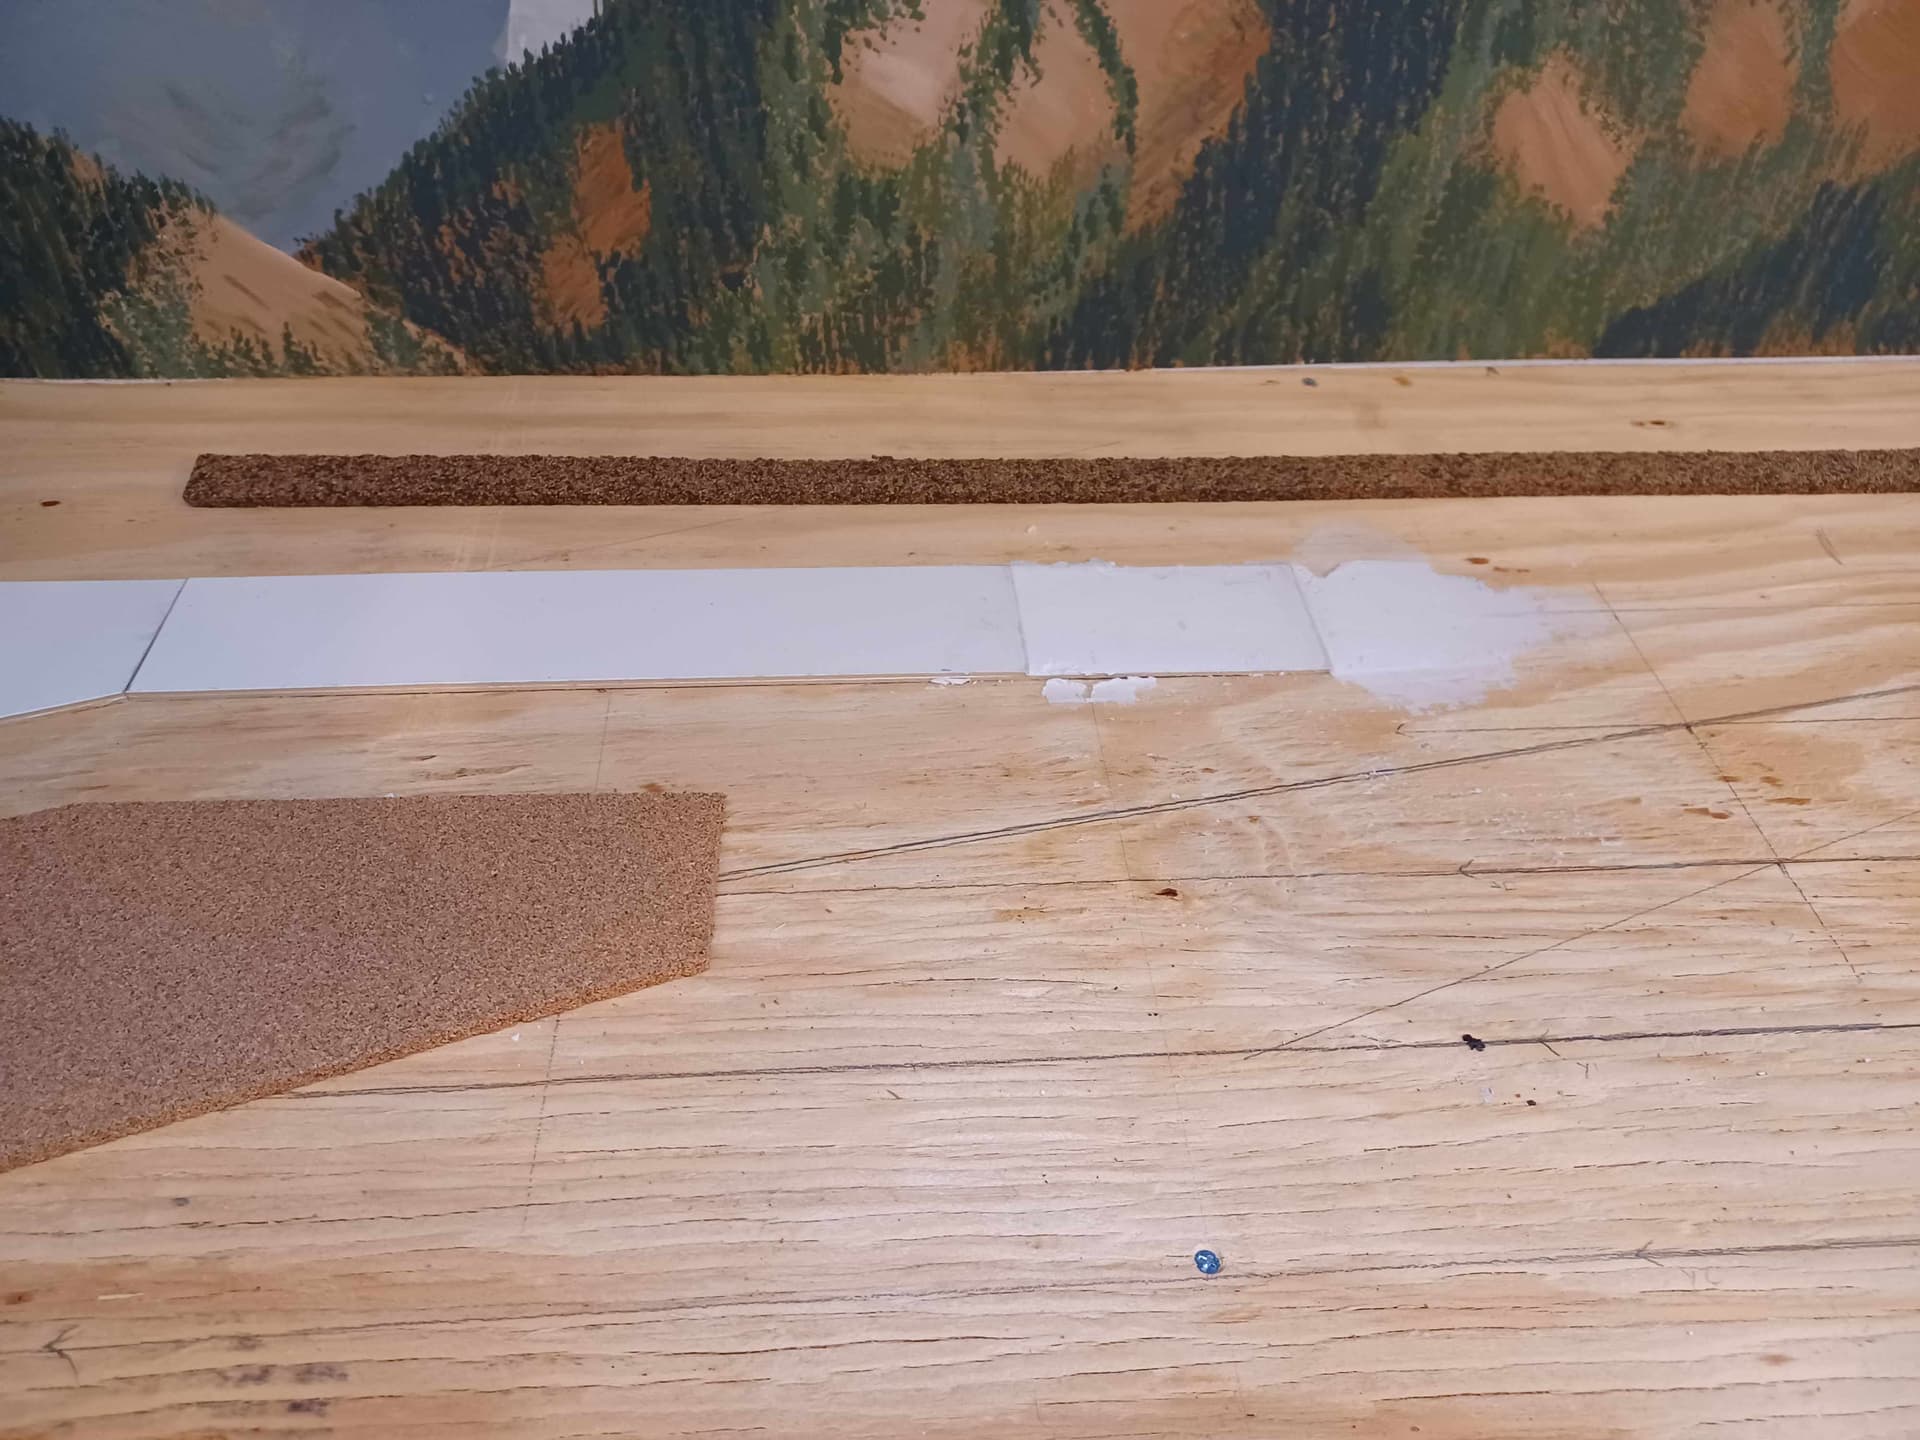
I bought a box of 3/16” cork sheets that matches the thickness of Midwest HO cork roadbed. Cork sheets will be used for the yard as well.
10 Likes
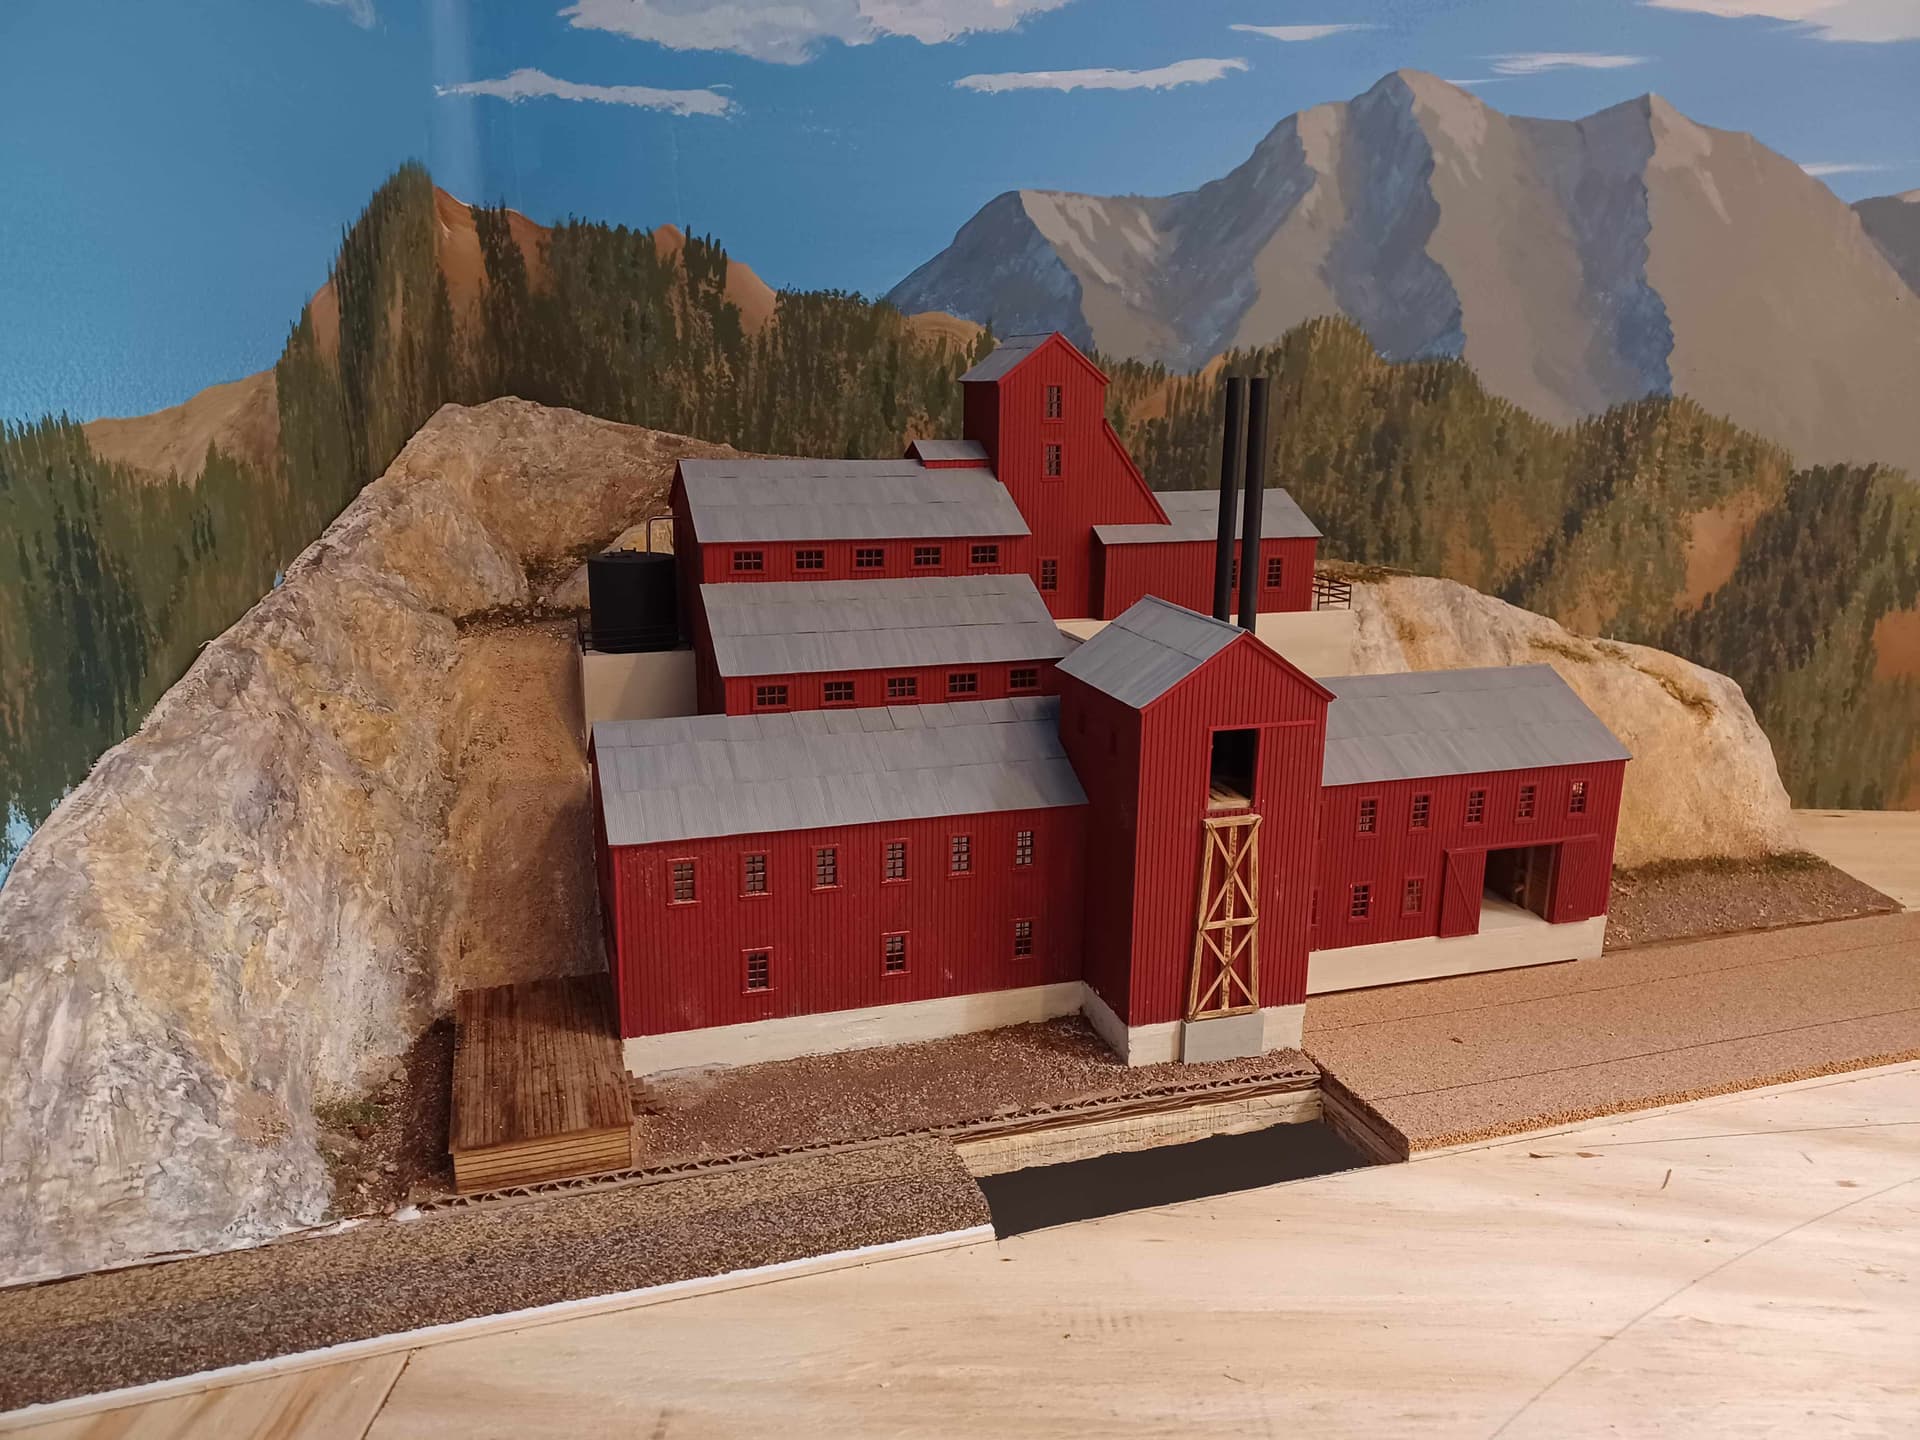
I’m the superintendent of the Silver San Juan Division of the National Model Railroad Association. I helped set up the 2025 Rocky Mountain Region Convention held in our four corners division area. I figured I might as well dress up the mine / mill and submit it for merit judging and the model contest at the meeting. I like to see people’s models at our meetings. My contribution.
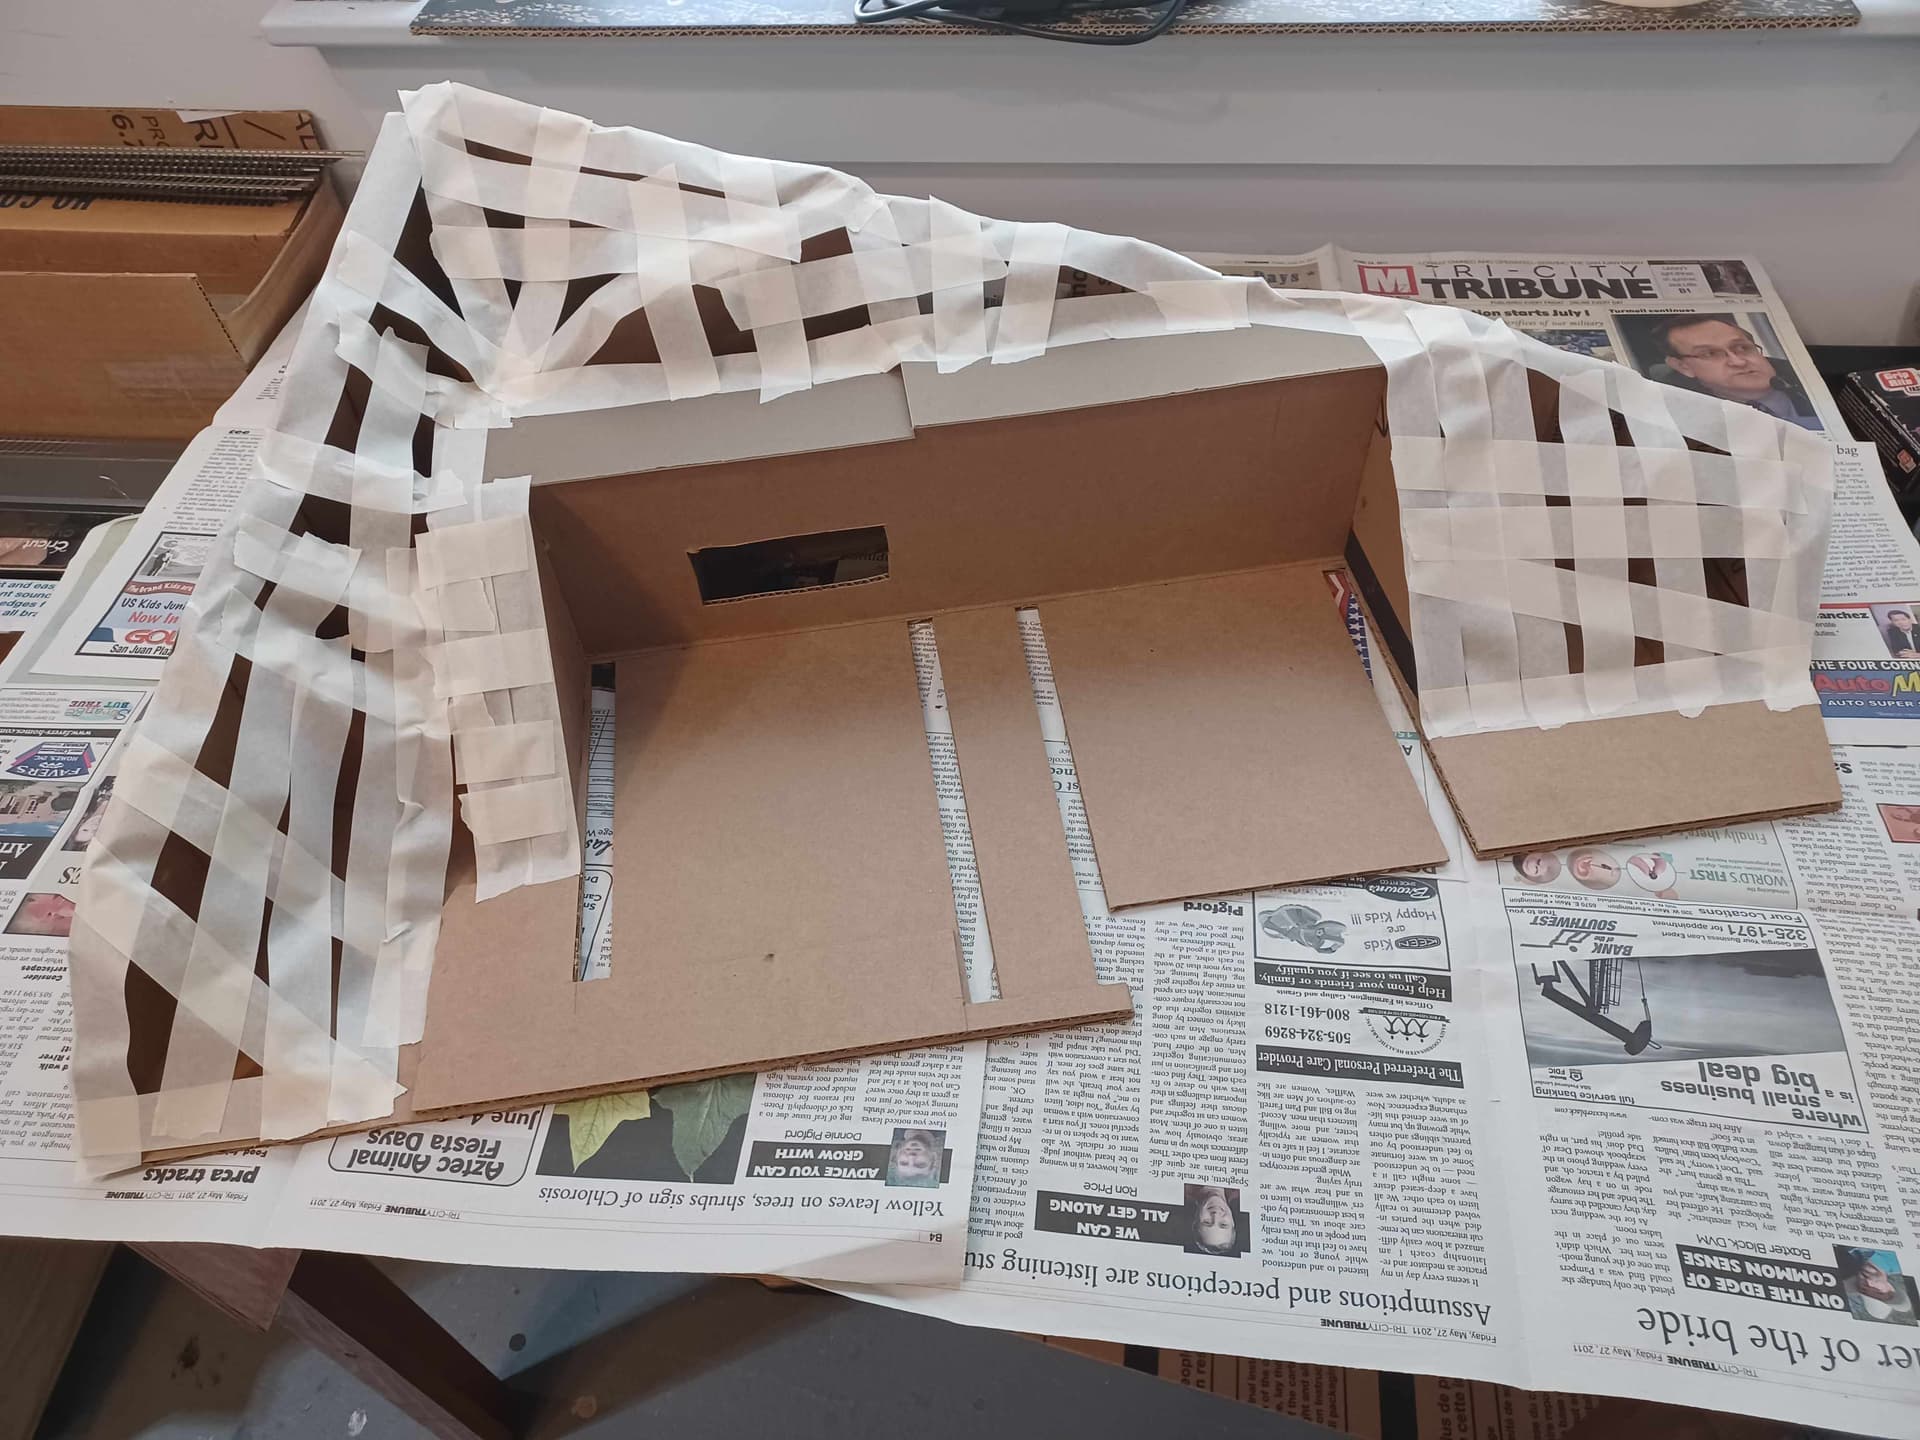
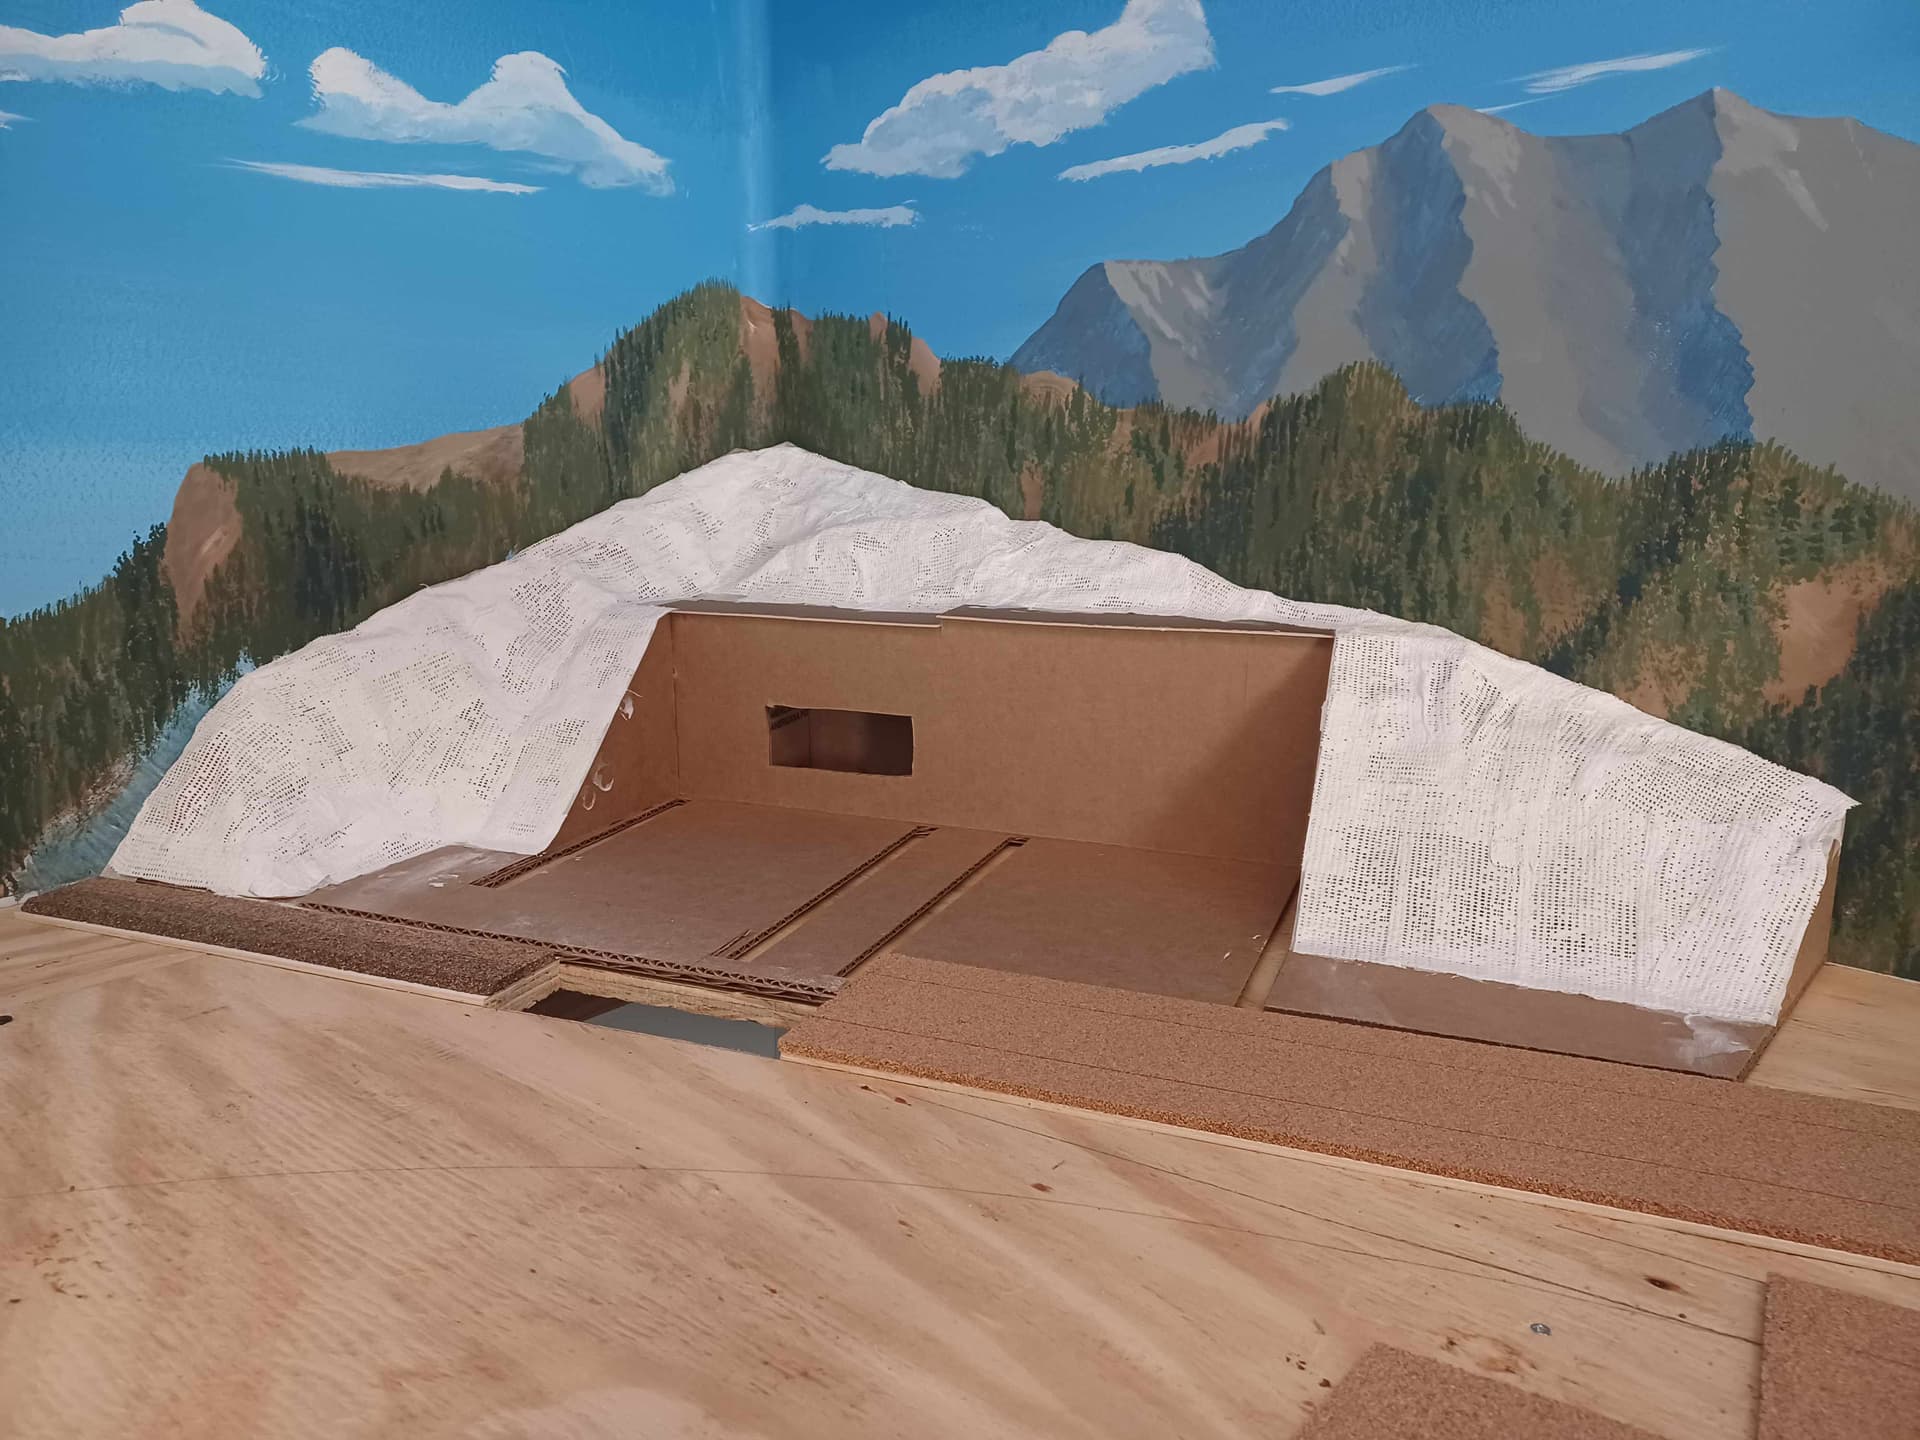
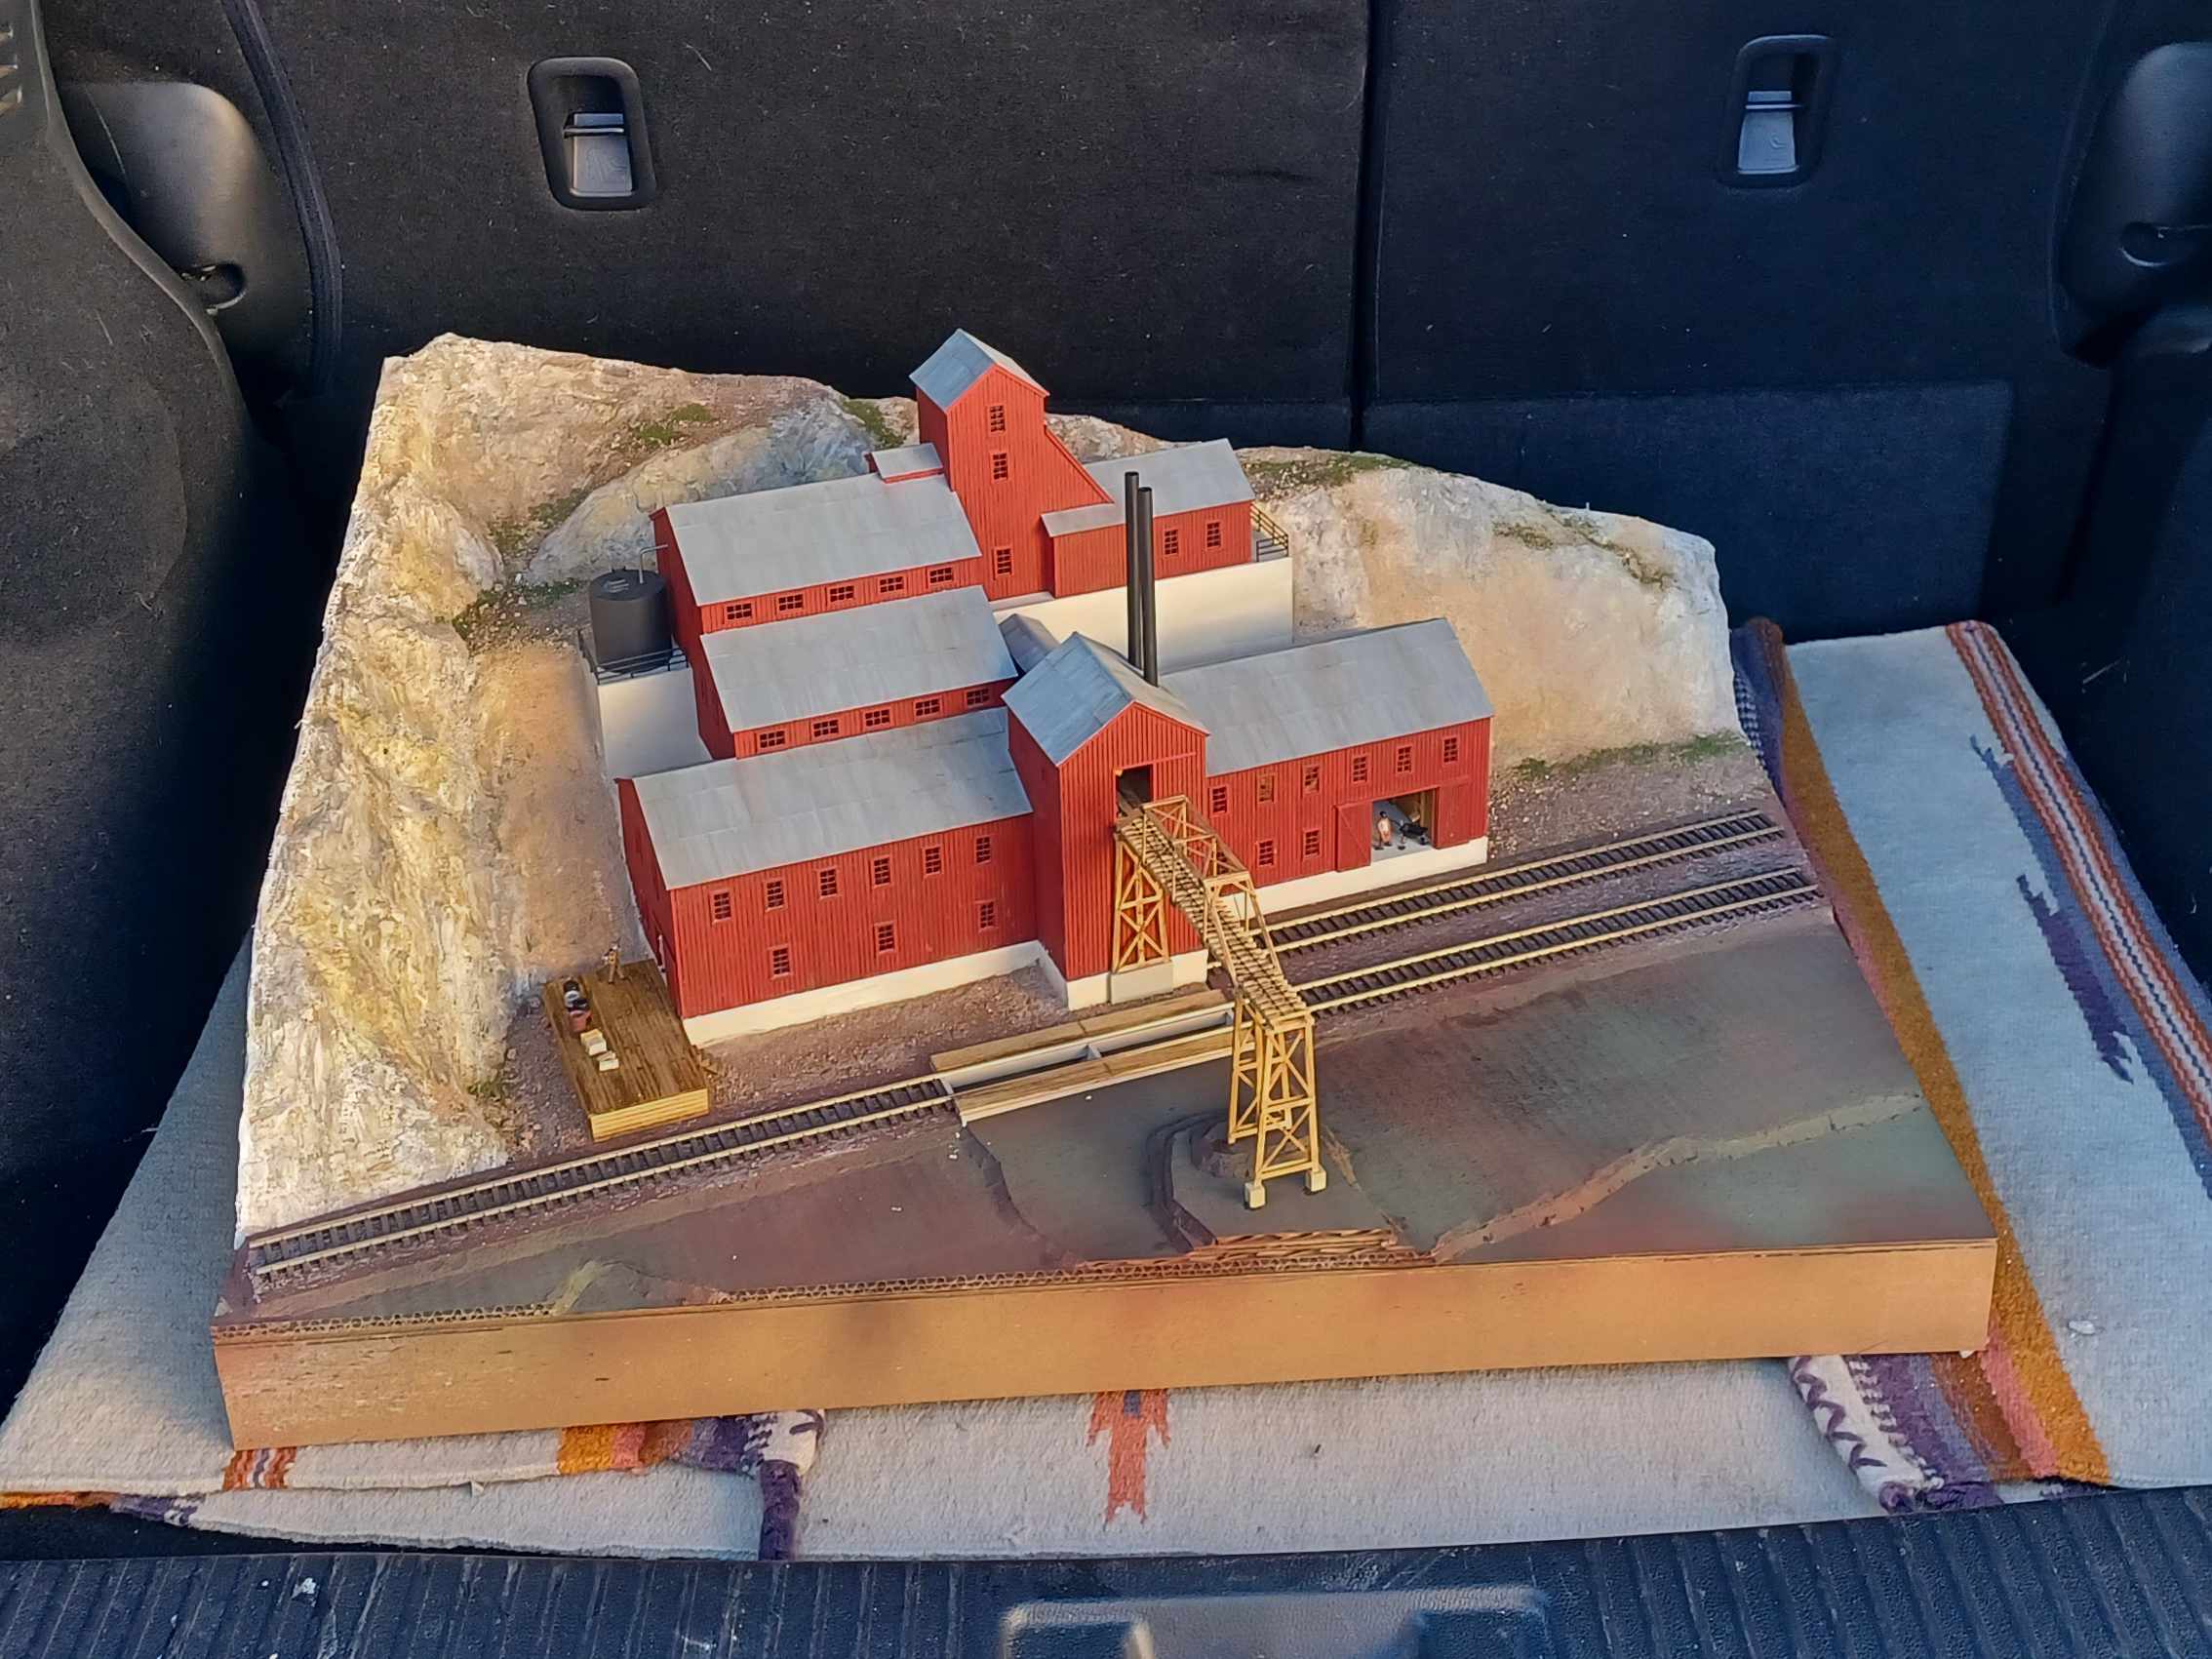
So I made the scene here removable, a cardboard diorama for the model display.

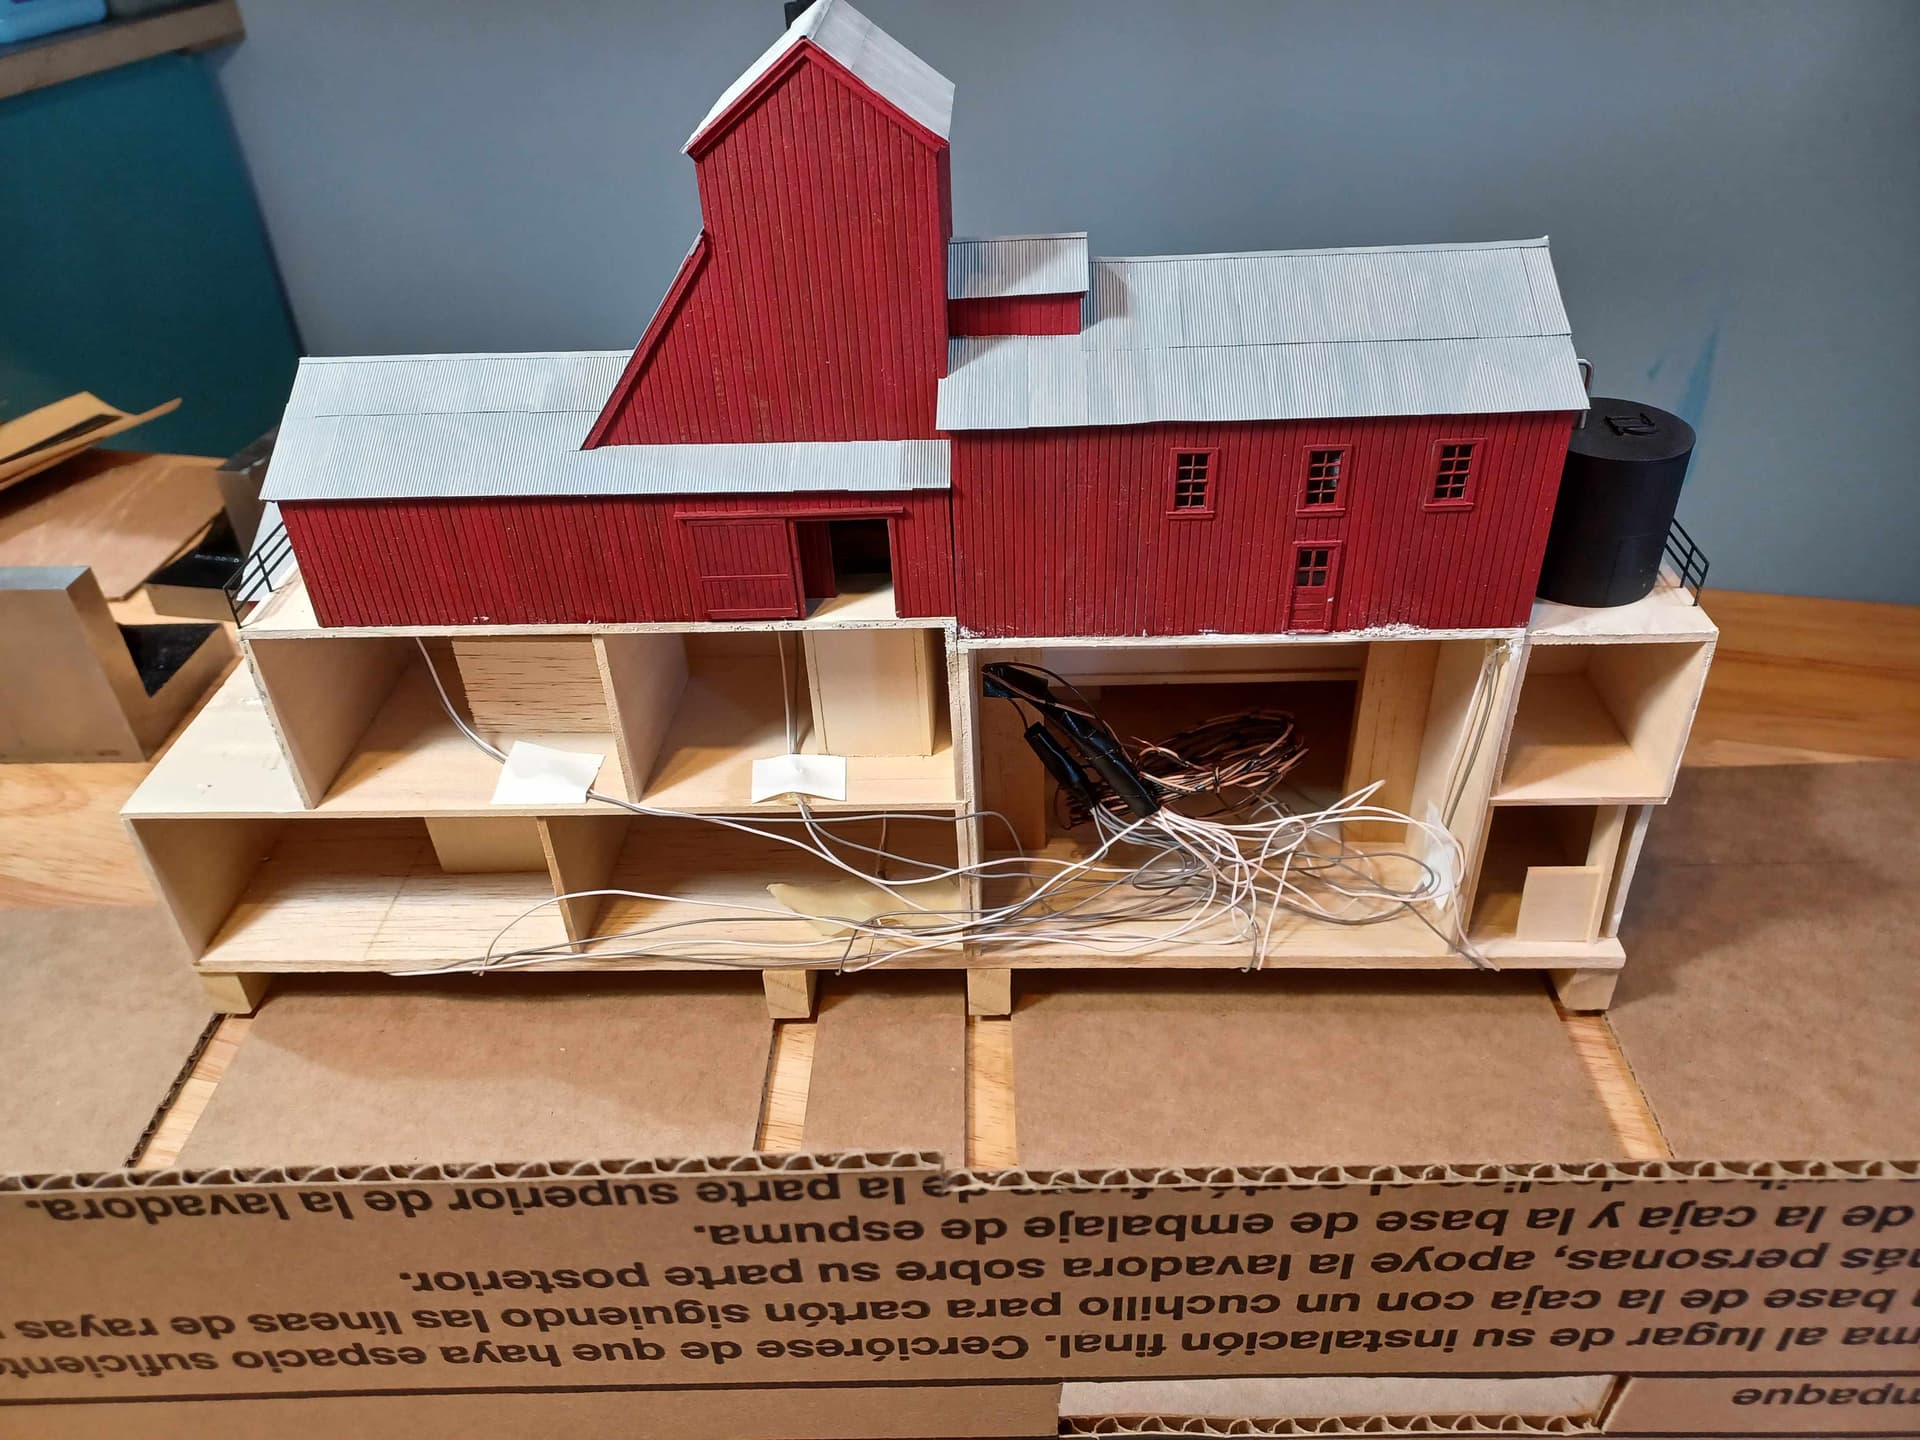
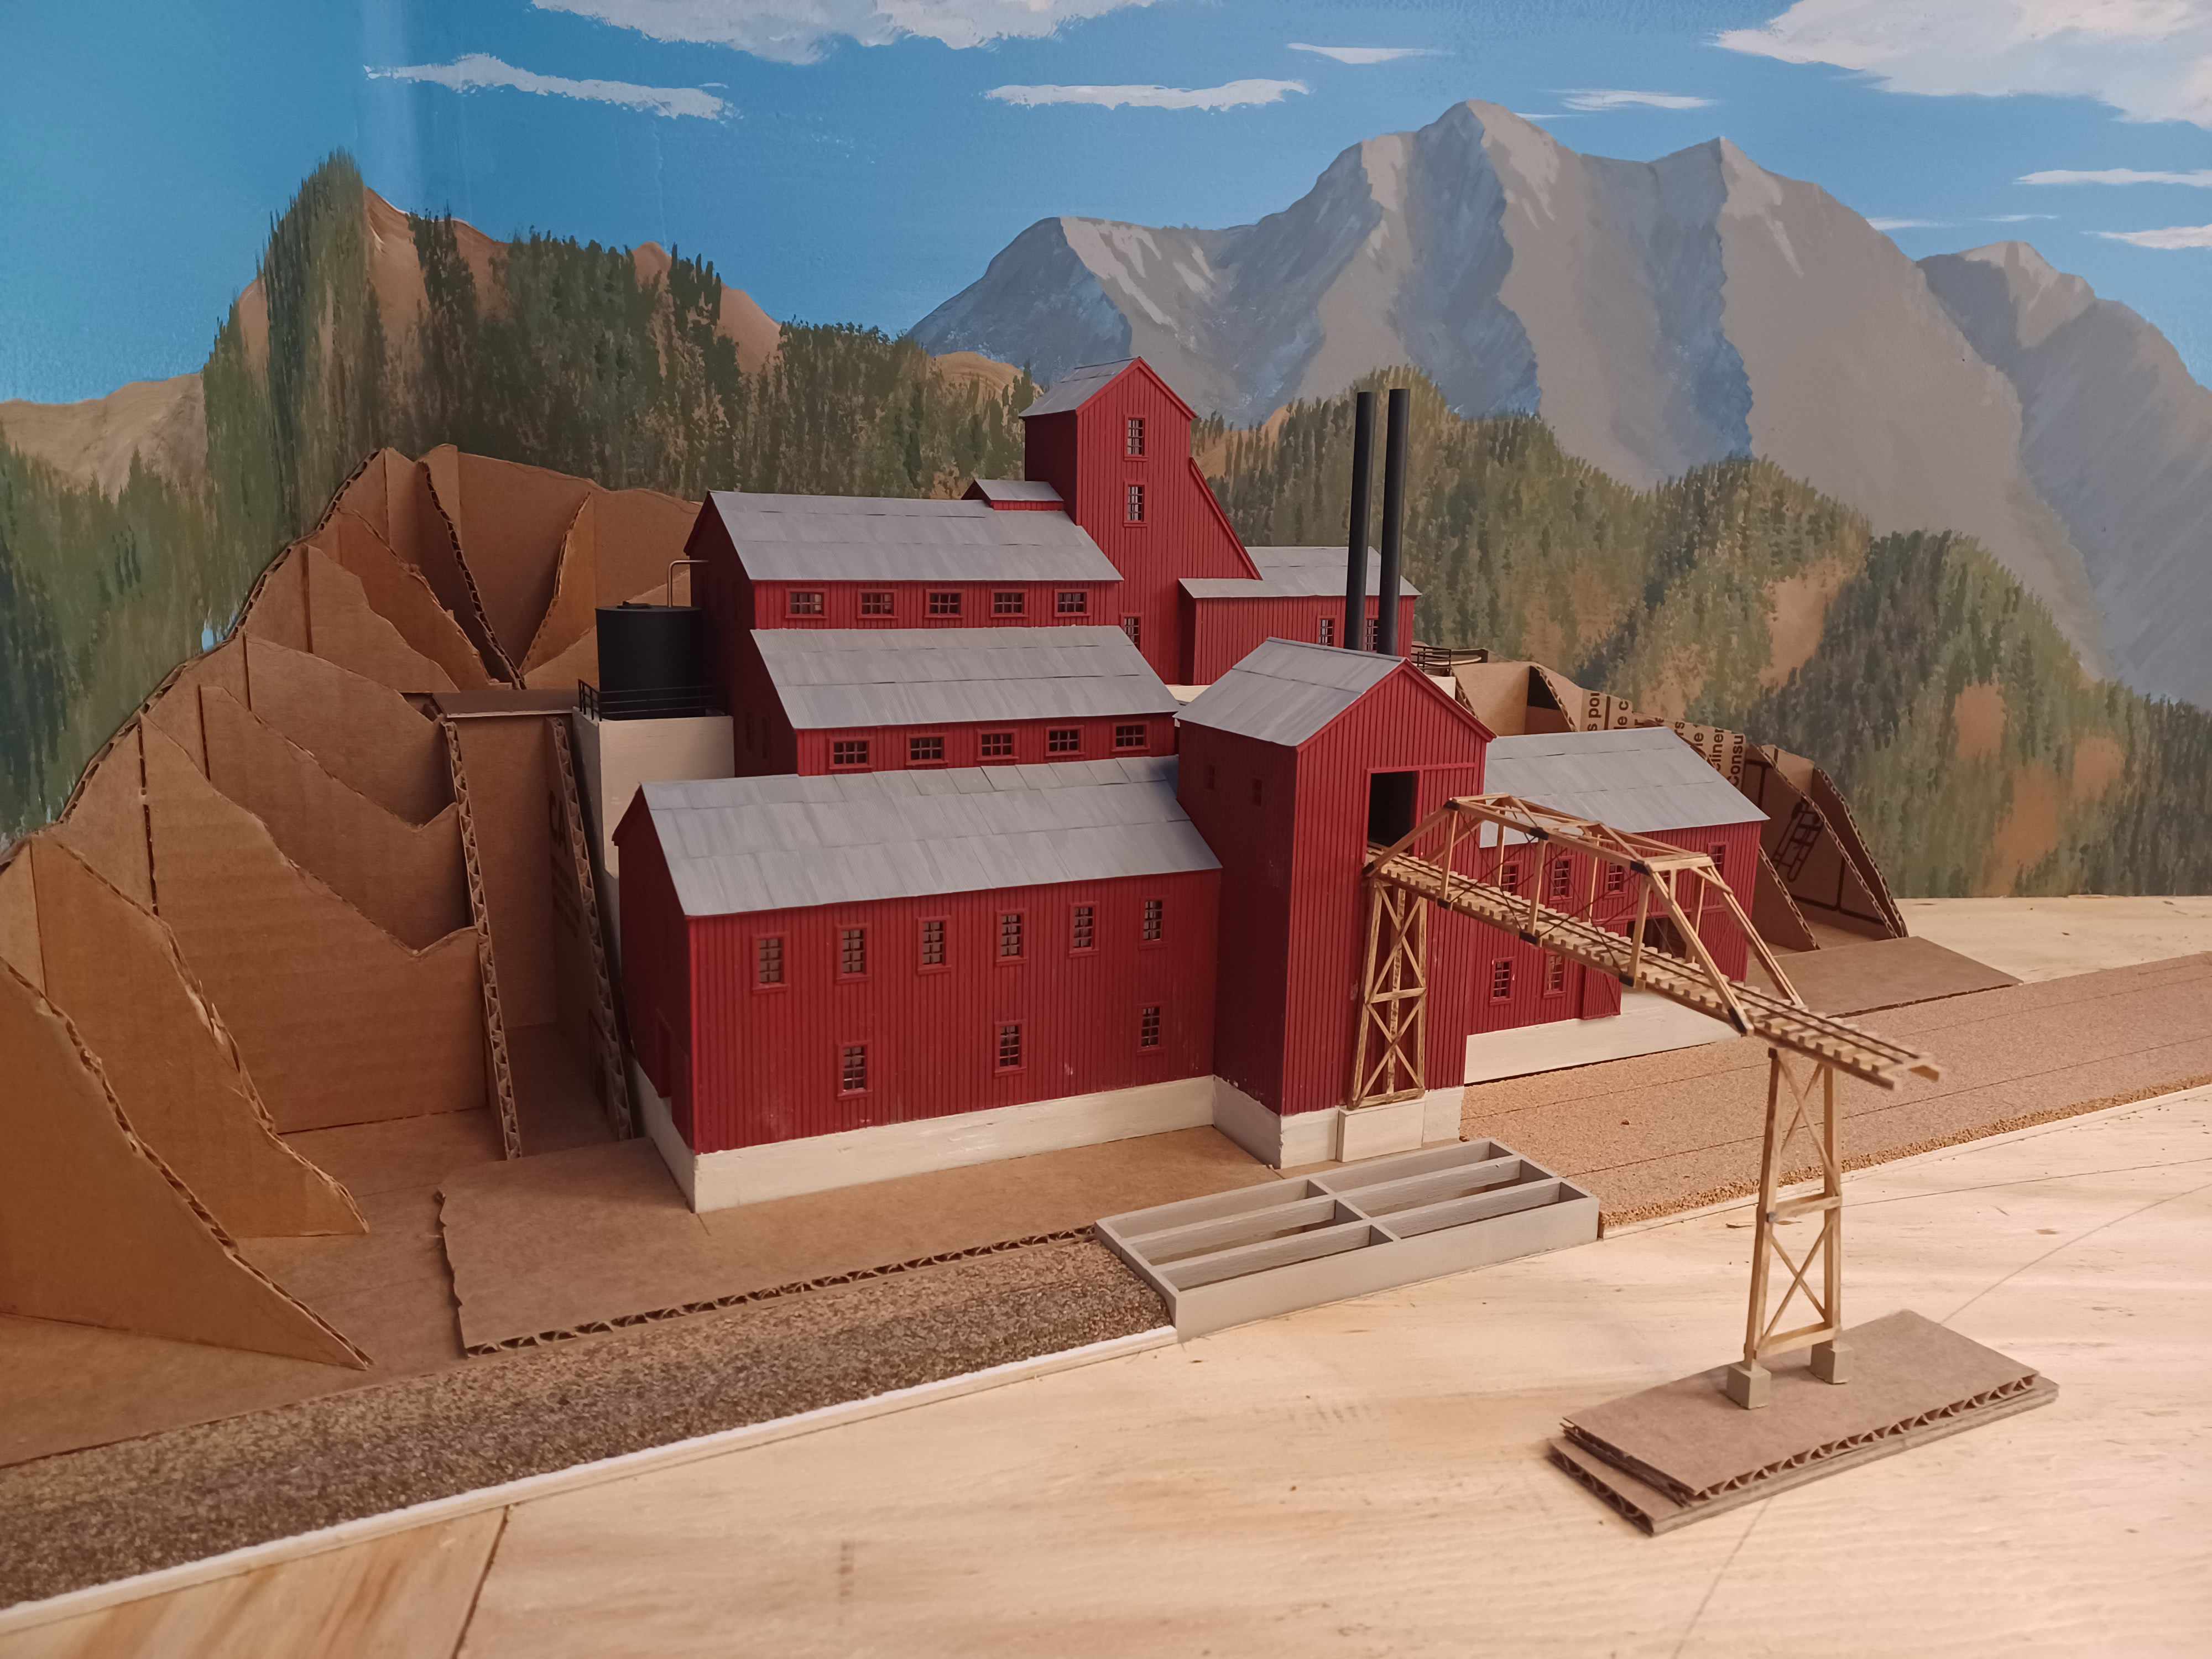
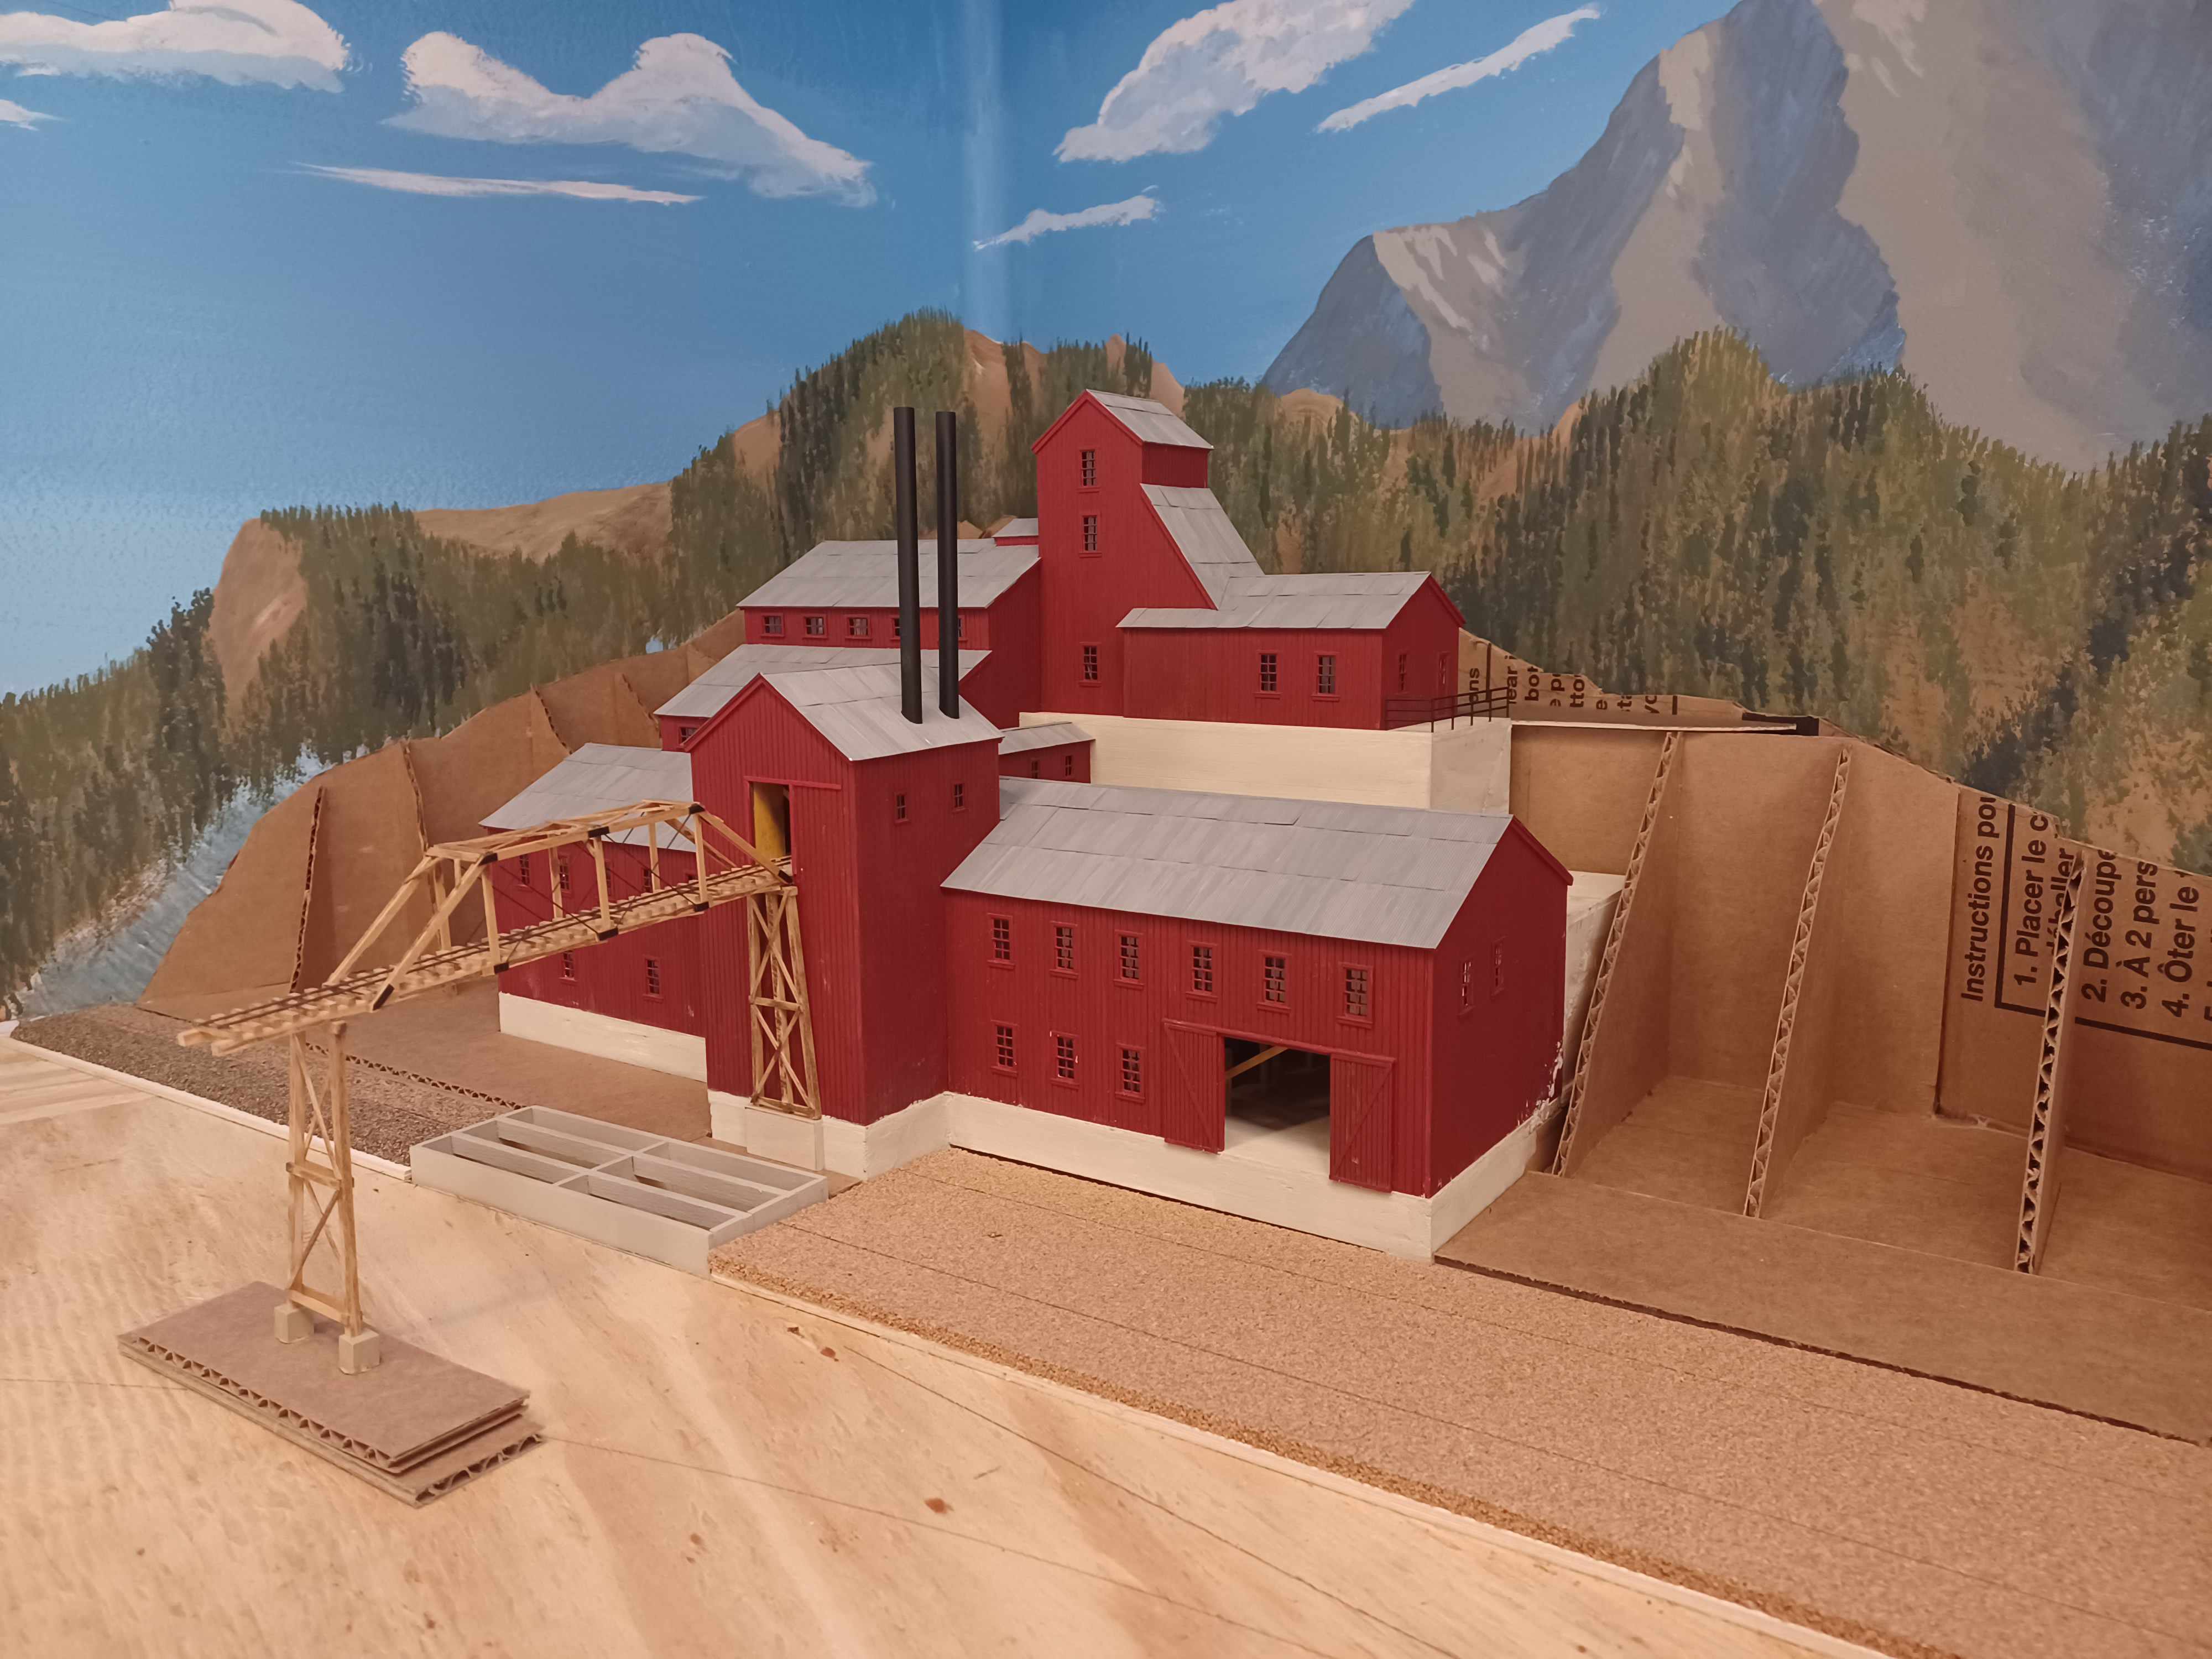
I made some modifications to the building foundation, added a loading dock, and some weathering.
I was under a time crunch to get things ready for the meeting and did not take any further photos of the “box” construction. It turned out pretty stout. I made a battery with a switch that powered the interior lighting. I could not resist this shot of the scene in the back of my car heading up to Durango early Friday Morning.
12 Likes
Nice!
3 Likes