Today I did a mockup of the lights I want to put in the RH. I used this array wizard and used the suggested resister on the four lights in the series. The lights get duller the further you go along the string. I did not expect this with just four lights and am wondering why. Is the array wizard just wrong or am I doing something else wrong?
I am glad I did the mockup and tested things, methinks the only way to get even light from the LEDs is to put a resister on each LED.
Yes, it is an old adapter from something. I save them all when I throw the devices out. The meter shows 15.4v when I tested it. Close to a DC transformer.
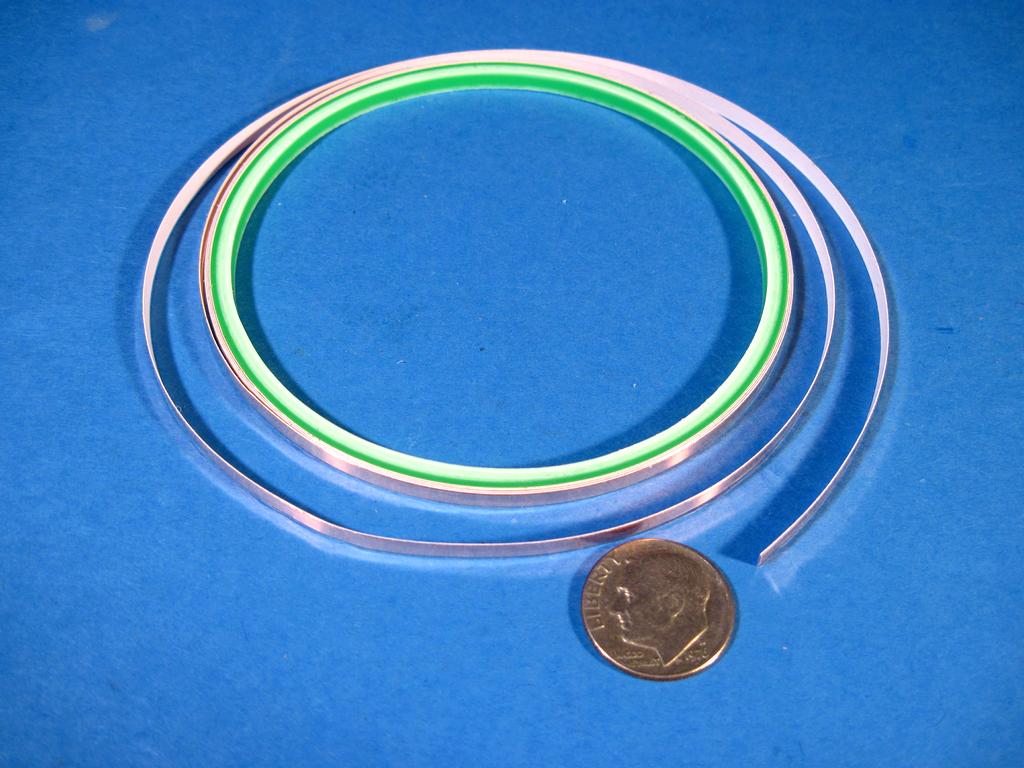
It’s a good thing I order a smorgasbord of resisters from Digi-Key, I am ready to go that route. Instead of wires going everywhere I have used copper tape along the roof support beams, I then only have the #38 magnet wire hanging down with the Ngineering light shades from those beams. It actually looks really good, really clean. Once the soldering is all done I will paint the copper tape and you will never see it. It is easy to solder the SMD resistors to the copper tape just bridging a little nick with the blade.
If it is a wall wart, they usually measure higher when not loaded at the rated current. Look at the rating on the pack. Many times these packs are not regulated. I have seen that many times and others here have noted that. Just a thought.
I normally use 12 vdc. to maybe slightly higher. Many times I have made LM317 voltage regulators and trimmed them to about 12 vdc with a trim pot. If I used a couple fixed resistors, they might be around 12.5 vdc or so, not a big deal. Depends on what I had in my stock of fixed resistors.
I started using copper foil tape for my HO lighting circuits about a year ago, works great inside my passenger cars. It doesn’t have much holding power so you have to be careful when moving parts after soldering them to the foil, the foil tears easily.
I attach the parts, LEDs and ⅛watt resistors, to the surface with glue before soldering them to the tape. This prevents accidently lifting the tape from the surface.
Like Brent said after painting it’s very hard to see the tape even knowing where to look.
do you mean that within each group of 4 LEDs in series, the LEDs get duller further from the +15V , or that an entire group of 4 LEDs and resistor is duller further from the +15V?
i find it hard to believe that the LEDs in series would have different intensity since the same current passes thru them all.
in the later case, is the voltage across the group, measured at the LED connectde to +15v and the resistor lead connected presumably to the ground of the +15V supply (not shown), the same for all groups? If the value isn’t the same across each group, is there a drop between the +15V and the LED?
If all of the LEDs are out of the same ‘batch’ they should have the same characteristics and should take the same amount of current for equal brightness. Mixing LEDs not in the same manufacturing ‘batch’ could be different.
I buy my LEDs in batches of 100 or more to make sure they have the same characteristics.
If they were all bought at the same time in one ‘batch’ they should all perform the same.
The four lights in the series (each individual light) get duller as they get away from the resistor, they have all come off the same spool so they are the same.
Here is the copper tape with the lights hanging down, once painted you won’t see the tape and it will look pretty good IMO. Forgive the soldering mess as I have had many things on and off as I have been experimenting.
Here you can see the resistor, I was playing around with the location of it, thus the mess.
Now if I can only get it working with my limited knowledge of such things.[^o)]
When you say ‘spool’ are they wired together on the spool or just packaged that way?
If they are connected together on the spool can you test them before removing them?
They should be the same brightness in series.
I reread your posts and didn’t see that the LEDs are SMT. I’m assuming you laid out the copper foil tape and slit it then soldered the SMT LEDs across a small gap. Is there a chance that something with a bit of resistance has formed under the LED, maybe something gathered up with the soldering resin or process?
Mel, I tested each LED with the meter touching the copper tape on each side as I soldered them on and they all were bright. I have a slit in the tape and the magnet wire from the light is connected on each side of the slit.
what do you mean “each side” and “slit in the tape”? suggests you’re creating two conductors with the copper tape and wiring the LEDs in parallel.
there should be a single conductor between each LED and the LED and resistor. If you remove any one LED or resistor, there should be no current flow and nothing should light.
LEDs in parrellel can have different intensities
if the copper tape has some resistance, each piece contributes to the total resistance and affect the current that should be common to all LEDs
I believe he is roiling the ⅛” wide by .003” thick copper foil tape out for the full length then placing a cut separating the tape and soldering a SMT LED across the gap making the LEDs in series.
I hadn’t thought about doing that, he has a pretty slick idea doing that.
The copper foil has about the same capacity as #30 AGW wire. I haven’t run across the specs of the tape I’m using but it easily handles 100ma for my wife’s doll houses with no measurable voltage loss in several feet.
in that case, simply “slitting” the tape may not completely separate the two ends. Any partial contact may provide a higher resistance path for some current, which could explain the problem except for the part that the LEDs are dimmer further from the resistor.
it would be better to cut the copper tape twice and remove a section
Haven’t had a chance to get to the trainroom yet but Mel is correct in how I am hooking them up and I did make two slits and removed the piece between the slits. Thanks for your help so far guys.
Edit; if you click on the pic to enlarge it you can see the gaps.