My Name is marco and iam from switzerland. i started my layout build last year, so iam more or less a year in. i first started as a “classic” european modelrailroader. a modelrailroad that runs in circles. but when i dug deeper and more and more american youtubers showed up in my feed, i saw something “new” for me. Shelflayouts, point to point. and since iam a huge fan of the north american railroads i knew what to do.
so i put away my swiss N scale layout (iam still working on it from time to time) and started my H0 Scale layout. As Railroad i fell in love with the CN. Those engines are just looking great with the paint scheme, i also have others from BNSF or NS and SOO but my main railroad is and will be the Canadian National.
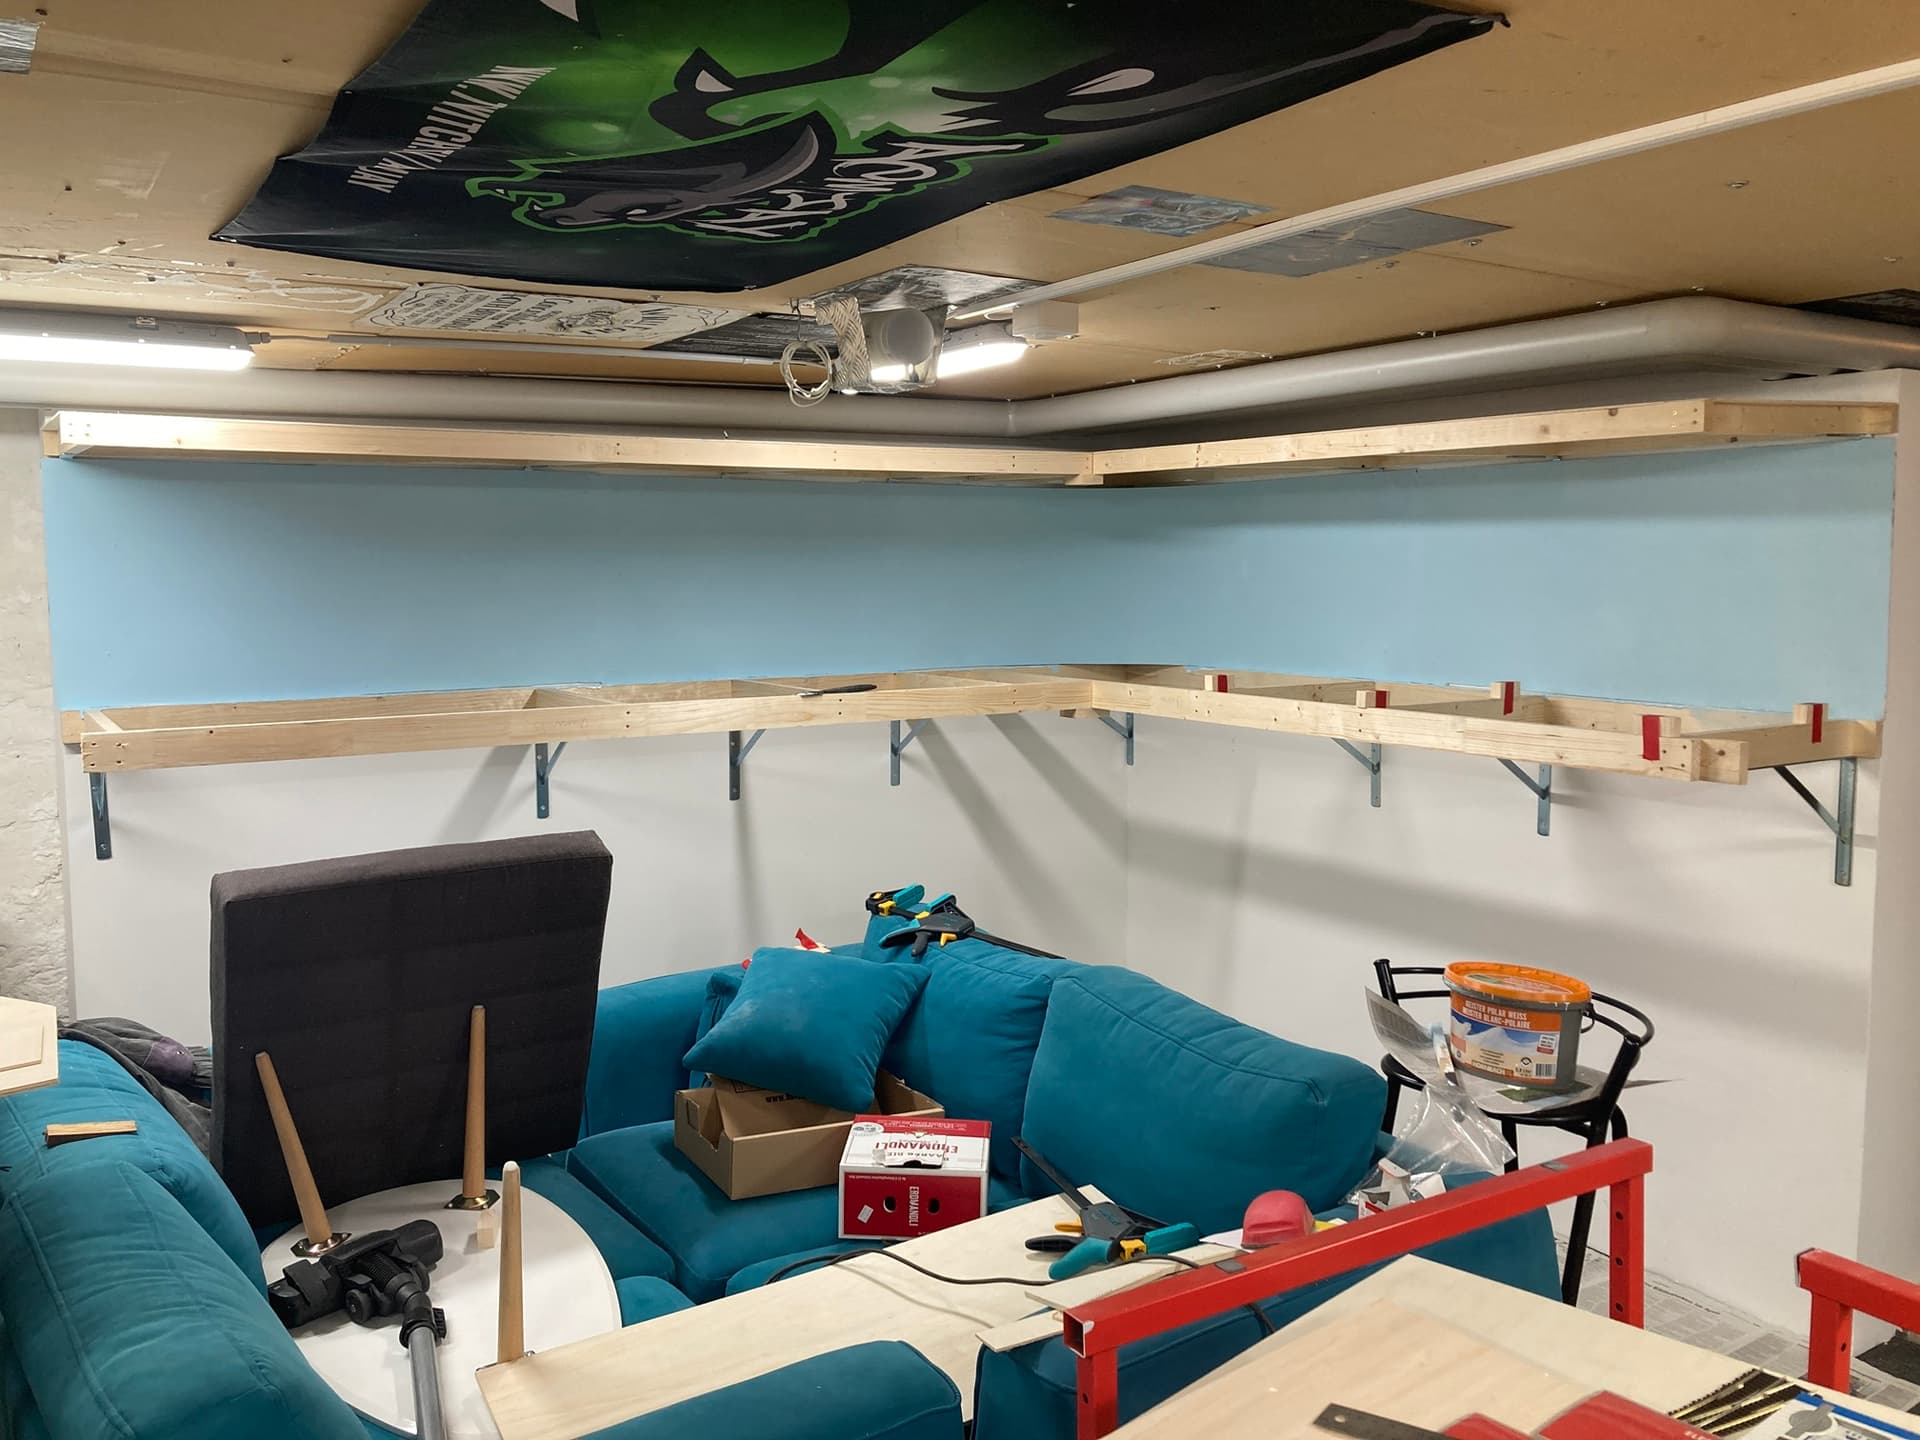
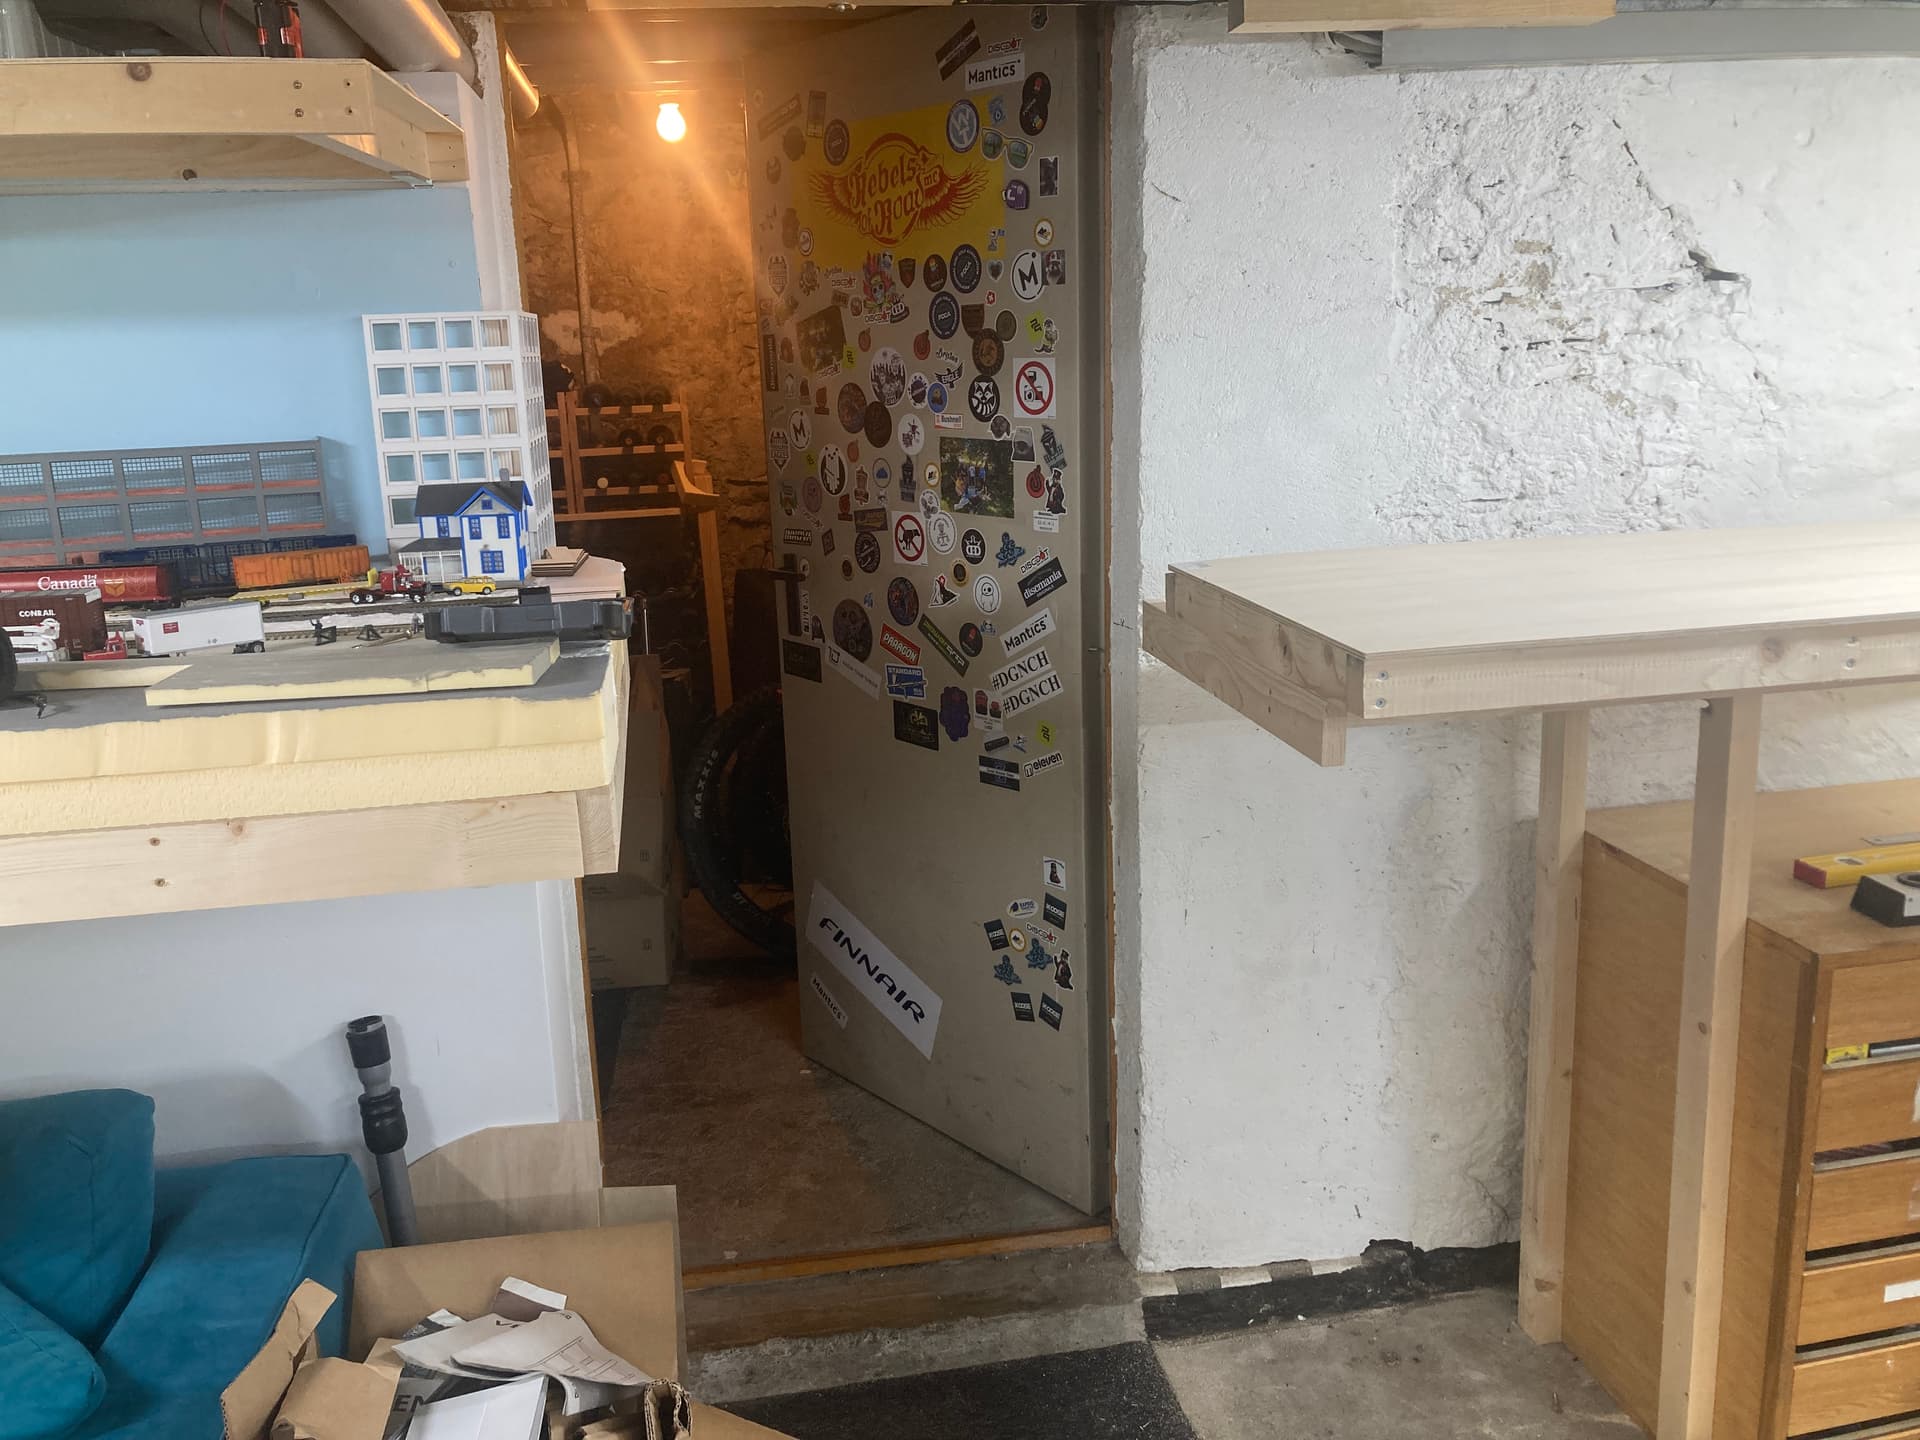
so i started building the frame. my layout will be built in sections, or i will call them sections.
after installing the backdrop i started laying out some track.
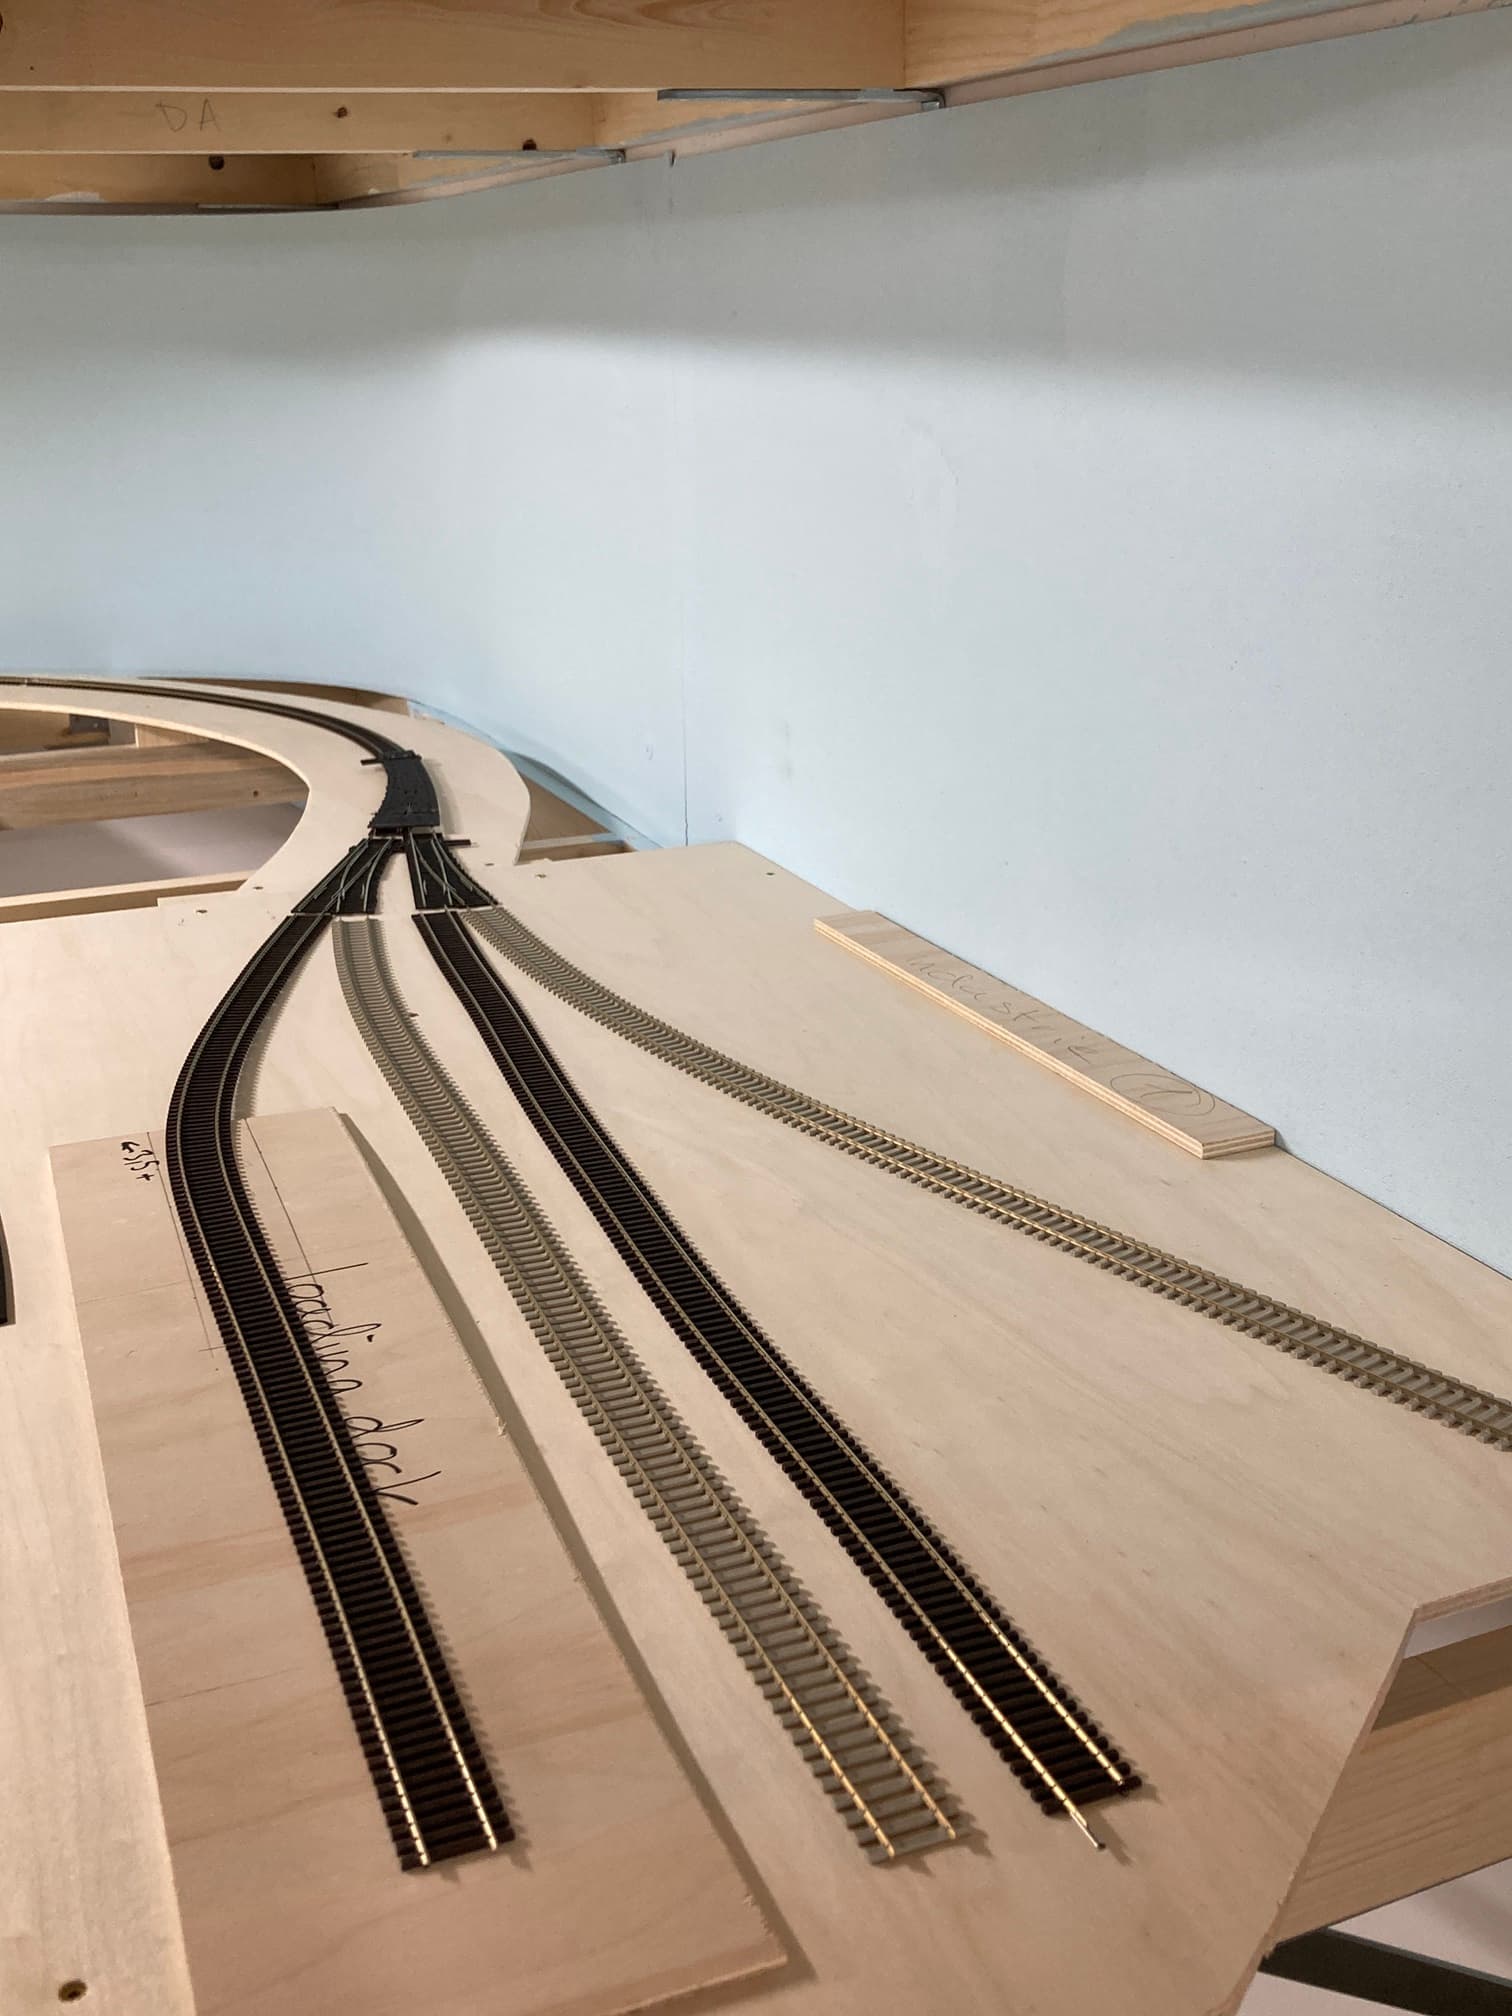
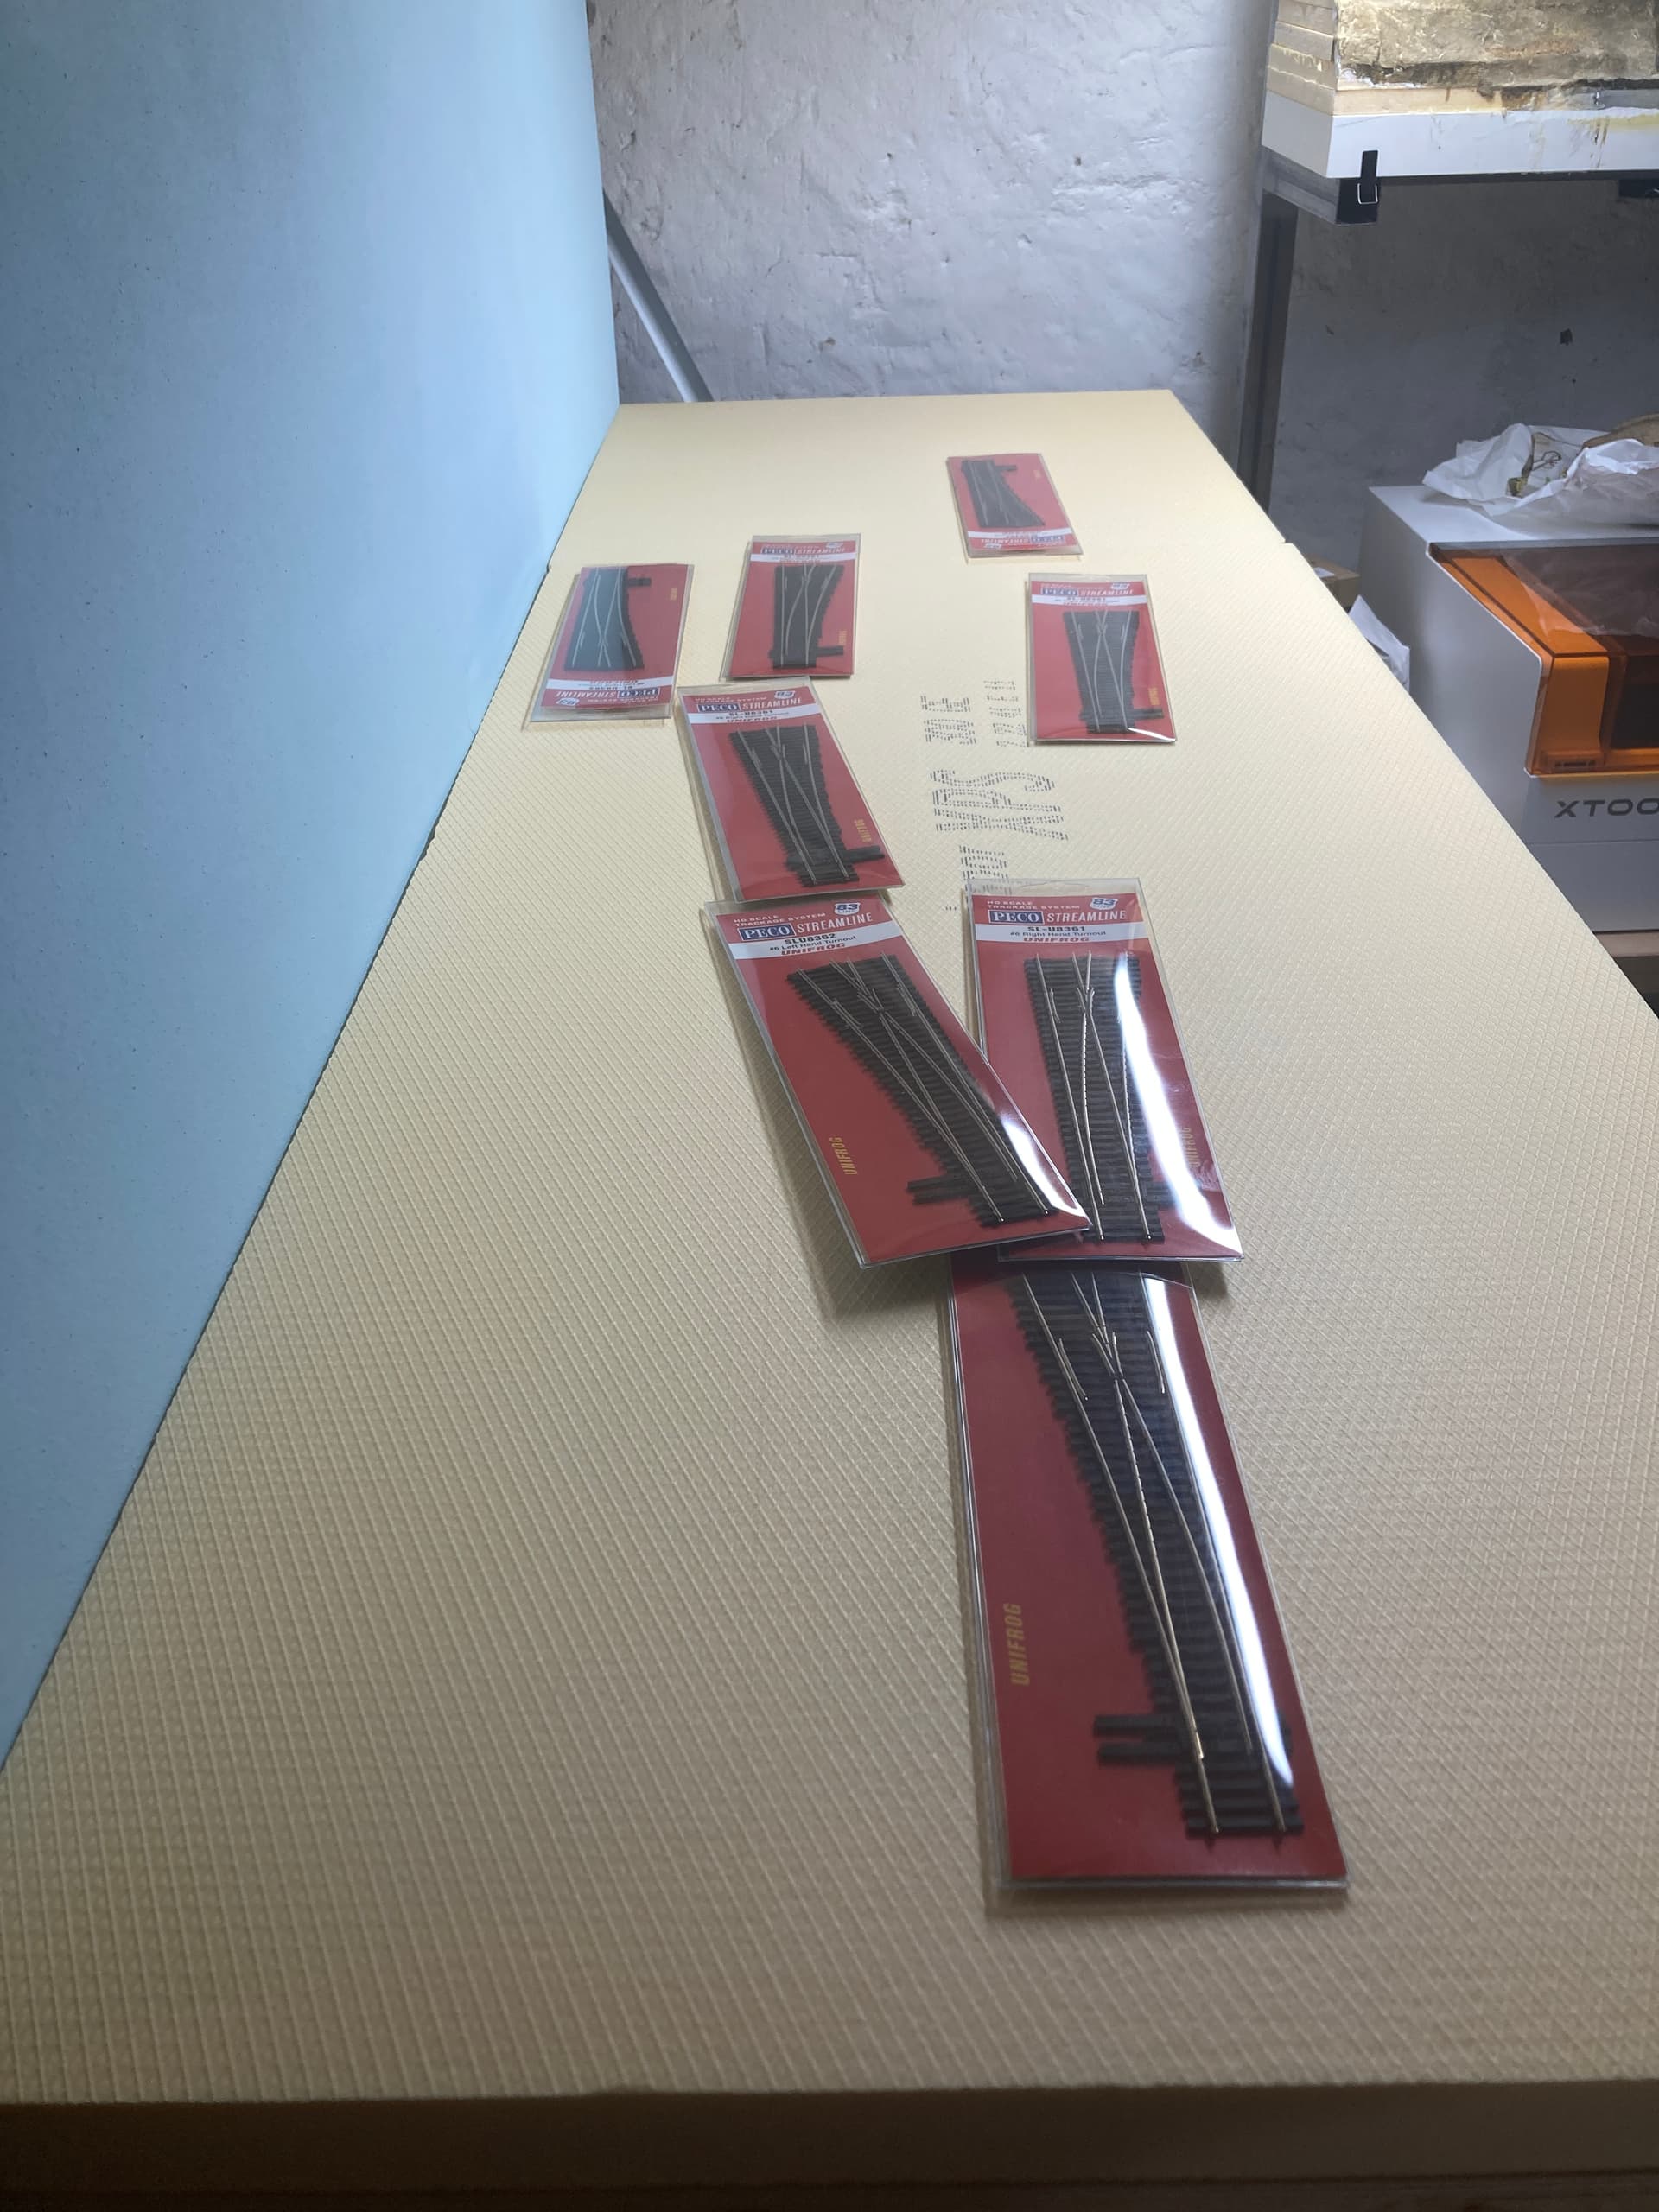
iam working with Peco Code 83 and tortois motors. iam running everything in DCC with my Roco Z21 system.
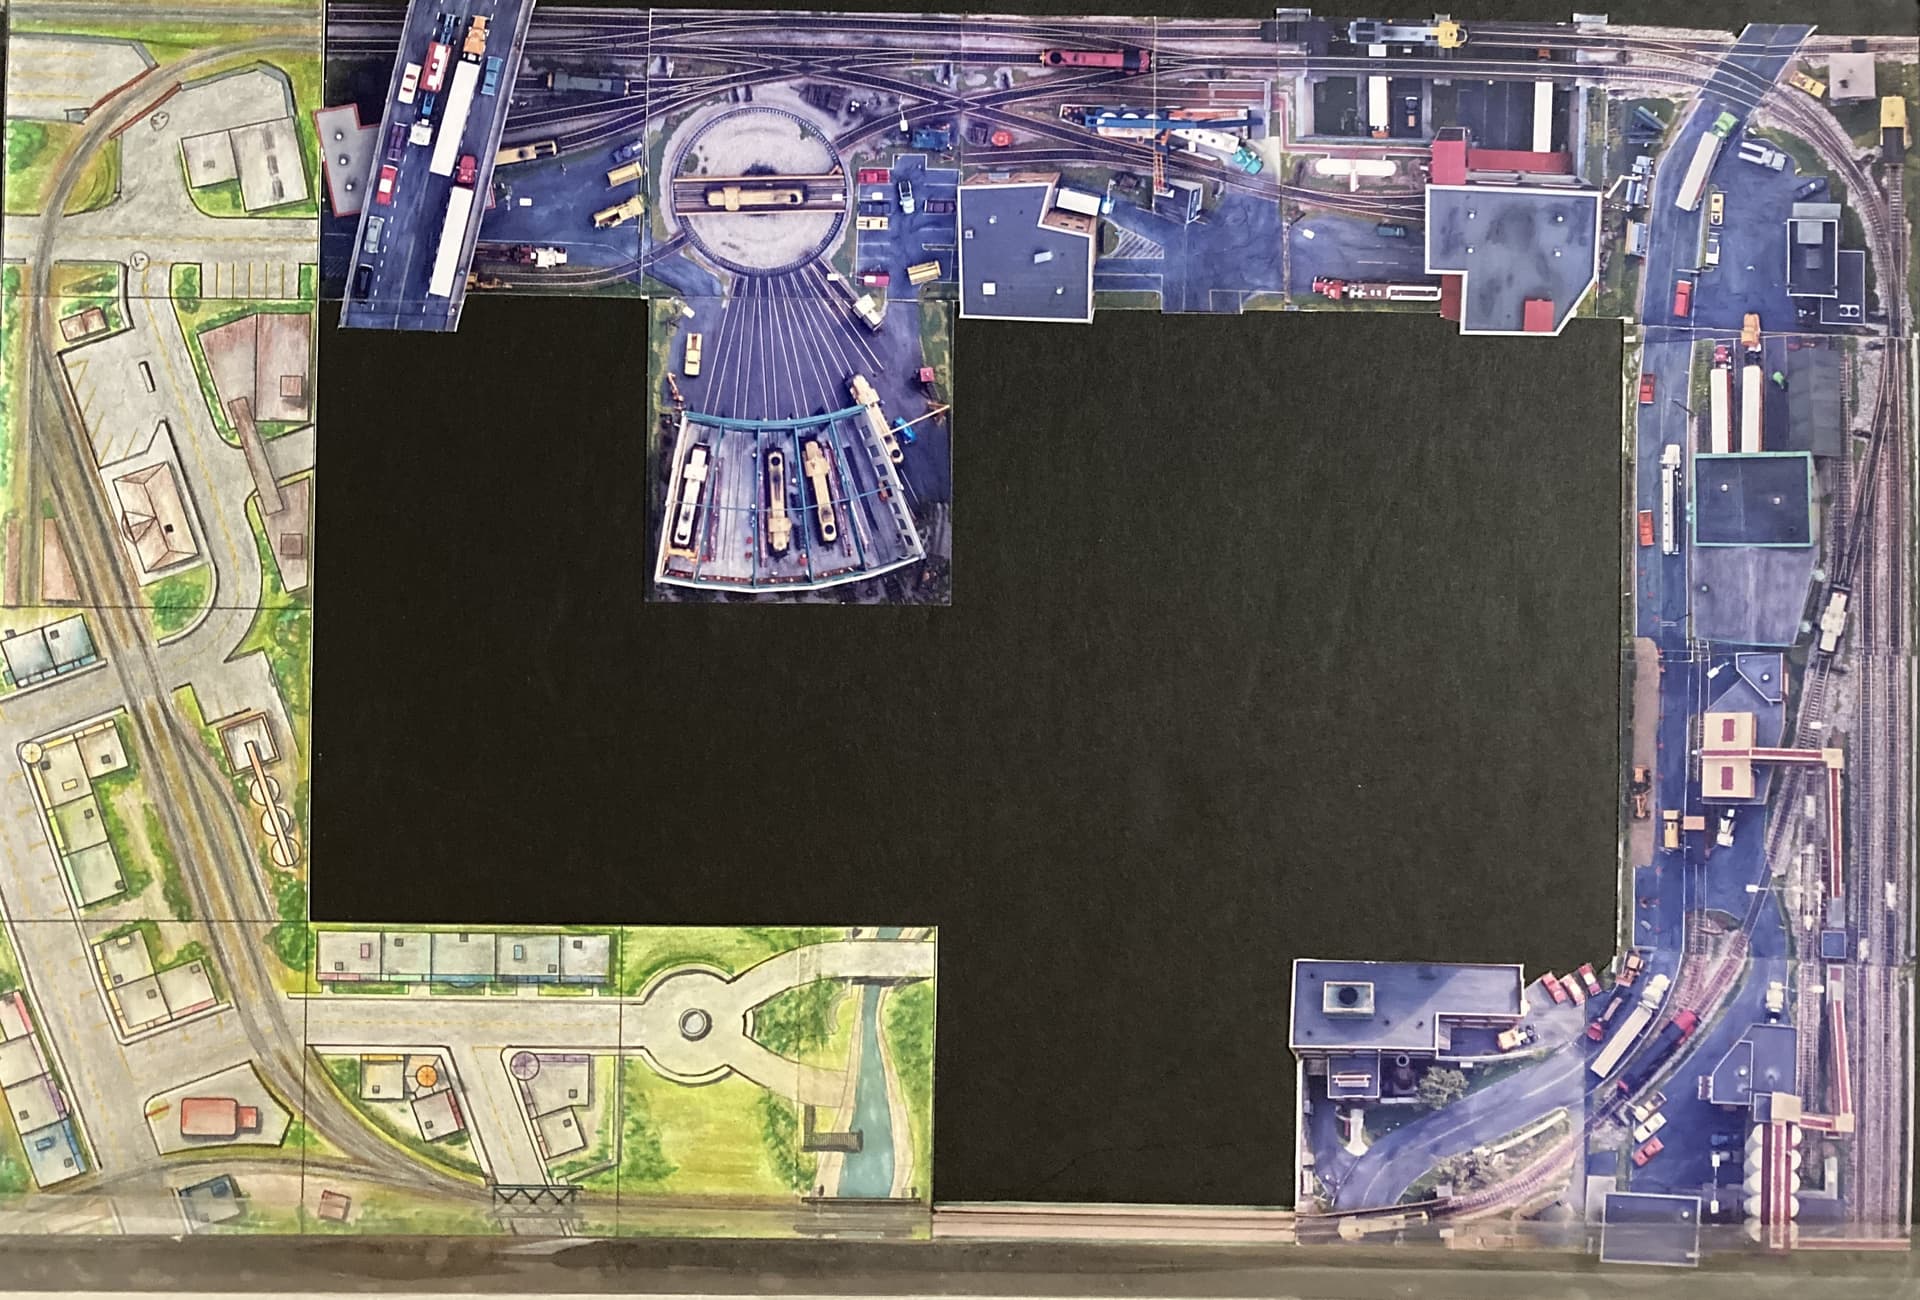
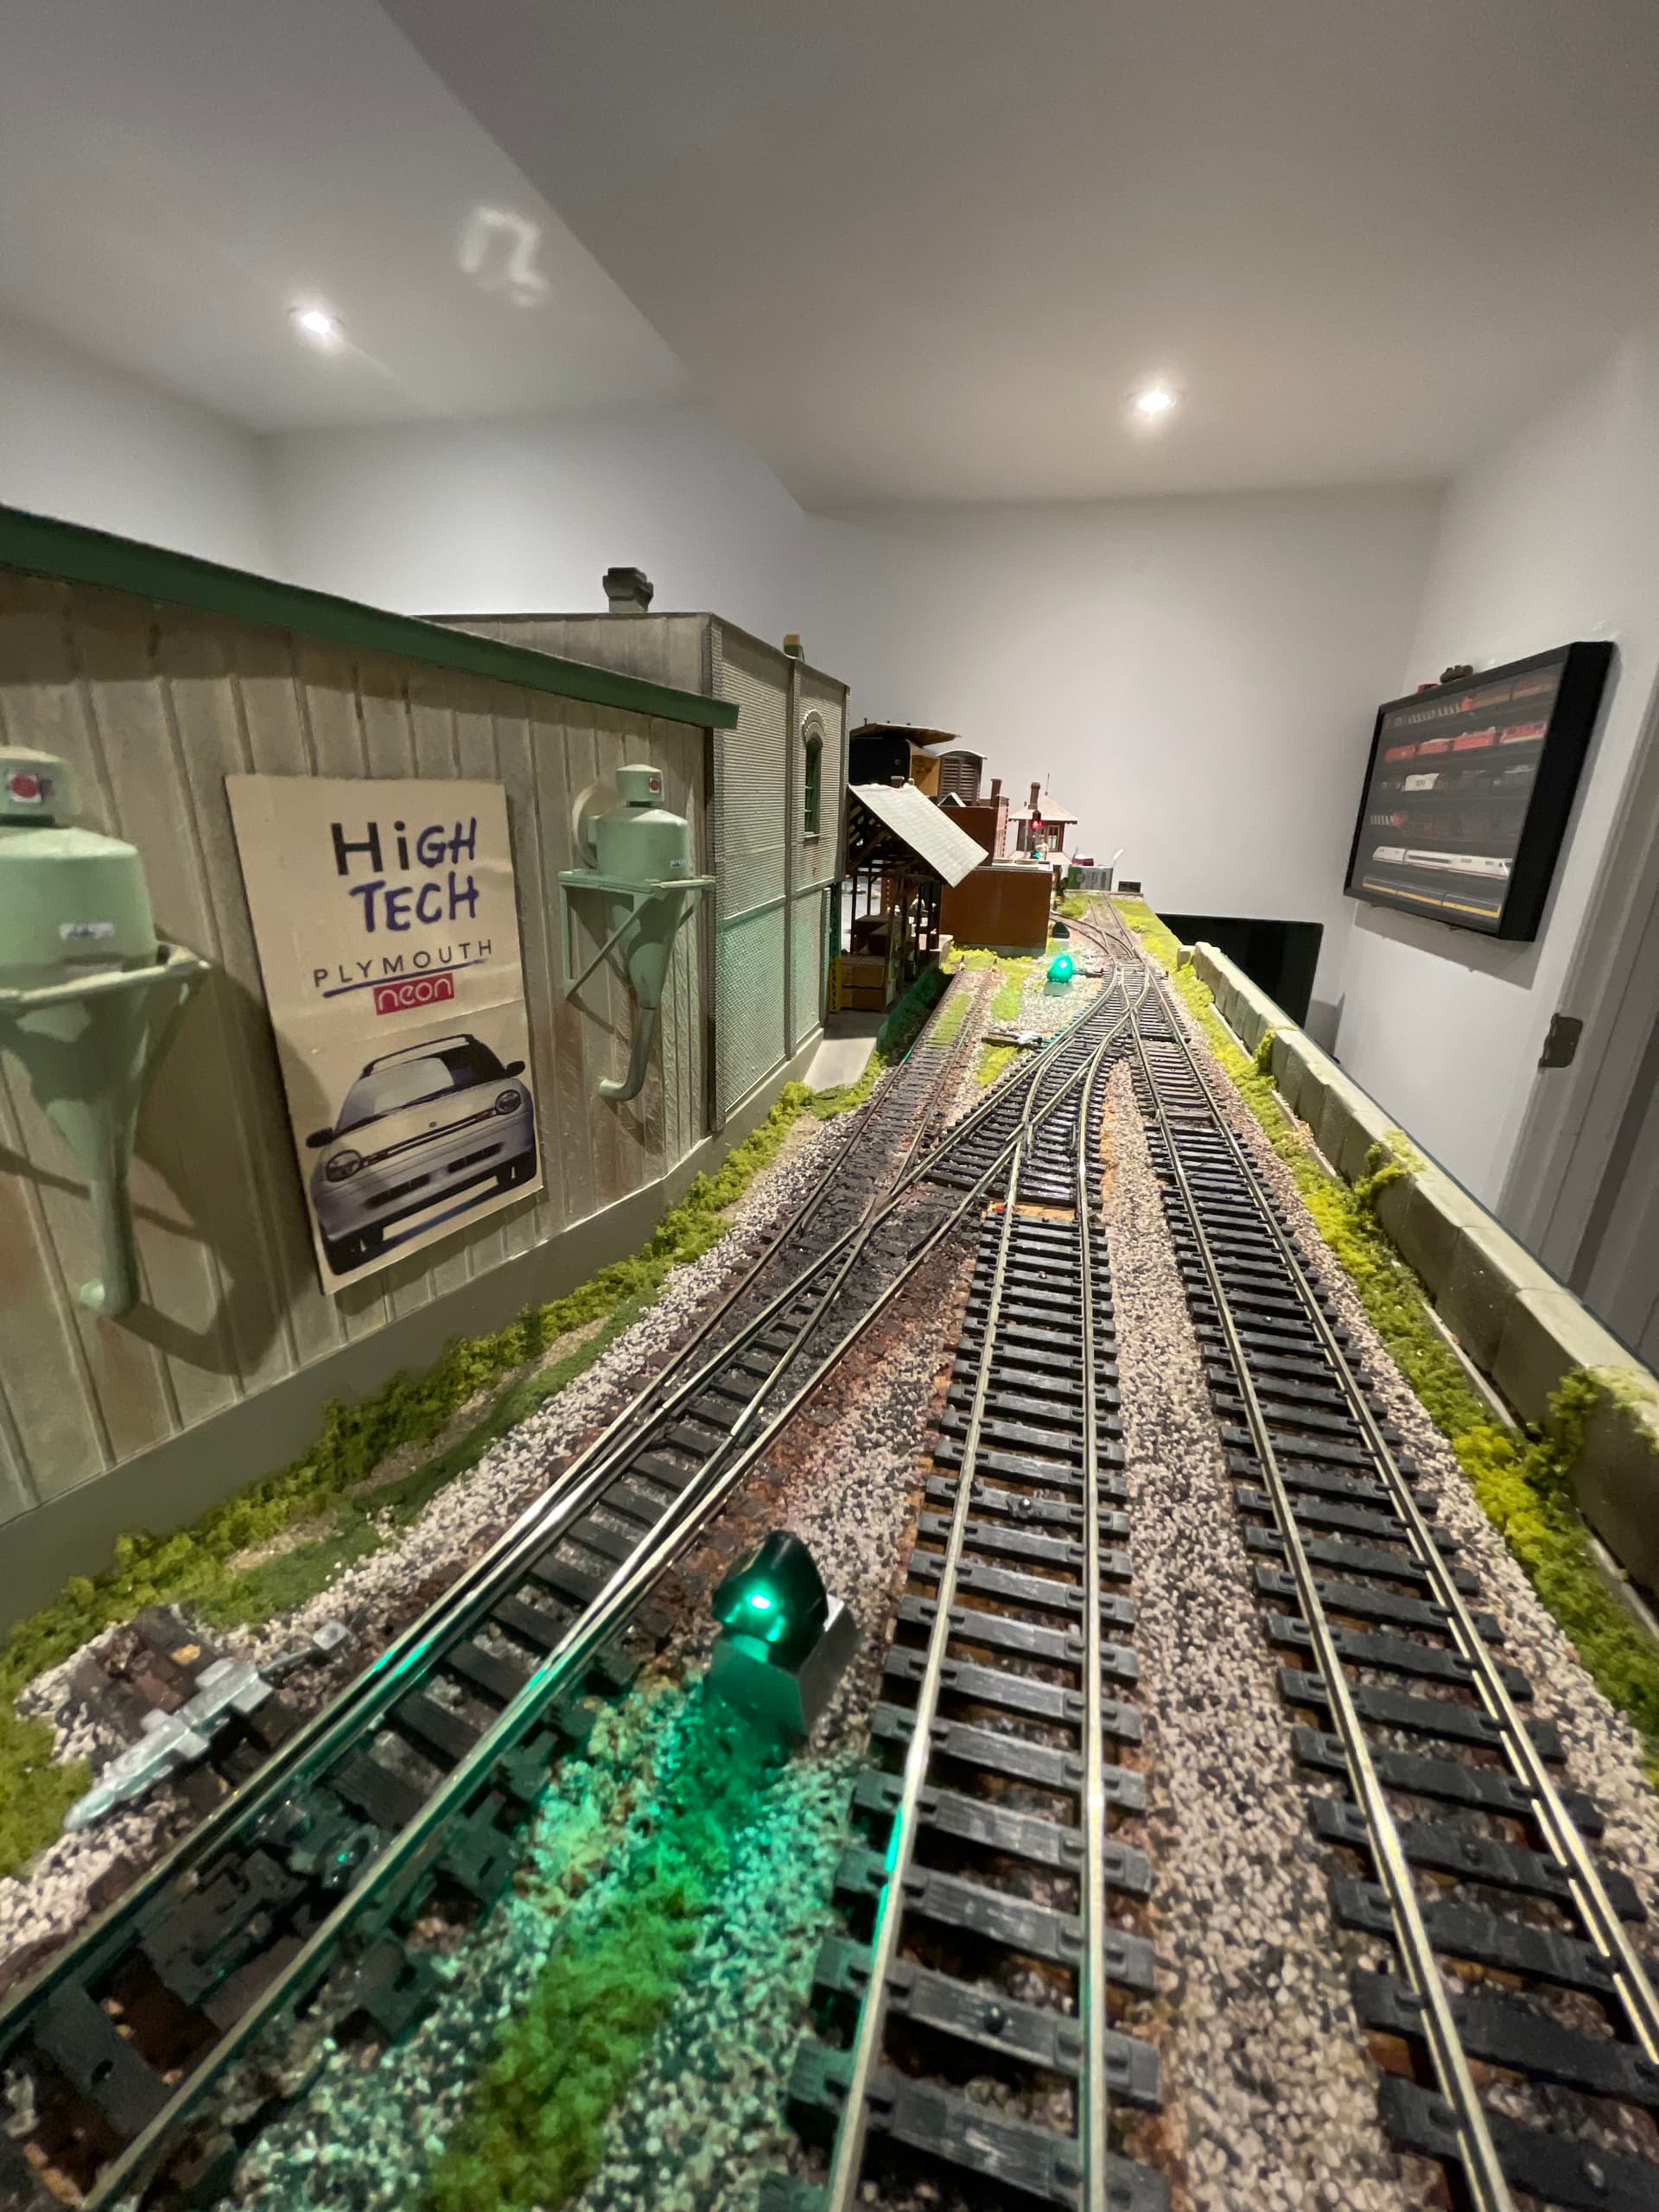
in section D there will be some industrie. the 3rd track from the left is the so called “Mainline”. i have to admit, when iam looking at the picture now, so much has changed ahahaha. but i will not show you now, but in a later post
iam also doing the youtube stuff. so i filmed more or less everything and take you along my learning and everything. you can find the first episode on my channel (linked in my signature).
thats it for now. will post some updates from time to time, till we did catchup to today here
ok i will post the second update right now.
because there where some confusions and issue with posting pictures. but now iam a trusted account
well so here is update 2.
as i told you i dont have a trackplan, i build as i go and i try to find a flow.
my only markes that i want to check is scenery wise stuff.
i know my layout will have a bridge, some industries and a tunnel.
i also try to build in sections because of the mind games. your looking at the industrie part and your thinking your in a industrie part of a city, 20cm to the left wehn you look at your thinking your at a river with a mountain in the back. i try to build my layout with the diorama aspect. well you have to tell me in the future if this works
the curved section, was the tricky part. because i will have center beam cars that will have to roll trough, and since some months also a 86feet box car (but thats a later story).
in the end i found a way to work with the curve, and also with a curved turnout.
we will do a bit of a fast forward here.
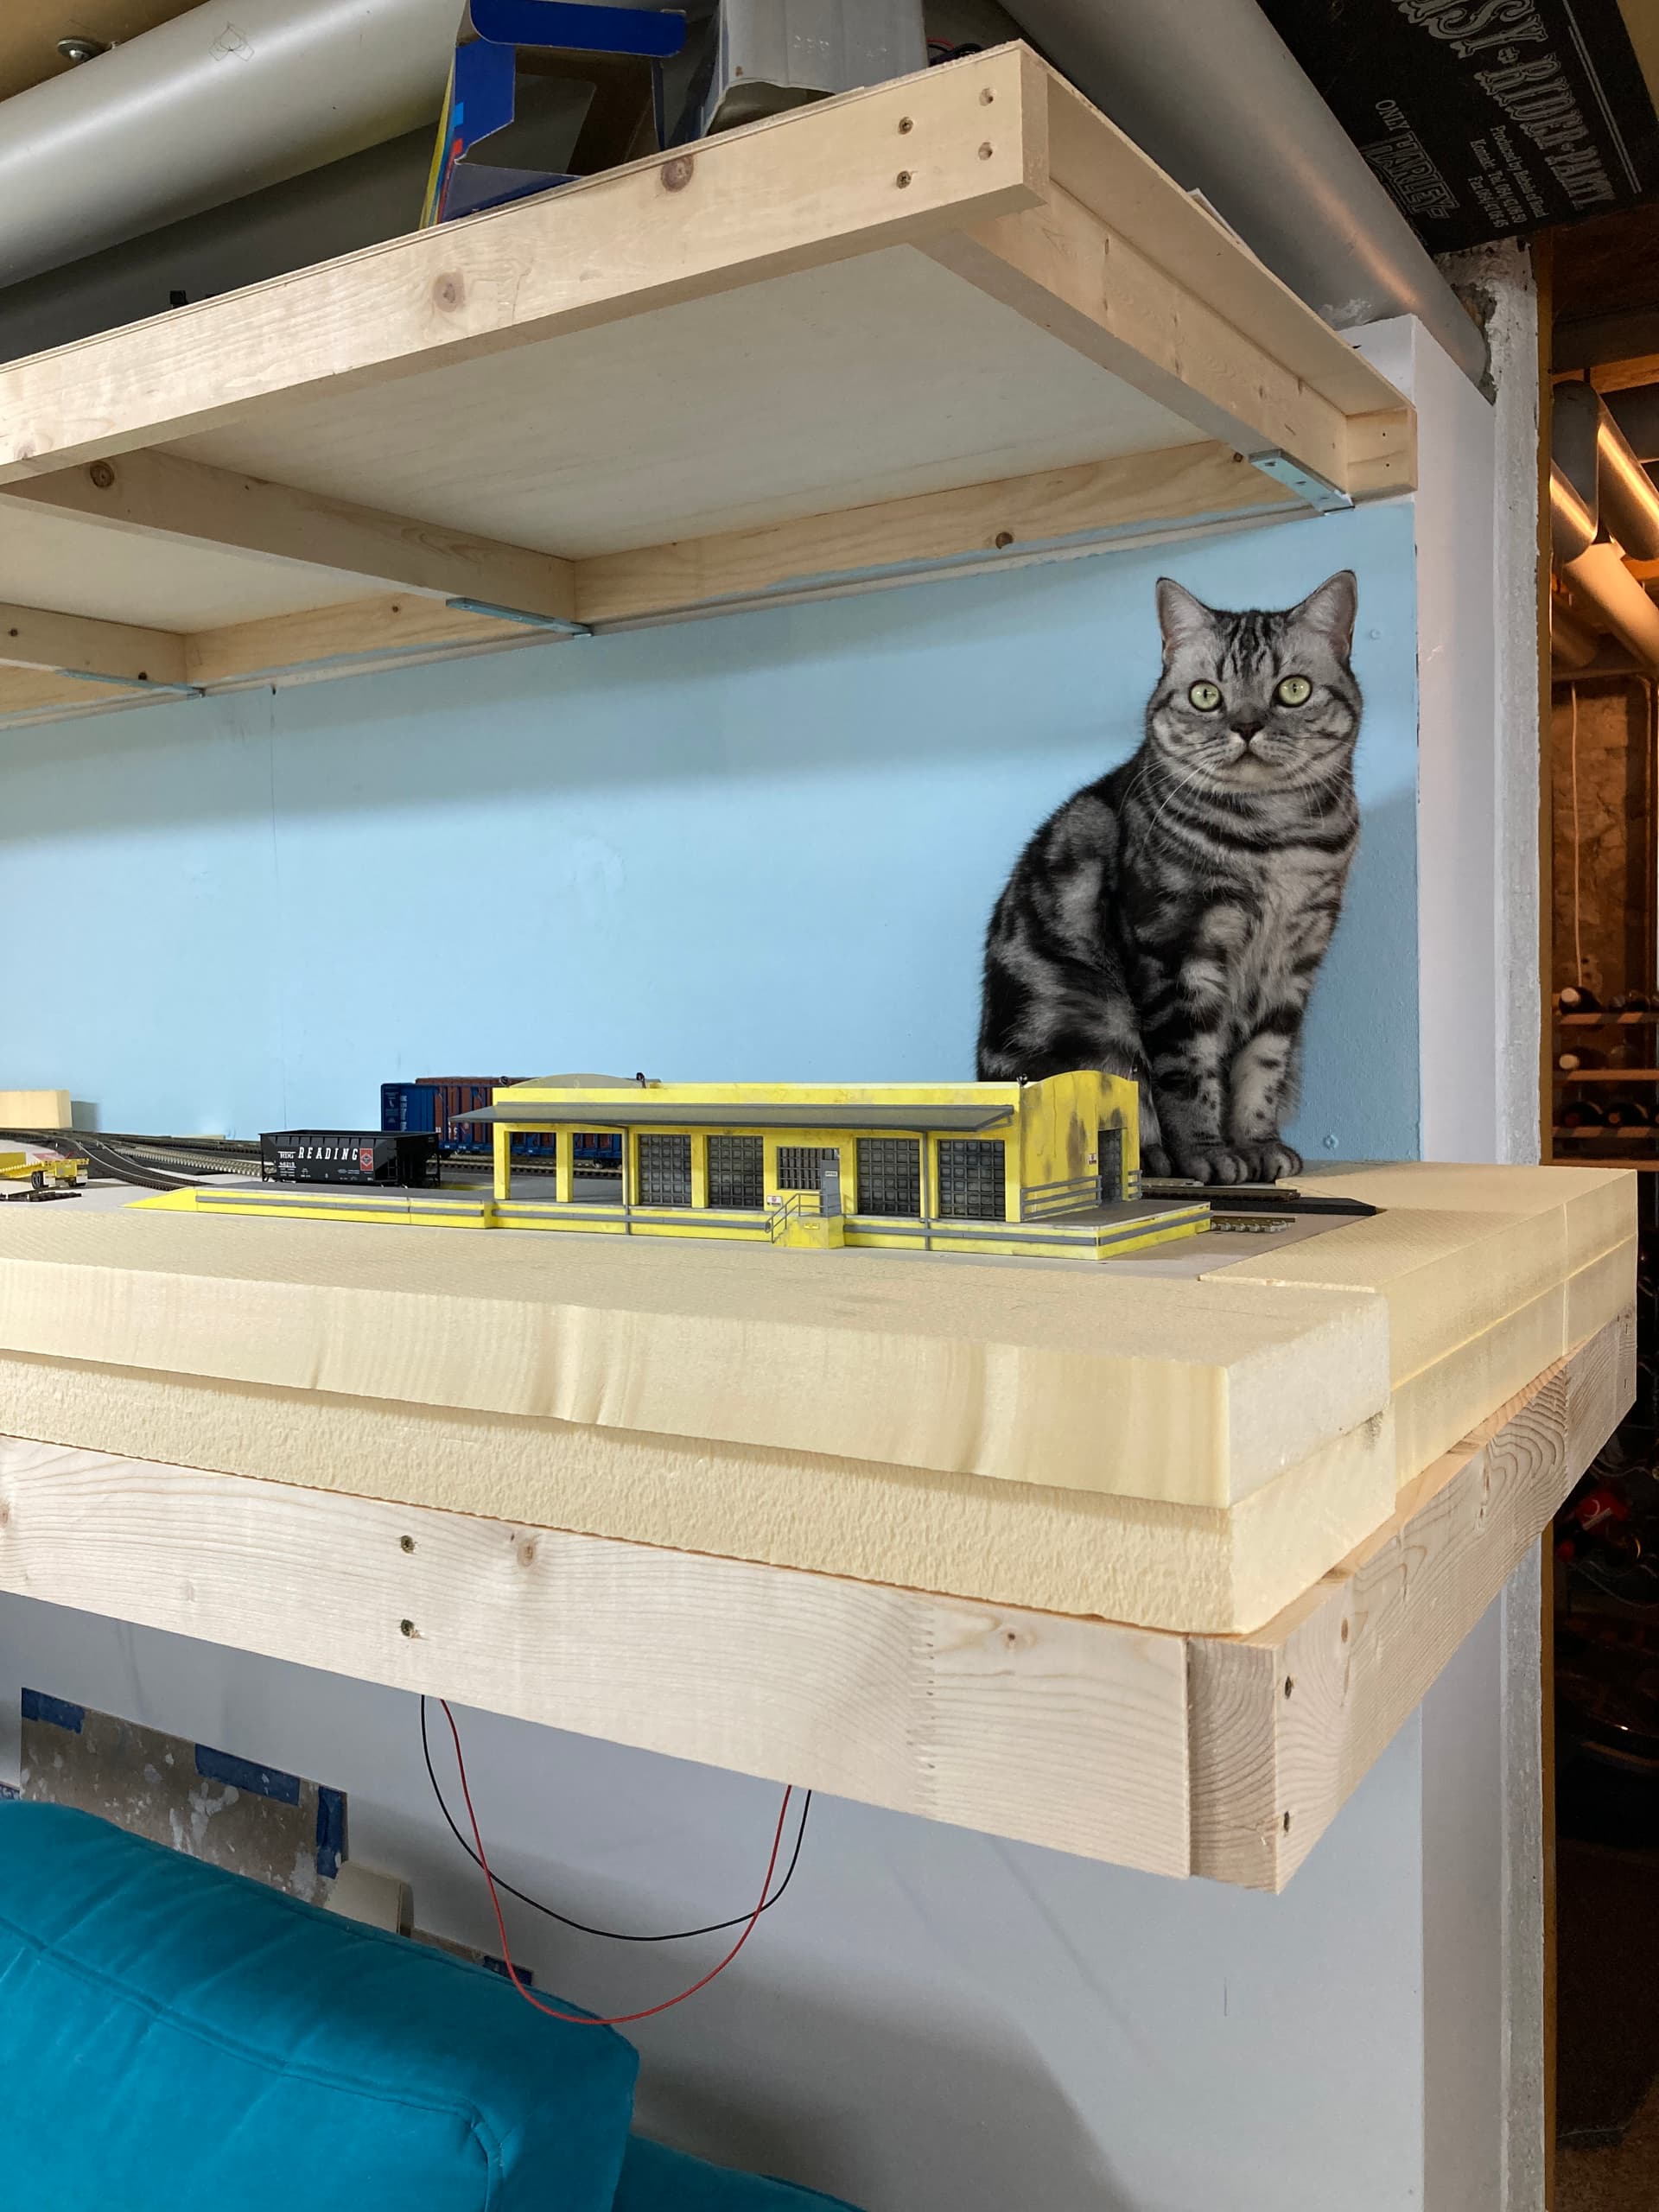
here you can see my first building. a walthers loading dock. the idea is, a bigger trailer park in the front, where goods are loaded or unloaded, in the back there will be backdrop buildings. i will build them from scratch maybe with my laser.
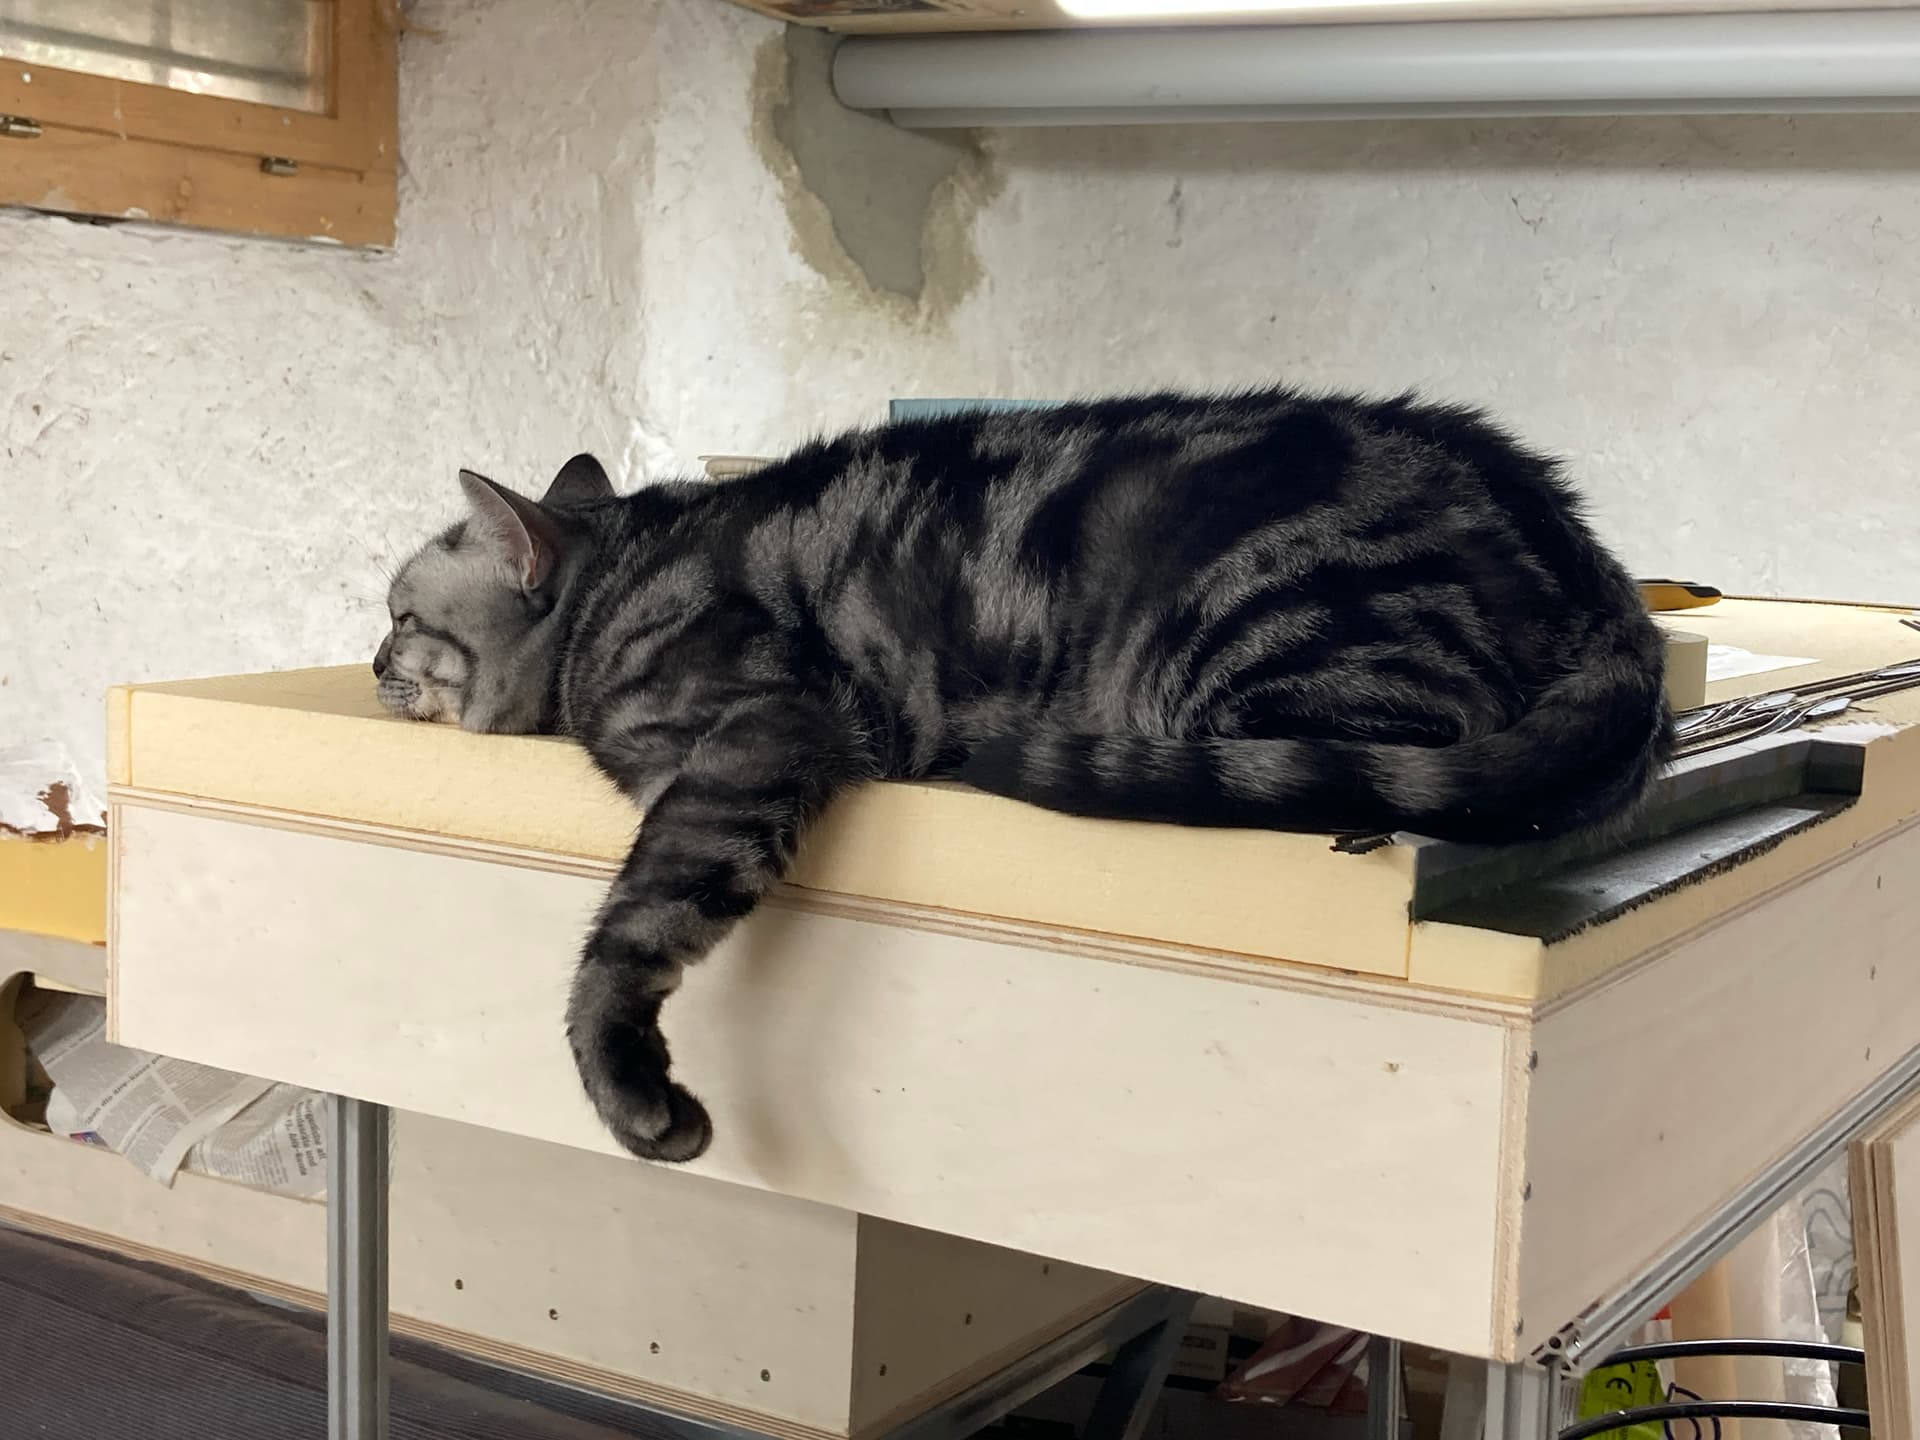
and you also can see a cat. well its not just another cat, no, thats Aria. Shes the Supervisor of the layoutroom. she checks out if everything is okay, and from time to time shes attacking Bob and mike. You will get to know Bob and Mike soon.
Marco, looks like a great start. I too built my layout without an actual track plan, just sort of “let it flow”. If I went back in time I would however have a track plan, or at least a general plan. Also, is that a second deck above the layout, or a valiance, or a shelf?
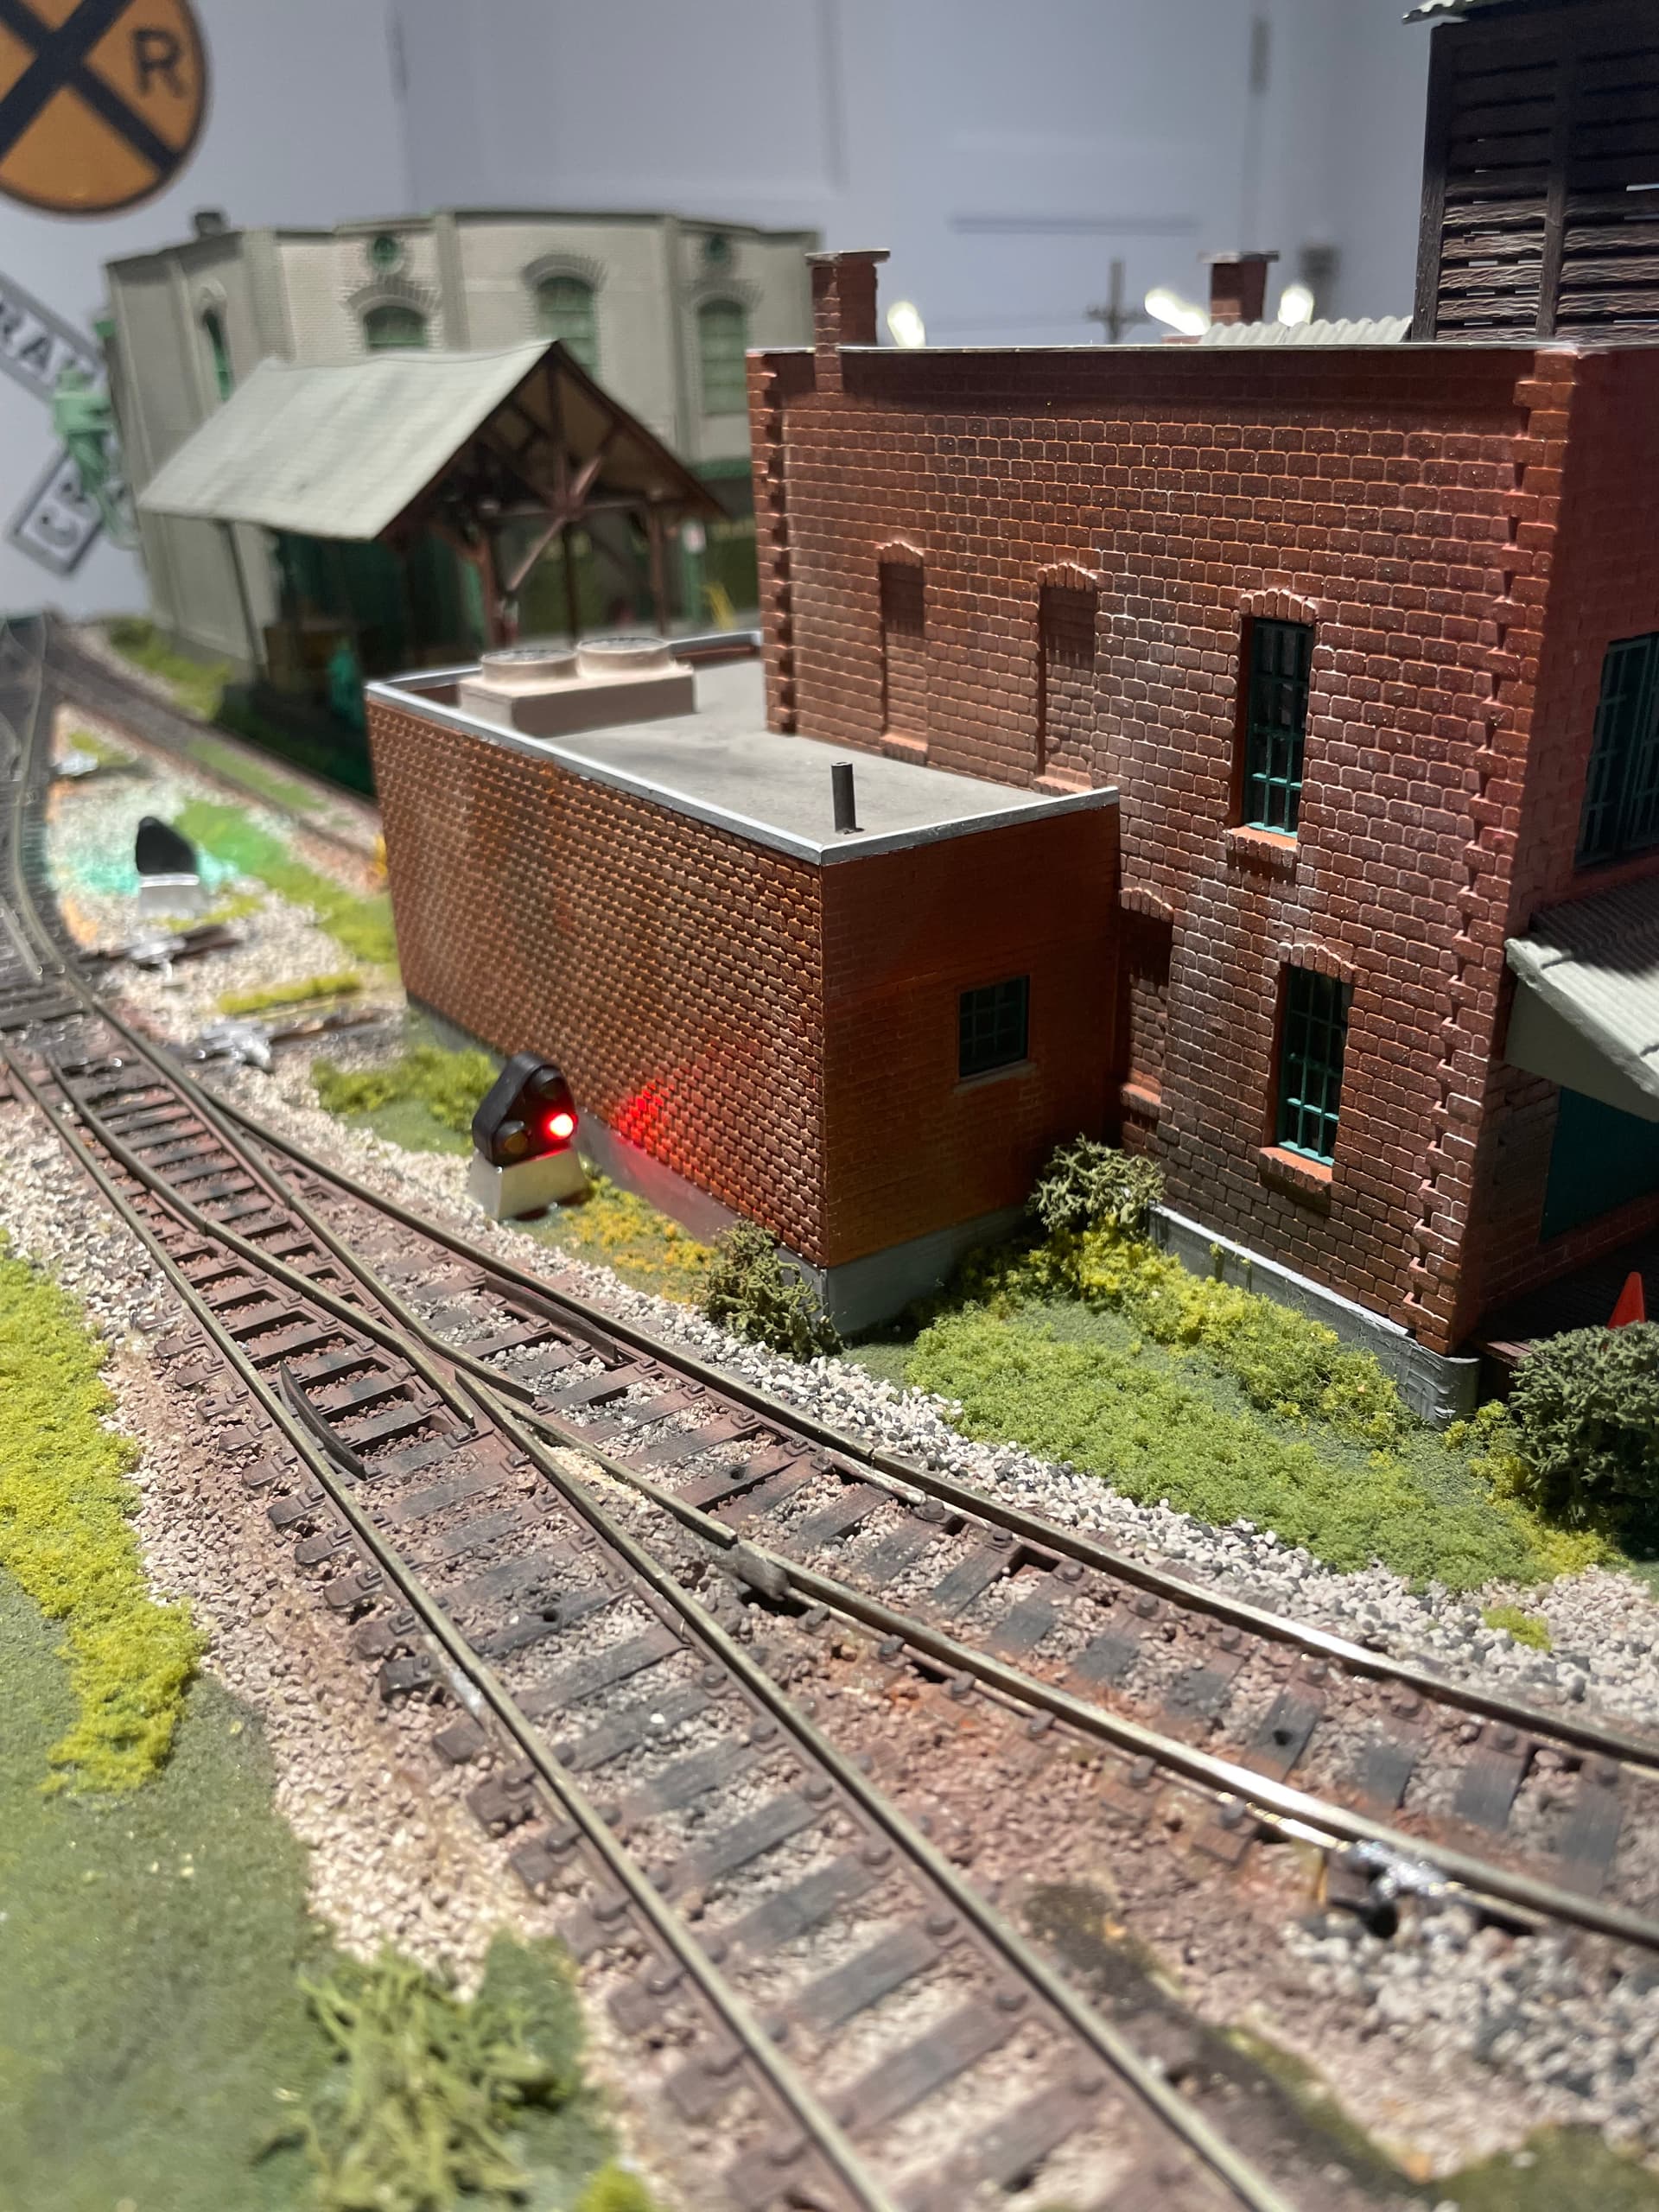
After finding the style i wanted to build, i started building some structures. i cant just stick to one thing, i need to switch projects from time to time. after all the wiring and stuff i wanted to build some structures.
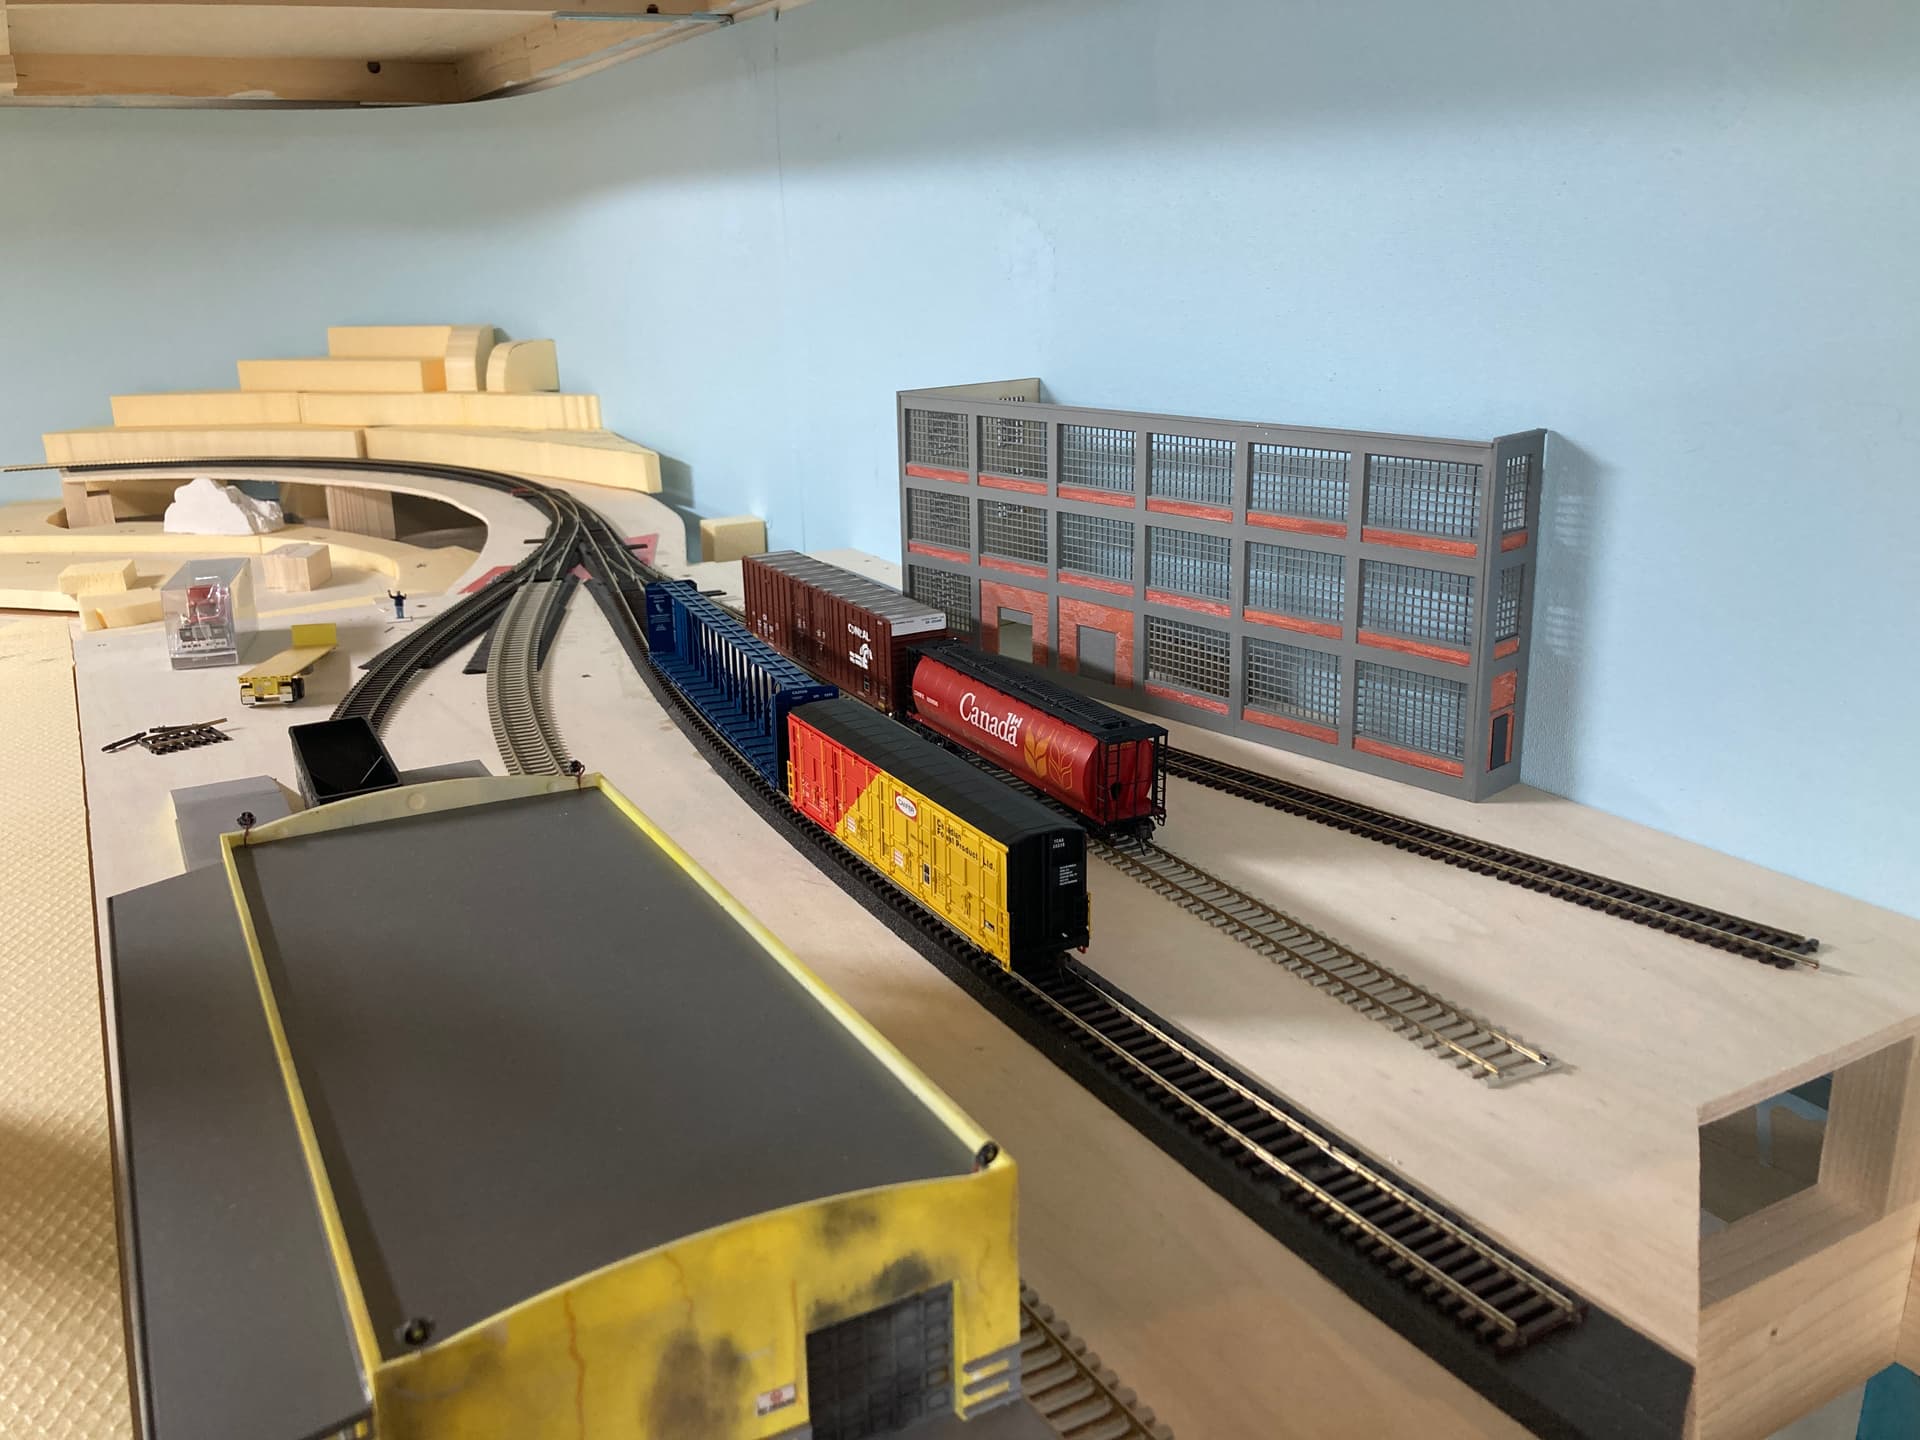
the transloading dock in front, was my first built kit from walthers. i did paint it with my airbrush (also first time) and did try some weathering (also a first try). the Backdrop building in the back is a mix out of a kit and also lasercutt selfdesign.
in the back you already can see a bit of where the landscape will go.
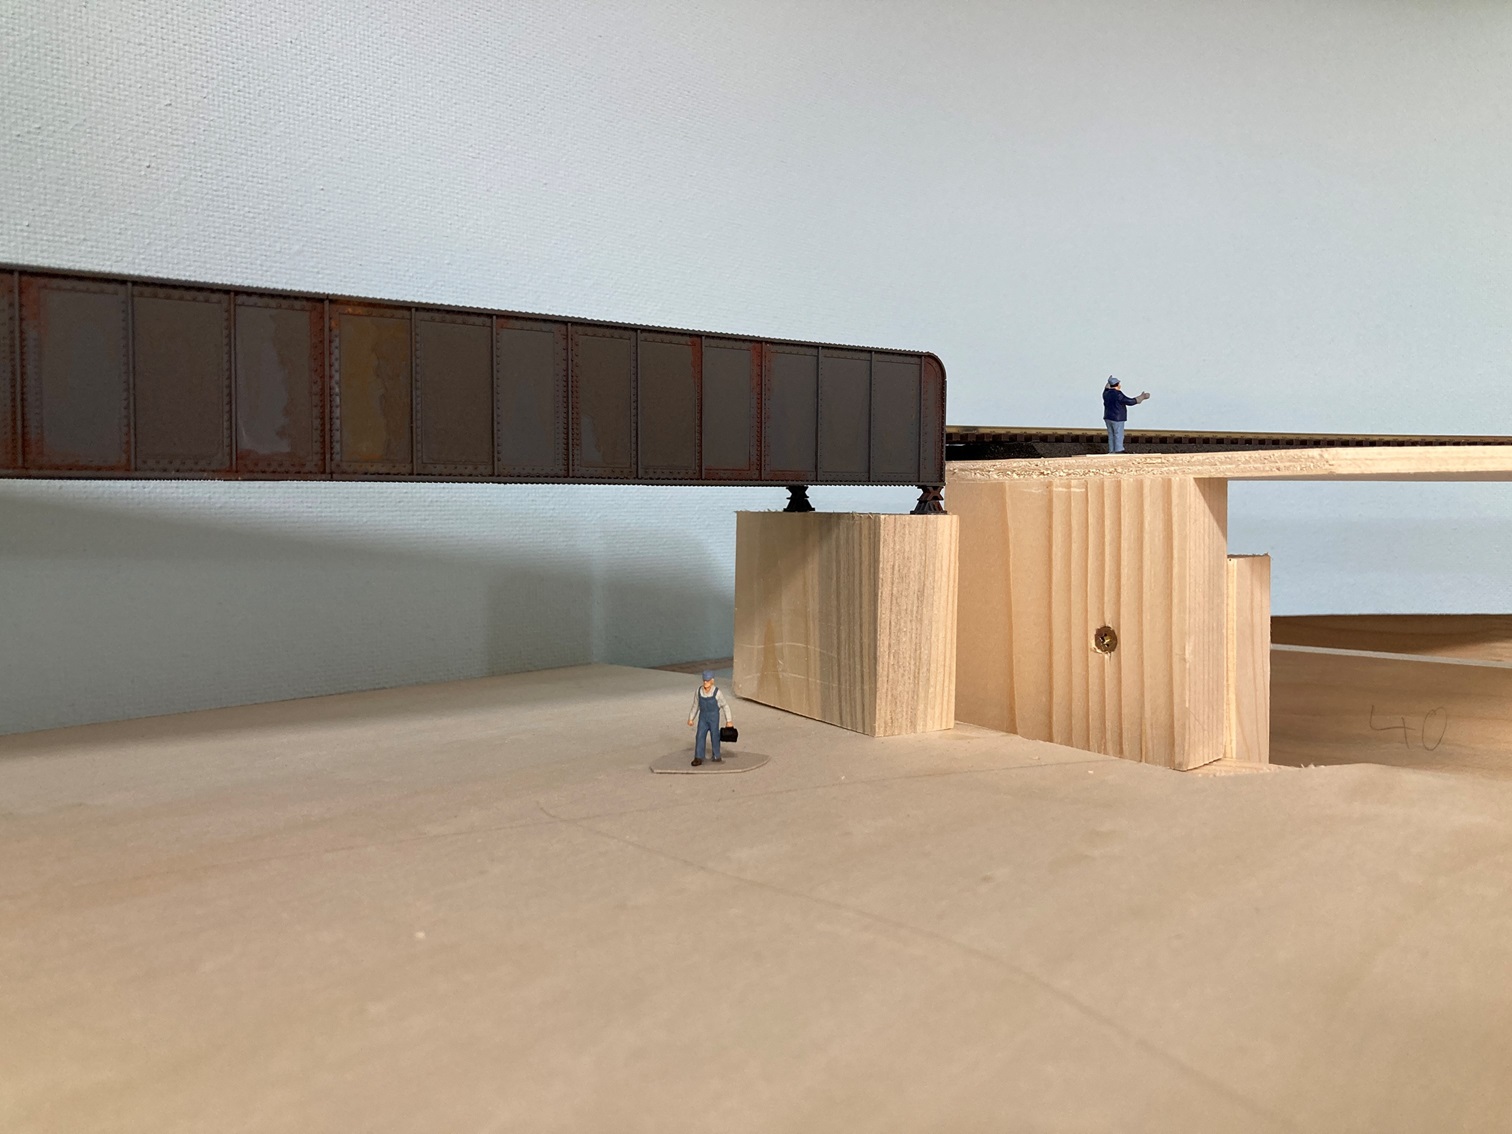
i always wanted a bridge scene on my layout. so i created this bridge (also walthers kit). the bridge connects section C with section B. was a bit complicated, because the bridge is on a slight curve. but the bridge is straight. i had to “kitbash” the bridge a bit after some testruns, shes now a bit wider to the back, you cant see this from the front.
and here you can also see my two CN Workers Bob and Mike.
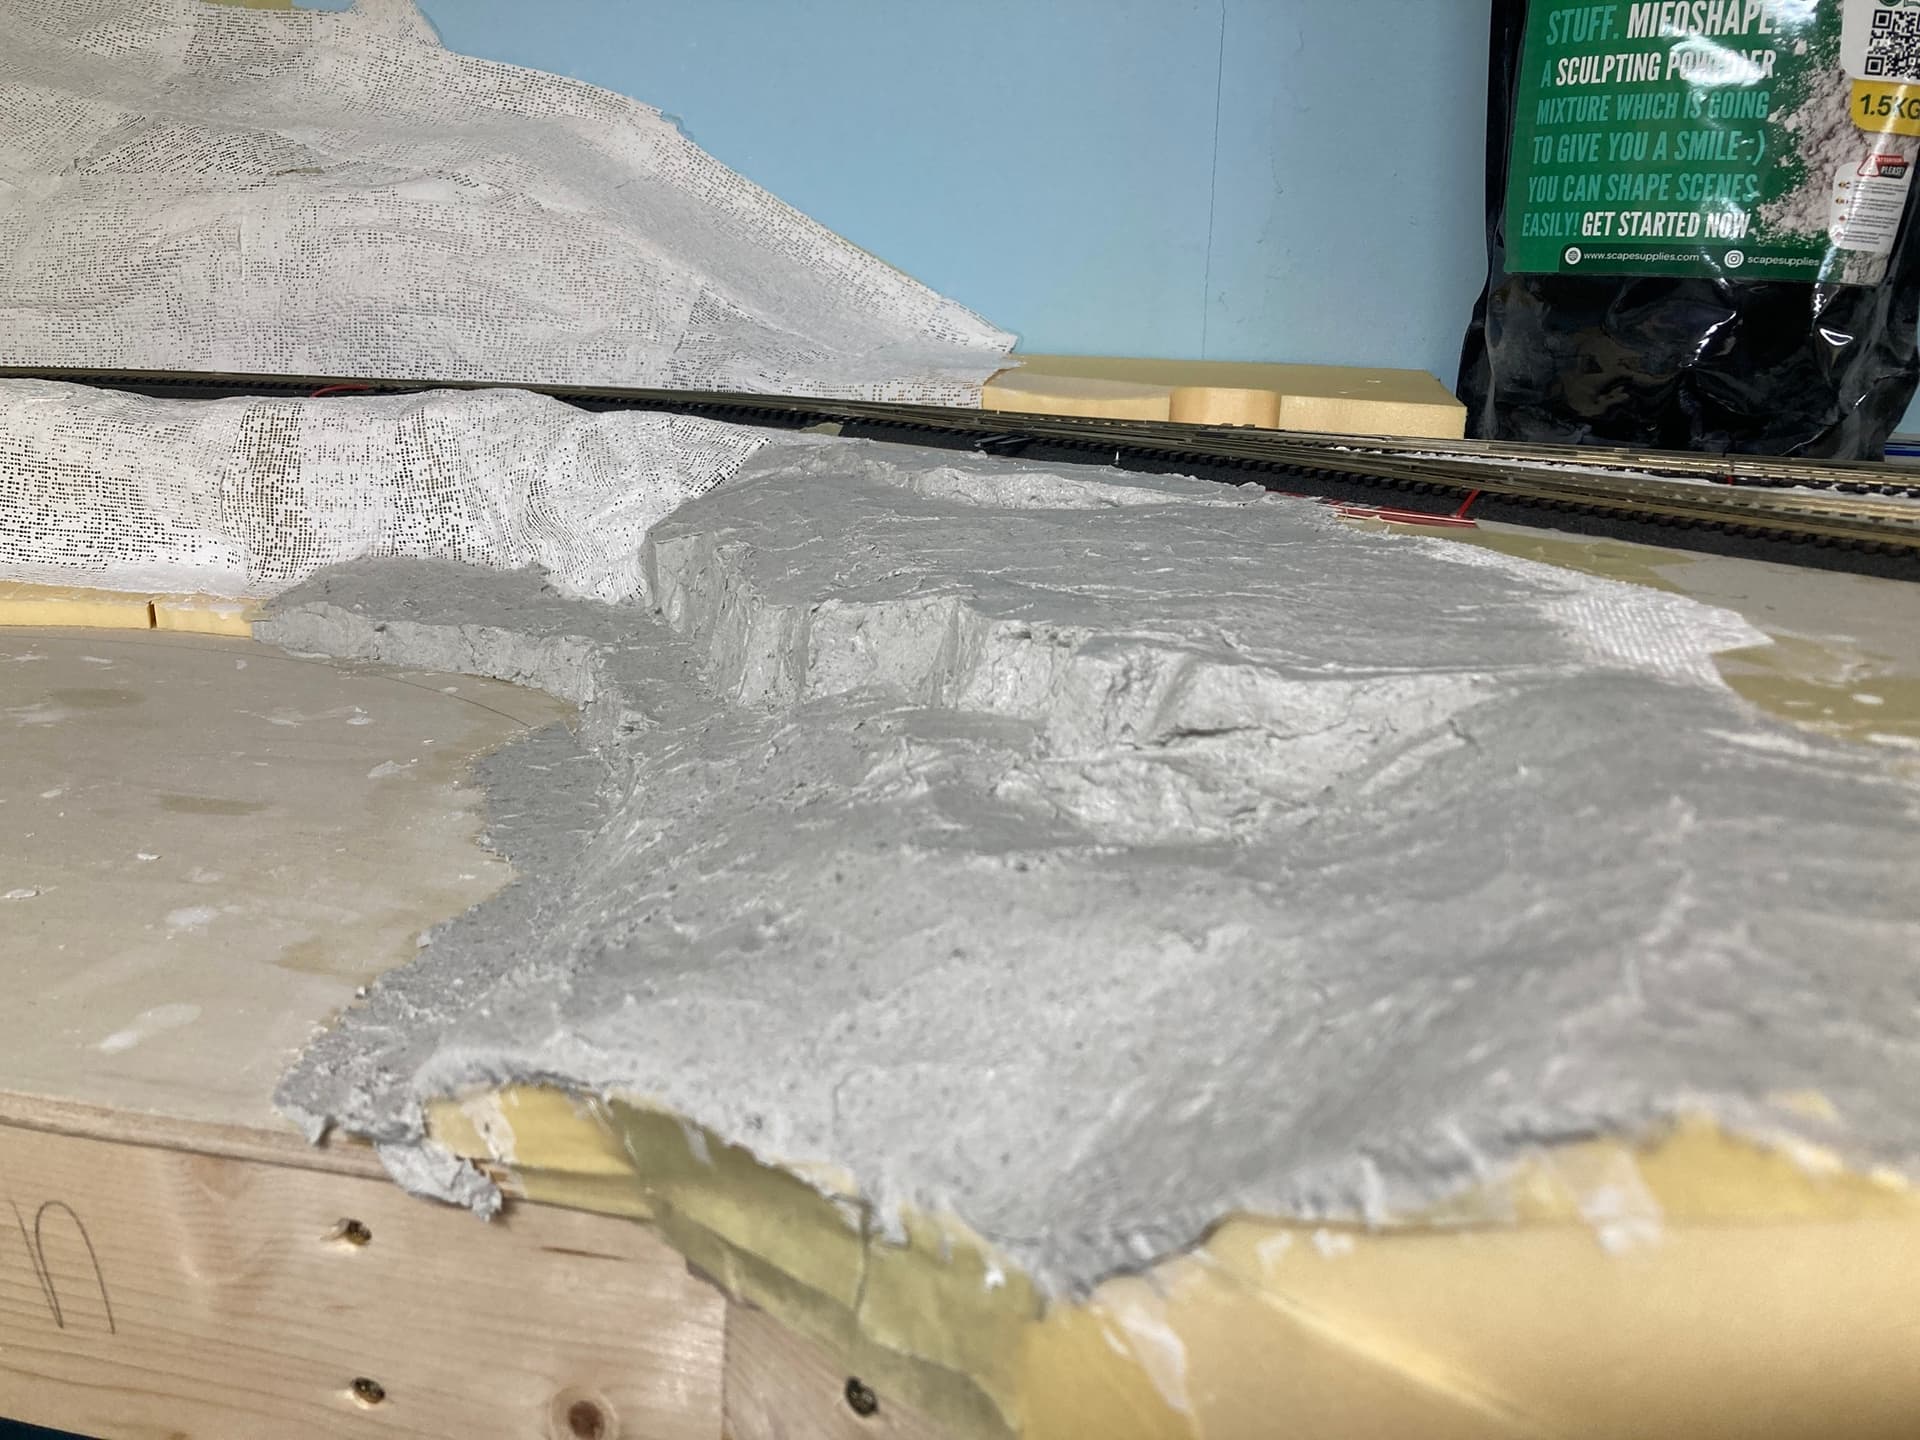
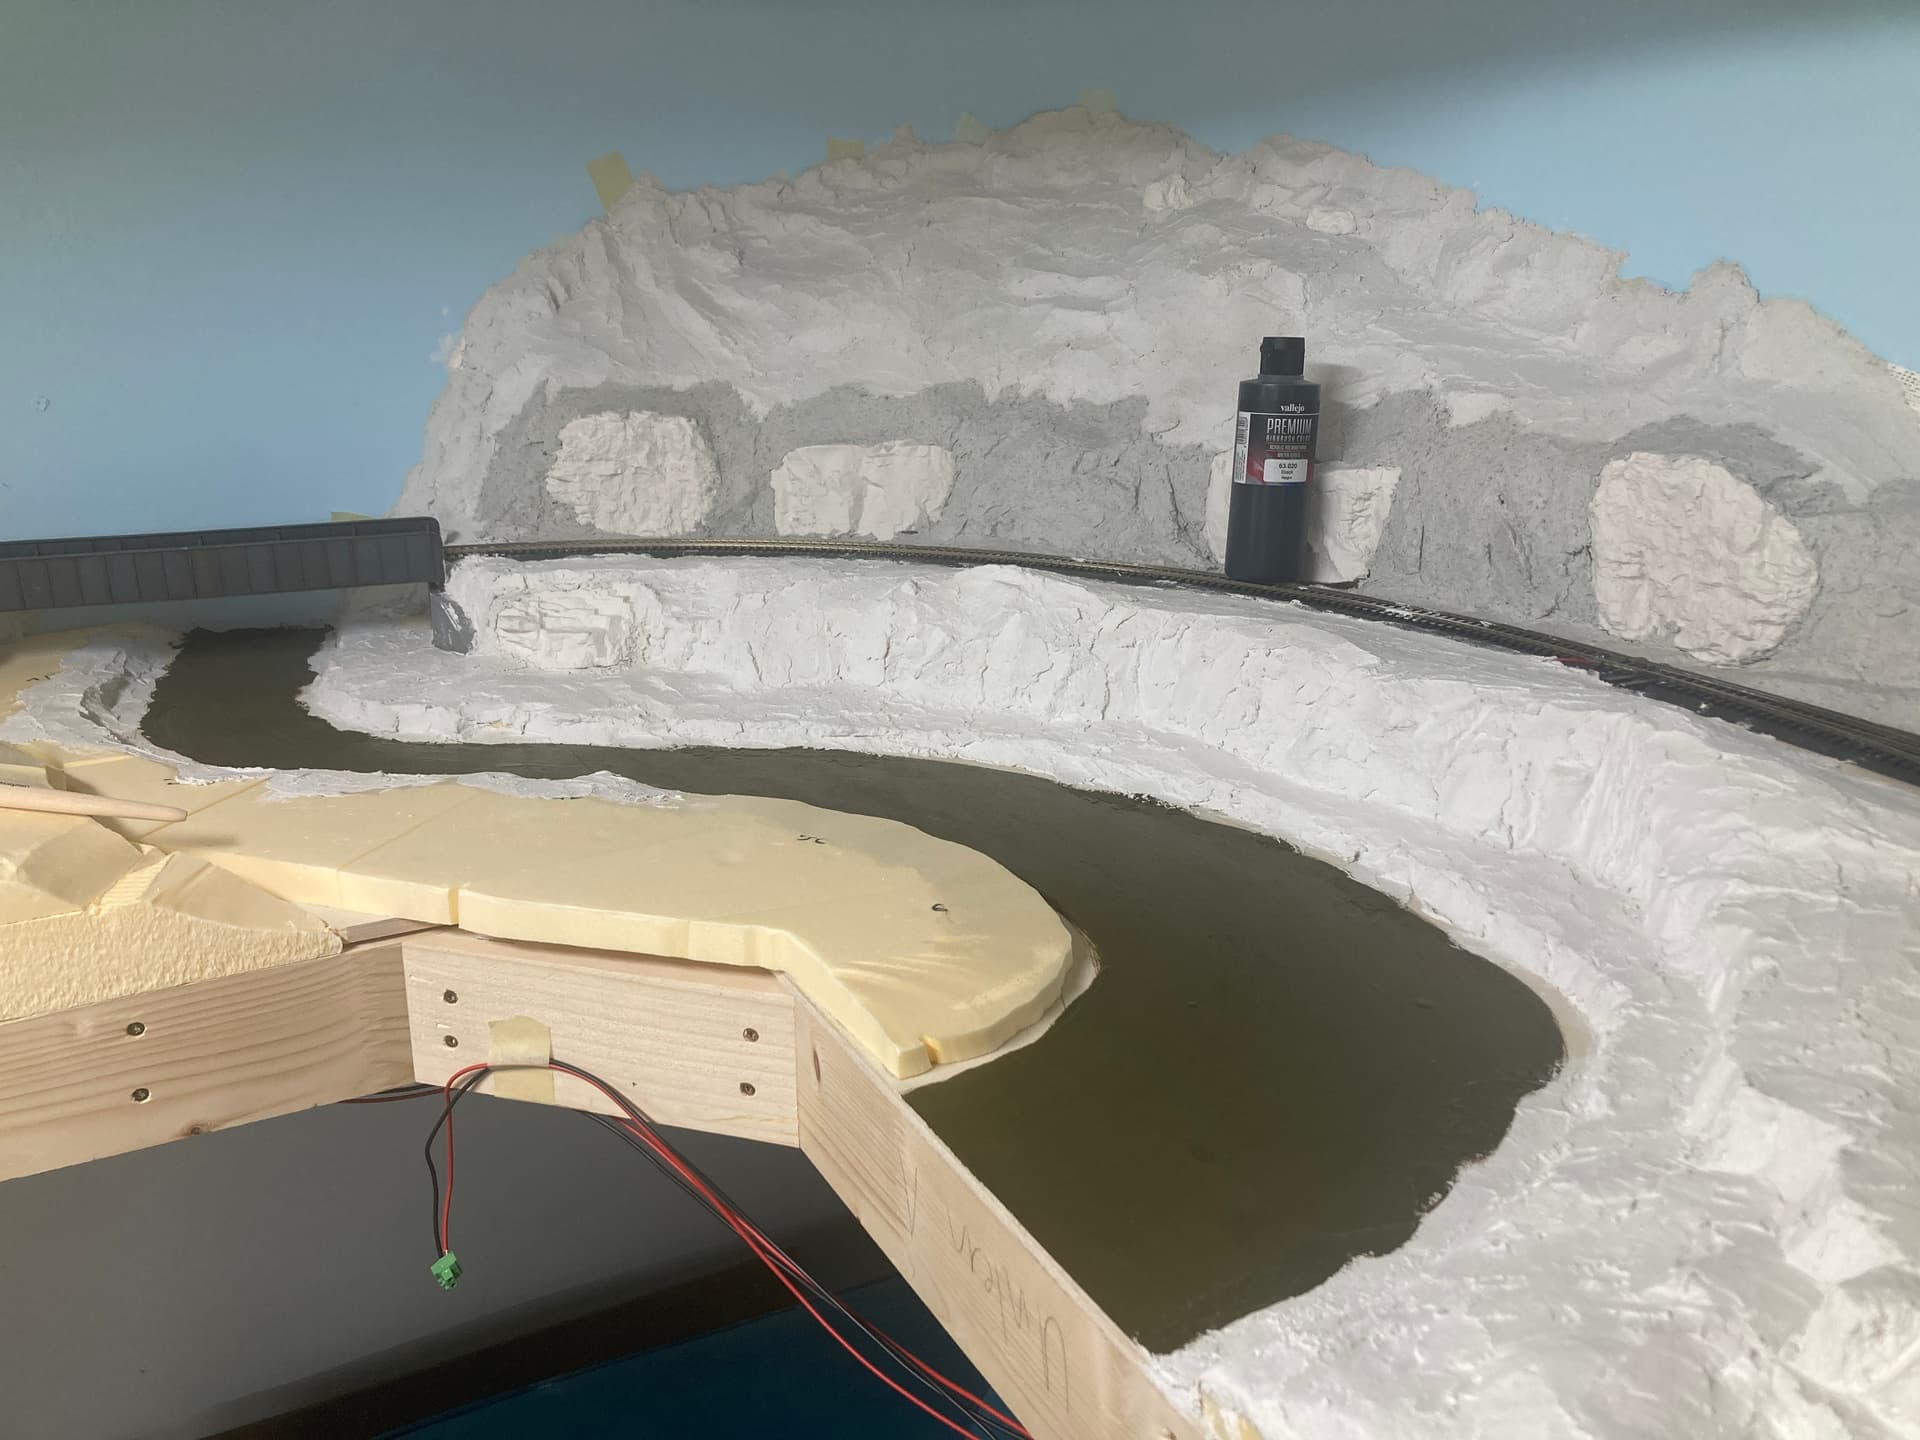
then it was time to add some plaster.
i started with paper, over that some masking tape, then some plaster sheets and on top of that Mifoshape, a product from the netherlands. i really love to work with this stuff.
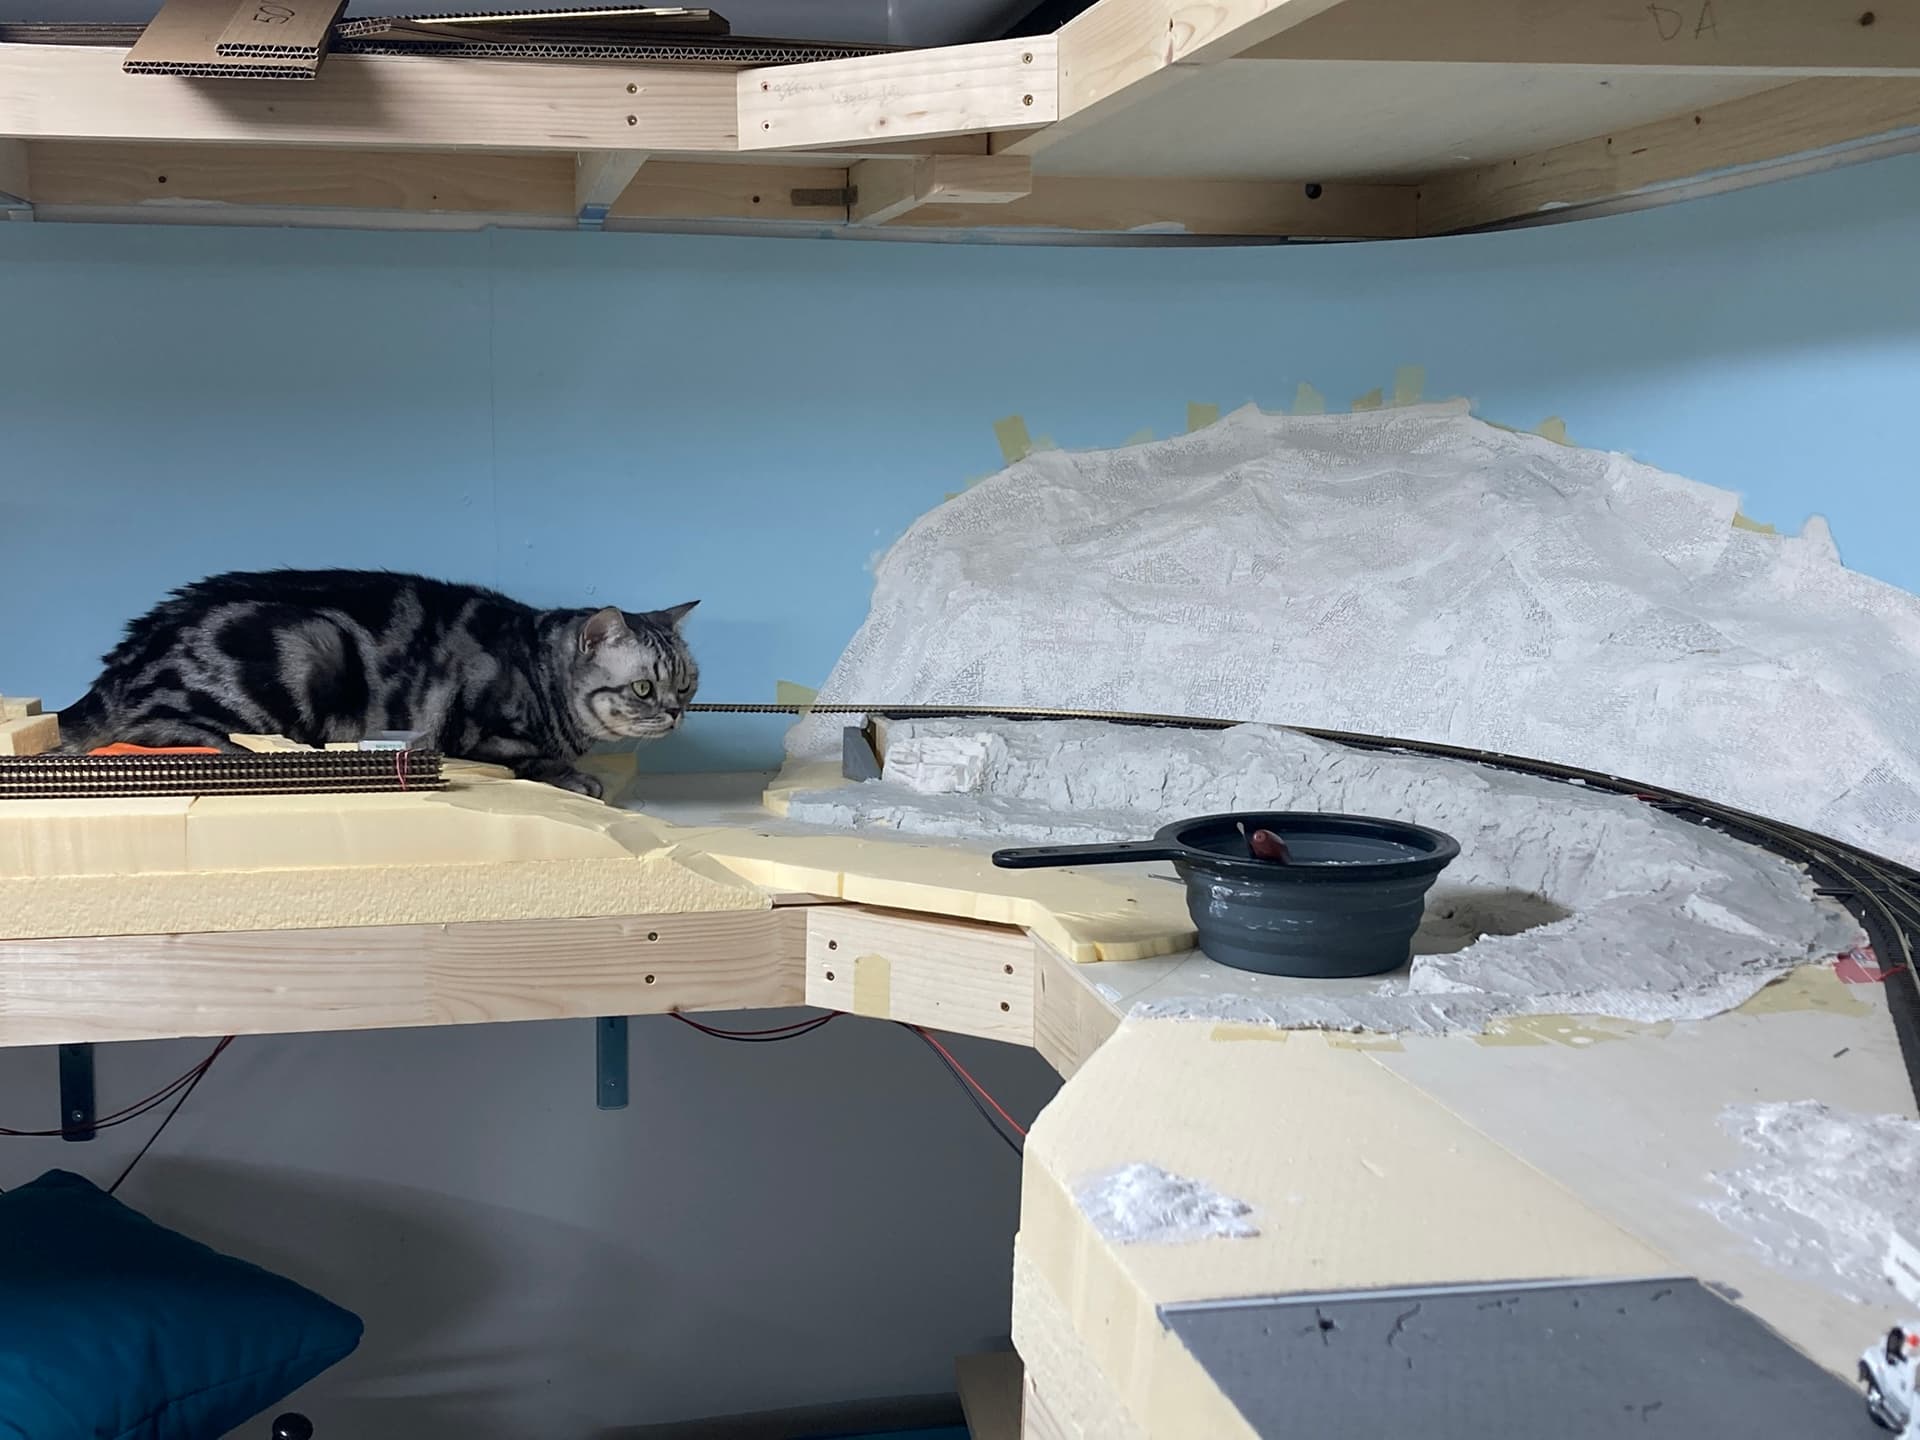
great for shaping and working with, and it takes the colors really nice. of course Aria the supervisor was watching closely
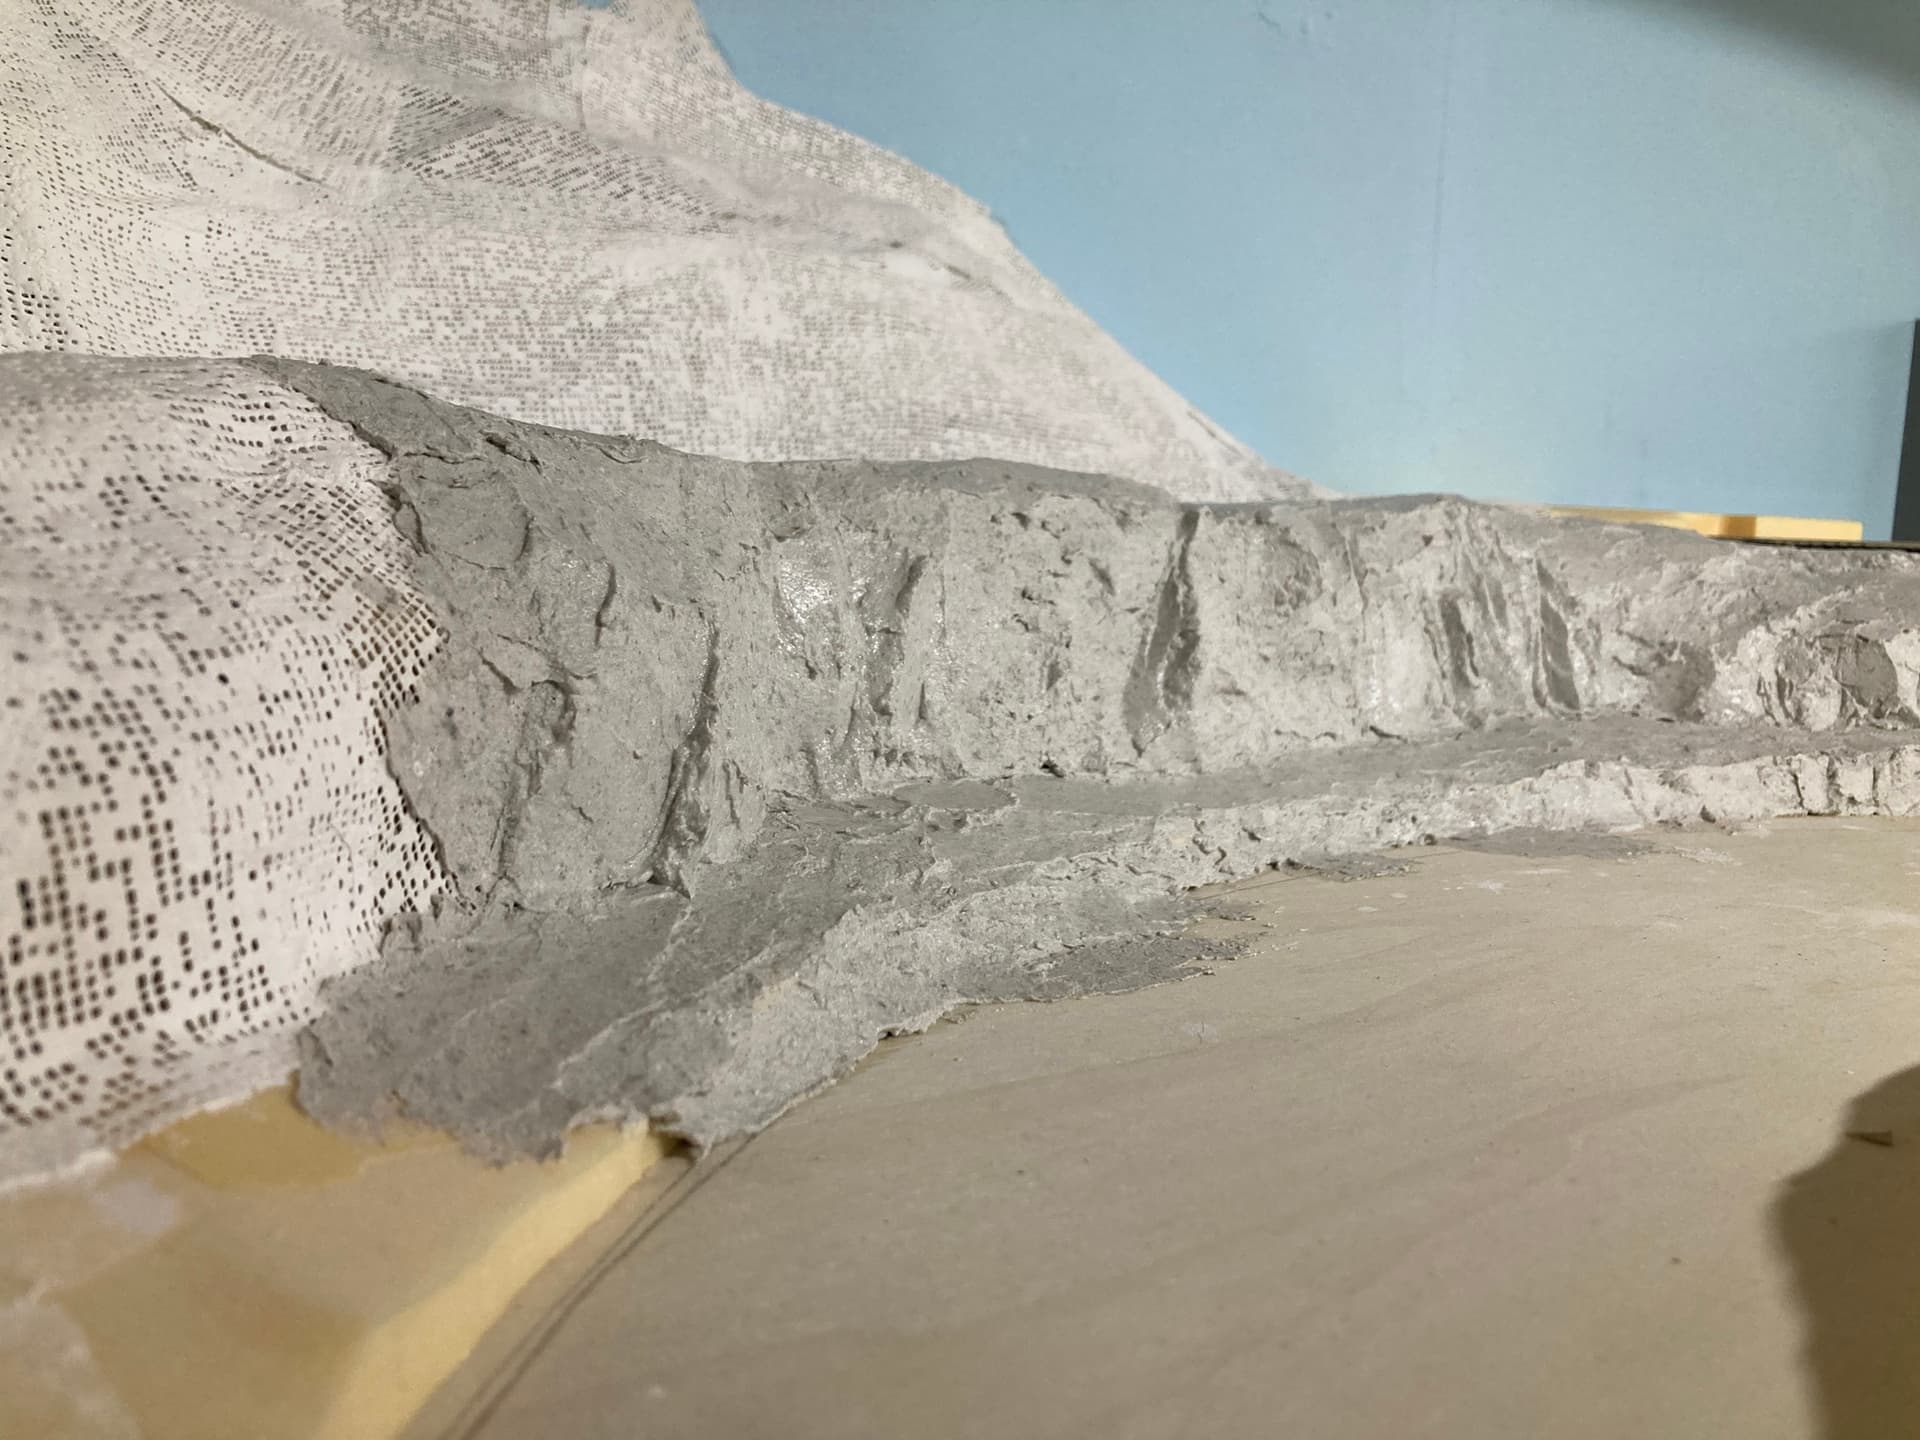
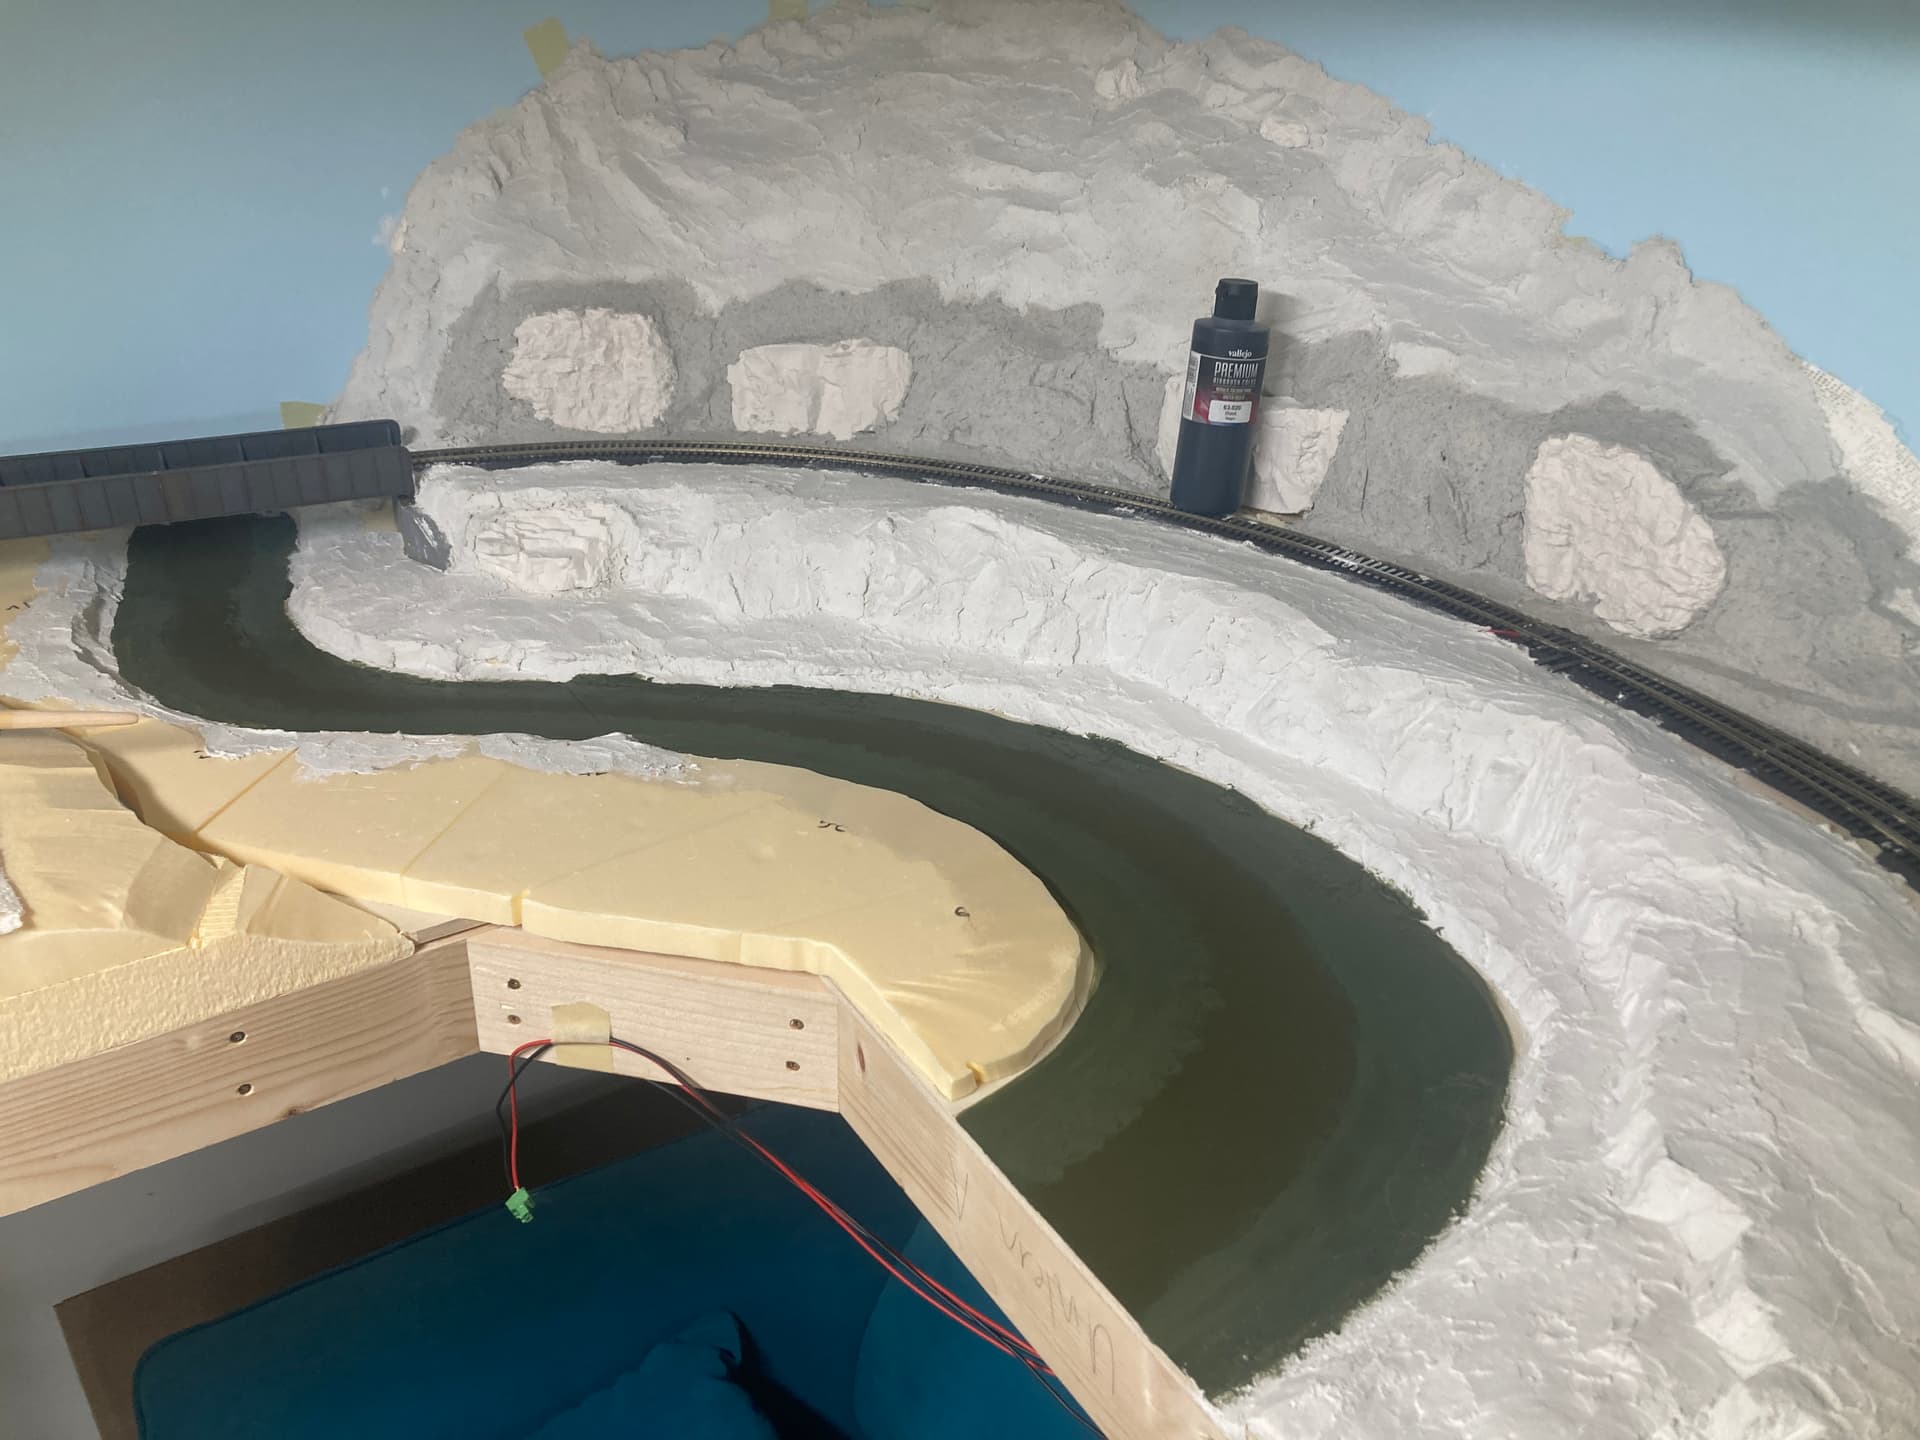
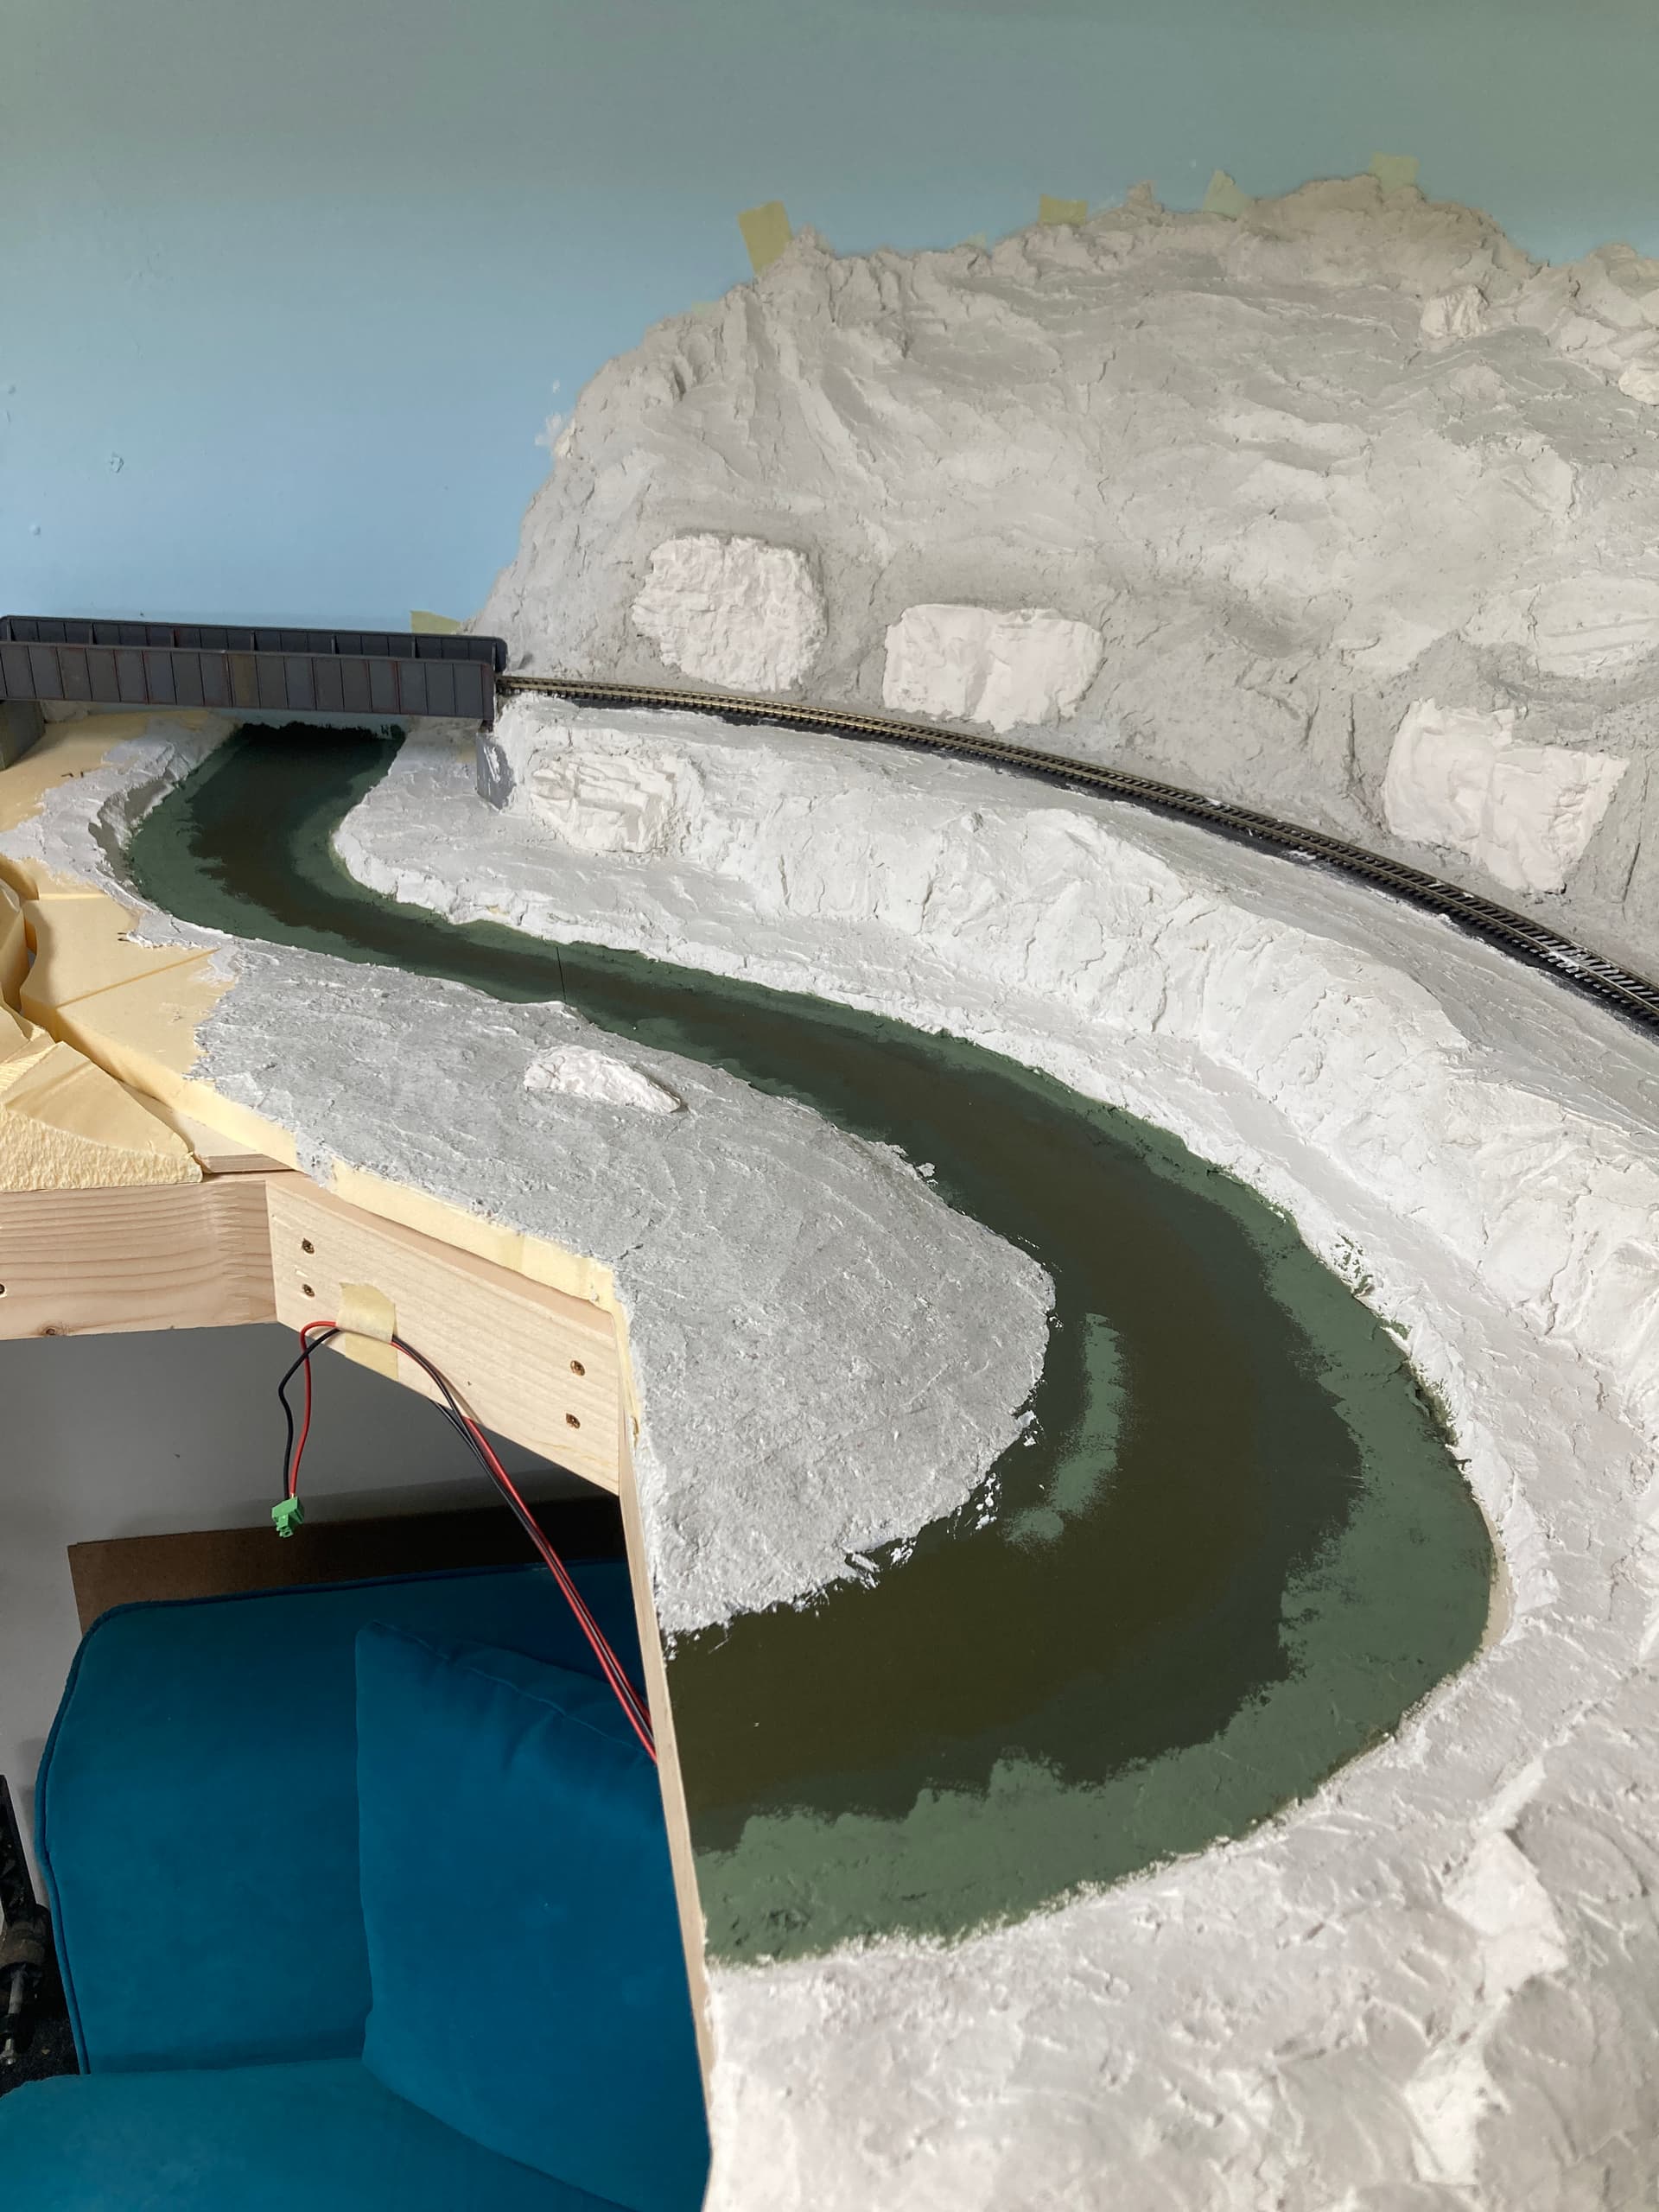
after that, i added a third color to the river bed.
now i have to seal some spots, because in the end i will add epoxi.
i will now also start to add stuff on the river bank, like rocks and stuff. if that all is placed, i will paint everything again and then will poor the epoxi.
that means, Section E will be just a “small” diorama like section, with a nice bridge, that sits on a swing bridge. i will build one that can be taken down, and will be hanging under section F when the “gate” is open.
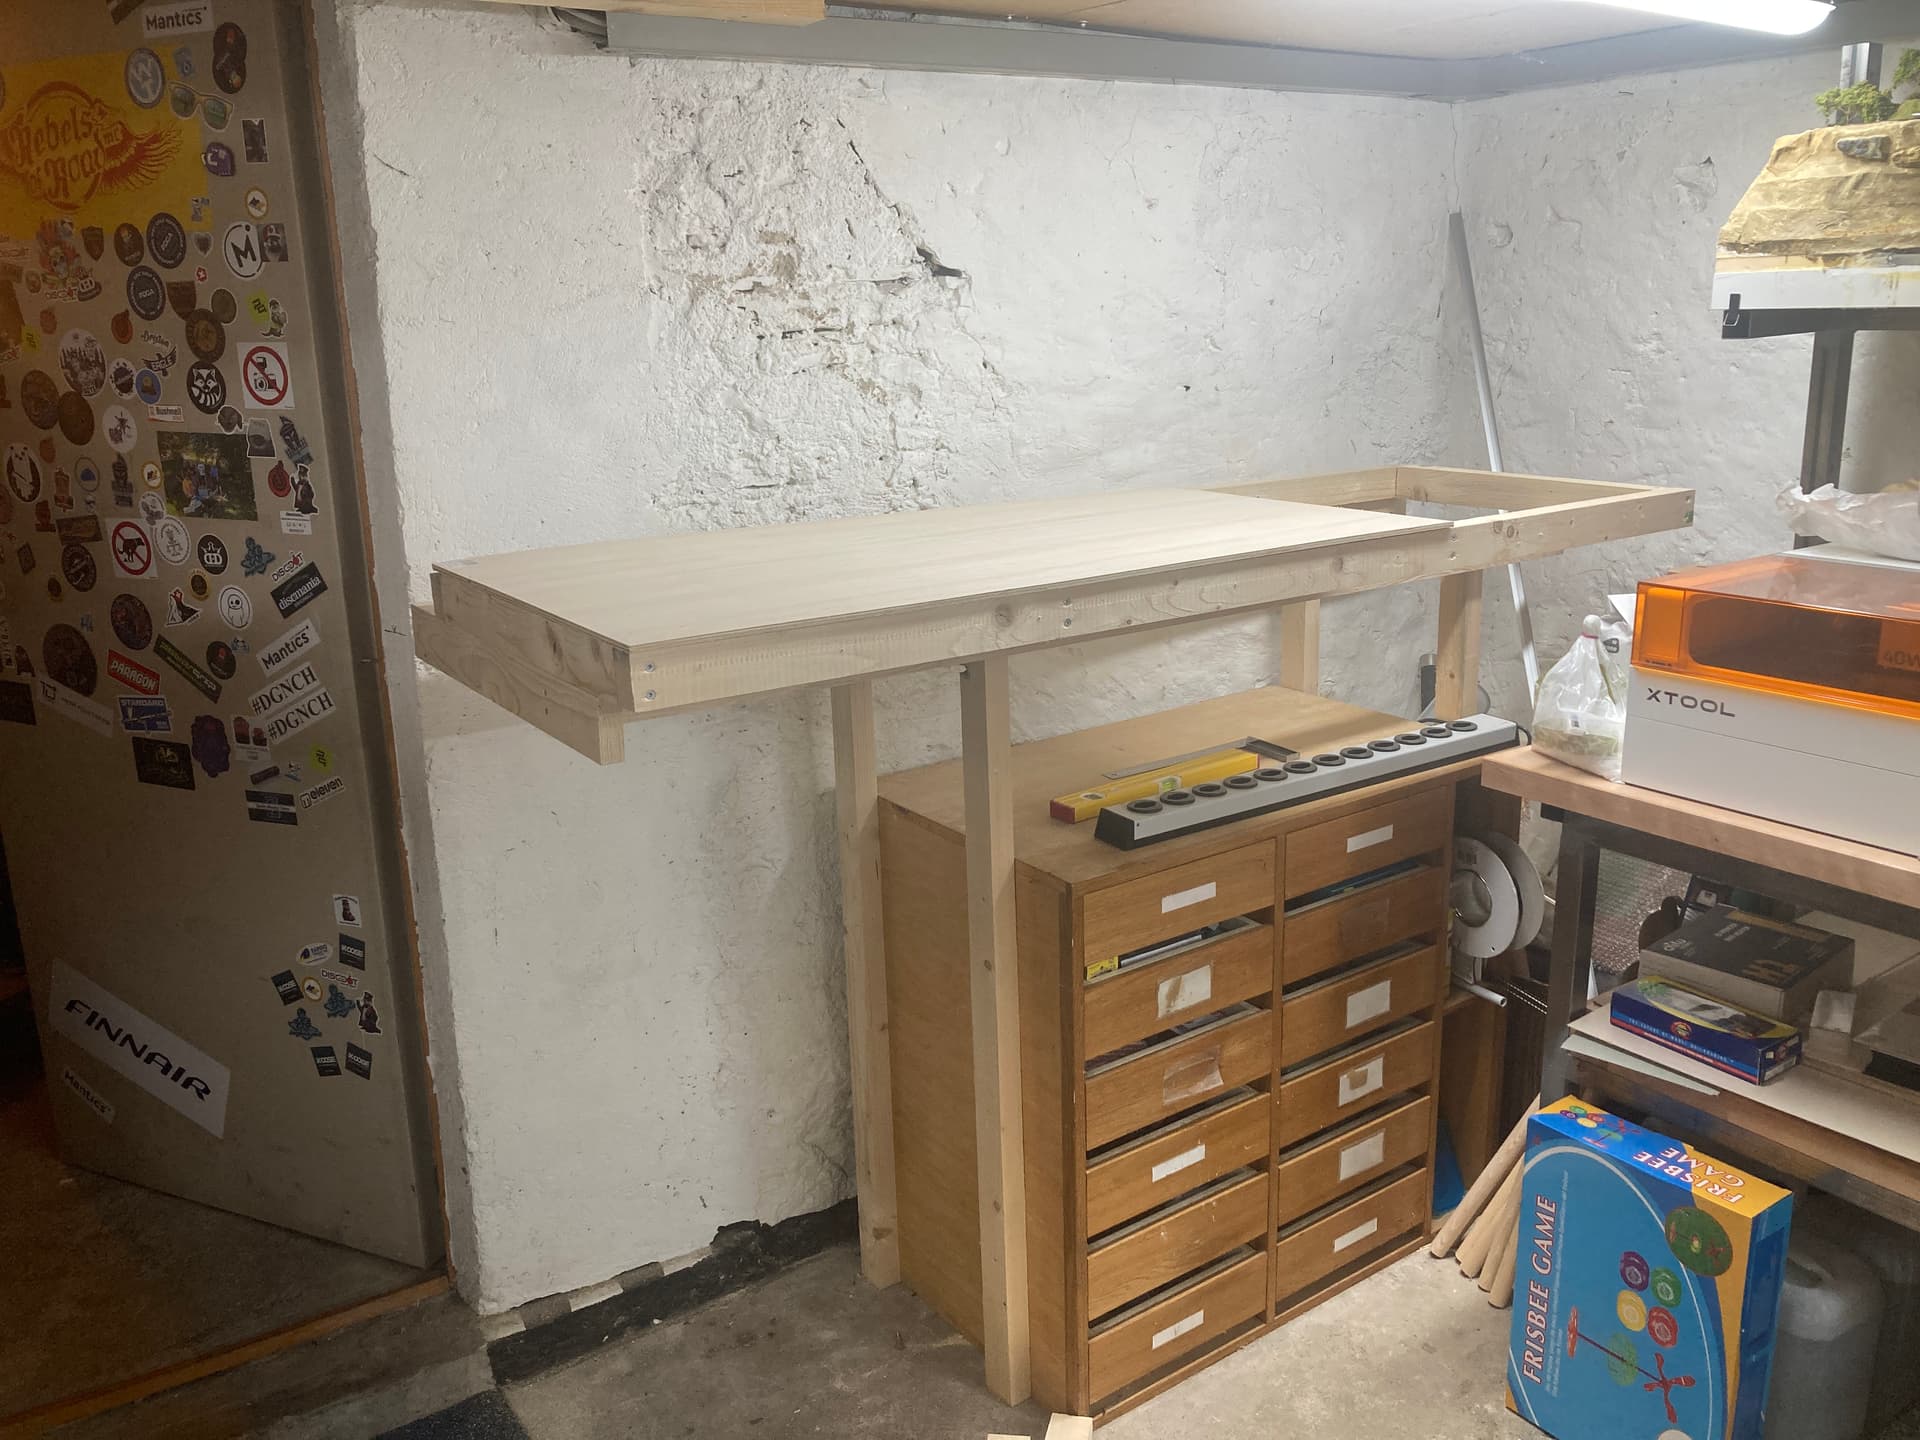
Section F will be 60cm deep and 180cm long. here i will create a “stagingyard”. the goal is, not only to get another 2m of track, but i think i will build up another industrie part here, with a diesel shop and a tanking station for the engines.
and with this post, your now up2date.
we are now, in the present time of building my layout.
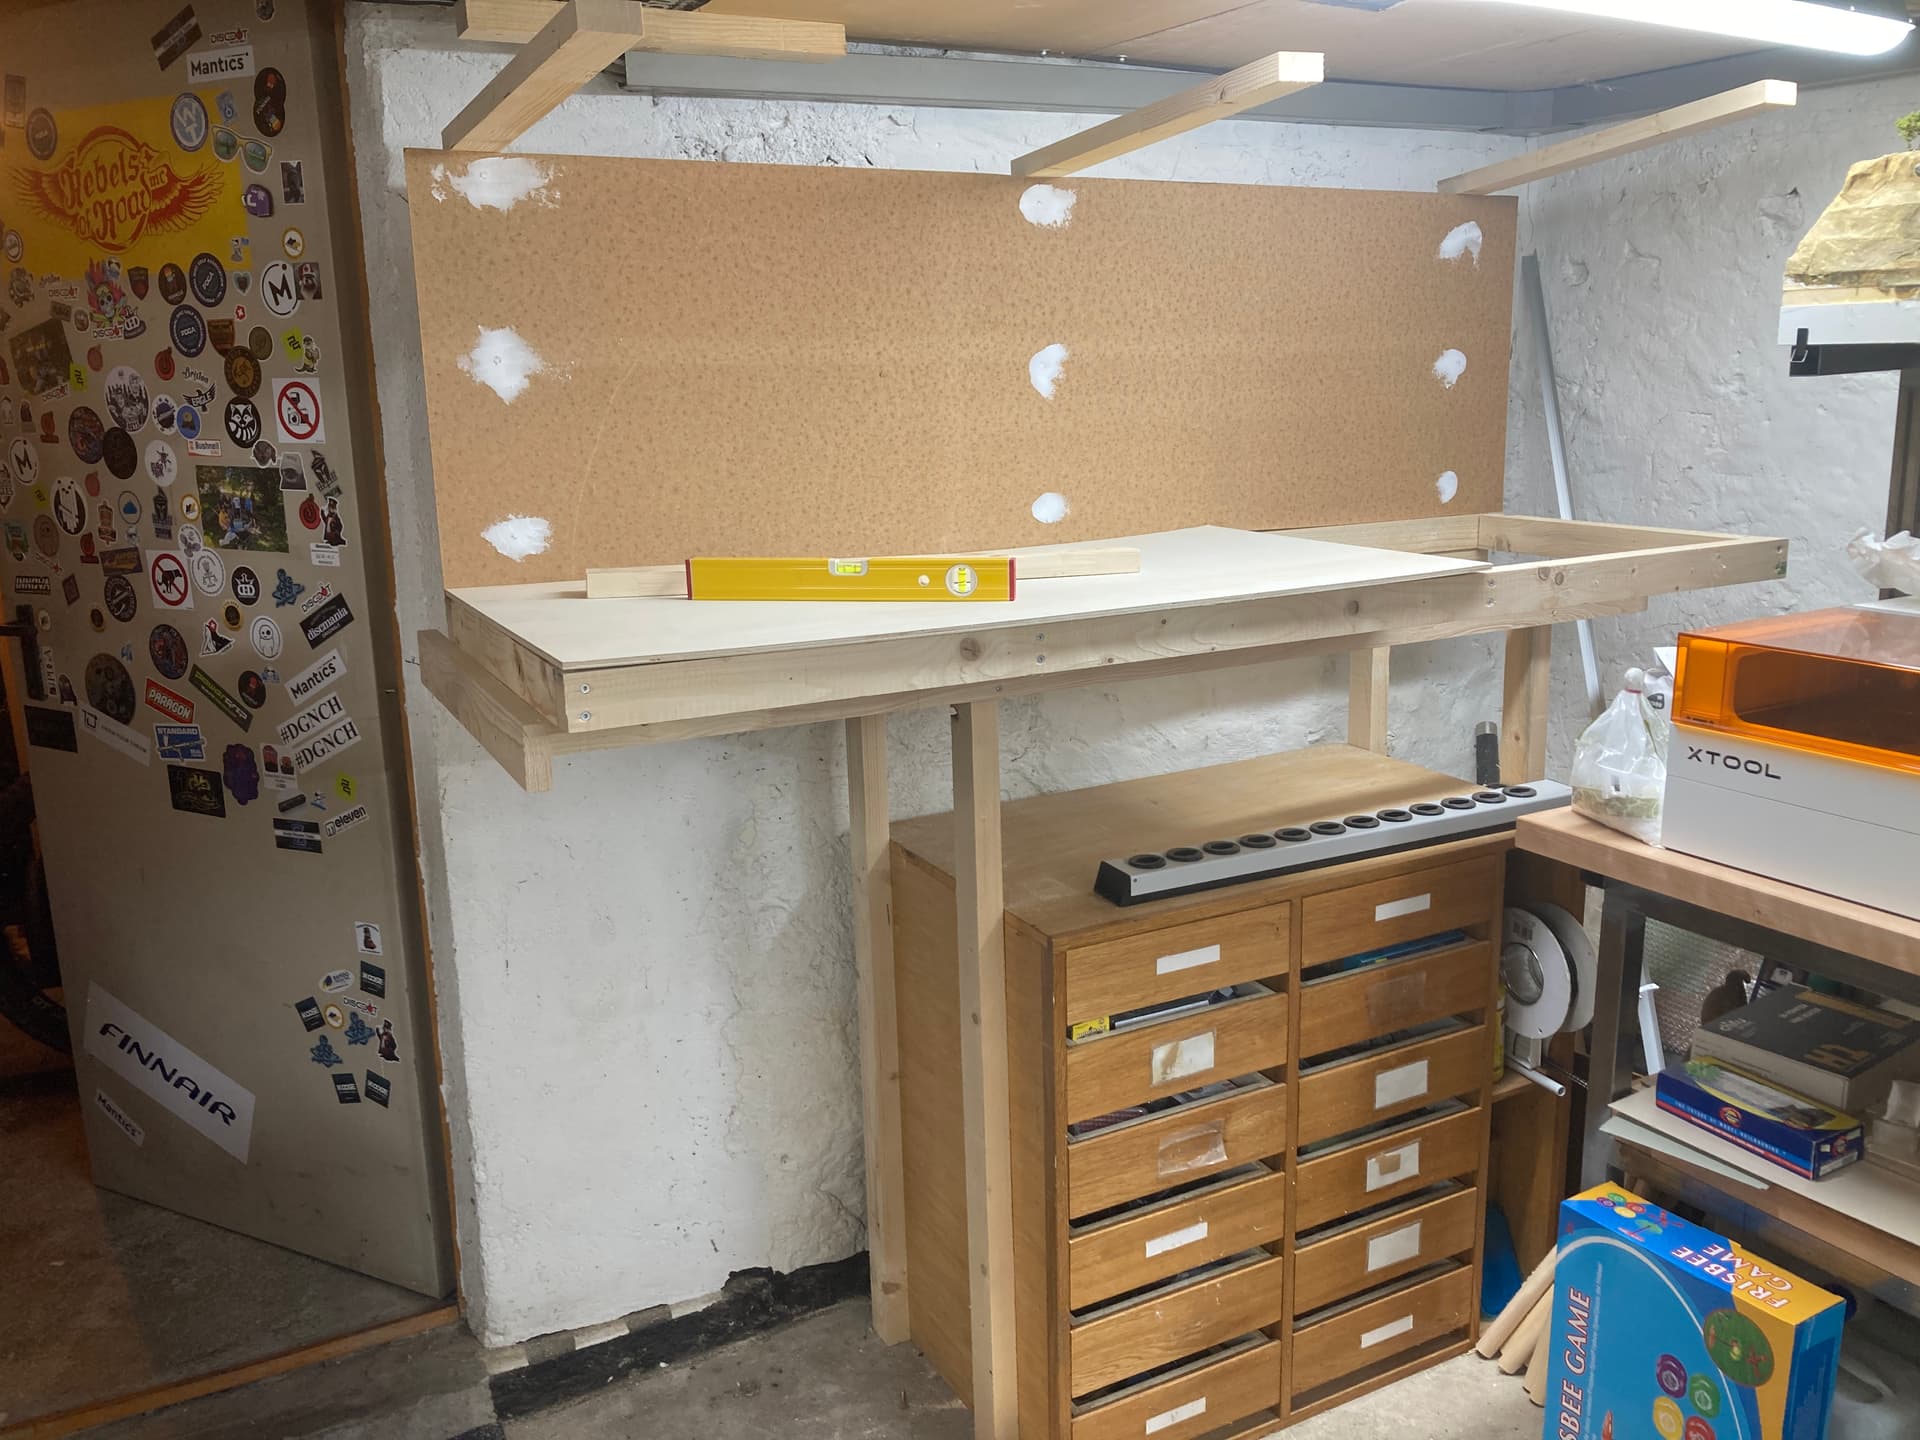
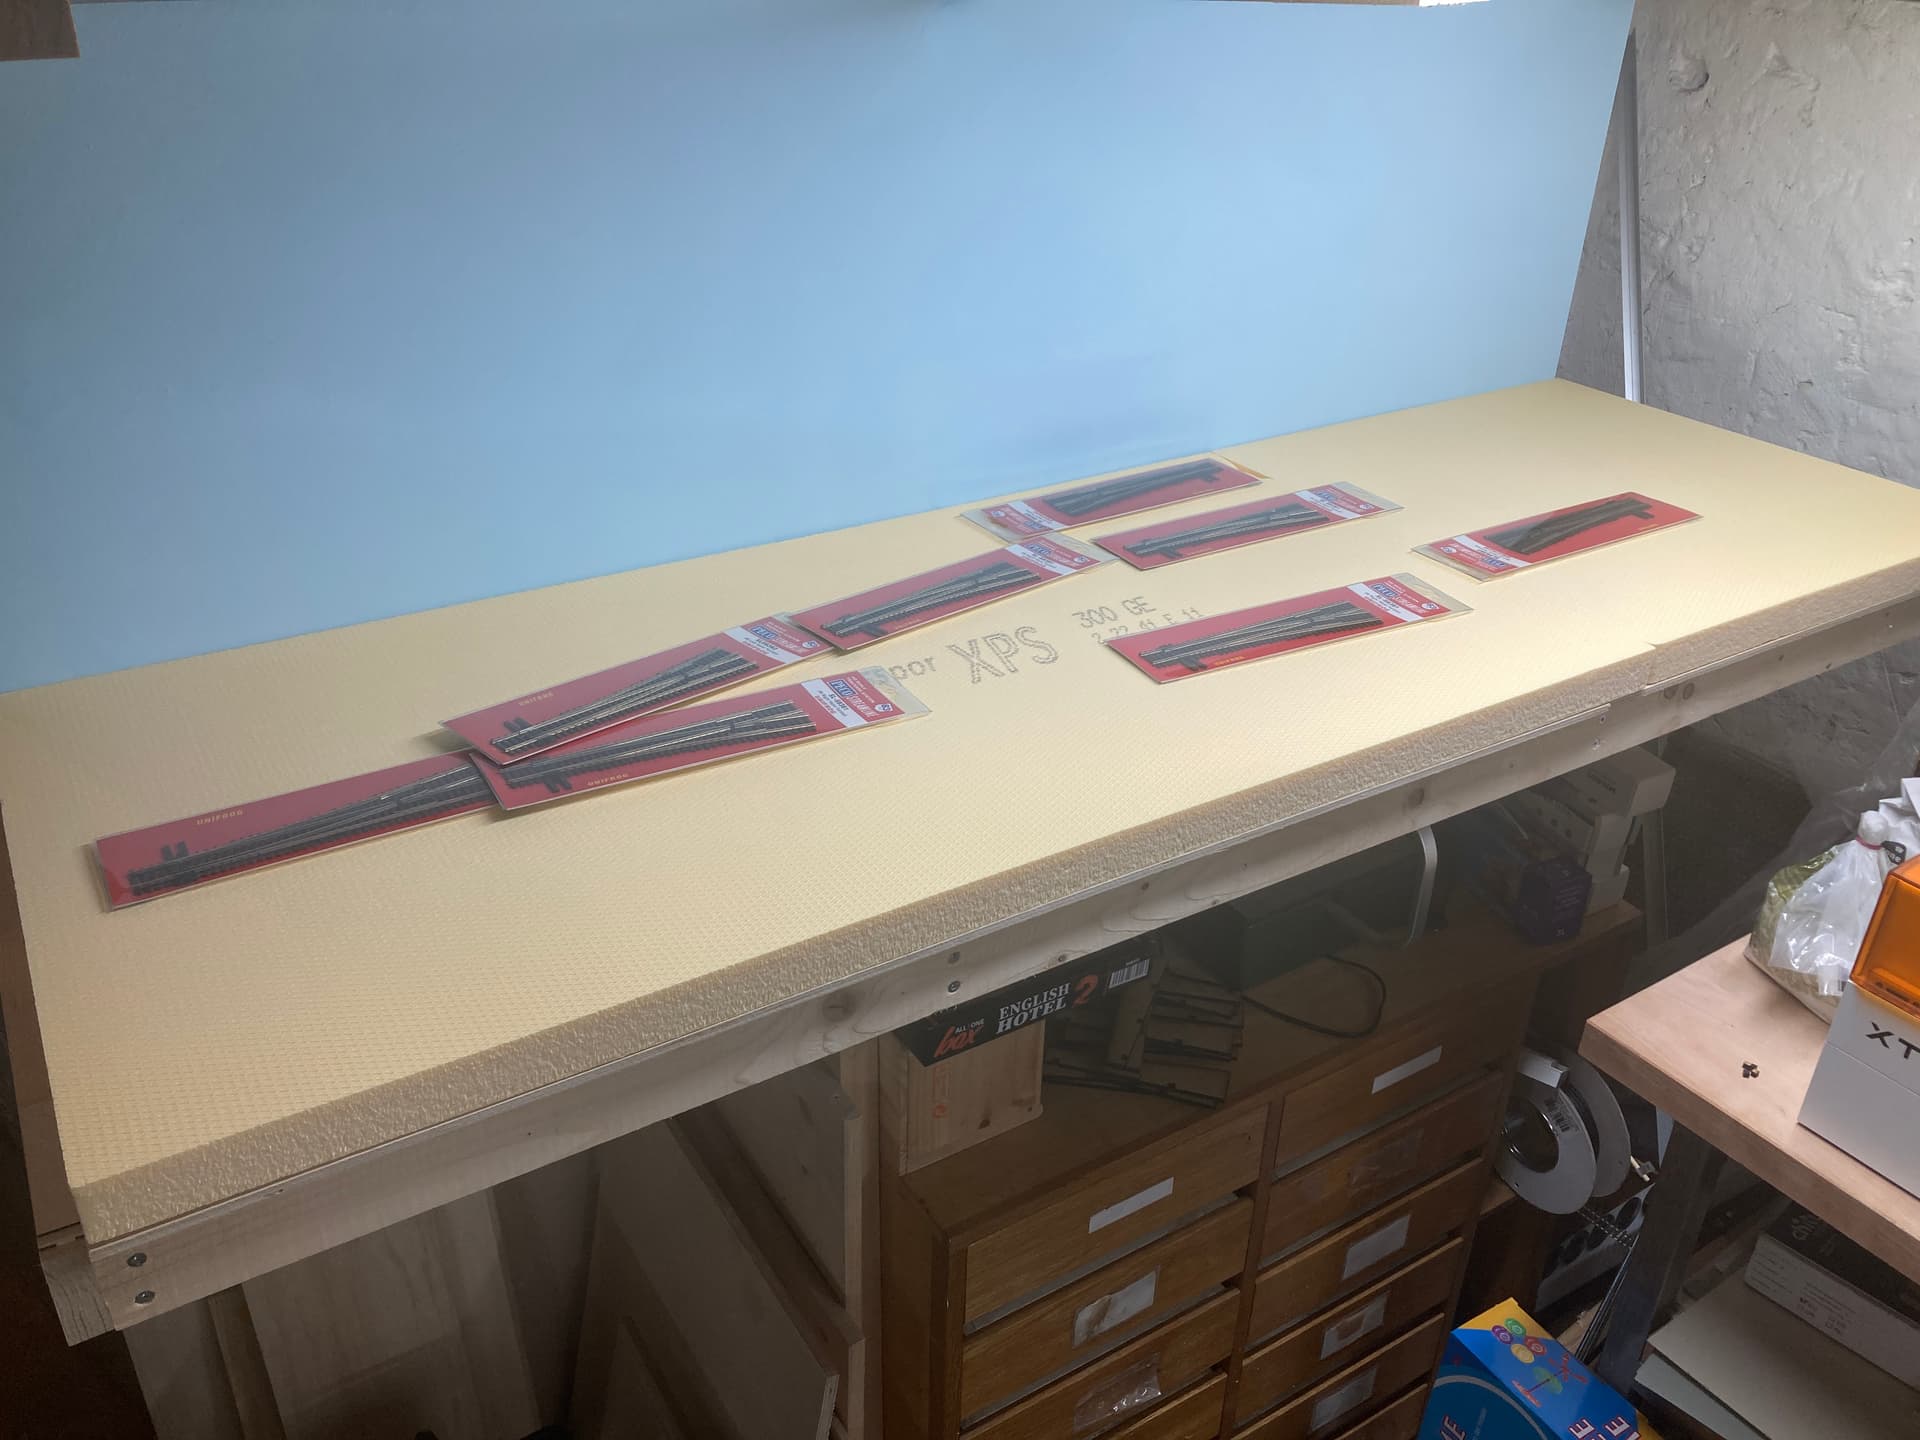
the next step will be, to paint the backdrop. first white then blue. after that i will add the foam base onto the module. since i will handswitch those turnouts on this side of the module i dont need switch motors or a “solid” wood base for the tracks.
after painting the backdrop i will start on the bridge module. i have the solution and the idea.
good morning everyone.
well it was a great and productive weekend.
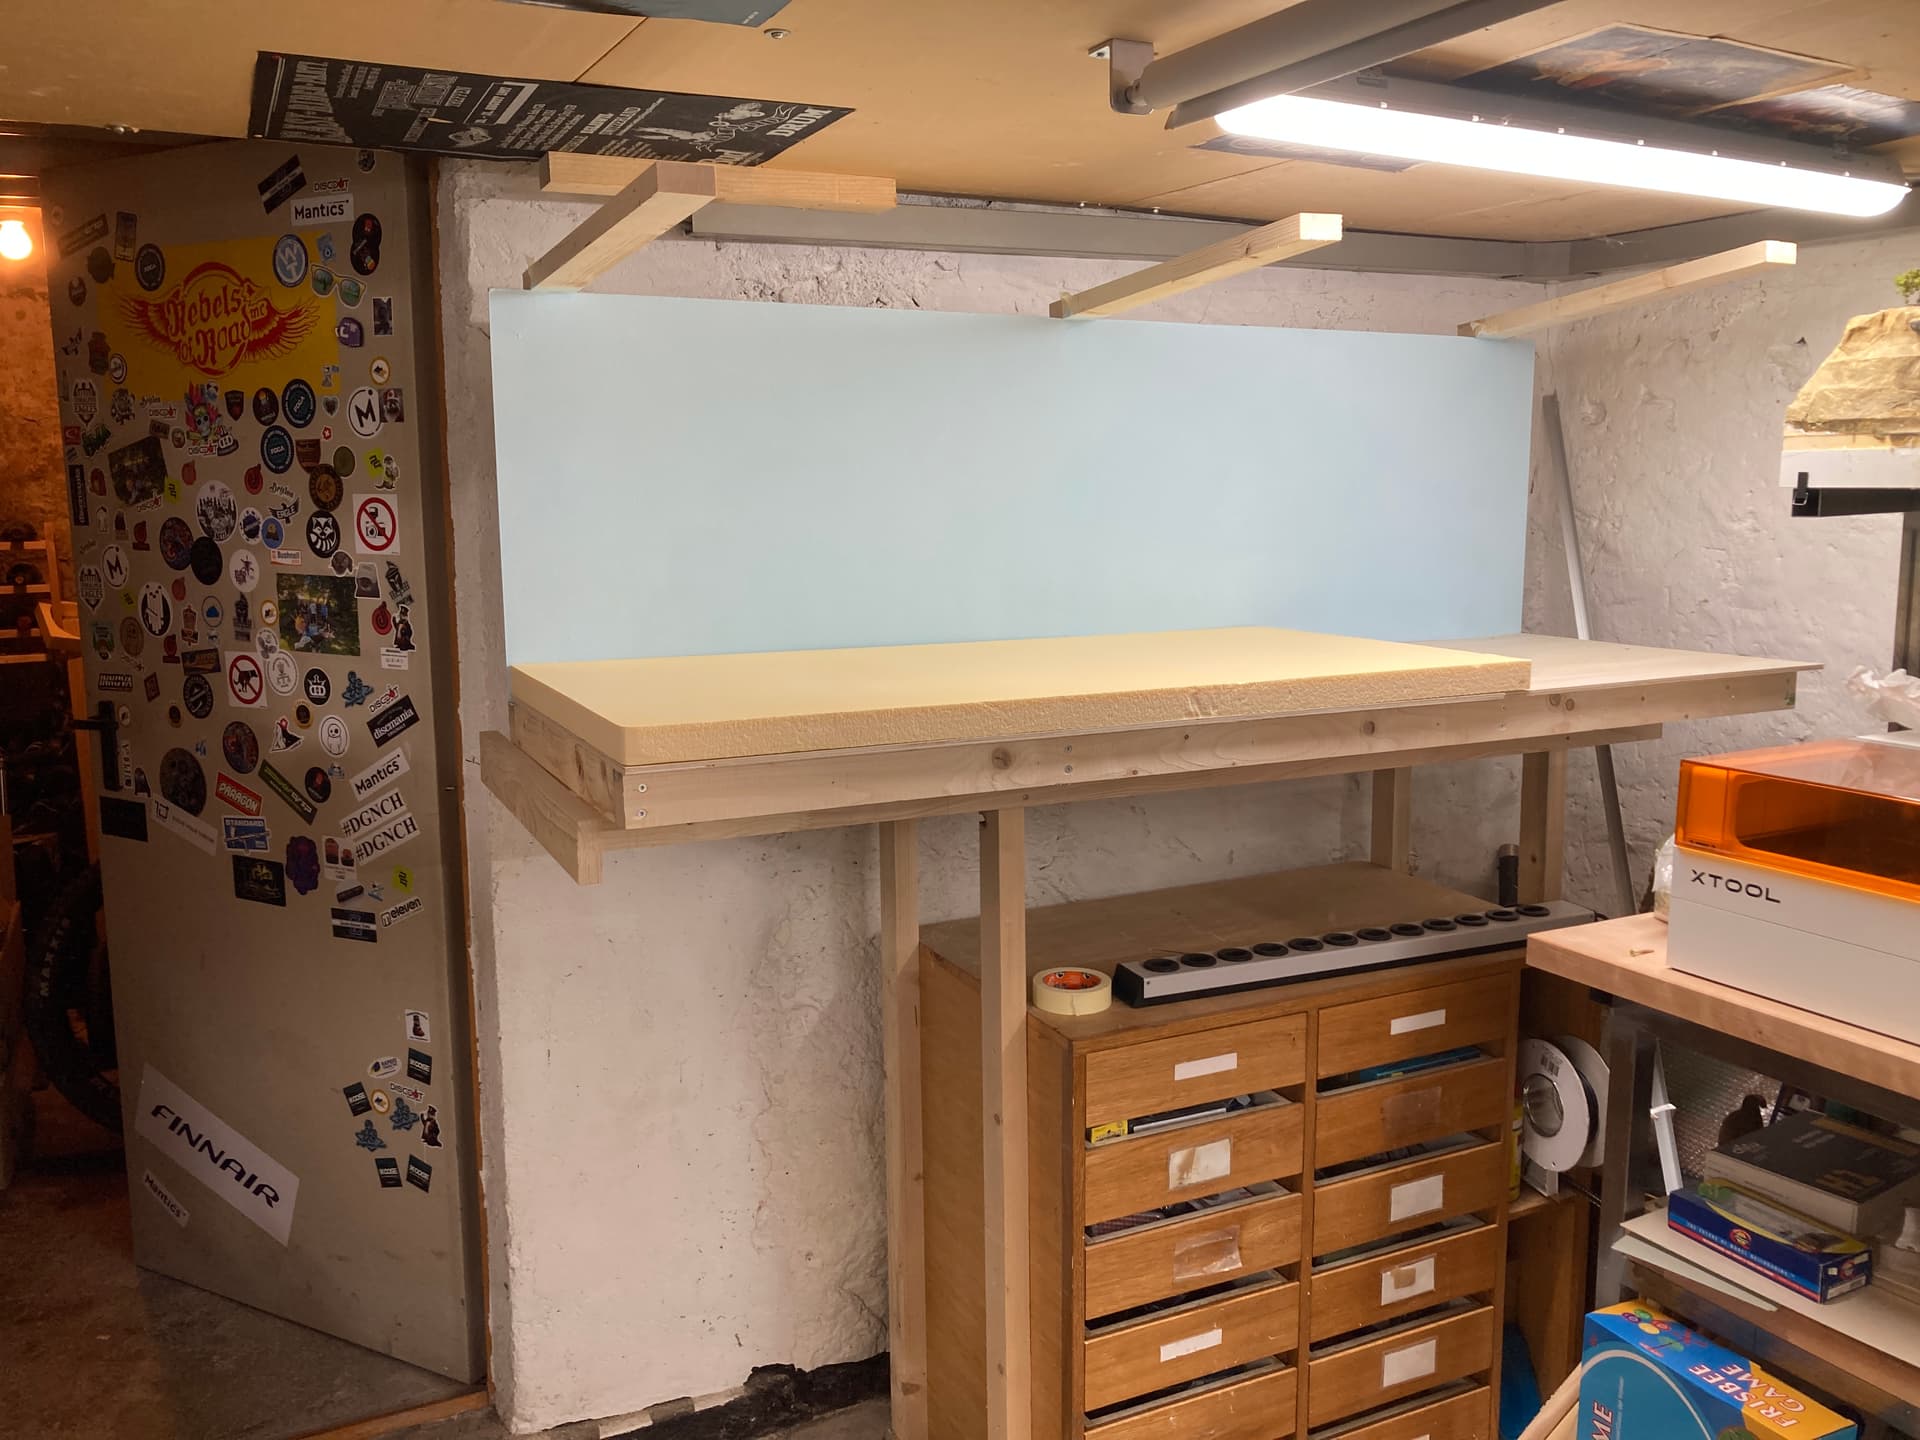
i did work on my extension (section E and F). but i only have pictures from section F.
this was on saturday. after it was dry, on sunday i did a livestream (will do more this season if i have the time for) so i painted the backdrop in my nice (selfmixed) sky blue
so thats the actual status.
now i will build the liftout section. after this is done i can add the track to lvlout this section.
supervisor aria did not care at all. she just enjoyed the view into the garden. and that she had some quiet time away from the other two young guns upstairs
so i think its time to show you another layout update video. in this video iam showing you everything i was working on the past few weeks/month. and i would say thats the start for the upcoming “season”. so i hope you enjoy:
i had some time last night for my layout, so i went forward with the bridge section. but now i have a question for you out there.
here is the case:
Section D (Industry left side) is 6mm higher than Section E (staging yard) the Bridge section (Section E) is around 78cm long, that means around 0.97% decrease. what do you think? should i shift up section E or should i just build the bridge section a little tilted. i think it could not really seen by eye.
i could also just Lift the start of section E 6mm, and then let it go down to point 0 at the end of the section. the whole section E is around 180cm long, that means there it will never be noticed i think. my engines will have no problem at all with both versions. but iam not really shure what to do, and right now i still could go with both versions.
I have two N bridges that both have a tilt to them. First, no one notices, and second, as has been stated above, real bridges also have a grade to them. I’d suggest not worrying about it.
I did something very similar in 2018, as seen in the following photo. My surfaces were a bit uneven as well. It has cause no problems. Your bubble is almost entirely within the viewer. You will be fine.
You, and probably anyone else, won’t care about that slight a tilt. Just be sure you have a continuous ‘panel’ of track over the transitions at either end – keep in mind that even steel trusses can have ballasted decks, as in the new bridge in St. Louis. That ensures there will be no vertical ‘kink’ in the track.
If your conscience still nags at you, just model a couple of horizontal shoes at the ‘downhill’ end of the bridge, between the end of the bridge structure and the vertical face of the abutment at the top. This would accommodate any shifting or braking loads while permitting ‘thermal accommodation’ of the bridge on its shoes.
thats by the way a great input. thank you. and i do have a “overhang” of track planed for this section. so i hope it will work in the end, but will try it out for shure many times befor fixing it down.
Runaround track with a turnout that goes into the wild (abandoned track)
then some storage tracks
on the left (to the backdrop) will be a diesel workshop and maybe also fuel station
the track that runs against the “wall” will maybe be abandoned and use for parking engines or it will be some kind of industry not decided yet
thats more or less everything.
about the bridge section, i will go for the time with just a simple version of a liftout.
maybe build a “real” diorama lift out later.
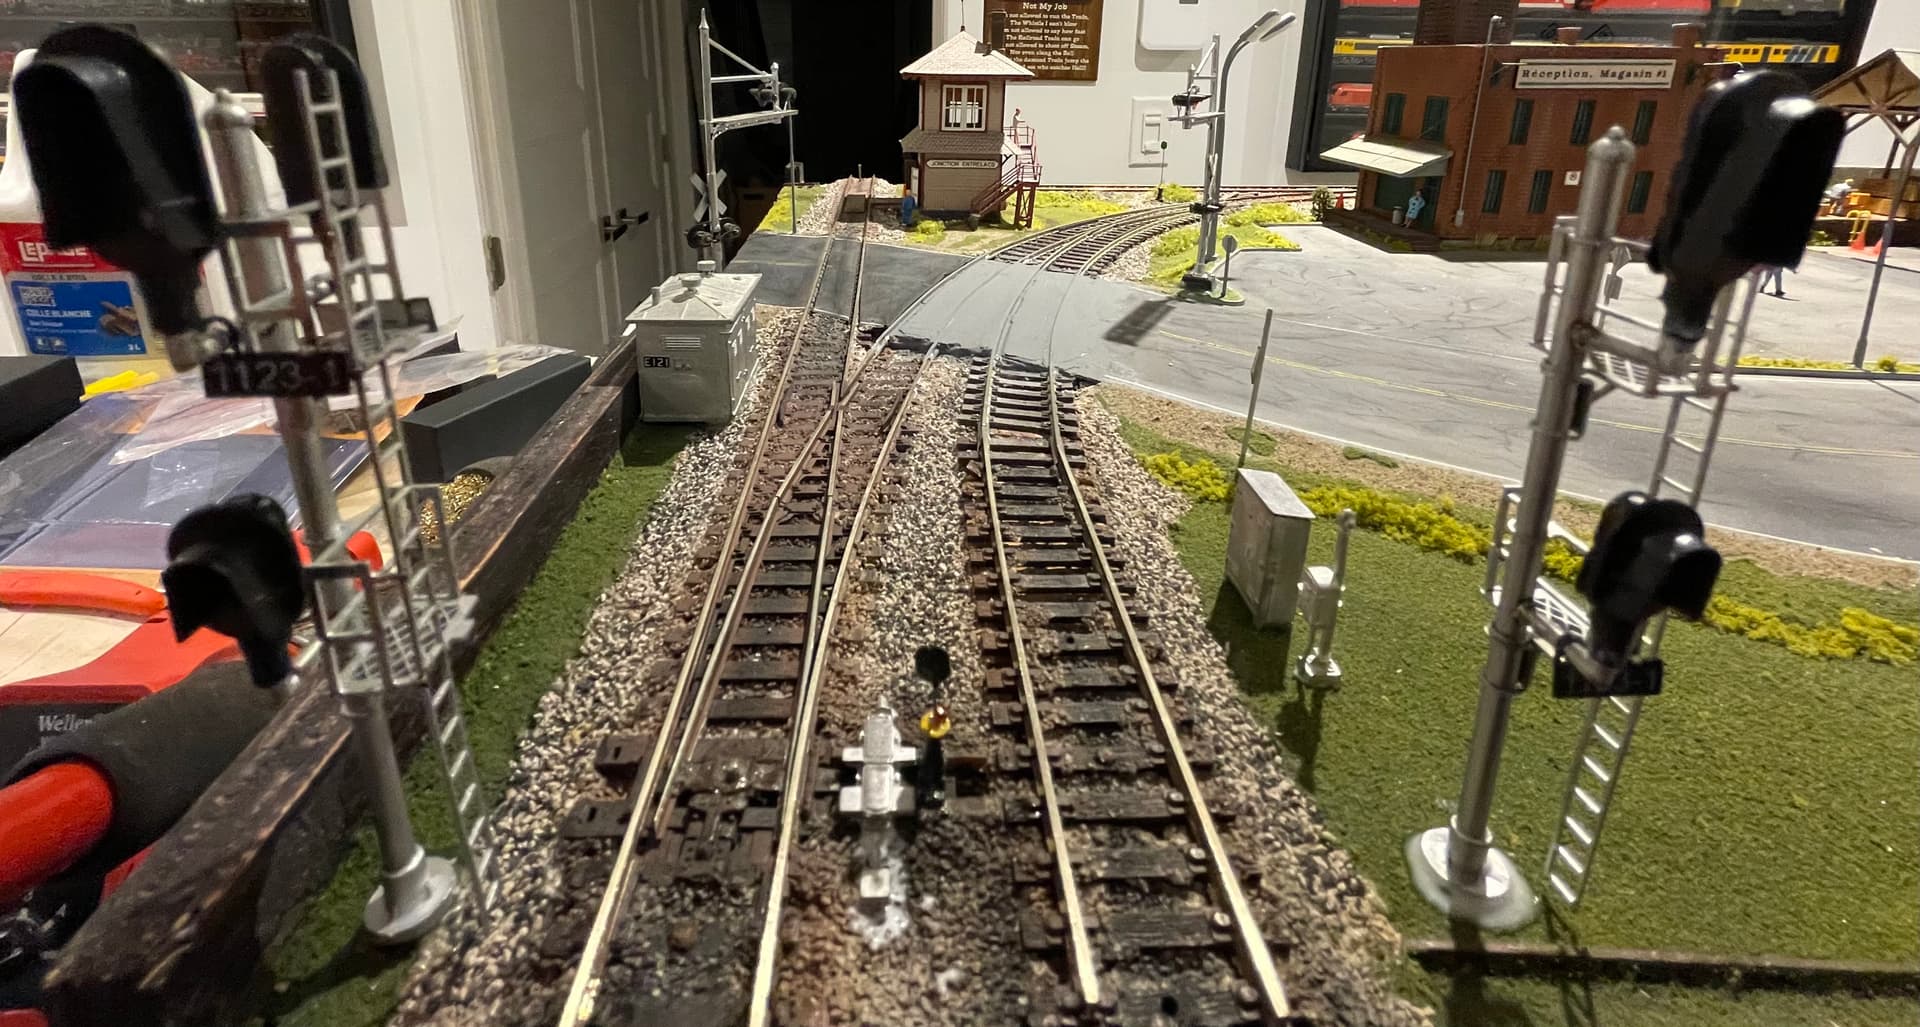
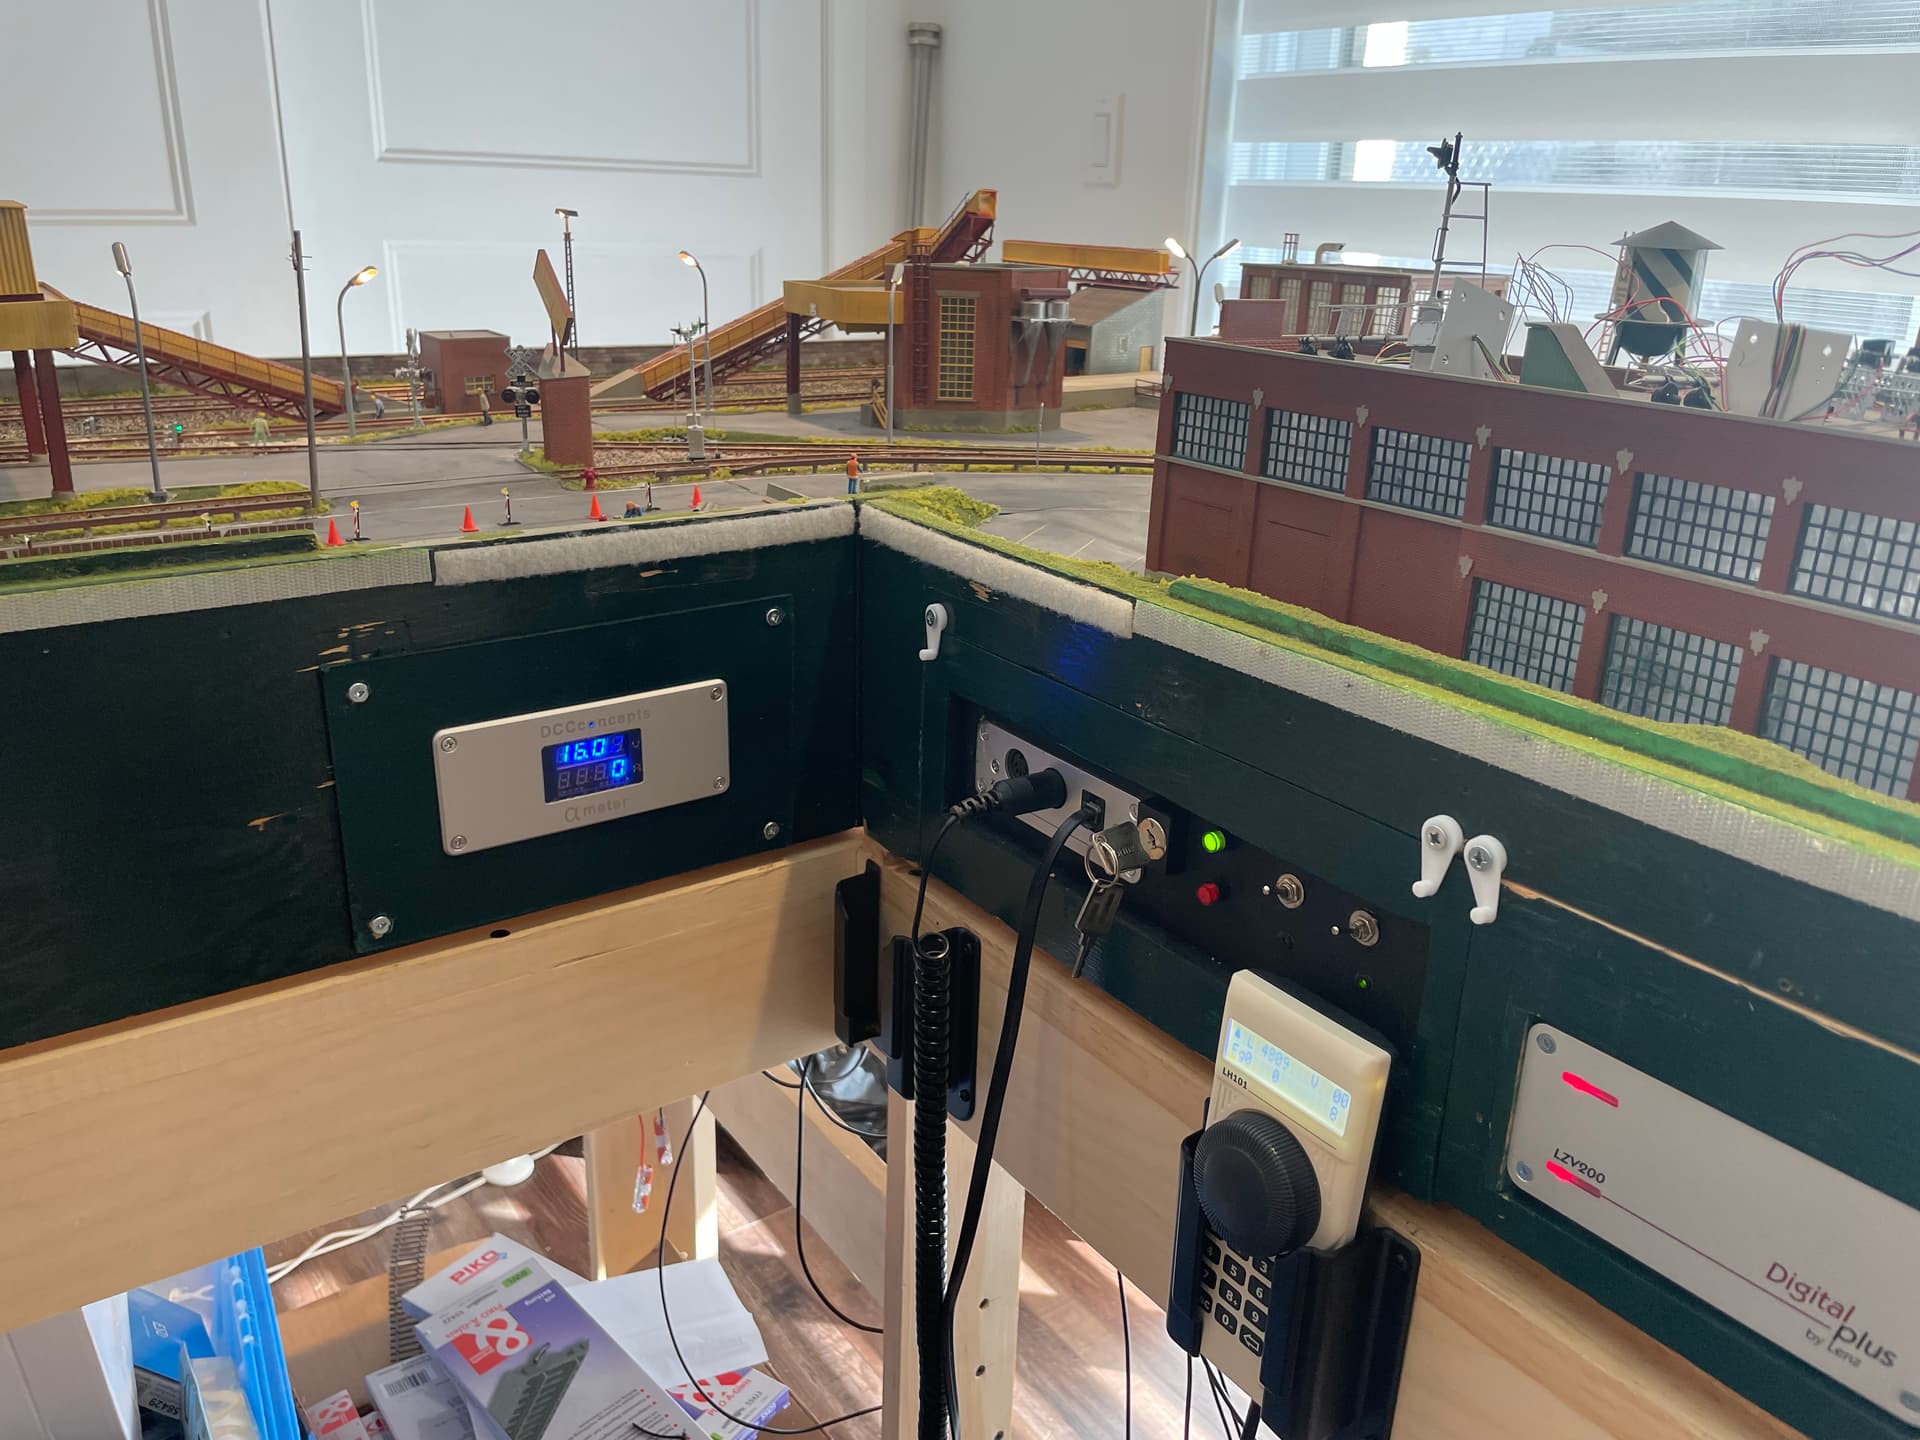
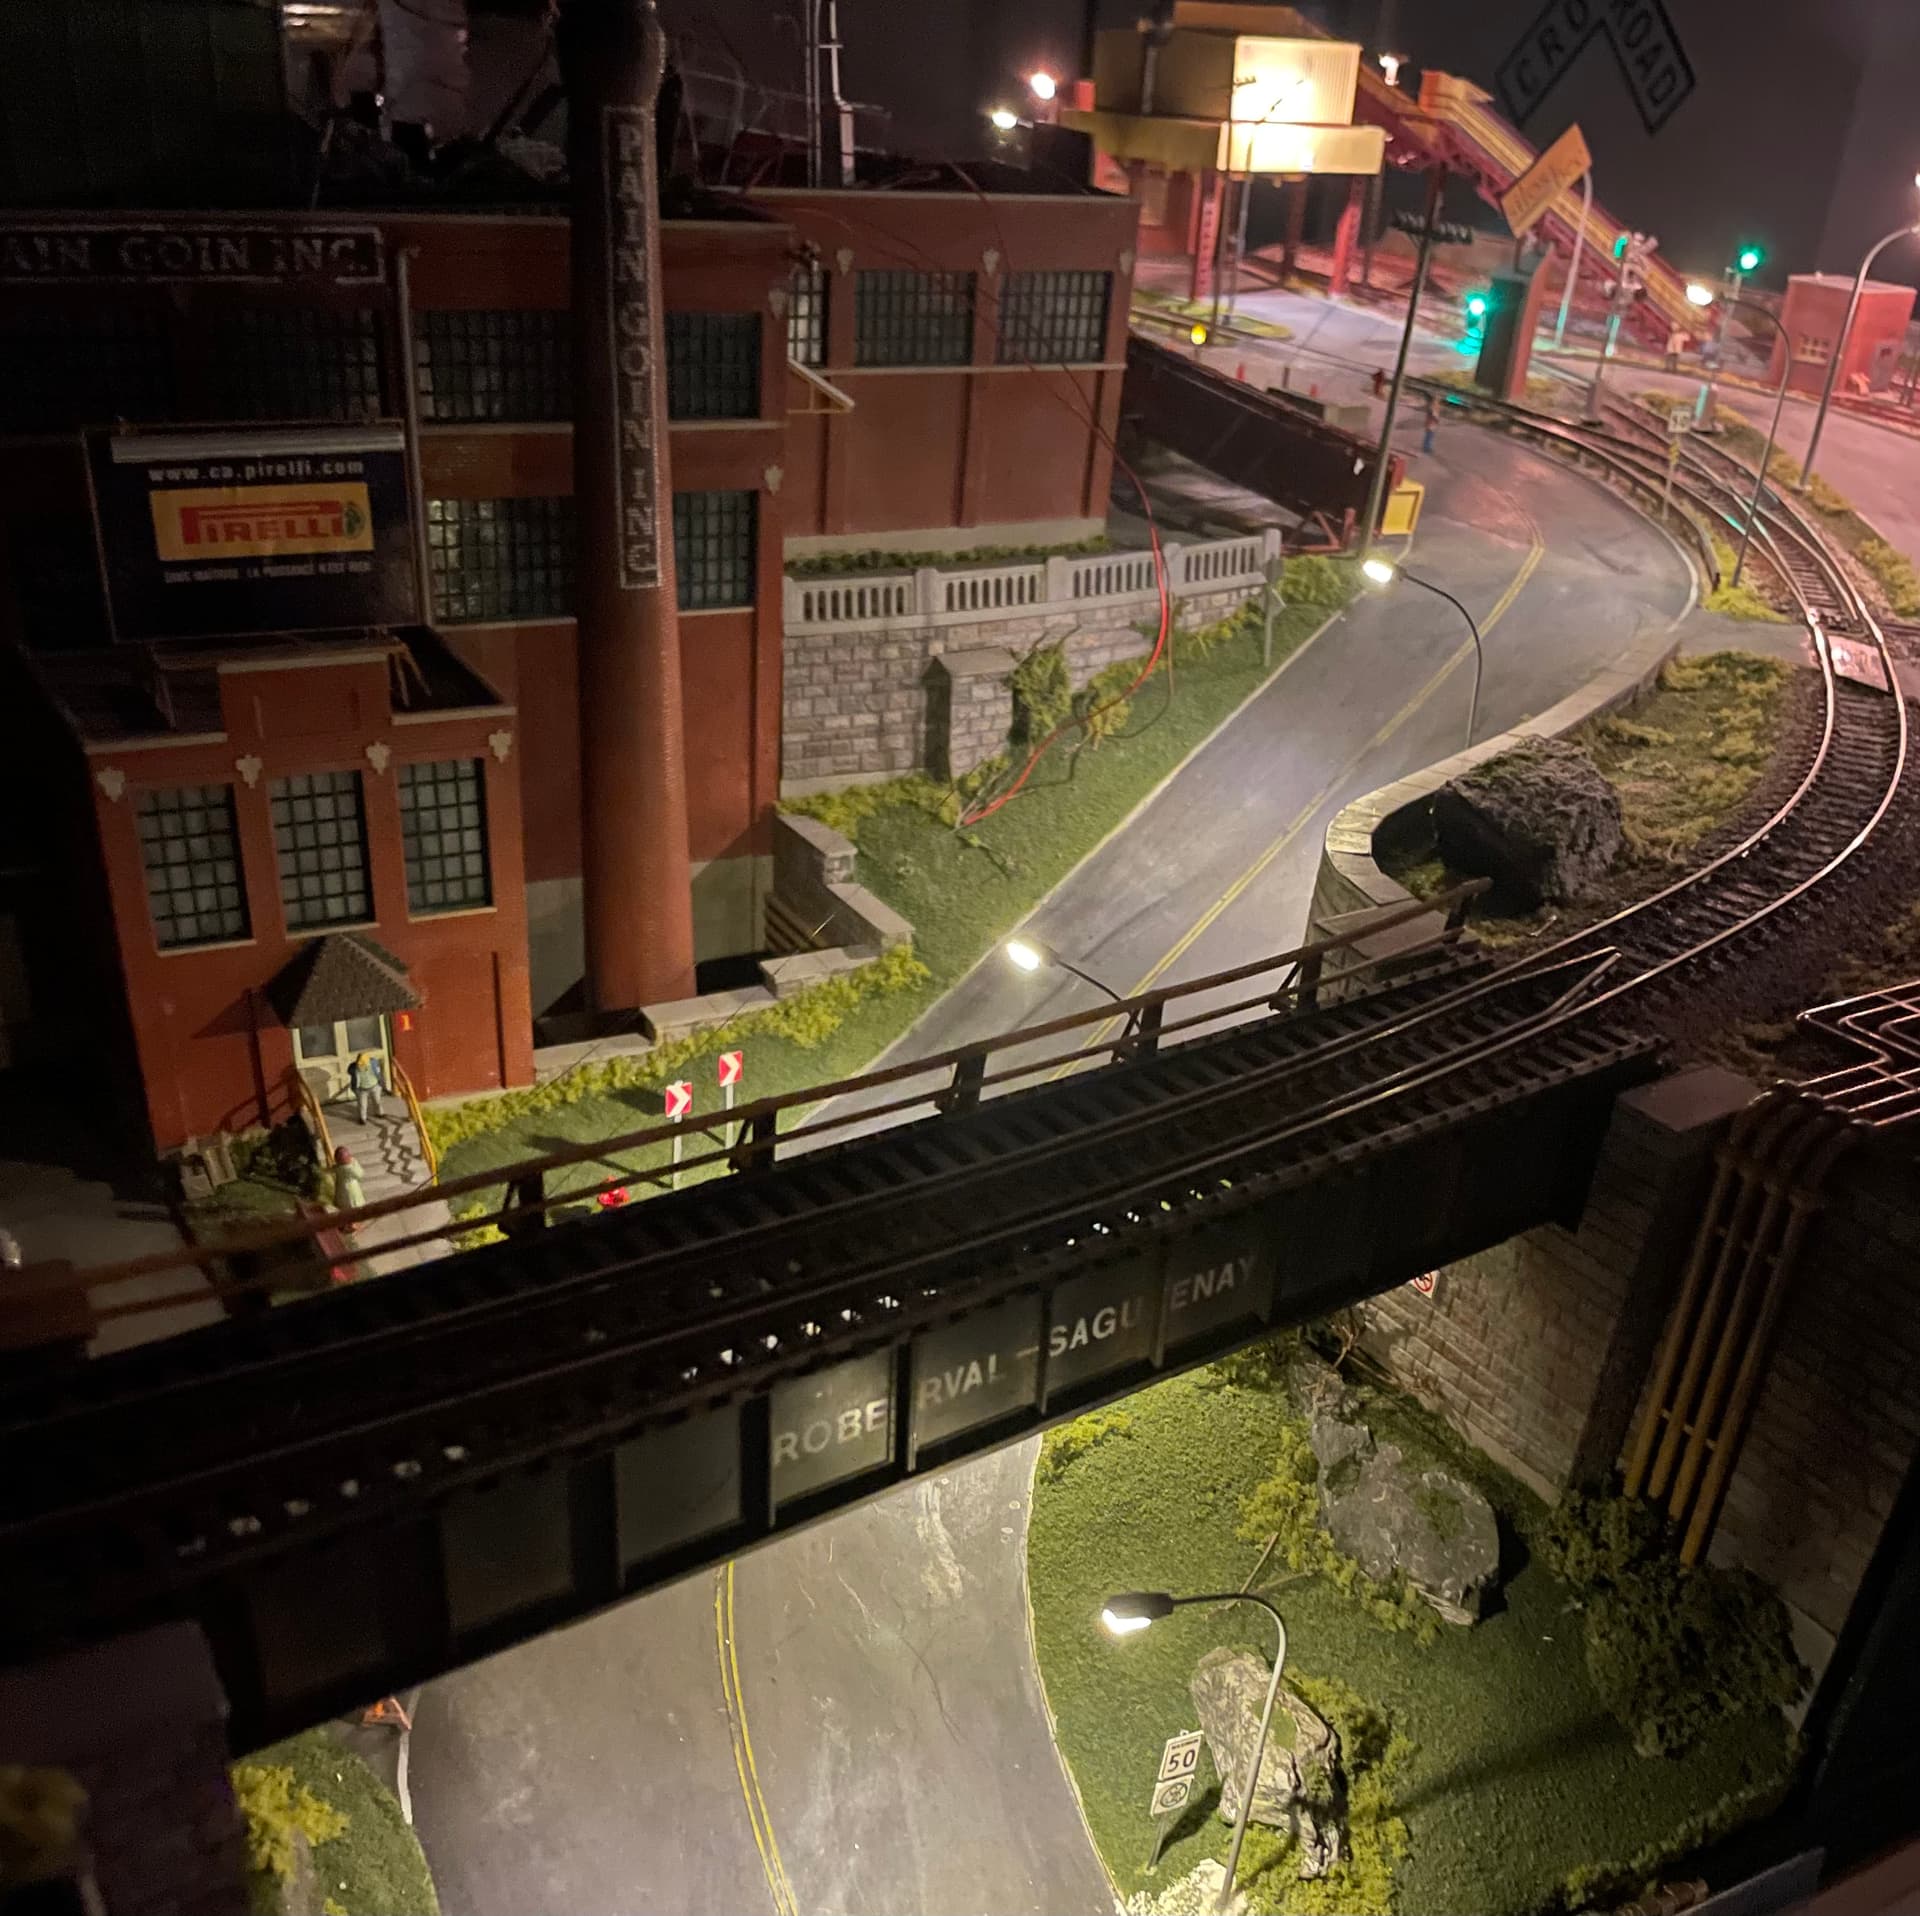
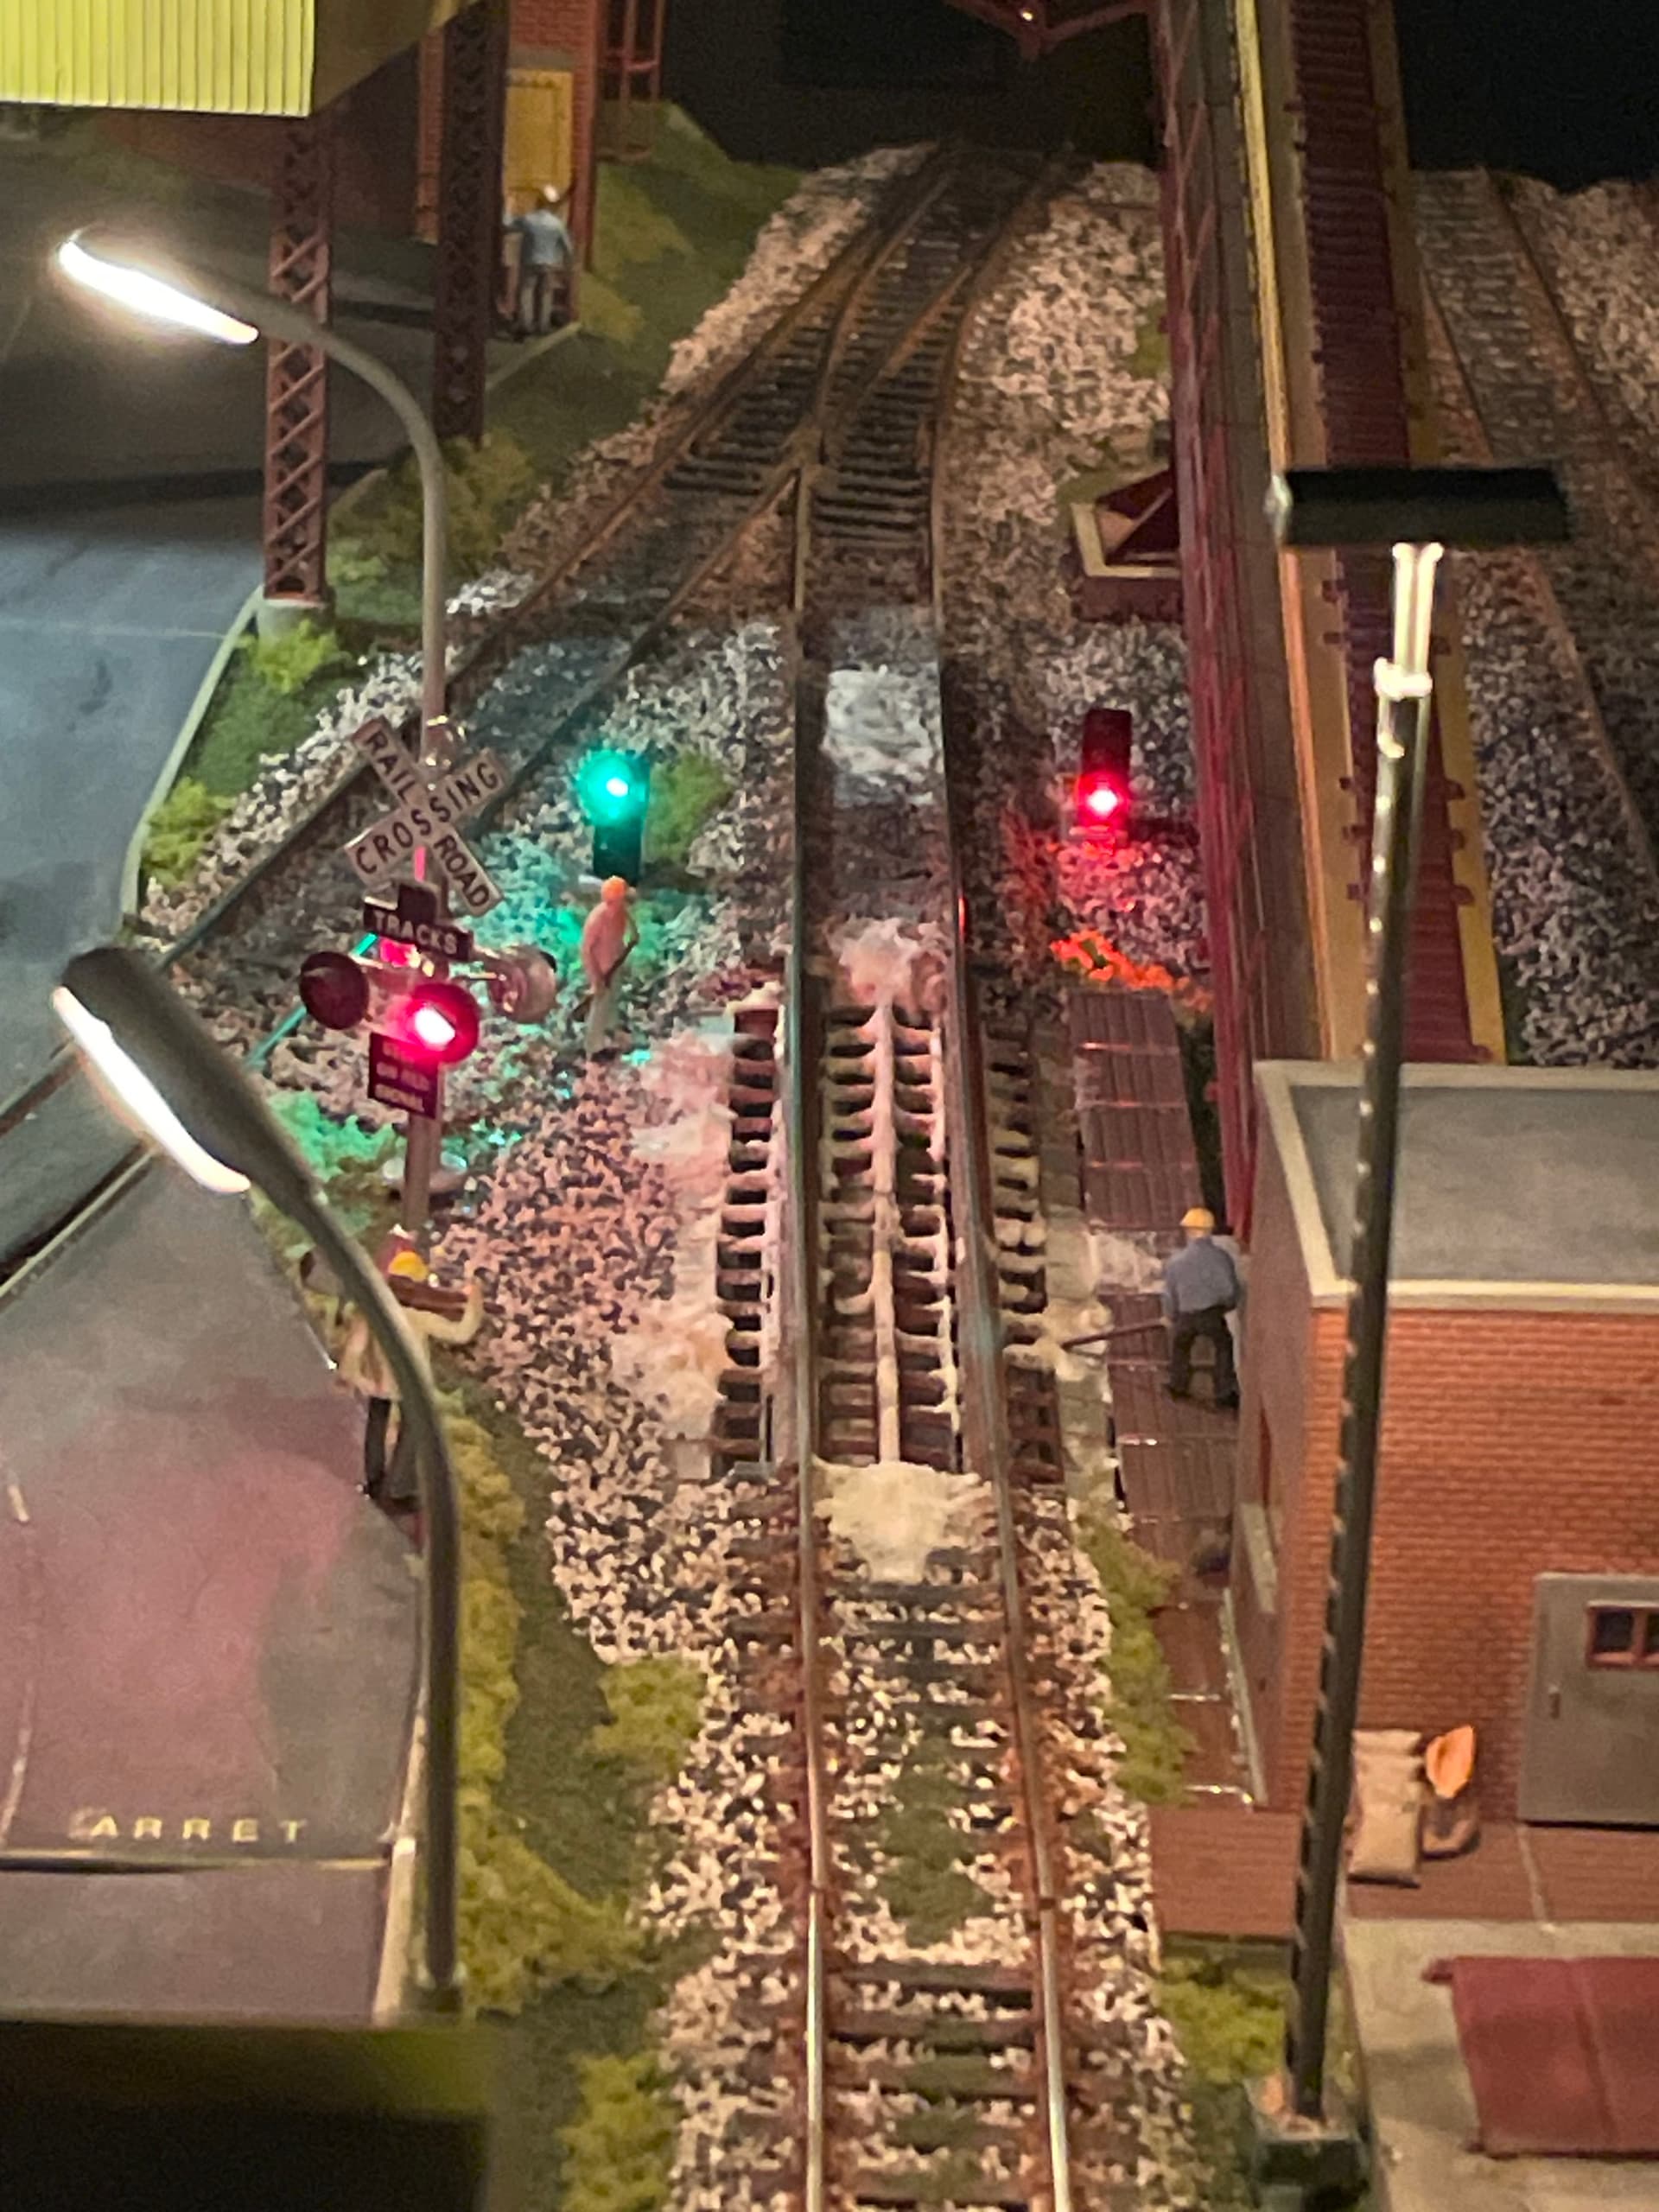
My name is Stephan and I am from Canada. I am following your project on YouTube and on this forum and I too am working on a sectional shelf style layout With Canadian motive power and rolling stock although I also have a lot of European equipment from a previous European style layout.
My layout is DCC operated with the LENZ LZV200 and Block detection and feedback with computer control using Railroad & CO Train Controller for automated control and signaling.
Sharing a few pictures of my project.