Some more incremental progress (pictures included)

Hello All:

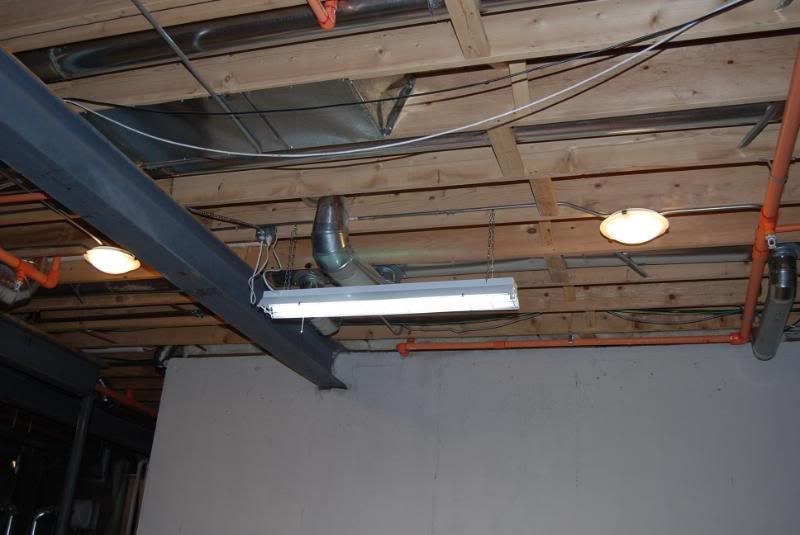
I had a productive off day today. I have not been happy with the lighting in my basement. I had two 100 watt bulbs in the ceiling and a halogen work light (on a floor stand) providing my basic lighting. So, to improve the situation, I installed a flourescent lighting unit and upgraded the two light bulbs with light fixtures left over from our home construction:

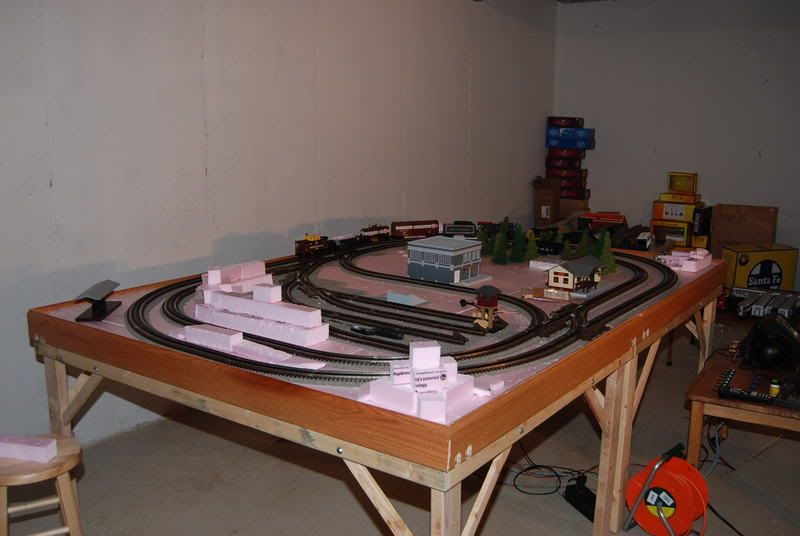
This makes a big difference. As a comparison here is a photo I took over the weekend:

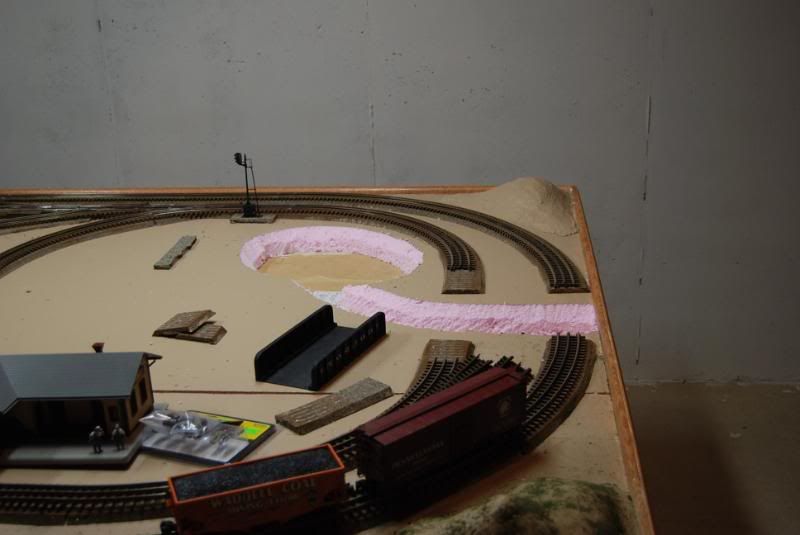
And here is the same angle today:

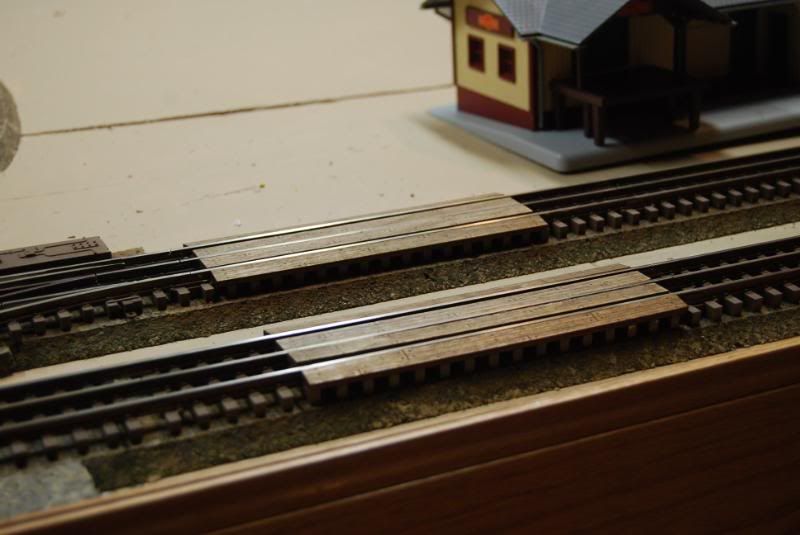
While the second picture is noticibly brighter, I still can’t seem to get good locomotive pictures. This is the best I came up with tonight:

Do I need more light? Can I use my halogen work lamp to get better lighting? Any feedback on how to get better pictures would be greatly appreciated.

Regards,

John

John

big difference!

I find fluorescents work great most of the time for pictures,

when I want night effect I turn them off and use track lights on dimmer and use GE Reveal bulbs

However the pictures come out too red but with my latest camera there is a setting for "tungsten’ which takes some red out and then there is another setting for “custom color” which I set up which also takes some of the red out. This seams to work fine.

The other thing that is important is to use a tripod, no flash and if possible a timer.

Keep up the good work.

JohnandJulie:
I would recommend getting some of those ‘spot lights’ that have a clamp on the end to help ‘focus’ the light on your subject.

To add on to what Raymans said, some Digital SLRs can also use a remote (in place of the timer) which makes taking pictures easier as well. I also use Photoshop to help ‘fix’ my pictures, it is a bit expensive but since I’m in school I can get it for MUCH less.

Drop the shop/flourescent light down a foot, then use a tripod, and turn the flash off.

I installed these in my ceiling and they come from Lowes. Not expensive and easy to do. Gives directional lighting on the layout. I installed two sets.

Just to reinforce what has been said, USE A TRIPOD, never use a flash, adjust the ASA to at least 400 and open up your f stops. If you are using a point & shoot it could be more of a challenge, you should have some capability to adjust the settings unless it’s a very basic entry level model.

Thank you all for your suggestions. Chief, I like your lights, I may have to look into those. In any event, I will break out the tripod tonight and see if I can get some better results utilizing everyone’s suggestions.

Thanks again,

John

John, I’ve used a halogen work lamp a number of times to photograph my layout. Instead of shinning it directly on the subject I try to bounce the light off the ceiling, a piece of white cardboard will also work. If you have a white balance adjustment on your camera try different settings for the best color. I also like to use the room lights instead of flash and take a timed exposure. A tripod is needed for this and a remote shutter trigger helps a lot.

With digital I’m able to play around with settings and not spend anything more than time compared to 35mm.

This is exactly what I do. The halogen work lamp fills the room with so much light, and you won’t get harsh shadows from having a light aimed directly at a piece. Tripods are a must, but if you are using a digital camera, try using the macro setting for close ups. And speaking of tripods, Walmart sells very small ones that sit on a table for close up shots. I think they are 6-8 inches high. Excellent for when you need a shot of something in the middle of your layout.

Jim

Roger and Jim:

Thank you for the additional feedback. You can see what I have come up with in my new post. I think I have some white cardboard somewhere in the house and will try to find it. Shining the halogen lights right at the engine is a recipe for disaster. With an unfinished room (and ceiling) I do need to find a way to reflect more light at the layout.

Thanks again,

John

Probably not practical, spray the ceiling white. Wagner can do it.

turn the flash down. the brighter the flash the darker the background. less flash will make your ambient lighting look brighter and will fill in shadows.

Scott

John,

From a amature photographer’s point of view, I have a few suggestions and best part, won’t cost a lot. Get three painter’s lights (big metal bowl with socket and clamp…about $5.each), get one adjustable (dimmer) extension cord, and three 100 watt natural light bulbs. Get more than 3 for any blown bulbs.

The set up: place one light at about 8 O’clock in front of subject. Place second light at about 4 O’clock in front of subject. Place third light, using the adjustable dimmer extension cord at 1 O’clock, behind subject.

You will obviosly need things like chair backs and other rigging to clamp these lights to.

Then, as others have suggested, you get a tripod and keep the flash either off, or if you have adjustable flash, bounce off ceiling.

Adjust the dimmer and light position to have the shadow effect, can have no shadows, or you can make it look like sun rise or sun set.

Another good thing to have on hand are those sun shades for cars…the ones with the silver face that collapse. You can use these to focus more or less light to get the effect you want.

One other good thing to get are sheets of colored thin plastic matterial that you can place in front of some lights to get different looks. Orange and reds will give more of a summer sunset hue, etc.

The set up takes a little getting used to, but once you learn what you like, you can take fantastic photos like the pros.

I must give credit to professional photographer Erin Manning for the above knowledge.

Good Luck and I look forward to seeing the results.

Dennis

Dennis and Scott:

Great suggestions! I never thought of turning down the flash. That is an excellent idea.

Dennis, I believe you may be on to something. My halogen lights are so bright that they just wash out the engine and create huge shadows. Softer light may be exactly the ticket with either no flash or a dimmer flash.

I will keep experimenting. Please keep the suggestions coming!

Thanks again,

John

John,

This is somewhat off topic but I looked at your photos and would highly recommend putting some light weight sheets of plywood or plastic sheets overlapped on the ceiling directly above your layout. Reason for this is that I had a spill happen many years ago and it came through the floor from upstairs and spilled stuff on my layout and got my two Cities Service tank cars and did other cosmetic damage to the layout. Left permanant stains on my two tank cars.

Your layout is looking good! Noticed that you have the correct type of signal light for the Pennsylvania Railroad to go with your steam loco.

Lee F.

Well, after a complete failure applying foam/flock onto a section of my layout (along with the accompanying feelings of self-loathing and pity [:(]), I was back at it tonight and got a couple of things accomplished:

I cut out the foam for my pond/creek. Given my utter failure learning experience with the foam, I can’t wait ([:-^]) to start the process of trying to simulate water.

I also purchased grade crossings from Scale University. After staining and weathering, I installed them on my layout.

I am still practicing my photography and came up with this one

Regards,

John

John, when we were at this stage, we covered the river bed and banks with plaster cloth. When dry, we painted the banks and river. Then we painted clear gloss medium over that to represent the shiny sparkle of water.

Don’t get discouraged. You’re doing fine!

Jim

Hello Jim:

Thank you for the feedback. I like the idea of using plaster cloth. Since I used 2" foam, the lake is a little deeper than I would like.

Regards,

John

John,
What did you use to create the hills?

Hello Brent:

I used the left over foam I had to create the rough shape:

I then carved the foam into a smoother looking shape and then I used Sculptamold to make them look natural:

My left over foam was 2" thick. This created issues in making a nice smooth hill and I had to use more Sculptamold than I wanted. If I had to do it again, I would buy some 1" foam board for the hills.

Regards,

John