OK, I have successfully installed 8 out of 14 hand grab irons onto a Walthers Railroad Express Agency refrigerator car.
I only lost one grab iron so far that flew off into the wild (replaced by a piece of .015 inch brass bent to shape with a Micro-Mark Gran Iron Bending Gauge).
I removed the wheels and couplers to free the shell and then found that this model has a detachable roof! It is easier to glue from the inside of the shell with CA. Before I drill, I take a push pin and carefully mark the drill hole, this stops the bit from wondering (which happened on the first two I did). I then start drilling carefully and after a few twists I remove the bit and run it through some wax before finishing the hole. So far, I have not broken a no. 80 bit, but that will undoubtedly happen. I am using a piece of styrene to space out the grab irons. Not a perfect job, some of the irons are bent a little, but it looks pretty good.
Tedious yes, not sure if this is worth all the effort, but I wanted to try this on a freight car first before even consider doing it on my many Walthers passenger cars.
So, here is my question, what is the best way to paint the grab irons without hurting the model’s original paint job? I am considering taking a small piece of wax paper, cutting one or two slot it in, push it under the grab irons, and then using a micro brush. I am open to any suggestions. And please do tell me if I should have painted them first!
I assume we are talking about metal grab irons. Some are shiny copper color and I dip them in a chemical blackener/patina darkener first. That also gives some good “tooth” for paint should you decide to do that.
A factory fresh freight car has nicely painted grabs (and stirrup steps) but they become grimy soon enough after they have been, well, grabbed a few times. I would not obsess about perfectly painting grab irons so long as you kill the unrealistic shine and gleam they have straight from the package.
If some color is appropriate the wax paper idea is a good one but I wonder if pushing a piece of wax paper would be like pushing string. I think very very thin plastic or stiff paper might be more practical, and even reusable. In my experience you only need to come reasonably close to the basic color of the car to be believable.
I have done all 14 grab irons and did not break a no. 80 bit, ta-da! This only took about two hours.
Frankly, I did not think I good do this. It went a lot better than I thought it would. It gives me the confidence to eventually do the grab irons on the Hiawatha passenger cars. I better do it sooner than later, because my eyesight gets worse very year. I hate growing old.
A #80 bit is not big enough for 0.015" brass wire.
.
I use a #78 drill for all my grab irons. I use mostly Tichy pre formed grabs becuase they are easy to find, but I think Weterfield grab irons are made better.
.
When installing grabs on a painted car I only paint the “probes” and not the “face” before installation. Then I touch up with Vallejo paints brushed on when the installation is complete.
.
Congratulations on not breaking any bits. I bought 1,000 #78 drill bits about five years ago, and have broken almost half of them now.
Done, I just painted carefully with a micro brush and it looks great.
I have been dreading doing this detailed work, but it was not that bad. I feel more comfortable with my skills and willing to try doing the grab irons on the passenger cars.
I know that you do a lot of work, but that still seems like a lot of broken drills.
Are you using straight bits where the diameter of the shank is the same as the drill bit, or are you using the bits with a 1/8" or 1/4" shank? If you are using the larger shank bits by hand that is likely why they are breaking. They are designed for use in precision drill presses where there is no wobble from side to side. If you are using them by hand, any deflection force caused by wobbling is concentrated at the point where the actual tip meets the larger shank and that is where they break.
I use the bits that don’t have the larger shanks. I have found that I break very few drills if I chuck the bit so that very little of it is left sticking out of the pin vise. I leave just enough to get through the material that I am drilling and about 1/16" more so I can see the tip of the bit. Doing that leaves very little of the bit to flex so it stays on target better. If the bit is sticking out by 1/2" or more, there is a much greater tendancy for the shank to flex, and it is the uncontrolled flexing that usually causes the bits to break.
I’m not suggesting that you replace your drill bits if they have the larger shanks, but this information might help others who are considering which bits to buy.
The grabirons which I use, either from Tichy or custom bent, are all .012" phosphor-bronze wire, but I use a #79 bit, as I can somehow break #80 bits simply by looking at them.
I use a set of dividers to mark-off both the vertical spacing of the grabs and the appropriate width, as there are several widths which were in common use during the late '30s.
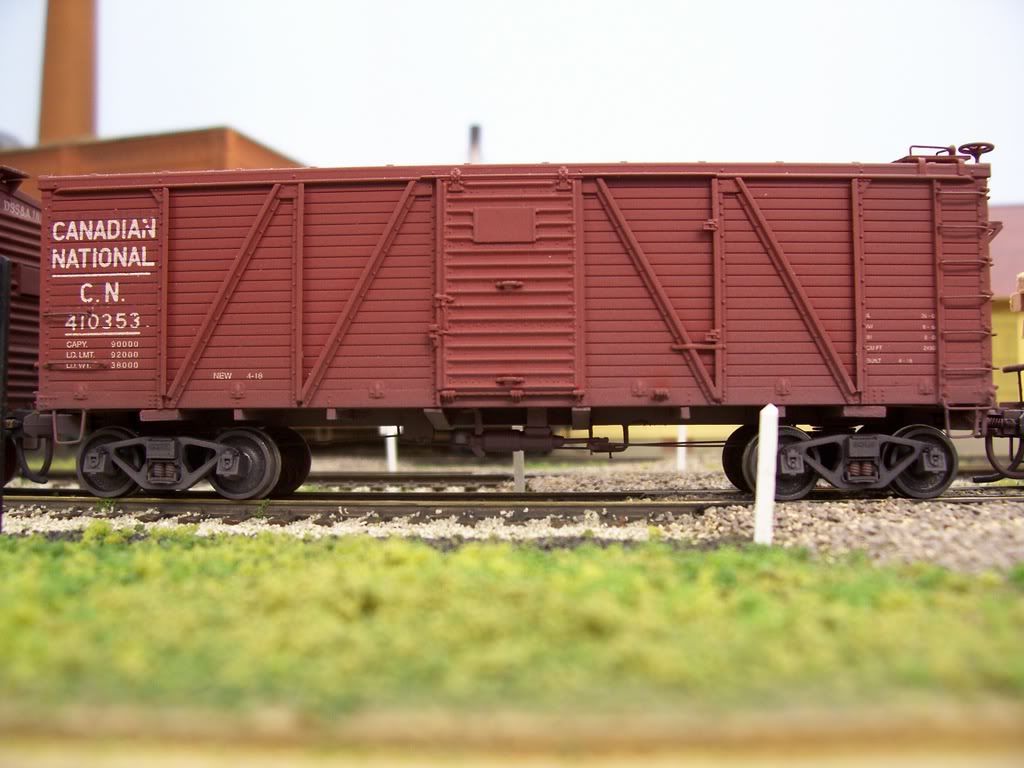
This r-t-r model of a Dominion-Fowler boxcar was offered by LifeLike Canada as a Proto1000 car, and had free-standing grabirons. However, the grabirons were moulded in acetal plastic, and looked to me to be overly thick, so I replaced them with custom-bent wire ones (like the real cars, they were a non-standard width).
Each car has 36 grabirons, plus two roof grabs, for a total of 78 holes per car. I did over a dozen of these cars, using the #79 bit in a pin vise…
…and 4 or 5 of these Proto2000 stockcars, also originally with over-size plastic grabs, albeit only 30 grabirons and two roof grabs, for a total of 66 holes required for each…
Most of the cars were acquired either as new kits, or as partially-built kits that the original owner wasn’t able to finish. As a result, many of the oversize grabs had never been installed, and for those, I first enlarged the holes to accept a stock diameter of Evergreen styrene rod, in order to provide for a sty
I agree! #80 bits are born to break at the first opportunity!
Wayne, I’m curious to know how you chuck your bits. Do you leave just a little bit sticking out of the pin vise, or do you only chuck the bottom of the shank?
I usually use them with enough of the bit protruding that the bit will complete the hole right through, whatever the thickness of the material.
When I got into drilling the holes for the first batch of Fowler cars (five cars, I think) I completed 387 holes with one bit, then used four to drill the last three holes.
On decorated cars, I barely push the grab iron into the hole. I then paint it the appropriate color, and then push the grab in the correct distance and glue from the backside. No extra paint on the body doing it this way.
My only experience with installing grad irons is on P2K kits, and I have no trouble installing them, but getting them of the sprue is a pain. I broke one, so it’s a good thing they give you two extra!
Likely some of you have seen my past posts over the years regarding the headaches I encounter when attempting to drill holes for grabs irons on HO passenger cars that I metalize.
I’m encouraged by the info here and will give it a go. I have a few #79 bits, but will shop for #78’s on my next trip to the hobby shop.
I’ll experiment first on my scrap Bachmann Metroliner shells. Once I see positive results, I’ll work on my Walthers and Rivarossi fleet.
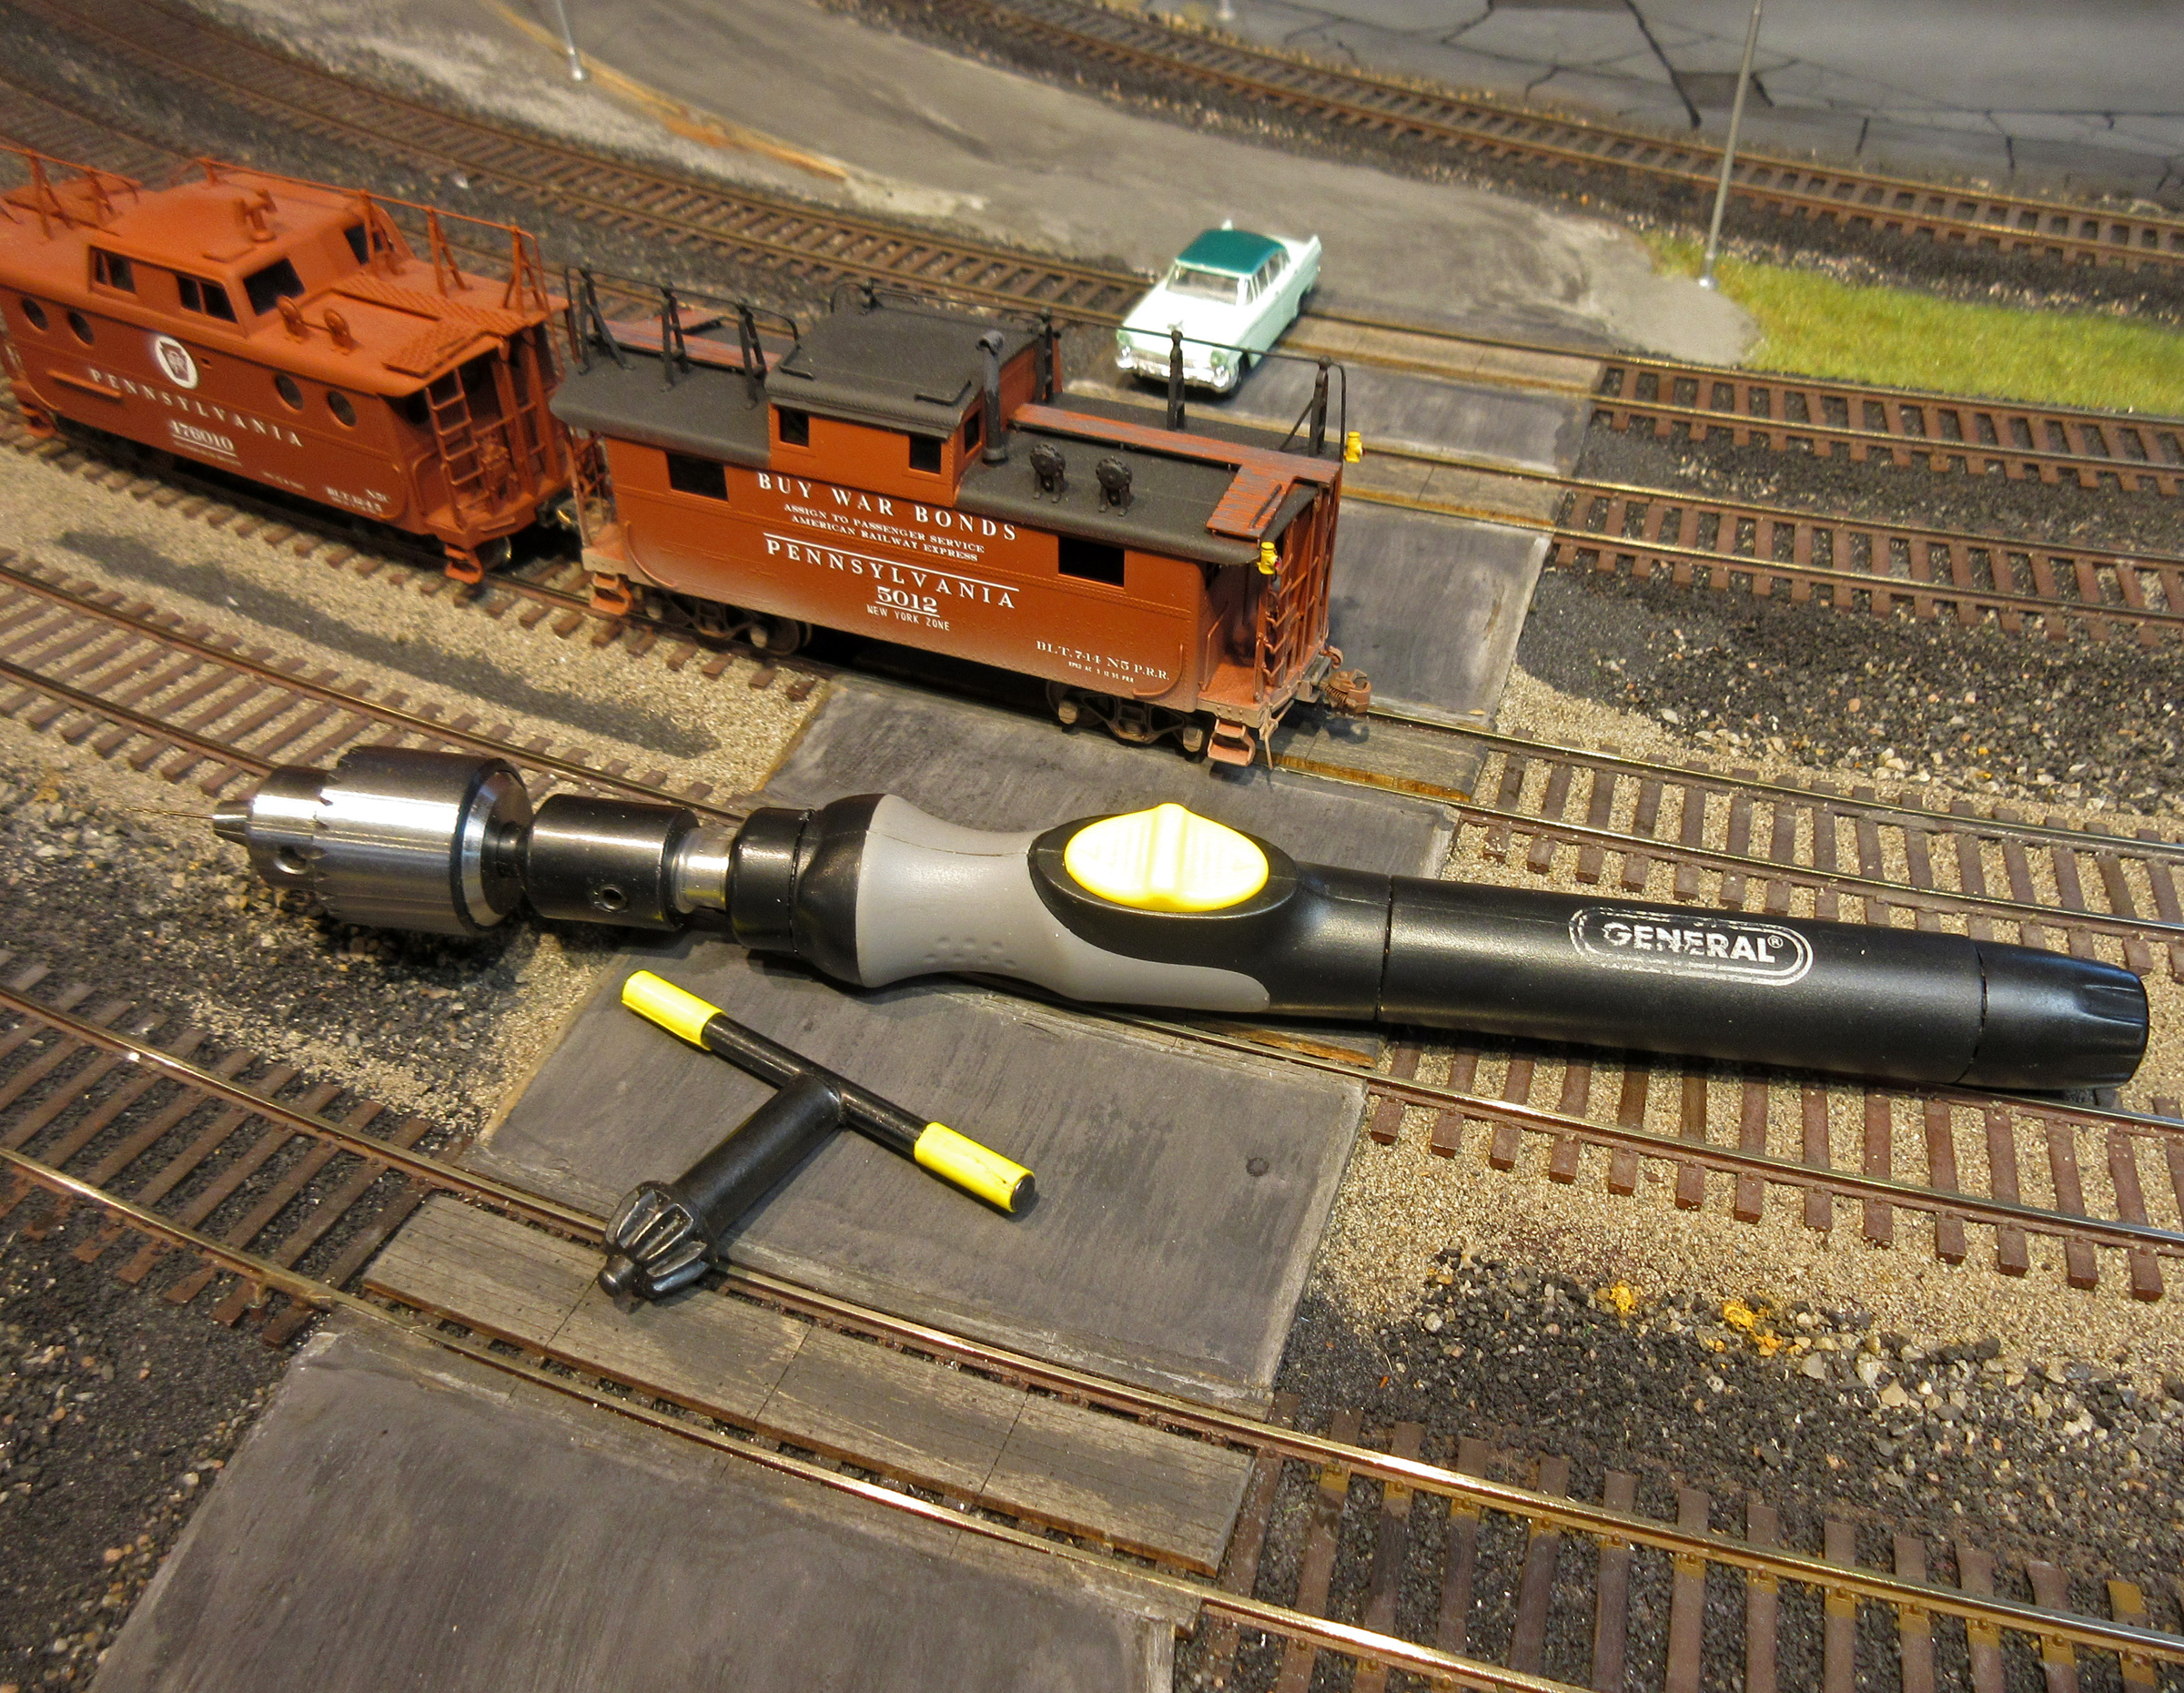
Unfortunately, this particular chuck isn’t available at the moment. It comes with, IIRC, an adapter with a 8mm bore and the driver has a shaft diameter of 6mm. I have a machinist friend working on a bushing but for now a piece of heat-shrink tubing is making up the difference. There is very little run-out.
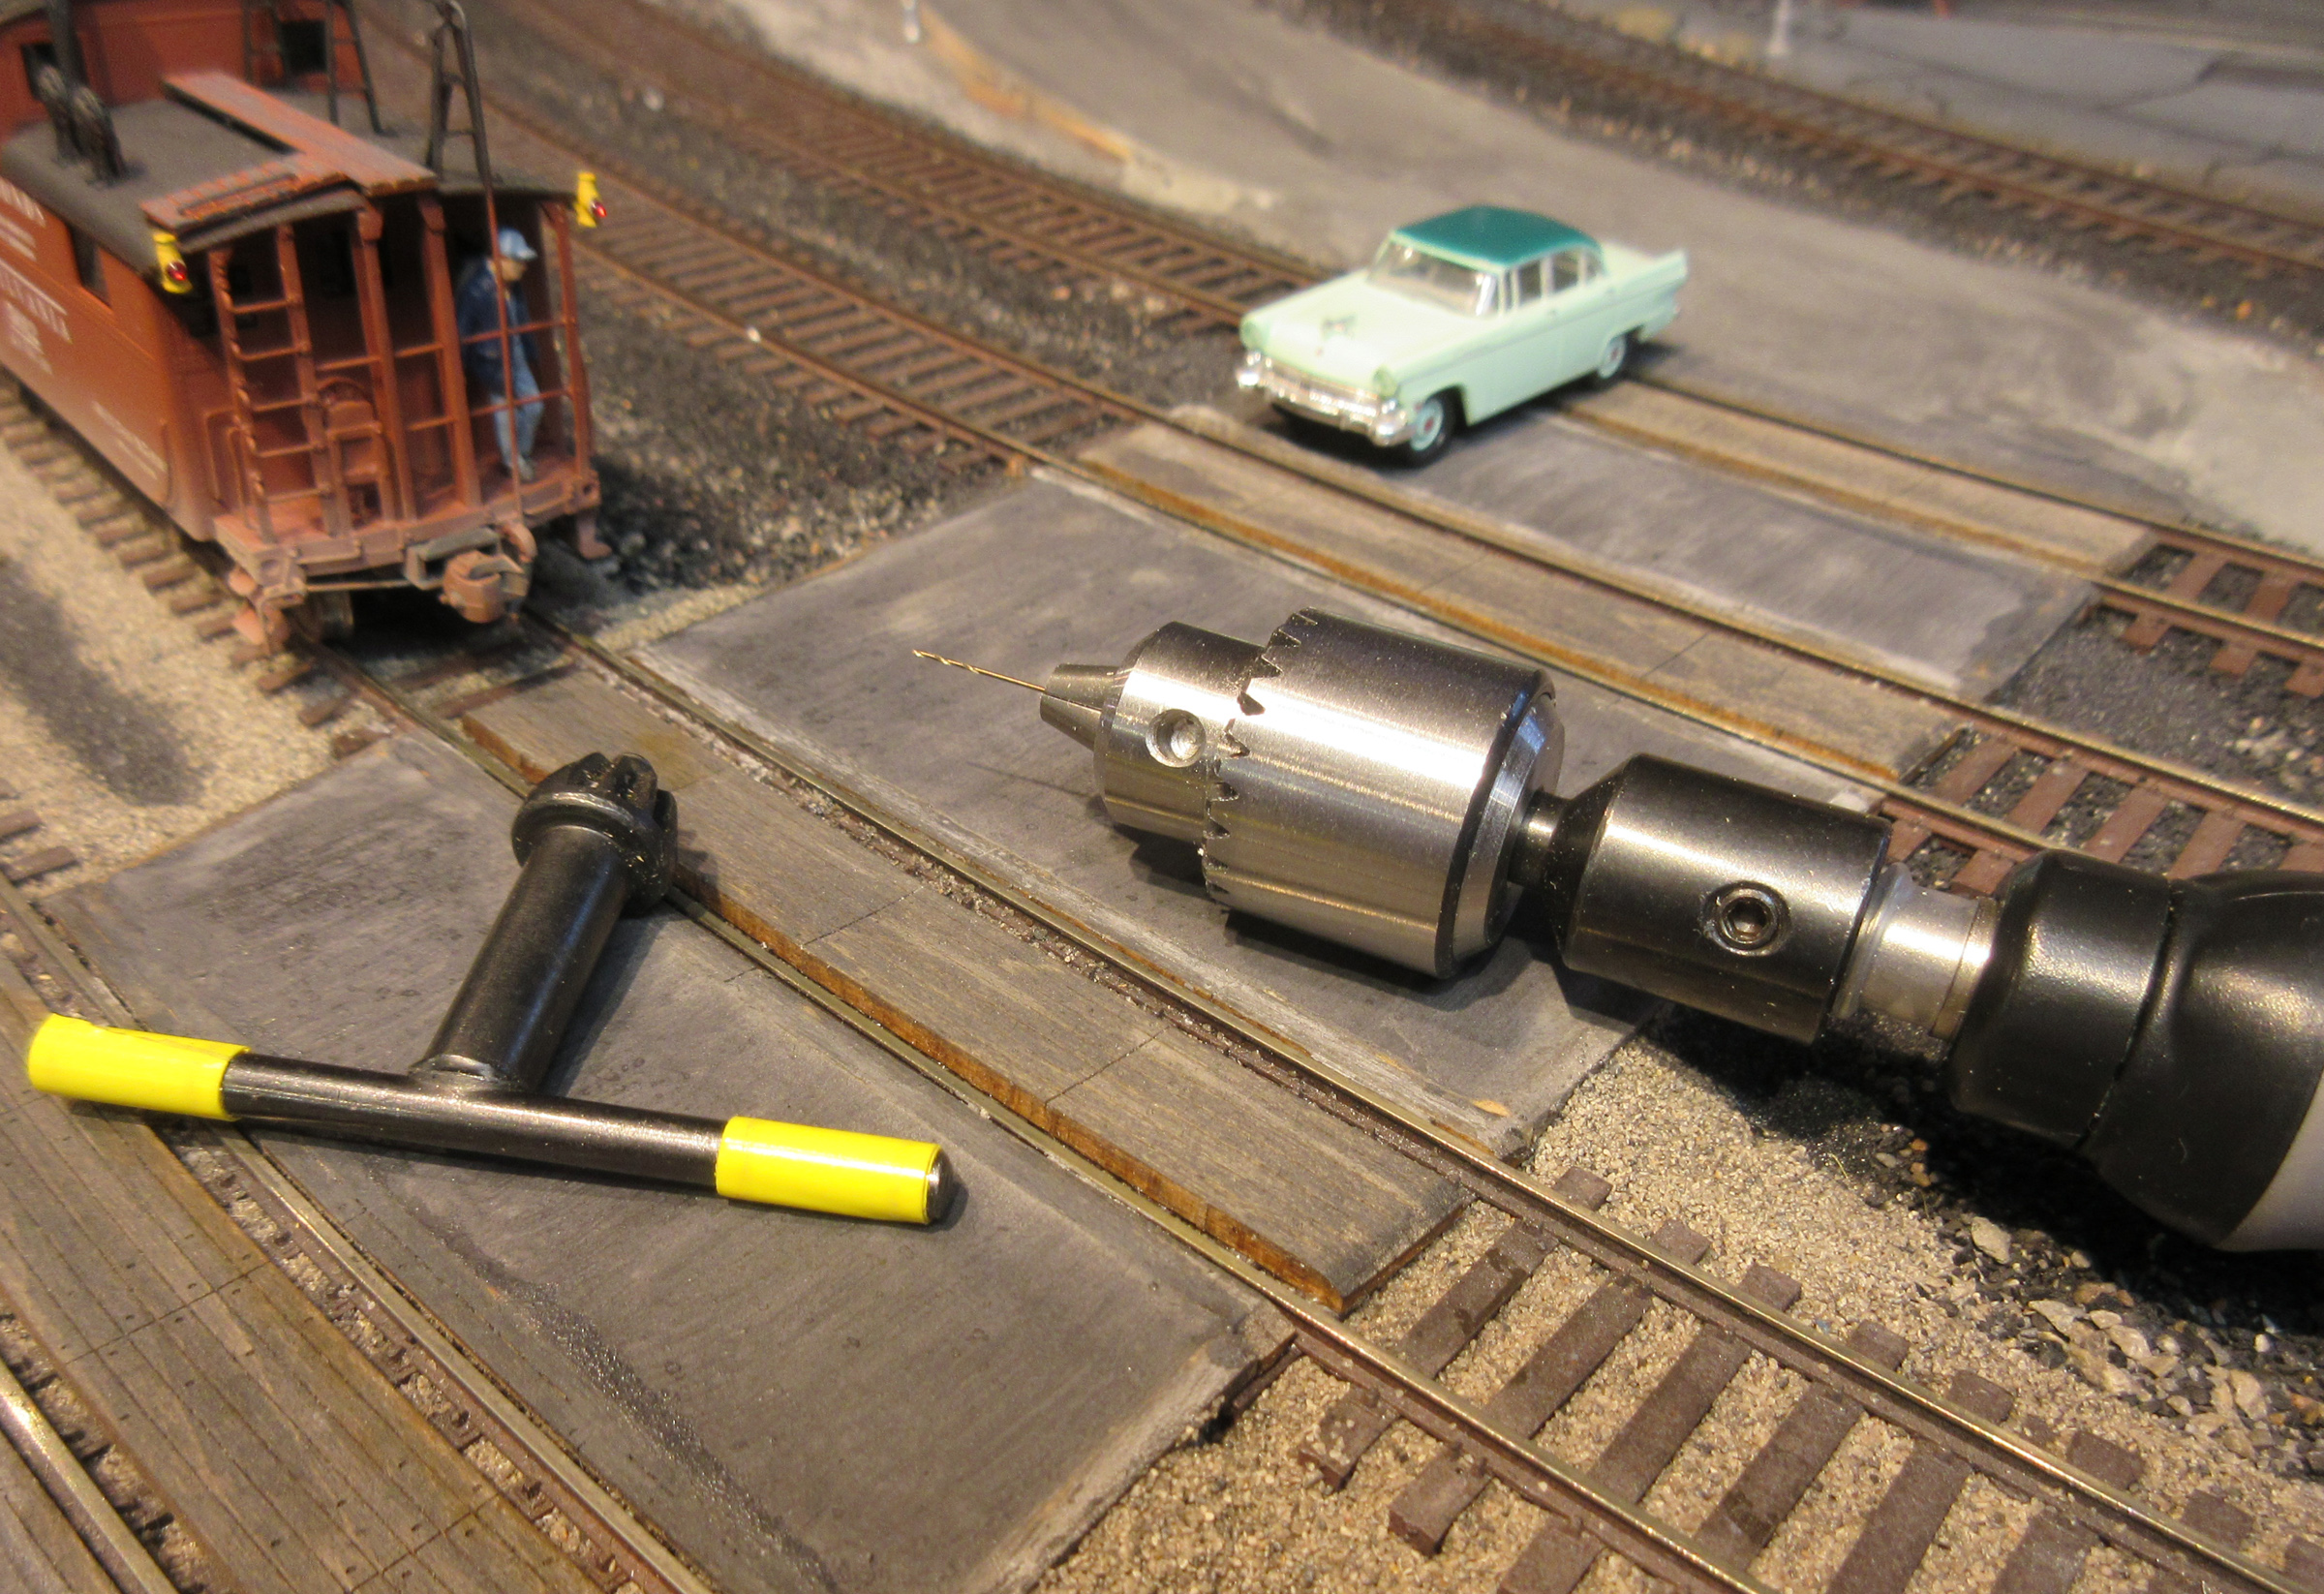
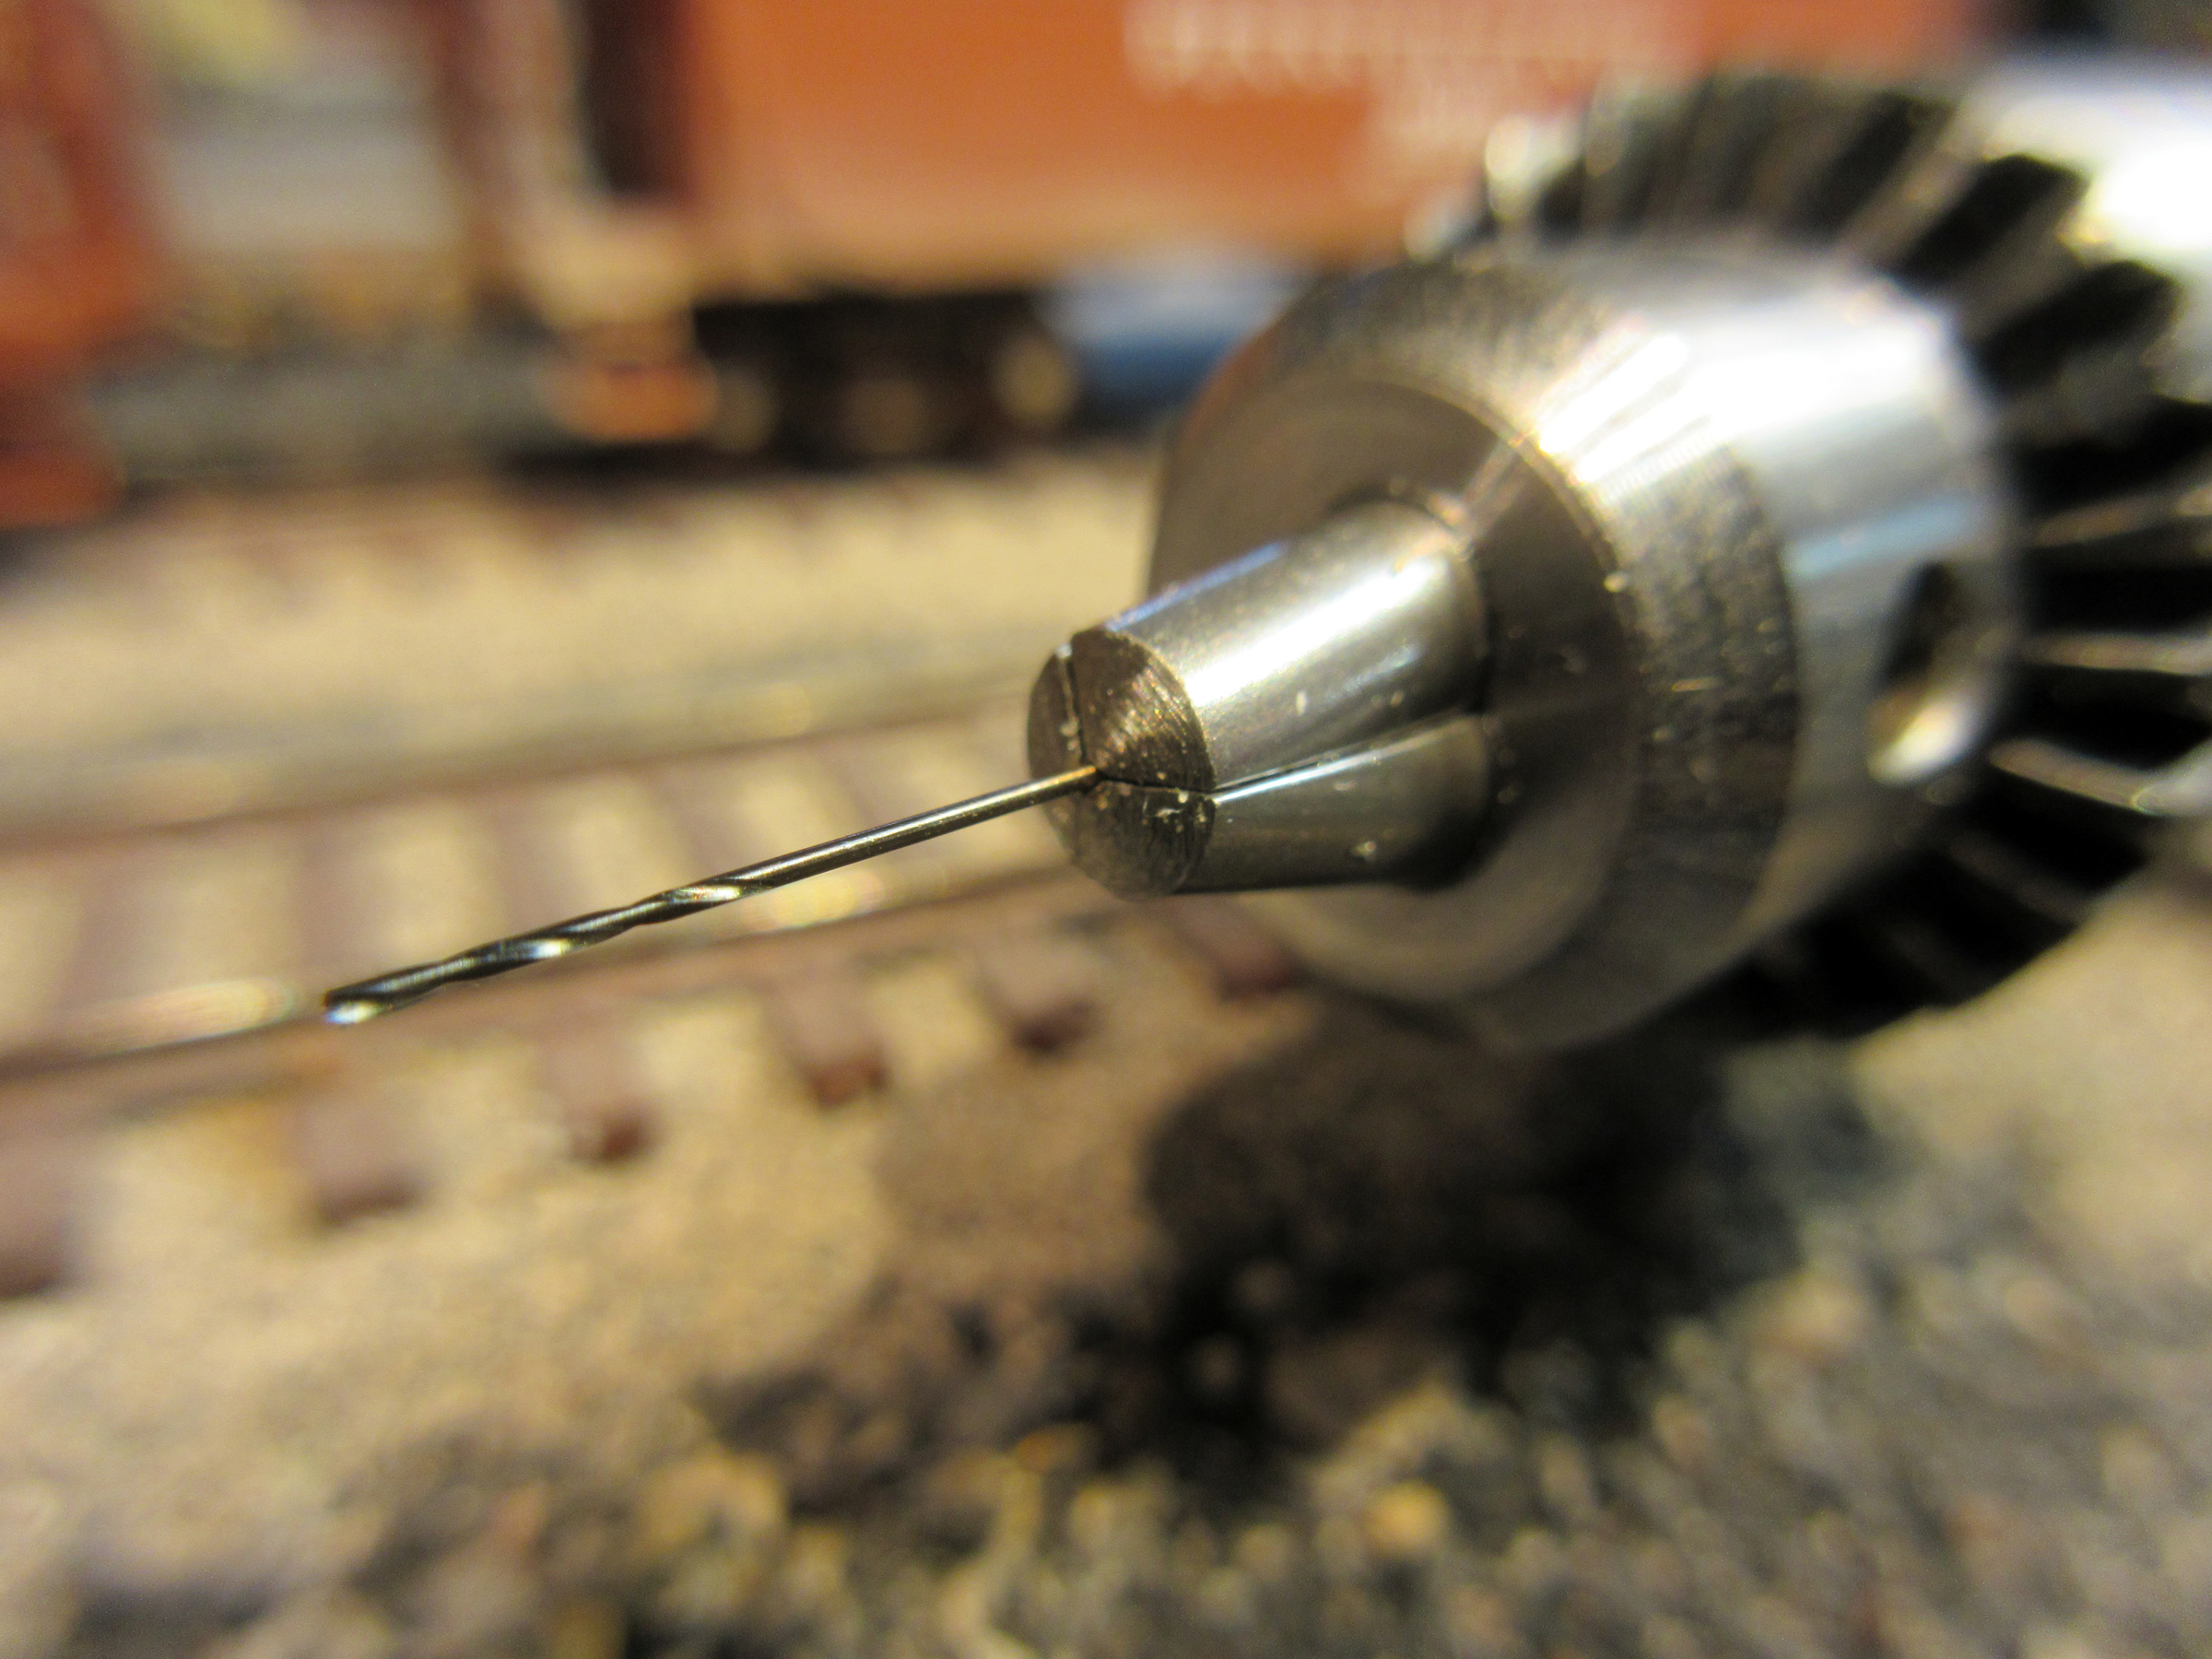
This shows a #78 bit in the chuck. Some chucks are four jaw. I try to avoid these.
The driver turns at a respectable 100 RPM and I can drill plastic, resin or brass with ease. I have found that close-chucking tends to break bits more often, for me anyway. Leaving some shank extending out of the jaws seems to allow the bit to flex just a bit.