Picture 2 appears slightly less bright, but the shadows are less harsh. Maybe an overcast day? I’m thinking the ideal level would be 2 strips of the white, plus a blue and a red, or actually since they have the RGB strips, a white stripe, an RGB strip, and a blue strip. That would give you night into dawn by dimming the blue and adjusthing the RGB, and bringing up the white, and as the say went on, the RGB would be cycled to white, so you’d end up with full daylight with effectively 2 strips of white. Then as evening comes in, the blue comes up, the RGB goes to blue, and the white dims.
Of course that’s a lot more electronics than just plugging in strips of LEDs, but with the right controllers it could tie in with a fast clock, if you use one for operating, thus automatically simulating the day. That’s my goal for me ‘ultimate’ layout - got a few years before I’d be able to start on that, so the LED strips should be quite inexpensive by then. Definitely the choice for lighting for starting these days - no running 120VAC wiring all over for light fixtures, no heat, and ultra low profile - as you said, perfect for multiple deck layouts.
Thanks for your comments. I the long run, doubling up the light strips is what I’ll probably do. Right now I’m kust working the budget for the first pass with my wife by remining her of all the money this will save. The effect is pretty darn good.
Here’s a pic with both the LEDs on acting a fill lighting with the mian overhead lights on.
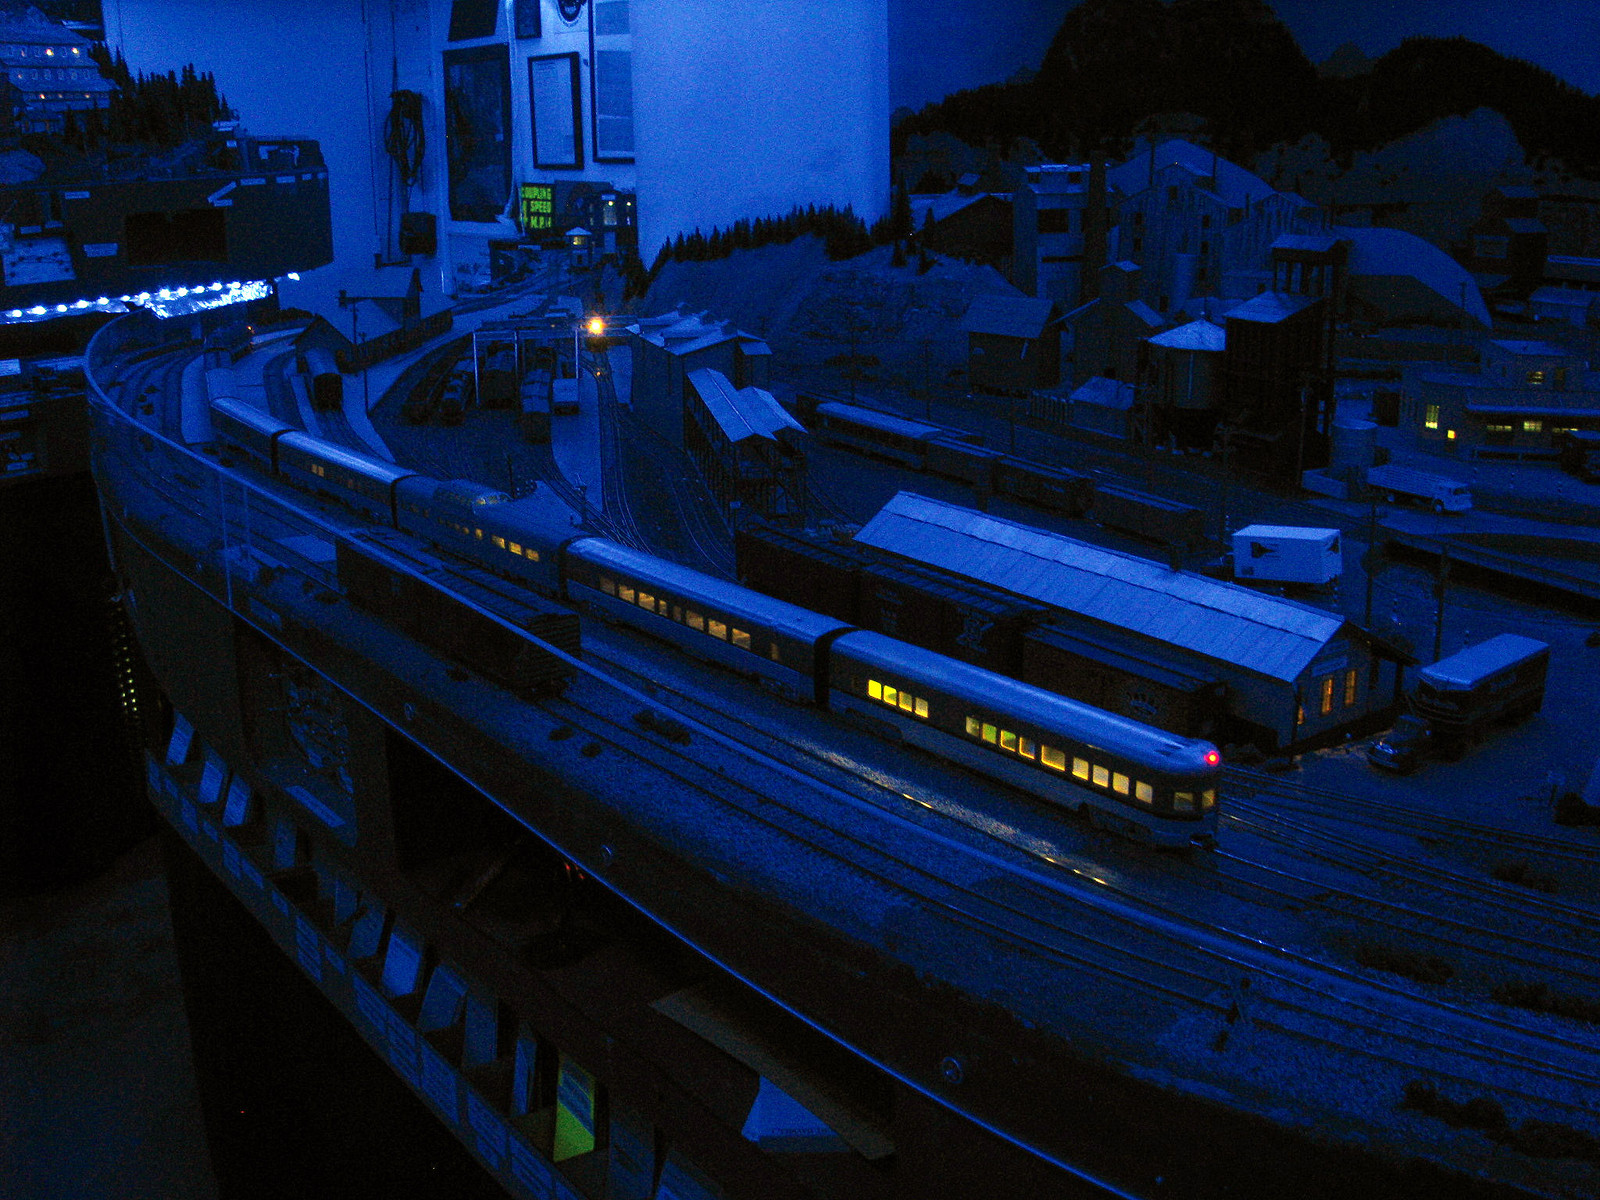
Some recent night scene pics down by the yards in Durango…
A pair of narrowgauge Consolidations, the only C-25 and a C-19, wait with their trains for orders. Flooding down the line has the gangs out checking a bridge that might have an abutment undermined by the waters.
Looks like a long night is starting to turn into a long morning.
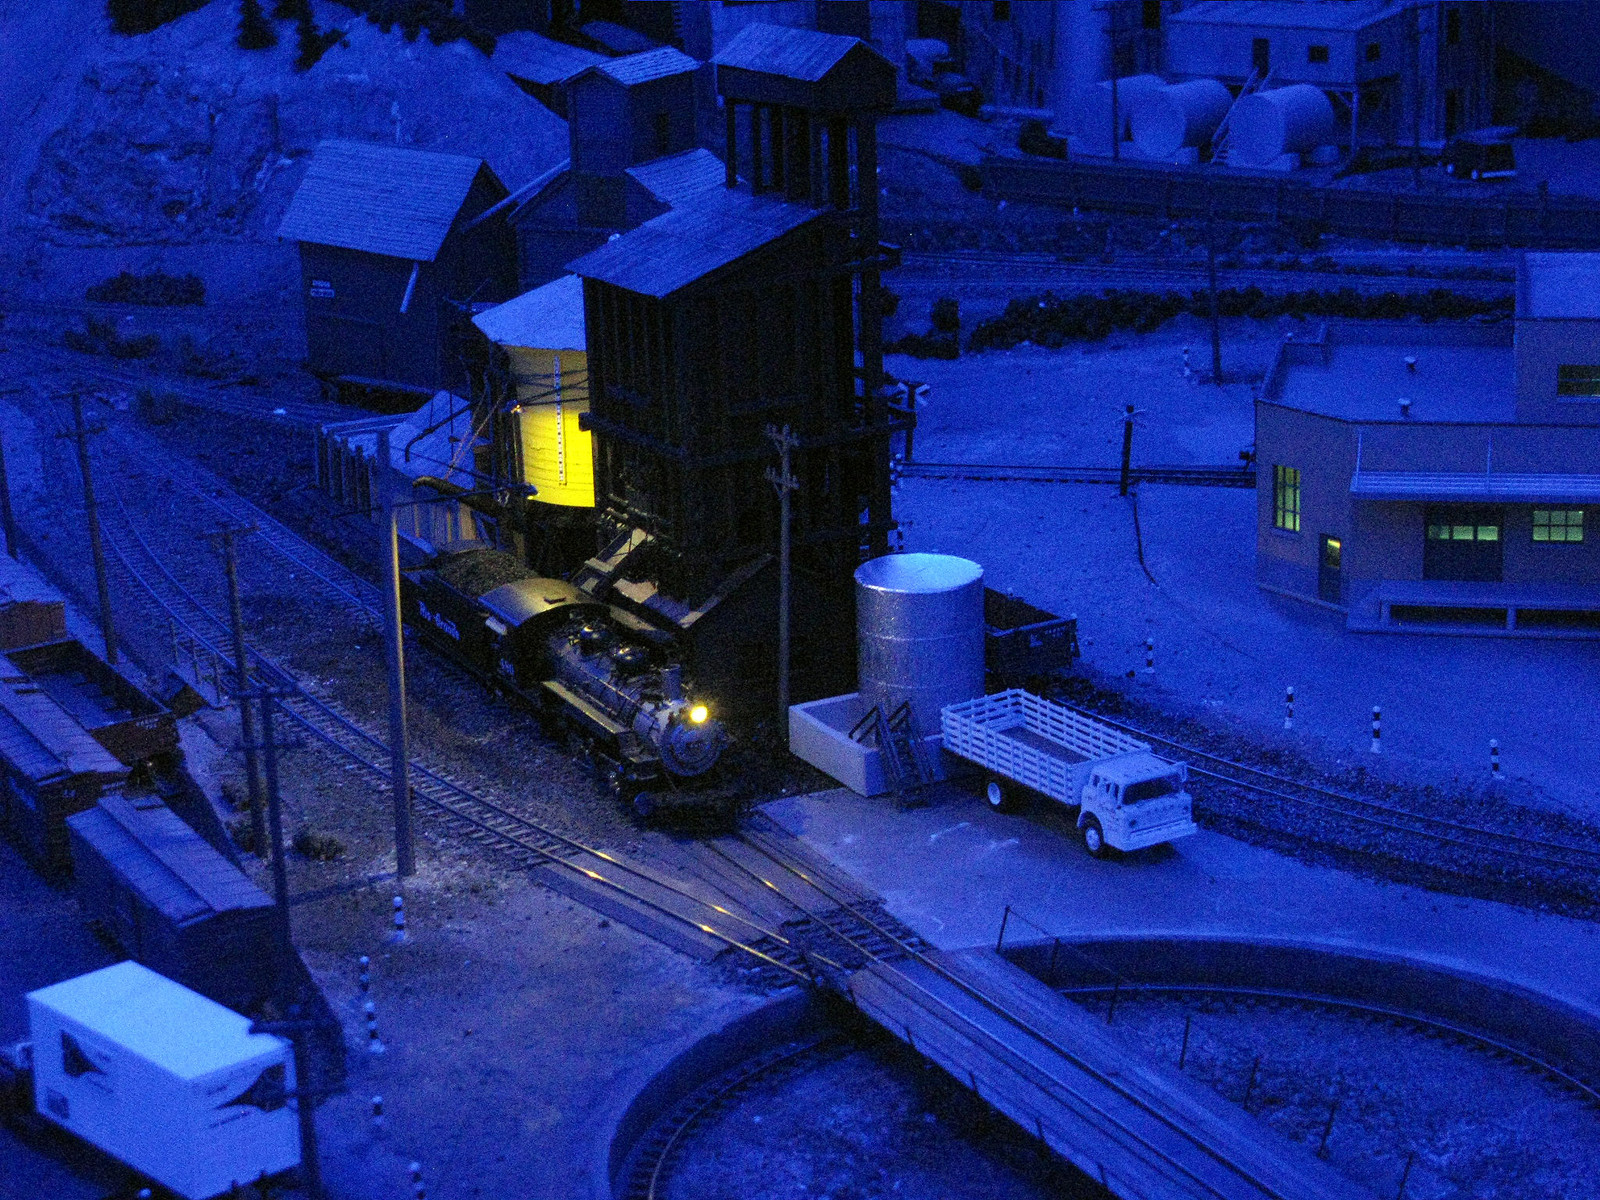
After getting some sleep and a late lunch, here we see the evening light on another train entering Durango past the Oriental Oil Refinery.
Thanks, I really enjoyed the whole process of working with the lighting, so was glad to share what I found out. LEDs are finally comparable to incandescent in performance, something that saves power, cuts heat and make for a better operations experience.
The dual-gauge track is all ME code 70. The turnouts are all Shinohara. Mostly used as is, I hacked a few of the turnouts to get a better flow of track. Right in front of the C-19 you can see where I took a HOn3 turnout and hacked it into dual gauge track. This allows for a single HOn3 track to diverge from the dual-gauge.
The one thing to be certain of when doing dual-gauge with off-the-shelf components is to make sure all your turnouts have the common rail on the correct side at each location when ordering.
Mike, those are beautiful night photos but too blue for my liking. Could you put some type of filter over the lens to tone down the blue? Or, perhaps, maybe you prefer it as is which would be fine as well.
Thanks for the thread, great info and photos and for me timely. What size buss wire do you use to power your structure lighting? Also, I really like the way you use the surface mount LED for the outdoor shaded lamp, seems that making up those tiny leads would take a lot of soldering skill.
Nice work so far Mike, thanks for sharing your progressive experience. One question: I really like that Webber Wholesale building. Is that a kit or scratchbuilt? Dan
I use several power supplies, because the lighting is scattered around on a fair size layout. Pretty much all 22 gauge, though, because that’s plenty adequate for the number of LEDs driven. Basically, I tend to recycle wire I’ve set aside from or up-graded to a larger gauge on other projects. The wire goes as far as just below the surface of the structure. Each structure is usually wired so that the wires are fed from one source. I use regular ol’ household wiring wire nuts for most of my wiring, so just twist and untwist as needed to move lighted structures. It runs in a “tree” format from the power supply.
For the outside lamps, I used the cast plastic, non-working lamps that come with the Walthers billboard kits. I carefully drill the shade, then run the LED leads through it and use canopy glue to keep all in proper place. I buy the Richmond Controls SMD LEDs prewired from Ulrich Models. I have friends who solder them on, but that’s just crazy small in my book. Way cheaper to do that, if you learn how.
Some folks dig the blues and some just tap their feet to the beat. Whatever works for you, I always say.
Southgate,
The Webber Wholesale complex is bashed from a Walthers 933-3760 Grocery Dist. I scratched up a refrigerated addition from styrene brick sheeting (JTT) and used some other recycled parts for the condenser, etc. It’s named in honor of Bob Webber, who helped found the Rio Grande Modeling and Historical Society.
But since I want every reader to be as completely satisfied as possible, I went back for more pics.[:O]
…and my lights just aren’t as well set up with blue.[:(] Interesting though.
What I’ve been doing is using the fluorescent lights on the lower deack at Dove Creek on the other side of the aisle for the “sun.” In fact, to be correct on the layout, it should be teh setting sun from the west. But on the layout Durango station is backwards due to…well, it’s a long story, one of those track planning decisions I might do differently now, but seemed to make sense when I was cutting plywood. So to make it a convincing Durango dawn shot, I’ve been jiggering with the lighting directions.
If you shoot in RAW and take the photo into Lightroom, you will see in real time any color, density, and any other changes you make in real time. You will then be able to learn as you make the changes.
I’ll keep that tip in mind. Right now I’m pretty much point and shoot, but have plans to get back some of my old SLR/manual exposure chops again with some practice.
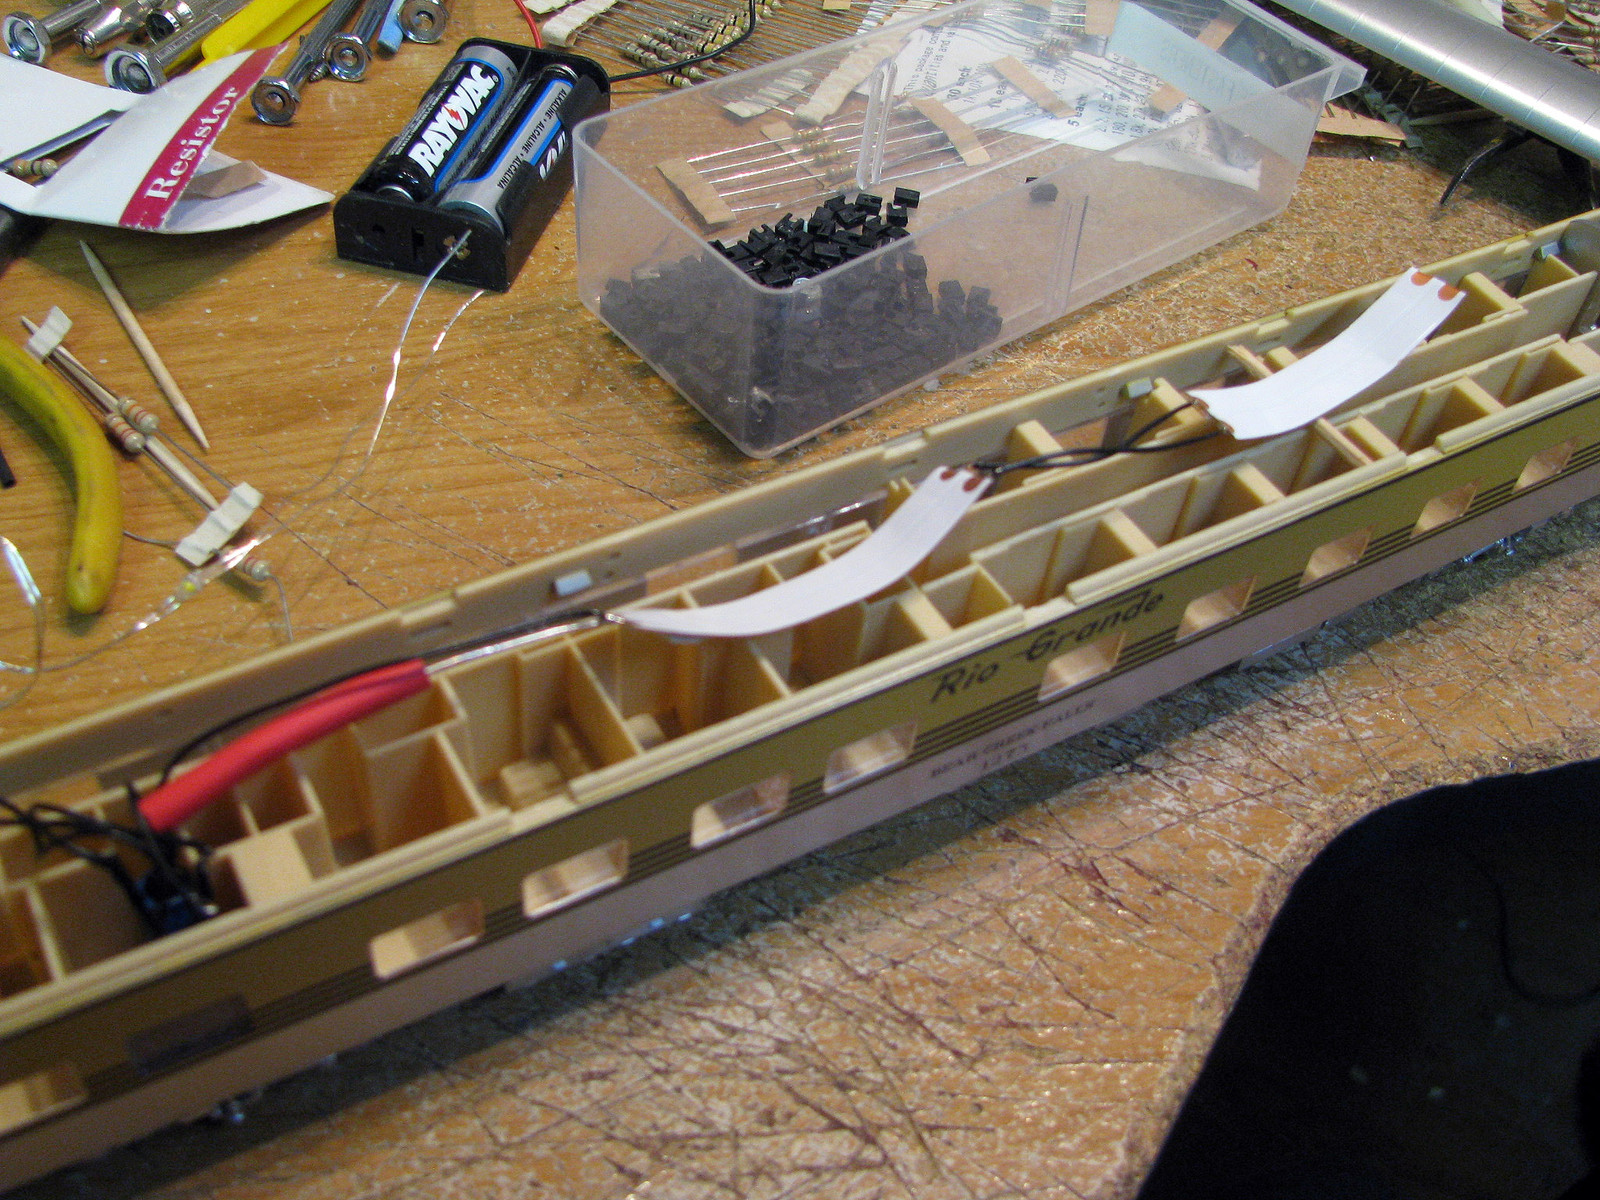
Thought I’d update this thread with some info on passenger car lighting. It’s one of the great luxuries of night scene modeling – and is often priced that way. However, the DIY route works well. There’s some tips on that and some sources of useful cheap LEDS in this thread: http://cs.trains.com/mrr/f/744/t/227137.aspx
Just added some outdoor lighting to my engine service area. I used the SMD LEDs available from Ulrich Models and a couple of lampshades from leftover projects to put them up on poles.
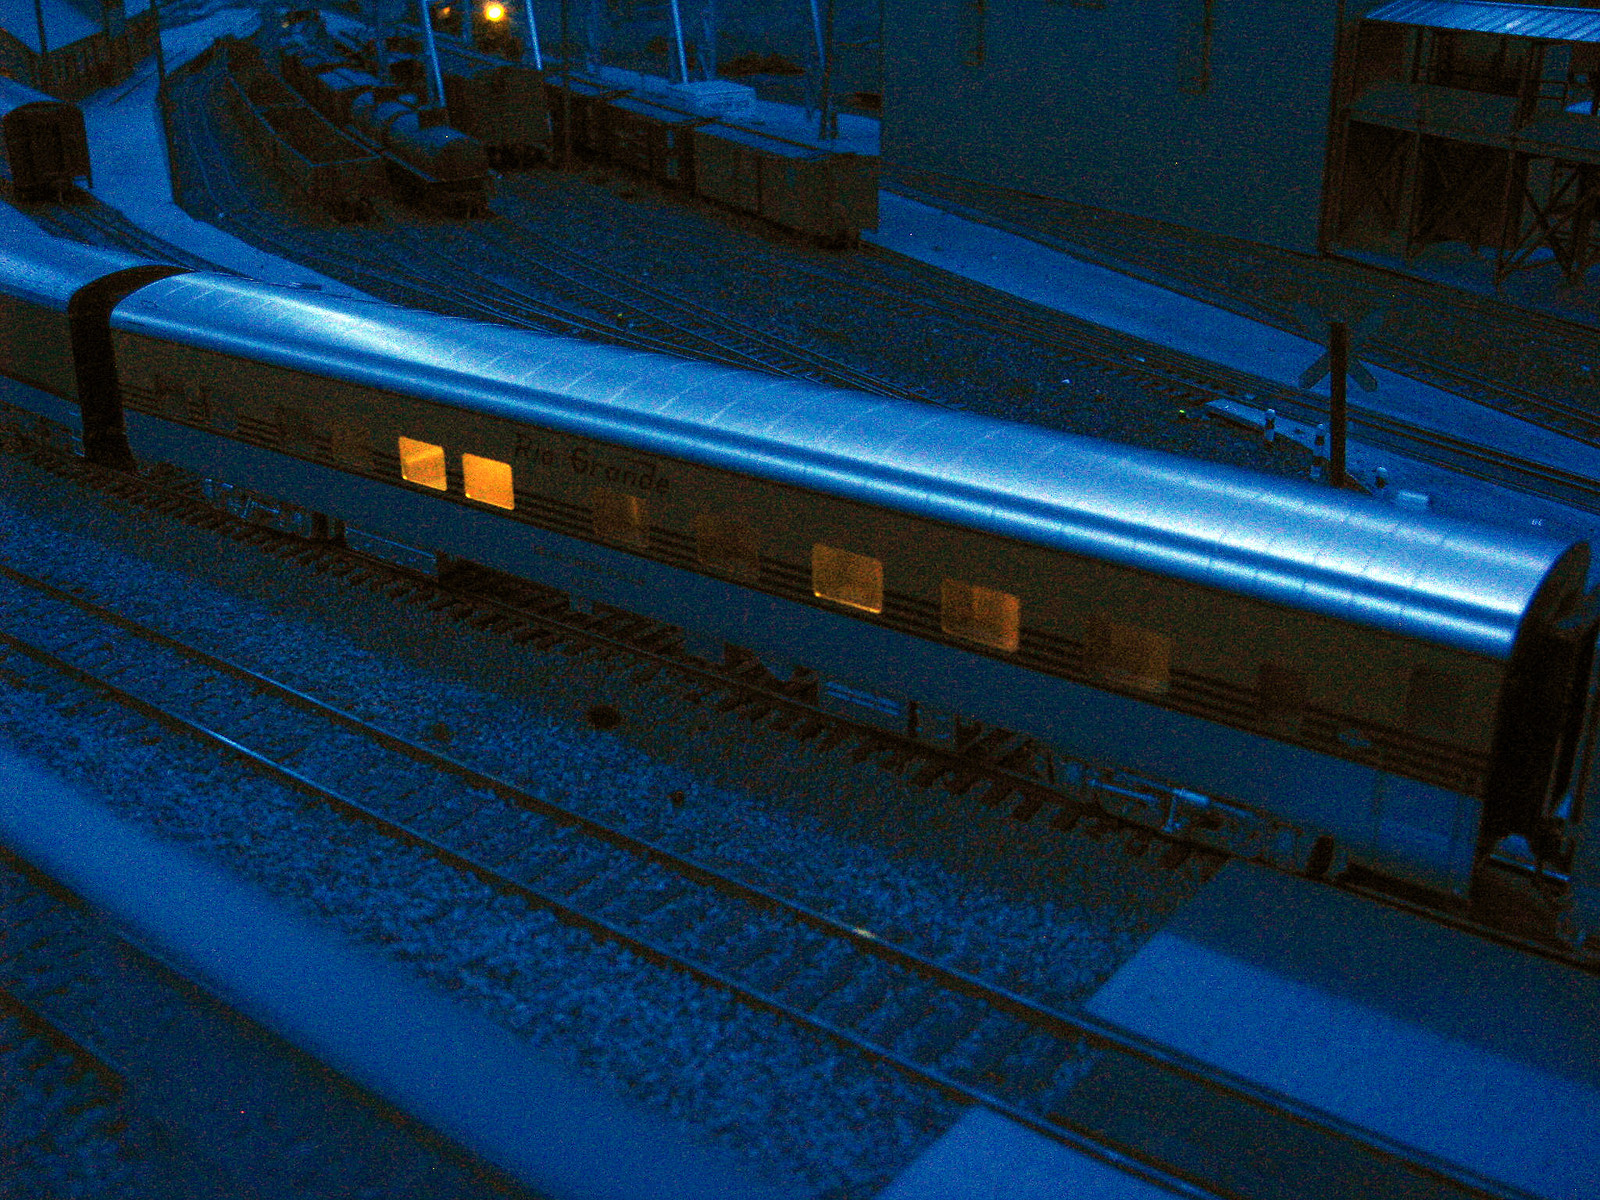
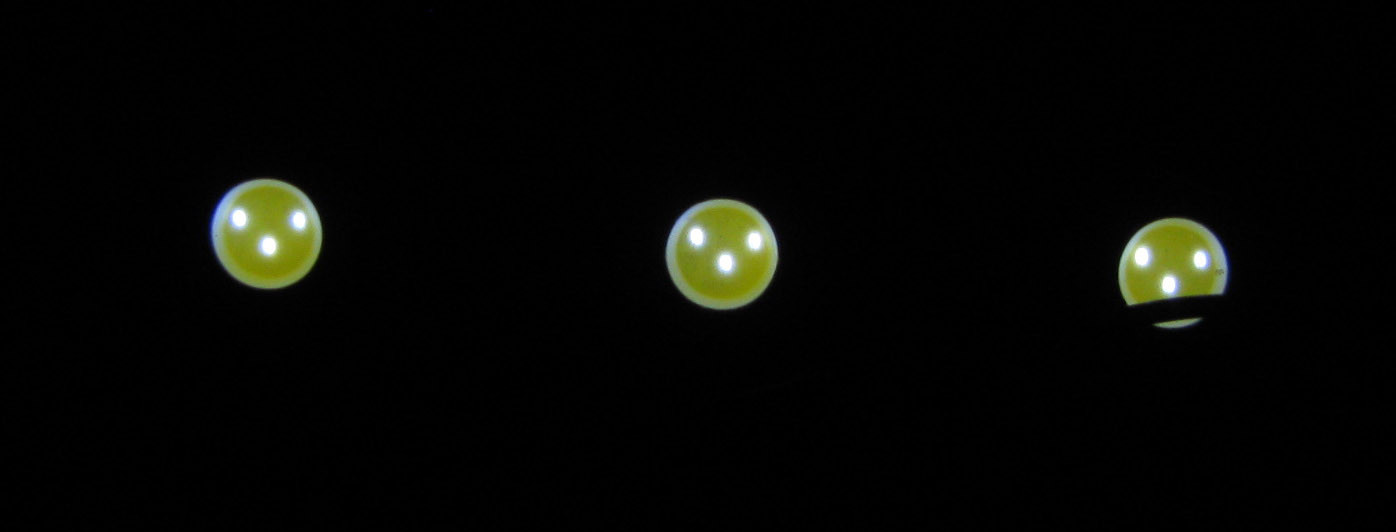
I’ve been using some LED strip lighting from Radio Shack in my passenger car installs. You can get it cheaper by mail if you look around, but RS is widely available and still a good value once you cut up that 1 meter section into 20 3-LED units. These suckers are bright if you feed them 12 volts, but stepping them down works well.
If you put a bunch of ohms in line with them, things get even more interesting. Each of the 3 LEDs in a unit actually consists of 3 LEDs embedded behind a translucent fixture that is about 1 HO scale foot in diameter. These look very much like the overhead light fixture in some homes – with three bulbs glowing inside.