Excellent modeling Mike. I have been enjoying your postings in WPF. Running trains at “night” is something that I like a lot.
Curt,
Thanks, I appreciate the comment. I’m not sure a night ops session is in the works here, but I enjoy operating after dark. It is a bit hard to see, so you have to know the line pretty well. But it’s been well worth the work put into it – and it always impresses the heck out of my non-rail friends.
Radio Shack restocked a few votal parts, so I converted two of my Model Railroad General Store coaches to electric lighting. I equipped these with brass trucks that were hand me downs from brass passenger stock I conerted to Blackstone trucks, so it was easy to tack some wipers on the bolster to tap into track power. I used 10k ohms of resistance this time and the look/intensity of the lighting came out just about right when used with the RS LED strip units.
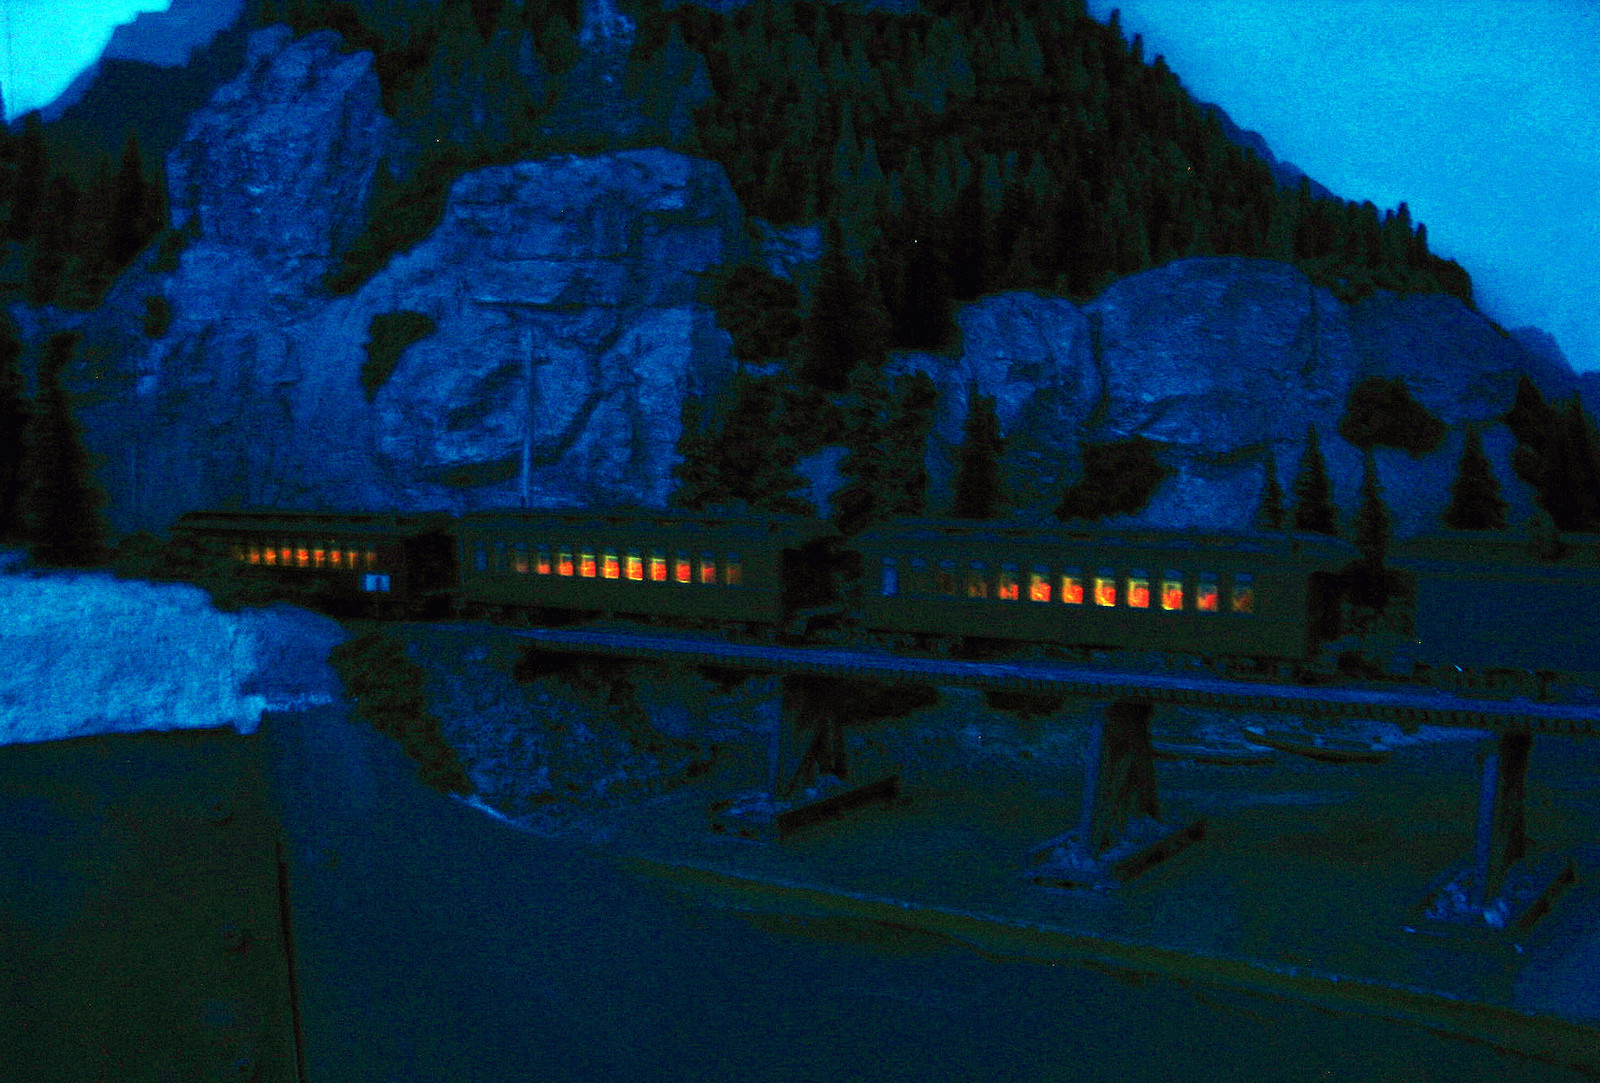
I really like the light reflecting off the rippling water here.
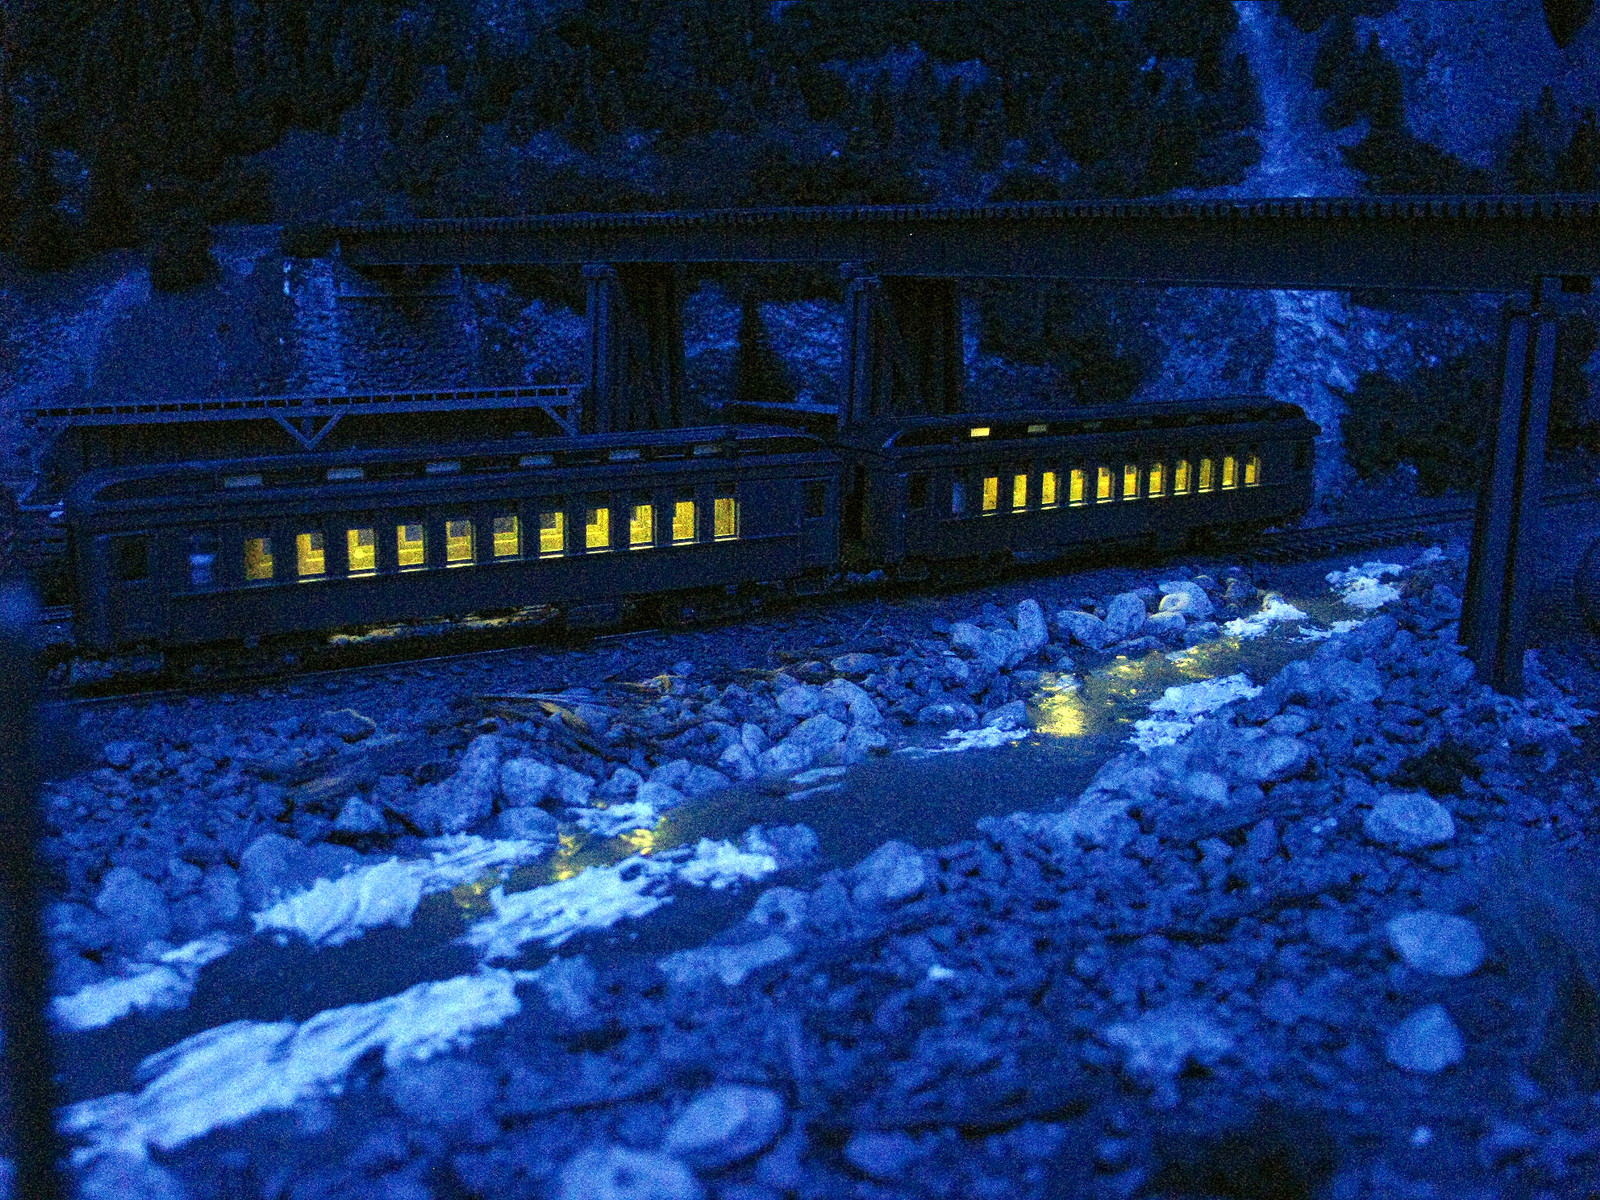
A close-up of a pair of the MRGS coaches with lighting.
Those coaches look great,Mike!
Have I mentioned that I like the larger photo’s?[;)]
Mike
Mike,
Thanks! And yes, I think you did mention you liked the bigger pics. I appreciate you nudging me to do something about that, too, as it was one of those things that was bothering me but hadn’t risen to the top of the priority list enough yet. Knowing folks cared was the extra incentive I needed to get it done.[A]
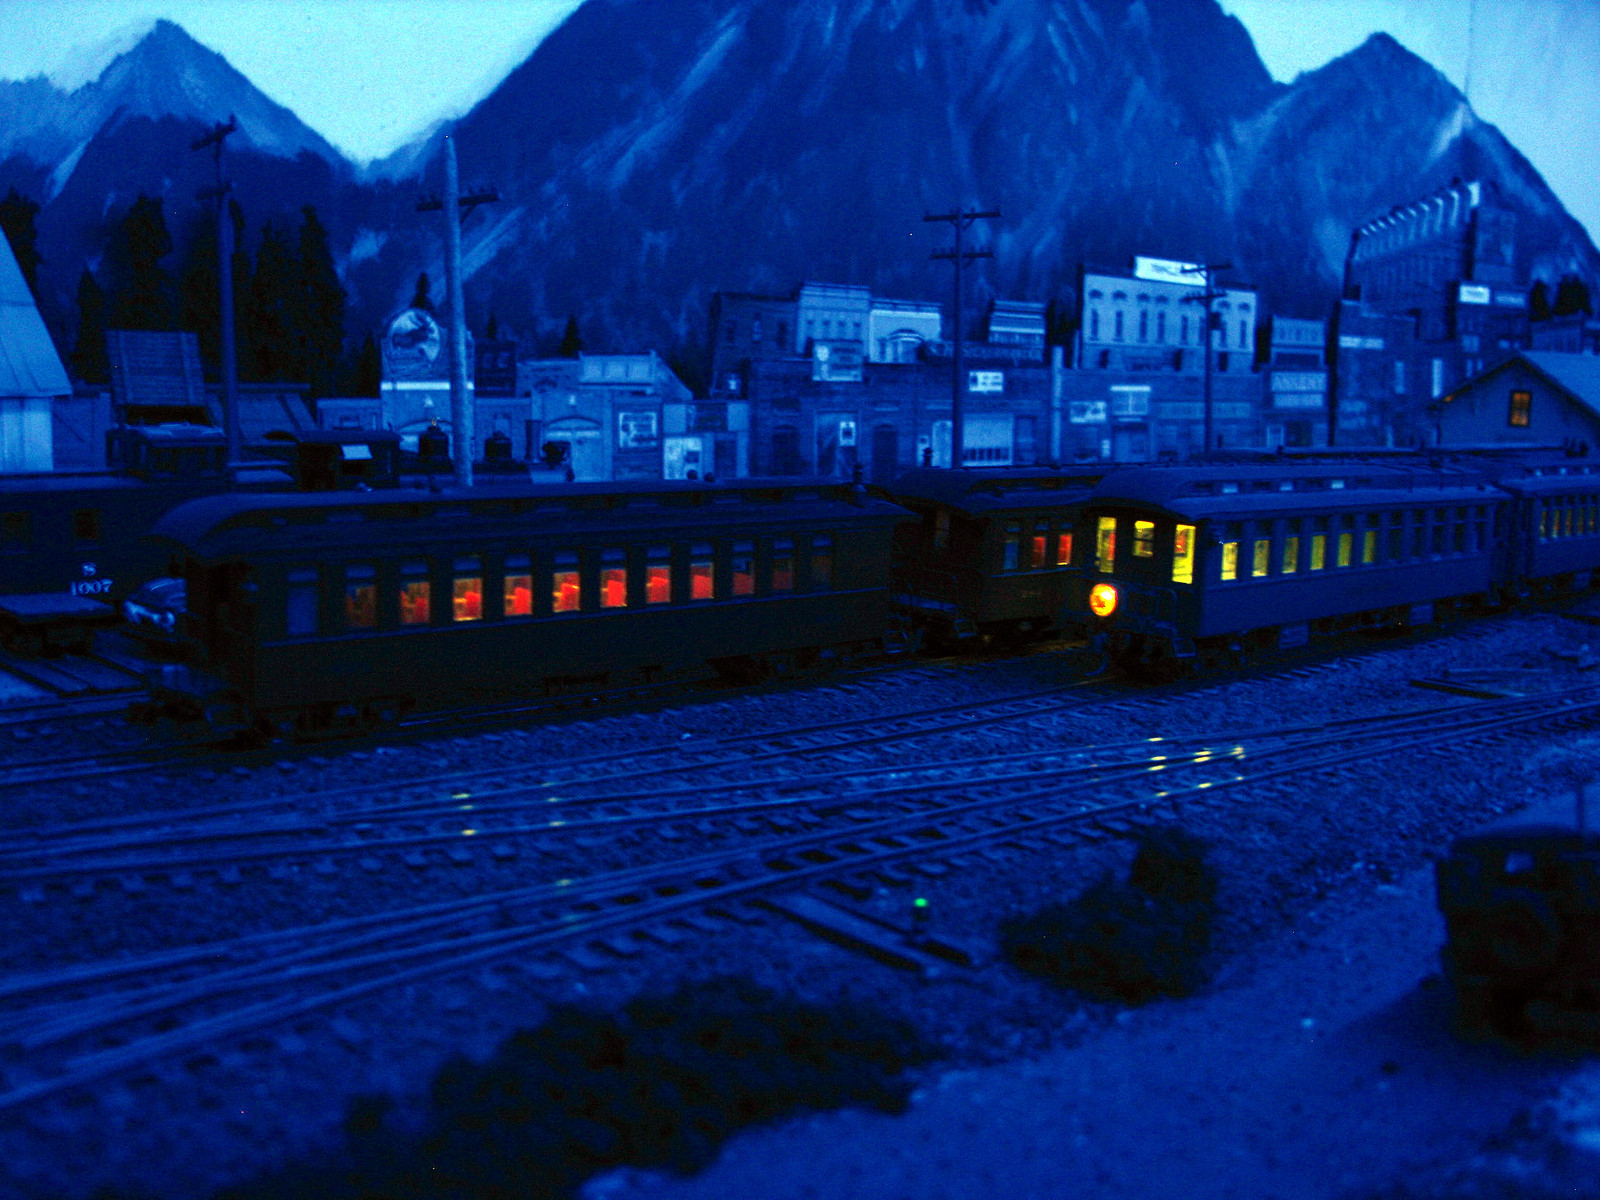
I worked adjusting the light levels in a number of cars this week. Toning them down is more realistic, but also helsp hide the fact that there aren’t any passengers in board. Here’s an example of the difference that I posted in WPF.
Here the local is on the bridge over the Rio de las Animas.
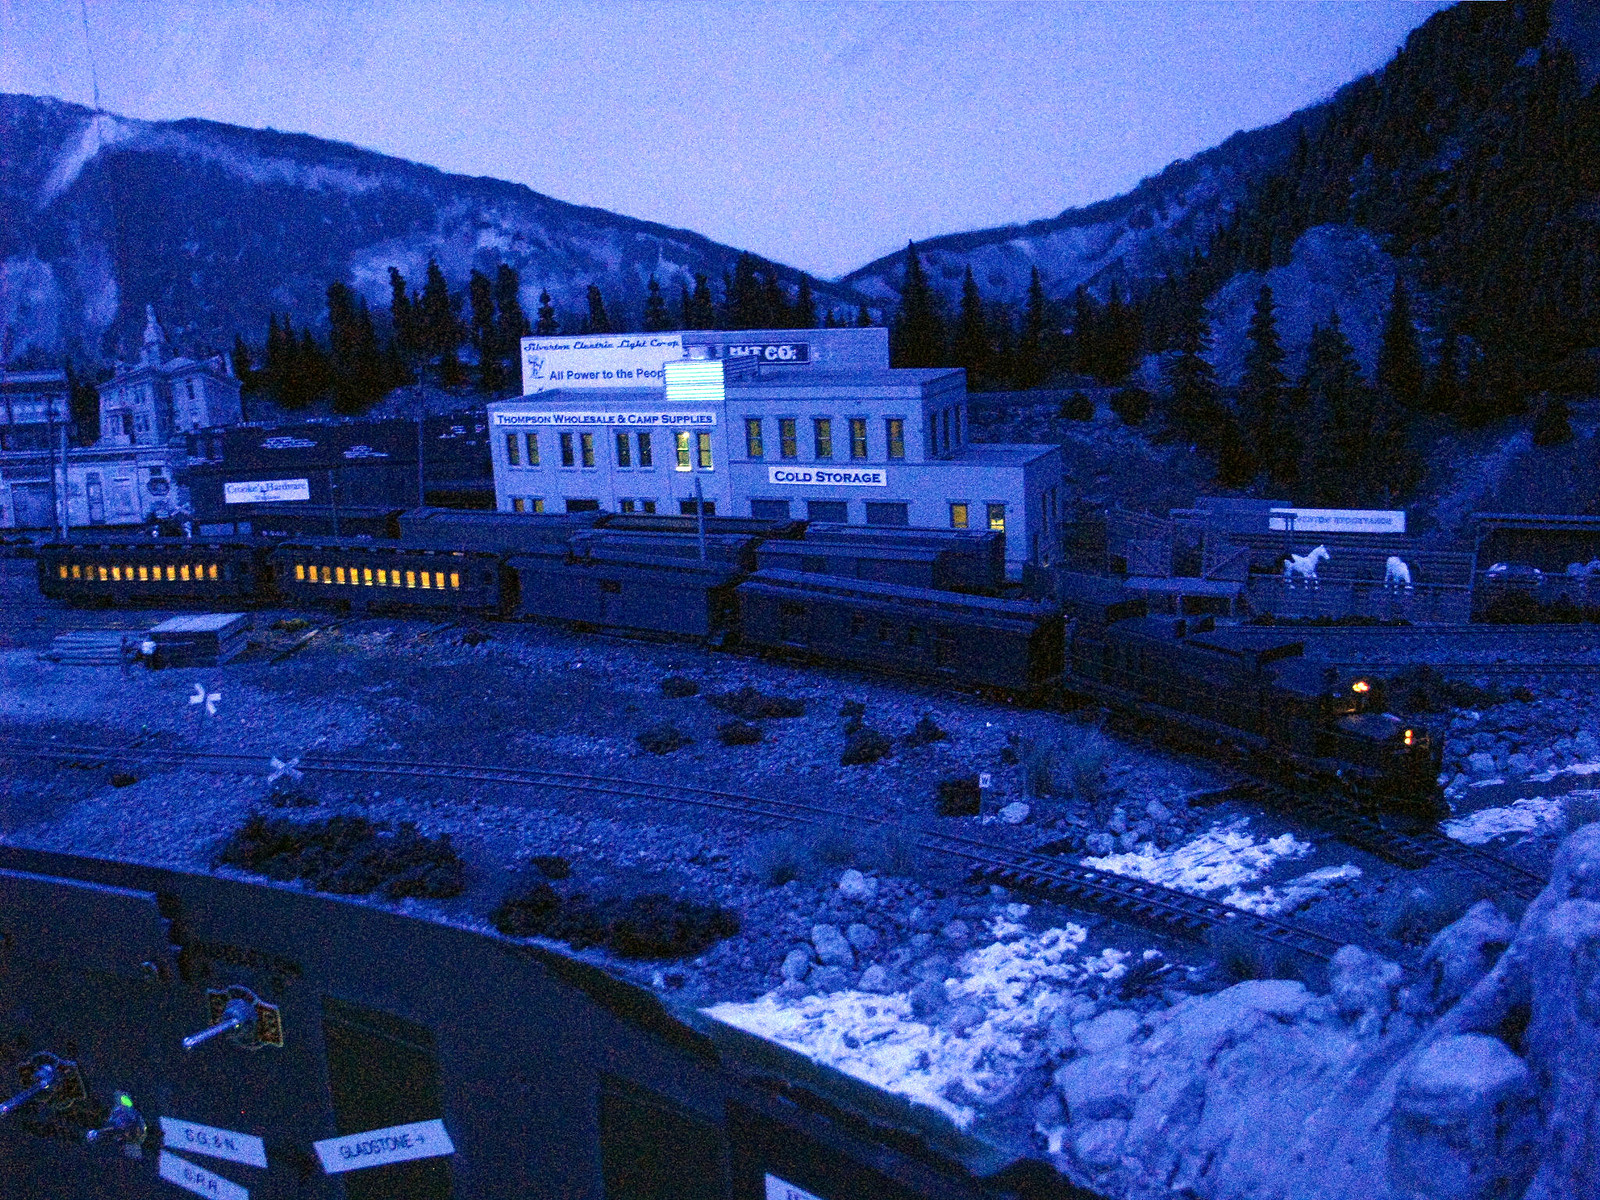
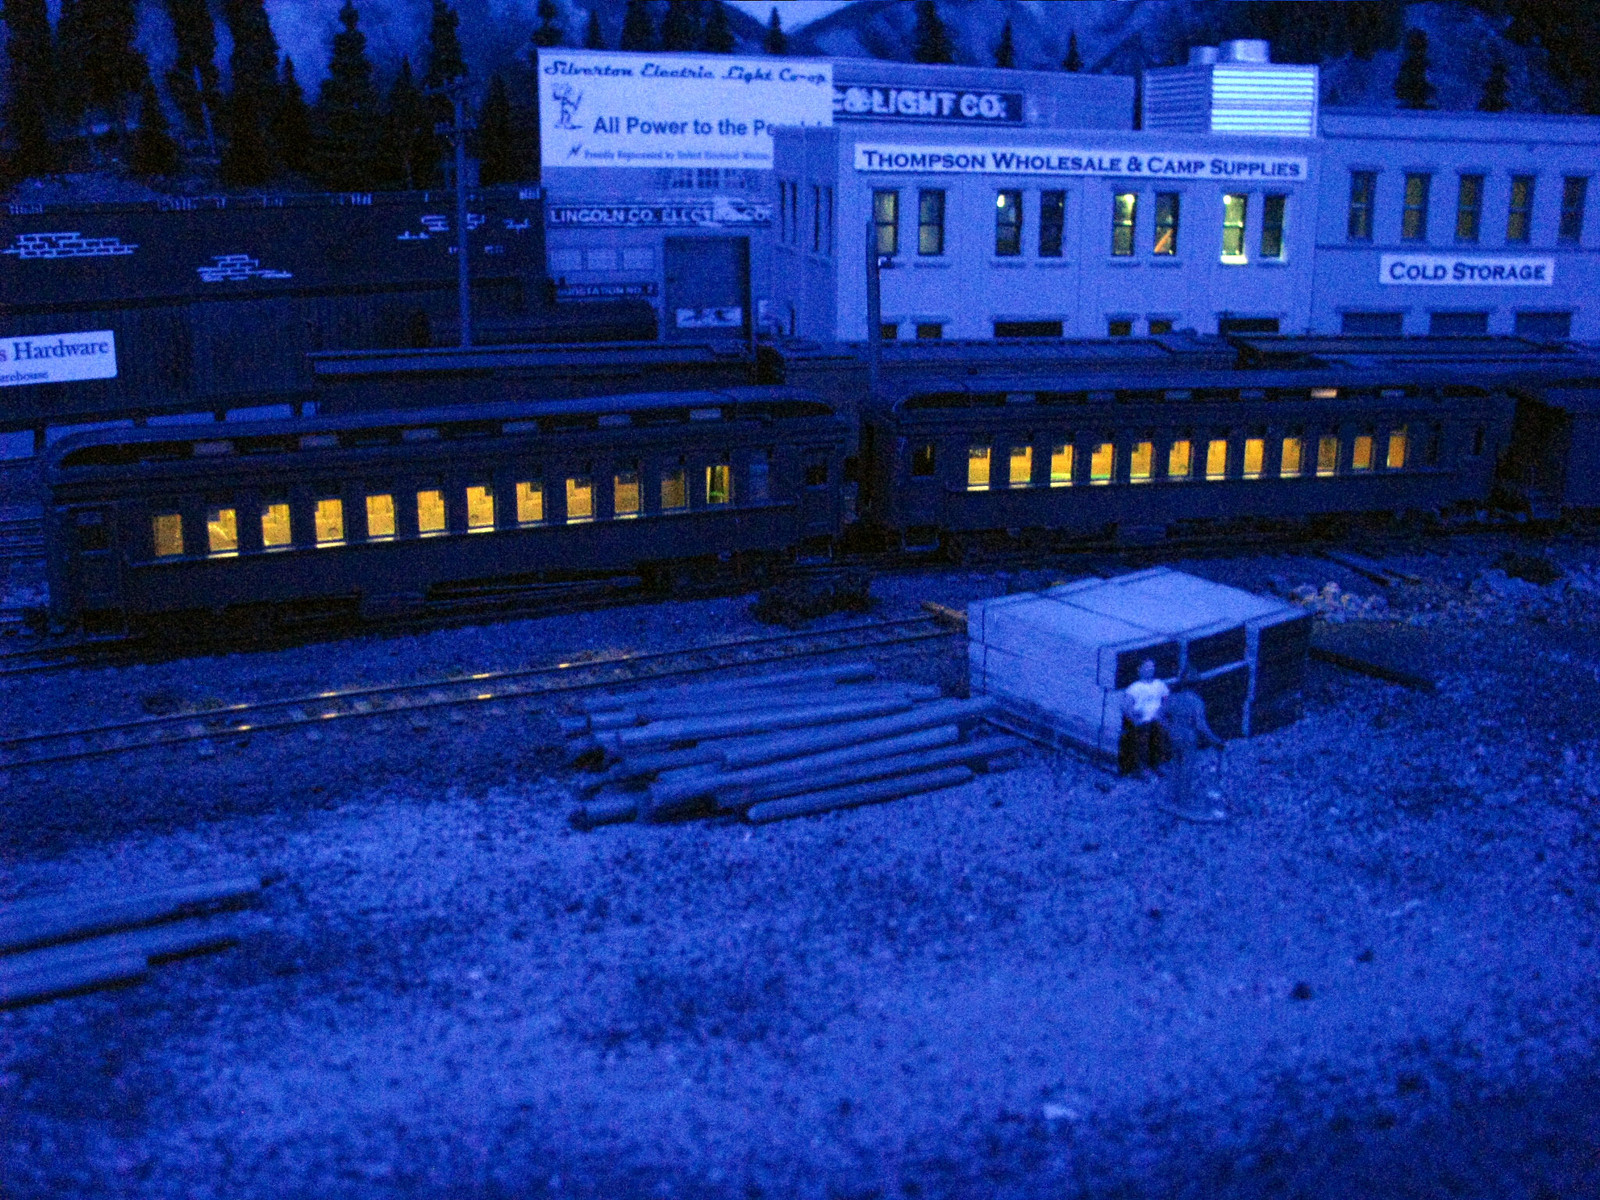
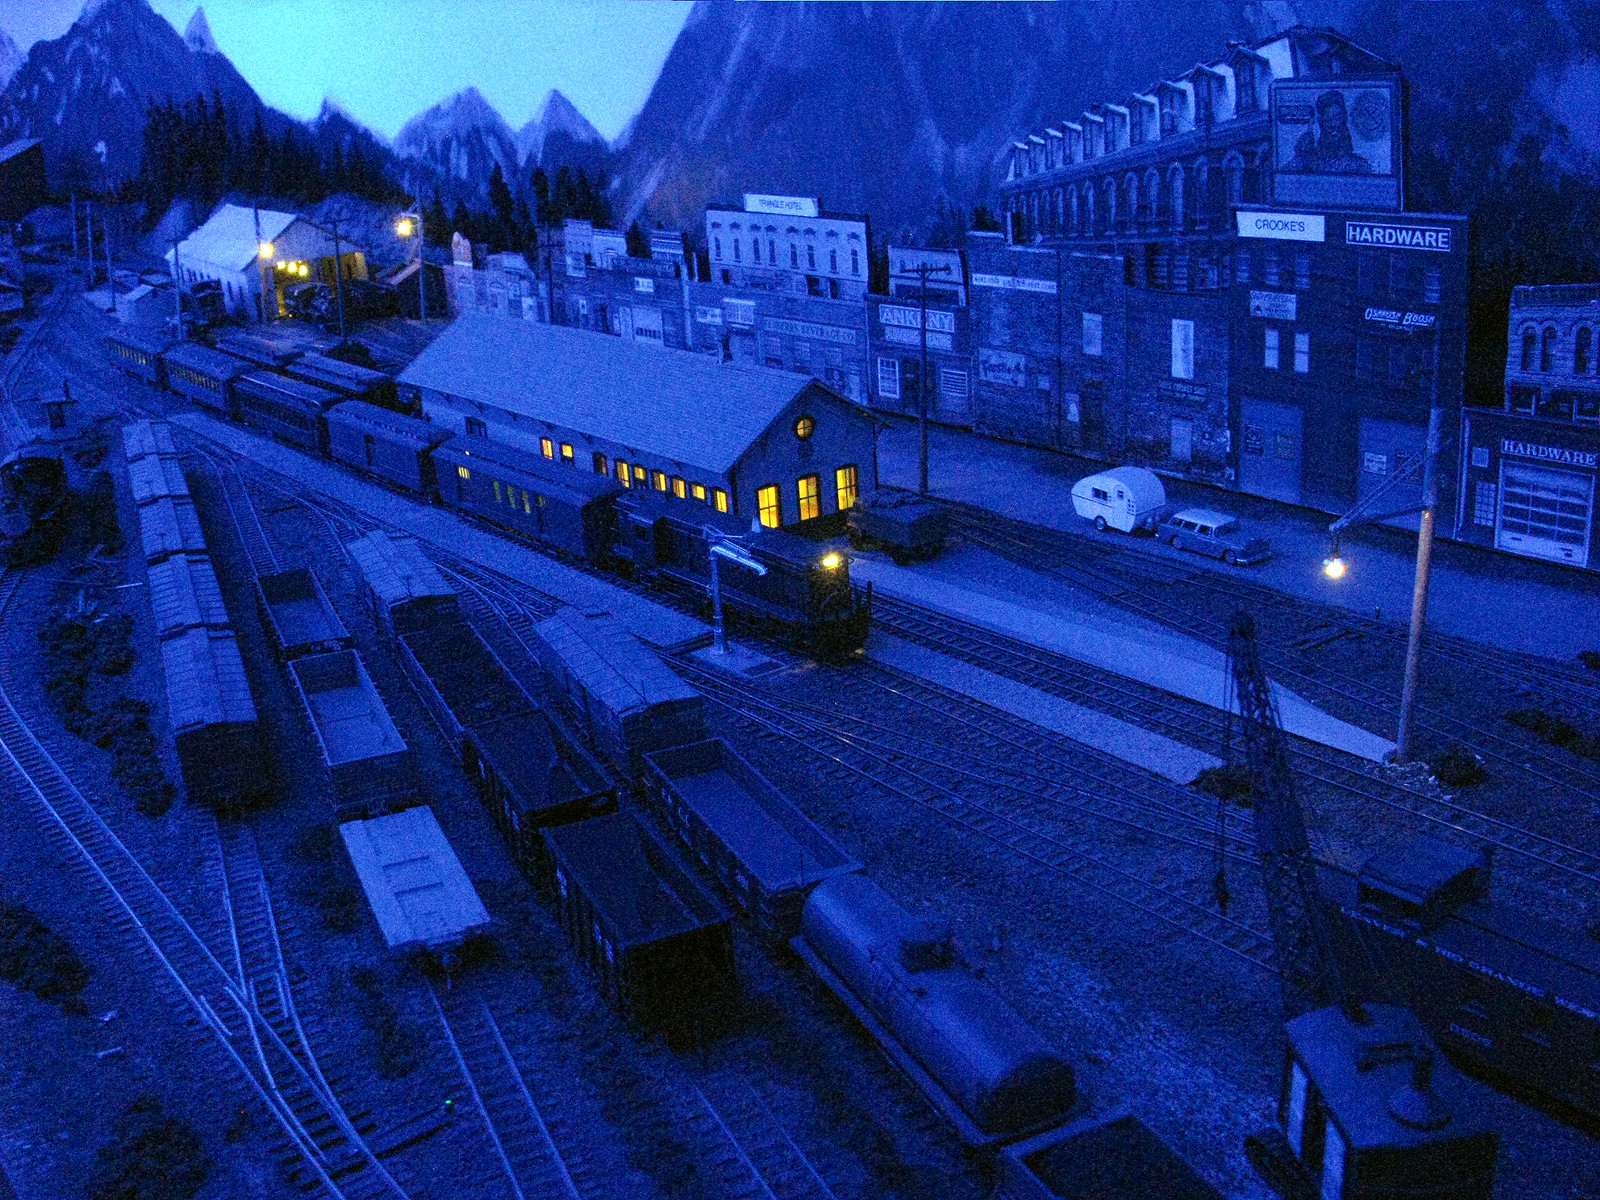
A couple of views of Silverton at night.
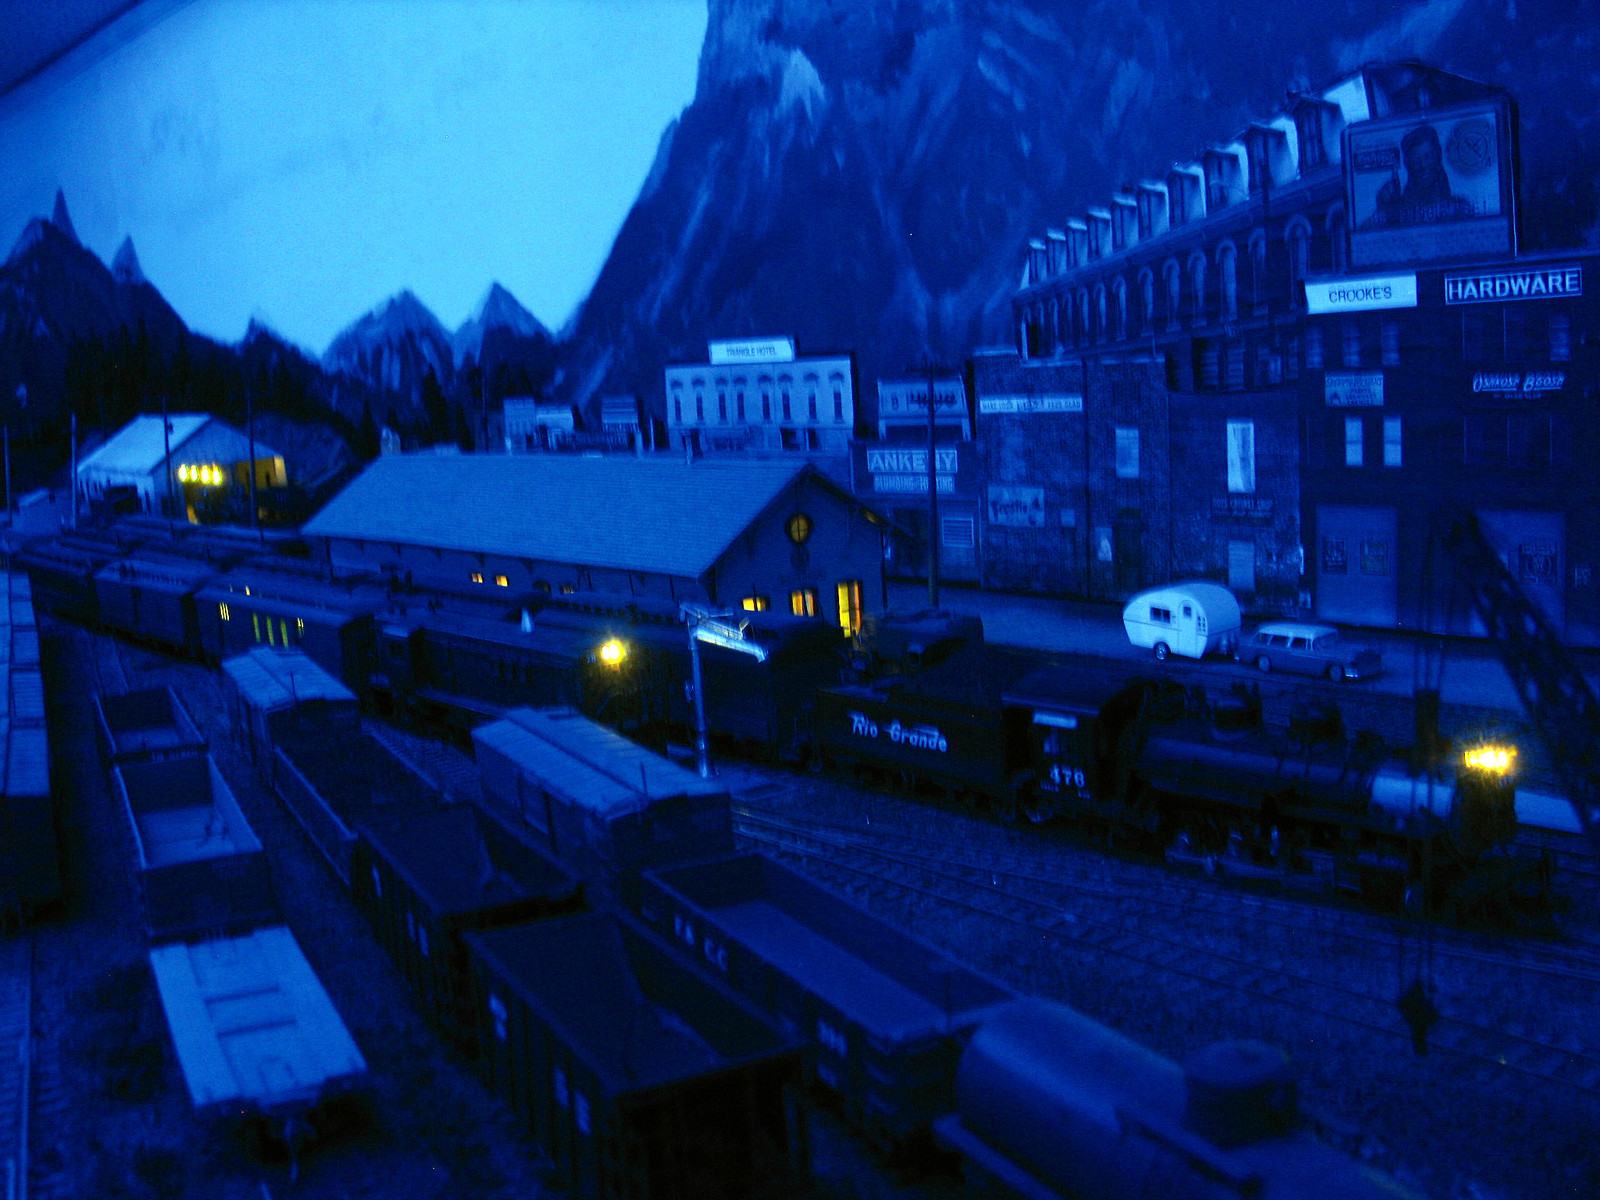
Entering Durango.
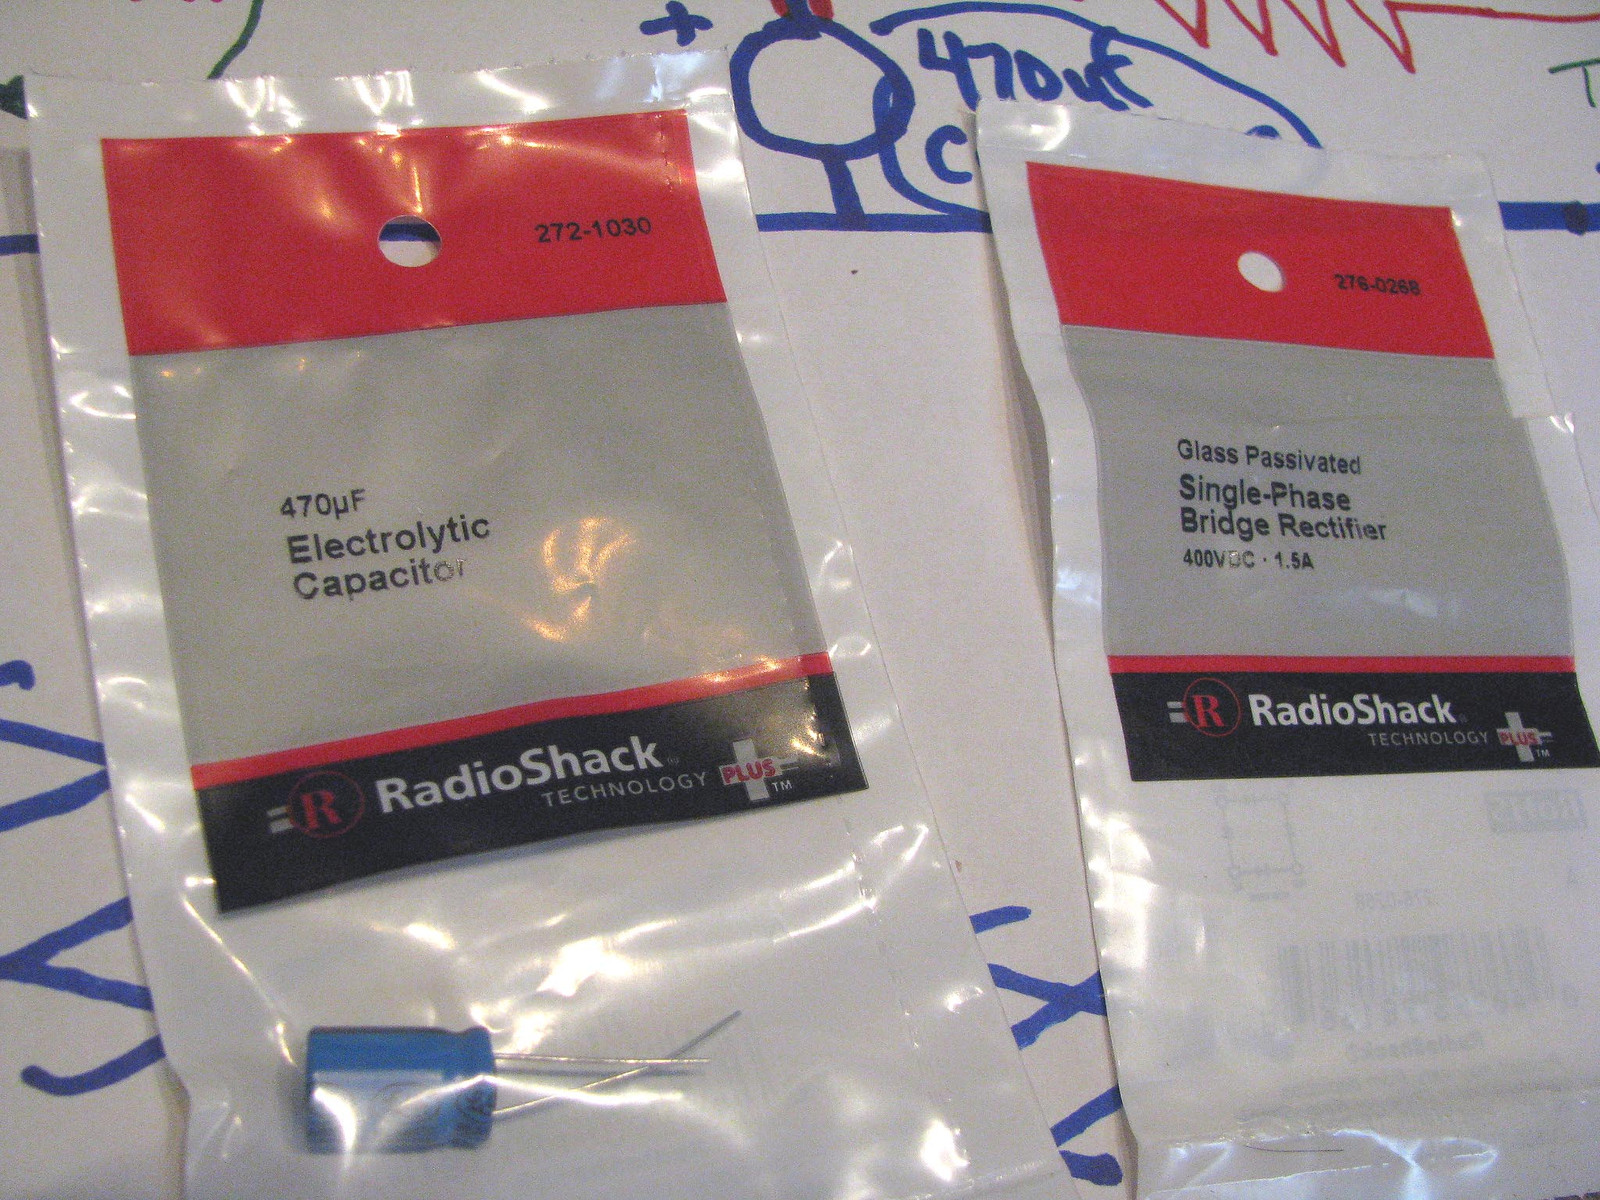
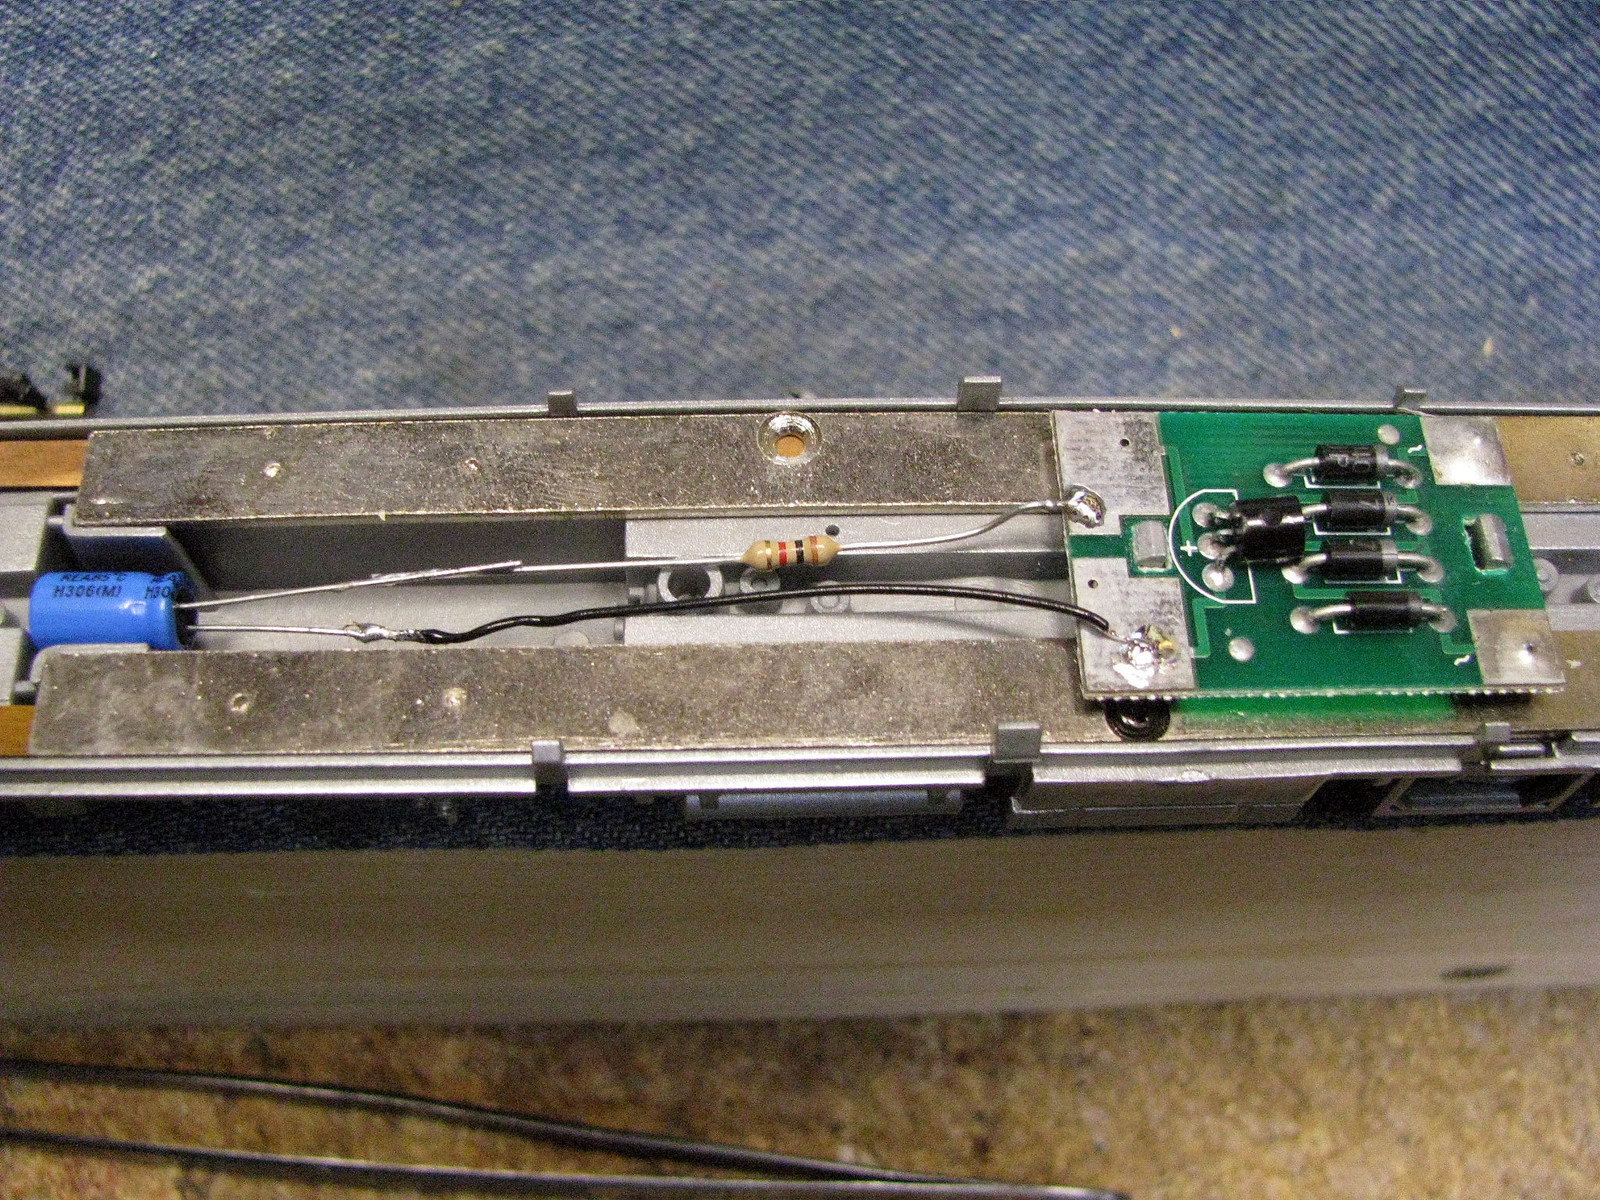
Here’s the circuit I use to take pwoer from the tracks and convert it to DC.

This is the bridge rectifier and capacitor I usually use.
Now I’m going to tell you how to dim your BLI California Zephyr…Say what? You wanna dim out a shiny bright train?[^o)][:^)]
Once you’ve brought on the Night Scene, yes, the CZ is like a rolling tanning salon. What to do?
It turns out it’s pretty easy to fix this problem – if you think it’s a problem like I do – because BLI made it easy. Carefully open the car with the BLI-supplied tool, being care fo the uncoupling gear at each end. You’ll either see, in the flat top cars, or can find underneath the dome seating, in the dome cars, a resistor pack that controls the lighting. It has tiny 1/8 watt 330 ohm resistors. I replaced with some 1,000 and 1,500 ohm 1/4 watt resistors I had on hand.
Bend the new resistors over to clear the roof of dome seating, being careful not to short anything in the tight clearances.
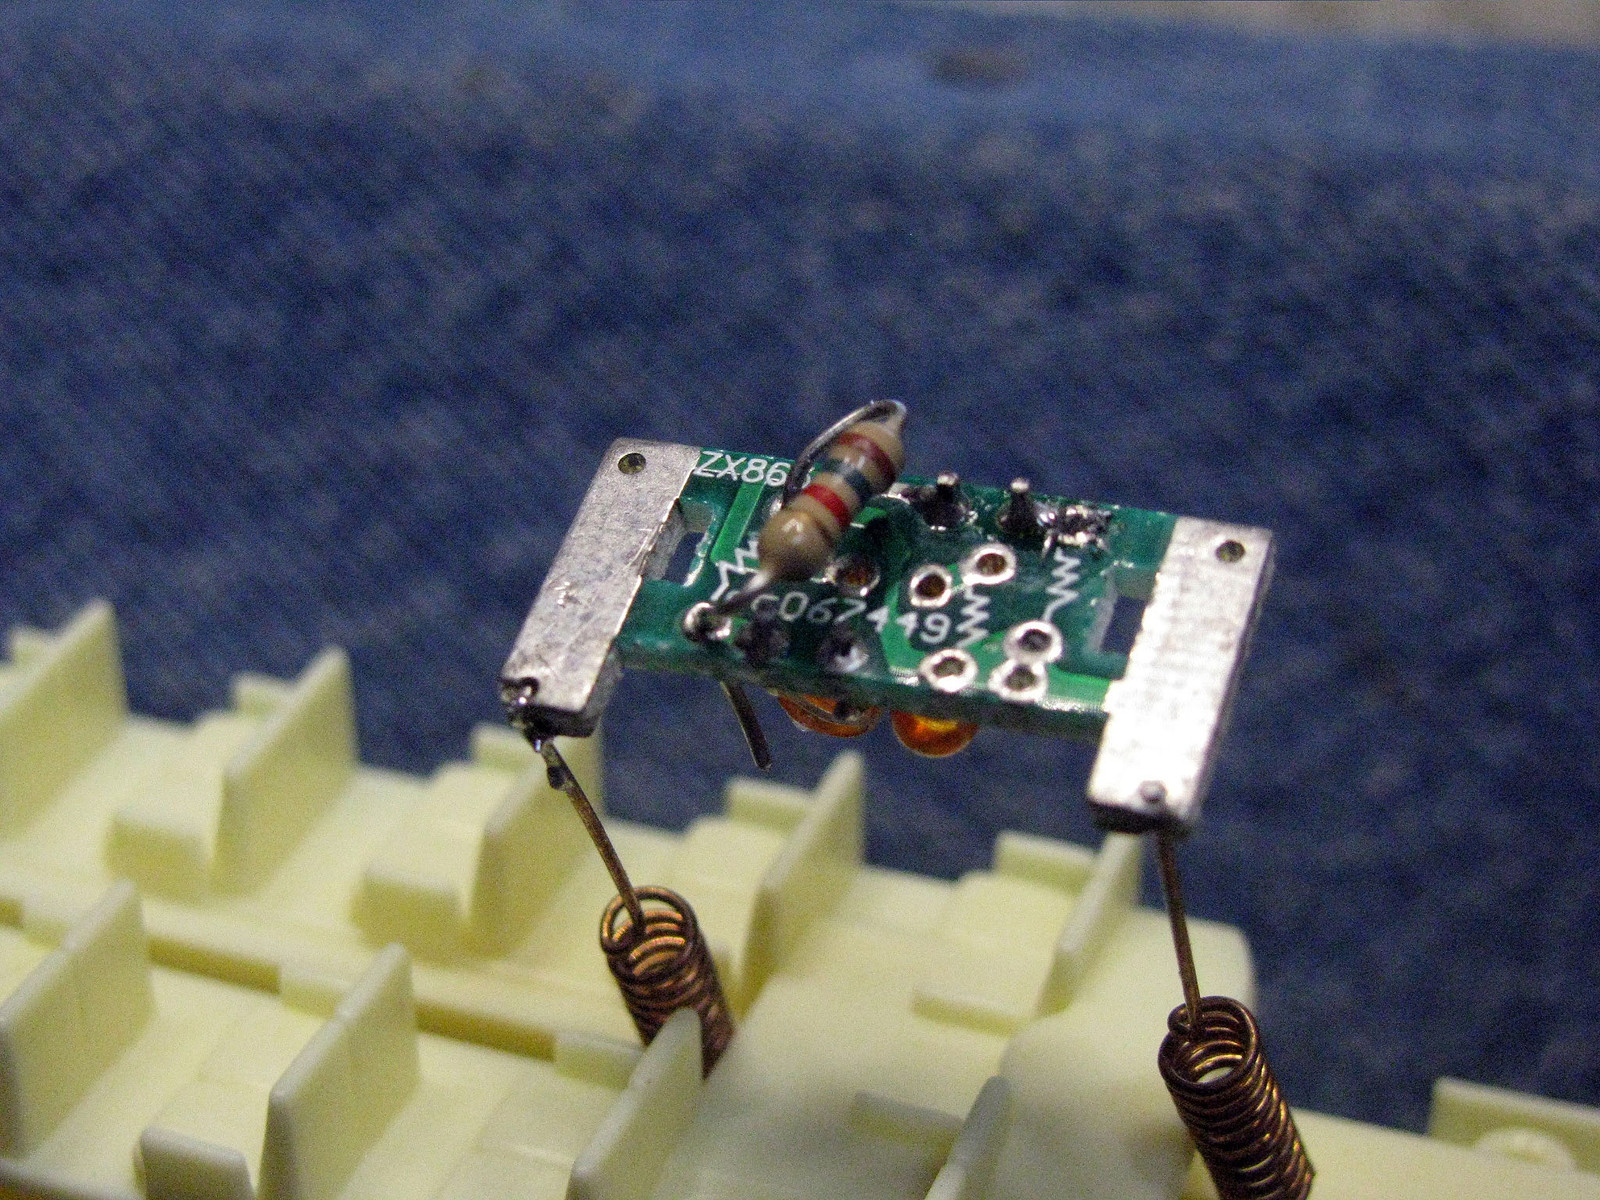

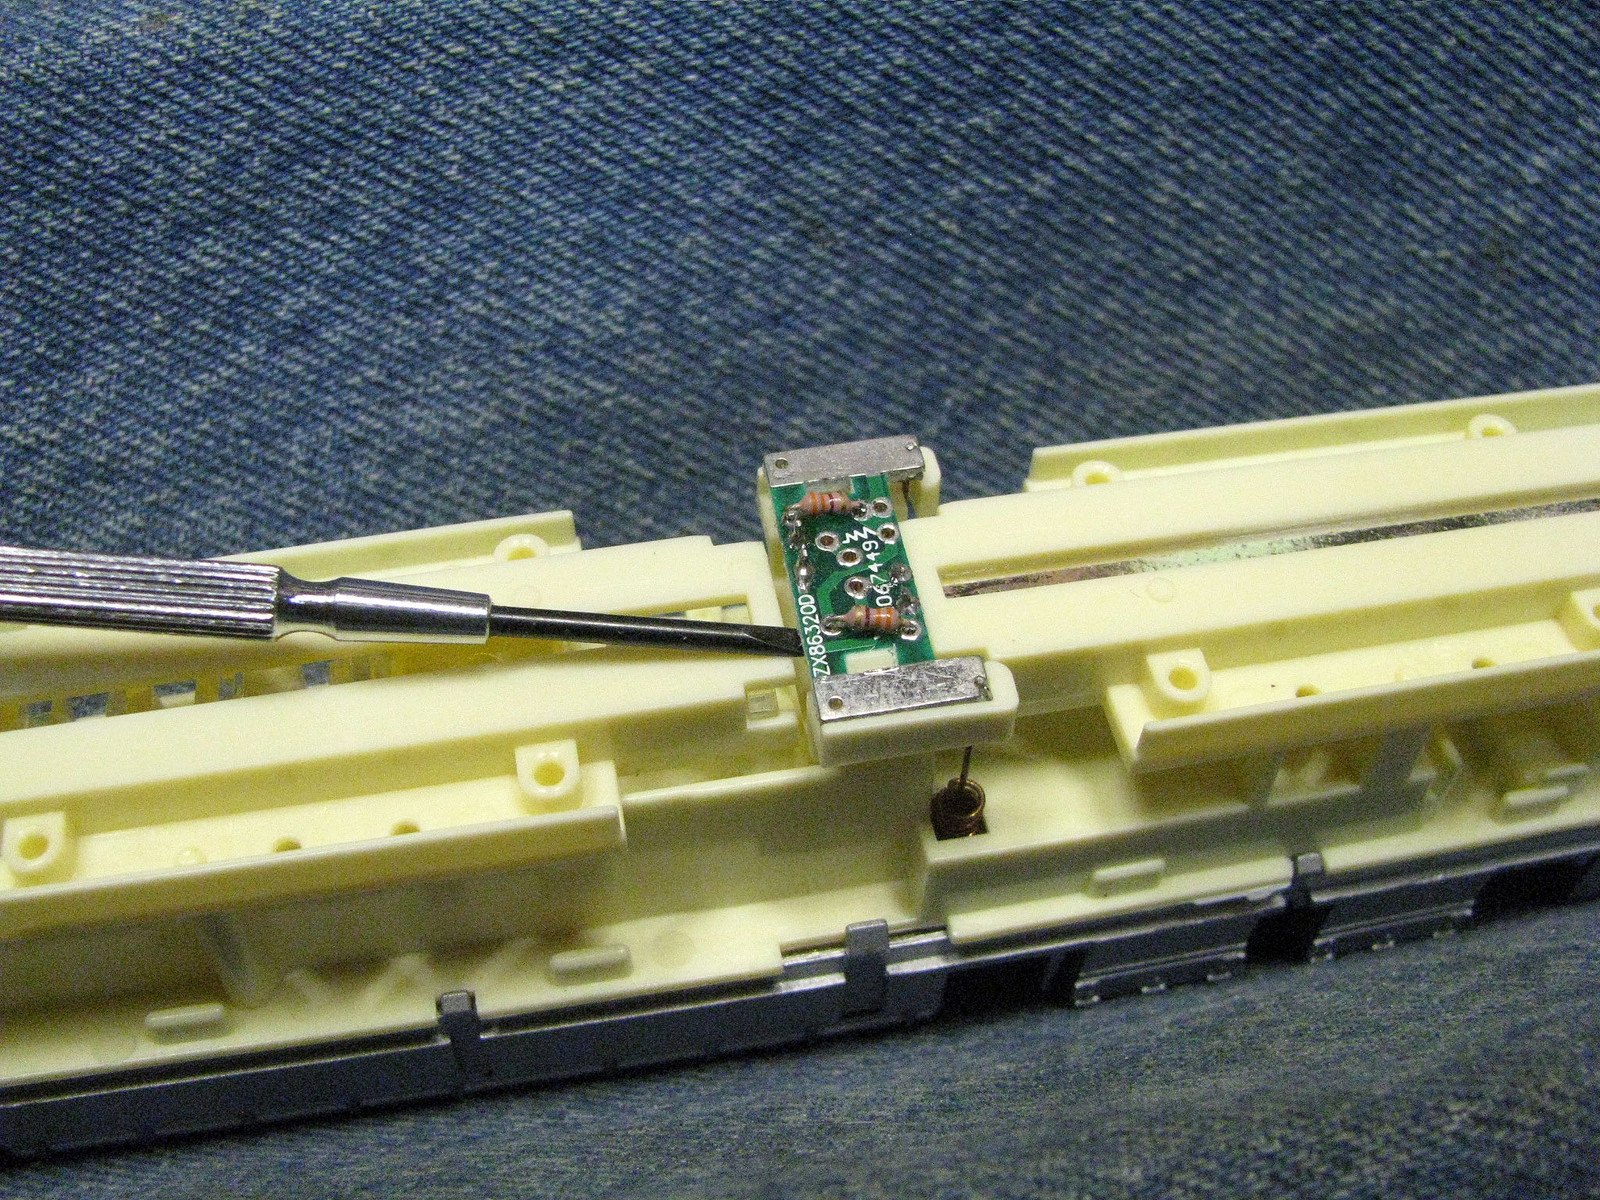
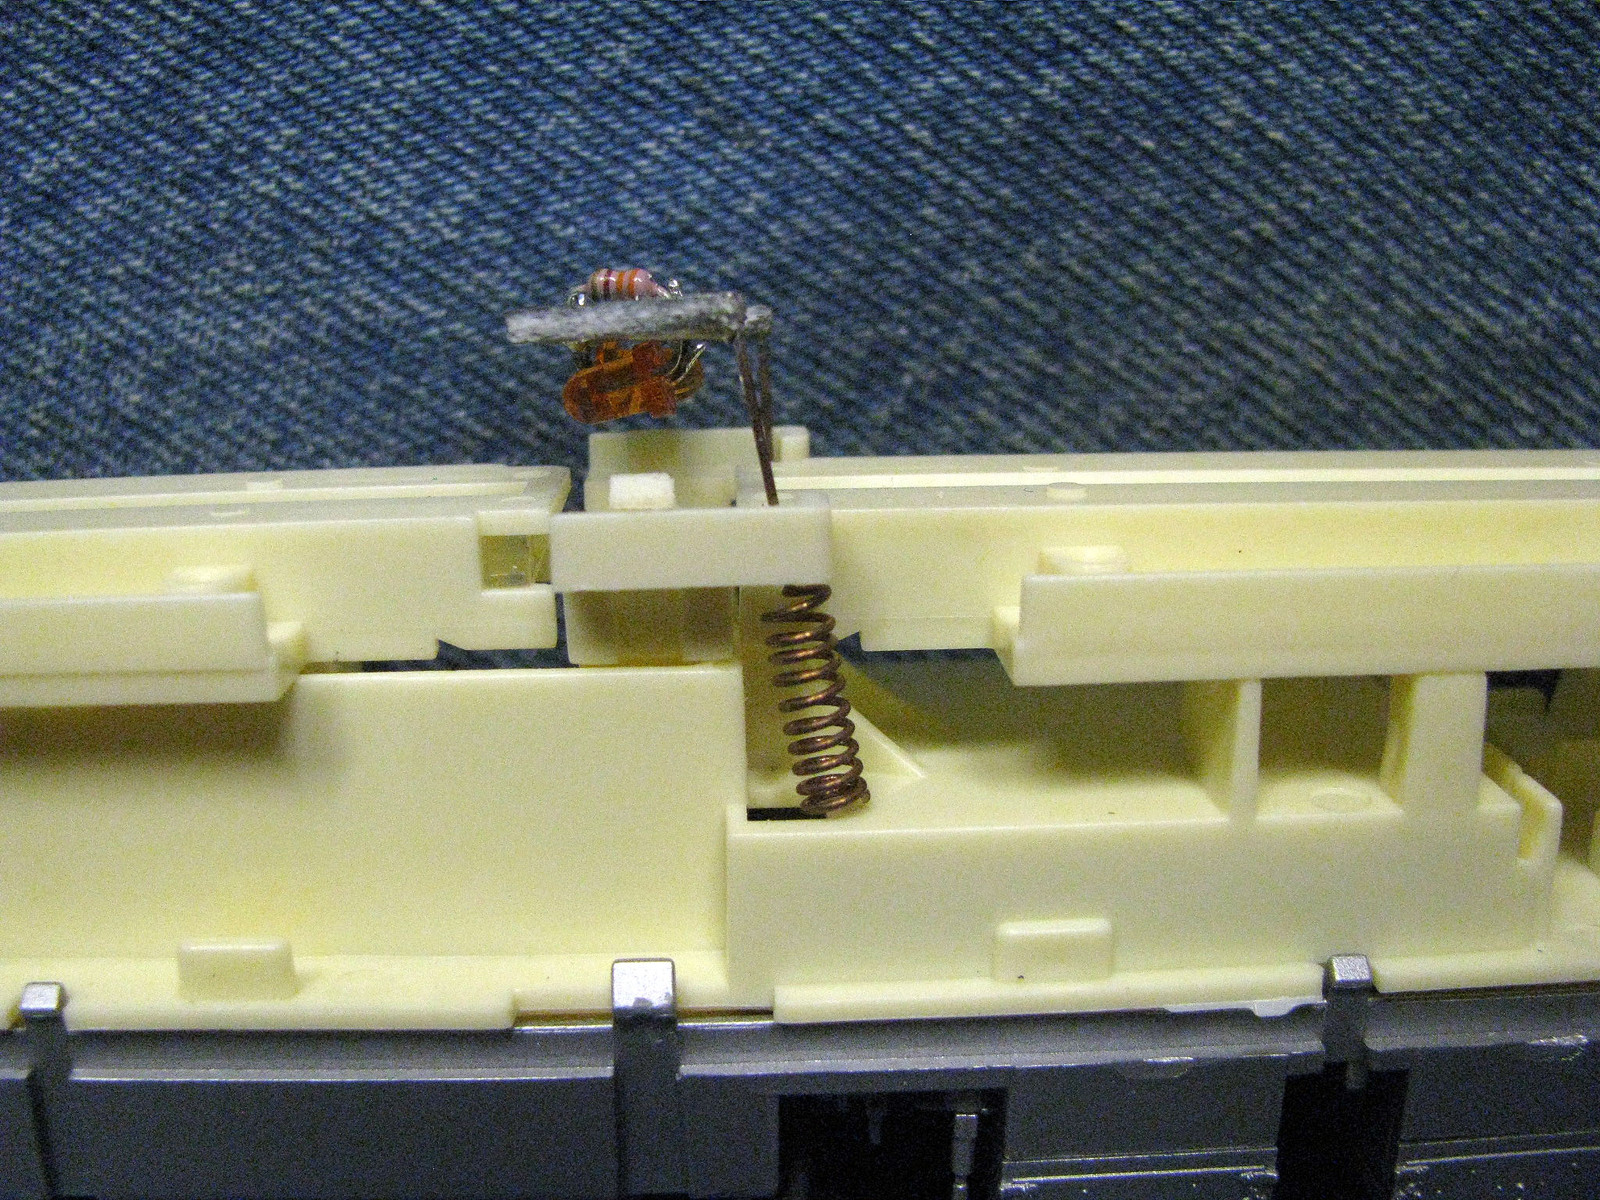
To cut the flicker, pull up the interior gently, where you’ll find a voltage regulated bridge rectifier next to a well in the chassis that will hold a big ol’ capacitor, with conveninet holes to solder in a cap to match the polarity of the board’s output. I’ve tried everything from 10 uF to 470 uF caps and they all work. 47 uF seems about right, as you still get a little fade with the 10 uF caps every once in awhile.
I’ll note the resistor in the positive lead of the cap in the above pic is not needed if you use a cap rated at 25 vol
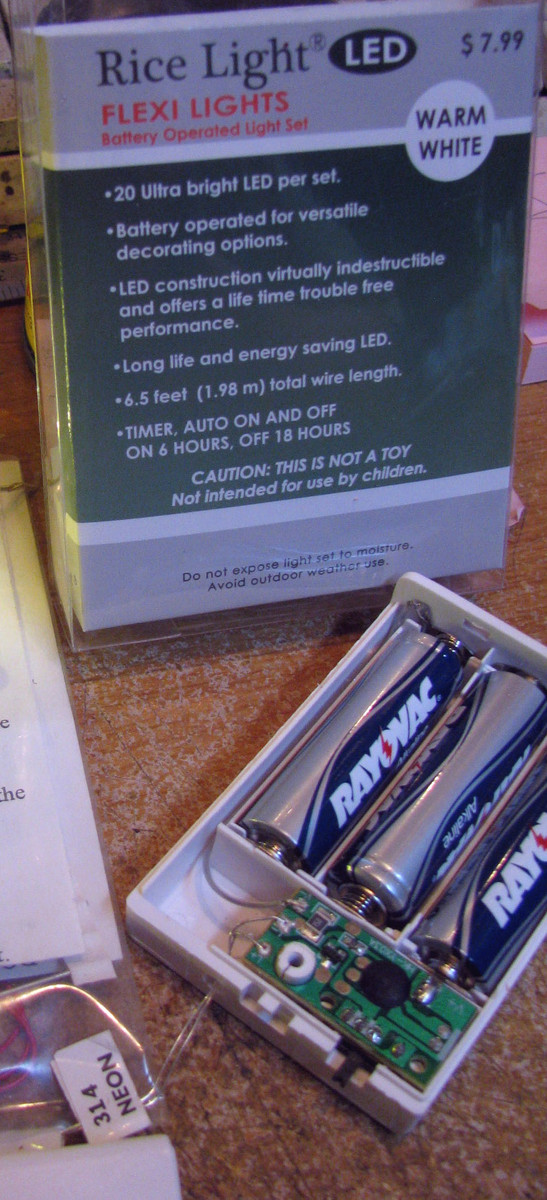
This time around some brief notes on making an old-fashioned arclight. I used LEDs salvaged from this item, available through Hobby Lobby. It’s branded as the “Rice Light” LED battery operated light set. Cost is $8 for 20 LEDs on a 6.5 foot string. Since it’s got a powerpack built-in, it’s like a built-in tester. These are not SMDs but simply a very small version of the standard LED form-factor, so they are still very versatile. Here’s some pics.
The package and battery case and controller
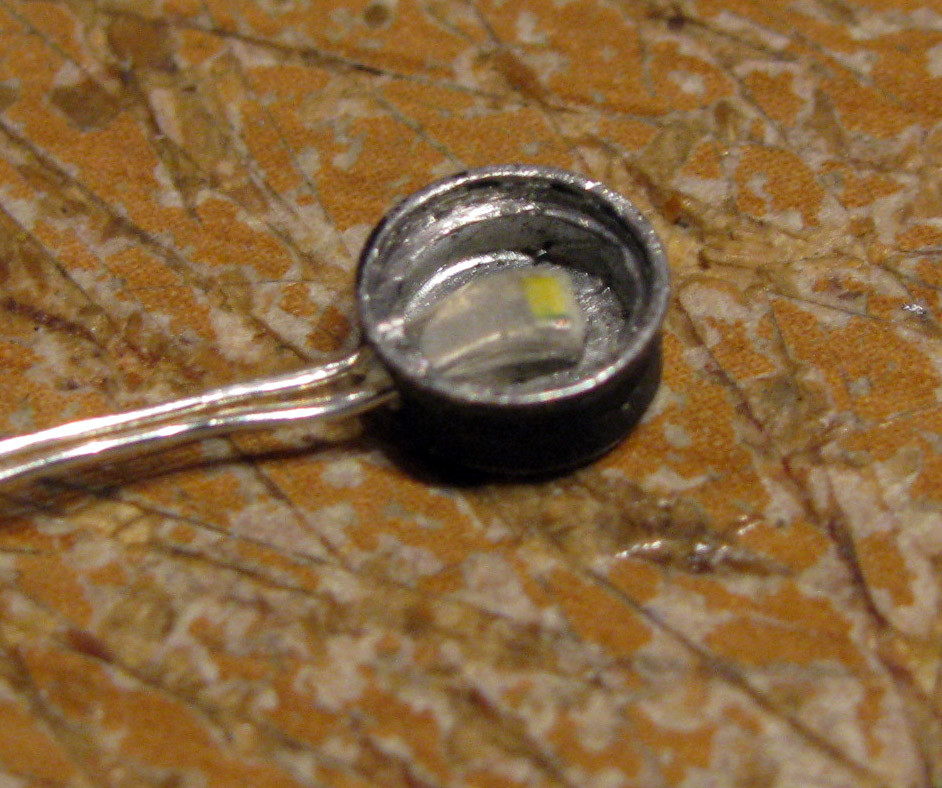
The lights look like this once cut from the string. Each is encased in a resin or epoxy and is clipped for use. This one fit inside a Tomar drumhead kit for the narrowgauge San Juan one on the rear of my Durango parlor car.
Here, I use beads which I cut and file, then carefully drill to make room for the LED. The leads will act to hold the light up.
[URL=https://imageshack.com/
The Wilde Mine added its own arc light.

An overview of Silverton, with one new lamp at the end of the platform. More will be installed soon.
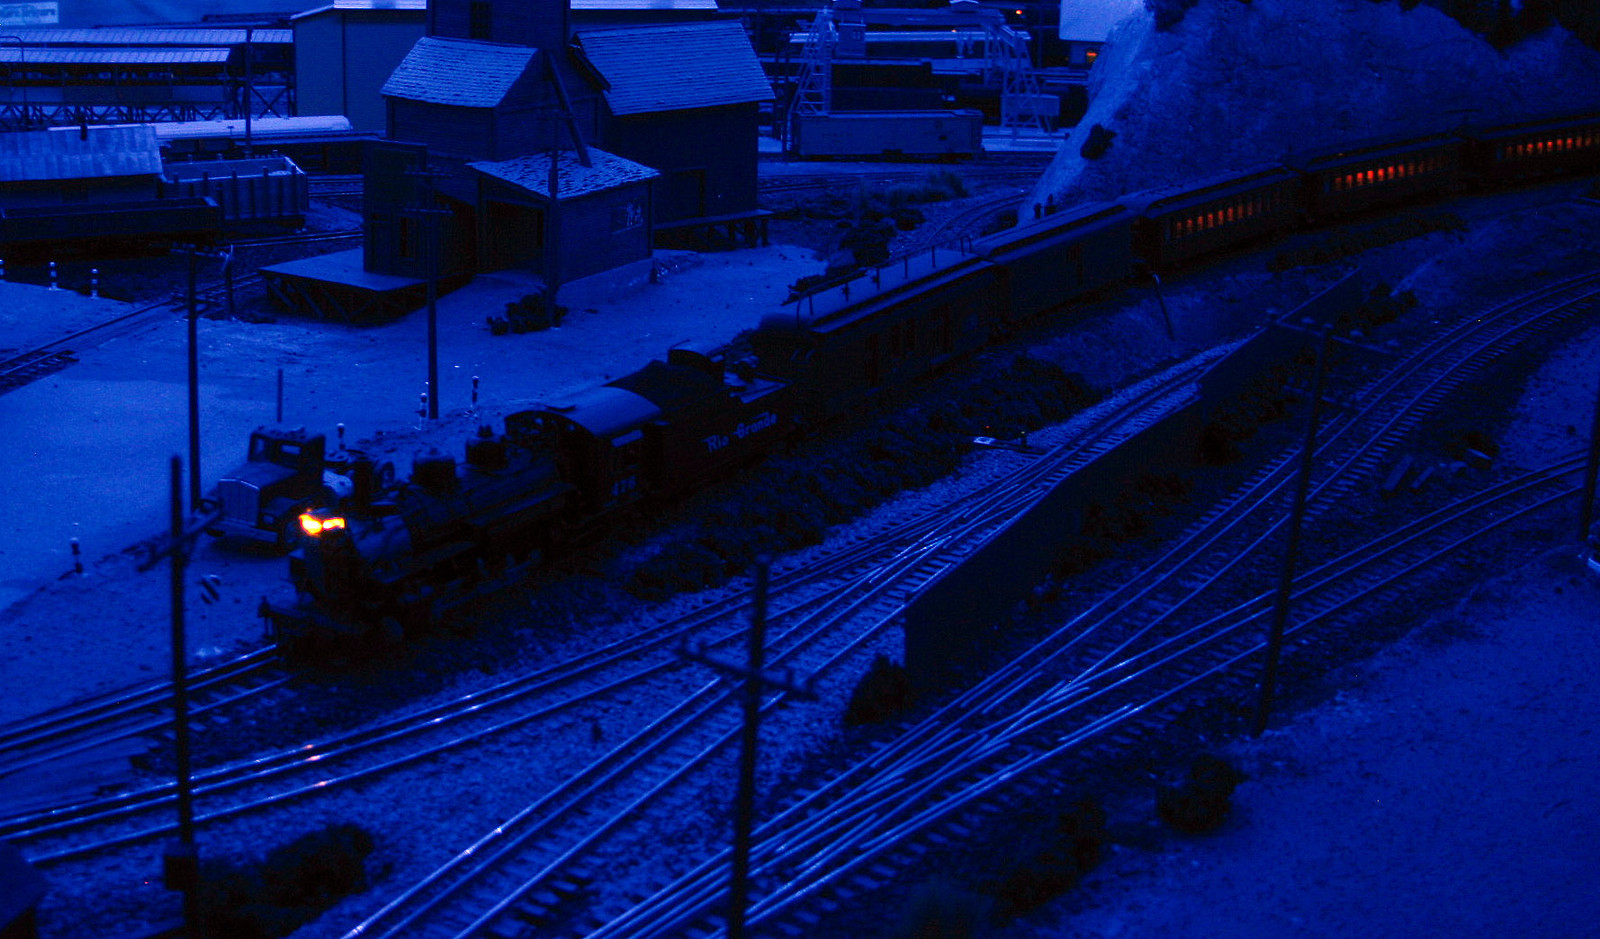
The new lights at the enginehouse are appreciated by everyone.
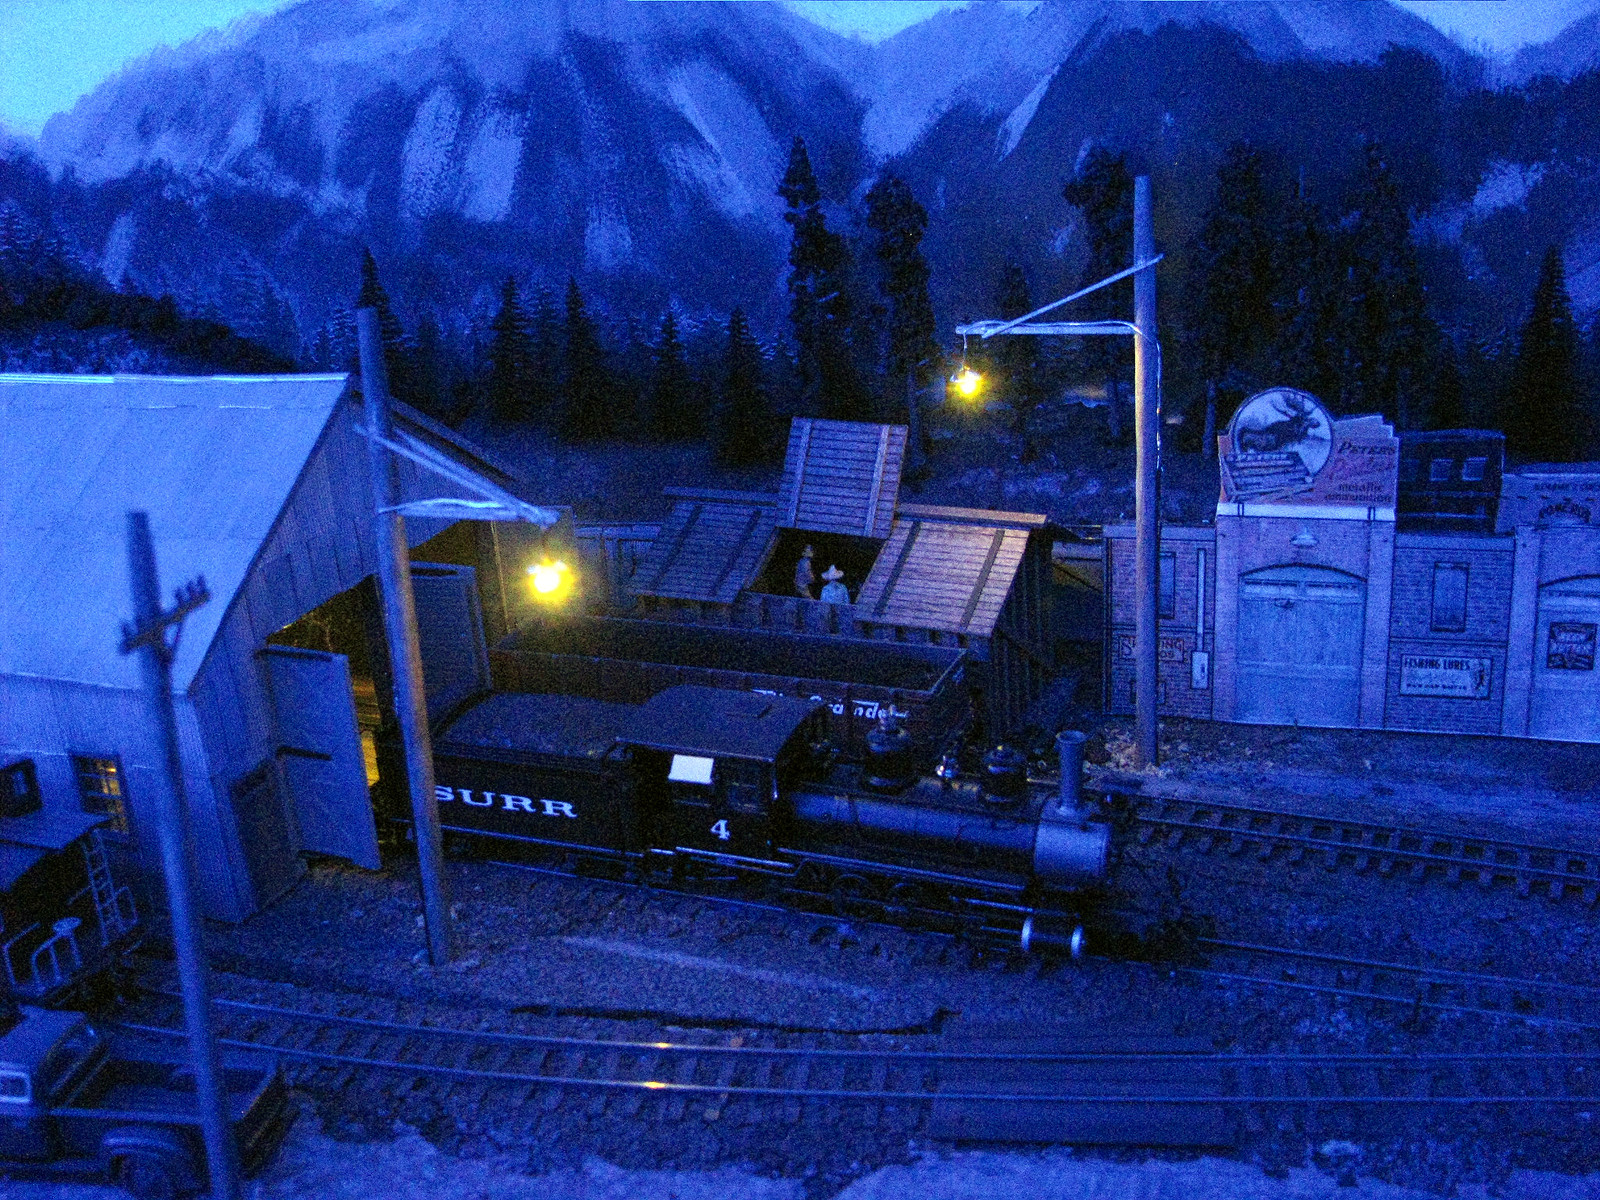
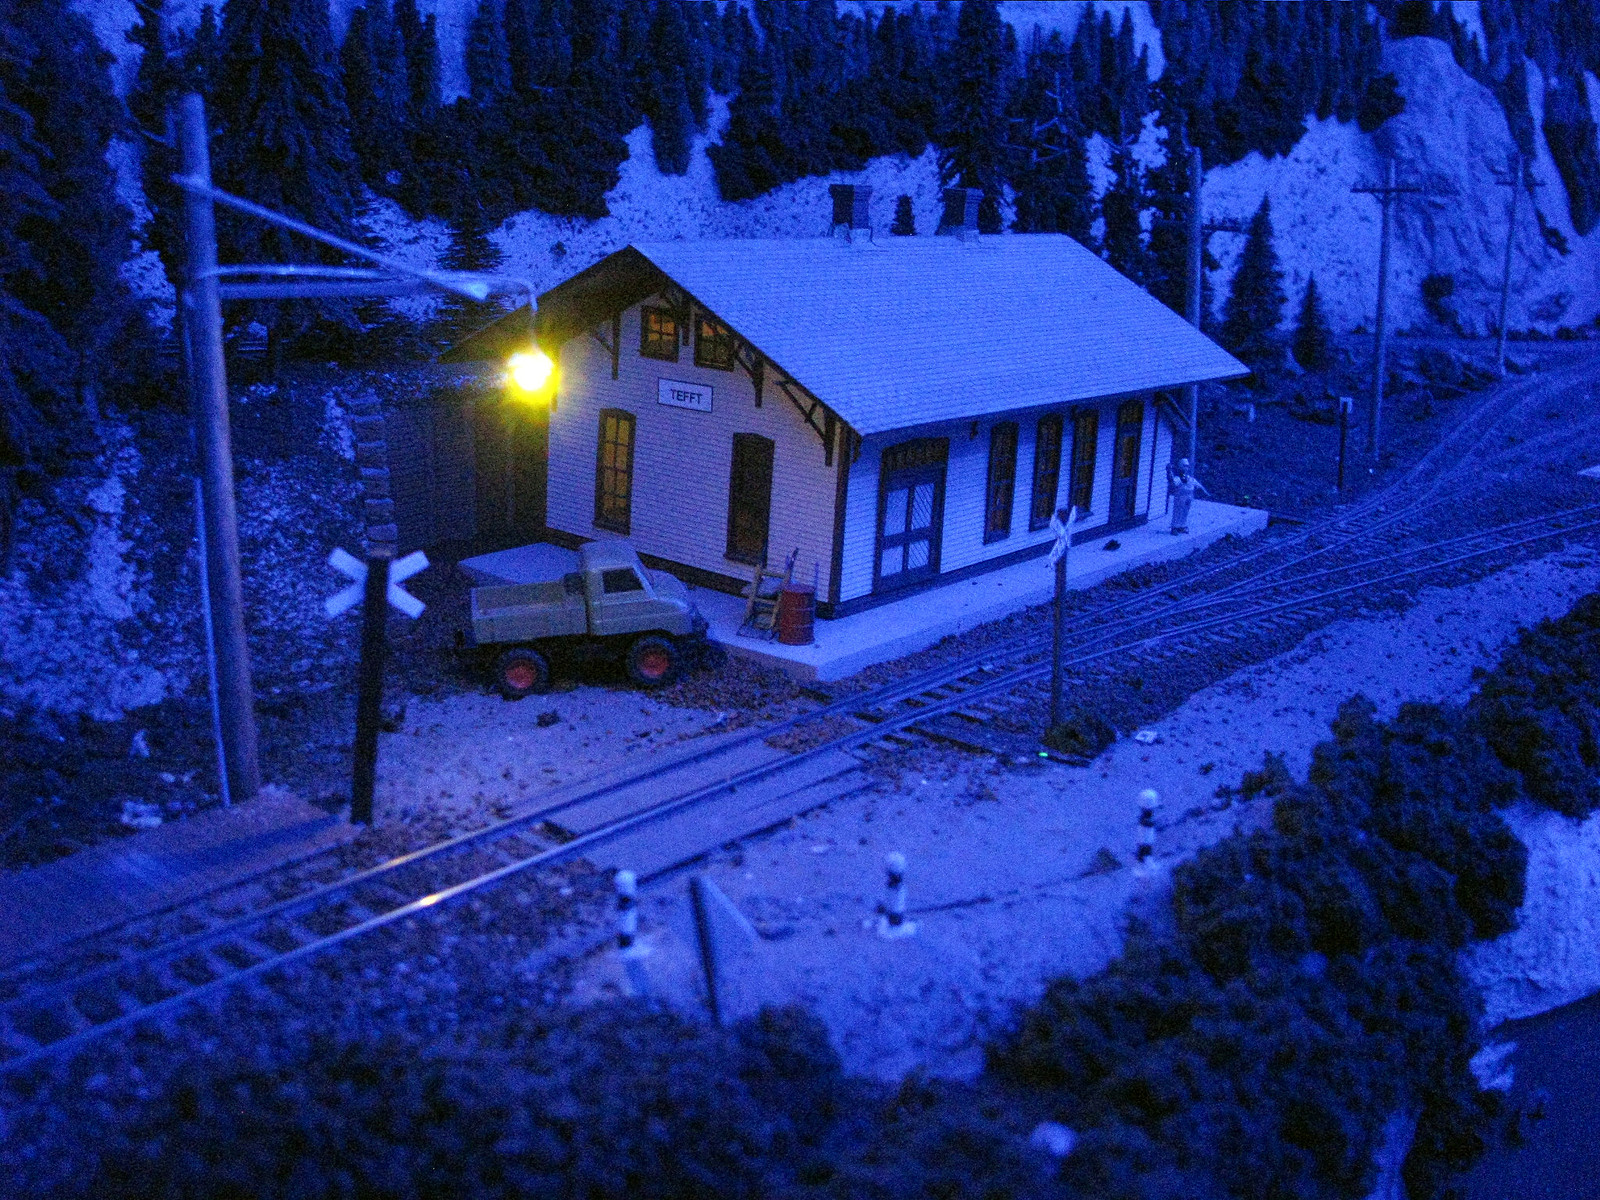
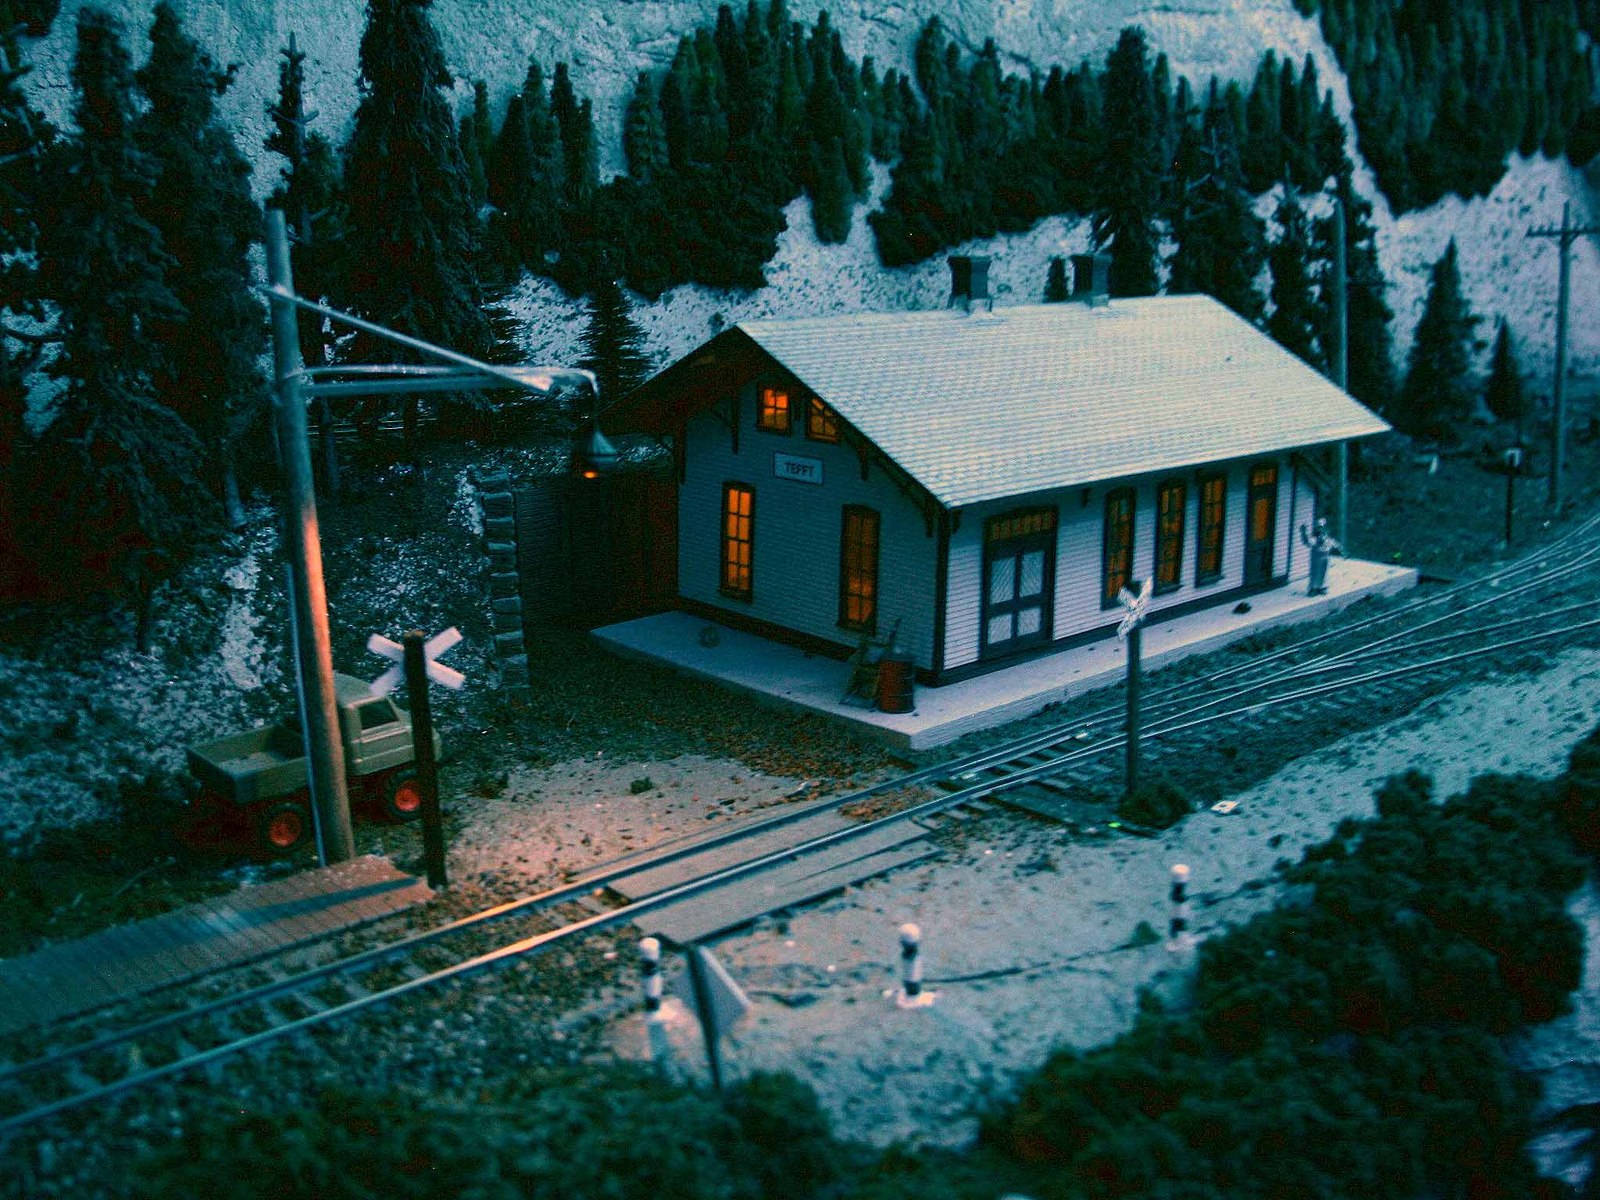
Tefft has a new light, too.
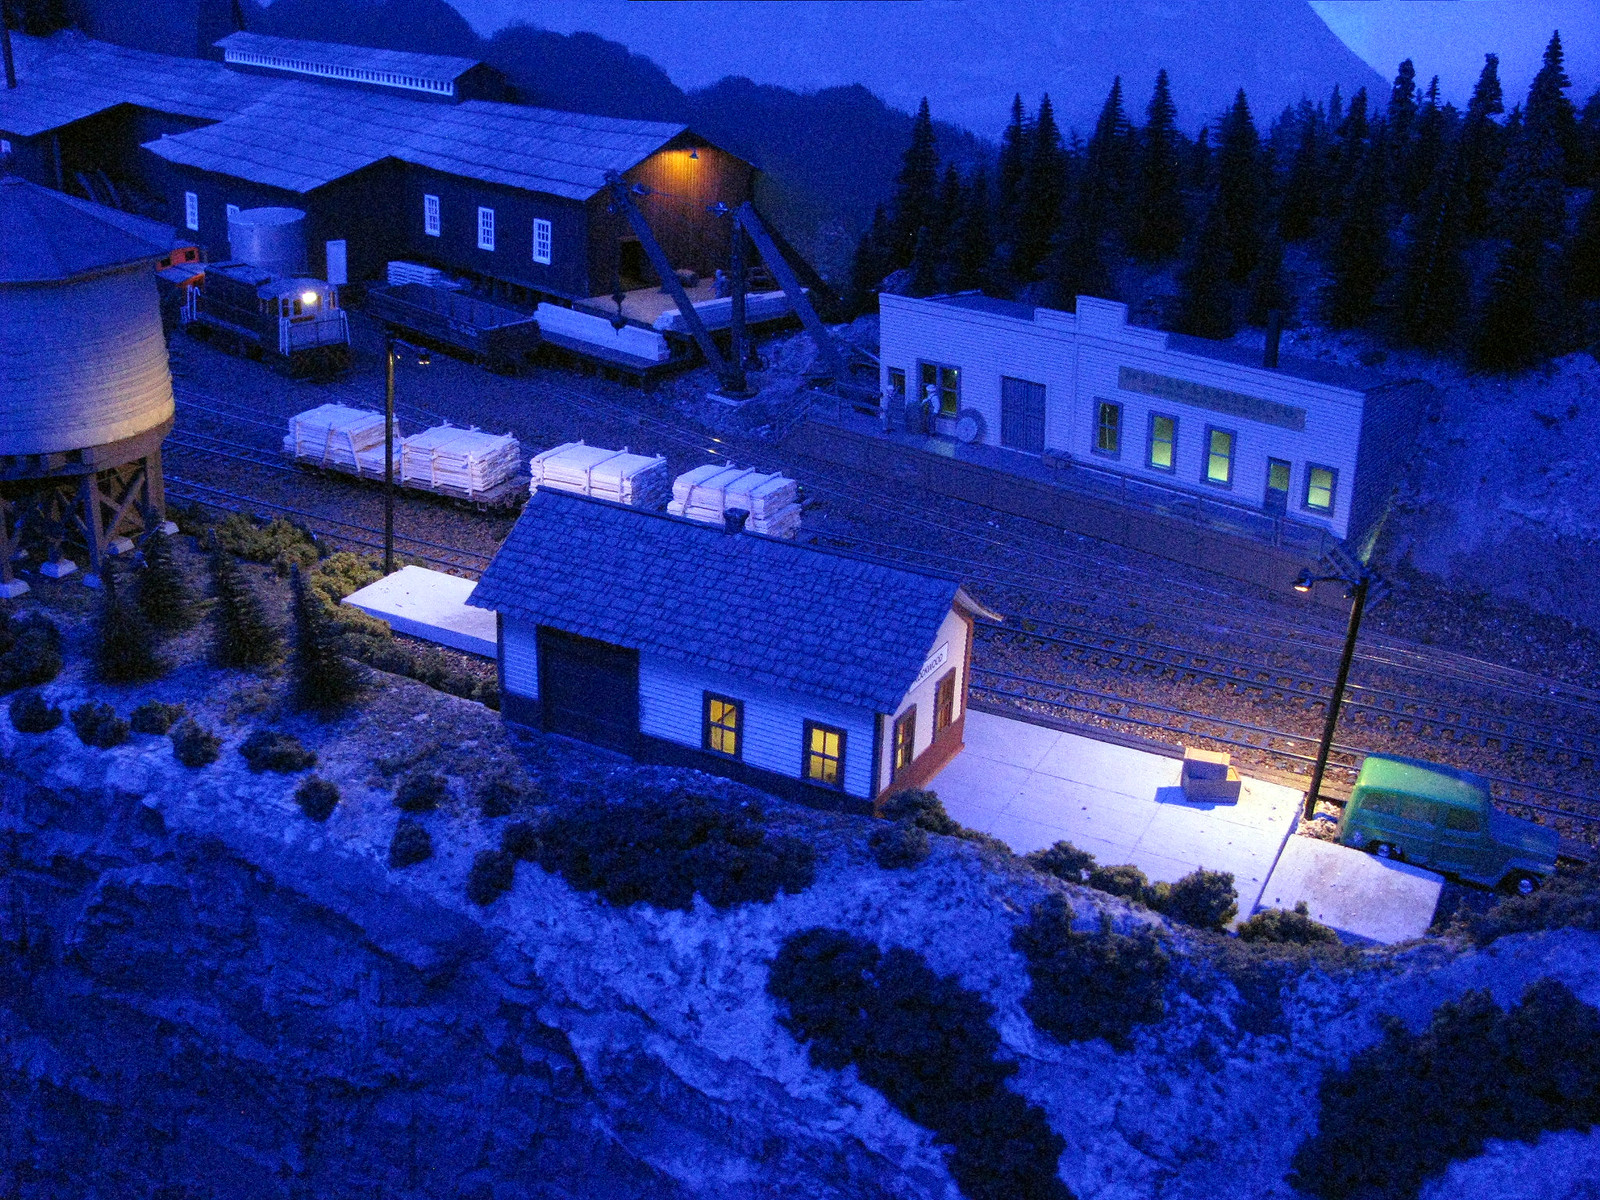
Rockwood has even more modern lights, which I will show how they’re made here soon.
That’s a great effect, Mike. Well worth the effort!
Mike
Mike,
Thanks, I appreciate your comment.[:D]
One thing I forgot to mention…I think what makes the lighting work so well is that the light levels from both the rice lights and the other lights I made from SMD LEDs (I’ll post more on those in a bit) are stopped down with resistance so that what they illuminate is just bright enough to see colors. Once you get beyond the pool of light they offer, then the overall blue from the “moonlight” takes over.
It’s so simple a thing to do, yet so effective.
I’ve taken to not soldering the resistor into the circuit for each light in many cases, just using a wire nut to hold my “best guess” for a resistor value, then adjusting if needed, up or down, once it’s on the layout. It works wonders.
I’ve always found that the “blue light” thing is really easy to over-do. Real moonlight isn’t really blue afterall. I use Evans Design “cool white” LEDs, which have a little touch of blue. I use one throttle of an old MRC dual power pack to control those lights above the layout, with the other throttle used for interior lights. That way I can vary both to get the right balance.
BTW Evans LEDs come with resistors and diodes already attached, so you can hook them up to AC or DC power up to 14-16V and they work fine. In a few isolated buildings, I’ve hooked them up directly to DCC track power.
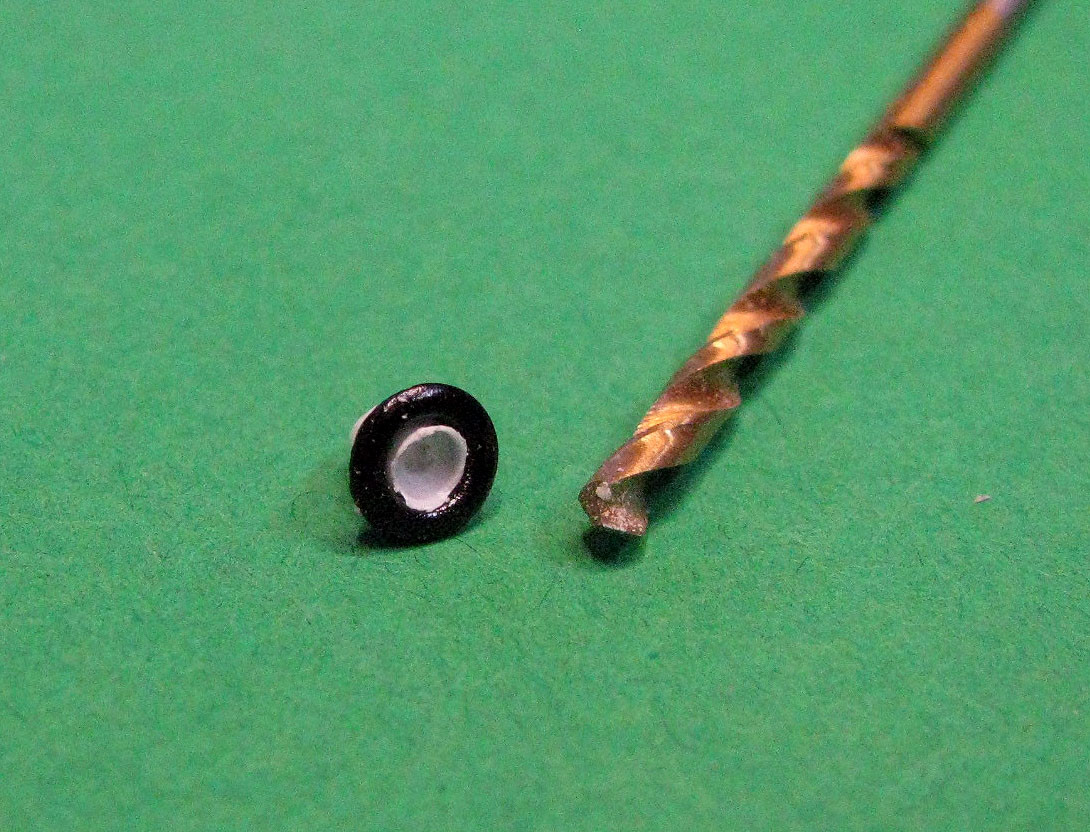
This entry is about how I made another, more modern-looking light using SMD LEDs from Ulrich Models/Richmond Controls. I found some small, black eyelets used for scrapbooking at Michaels. A piece of 3/32" styrene tubing is CA-ed inside it, flush with the end with the raised lip and protruding from the other end, which will be the top of the lamp. The protruding tube is filed so it’s round. The bottom of the lamp is then drilled so it forms the “lens” for the SMD LED to nest in.
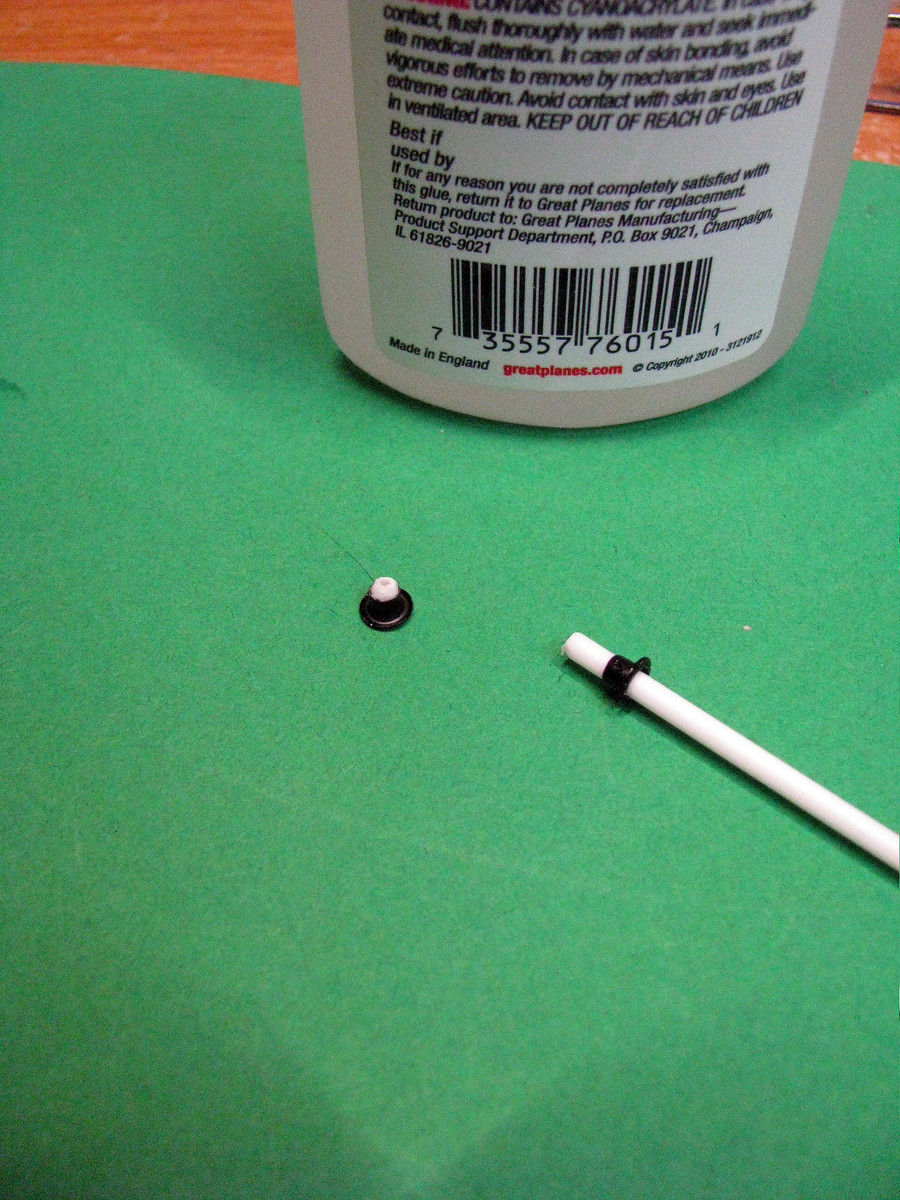
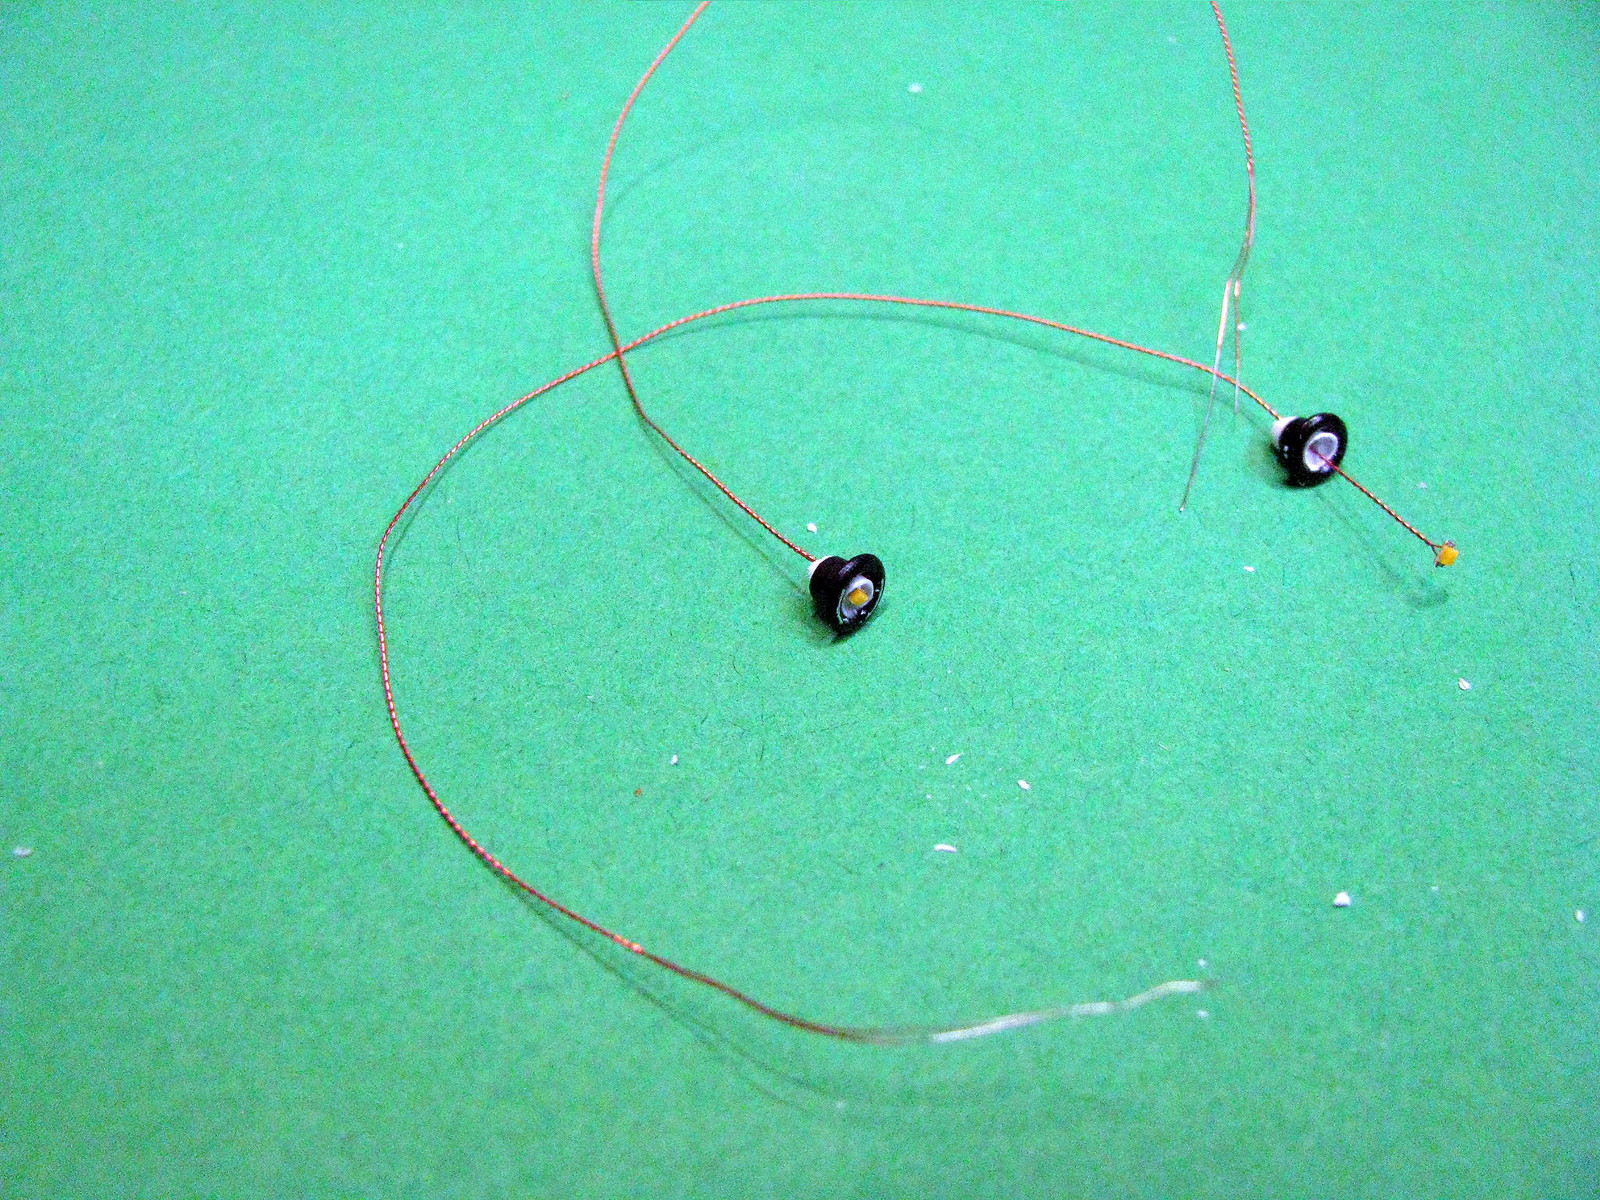
Next, I used canopy glue to fasten the SMD LED inside the “lens” of the lamp.
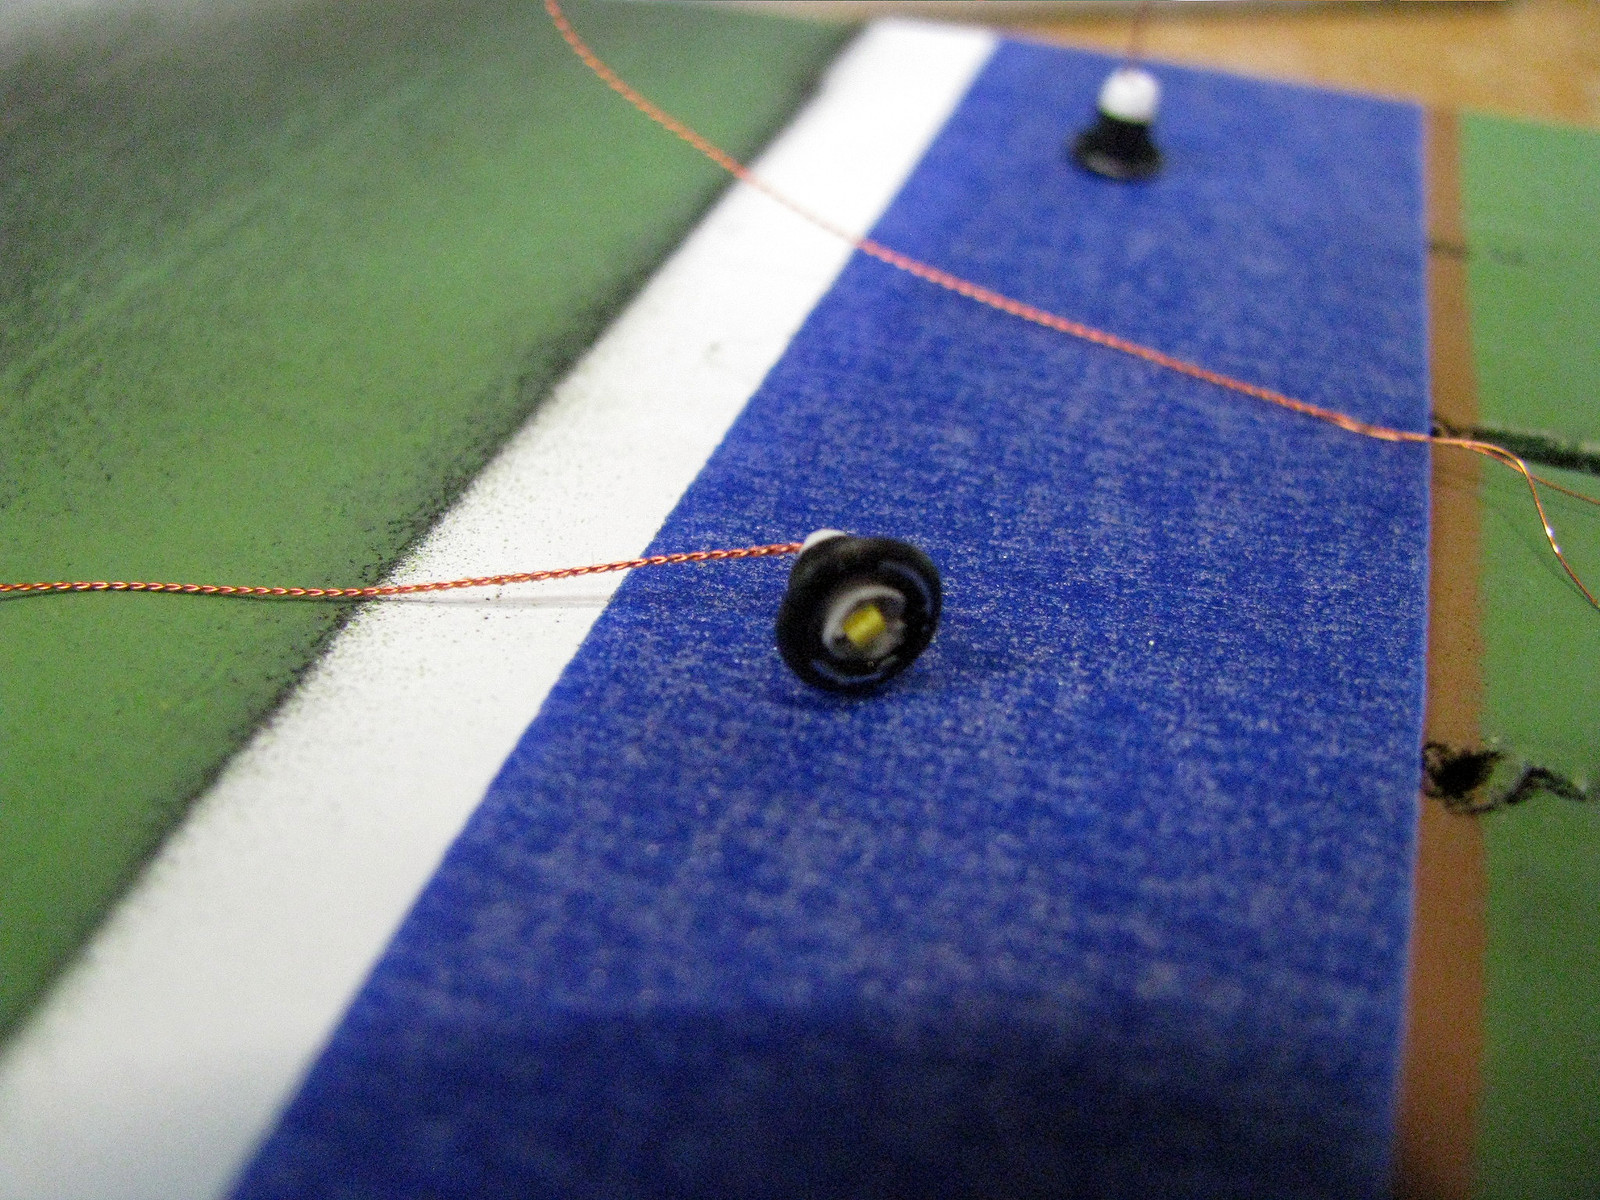
Using lamp “arms” salvaged from the Walthers billboard kit, I epoxied them to lamp, using tape to hold things in place while the epoxy set.
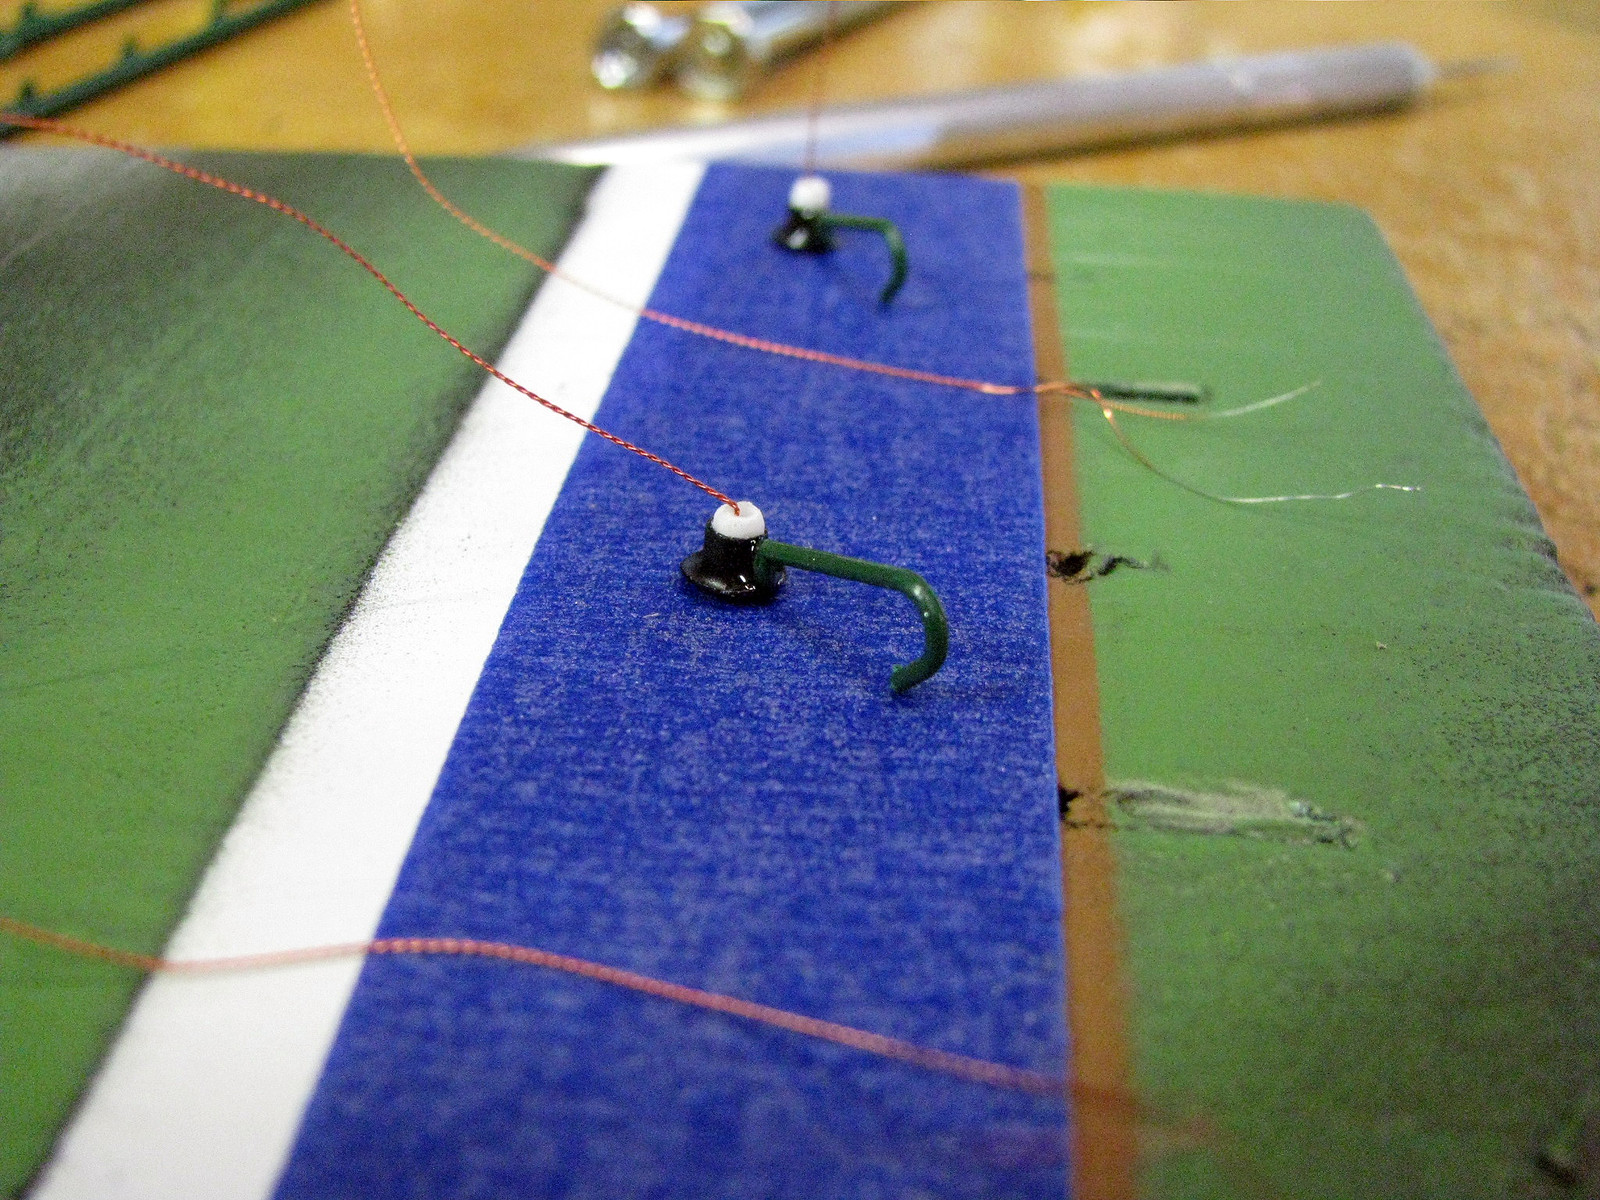
Using the 3/32" styrene tube, I cut lamp “posts” and glued the lamp/arm assembly to it. The wire leads were CA-ed to the top of the arm, then go done the tube. Paint the lamp and post, being sure to mask the face of the LED. I left the lens white, but it could also be painted silver before installation of the LED. Wire in the appropriate resistor and things look good. Here they are at Rockwood. I may still tone them down with a little more resistance. They have 100 ohm resistors in this pic.
Stix,
Sorry, missed your comment the first time around…
Yeah, the blue thing is a matter of taste. I like it myself, so it works for me. An important component is that that the new LED lighting is partial spectrum UV, so that helps with doing sky effects. I’ve written that up here: http://cs.trains.com/mrr/f/88/t/228359.aspx
Some folks use the flourescent effect to paint in lit windows, etc, but I confine that to sky effects. The exception are the tiny markers I make from beads and pins to designate the Normal position for turnouts, where I put a tiny dot of paint on top so it’s visible at night.
I could see adjusting the brightness to balance it between the overhead light and building lighing. My problem is the extent of my lighting, which is pread among at least 4 power supplies. I suspect that you’re using blue lamps, as I’m pretty sure my blue LEDs aren’t dimmable (although they are starting to be more widely available)? In any case, I have set brightness to the overheads and adjust building lighting to match it as best possible. Just got done adding another couple of strings, because Silverton was pretty dark toward the back, so you can make adjustments.
A couple more recent pics…
Some more pics at night from around the layout.
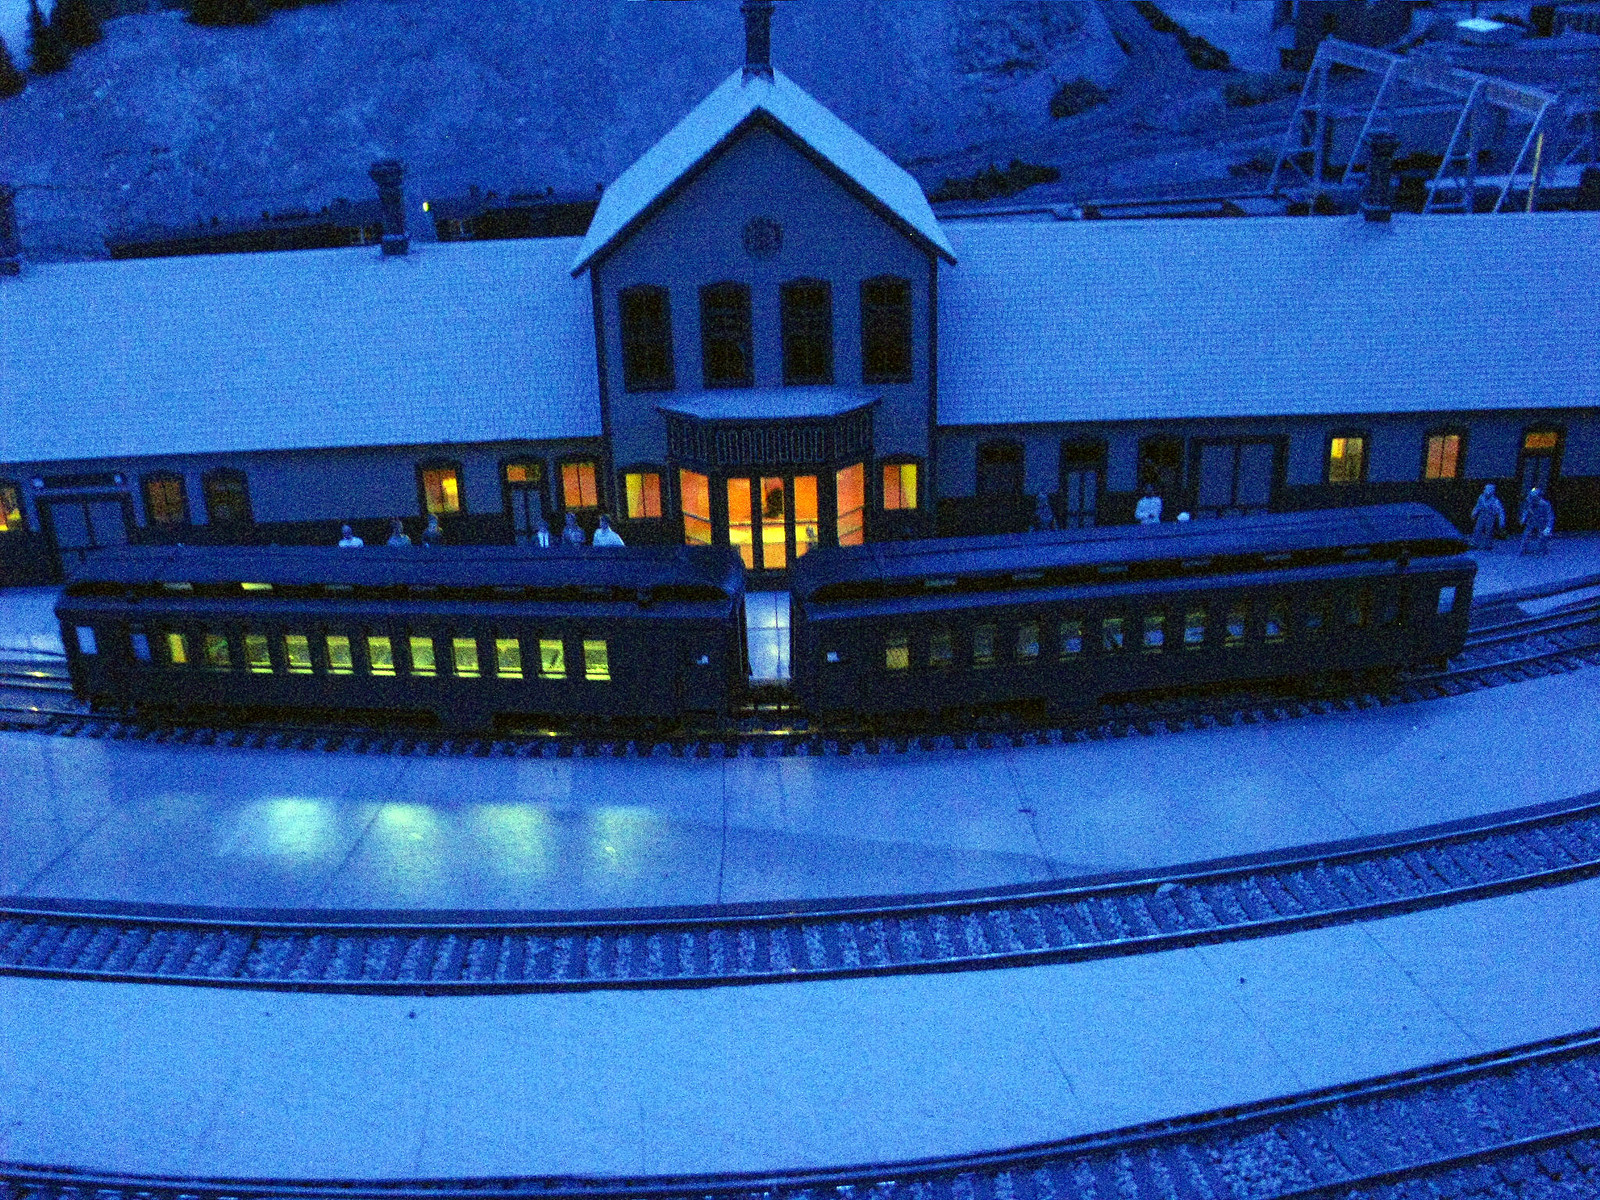
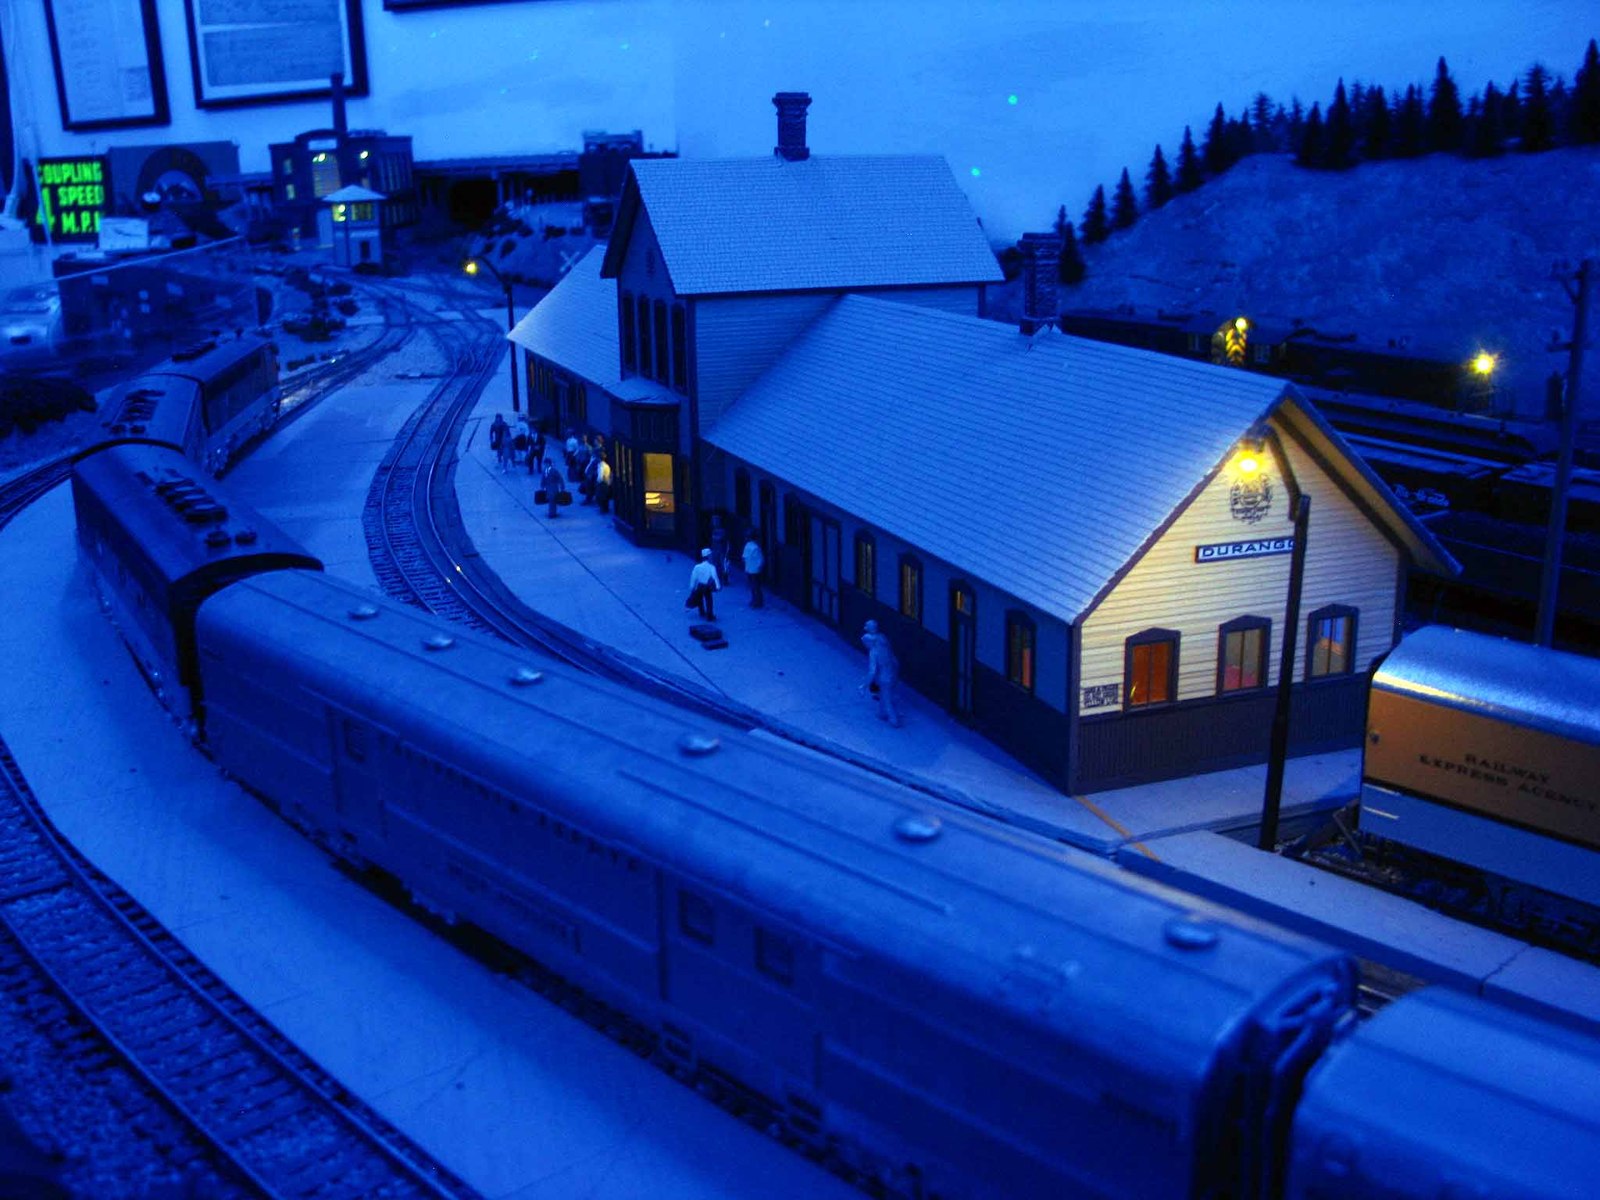
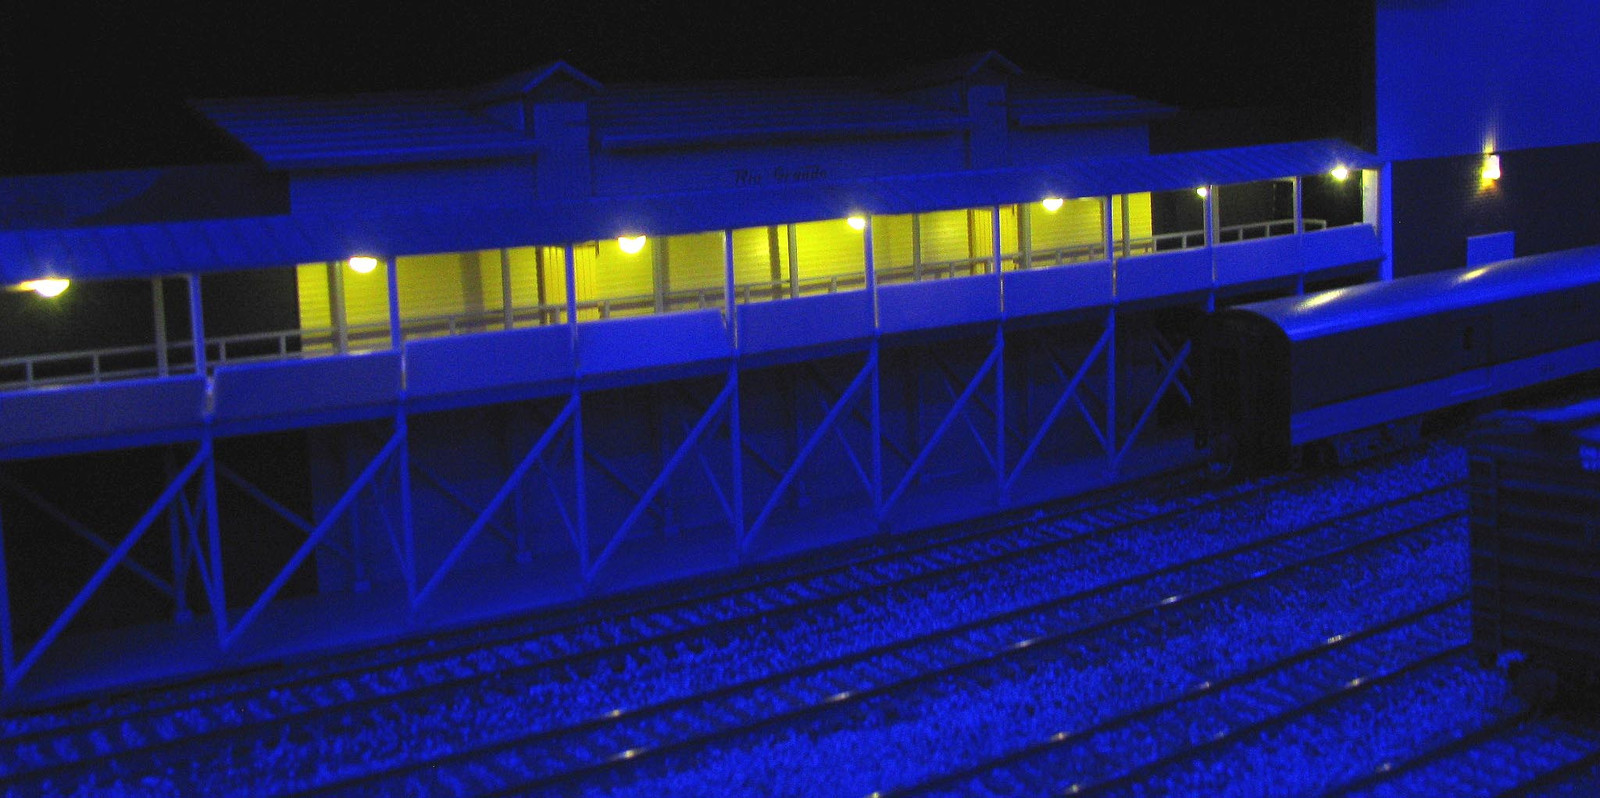
New platforms light at Durango station.
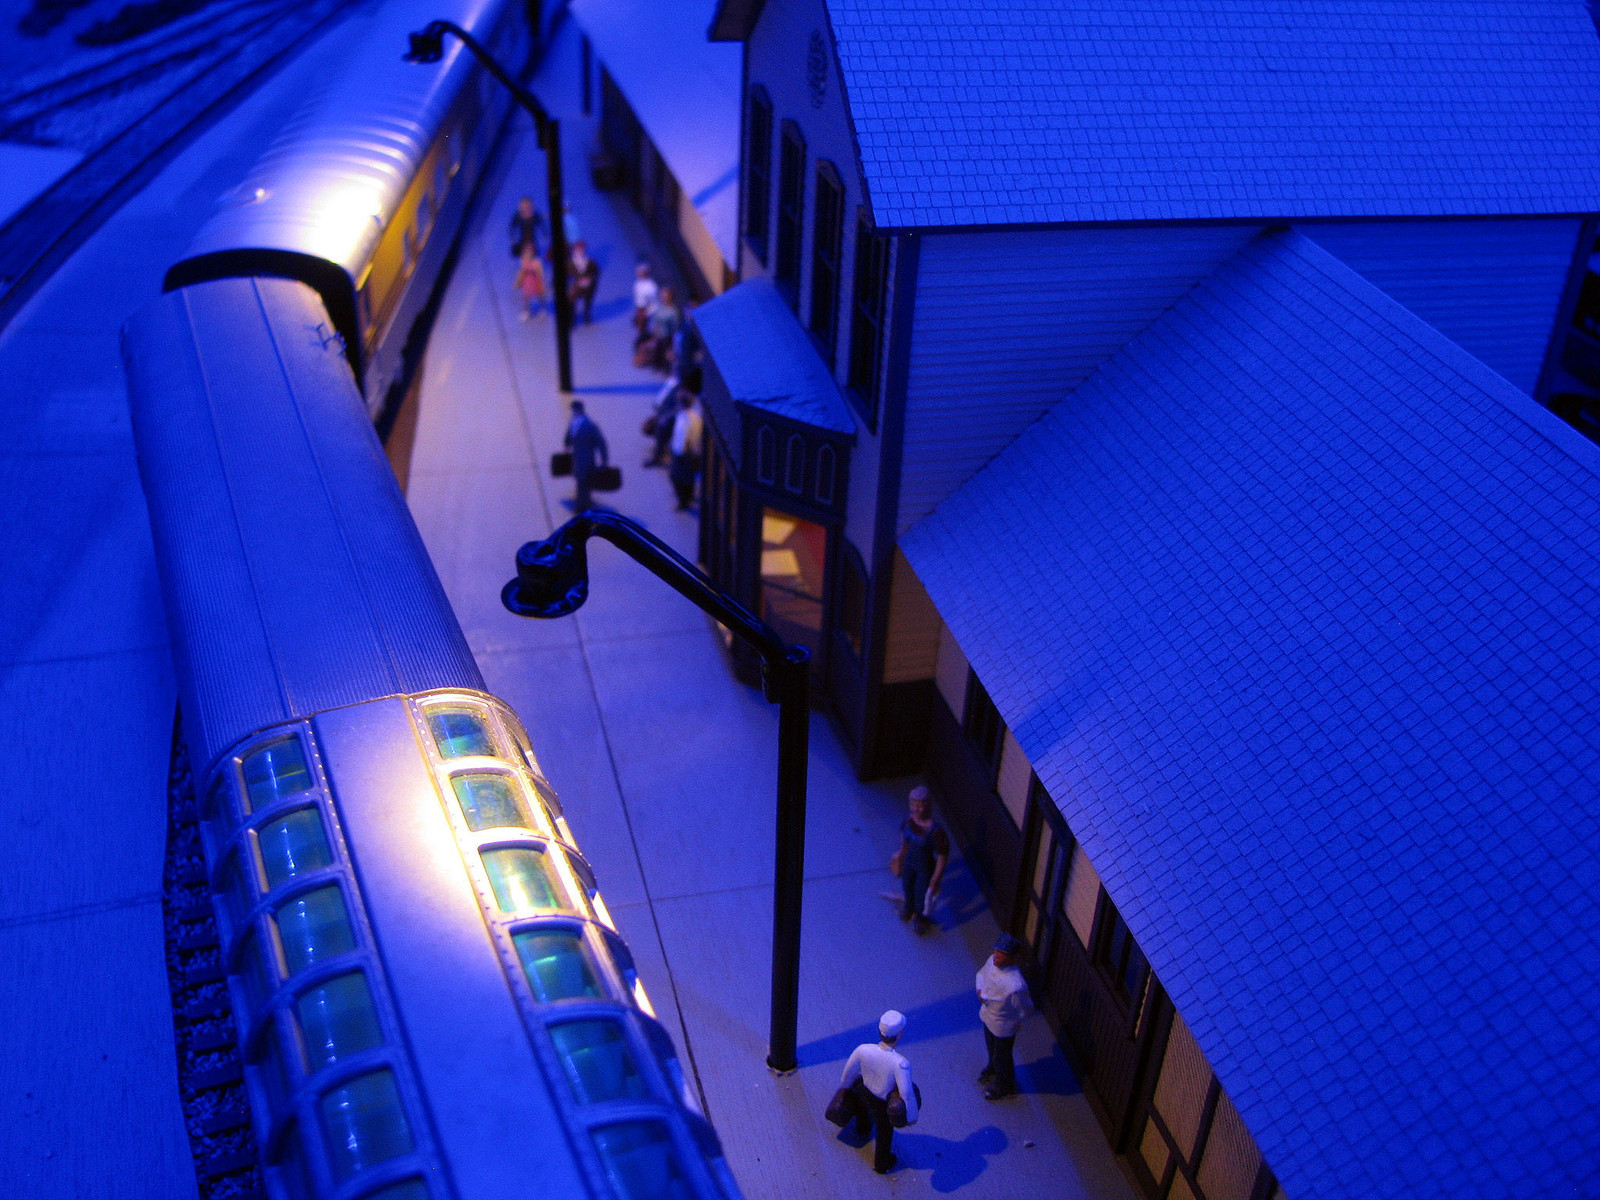
A low angle shot.

Unobstructed view of the station with nice pools of light pushing back the darkness.
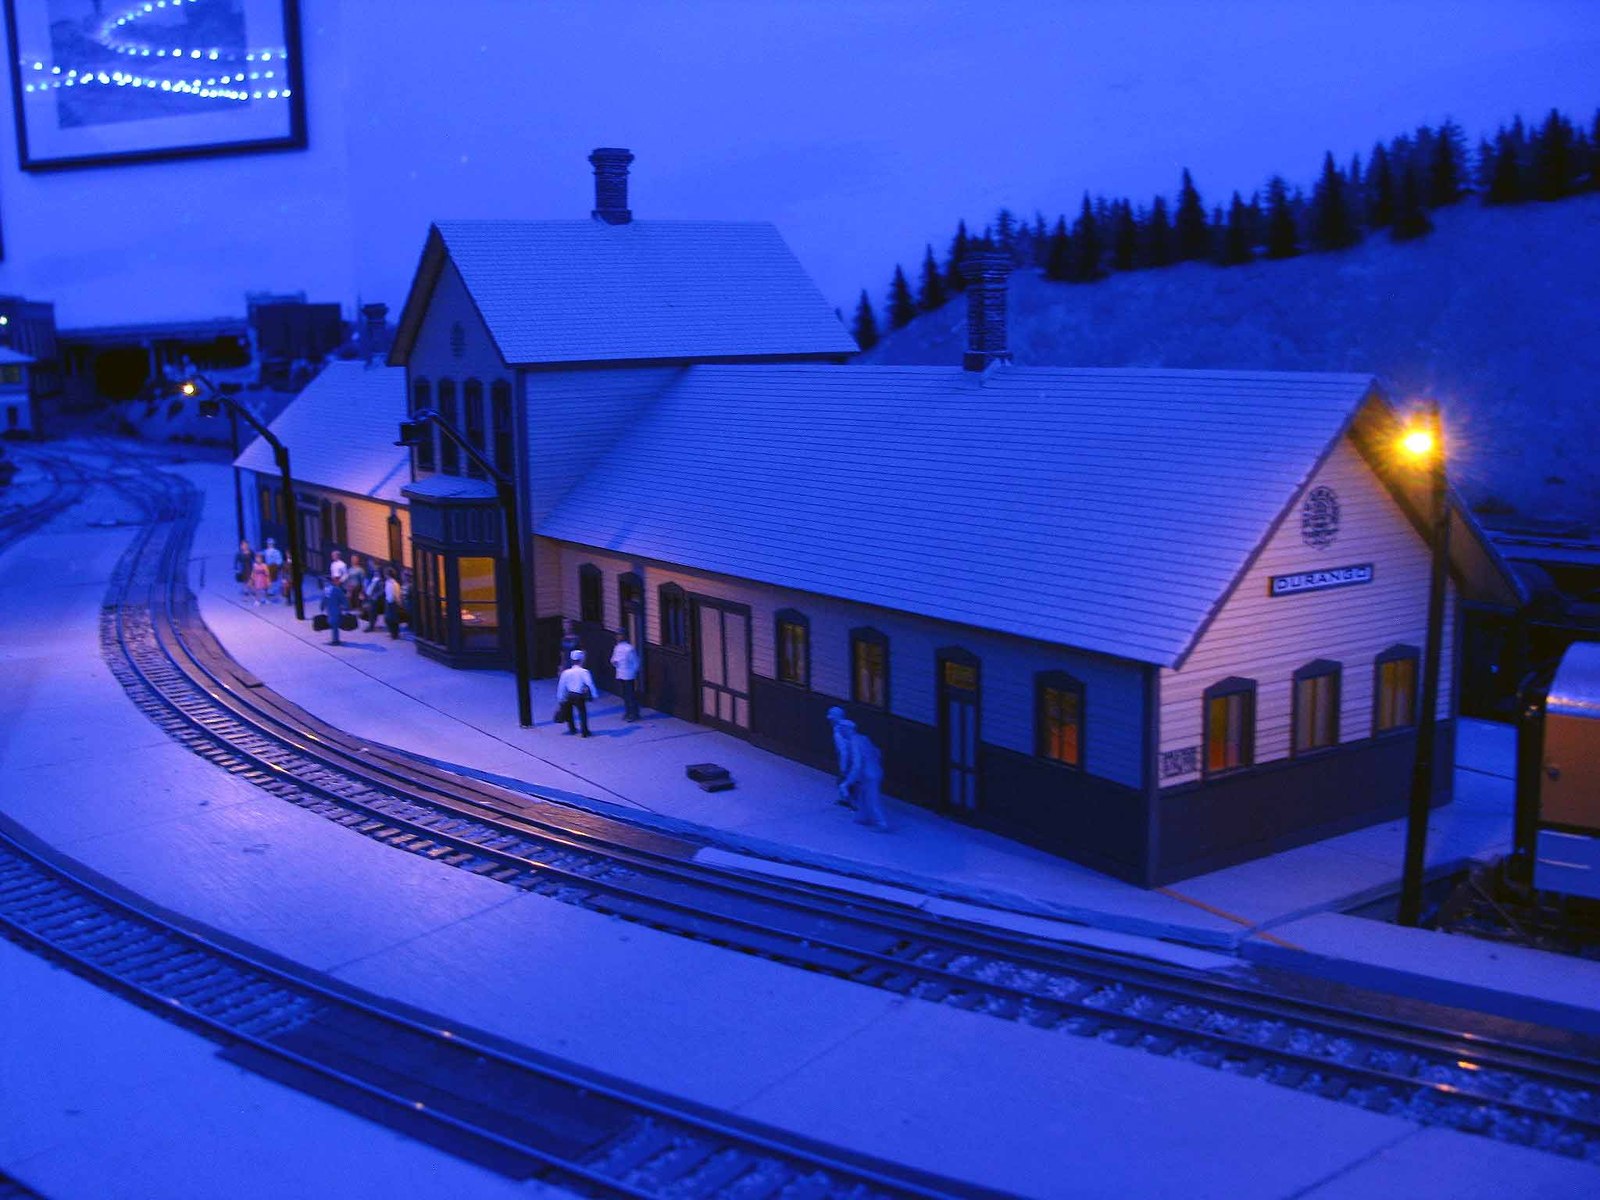
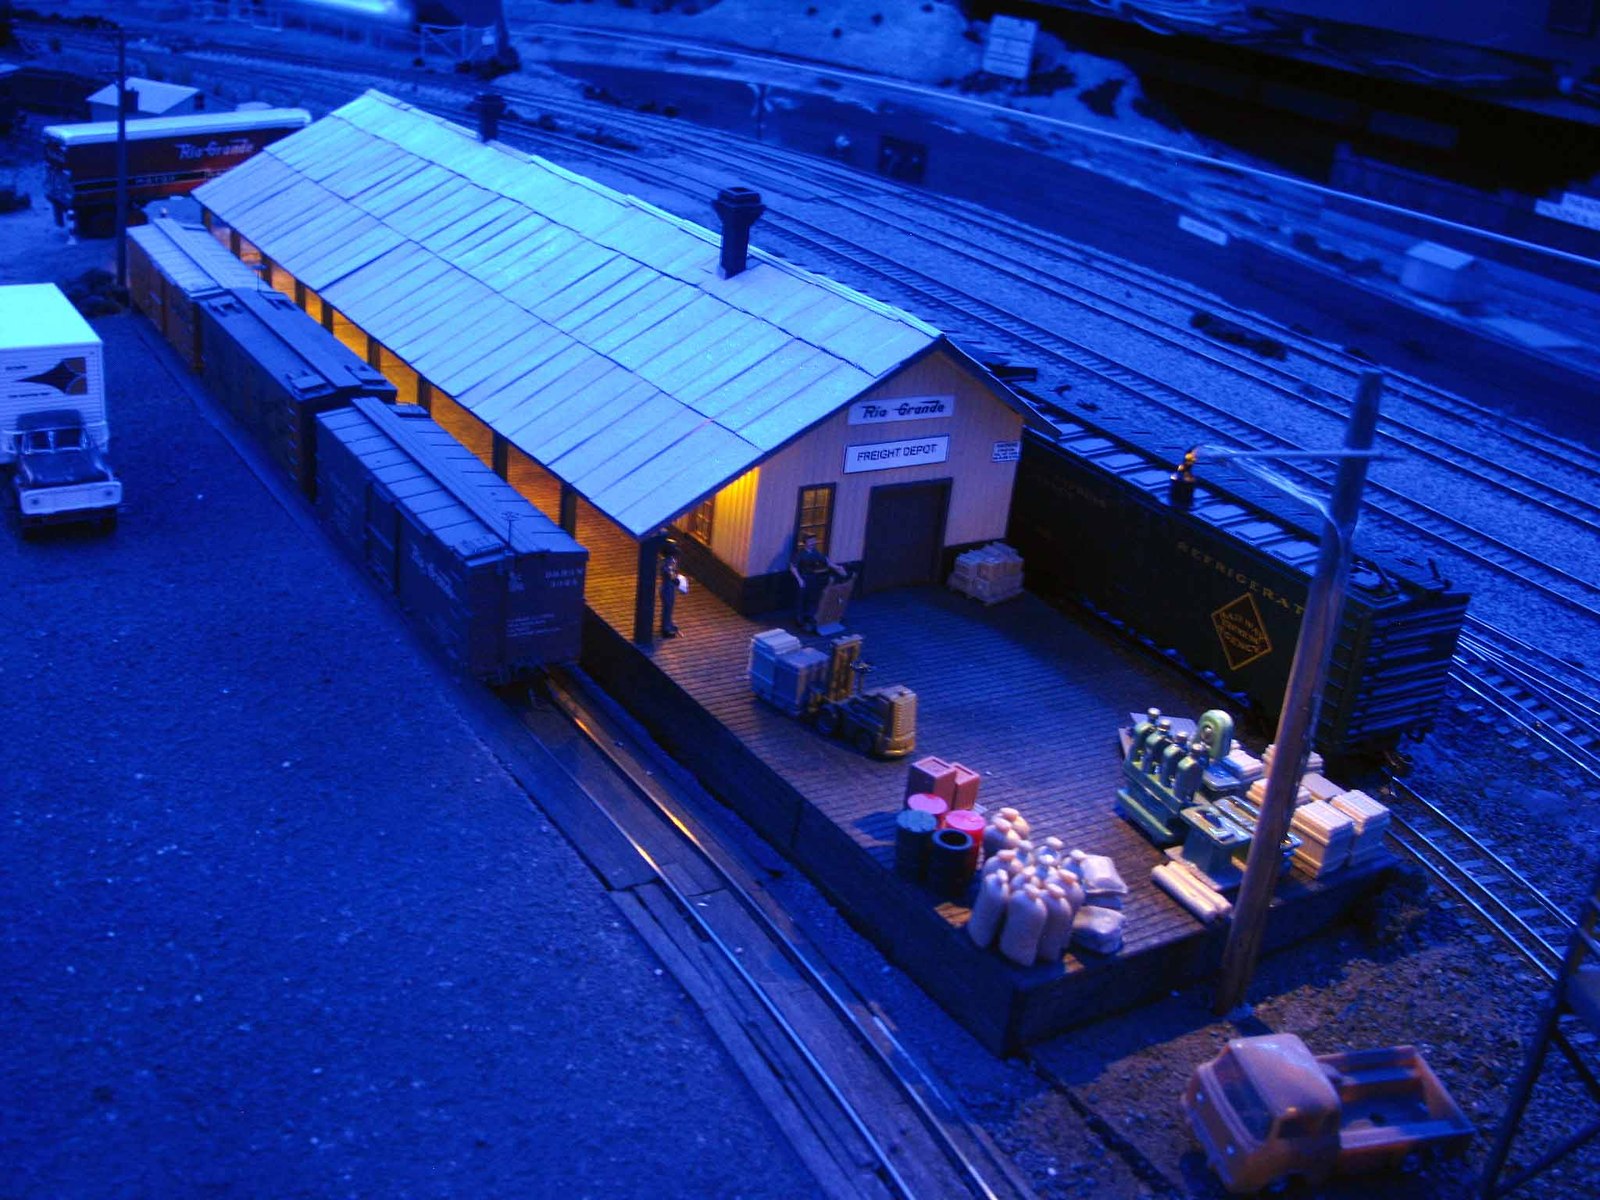
The Durango Freight Depot.
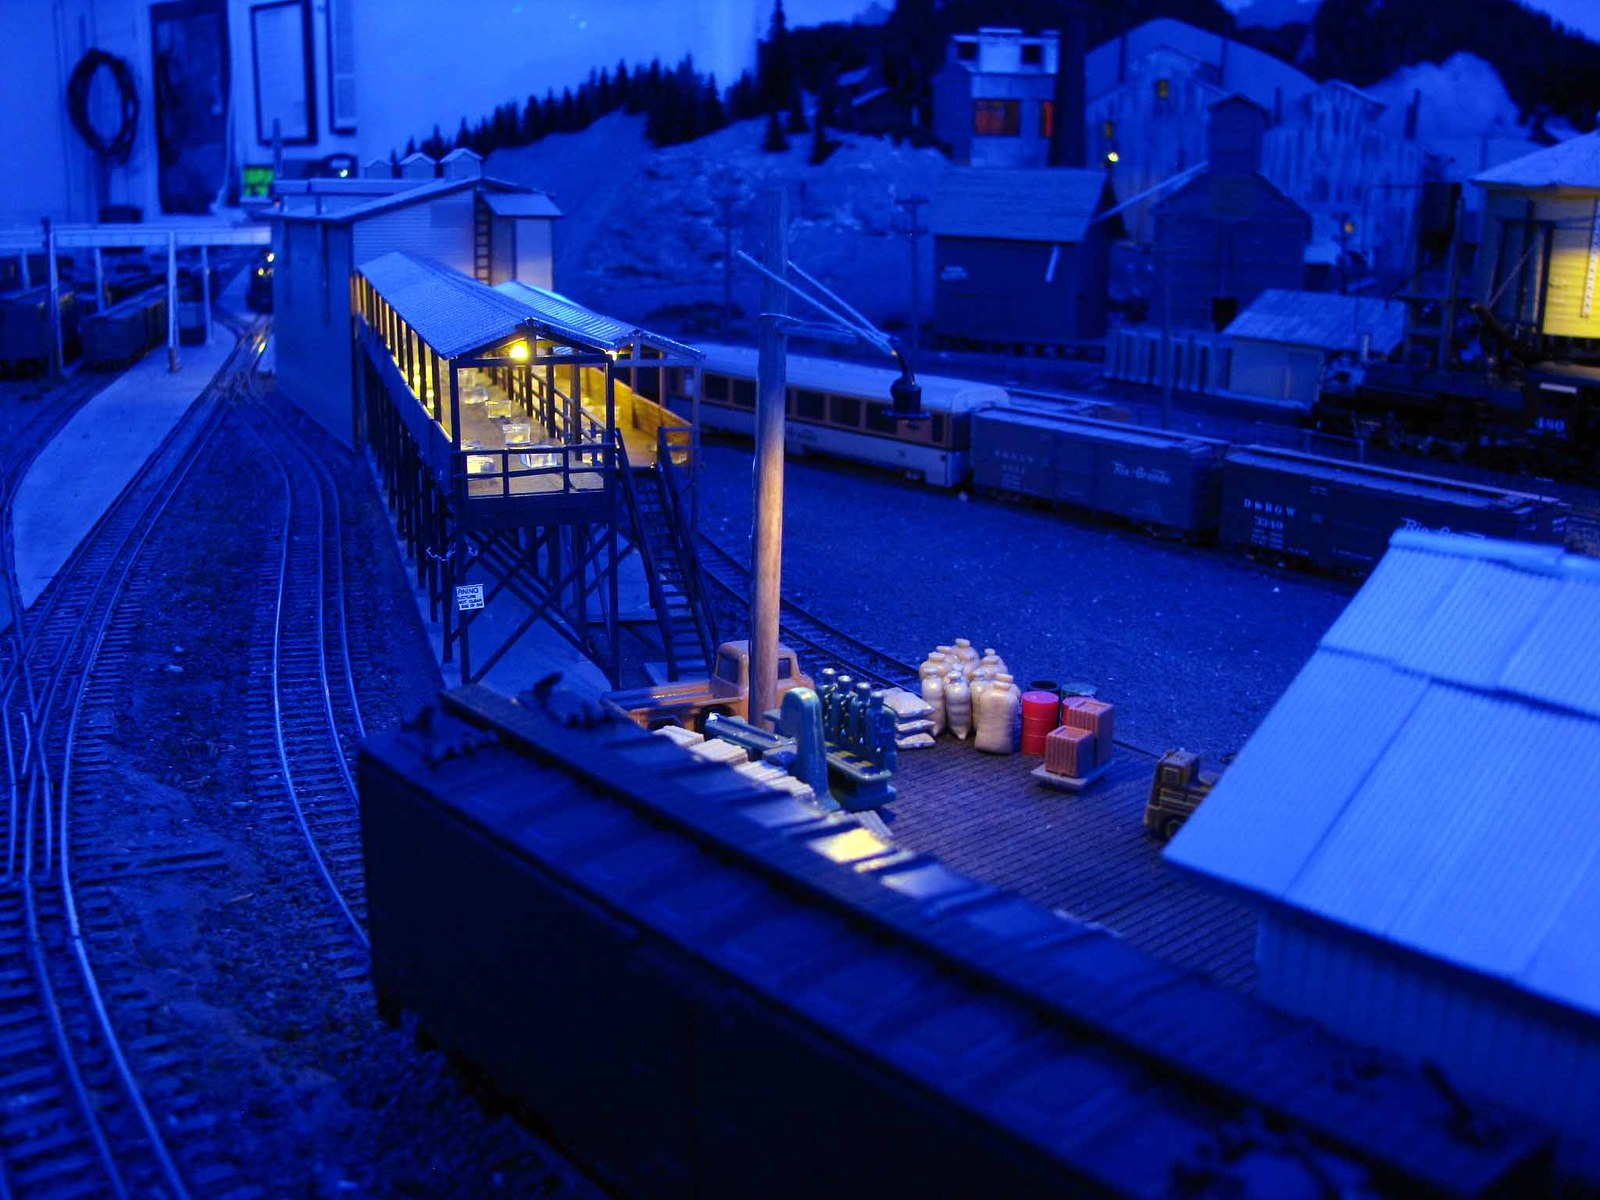
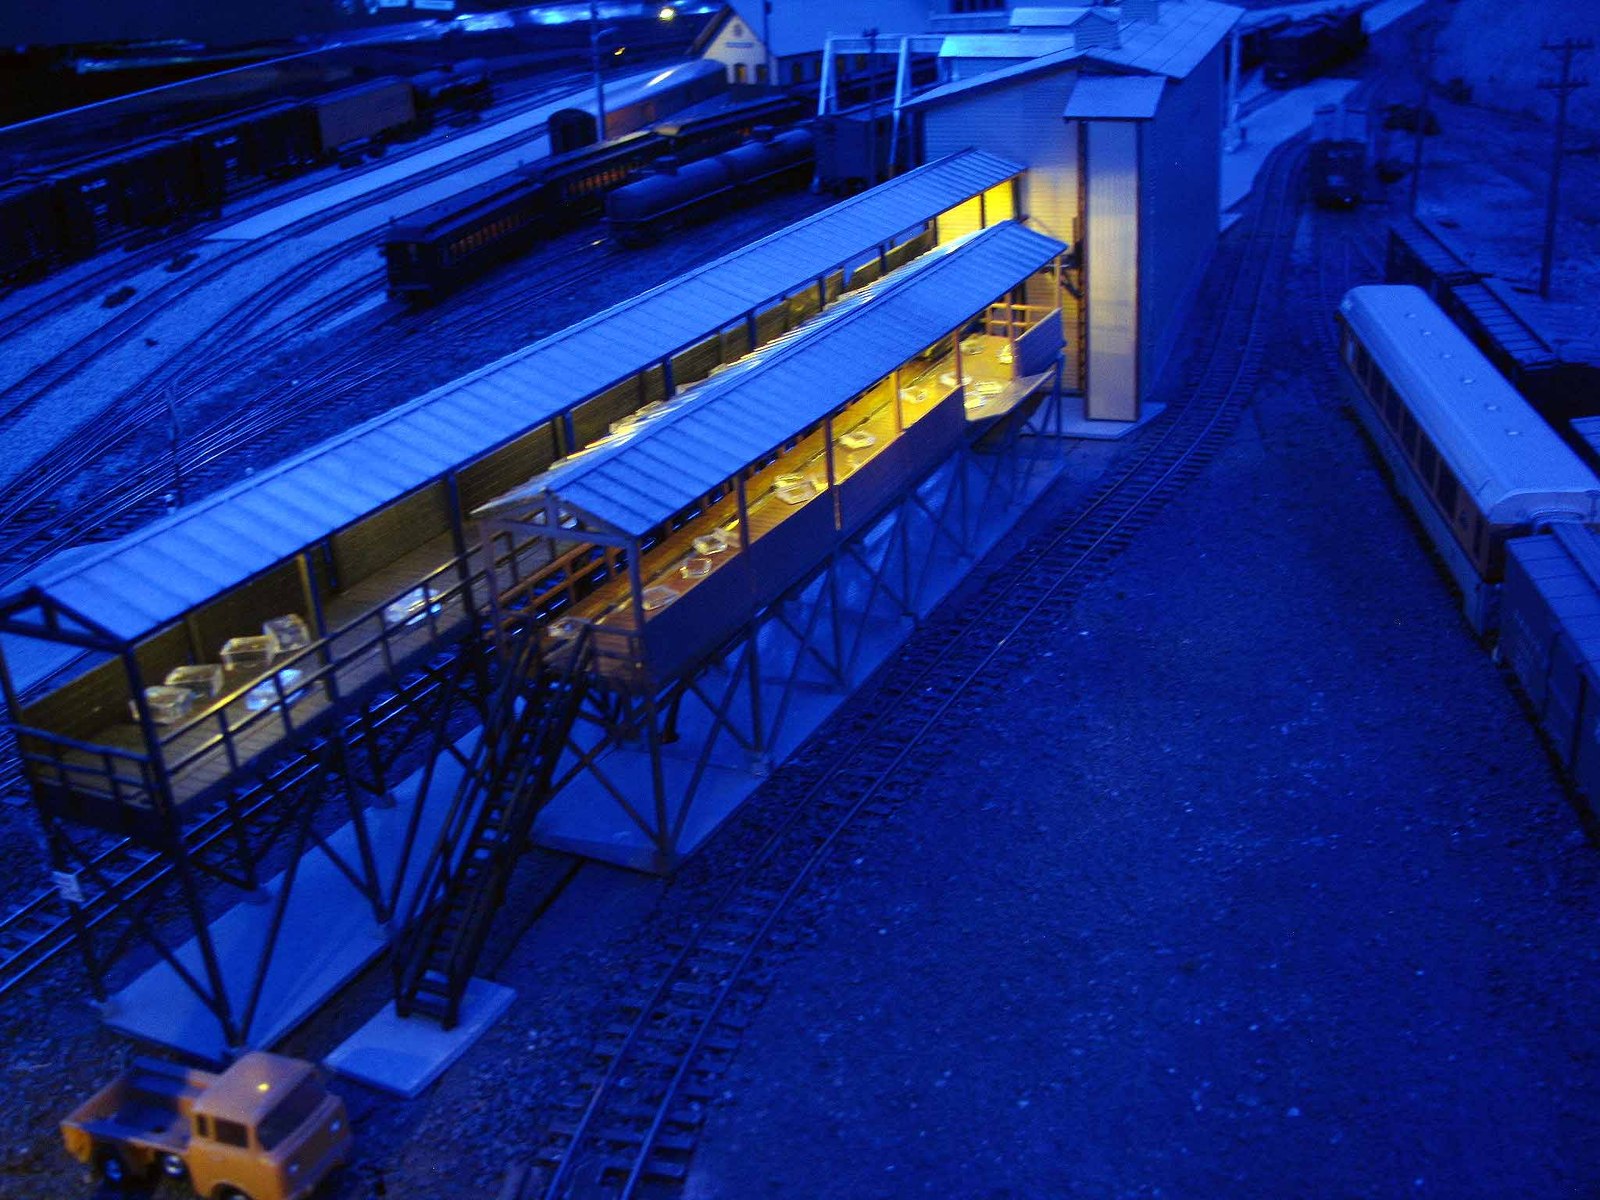
The narrowgauge side of the icing dock, along the freight house NG lead.
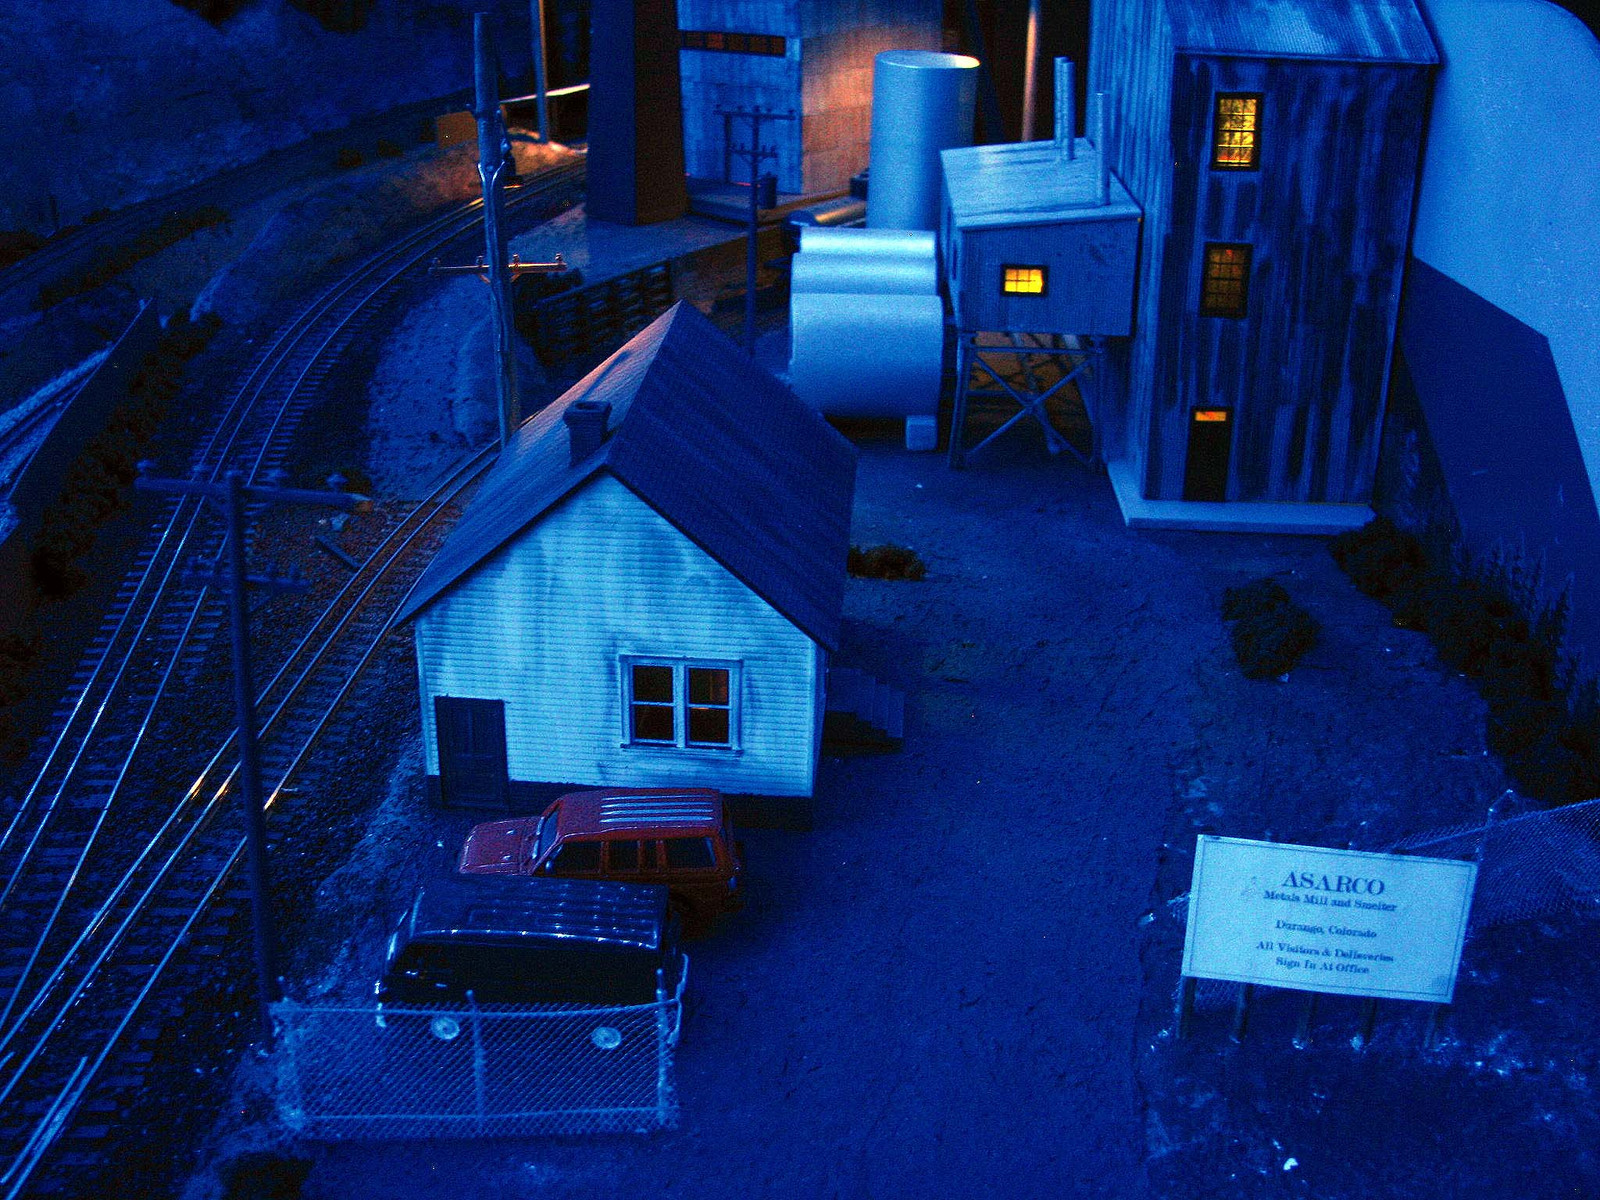
A night view of the new office at the smelter.
Time for an update on The Night Scene. Note that I often submit Night Scene-worthy pics to the WPF thread here every weekend that are different from these – at least I try to not repeat any without a specific reason to.[;)]
So here are some of my recent lighting installs around the layout. They get easier as you go as you place the infrastructure, the wiring and power supplies, around the layout.
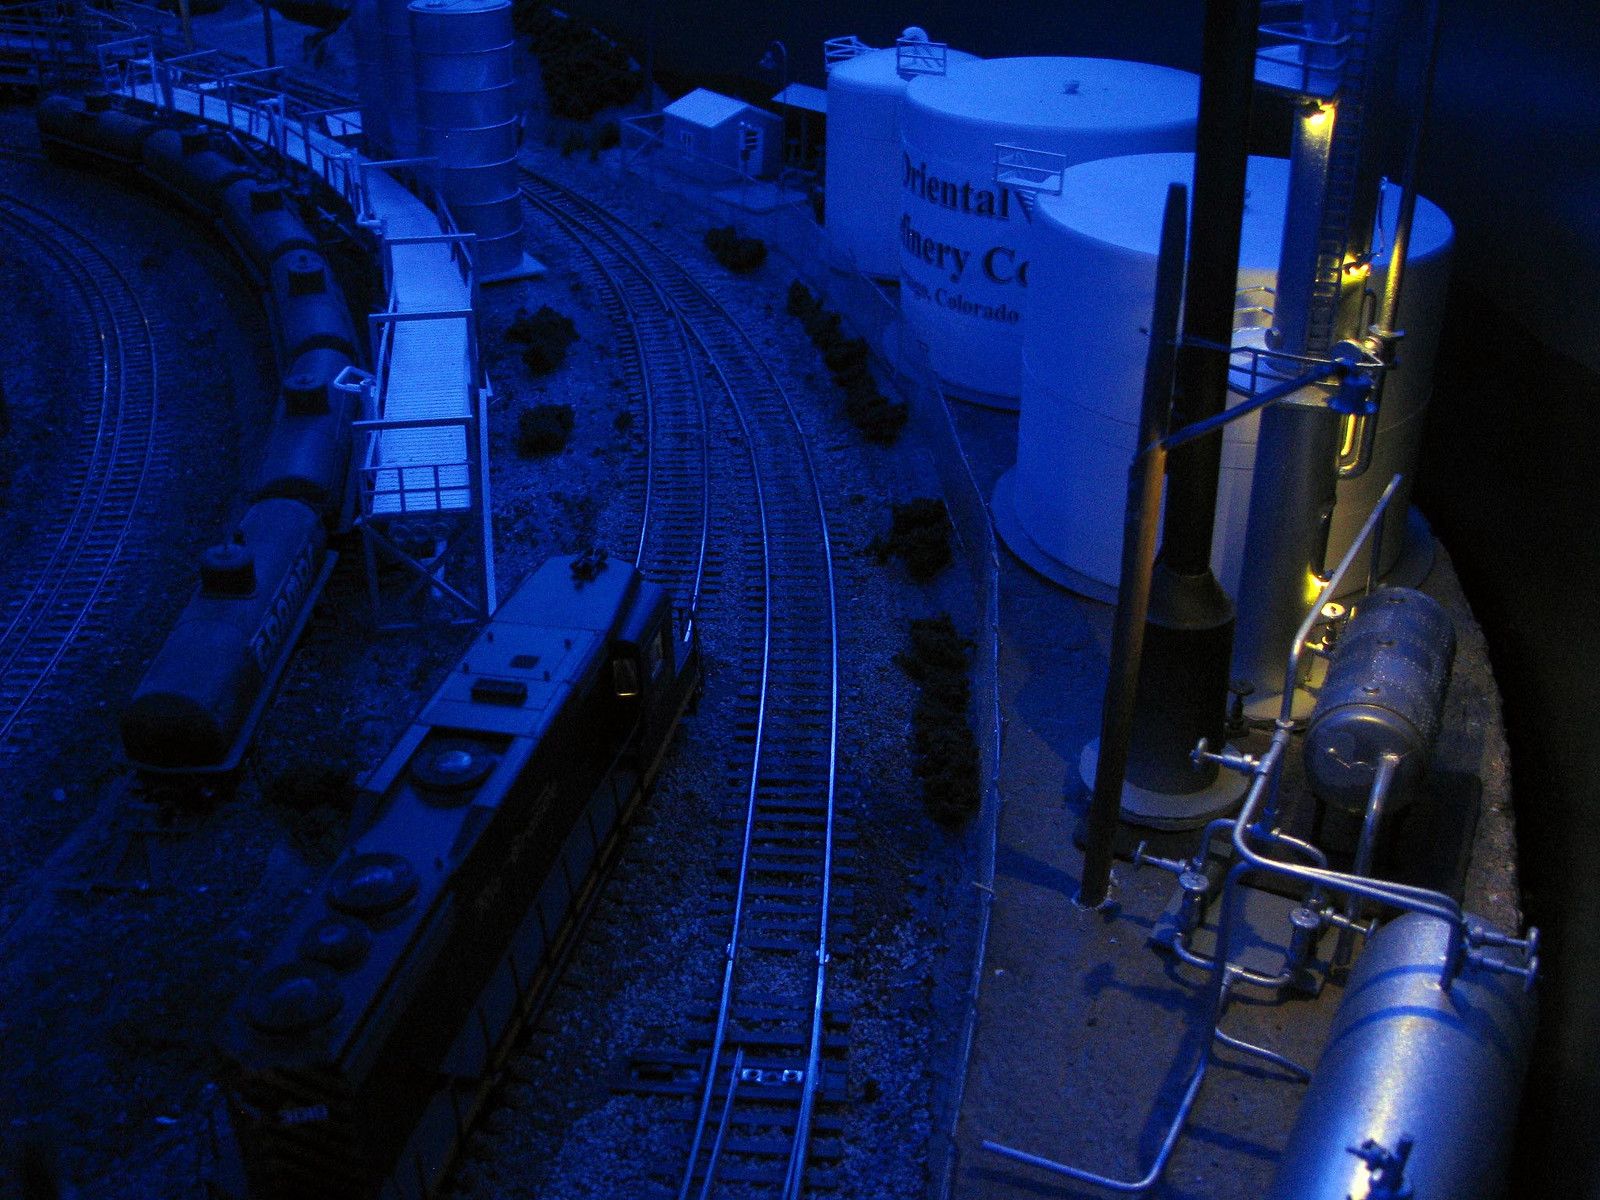
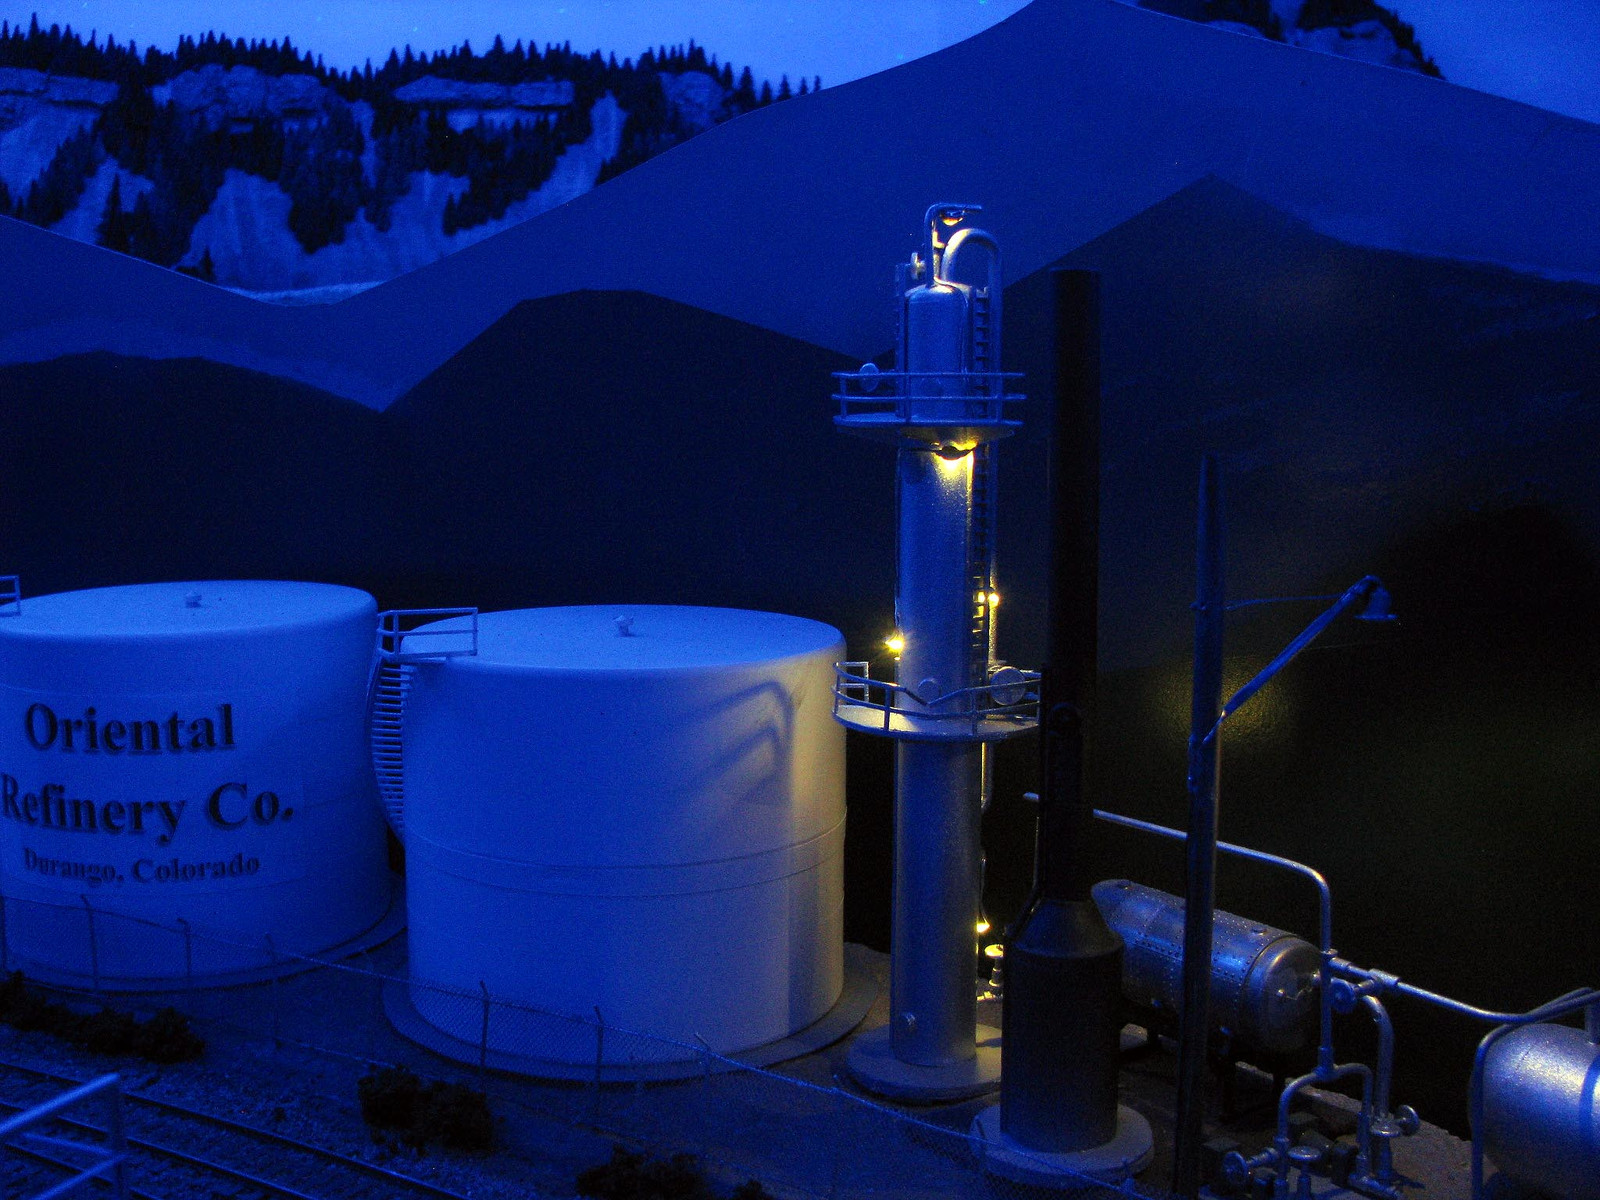
In Durango, the Oriental Refinery was lit at my wife’s suggestion. I used a section of the rice lights and wound them around the fractionating tower (or whatever it is called.) I twisted the LED so that it would point toward various valves and light up the ladders and platform. I wound it around the structure from topto bottom, tacking things down with CA. After getting the lights on, I used liquid elctrical tape to apply the light’s “fixture” by carefully painting the top and a little of the sides of each rice light, it blocks the light in such a way as to create the impression the LED was in something that focused the light in a certain direction. I then used aluminum paint to cover the black of the “tape” so that everything blended together. It’s a 3-foot model that looks good during the day and great at night with the lights on.
Added more pole-mounted lamps at several places. Here’s the Silverton Electric Co-op’s light.

The Dove Creek icing platform
The icing platform, with the warehouse next to it. The warehouse lamps are simply an LED with the leads bent at 90 degrees, pushed through the black foamboard, where the wiring is carefully solderd on (remember, it’s foamboard[swg] if you
Thought I should include a link back to my thread on adding stars and other objects to your night skyz;
http://cs.trains.com/mrr/f/88/t/228359.aspx
Here’s a sample.

WOW, Now that’s a really cool night scene(s).
Thanks, Chris.
Sometimes I write a bit sketchy late at night, so if anything’s unclear let me know. I also have a lot of leads on different aspects of structure and car lighting, so may be able to help or suggets where to find it. I am no electrical expert, that’s for sure, so with a little work all these effects can be obtained.
I’ve not posted much here recently, so how about a few that aren’t up elsewhere…
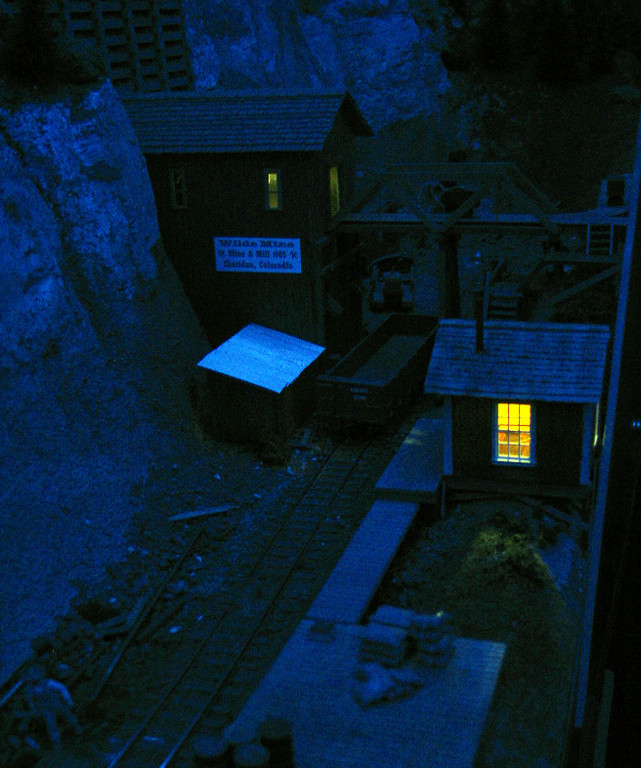
That’s the Wilde Mine at Sheridan. The new office is kinda bright, so may still get toned down with some more resistance and a strategically placed shade or two in the windows.
The next one is the dock at Thompson’s Wholesale. This was done with some lights like the Rice Lights by Starlite Creations.

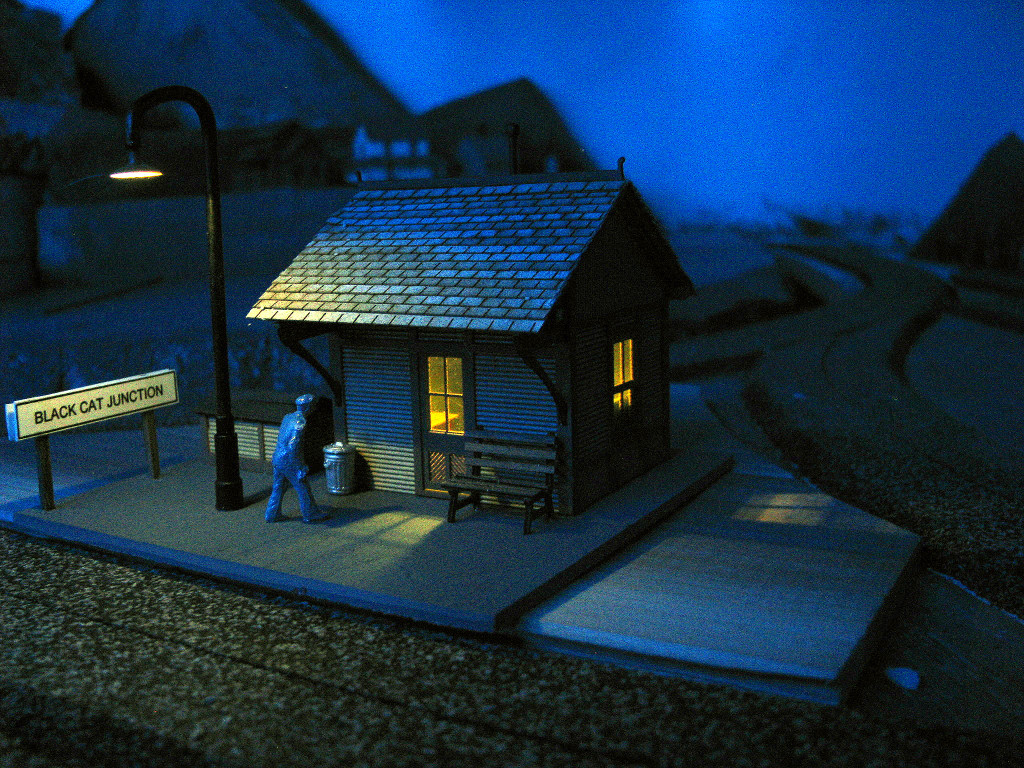
Finally, the still mostly undeveloped station at Black Cat Junction, up on the Cascade Branch.
You should write an article.