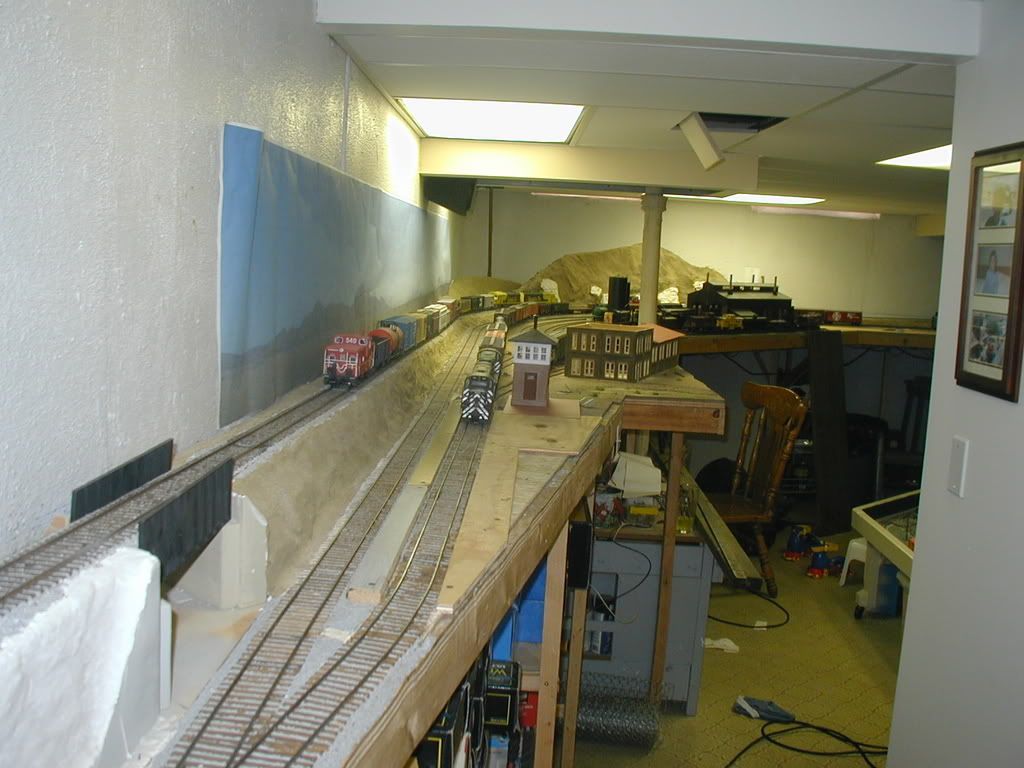
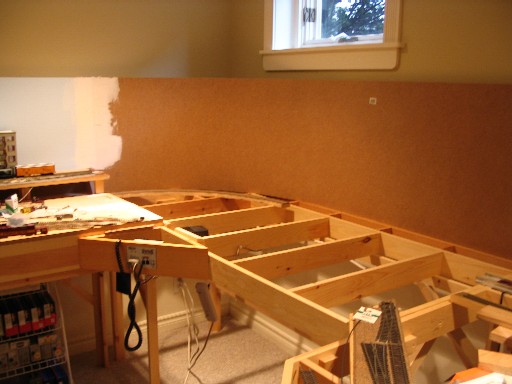
Looking at my posted pictures really shows how important a backdrop is. So I threw in a temporary one just to see.
I’m doing my backrop last since it will be a digital pic background. I don’t want to get plaster and paint on it. This is a sample that I plotted on my company’s plotter. The finished product will be 18"x50’ in this area. I took the pictures myself of the actual towns that I am modeling.
So anyway that is why the backdrop looks a little creased in the pic.
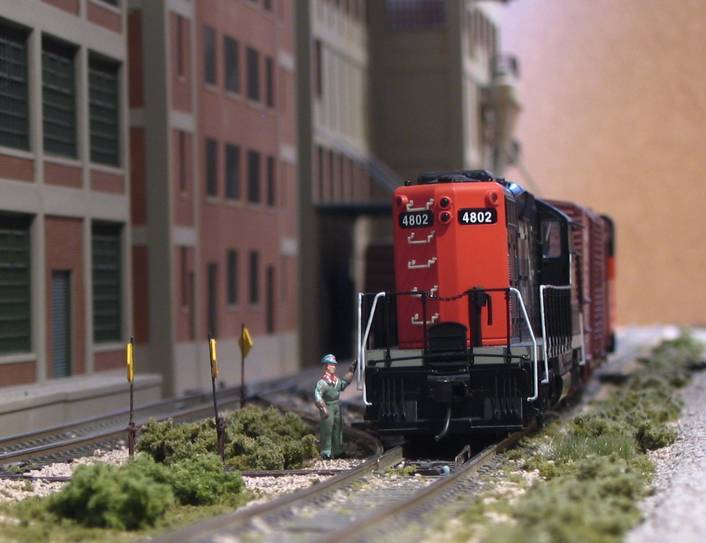
Also, for all the naysayers that say you can’t take pics of your locos with lights on unless you have DCC, here is proof positive you can do it with DC. And no the engine is not moving. It is equiped with constant lighting. As you turn up the power, the light comes on full bright just before the engine starts moving.
Hi Talon 104 , Your picture of the sawmill came out clearer than mine did. I have to weather the “cone” a bit to get rid of the shine The “water” in the pond is Magic Water, poured over a painted hydrocal plaster sealed base. Most of the logs were placed in the pond before the “Magic Water” was poured in. I added a planer shed and storage sheds for rough and planed lumber, as well as sawdust and wood chip hoppers. The pond and sheds are supported by runners, so that they pull out horizontally, to give me access to the switches in the rear. To the right, is a log car dump shed, located on a spur track. Bob
Looks good Bob, Where did you get that cone?Sure took me for a sec, looks just like a nose cone off one of the jets I work on. Looks good like the water effects with the logs in it,
Well, I havent been doing much with the layout in the last week or two wife was in the hospital again ,and just got done with a ORI inspection so, things have been busy. Worked a little on the river this past weekend trying to add some rapids and such.I still need to finish it a little more detail I feel , Everybody has some great work in here as usual!!!
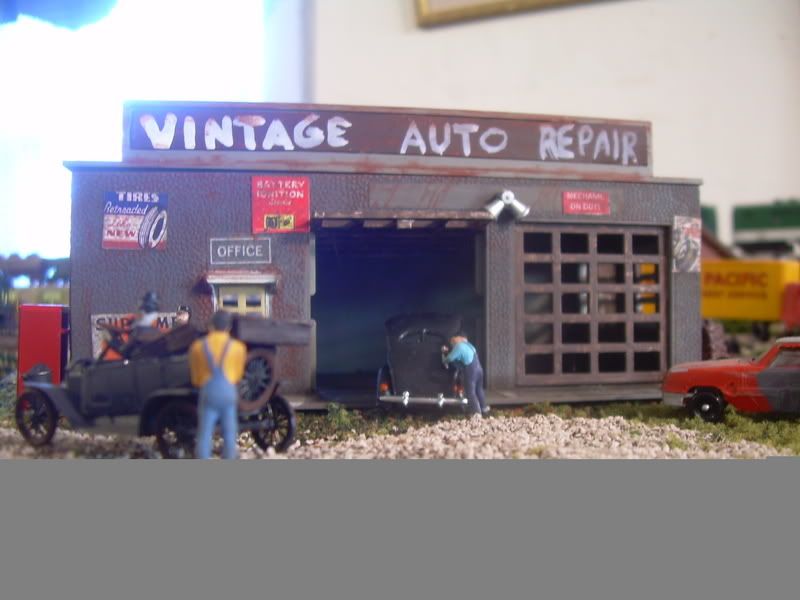
Great lookng pics guys. Heres my latest weathered creation this week. I added the wooden floor to it. Kinda cover up the plastic. Makes it look more realistic. This one will probably go on Ebay. I am really enjoying the weathering part of the hobby. Its amazing how they improve, by how much you work and work on them.
el-captain, I see someone has already asked and you replied. I could tell those were no commercial turnouts I’ve ever seen. That waviness looks very natural [tup] from pictures I seen of real track work.
While I appreciate the fact that nobody came on here bashing me for having crappy track work, I needed to change it for me. The funny thing is I laid that track 5 years ago and there were 2 switches there that parralleled the edge of the benchwork. I reconsidered the track plan and decided to take both of those switches out. I did this 3 years ago. I never, not once, noticed it being wavey in the past 3 years. And I walk by this atleast once a day. Then the day I post a pic to the web is the day I notice it. Oh well. Here is the revised pic:
Another thread asking about historic gasoline prices, encouraged me to post my Texaco station. The ore train has my new GN GP7’s (Atlas).
As info. my layout is HO. The background houses are close to N scale and are from the dollar store at about $1.00 each. I had to touch up paint on the houses with more real colors.
Painted the handrails on the GP-7, added a figure and moved up the other end of the industrial area. Is it just me, or do the switch stand targets look too tall? They’re about two inches closer than the figure.
Heartland-Those little buildings give a nice perspective. Isn’t it funny that you can buy those built and painted for a $1, but if they were 1/87 and you had to build and paint them yourself they’d be $35.[%-)]
I still have a work in progress at Greenvale Junction. This afternoon I just finished painting the sidewalks - the paint was still wet when I took the photo. Next is painting the curbs and adding details like fire hyrdants and utility poles; reapainting the facia and part of the backdrop; and finishing the buildings that are not done.

 url=
url= [/url][/url][/img]
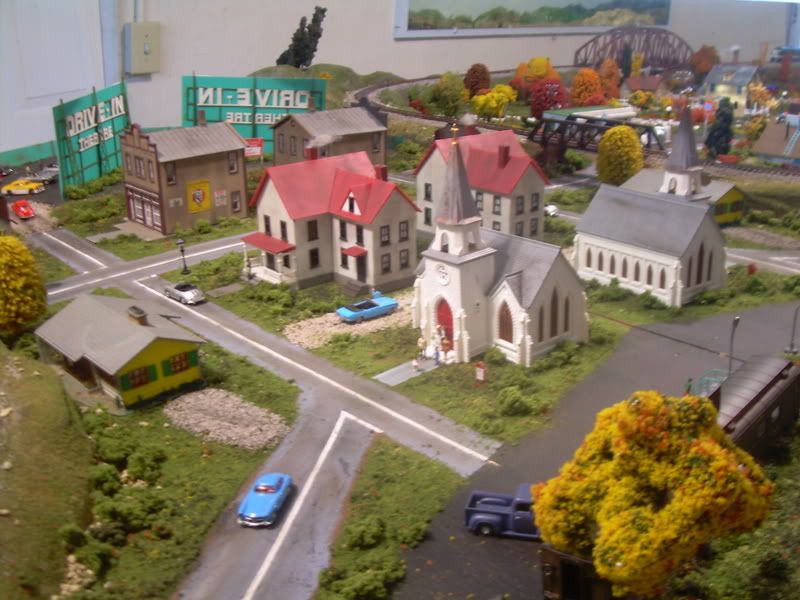
 Great pics everyone here is what Ive been working on lately Thanks Dave


