PSC HOn3 WP&Y DL-535E Brass Kit Build - One Week to Modern Motive Power

I’ve had a pair of PSC HOn3 Kit-#10664 sitting on my shelf since I purchased them from PSC at the 1996 Durango National Narrow Gauge Convention, aging until they were ripe to start moving freight on my under-construction layout. I model the Rio Grande, with Durango as a dual-gauge interchange between SG and NG. There’s a bit of standard gauge main with some switching and main line running. Most of the layout is narrowgauge, representing a much busier Silverton Branch. There, the D&RGW interchanges with my Silverton Union Rail Road, which is an amalgamation of the three little lines that went up to the mines from there.

I have 4% grades on 24" radius curves, so hauling tonnage uphill to Silverton is a challenge. I do enjoy my Blackstone and brass steam equipped with sound. But I really enjoy narrowgauge diesels, too. I want to eventually do a post on the entire NG diesel fleet, but here I’m going to discuss building one of these brass PSC kits, which represents the WP&Y 100 class Alco/MLW DL-535E locomotives purchased in 1969.

If the Rio Grande’s NG lines had warranted additional investment, instead of shut down and salvage as happened, the just might have acquired modern diesel power very similar to the WP&Y’s 100 class C-C locomotives. The DL-535 weighs less than a K-28, but provides nearly the same starting tractive effort as a K-36. Despite delays in the acquisition process, the first of at least two was finally delivered after some 16 years.

Some may have seen various pics of this build, which I started on last Wednesday, posted in the last Weekend Photo Fun. I won’t repost those images here, but this is the link for reference:

http://cs.trains.com/mrr/f/88/t/210155.aspx

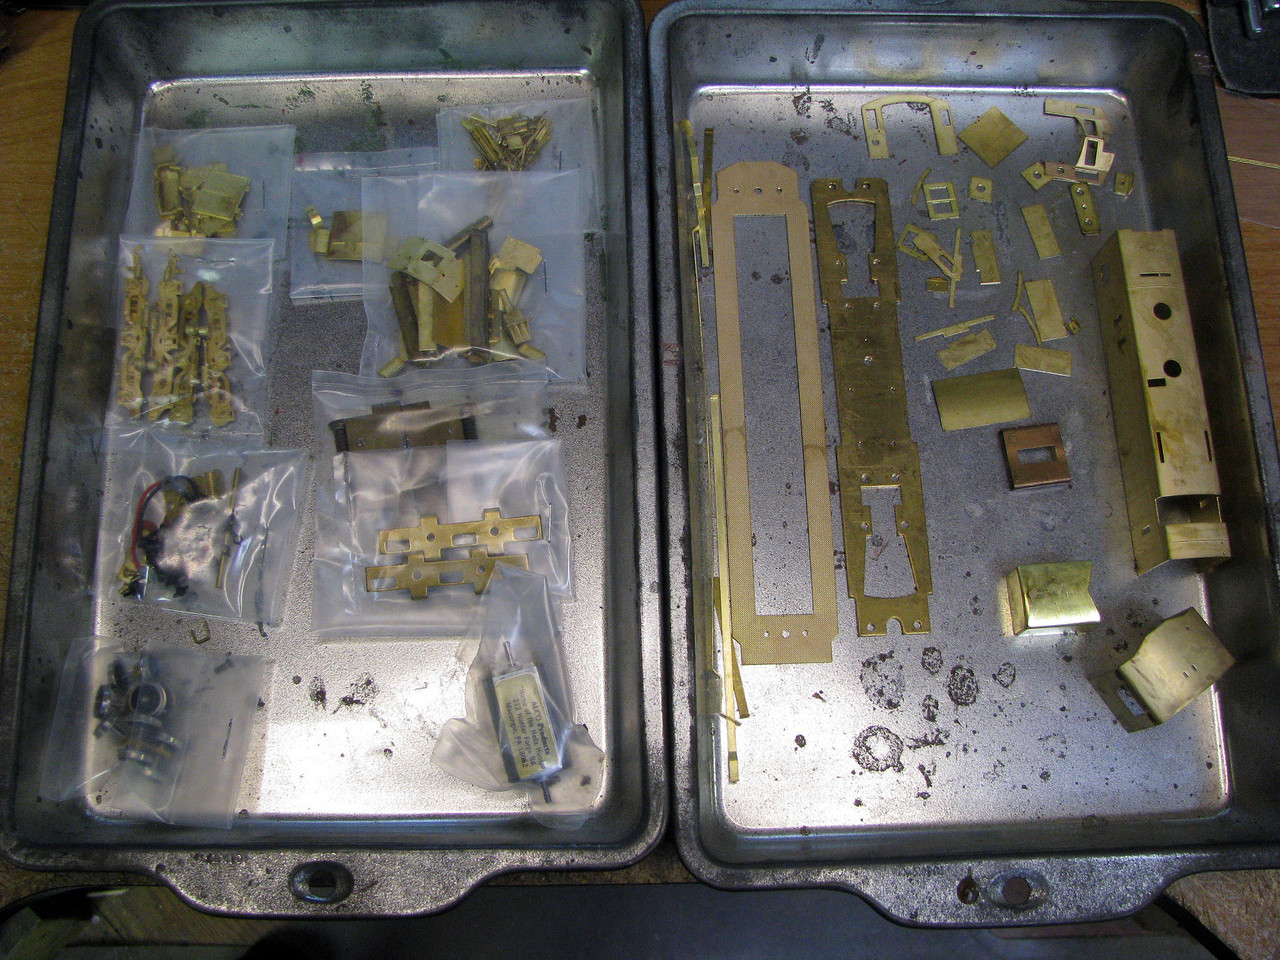
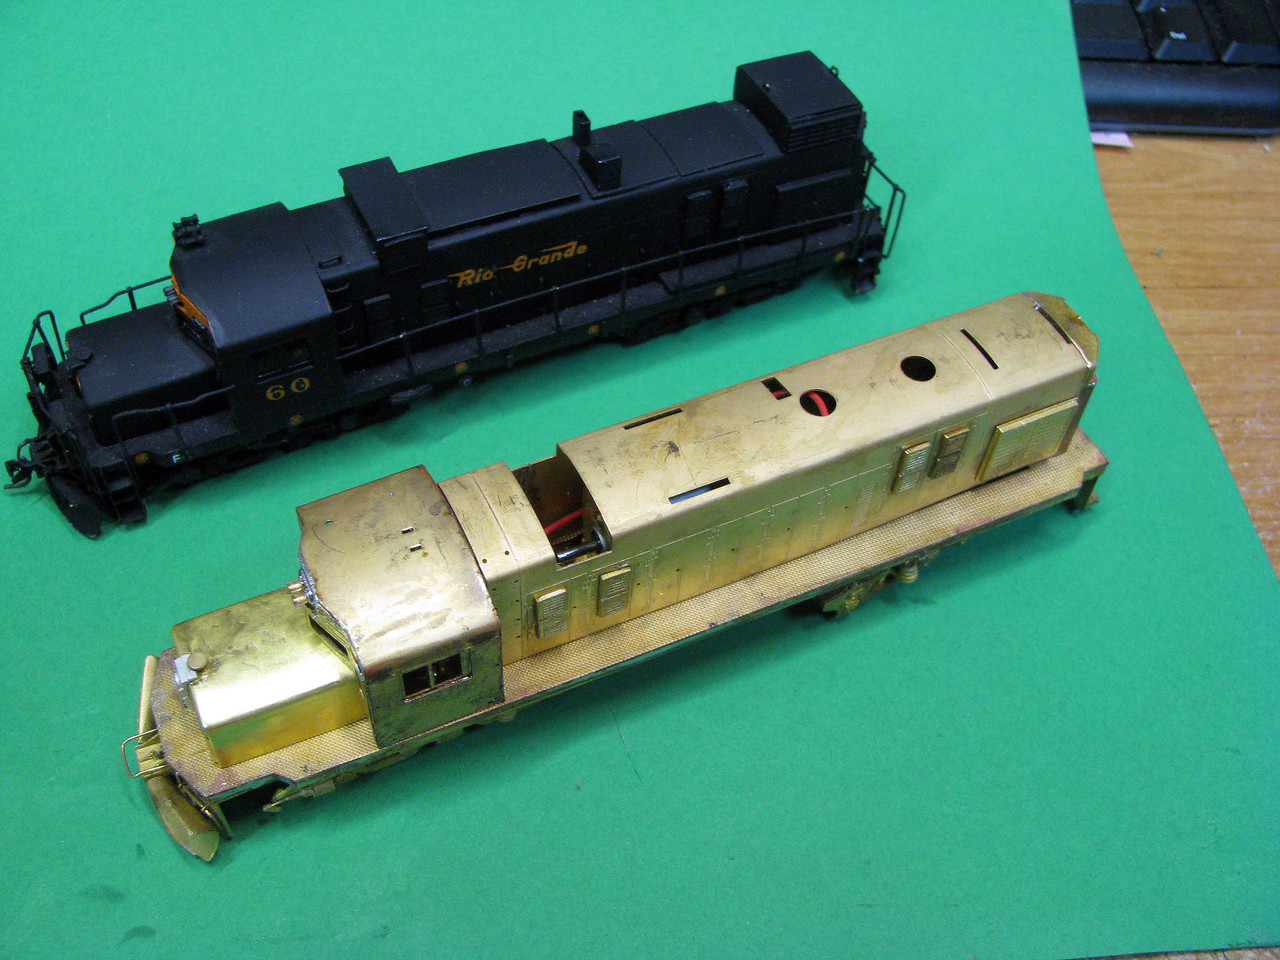
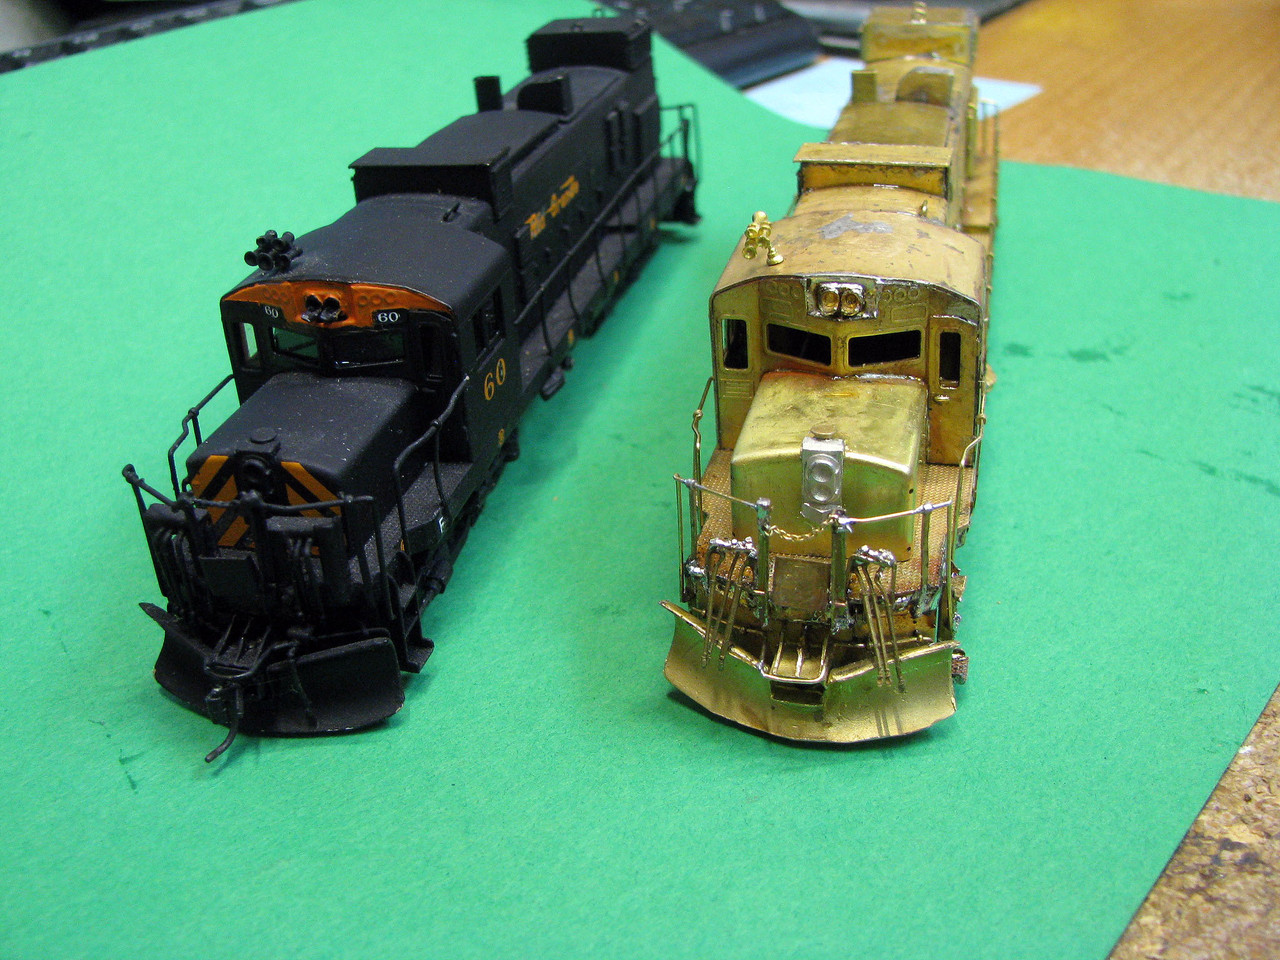
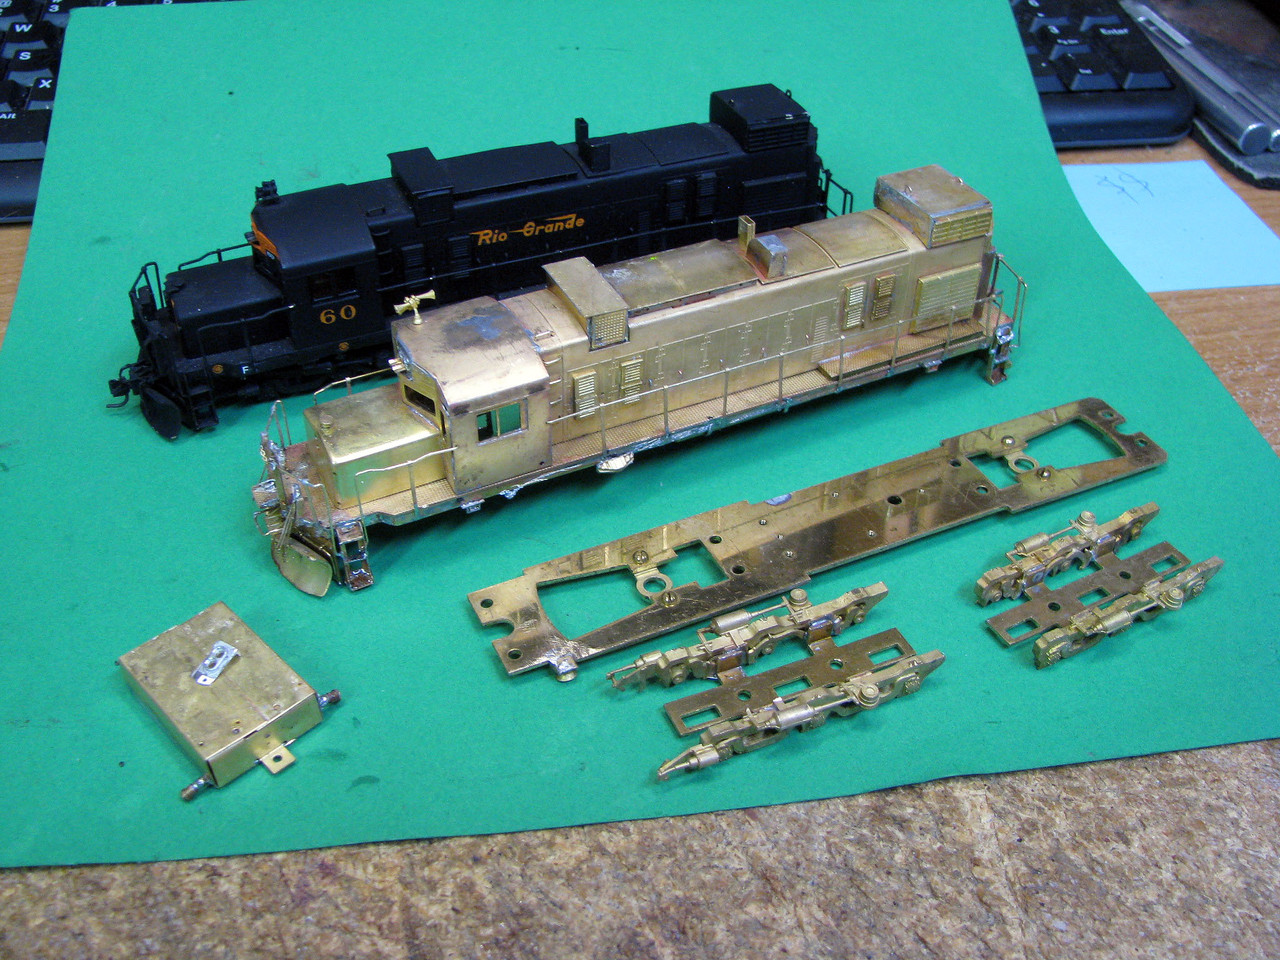
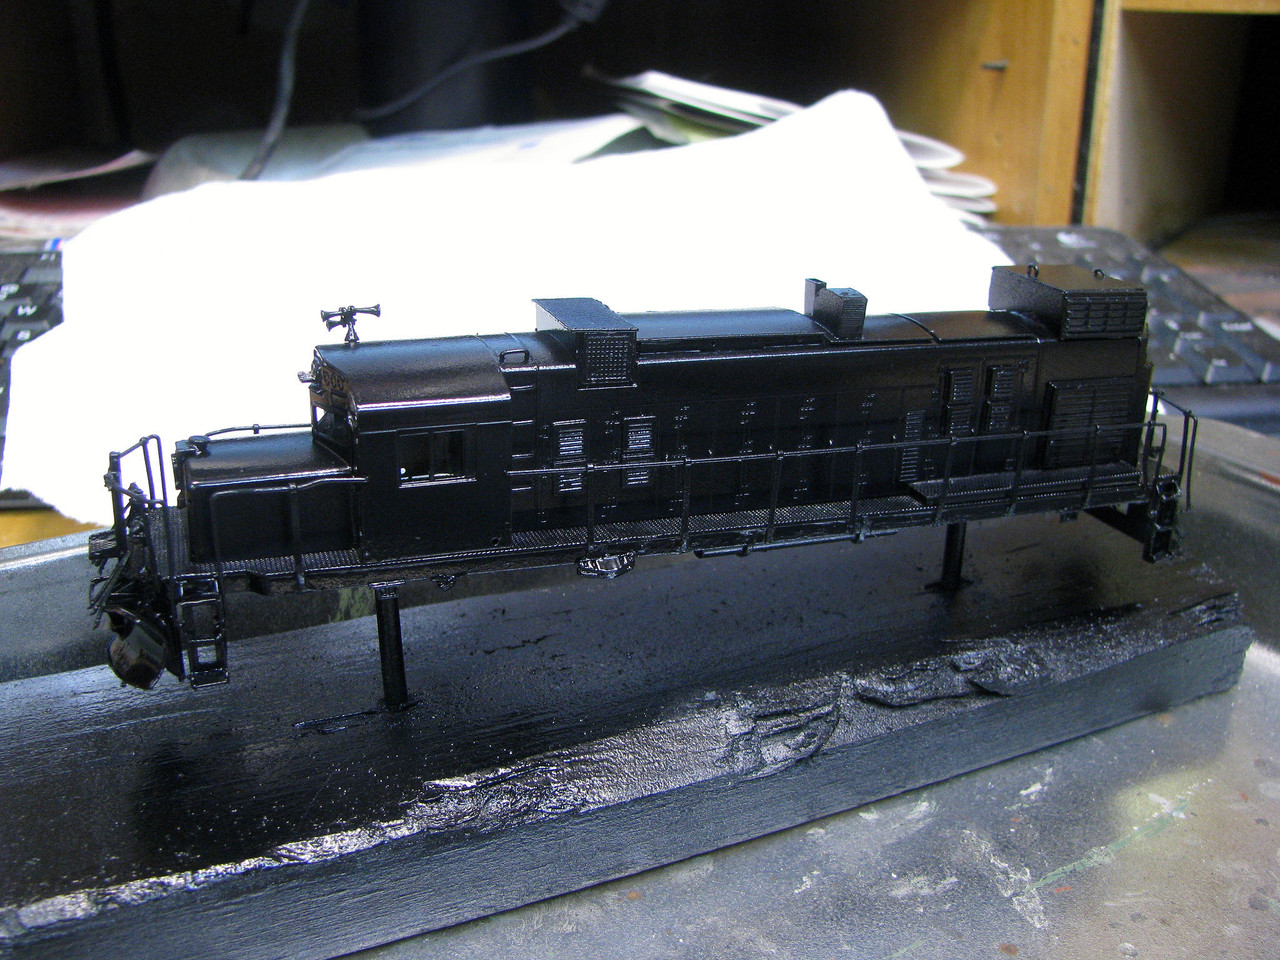
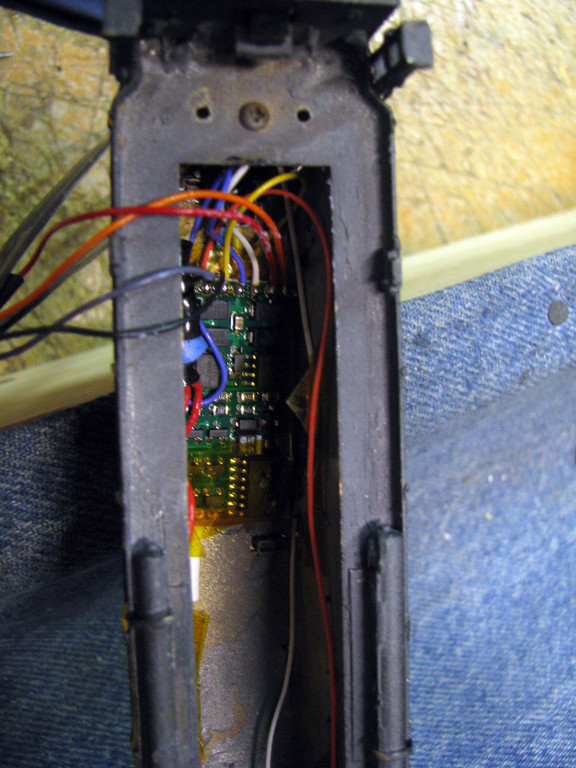
When you start off, this is what you find in the box.

Note the "instructions

Impressive work :slight_smile:

A hint for doing this kind of work in the future – use “high temp” melting solder for the initial joints, then step down temperatures until you’re using “low temp” solder (effectively the electronics stuff at Radio Shack) with the final detail parts (i.e. use 4-5 solders with different melting points). That way, you’re not melting the previous joints you made…

Dan,

Thanks for your comments. One thing I did was try to stick to commonly available tools and methods. There was some speculation from a colleague that a resistance soldering might be required to assemble this model. That might have made things easier, but not having any experience with one means I’d be on a different learning curve. Having seen pics of brass assembly overseas, I knew that plain old soldering irons should work if I practiced good techniques.

I used Radio Shack #64-035E Silver-Bearing Solder for the entire assembly process. I’m not sure what the melting point is for this solder, but it’s good stuff in general and makes a quick, strong joint. The issue is that you need to start with the highest melting point solder, then proceed to lower melting point solders. I may do this for the next one, If I can find a higher temp solder that I can then use my primary solder with. It would be good if there was a chart somewhere that would guide solder choice options.

I guess what I’m saying is that using different solders can be helpful, but isn’t absolutely necessary in this case. Using heat sinks is another way to help. I use a short piece of steel bar stock to work assemblies on, as well as various tweezers, etc to draw off heat and protect previously made joints. Just being quick and neat in making subsequent joints also obviates many issues.

Micromark has one or two brands of solder.

Per their website – Stay Brite melts at 430F, and the Tix melts at 275. I think the Radio Shack is either somewhere in between. I use it (or one of their other ones, don’t have it in front of me right now) for the electronics work.

That diesel looks pretty cool and like nothing else out there the standard gauge lines. Now the diesel buffs can do narrow gauge if they wish. The only stuff around previously have been the small 40-50 ton Plymouths, etc. This is a significant NG diesel. Is anyhting like this currently out there? I am 100% steam HOn3, but something this cool might entice me to do a build and kit bash to something special.

Richard

Dan,

Micro-Mark, how could I forget? I’ll check it out.

Richard,

AFAIK, the DL-535 kits are sold out. I’ve seen built models on Ebay, but don’t remember seeing any kits, but that doesn’t mean they’re not out there. The kits were first released in the mid-70s. Runs of built models have shown up over the years, so PSC may have produced more kits at several points. Interestingly, my 1994 edition of The Brown Book of Brass has no listing for the built-up models of the DL-5353Es or any other WP&Y diesels.

There are plenty of potential NG diesel models. I have pretty good roster of them, as they are cheap motive power compared to most NG steam, although the DL-535 doesn’t really fall into that category. Thus, I think diesels are an often overlooked way of getting into HOn3 or expanding you motive power roster relatively inexpensively.

Here’s a list of diesel models I have in operation. I’m planning on starting a thread on these soon to describe each in more detail

GE SP#1 (brass, Jonan)

GE 70-tonner (plastic, Bachmann conversion)

GM NW2 (plastic, Kato conversion)

Alco export DL-531/Class 48 (plastic, Powerline shell on K&M Engineering chassis)

Alco DL-535E (brass kit, PSC)

Whitcomb centercab (plastic bash, with Athearn SW chassis conversion)

I’ve also ordered a Liliput D75 HOe/HOn30 diesel for conversion, which I hope will be a relatively easy conversion, since wider gauge HOm wheelsets are available for it.

Mike,

It’s nice you had the foresight to buy brass kits! I wish they were still offered as I would love to try my hand at a brass kit. I’m sort of surprised that they aren’t being offered anymore as everyone and their brother seems to have lazer cutters now.

Maybe I’m all wrong, maybe brass kits are still being offered. If so, does anyone have websites for producers of brass kits? I know that Athabaska used to offer them.

NP2626,

What does/did Athabaska offer?

In HOn3, PSC currently lists a C&S 4-wheel caboose and a 29’ log car in brass. There are probably others out there, so if folks know of them, feel frr to post 'em here. I’d like to know more, too.

Can lasers shape brass components? That would be cool and suggests an area that might be profitably explored. Lots of prototypes lend themselves really well to brass construction, which is why it was the “gold standard” in model construction at one time.

The DL-535 kit has a number of components that required specialized methods beyond cutting and casting. The tooling must be exquisite, because the fit of the parts was really amazing, especially considering this was all done in the 70s, so few if any computers had a hand in making this. It’s one of those really neat products of the analog era.

Excellent modelling!
Nice Work!!

I guess Athabaska shops is still in business, here is their website: http://www.athabascashops.com/ Maybe Lazer won’t work for brass, which I believe is etched for the most part.

Yep, they have some great stuff. If I live long enough I might even be a Canadian modeler…[:)]

Maybe I already am? The DL-535 is sort of a Canadian model, right?[;)]

Yes, I suspected Athabaska might be etched. But that’s OK, there is some fine work being done out there, but I think brass kits are an area of the hobby that someone could really build a business on. It’s not something one can dive into with some practical knowledge and the capital for some extensive machinery and tooling usually. The bar to entry to photo-etching is a bit lower, but lots of issues with chemicals.

Bless all our hardworking manufacturers.

Just wanted to note PSC’s outstanding customer service support. I was missing one of the two cab doors in this DL-535 kit, called PSC last Monday and the missing cab door arrived here one week later, no charge. Their rep said they don’t always have parts for older kits, but they will make it right if they do have the part.

Now to find the time to start the build on my second DL-535…[:P]

I too have this model kit lurking in my cupboard. I had always thought that my set of instructions were missing, but I now see from your article, that PSC never produced them, leaving just photographs of the parts, and a research project for the builder. You have encouraged me to build my model. Thankyou

I built my secnd DL-535E kit over the last couple of weeks at a more leisurely pace than the first. It was a much easier task the second time around and I think this one came out a little better in terms of fit and finish.I took a few more pics this time, so will post them up in case it helps anyone else.

This is what you start with…

First, build the pilots, walkways, and steps assembly first, as true as you can make it. Here the sides of the frame have been soldered to the walkway stamping.

Next, you attach the pilots and plow, as well as some other end details.

Next, you build the driveline. You’ll tune it some now after testing on DC most likely. Keep in mind that this mechanism is “jumpy” without the weight of the shell on it yet.

With the motor leads temporarily hooked up, check for any obvious problems.

Next is the basic shell assembly.

I next finished up the front porch…

After adding various castings and built-up rooftop assemblies, the shell detail is mostly complete.

It wasn’t long before things were basically comeplete (3 views)

At this point, the poor thing is rather homely, coverede with resin and scorch marks. A bath in denatured alcohol cleans things up well.

Next is a vinegar bath, which puts a paint-holding tooth on metal.

After things are throughly dry, it’s paint time.

Primed.

Painted.

I decaled onto the gloss balck paint…

Then Dull-Koted it.

I put the LEDs in tonight while I await a decoder. But I took it out for a photo op tour. Here’s #64 posed with #60, the previous DL-535, and several other narrowgauge diesels, along with the leading SD40T-2 Tunnel Motor for a size comparisons.

Not quite as big as a Geep, it can do its part when called on – after the decoder arrives.

Excellent work! [tup]

Are these kits still available?

Thanks![swg]

Unfortunately, not from PSC. I’ve seen completed models for sale on ebay, either from this kit or PSC’s builds of them (several runs since the mid-70s intro), but don’t remember seeing any of the kits come up. I needed to call to get my missing cab door (yeah, dumb of me to not check this kit when the first one came up missing) again and they did have that, plus a scattering of other parts. But the kit is no longer produced.

For reference, I bought these 2 kits from PSC at the 1996 Nat’l Narrow Gauge Convention in Durango. I think these were from the last batch of kits made, so they’ve been sold out awhile now. Cost was $250/each. Assembled models tend to sell from $500 up, unless you find a heck of a deal.

Thanks, I hope they return soon.

You may want to drop PSC a line letting them know of your interest. It can’t hurt, even though it sounded like there were no current plans to produce the kit or loco again.

Here’s some pics of the decoder and lighting install.I had the chassis running as well as I could on its own. Without the weight of the shell, it’s kinda jumpy, so it wasn’t until I got everything together and went for a test run I found I had a problem and disconnected things again. Loud squalling led to figuring out the pinions needed lubed, mainly the rear one. Also had to do some drive shaft fine tuning.

Here you can see the other side of things, as well as the 4 wire connection that is all between the shell and chassis.

Generall arrangement when everything’s hooked up right.

The nose LEDs. I use 1/4" ID Evergreen tubing sections for LED holders. Paint them balck to start with, the touch up as needed with black liquid electrical tape. I used 5 mm warm white LEDs salvaged from Xmas lighting. Note how the nose lights lead split to leave clearance in the middle for the gear tower.

Wiring taped to walls to clear motor.

The NCE D13SR decoder is tucked up in the rear roof clear of the gear tower below.

So that’s the install. Once I got the squalling pinion gear calmed, things were still somew