The old thread for my layout, Version 5 of The CB&Q in Wyoming, didn’t survive the migration to the new forum unscathed, so I thought I’d pick up where I left off in a new thread native to the new forums. So here we go with Part II!
5 Likes
Thanks for continuing your thread here, Mark. I really enjoy following your progress and your willingness to show the ‘oops’ moments and how you overcame them! Of course, your videos are equally informative and entertaining.
Keep up the good work!
Cheers, Ed
1 Like
Thanks, Mark. Very interesting.
Love that Mikado, Mark!
Rich
3 Likes
Can’t decide which I like more.
The Christmas Layout Tour or the hat?
Rich
3 Likes
Mark. Your layout is amazing. The amount of work in it. is mind blowing.
Love it. Well done.
David
1 Like
Mark, your layout seems like a life’s work! I’ve seen club layouts that aren’t as envolved as yours. Are you doing this all yourself? Most impressive indeed!
Regards, Chris
1 Like
Excellent, Mark (as usual). Love the grey skyline. ![]()
(The sky looks grey when I look out our window. I thought you might be going for a U.K. looking sky ![]() )
)
Seriously, well done.
David

Fantastic. The progress, documentation, everything. Just fantastic.
2 Likes
Let’s not overdo it, Mike.
Mark has a big enough ego as it is. ![]()
Rich
4 Likes
No Rich, Mike has it just about right! ![]()
12 January 2025
As we rolled into December I kept going on roadbed in Powell:

And then I extended the mainline through town…

And out the west end of town into the curve towards Vocation and Cody.

I ordered a couple of bundles of ME Code 55 HO track from Iron Planet Hobbies, and went ahead with wiring the track I had in place. This barrier strip will provide feeders to the track just beyond Powell (the shot of the barrier strip that powers Powell itself came out blurry):

I was out of town for a week attending a wedding in New Jersey, and when I got back I came down with Covid (from one of the other wedding guests). The track showed up Christmas Eve, but it was the 27th before I felt good enough to go down to the train room. When I opened the package from Iron Plant I got a bit of a surprise - N Scale track!
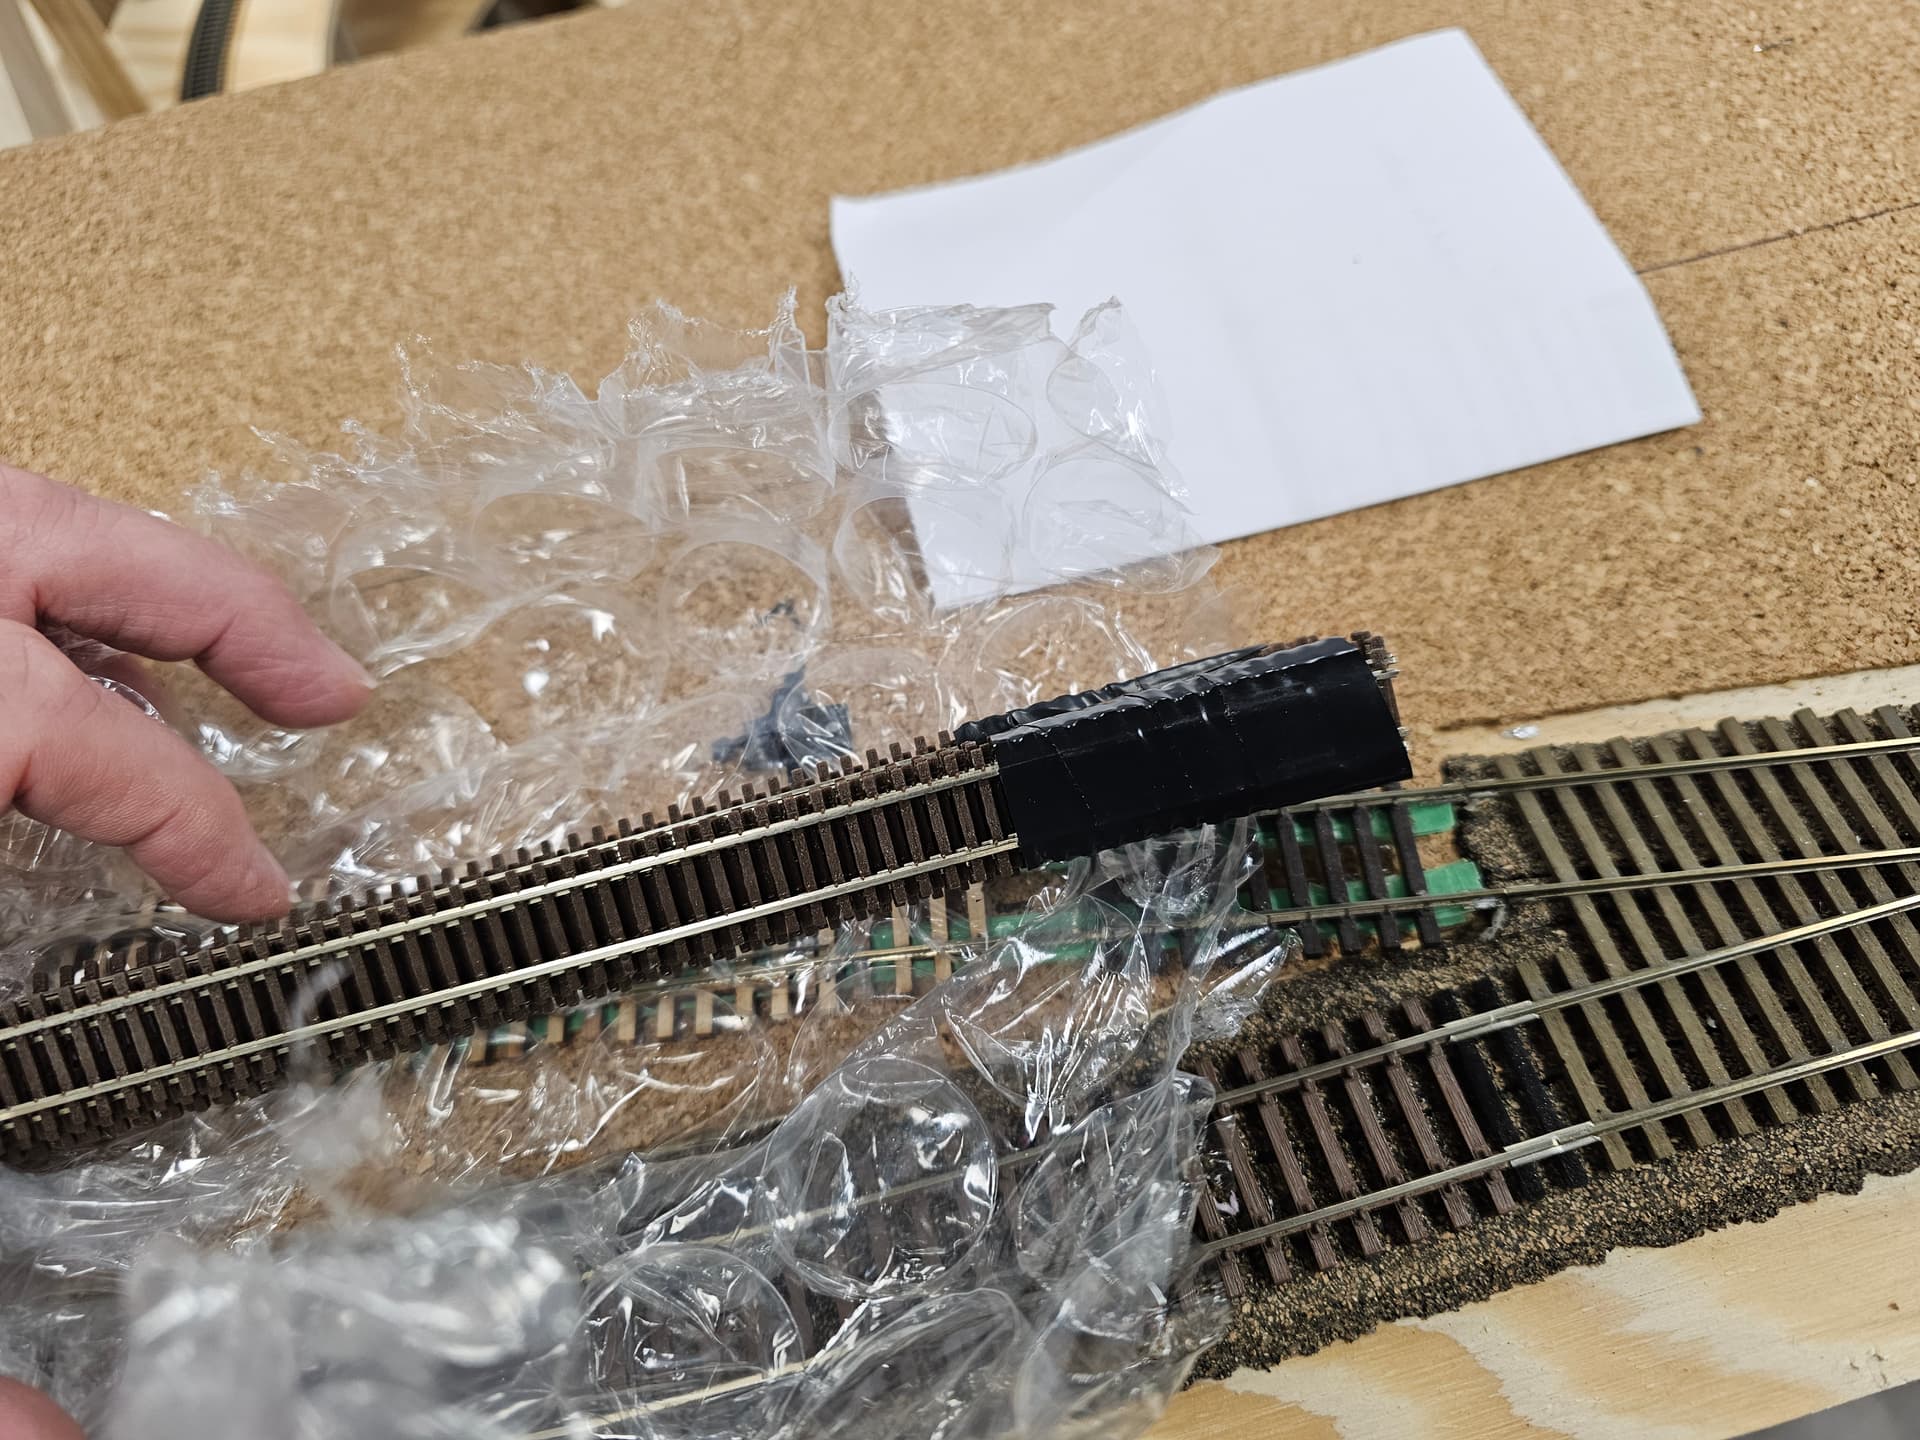
I double-checked the invoice, and sure enough I had ordered HO. A call to Iron Planet netted me a return shipping label, but because I was recovering from Covid it was January 2nd before I could out and send the track back. Storms and what-not delayed the delivery (and their shipment of the correct track). I’m supposed to get the track this coming Wednesday. With that I’ll be able to put in the two remaining sidings in Powell.
The other thing I did in December was renumber a “new” Proto 2000 2-10-2 from 6302, which I already have one of, to 6309. I was surprised how much time it took to remove the old number - about twice the time it takes to remove numbers from BLI locomotives.
But I got it done finally, putting the protective flat finish on the decals after I returned from NJ (I’d applied all the decals before I went). After lubing and tuning up the mechanism it went onto the layout:

The last few days I’ve been trying to renumber a set of hoppers I bought off ebay. I posted another thread about removing the letters without damaging the paint. I tried Mr. Color Thinner, which is what Accurail recommends on their website, and it took off the lettering for sure, plus the underlying paint!

I had some of the renumber decals for a couple different sets of cars on hand from earlier projects, and it turned out that the set for CNW hoppers (set number 2582 if anyone is interested) were a close match for the color on these C&S cars. The numbers aren’t an exact match, but they’re close enough, so today I finished renumbering the entire 7-car set. Here’s one of the “finished” cars:

In a couple days I’ll brush on some Micro Sol to make the decals settle down as much as possible, then the next day I’ll brush on some gloss finish to seal the decals before I start weathering. After I apply the black wash, my first weathering step, I’ll Dullcoat the decals then move on to the chalks.
And with that layout construction reports are all current! There won’t be this rapid-fire status reporting from this point on - depending on how work on the layout goes I’ll post every few weeks.
6 Likes
Incredible work Mark! I hope to someday have a layout half as well worked on as your own! Just a thought as I was reading - if you’re planning on doing any more work removing factory lettering/graphics, I’ve had good success soaking paper towel in Micro Sol, letting it sit on the graphics for 20-30 minutes, then gently rubbing with a pencil eraser rather than a brass brush - somewhat less prone to scratching the equipment! Subscribing to both the thread here to follow progress and to your YouTube channel! Thanks so much for sharing, and awesome work!
3 Likes
Usual amazing standard of work, Mark. How do you keep on going?
Well done.
David
Yes, it is an amazing layout, and Mark will surely set a new endurance record.
Rich
1 Like
Hi David,
Thanks for the compliment! The layout is actually just a Lionel 4X8. I’m just really good with Photoshop! ![]()
3 Likes
So, you’re finally leveling with your adoring public, eh Mark? ![]()
5 Likes
I posted layout update video 63 today…

6 Likes
Another very enjoyable video.
And, Mark, you look mah-vel-us.
Rich
1 Like
Now you’re beginning to worry me, Rich!
2 Likes
It’s the shirt, Mark.
It’s always the shirt! ![]()
Rich
1 Like